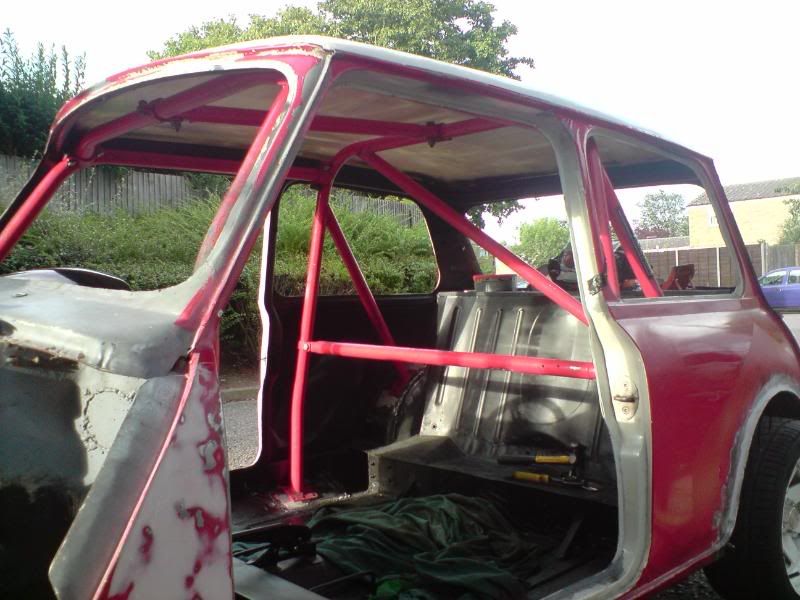
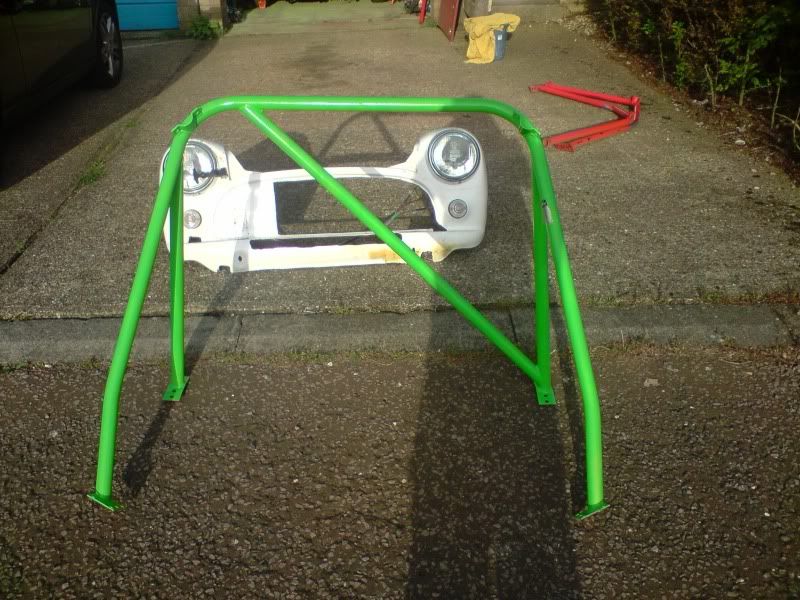
Jump to content


Photo
- - - - -

Project 'lesbian Rose'


  • Please log in to reply
347 replies to this topic

#121 evil ewok

evil ewok

    Speeding Along Now

  • Members
  • PipPipPipPipPip
  • 354 posts
  • Location: Stevenage
  • Local Club: A's of Herts

Posted 13 July 2009 - 03:14 PM

looking good mate!

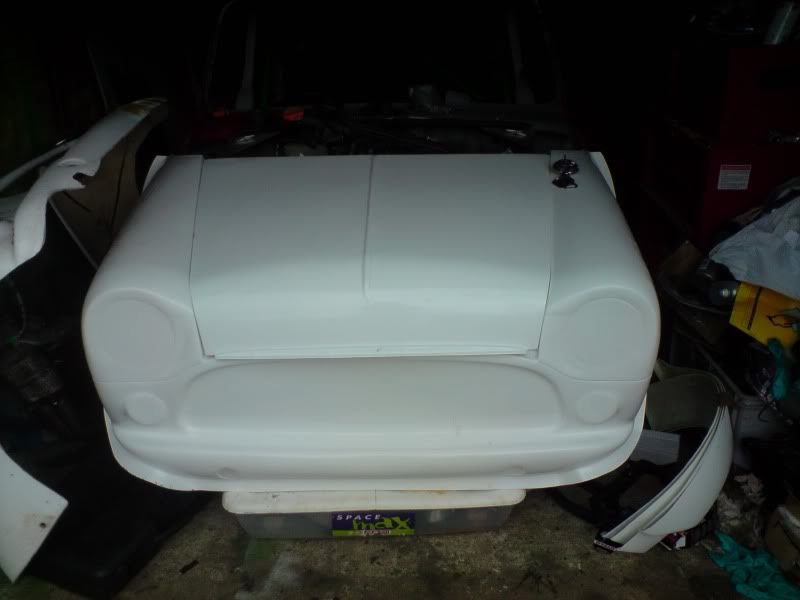
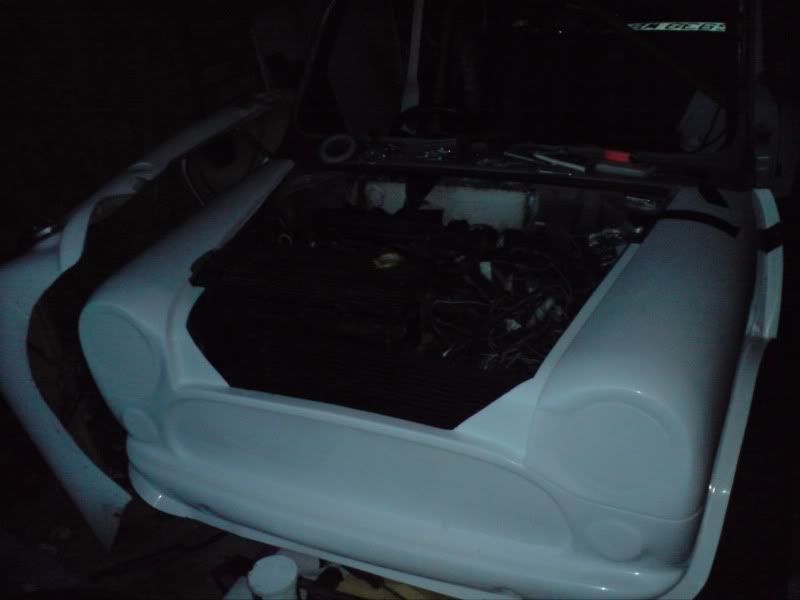
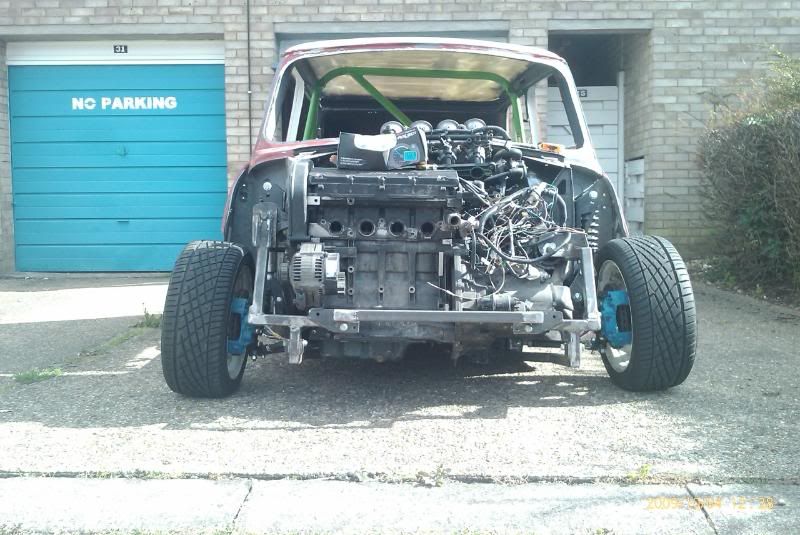
just a thought, why not fibreglass your front end around the k series subby... because it doesnt look like the shape would change that much, just have some other bulges... if you get me!?? lol

the longer fronts i always think look a bit odd... but looking at your super large wheels, that might help keep it 'in scale'

i'm rambling.... lol


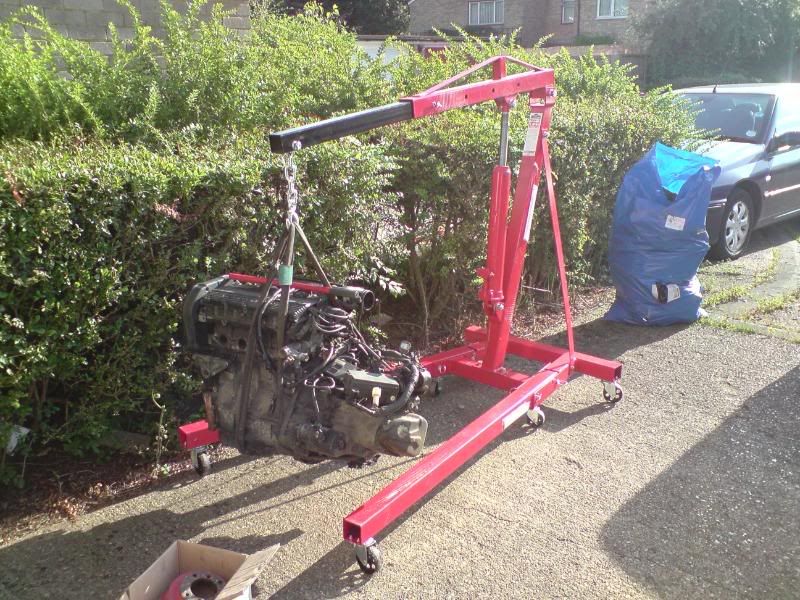
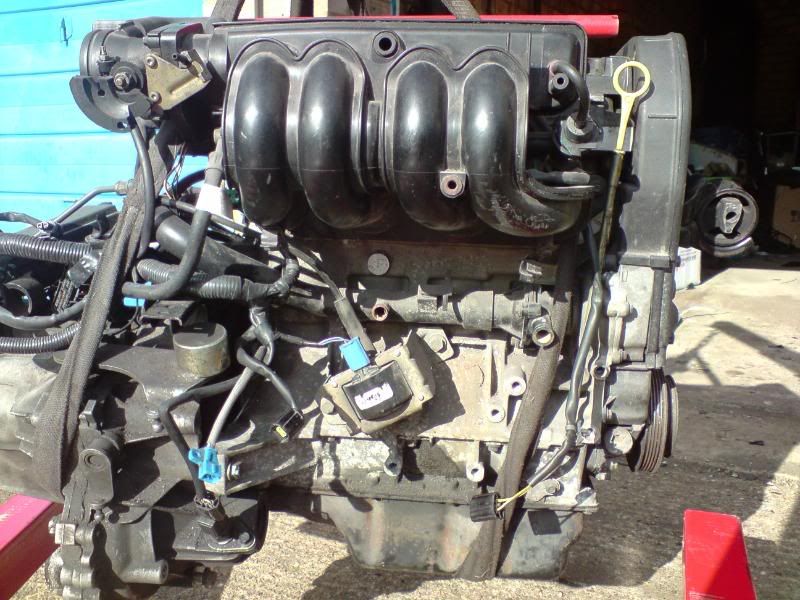
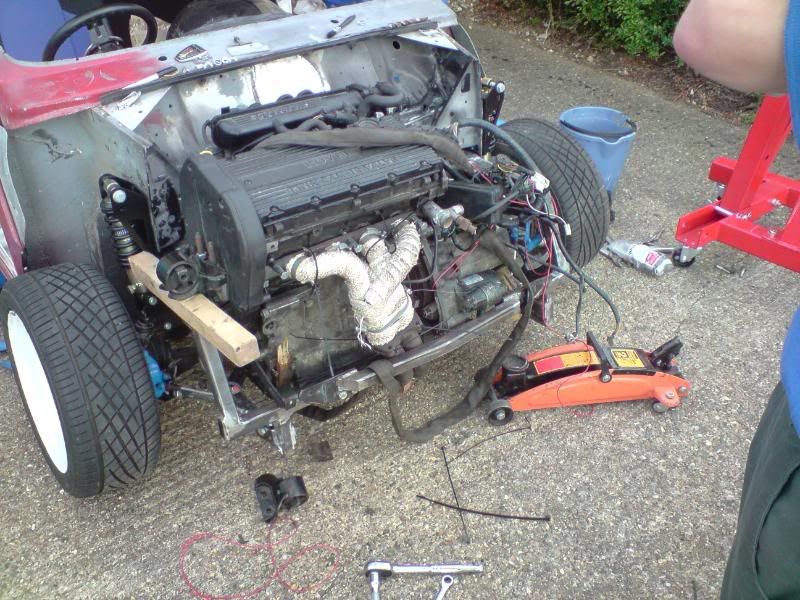
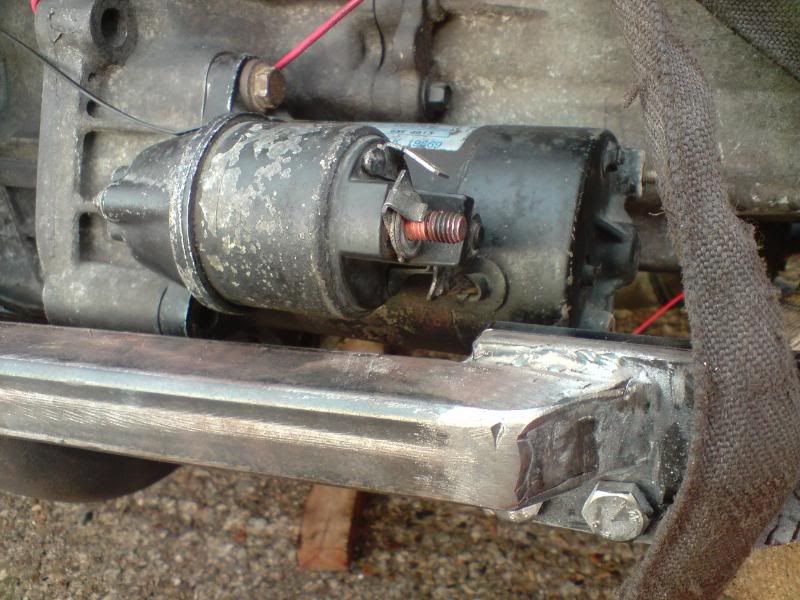
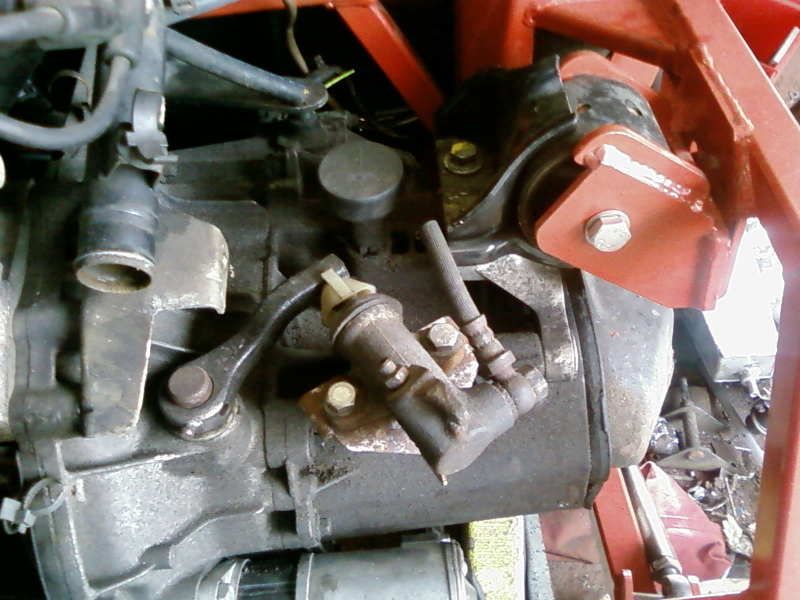
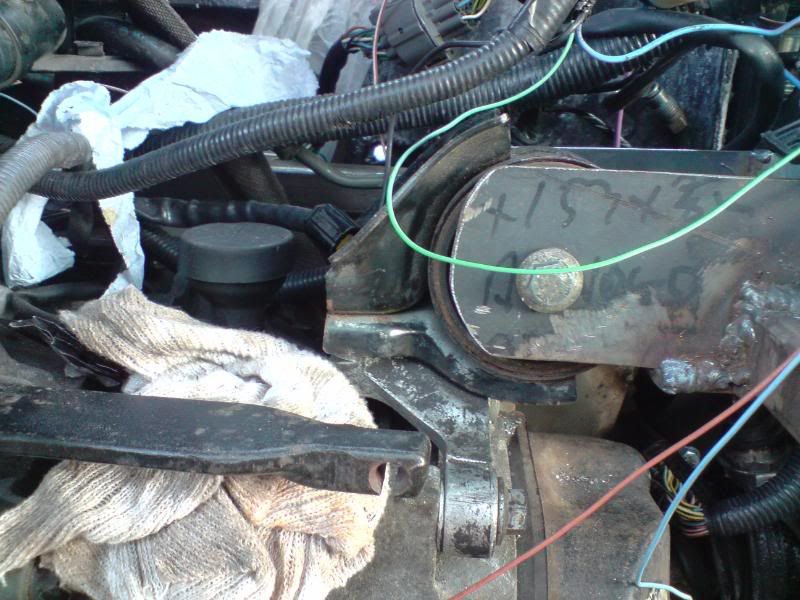
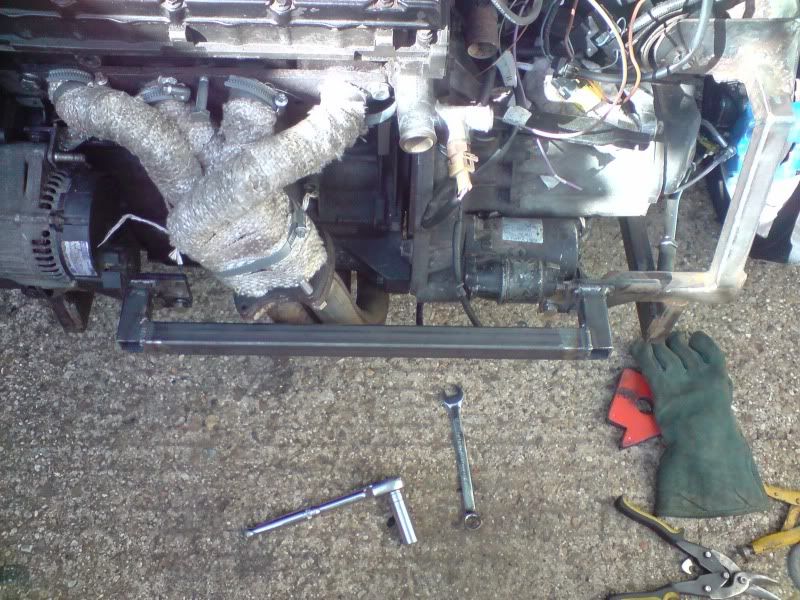
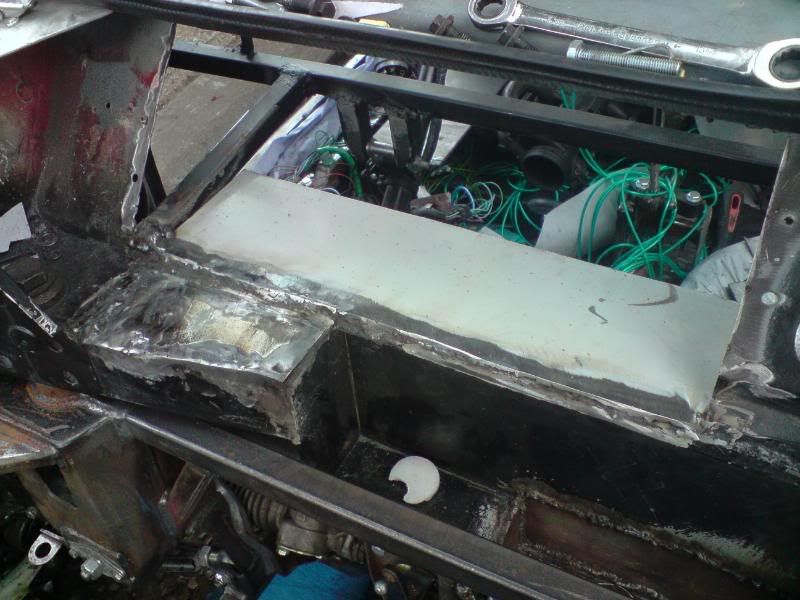
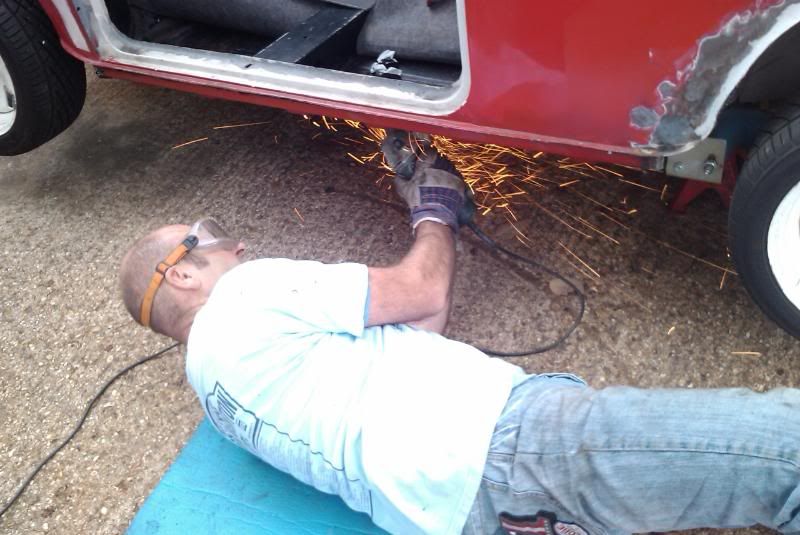
yeah i know what you mean mate. i did consider just rebuilding the front to fit the k series subby...but my fibreglass-ing skills are rubbish lol

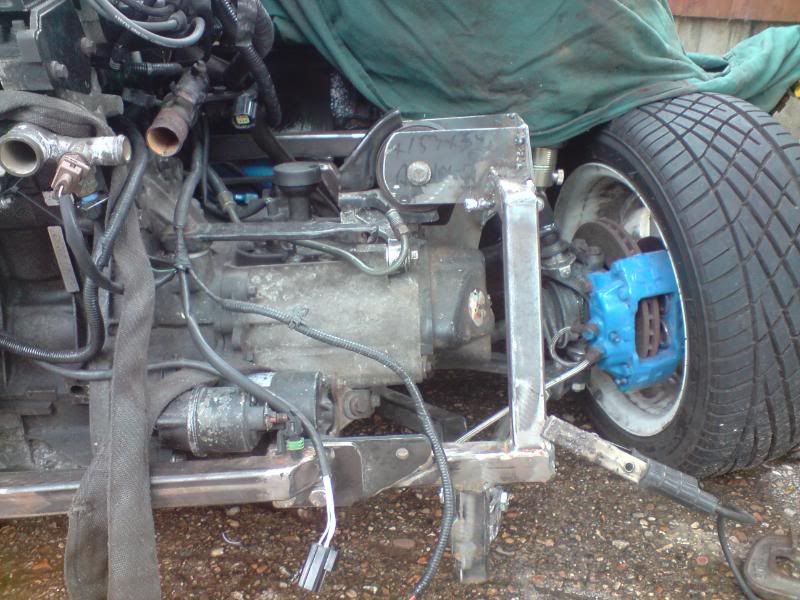
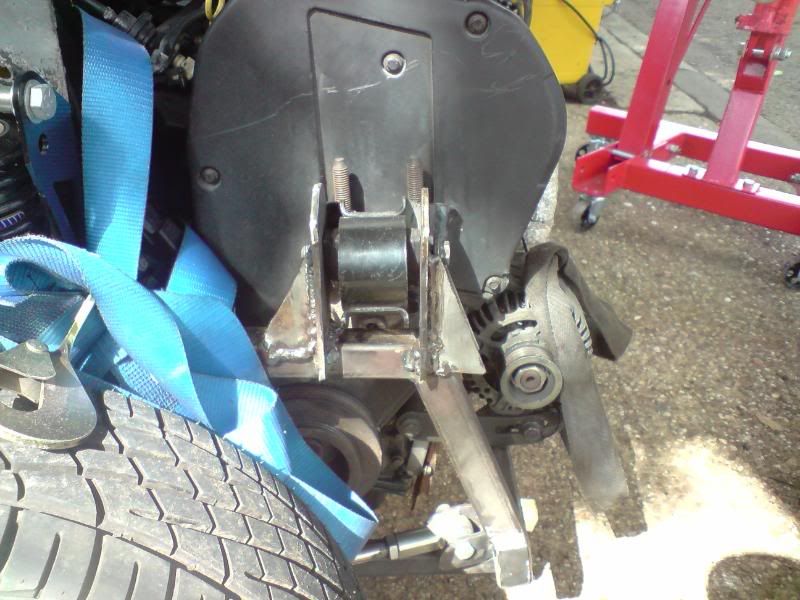
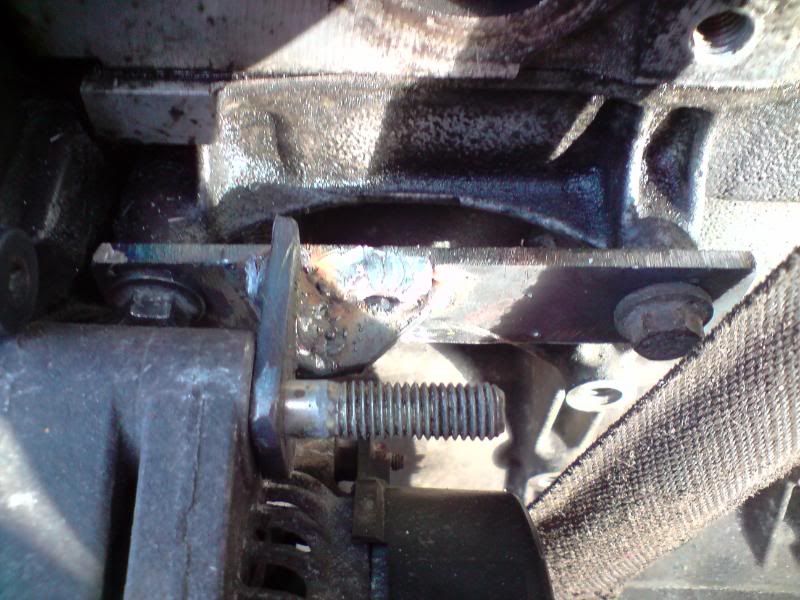
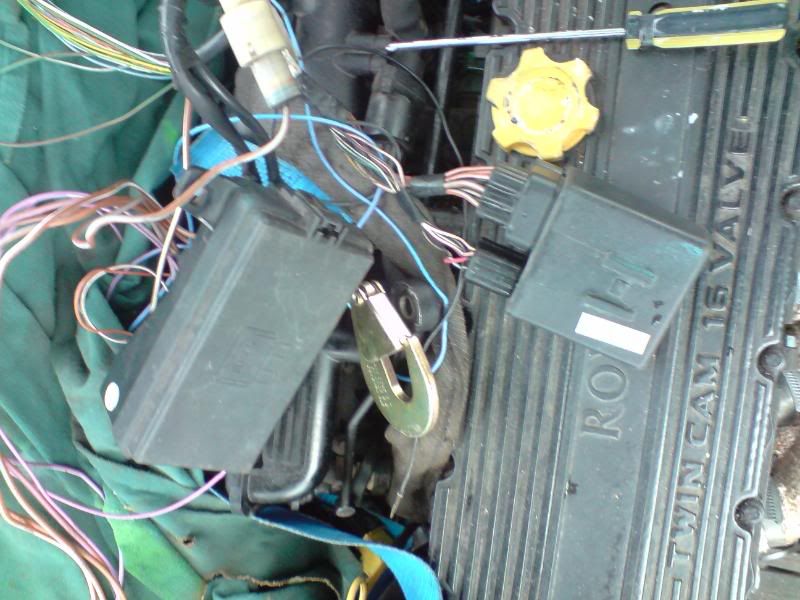
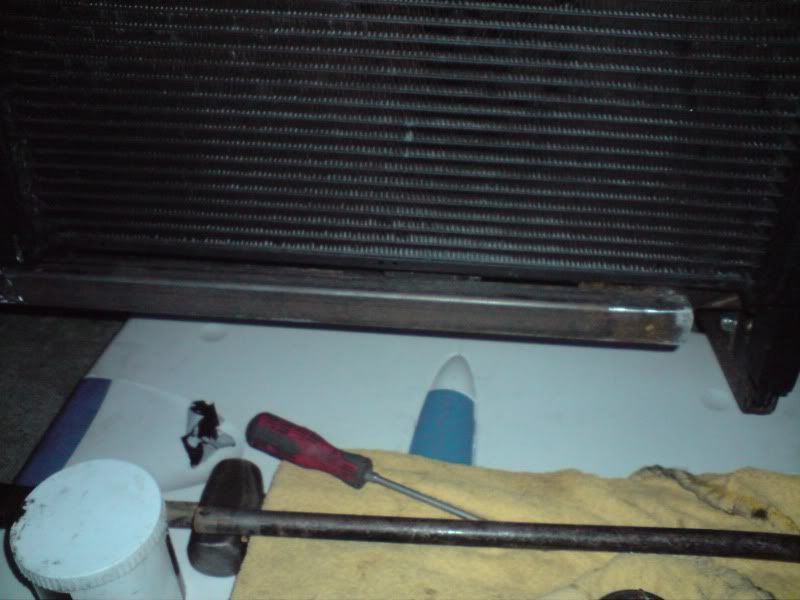
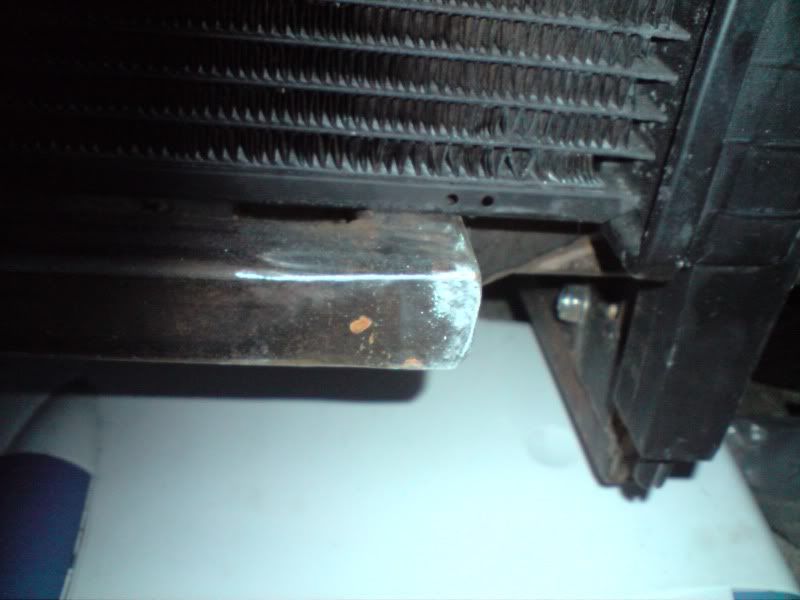
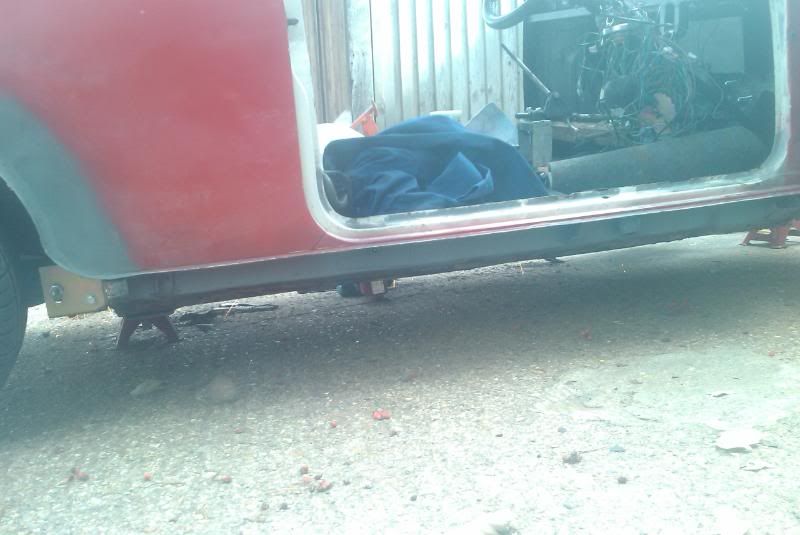
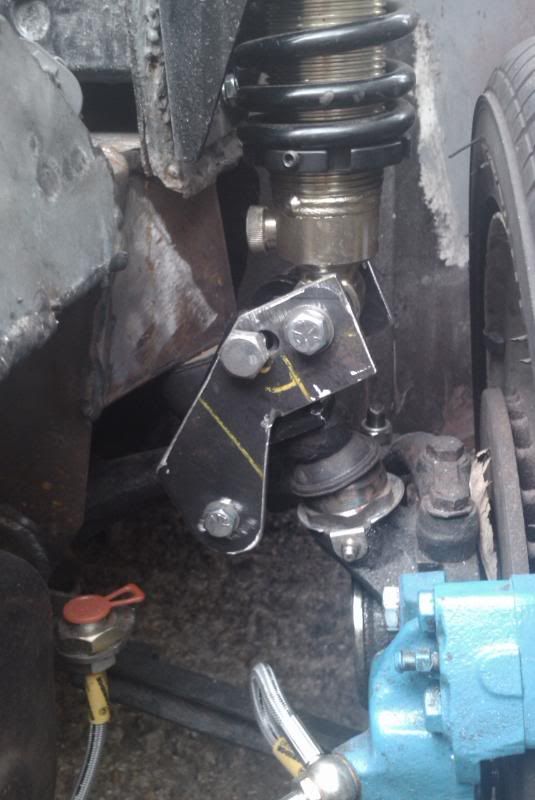
i've looked at the longer fronts for a while and seen a vtec mini around here. didnt really notice the length until it was next to another mini. plus it should allow me to keep the alternator in the standard place, should also give more room for a large rad...and possible oil cooler and intercooler in the future :D

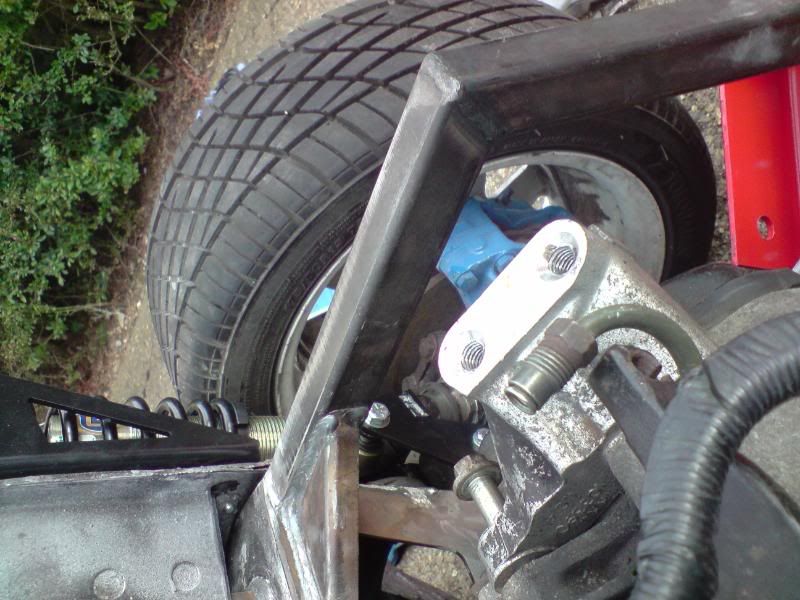
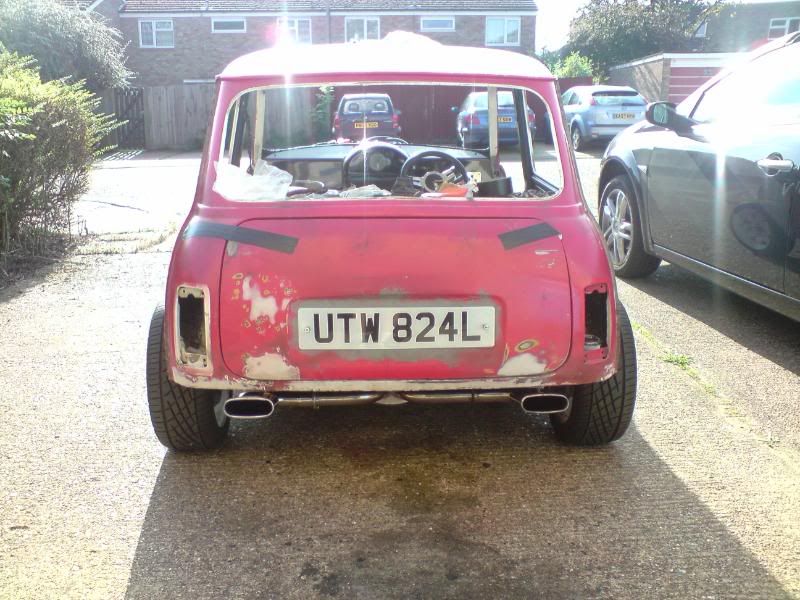
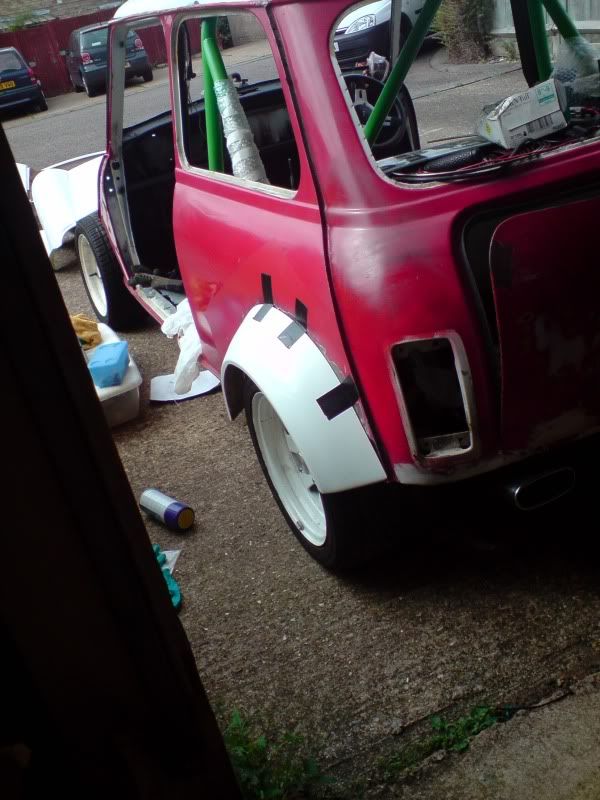
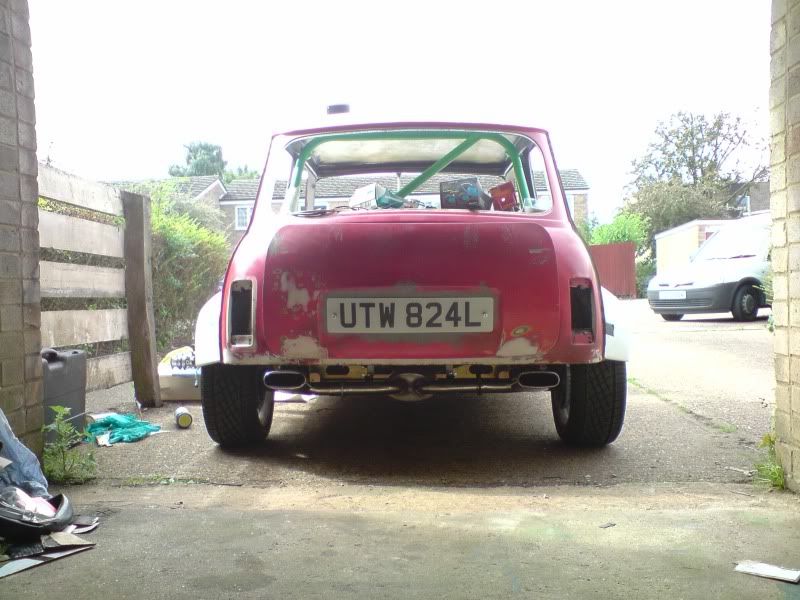
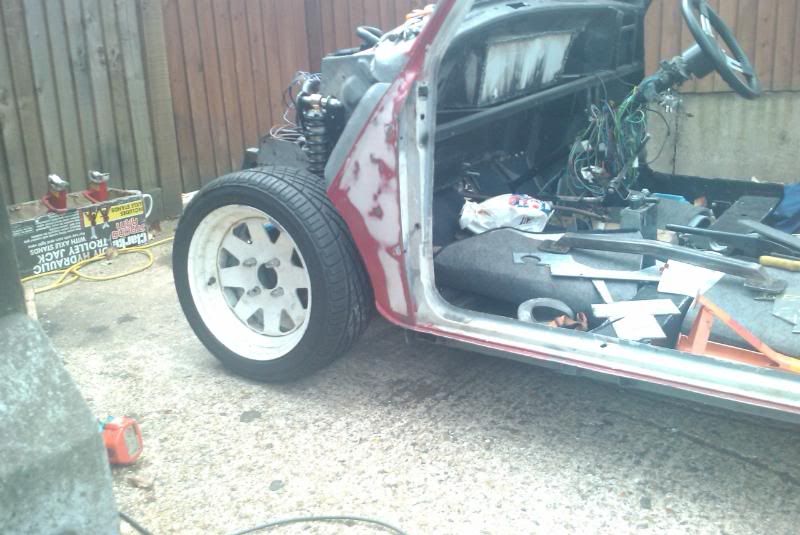
the wellers are only 6x13s, but they seem to have a huge outer dish. was considering some 6x10s but not sure if it would mess up the gearing?

#122 tedmcedd

tedmcedd

    Up Into Fourth

  • Traders
  • PipPipPipPipPipPipPipPipPip
  • 2,751 posts
  • Location: Huddersfield

Posted 13 July 2009 - 04:12 PM

good point.... i vote keep the big wellers, they suit the project!

#123 evil ewok

evil ewok

    Speeding Along Now

  • Members
  • PipPipPipPipPip
  • 354 posts
  • Location: Stevenage
  • Local Club: A's of Herts

Posted 13 July 2009 - 10:04 PM

heres a few pics with most of the interior in:

Posted Image

Posted Image

Posted Image
back seat is carpeted but doesnt show up very well.

have the front coilovers fitted, need to make some spacers for them
Posted Image
can you buy the lowered bottom mount brackets from a shop/club member or would i have to fabricate them myself? i'll see how it sits with engine in but i think i may want to lower it more than the standard ones allow lol

got the engine out from the back of the garage today

Posted Image
crane is a bit overkill (sealey 1.8tonne) but it was bit of a bargain

looking at teh back of the engine what bits can i remove/block off?
Posted Image

also unsure what this connection is for (its the one hanging down by the sump on the right in the previous pic)
Posted Image

put the engine roughly in place, sitting abit far forward as the crane legs hit the tie bars so can't get it any closer, which will cause problems when trying to line up for building mounts >_<

also looks like i will need a smaller starter, or one on which the solenoid is not on the front/so large.
Posted Image

found brise motorsport ones which have internal solenoids and high cranking power for racing engines...but they're £210 inc. VAT!

#124 evil ewok

evil ewok

    Speeding Along Now

  • Members
  • PipPipPipPipPip
  • 354 posts
  • Location: Stevenage
  • Local Club: A's of Herts

Posted 15 July 2009 - 10:33 PM

had another play with the engine positioning tonight and got it in a bit better

Posted Image

and now have abit of room by the starter
Posted Image

i think i could get it sitting slightly further back if im allowed to gring this down abit?
Posted Image
its the end of the top arm spindle hitting the gearbox

the engine side mount sits in a fairly nice position above the frame bar
Posted Image

but the both of the gearbox type mounts i have are rubbish lol

one sits right next to the gusset
Posted Image

and the other right on the front at an angle
Posted Image

ive been loking for one like the 16v mini shop used on their k series buil but no luck. any ideas what it came from?
Posted Image

if i cant find one would fabricating my own utilising a vauxhall/land rover v8 'bobbin' style mount be ok?

also the gearbox outputs sit slightly further forwards than the cv joints so the driveshafts don't run astraight, is this ok?

cheers

#125 evil ewok

evil ewok

    Speeding Along Now

  • Members
  • PipPipPipPipPip
  • 354 posts
  • Location: Stevenage
  • Local Club: A's of Herts

Posted 02 August 2009 - 11:06 PM

right its been a couple of weeks since my last post.

found the 416 style mount bracket in a box in my garage. didnt even know i had it lol must of come with the engine. so the engine is now mounted in the frame. built the mounts but still needs rear stabiliser. gave the mounts the ultimate test of my brother standing on one and they surived ;)

Posted Image
Posted Image

got my rollcage bolted in but now ned to take it all out again to paint it
Posted Image
theres another 4 bars on top of whats in the pic so should be more than enough lol

the top alternator bracket i had was the wrong type so instead of paying £20 for one i decided to have a go at making my own. hopefully it will be strong enough
Posted Image

next decided to tackle gear linkage
Posted Image
cut 11" out of it!
Posted Image

Posted Image

Posted Image
also had to shorten the lower 'arm' piece

after seeingmy brothers quickshift on his ZR i decided to have a go at my own. shortened the lever by 1" and lengthened the lower 'throw arm' thingy by and inch
Posted Image

after grinding the welds back the join doesnt look too bad
Posted Image

Posted Image

found out the cam cover on the 1.6 head i have is ally so decided to have a go at painting it.
Posted Image

trying to work out how to do the clutch now. want to keep it cable for simplicity.
Posted Image

my mate from down the road, who has rebuilt mgb's and several beetles amongst others, suggested as the mount is in the way, bending the clutch arm a little then drilling a hole through the side of the engine mount to run the cable. does this sound feasible?

also been scrathing my head over the wiring but it just confuses me more each time i look at it lol. got bits that im not sure what they are. any help would be awesome. wanting to splice the engine loom with the mini loom.

Posted Image
i think this is the fuel cut of reset button thingy?

Posted Image

Posted Image
from what i can work out this is for the dash display (warning lights, oil pressure etc) ?

Posted Image

Posted Image
Posted Image

#126 david_godfrey

david_godfrey

    Mini Mad

  • Members
  • PipPipPipPip
  • 220 posts

Posted 14 August 2009 - 07:48 PM

Alot of hard work went into finding the 416 bracket and removing it from a car that was on top of many other cars.

#127 evil ewok

evil ewok

    Speeding Along Now

  • Members
  • PipPipPipPipPip
  • 354 posts
  • Location: Stevenage
  • Local Club: A's of Herts

Posted 14 August 2009 - 11:52 PM

well i havent really done much on the project lately, sort of lacking the will and drive to do it at the mo. still havent managed to sort out the wiring, i just dont understand it at all lol.

thinking about maybe buying one of these if it makes things easier
http://www.cbsonline...rmod-1185-p.asp

i know its quite expensive but if it makes things easier i might just bite the bullet. what do people think of them?


anyways heres the few small bits.

started spraying my roll cage
Posted Image

got the back box mounted
Posted Image
need to sort the link pipe now, may get a 'floating' flange fitted to the manifold end to make lining up and fitting easier

these arrived from Mighty_Mini today :P
Posted Image

a mate gave me these today as well.
Posted Image
he bought them for his kit car but with the new IVA regulations they wont pass. unfortunately they are not real carbon fibre lol

also would it be ok to mount fuel cut off switch here?
Posted Image

#128 miniboo

miniboo

    Lord of Original Thinking

  • Members
  • PipPipPipPipPipPipPipPipPipPip
  • 9,327 posts

Posted 14 August 2009 - 11:56 PM

I would mount the cut off switch upright so round to the right by 90 degrees

#129 tedmcedd

tedmcedd

    Up Into Fourth

  • Traders
  • PipPipPipPipPipPipPipPipPip
  • 2,751 posts
  • Location: Huddersfield

Posted 17 August 2009 - 09:24 AM

looking awesome man! ill have to come over when i get back down, it'll be sometimearound the 20th Sept...

you should stick a rear valance on, cut holes for the exhaust.... just a thought...

#130 evil ewok

evil ewok

    Speeding Along Now

  • Members
  • PipPipPipPipPip
  • 354 posts
  • Location: Stevenage
  • Local Club: A's of Herts

Posted 17 August 2009 - 11:49 PM

looking awesome man! ill have to come over when i get back down, it'll be sometimearound the 20th Sept...

you should stick a rear valance on, cut holes for the exhaust.... just a thought...


i think i'm going to be up near you by then. move upto huddersfield for uni on the 6th sept lol not sure if ill have the clubby though, need to convince the old women it will make the journey.

i did think about a rear valance as got a spare in the garage but would add too much drag resistance and weight :dontgetit:

#131 Tomf

Tomf

    Baby Tom

  • Traders
  • PipPipPipPipPipPipPipPipPipPip
  • 6,440 posts

Posted 18 August 2009 - 01:48 AM

Looks good mate, if you get stuck with the wiring feel free to PM me as iv just done the wiring on my VVC the last couple of days, it did get a bit confusing but that was just me making a small mistake, but iv got a load of pin outs for the 5as now and from searching the web iv found alot of information for the plug that links the engine loom to the main loom. I know the MGF plug will be different to yours but i have other plugs.

Also if you havent already defonately invest in the rave CD, wouldnt have been able to do it without it.

Also dont mount the inertia switch like that, as if you go fast round the corner it will cut the switch out, mount it upright and as the mini takes alot of vibrations maybe mount it in the cabin so if it trips off you can just press the button and reset it...

Edited by Tomf, 18 August 2009 - 01:50 AM.


#132 evil ewok

evil ewok

    Speeding Along Now

  • Members
  • PipPipPipPipPip
  • 354 posts
  • Location: Stevenage
  • Local Club: A's of Herts

Posted 03 September 2009 - 10:08 PM

not much has happened lately, been sorting bits out ready as leave for uni next sunday

rear cage is all painted and bolted in but want to weld in some extra legs and shell supports for heel board, rear suspension turrets to distribute coilover stresses and to tie cage into b pillar seatbelt mount as i cut the roof out.

built a 5" box into the bulkhead to accomodate the GSXR TB's ready for when i can afford megasquirt for them

fabricated a new subby removeable front cross member which gives an extra 40mm clearance around the manifold area allowing me to use a standard manifold. means it will be cheaper to replace parts, especially whilst im a student, and also gives a good place to have mounting points for the rad further away from the manifold and for the +90mm front

picked up my +90mm front and 5" miglia arches from Dave (TDK racing) on friday. got a good deal and alot of help on intergrating the cage into the shell for extra strength and general mini building. cheers Dave.

the car will look a little over arched with the full 5" so unsure whether to trim down the arch to suit the 6x13 wellers or to save up over time and buy some 7x13/7x10 wheels to fill them?


heres the photos. sorry some are rubbish, only have my phone camera and was a bit dark when i took them. will get better ones later.

replacement front cross bar for more clearance
Posted Image

holes capped and welds cleaned up
Posted Image

Posted Image

5" bulkhead box. still need to tidy up all the welds
Posted Image

lowered top on bulkhead 'beam'
Posted Image

+90mm front
Posted Image

started fitting
Posted Image

rear arches, wheels look a little lost under them
Posted Image

Posted Image

Posted Image

#133 Down&Out

Down&Out

    The King Of Retro Cool

  • Traders
  • PipPipPipPipPipPipPipPipPip
  • 4,833 posts
  • Location: -

Posted 05 September 2009 - 02:10 AM

Cut them down a bit?

#134 tedmcedd

tedmcedd

    Up Into Fourth

  • Traders
  • PipPipPipPipPipPipPipPipPip
  • 2,751 posts
  • Location: Huddersfield

Posted 05 September 2009 - 05:50 PM

hahaa! Huddersfield is like 20min from my house! take the clubby up! i drove the bean to and from uni numerous times!

im not going to uni until ike the 20th... come over if you want!

im liking the arches... get the wellers banded :kiss:

#135 evil ewok

evil ewok

    Speeding Along Now

  • Members
  • PipPipPipPipPip
  • 354 posts
  • Location: Stevenage
  • Local Club: A's of Herts

Posted 17 October 2009 - 01:51 PM

went home from uni for a couple of days couple of weeks ago and got a few bits done.

a friend from mini club is helping me replace the over sills with outer sills

Posted Image
phil cutting off the sills

Posted Image
inner sills cleaned up and zinc primered

Posted Image
made up some new loer coilover brackets to move the shock out as it ws catching on the top mount bolts if lowered at all

Posted Image
lowered, only problem is its now sitting on the bump stops, its around 7 1/2" between the sill lip by the A panel and the floor.
how do people run their cars this low without sitting on the bump stops?

Posted Image
sitting lopsided at the mo as only had time to make brackets for one side

Posted Image
have a whole 3" of ground clearance between the subby and floor :D

(sorry about pic quality, have a new phone and the camera is not as good)

also go a message from the old woman today saying my driveshafts had arrived from aband on 16v mini forum :thumbsup:


1 user(s) are reading this topic

0 members, 1 guests, 0 anonymous users