Jump to content


Photo
- - - - -

The Long Story Of My 89 Flame Red (in Short Picture Form)


  • Please log in to reply
105 replies to this topic

#1 l_jonez

l_jonez

    One Carb Or Two?

  • Members
  • PipPipPipPipPipPipPip
  • 1,453 posts
  • Local Club: south wales mini club

Posted 09 October 2009 - 03:34 PM

apparently there's a limit to the amount of pics you can upload in a single post so im going to have to do several posts

history(ignor the dates on some pics their well out)


5 years ago when taking my first car ( a Renault 19) to be scrapped before i was old enough to drive we saw a mini in one of the sheds of the scrap yard which belonged to one of the owners and he was storing it there. after a chat with him he decided to sell it and we picked it up on my birthday :withstupid: for the grand sum of £700 with 12months T&T

heres how it arrived

Posted Image
Posted Image

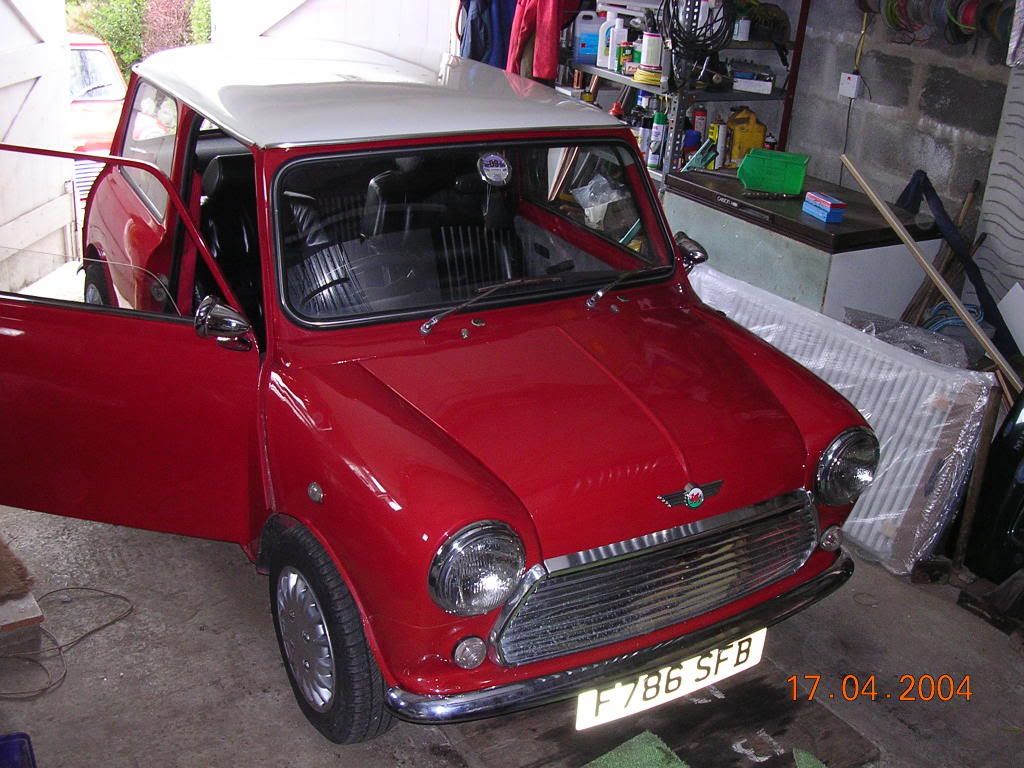
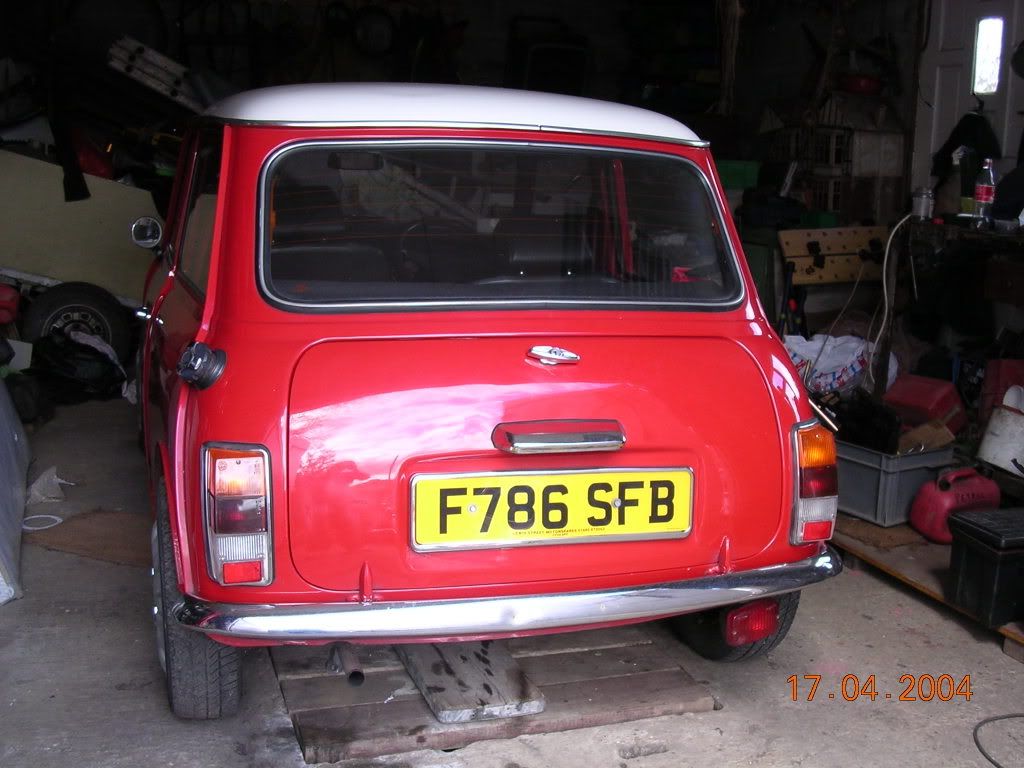
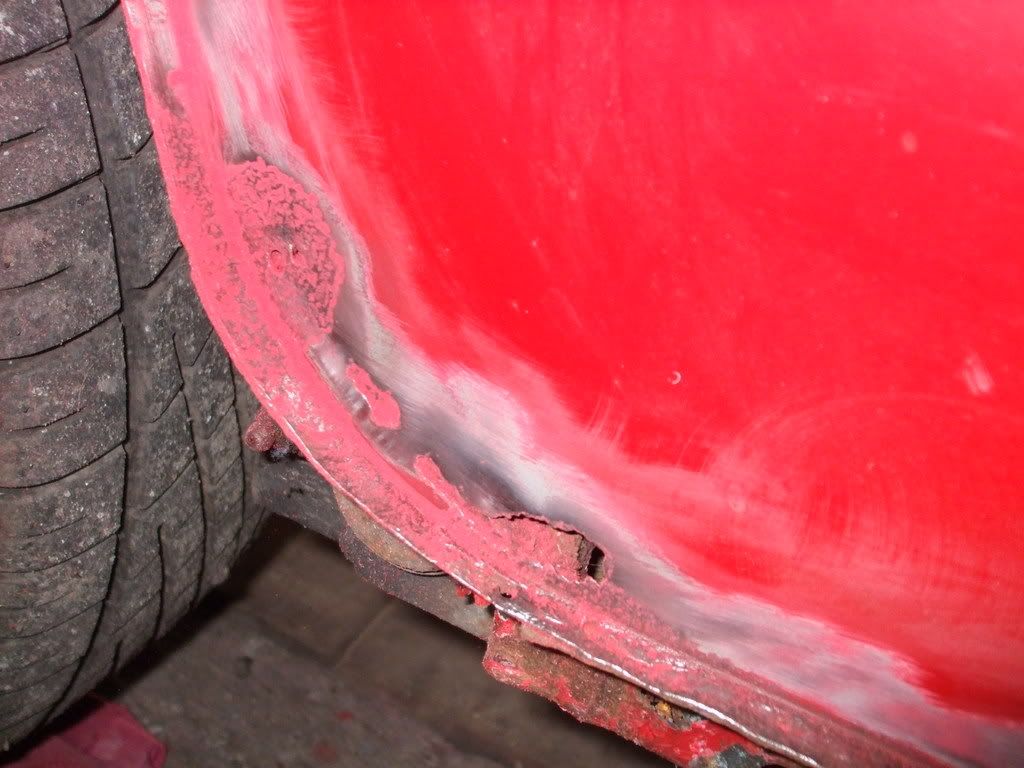
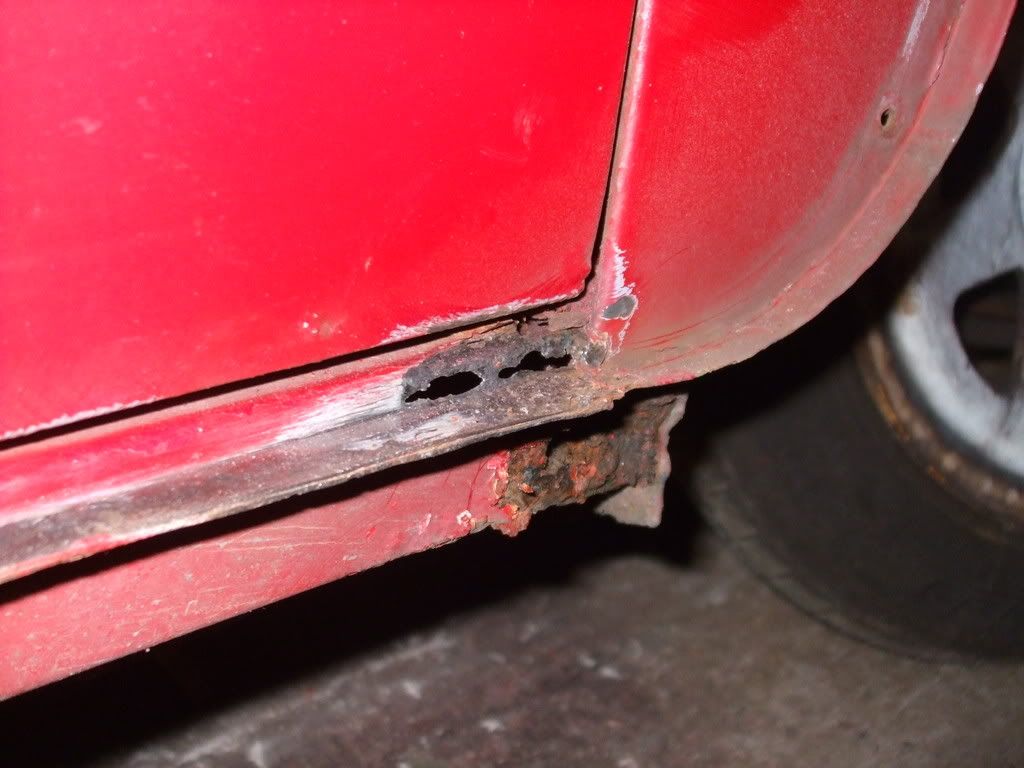
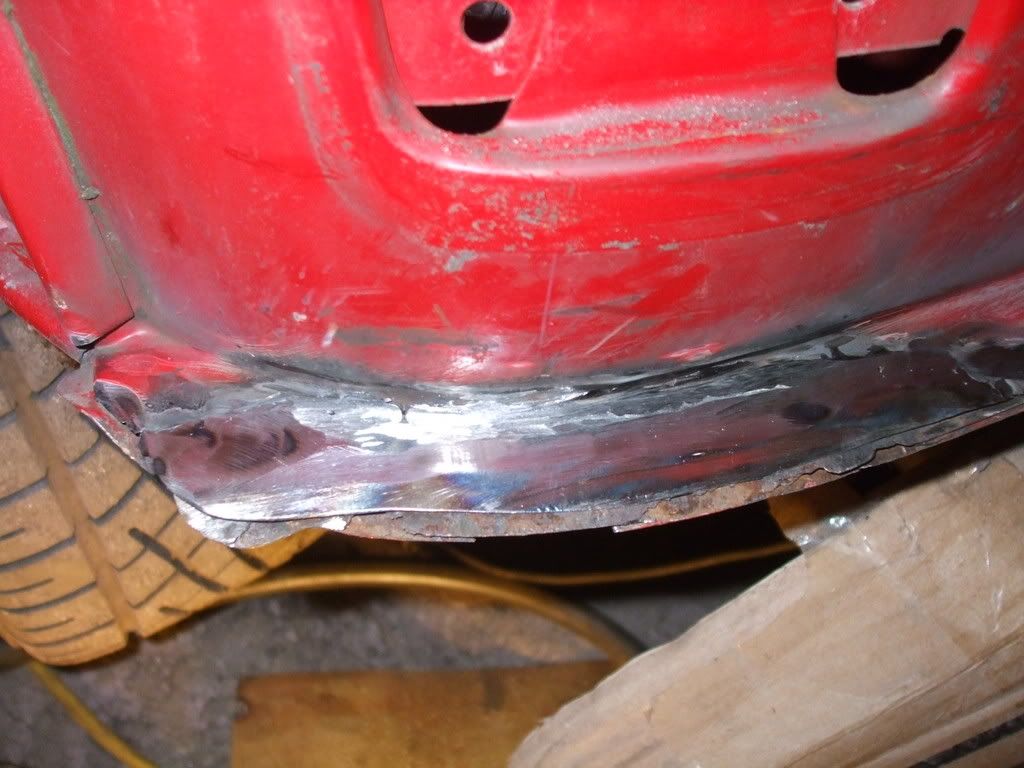
was pretty much standard but not complete, half the interior was on the back seat. but the shell was very solid.

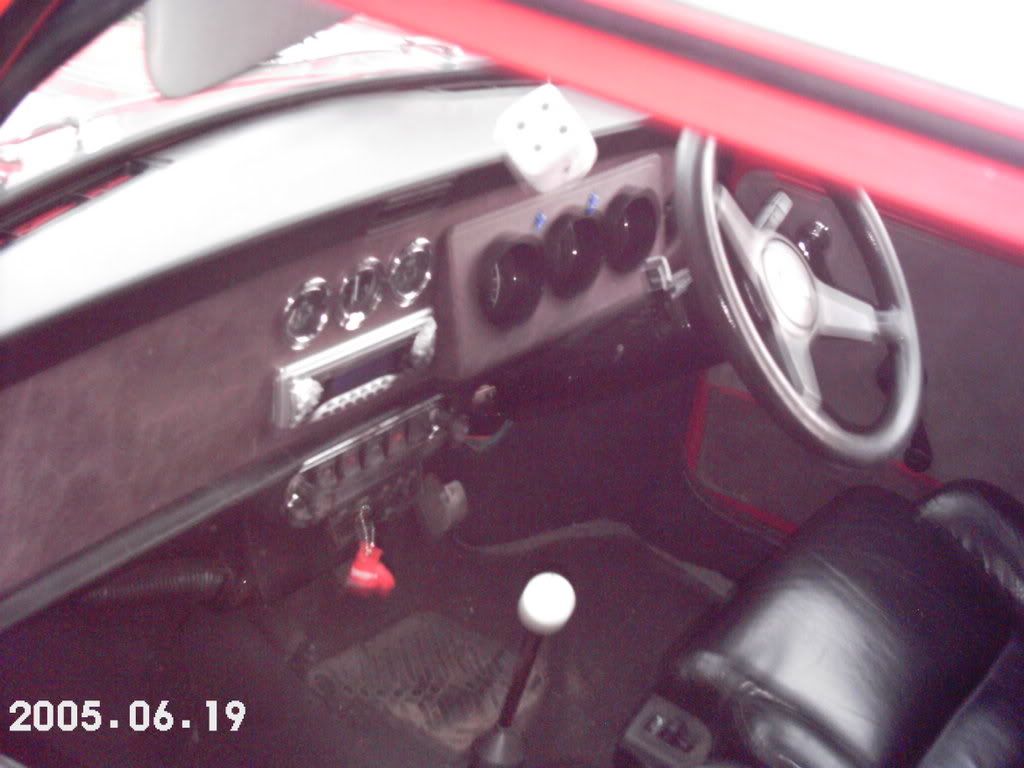
after a cylinder head rebuild it was on the road, went for a week with no dash etc so ended up making one

Posted Image

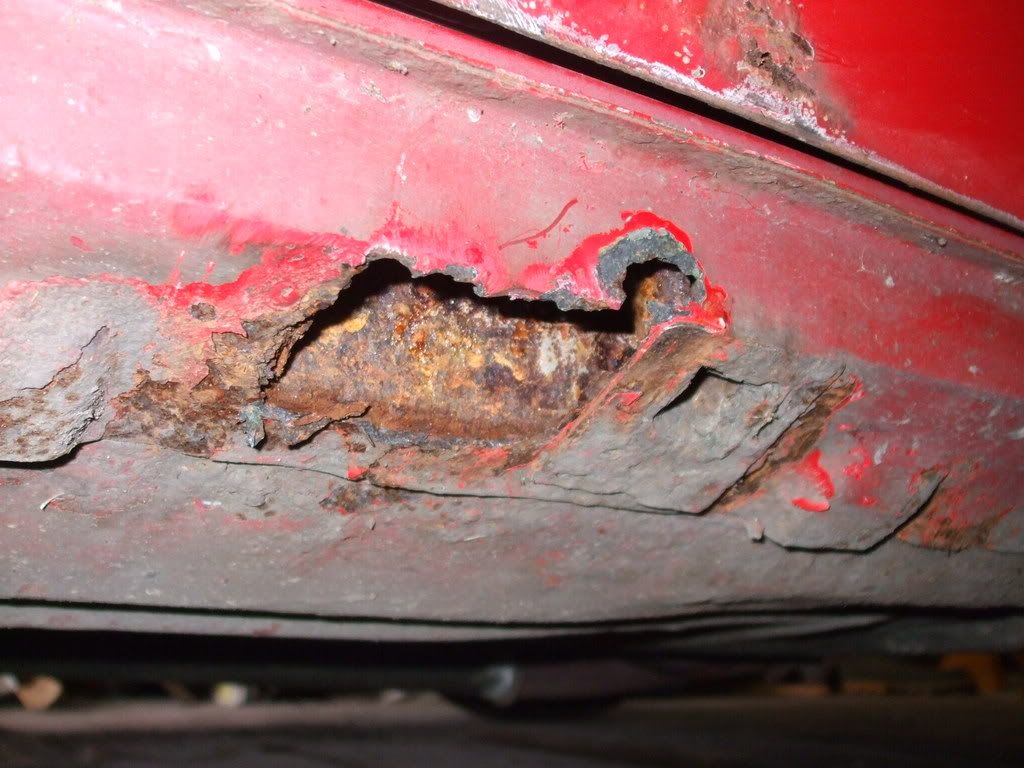
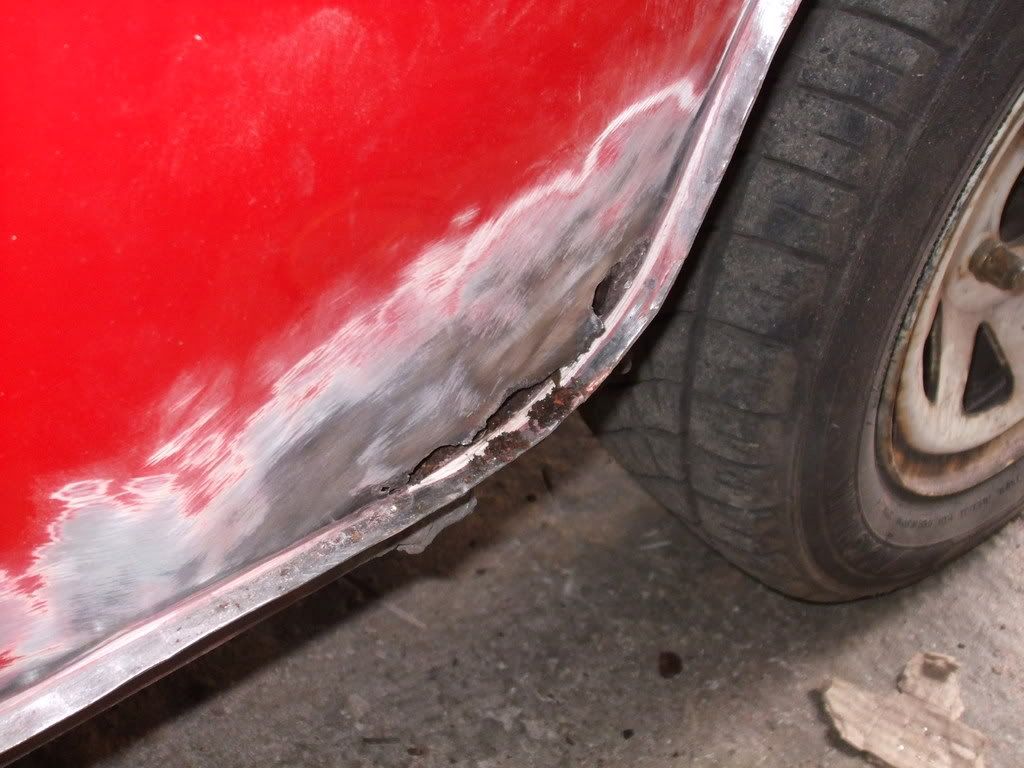
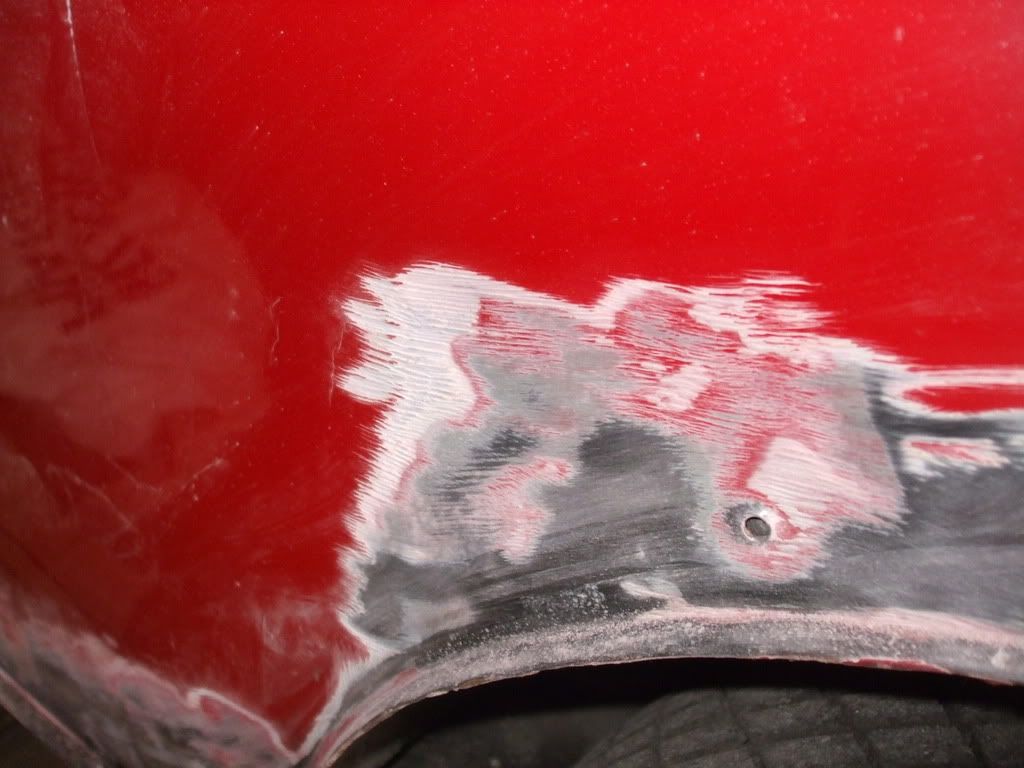
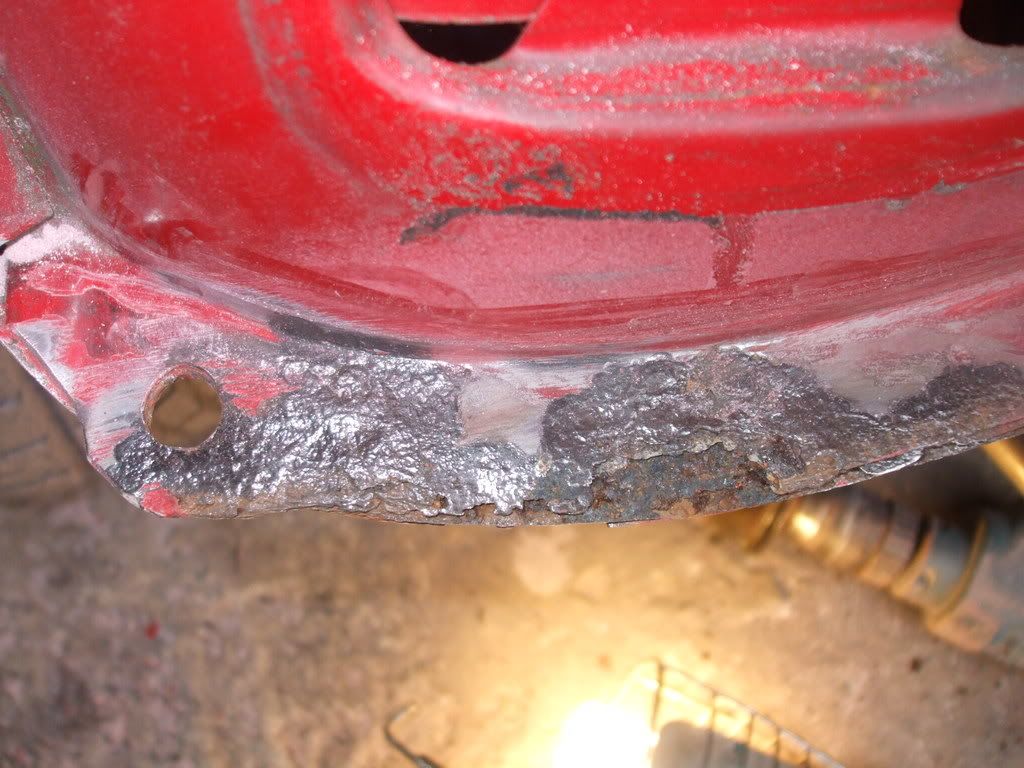
thats pretty much how it stayed for a few months until this happened

Posted Image
Posted Image

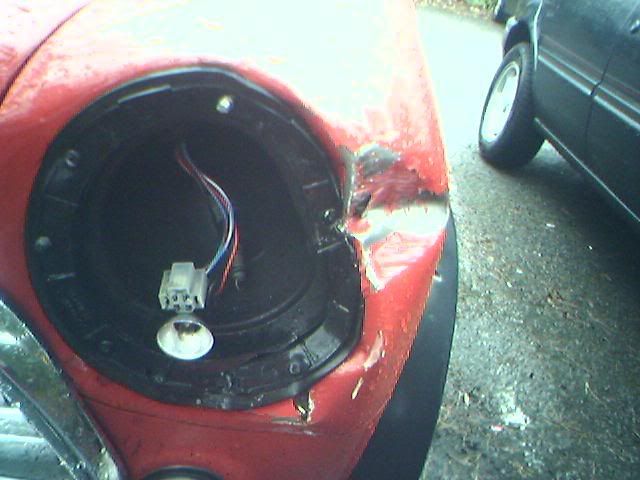
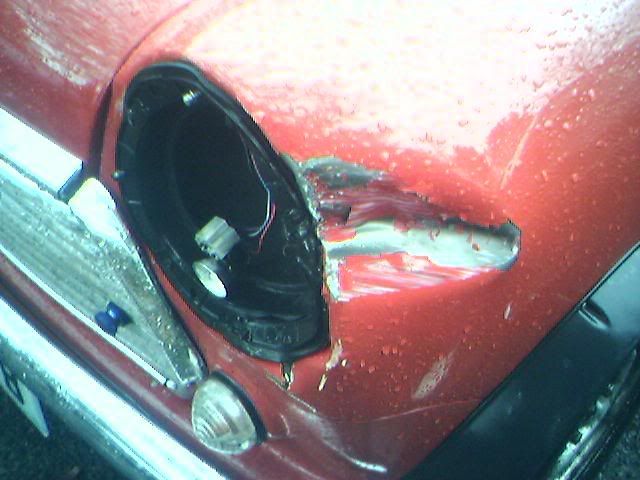
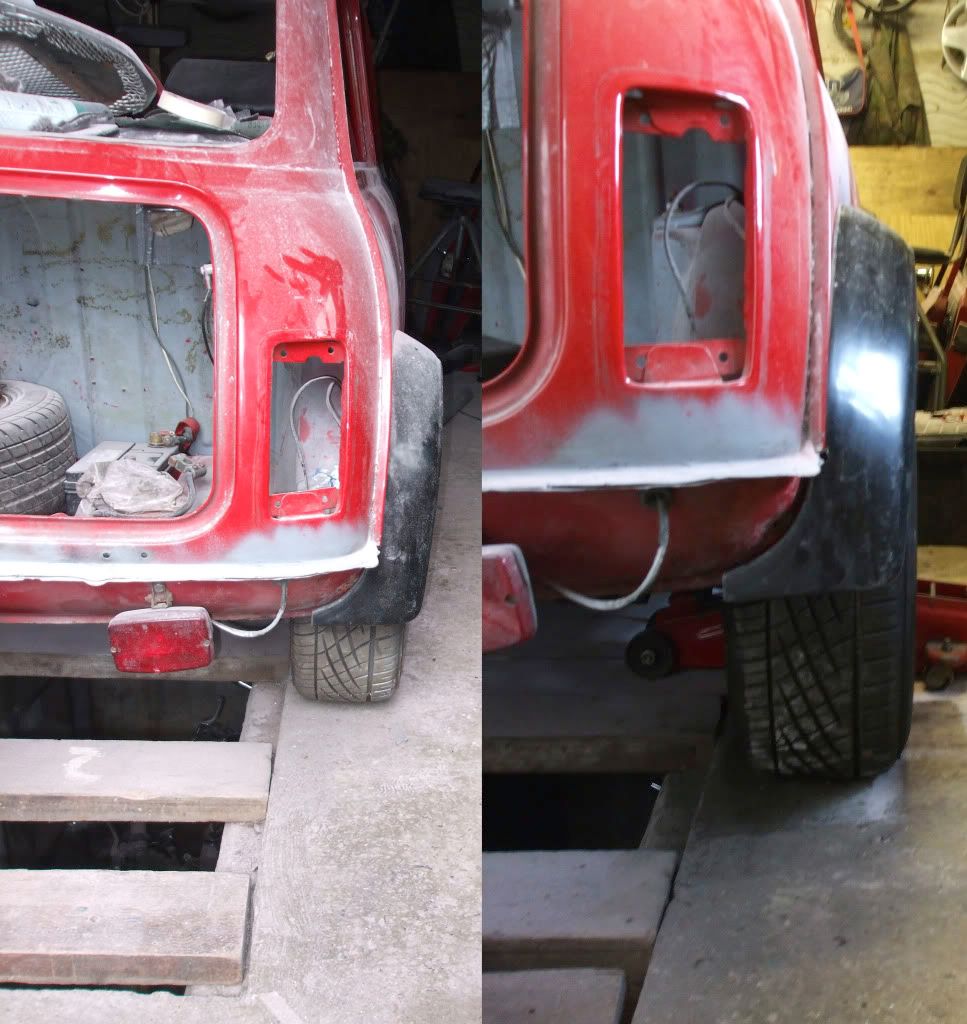
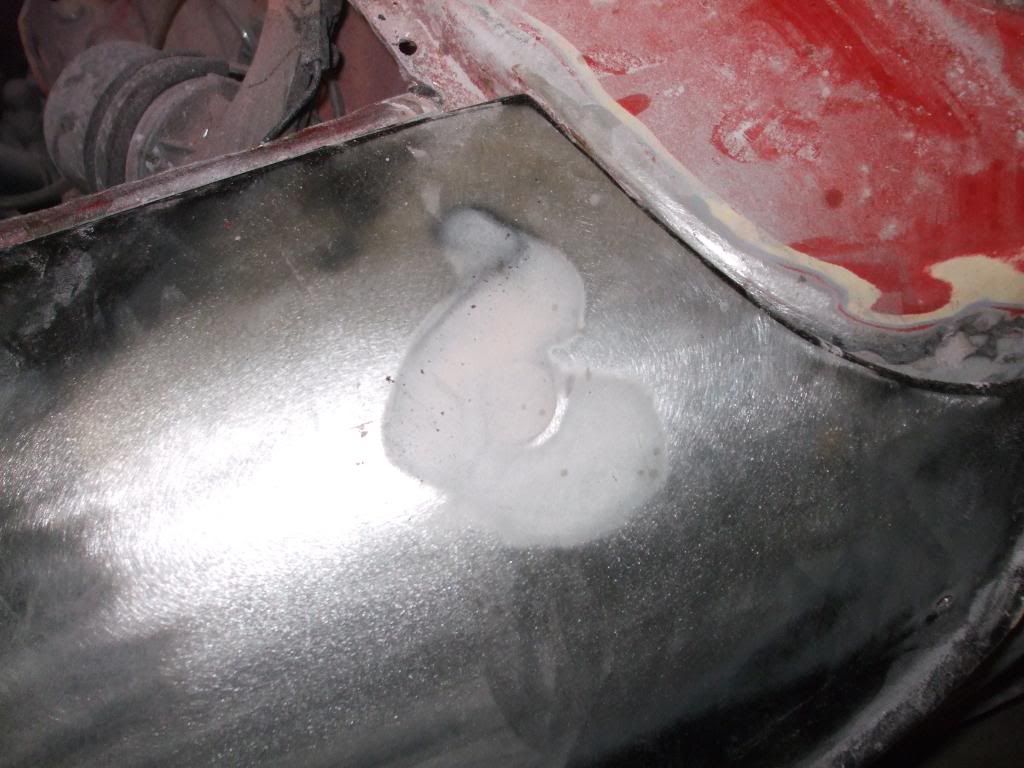
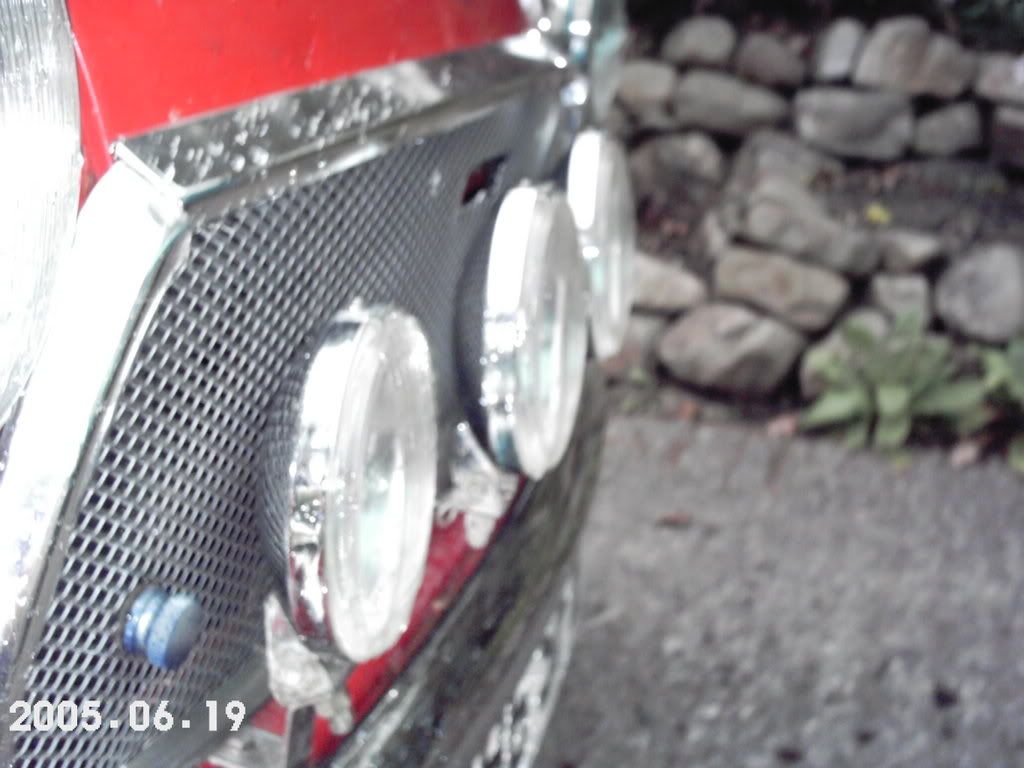
whilst driving late at night i went into a hair pin bend and didnt come out, wasn't much damage just a bent wheel and wing and head light. crash was partly my fault and partly the fault of the rubbish sealed beams. so the wing was knocked out the wheel changed and the headlights replaced for halogen ones plus 4 spot lamps

Posted Image

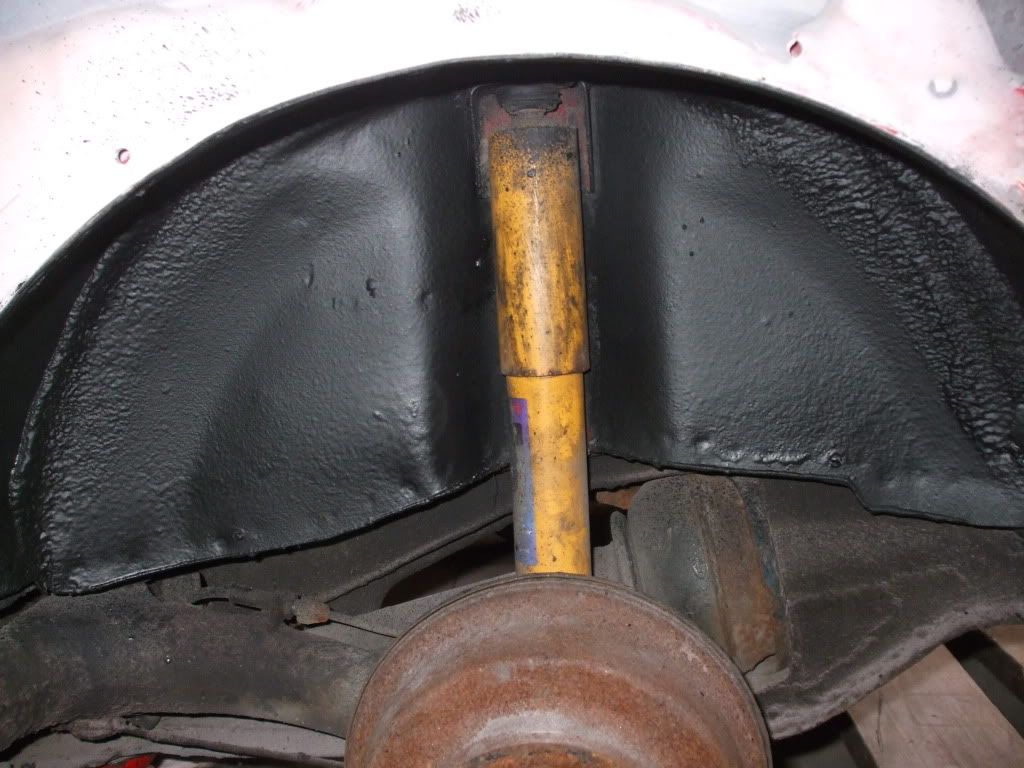
roughly at the same time i added a stage one kit and new uprated shocks all round and a set of 12x5" Weller's [old vid after stage one kit]

Posted Image

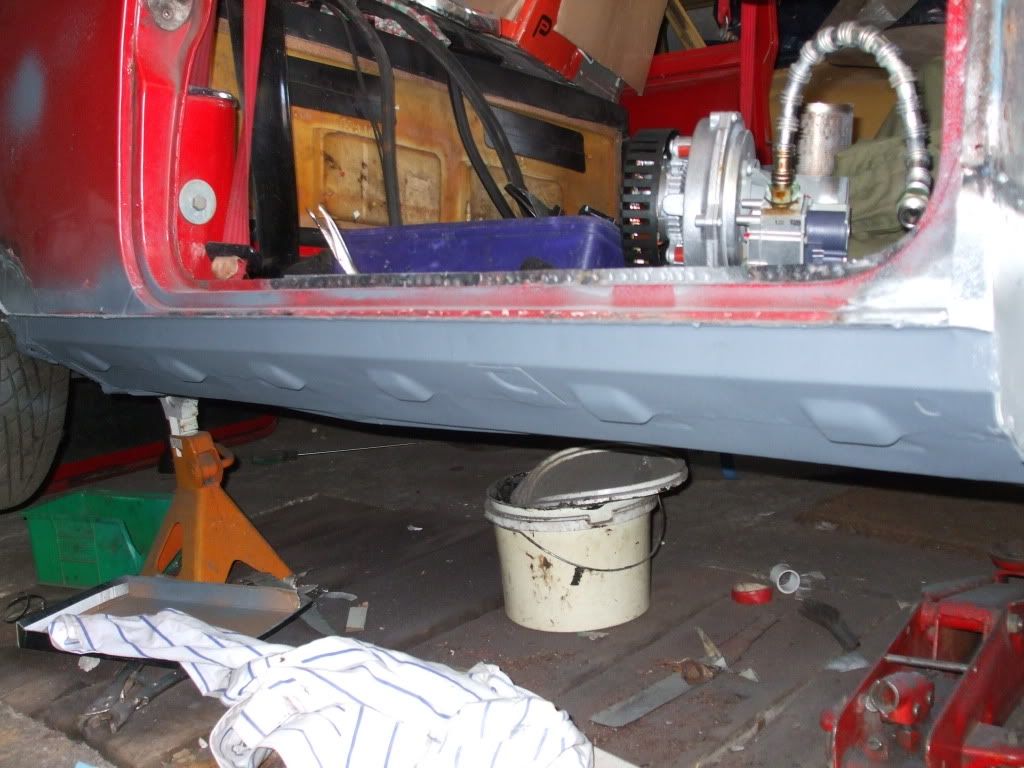
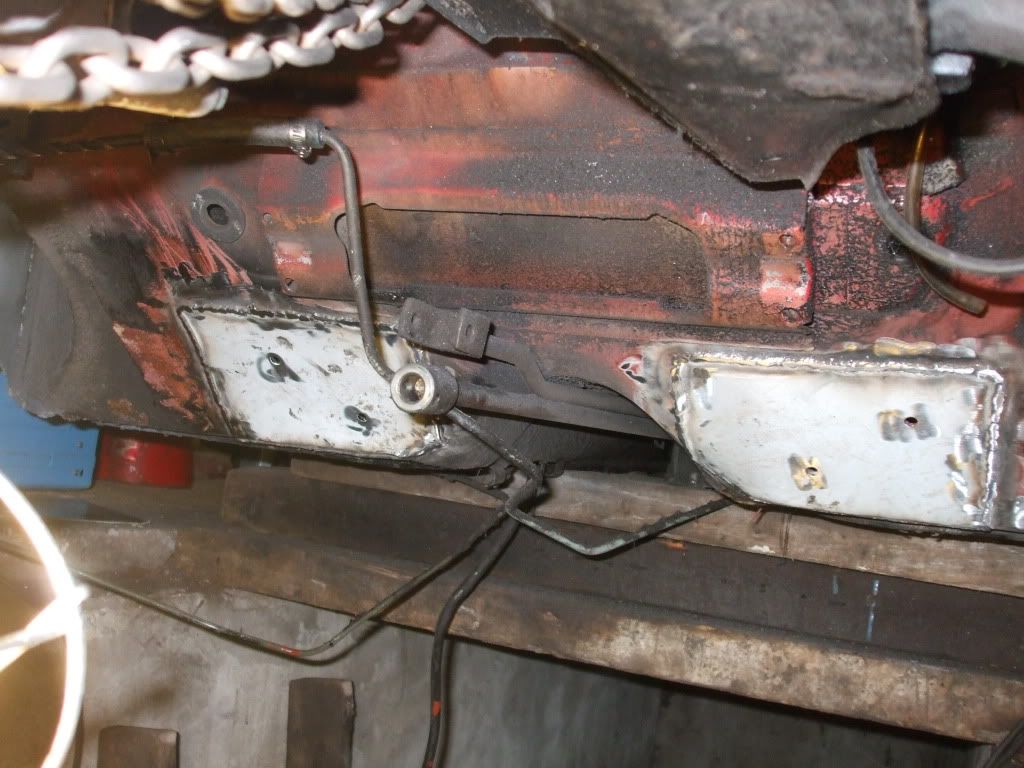
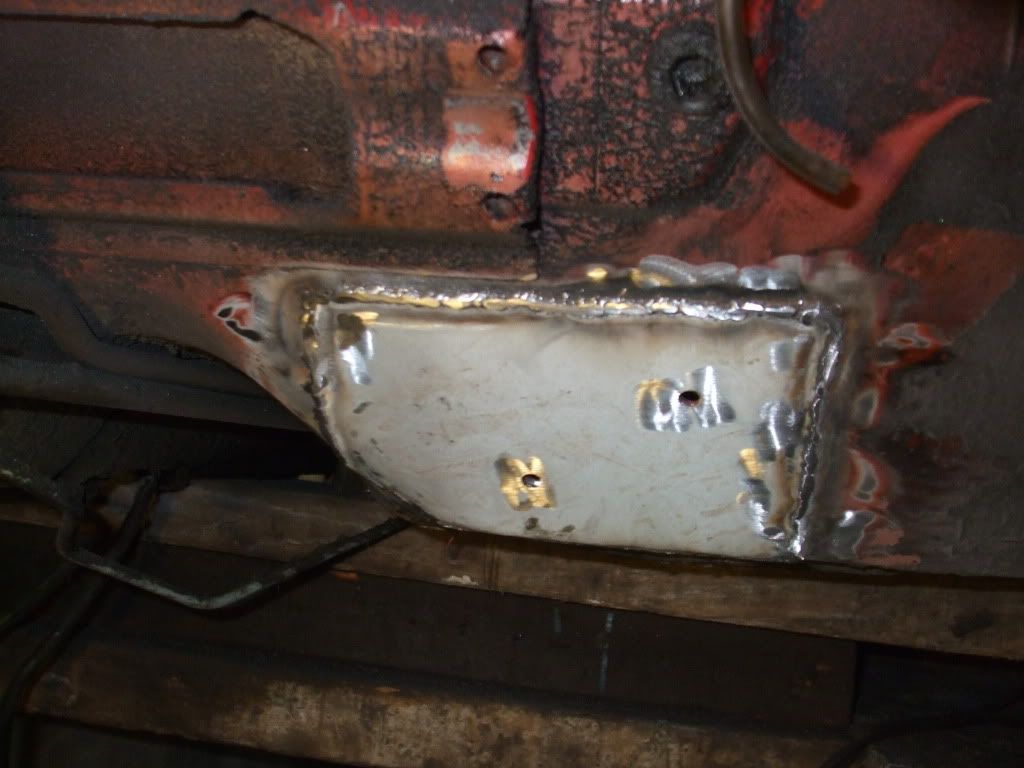
thats pretty much how it stayed appearance wise until i finished uni altho during that time both front and rear sub frames had complete rebuilds and the fitment of megajolt

after uni i had a bit of my loan left so i spent it on the mini :thumbsup:

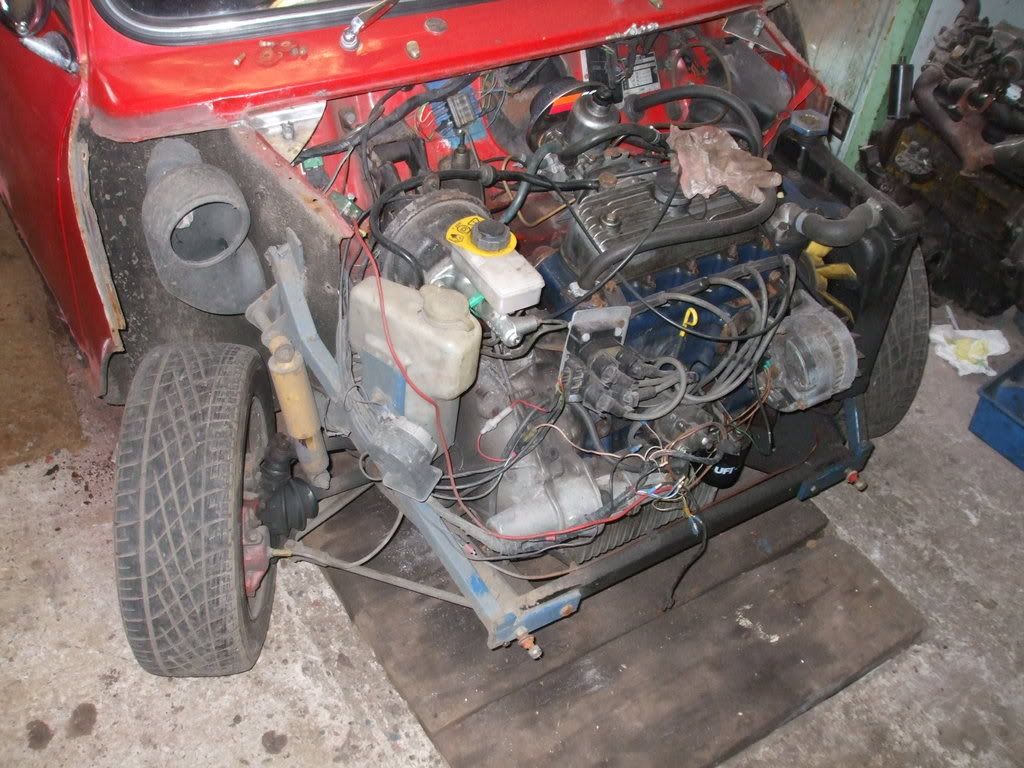
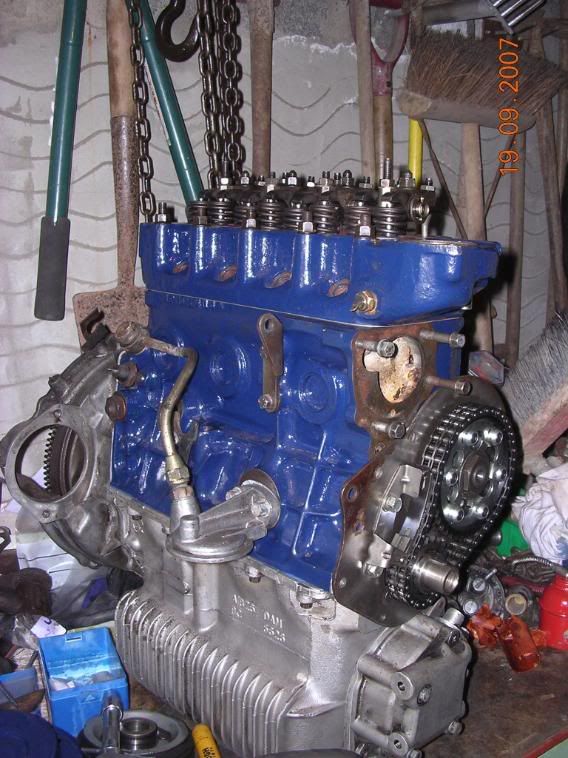
first up was a fast road 998

Posted Image

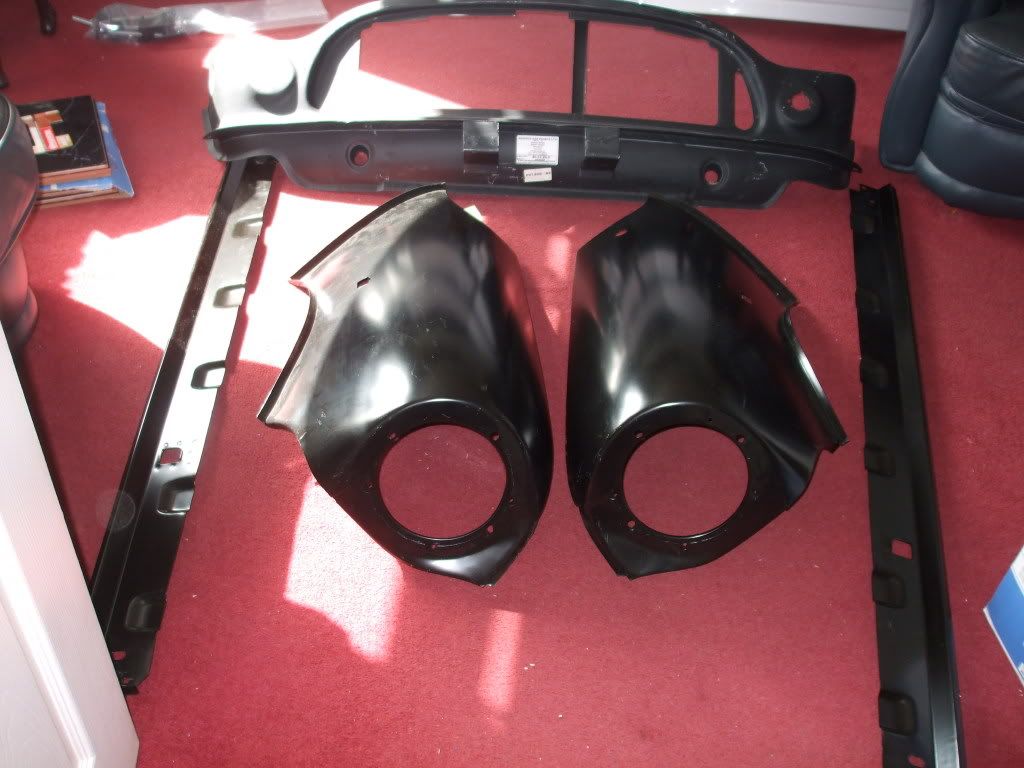
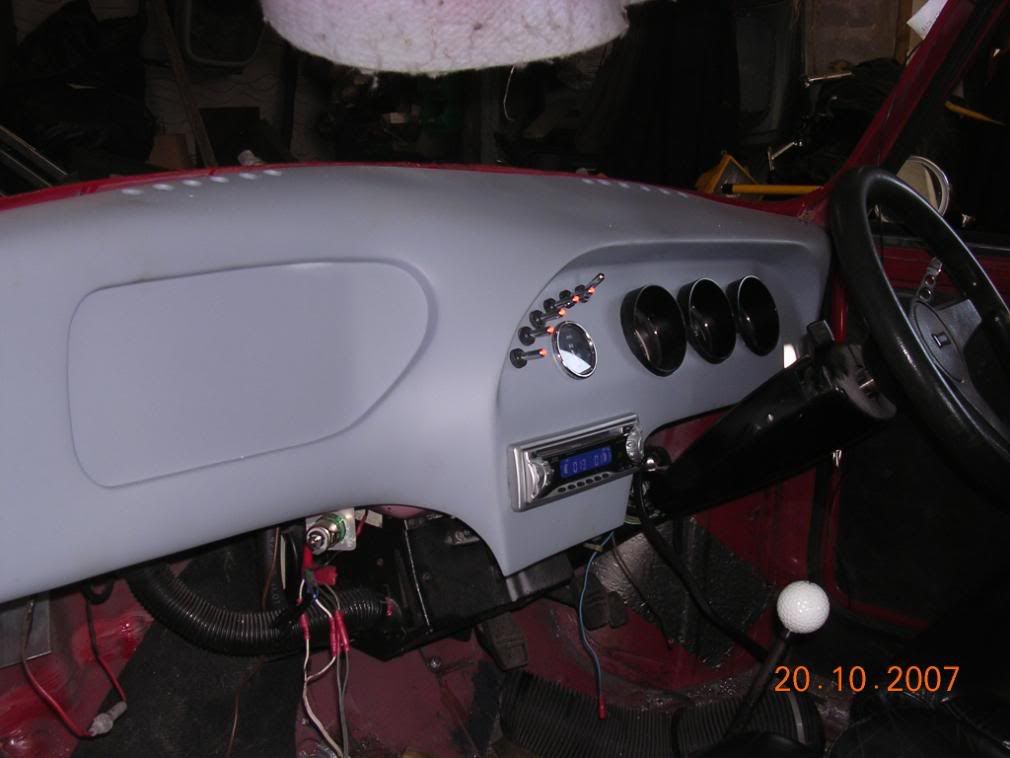
then a fiberglass dash

Posted Image

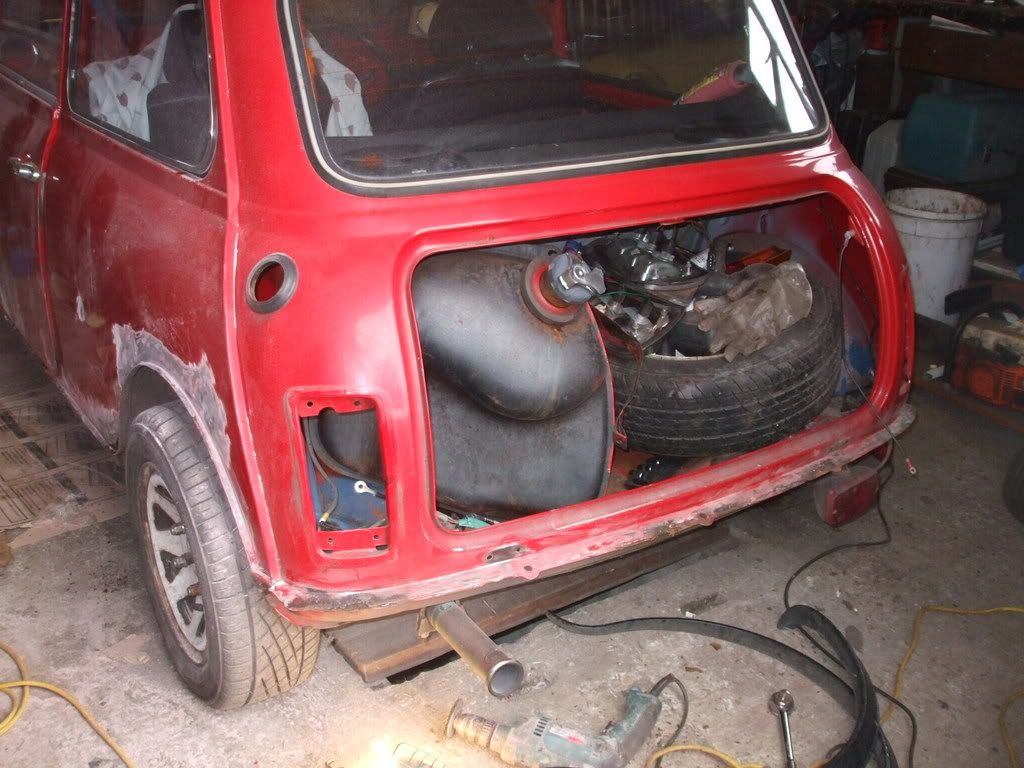
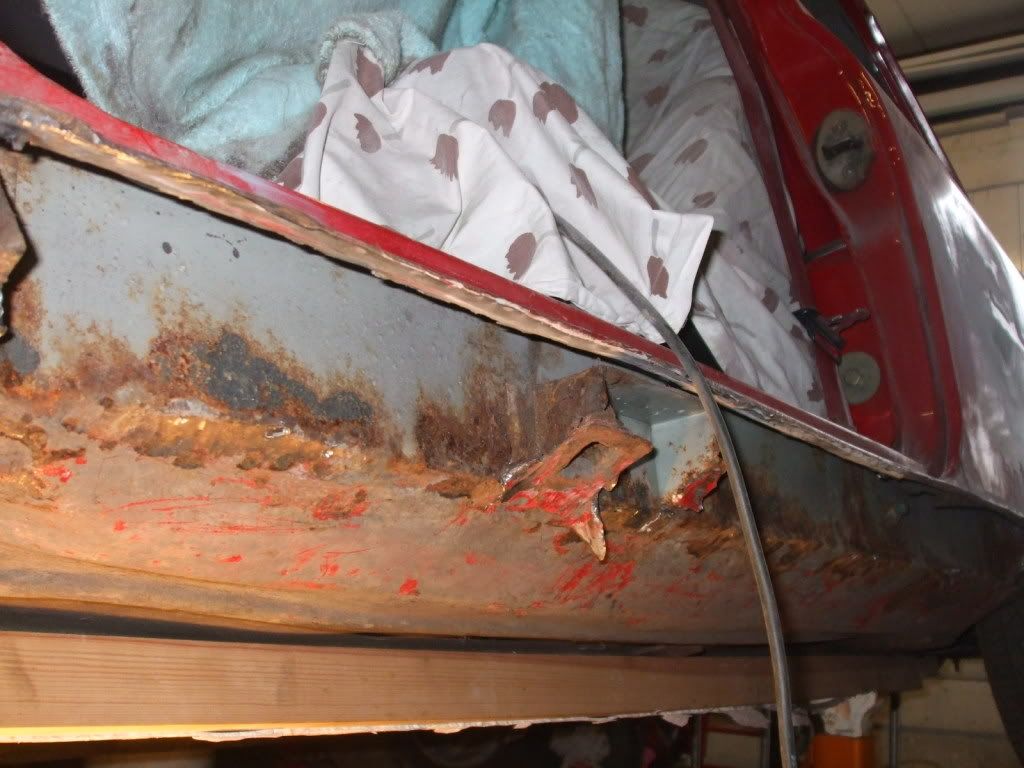
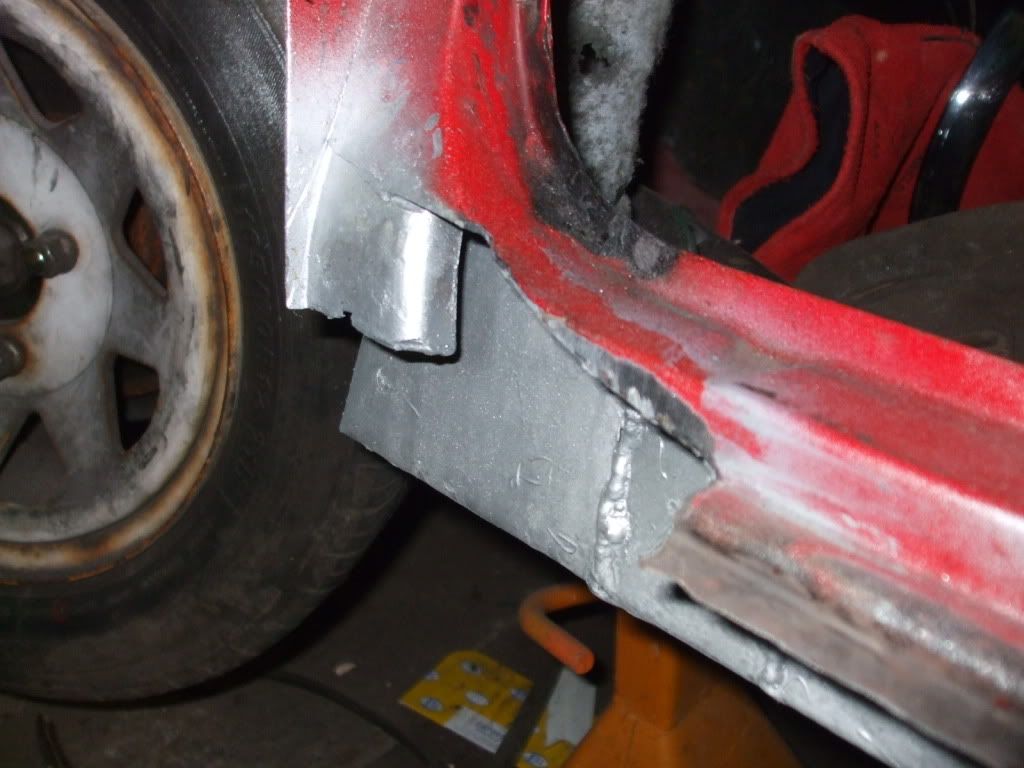
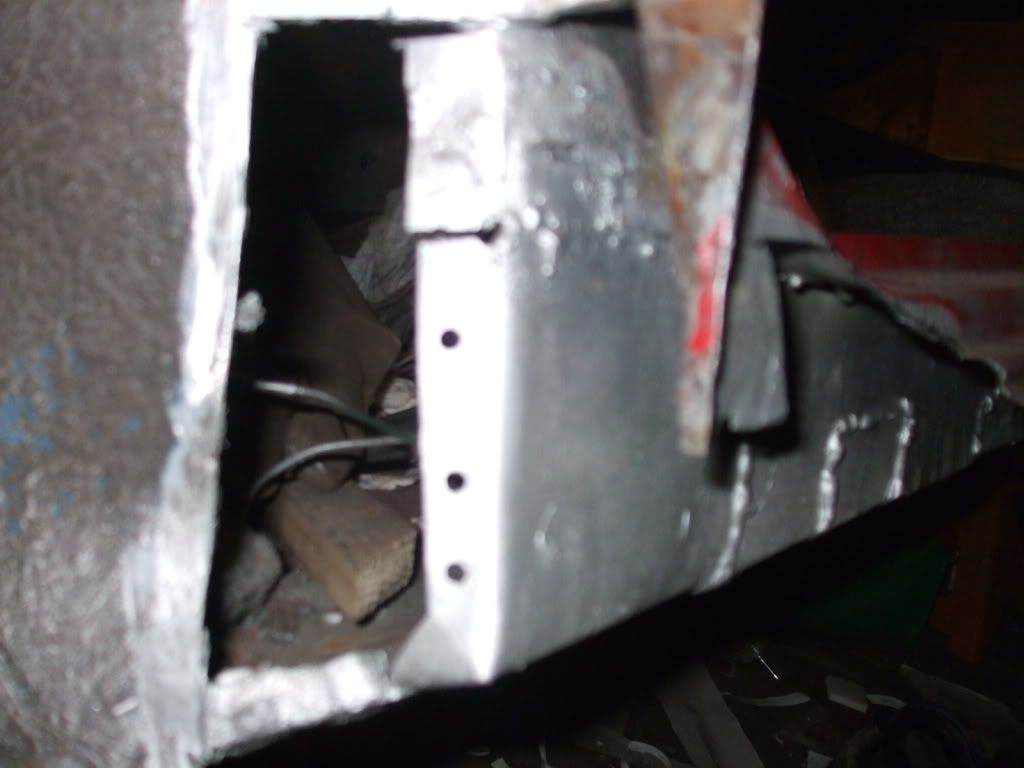
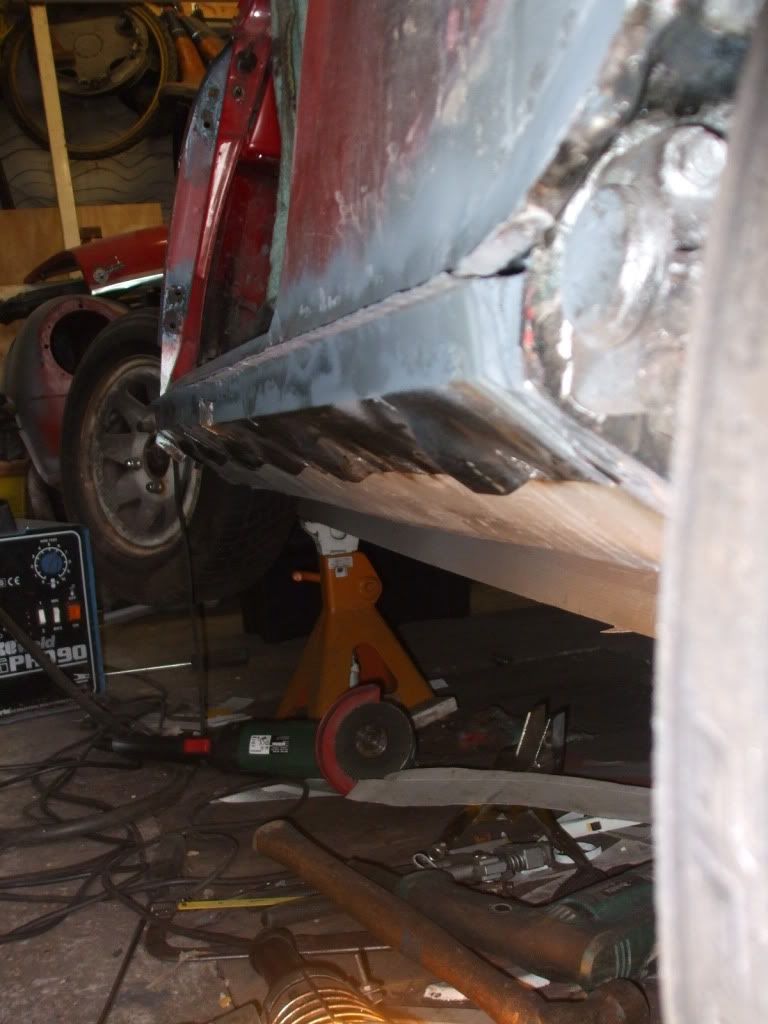
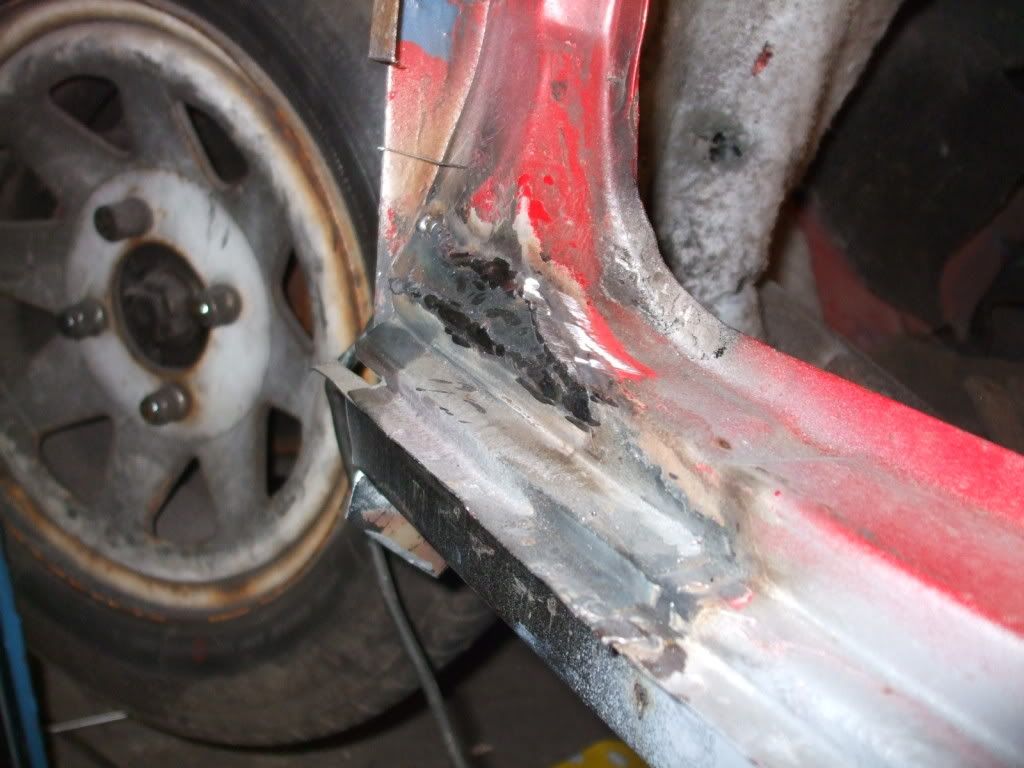
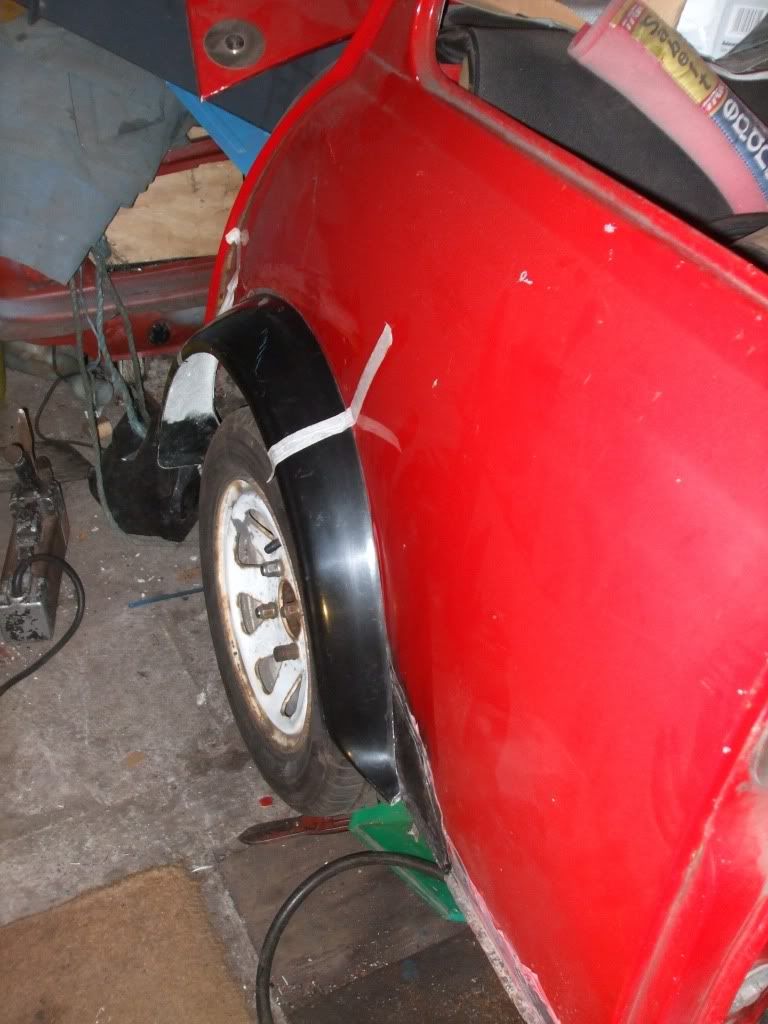
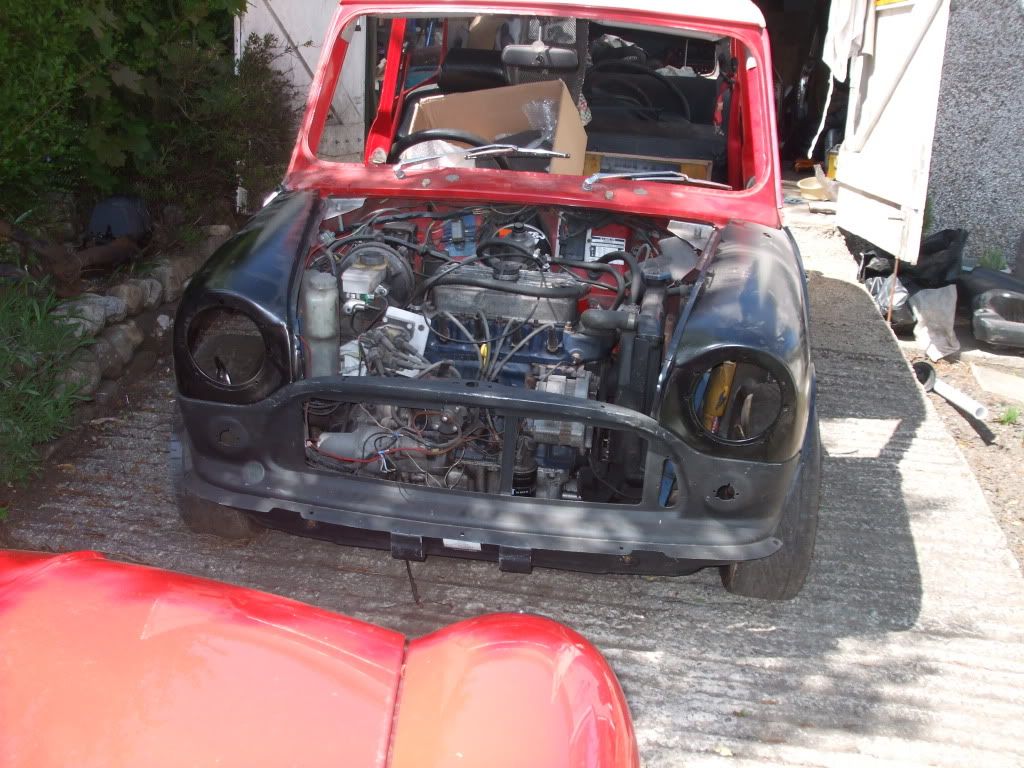
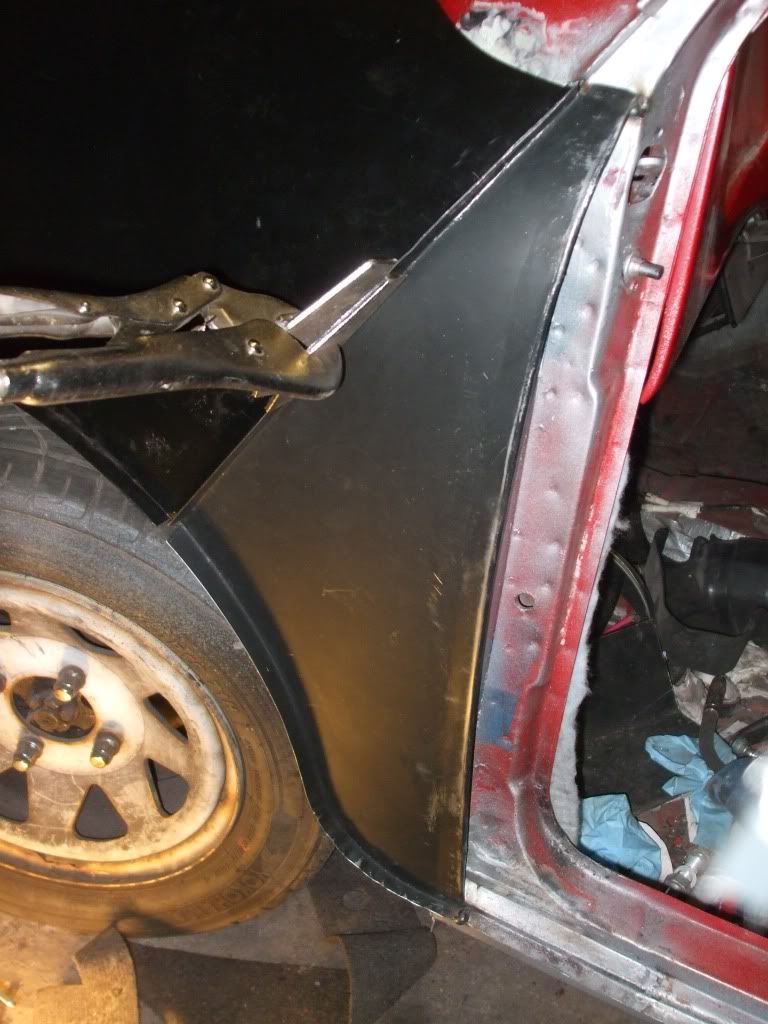
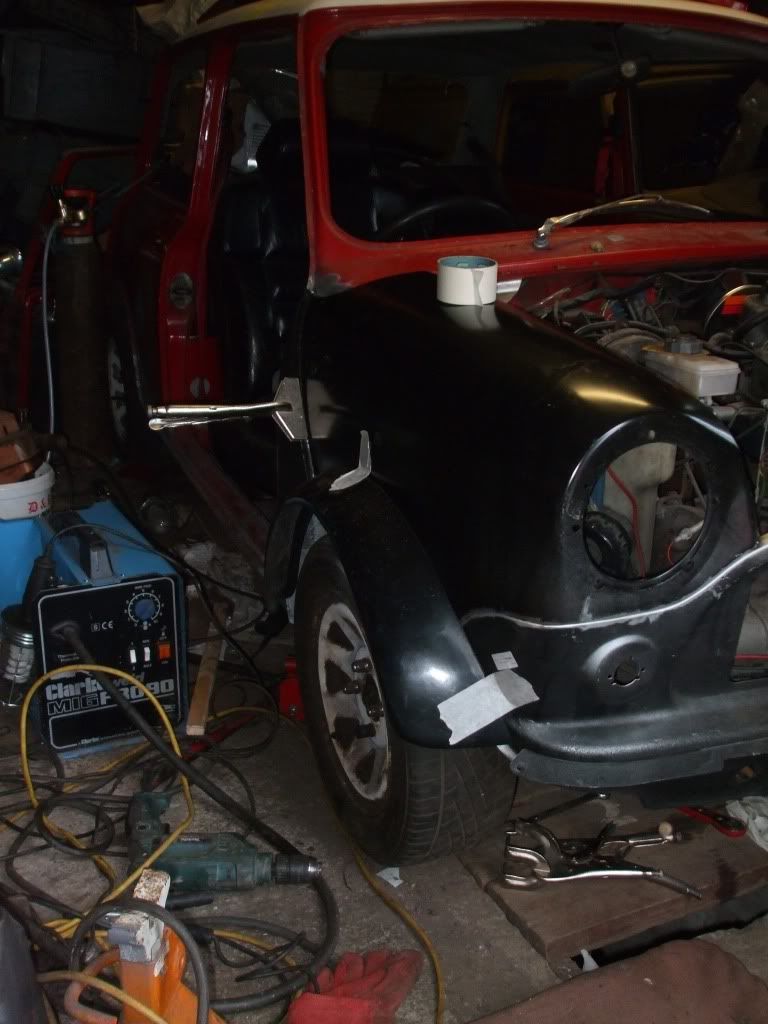
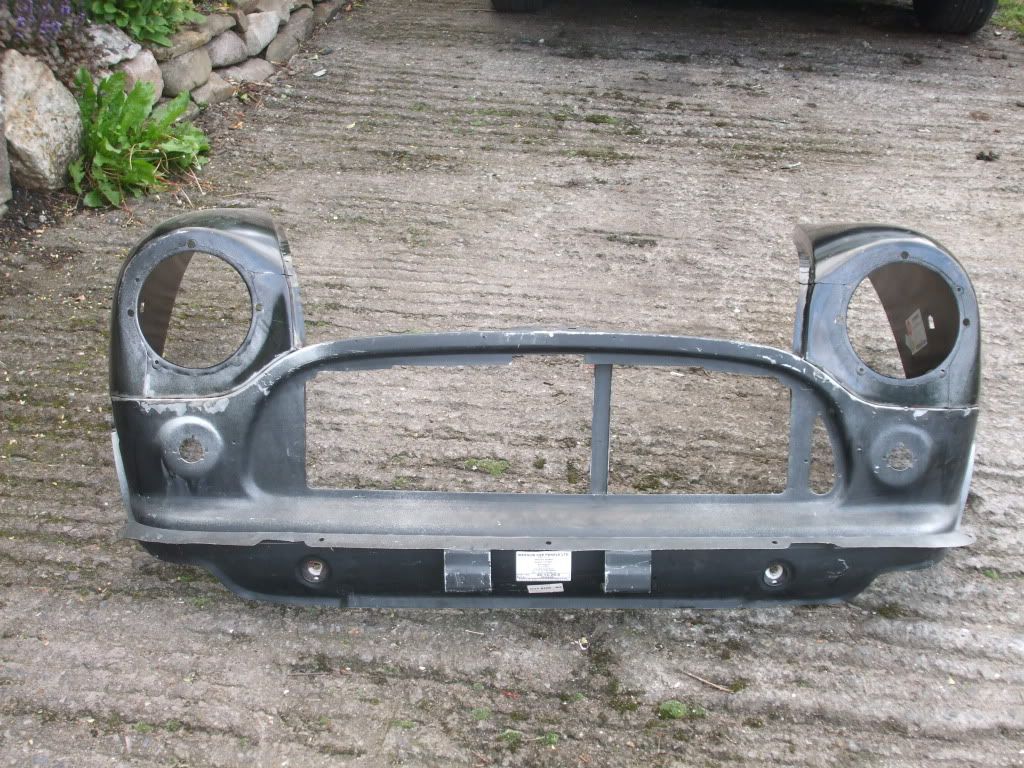
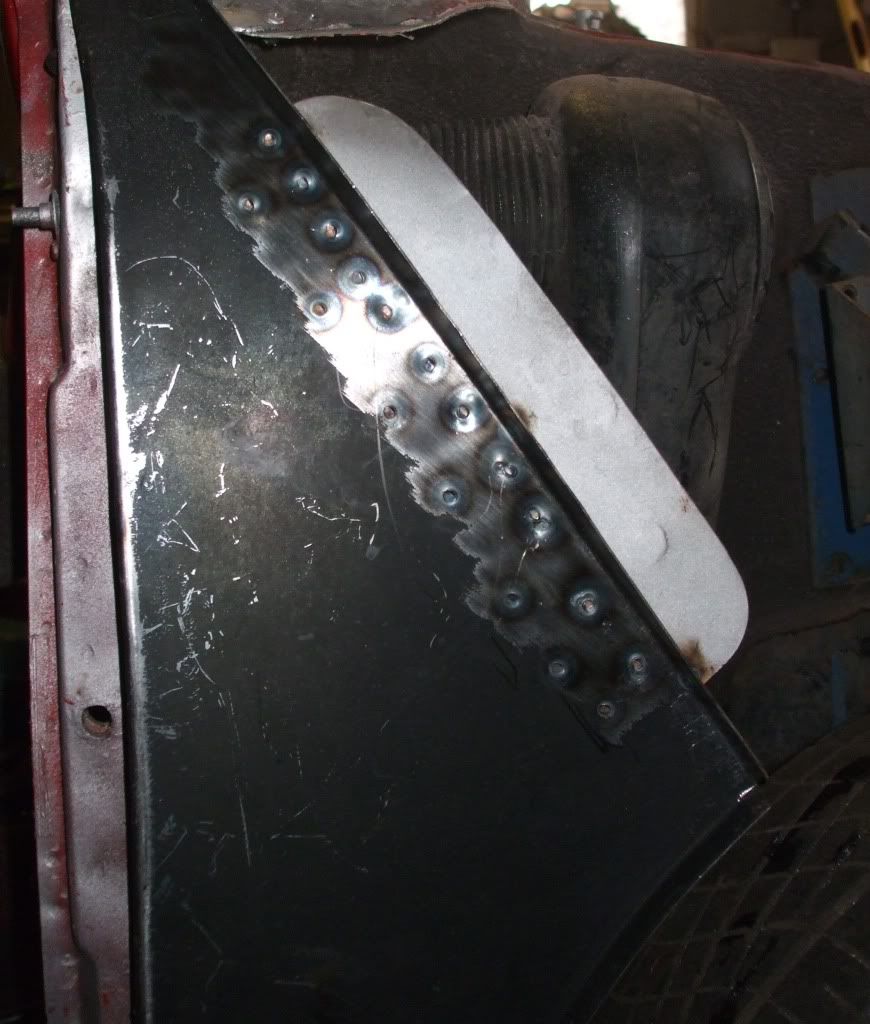
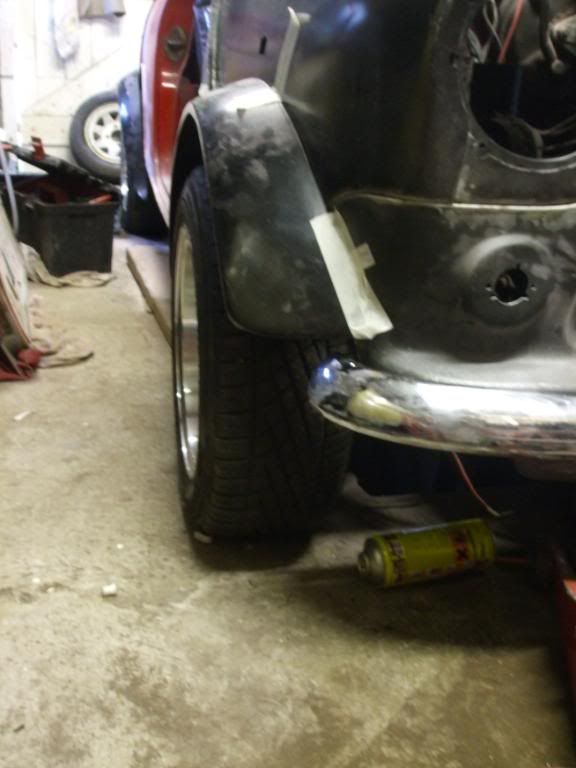
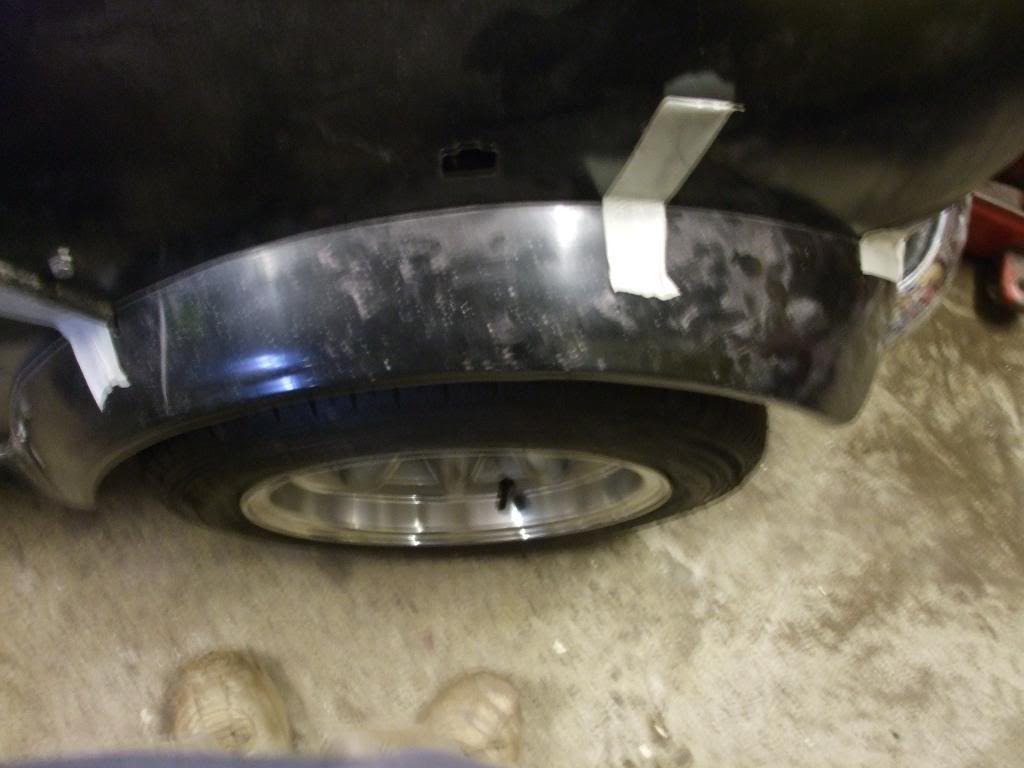
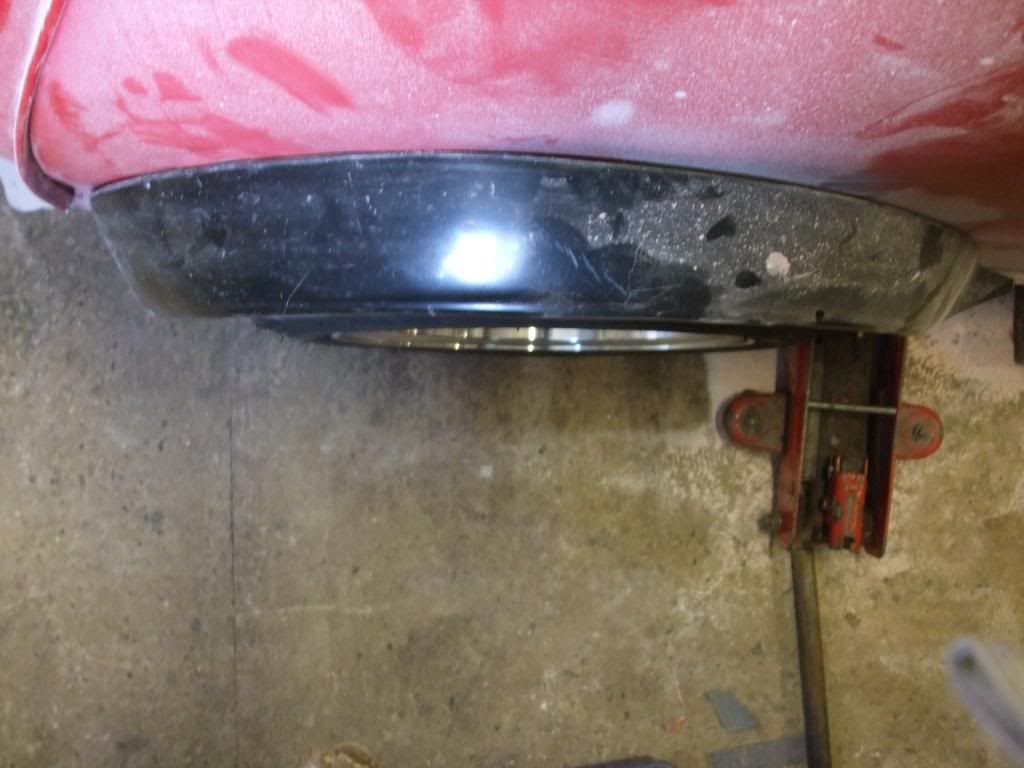
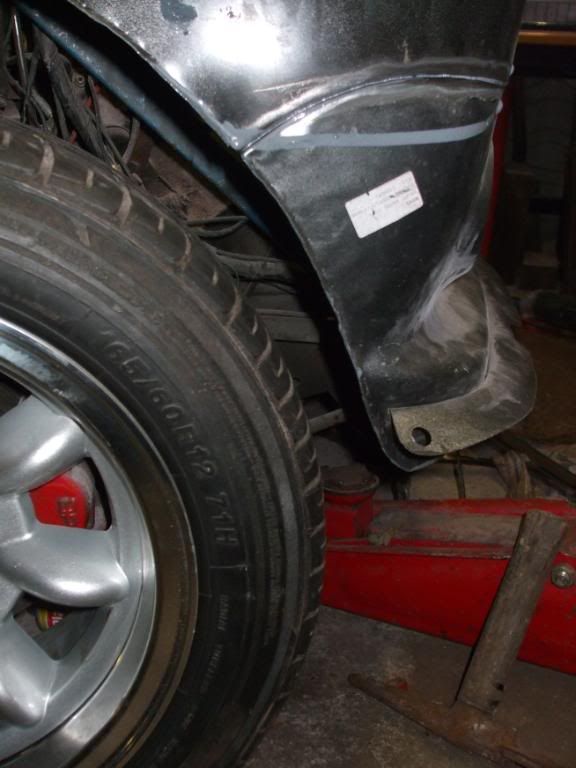
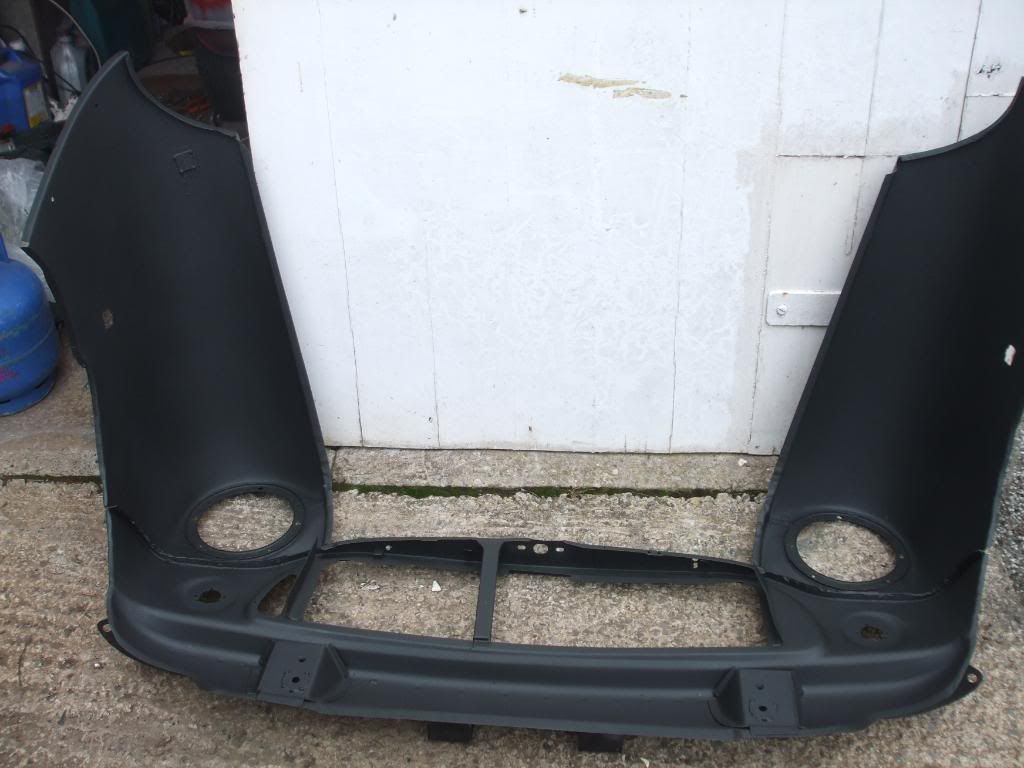
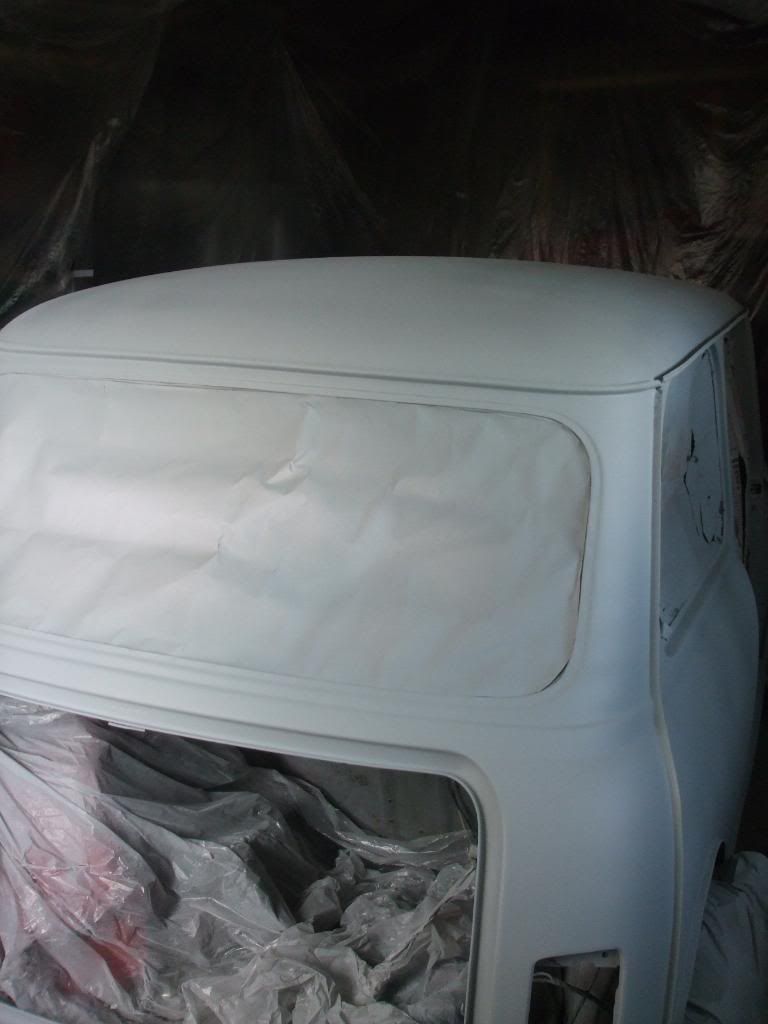
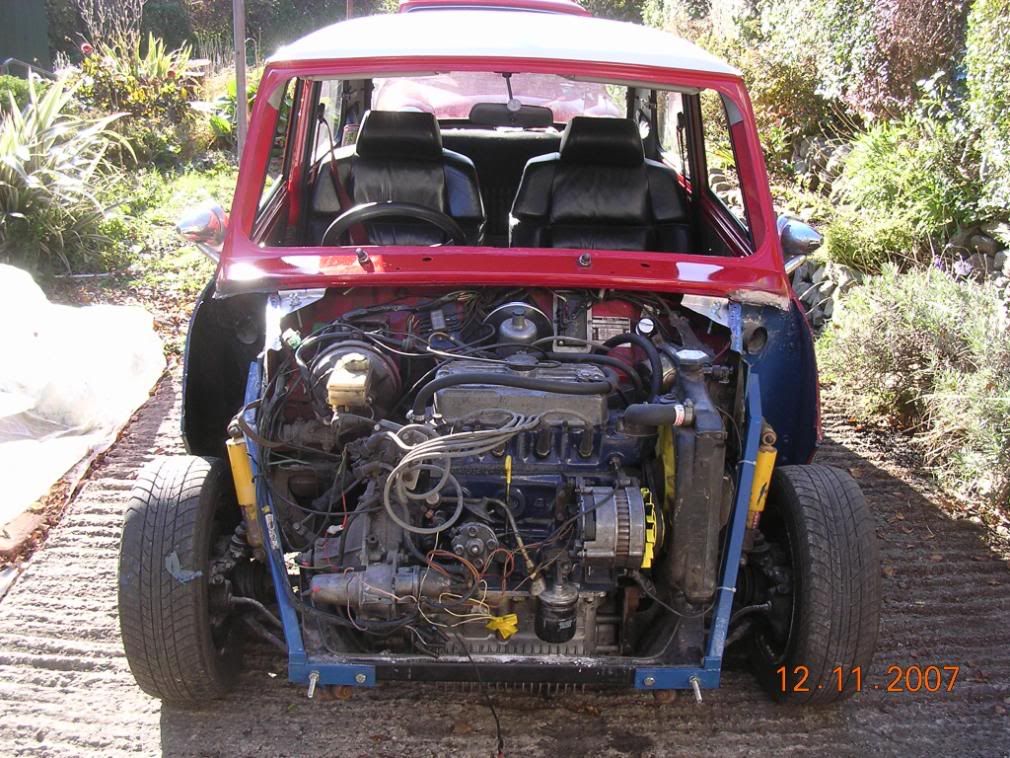
then probably my worst mistake chopping off a rust free front end to replace it with a fiberglass one ::thumbsup:

Posted Image

Posted Image

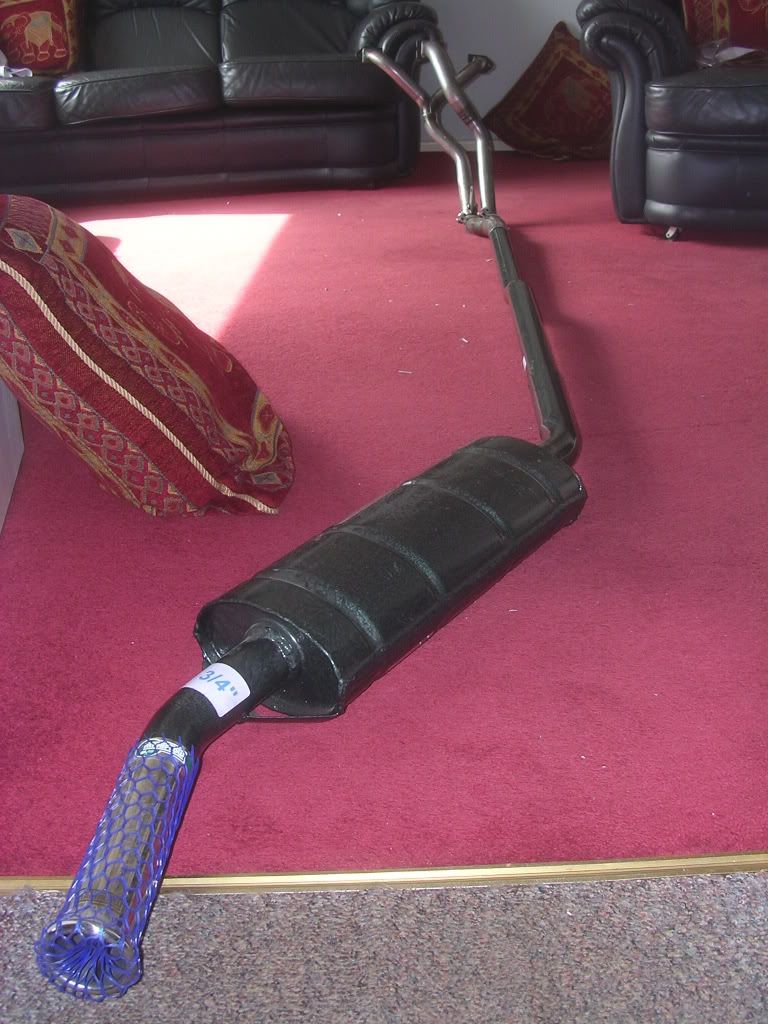
then to get all of the potential from the engine a decent exhaust, a single box maniflow with stage 2 lcb

Posted Image

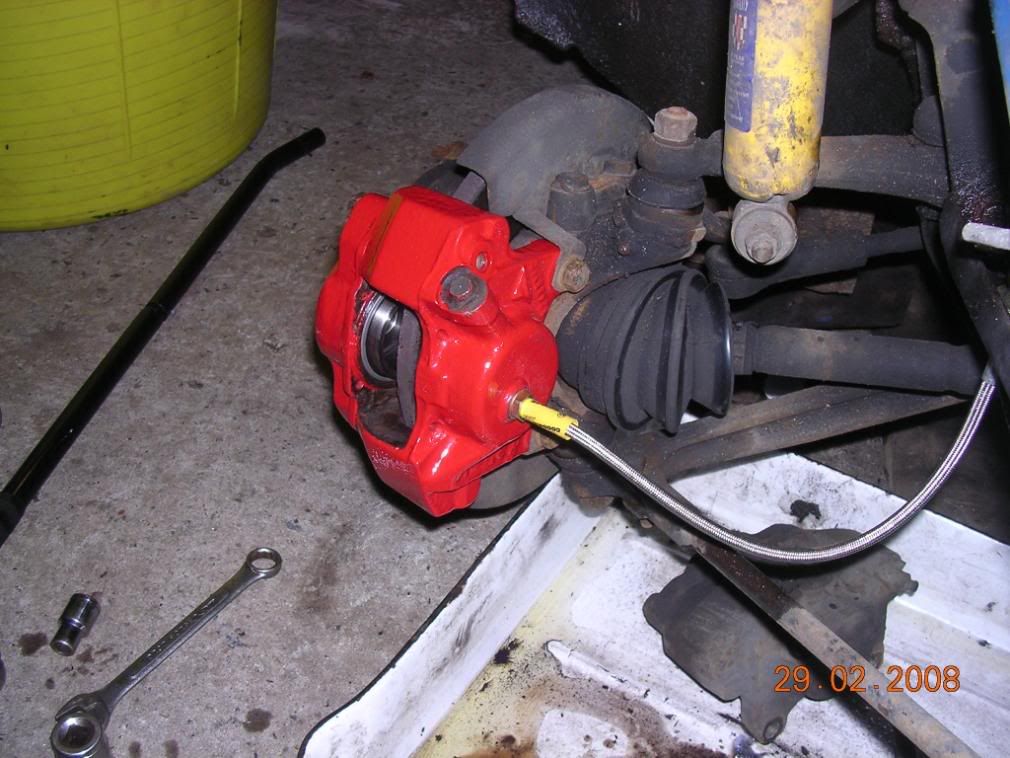
and rebuilt brakes all round, pistons seals etc etc

Posted Image

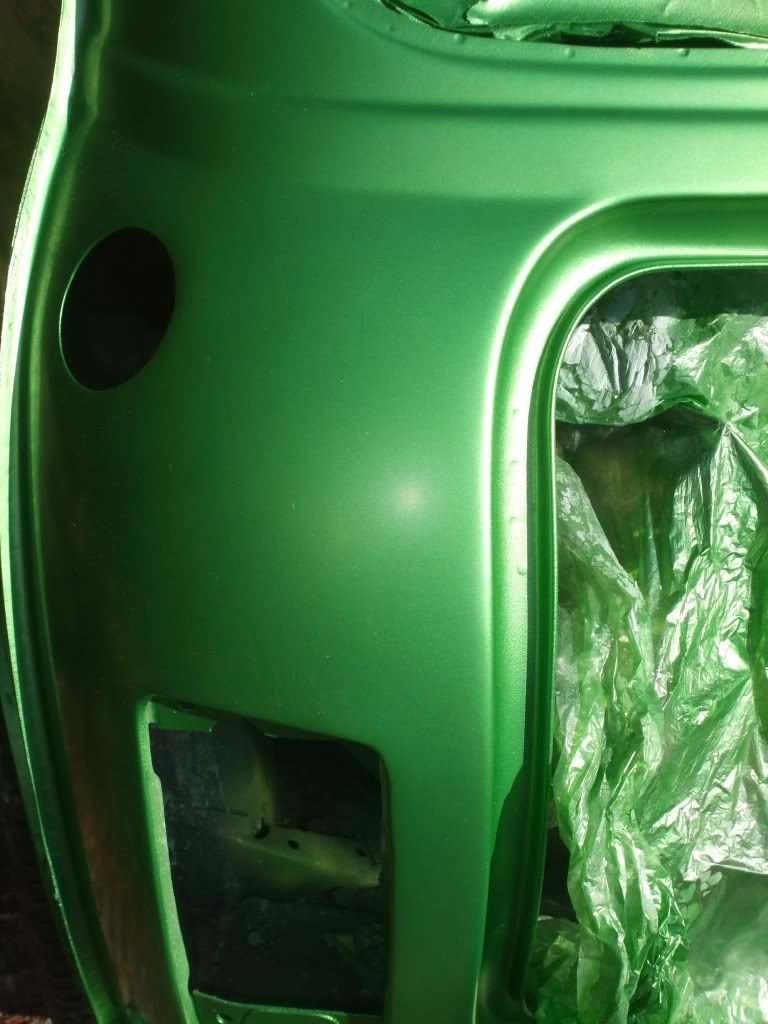
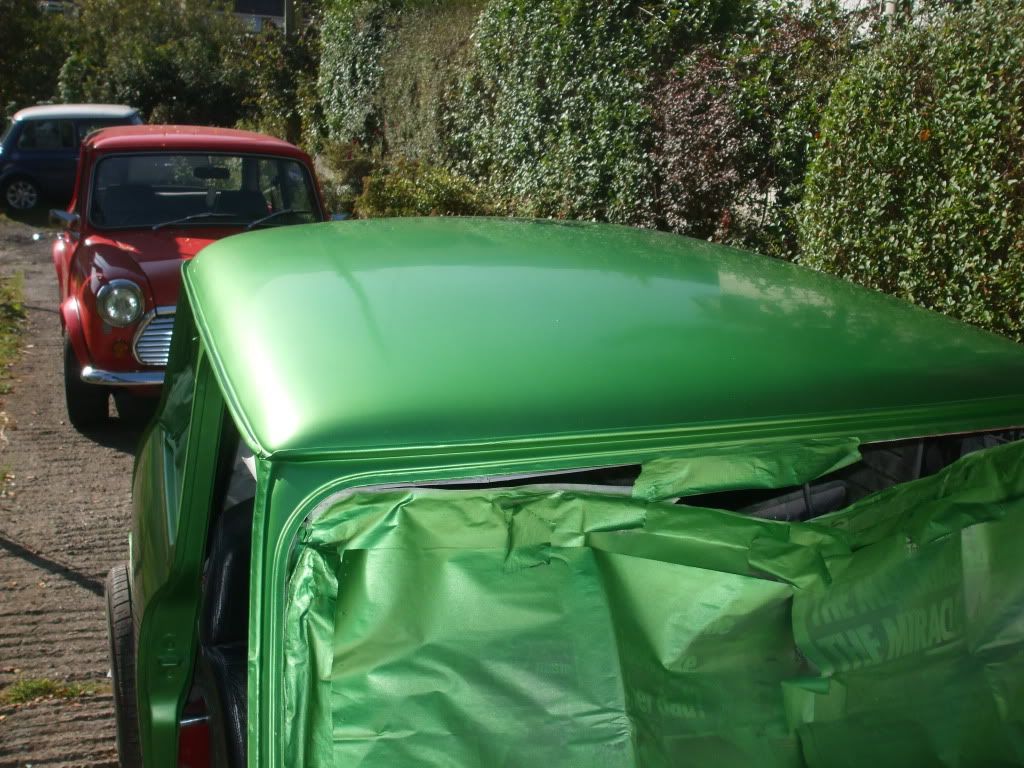
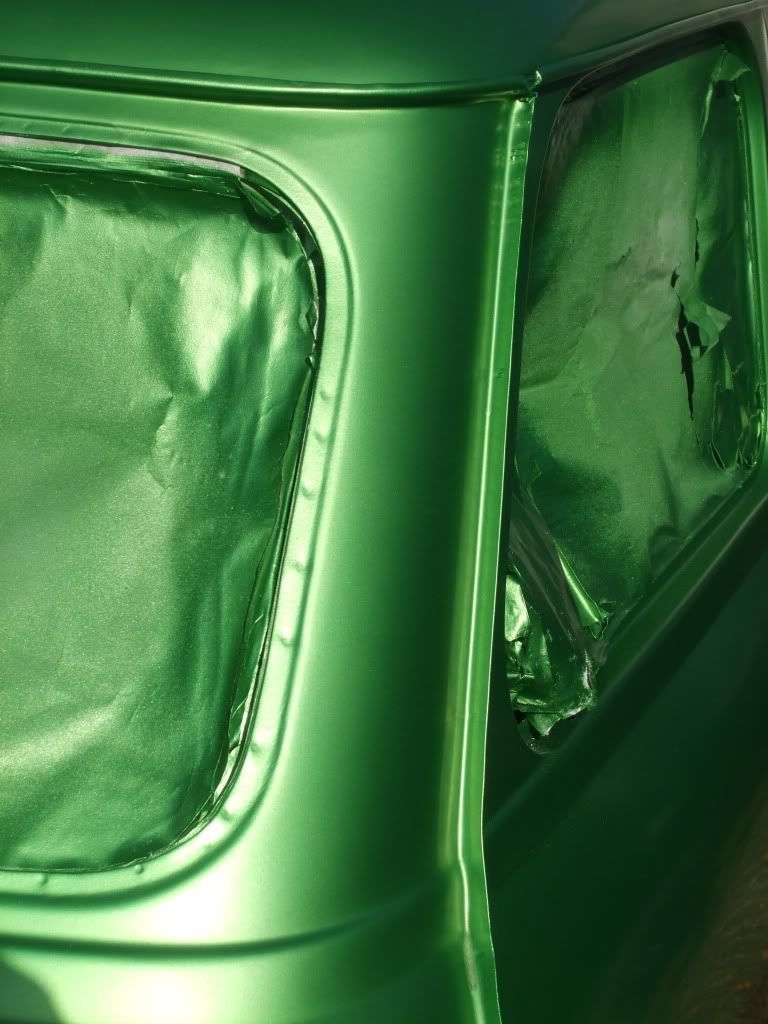
thats how it was up untill last year .....

#2 Mini Basher

Mini Basher

    Speeding Along Now

  • TMF+ Member
  • PipPipPipPipPip
  • 424 posts
  • Location: Forest of Dean
  • Local Club: Mini Foresters

Posted 09 October 2009 - 03:40 PM

Looks good, not a keen lover of the fibreglass front ends myself, more updates please and pictures

Andy

#3 l_jonez

l_jonez

    One Carb Or Two?

  • Members
  • PipPipPipPipPipPipPip
  • 1,453 posts
  • Local Club: south wales mini club

Posted 09 October 2009 - 03:42 PM

... this time last year i bought
Posted Image

which meant the flame red could come off the road. for several months it sat in my garden before i finally made a start..

started removing things

Posted Image

Posted Image

then attacked it with a wire brush to fins any rust and as expected there was a fair bit

Posted Image

Posted Image

Posted Image

Posted Image

also found for some reason the passenger rear quarter had 2mm of filler over it for no apparent reason ( no dents etc ) ???

Posted Image

found the lip of the rear panel rusted in a few places

Posted Image

so the rust was cut out and new steel shaped and welded in

Posted Image
:D


passager side inner sill wasnt to bad

Posted Image

my panels arrived ;D

Posted Image

i got to say the quality of the wings is equal if not better than the genuine ones i've had in the past ......

#4 l_jonez

l_jonez

    One Carb Or Two?

  • Members
  • PipPipPipPipPipPipPip
  • 1,453 posts
  • Local Club: south wales mini club

Posted 09 October 2009 - 03:54 PM

....welding started

found some rust on the front section of the door step so that was cut out and also some on the inner wing.
to be able to repair the area properly the A panel had to come off which i dint really want to do as it was pretty much rust free :(

however off it came and the rust has been cut out.

Posted Image
Posted Image

you can see in the pics the repairs i had to make to the inner sill and the new front section i welded in

sill on

Posted Image

and also welded in the new steel for the door step

Posted Image


it took a few attempts to get the steel to the right profile and i ended up doing it in 2 sections but its sorted now, just have to finish off the welds then its on to the patch for the inner wing :D

other side got the same treatment altho it needed the front half of the inner sill replaced

Posted Image

i have heard of people having problems with the panel warping but i seem to have got away with it on both sides :)

finally got around to a test fit of my rear arch now that there was a lip (side-sill join) to line it all up.

Posted Image


some nice new sills stone chipped ;D

Posted Image

note the jacking point hole and the other random holes in the outer sill have been plated up from behind to help stop water getting into the sills.
the holes have no use as they where for the jigs etc in the factory and the jacking point hole i refuse to use as i always jack the mini up on the subframe


the front end thrown on and clamped together as a guide for A panel fitting

Posted Image

a panels going on

Posted Image


mocking up the removable front
Posted Image

inished front

Posted Image

I created the tabs for the wings to bolt to

Posted Image


inished welding in the reinforcement plates (2mm steel) ready for the engine transplant

Posted Image

Posted Image

it was a bit of a pain removing the subframe but it does mean the whole floor etc can get painted and stone chipped in one go and when it comes to the transplant all i have to do is fit the subframe+engine and not worry about welding in reinforcement plates

thats pretty much all the welding....

#5 l_jonez

l_jonez

    One Carb Or Two?

  • Members
  • PipPipPipPipPipPipPip
  • 1,453 posts
  • Local Club: south wales mini club

Posted 09 October 2009 - 04:03 PM

.... miscellaneous bits


so after a few hours work both arches where rubbed down the small amount of surface rust treated then primmer'd with zinc primer and then stone chipped

Posted Image

hopefully it will protect it for a few more years

got my tyres fitted so i was able to trim the wings/front panel :(

turns out the arches cover the wheels perfectly. :D

Posted Image
Posted Image

Posted Image
Posted Image

and a before and after

Posted Image

trying to decide if i should lower it now :)/


droped my cage off to to fabrication company to be welded 5pm one night, and picked it up 9am the next day for a grand total of £10 ;D

pretty happy with the final result and its fair to say theres good penetration on the welds, the steel with probably break before the weld


Posted Image

Posted Image

cage back in to spot the holes on the floor

Posted Image


welded up the aerial hole in the wing then got it smooth

Posted Image

finished triming the front panel'wing and reformed the lip

Posted Image

there is now plenty of clearance which means i can lower it a fair amount if i want to :-/

then the underside of the new front was POR15'd seam sealed and stone chipped

Posted Image

hopefully that will keep the rust away for a while


then on to the boring part paint prep....

garage got dust proofed

Posted Image

then a few coats of 2k primer

Posted Image


......

#6 l_jonez

l_jonez

    One Carb Or Two?

  • Members
  • PipPipPipPipPipPipPip
  • 1,453 posts
  • Local Club: south wales mini club

Posted 09 October 2009 - 04:05 PM

so that brings us up to date except for Sundays work which was
......


finally spraying it, it still needs lacquer but this is as it stands now

Posted Image

Posted Image

Posted Image

what y'all think?

Edited by l_jonez, 09 October 2009 - 04:06 PM.


#7 uksurvivor

uksurvivor

    Mini Mad

  • TMF+ Member
  • PipPipPipPip
  • 174 posts

Posted 09 October 2009 - 04:20 PM

Loving the colour....

#8 Calman

Calman

    Camshaft & Stage Two Head

  • Members
  • PipPipPipPipPipPipPipPip
  • 1,674 posts

Posted 09 October 2009 - 04:22 PM

Flame Red too Bogey Green :D


Looks good!

#9 Mini Basher

Mini Basher

    Speeding Along Now

  • TMF+ Member
  • PipPipPipPipPip
  • 424 posts
  • Location: Forest of Dean
  • Local Club: Mini Foresters

Posted 09 October 2009 - 04:38 PM

Love the work, similar colour to my choice but mines going to be darker, keep up the good work

Andy

#10 leaky

leaky

    Iv never hit a penguin in the face with a casserole

  • TMF+ Member
  • PipPipPipPipPipPipPipPipPipPip
  • 6,890 posts
  • Location: Costa Del Tadley
  • Local Club: Basingstoke Mini Club

Posted 09 October 2009 - 04:45 PM

WOW I love that colour. Do you mind me asking what colour it is?

#11 l_jonez

l_jonez

    One Carb Or Two?

  • Members
  • PipPipPipPipPipPipPip
  • 1,453 posts
  • Local Club: south wales mini club

Posted 09 October 2009 - 05:00 PM

WOW I love that colour. Do you mind me asking what colour it is?


no i dont mind, but im not gpnna tell you :D

nah only joking its called "juiced" green which is allegedly a in house colour from an on-line paint supplier, altho it looks allot like fusion green so im not totally convinced.

still looks good tho as its a metallic pearl which becomes more silvery in the sunlight (pics font show it very well)

#12 Cactus

Cactus

    Stage One Kit Fitted

  • Noobies
  • PipPipPip
  • 74 posts

Posted 14 October 2009 - 05:50 PM

Wow, thats a fantastic colour!

Great job on the bodywork too, hopefully you won't be seeing any rust for a while :)

#13 l_jonez

l_jonez

    One Carb Or Two?

  • Members
  • PipPipPipPipPipPipPip
  • 1,453 posts
  • Local Club: south wales mini club

Posted 14 October 2009 - 10:03 PM

Wow, thats a fantastic colour!

Great job on the bodywork too, hopefully you won't be seeing any rust for a while :unsure:


thanks :)

its my first attempt at spraying as well so im pretty happy with the result. i have discovered i really really hate prep work :D

bit of an update the following are now ready for paint

removable front end
bonnet
boot
seam strips
arches

will hopefully get done over the weekend. all thats left then is to reskin my doors as im not happy with the ones i bought which had been reskined but never used. then its put it all back together time

#14 dougie1142

dougie1142

    Super Mini Mad

  • Members
  • PipPipPipPipPipPip
  • 500 posts
  • Location: Inverness/Elgin
  • Local Club: I.M.O.G

Posted 15 October 2009 - 01:20 PM

looking great man! my tax runs out in November, so i'm looking at all the projects getting me inspired to rebuild mine :D

#15 scotty_09

scotty_09

    Stage One Kit Fitted

  • Noobies
  • PipPipPip
  • 76 posts

Posted 17 October 2009 - 07:08 AM

love the colour, realy good work mate


0 user(s) are reading this topic

0 members, 0 guests, 0 anonymous users