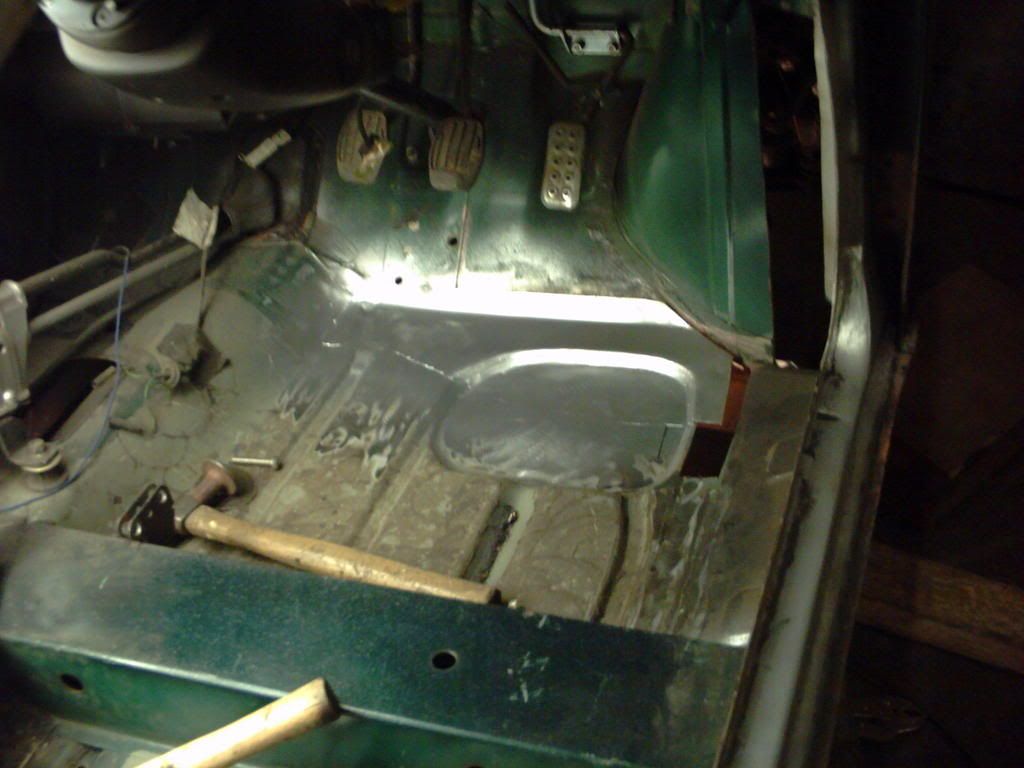
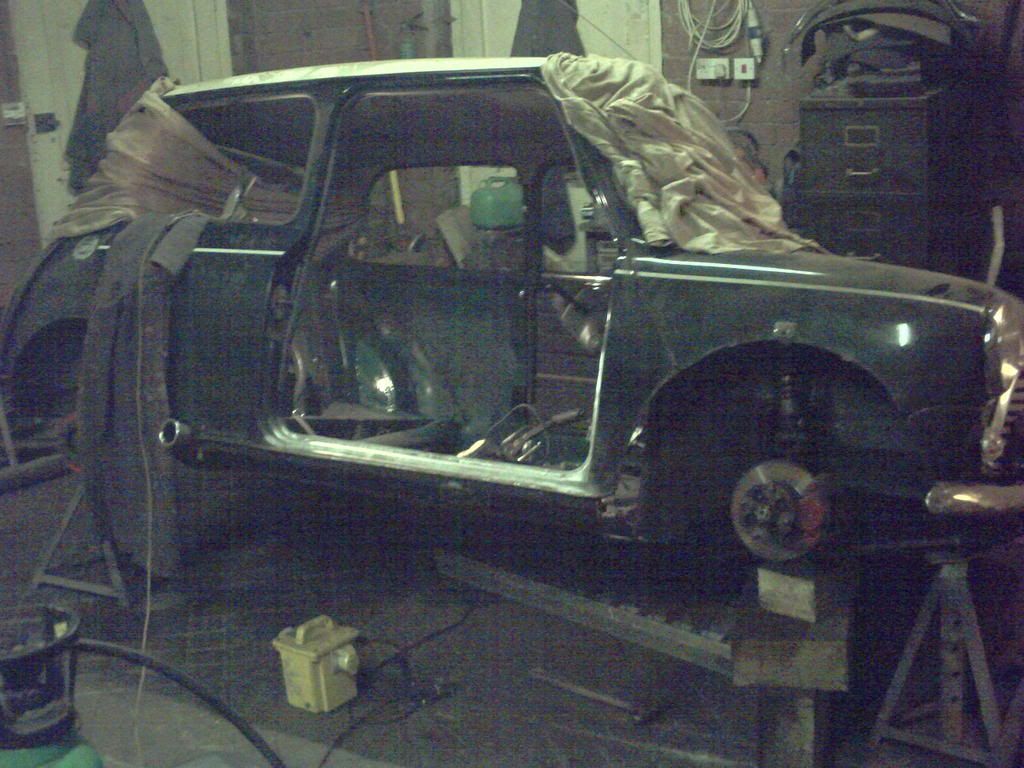
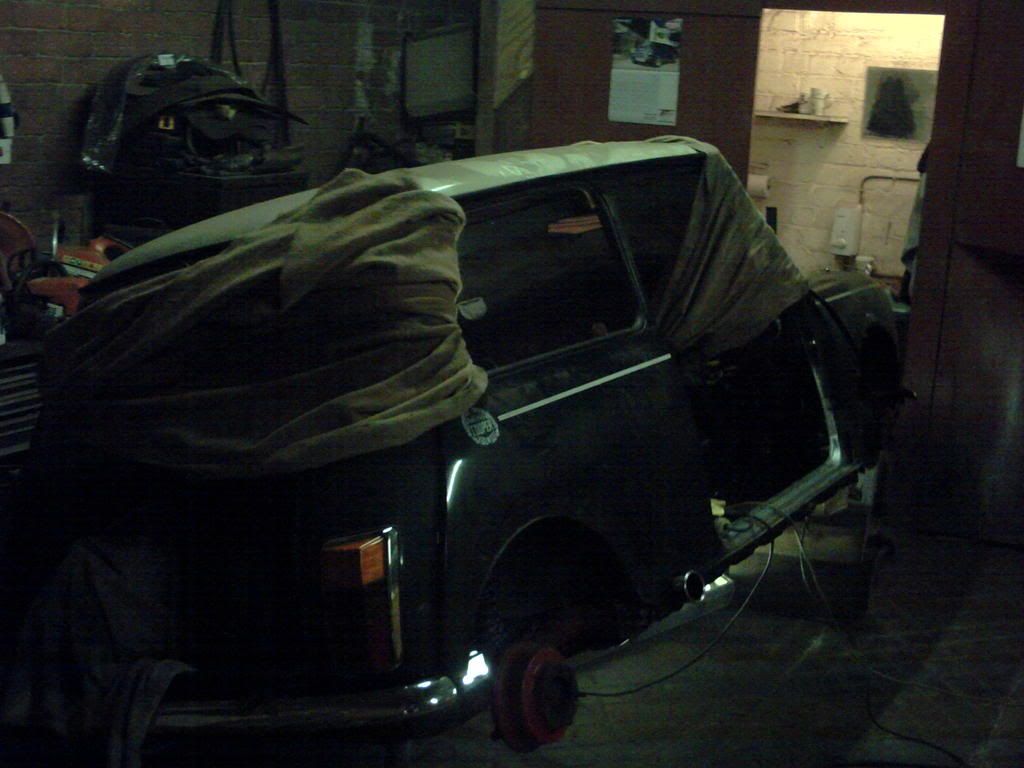
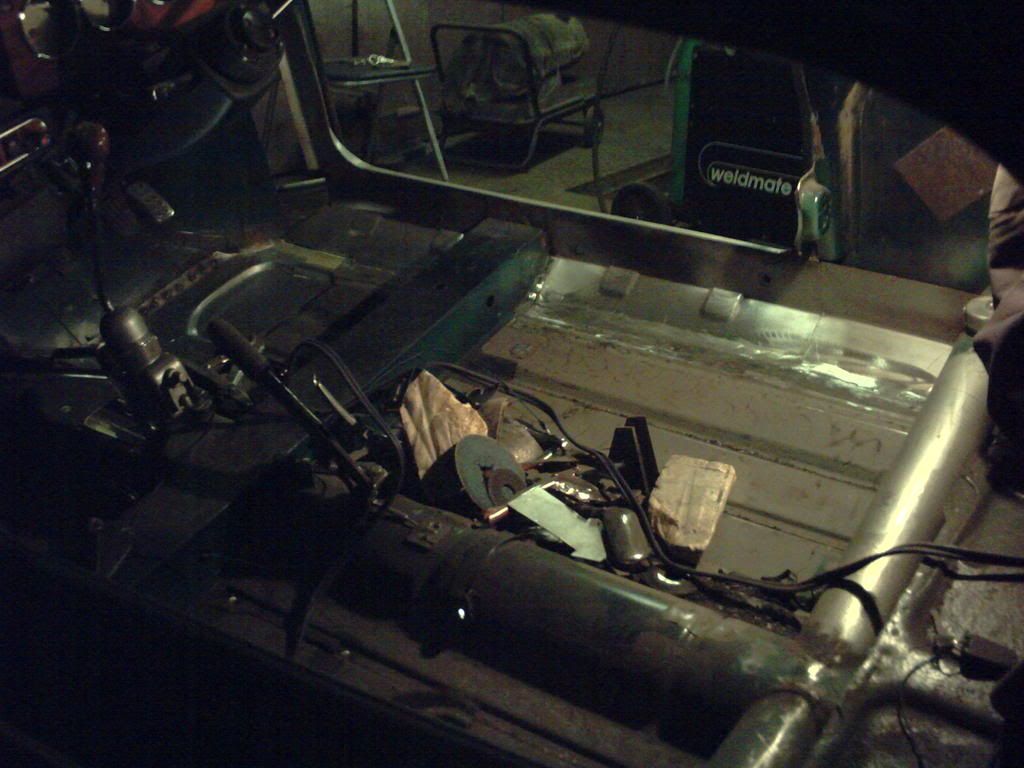
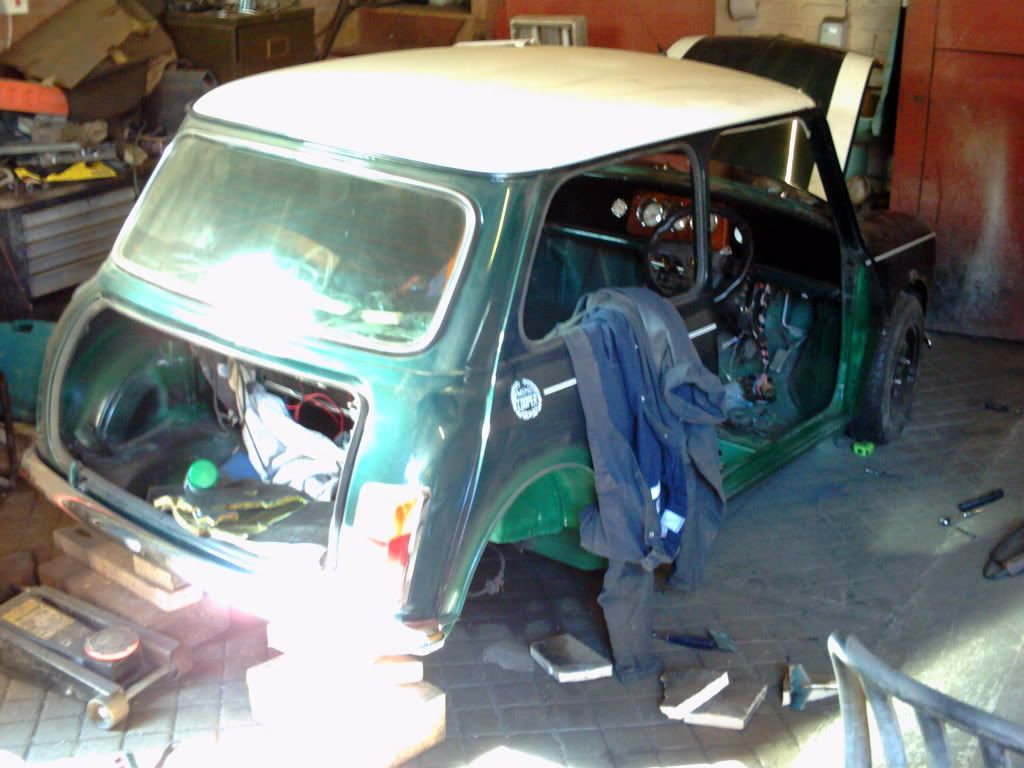
after a bit of thought i've cut out my rear pockets and seat base, and started on my sills.
but first...........................................................................
...

now to get cutting

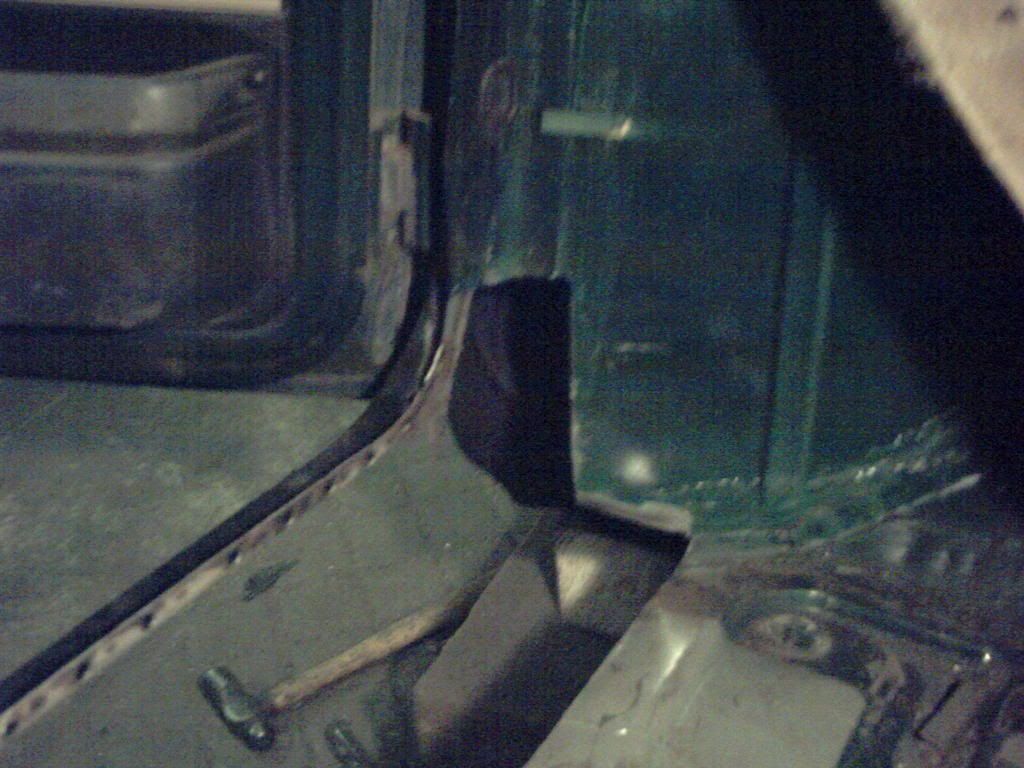
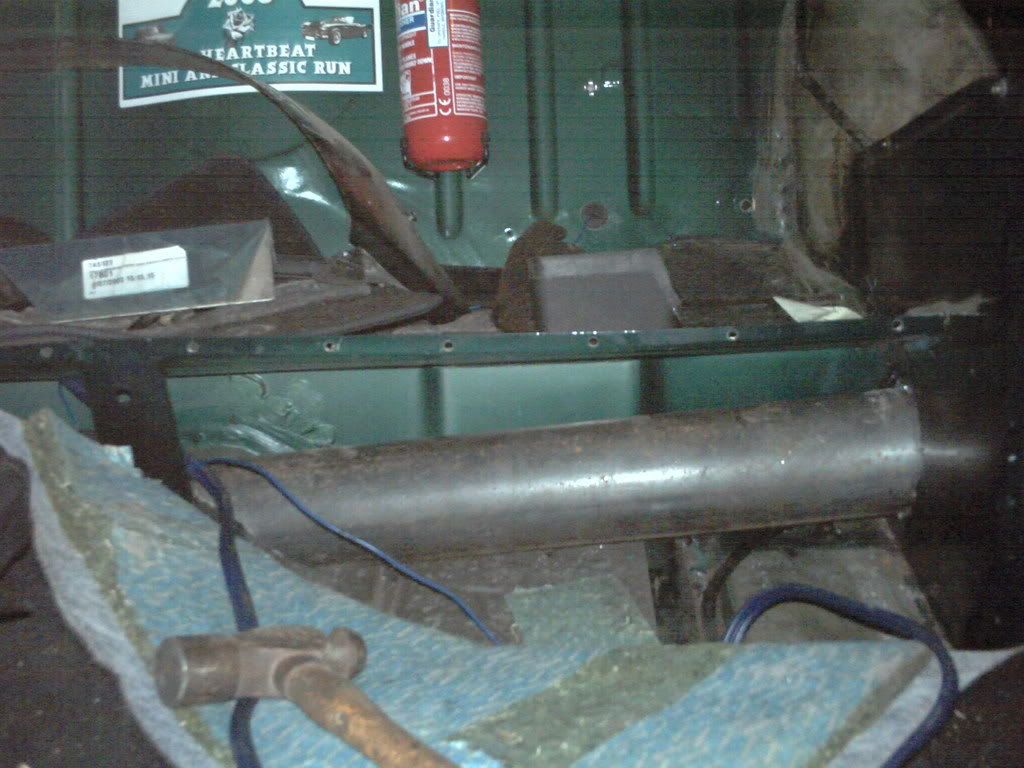
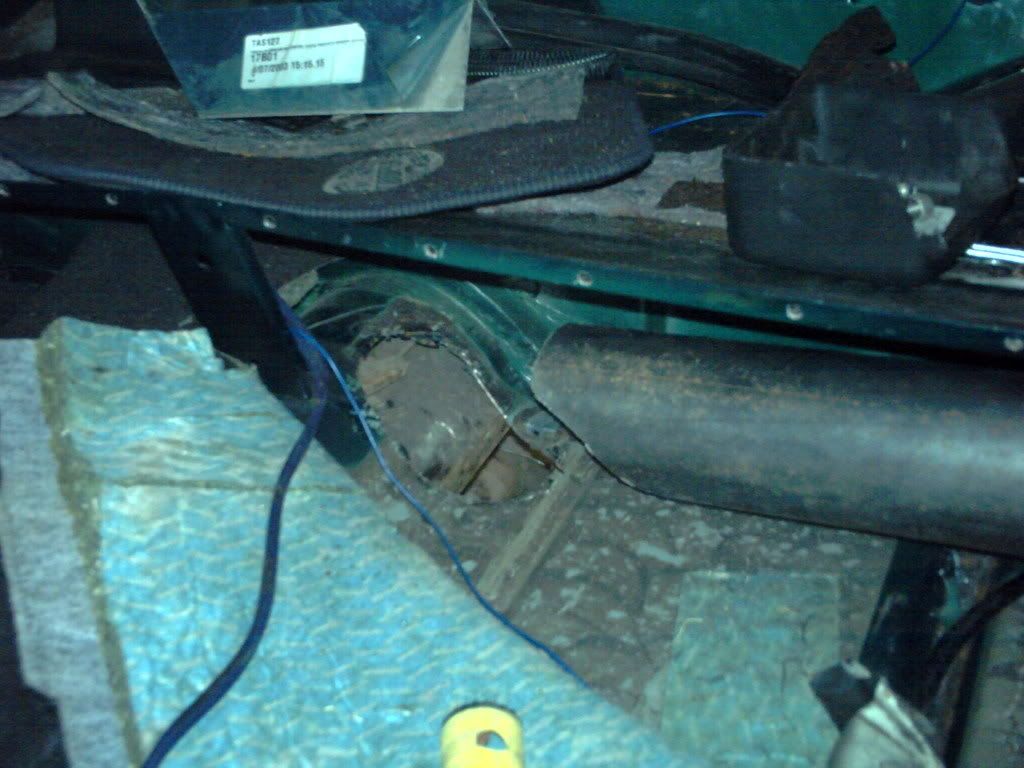
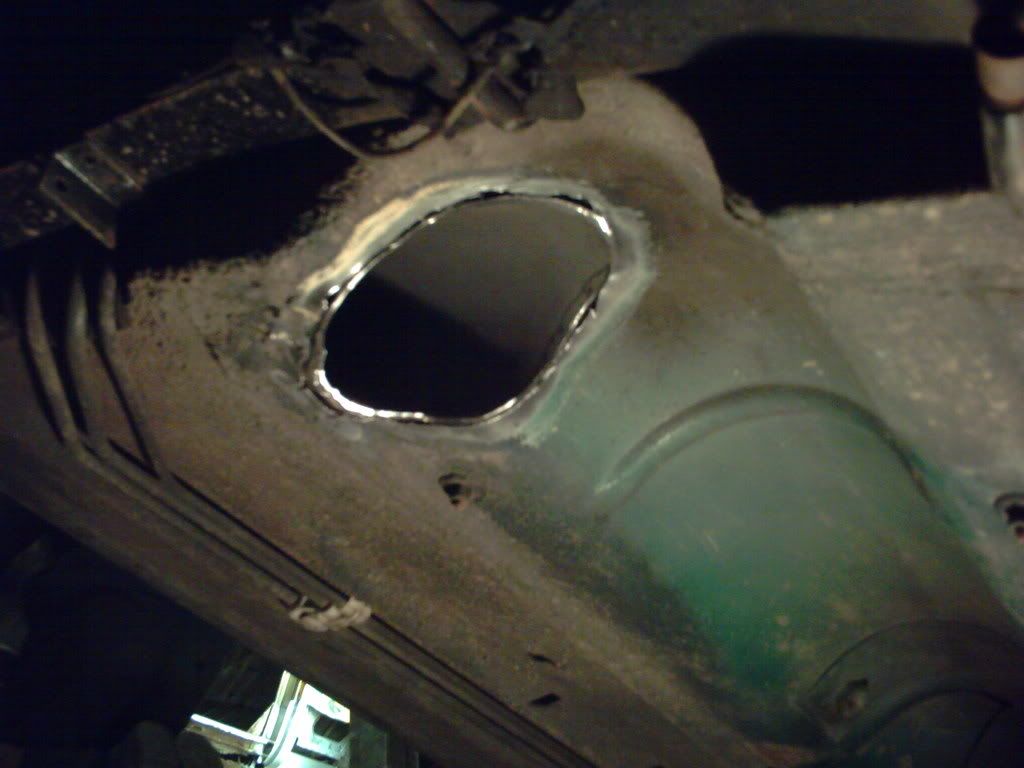
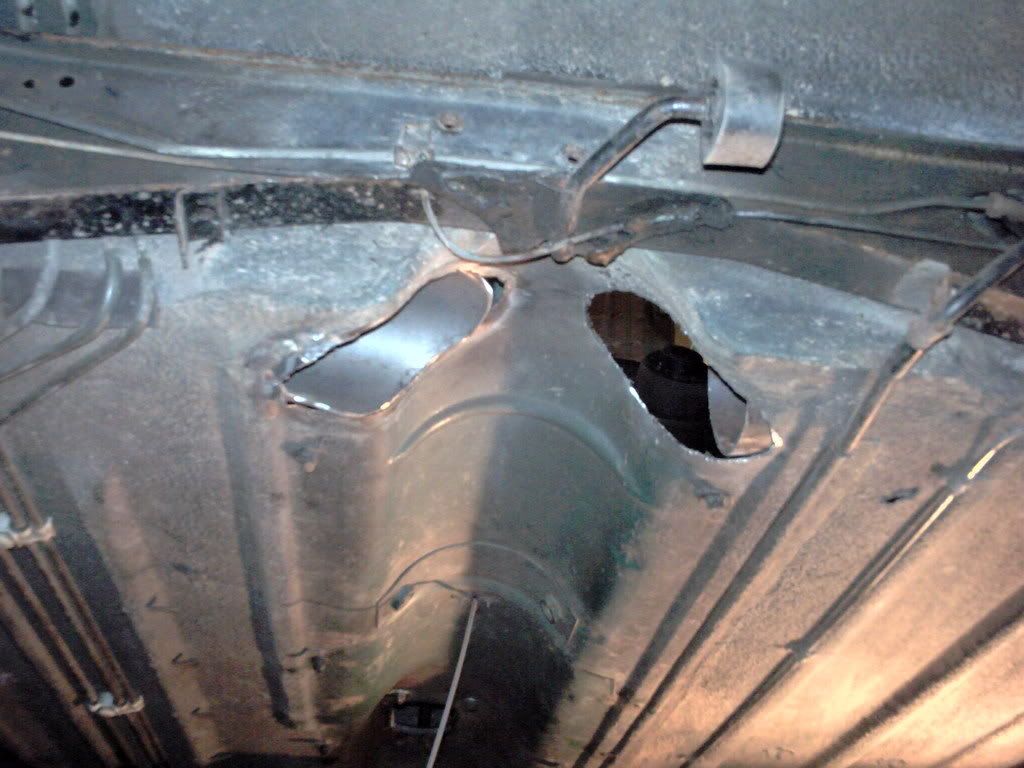
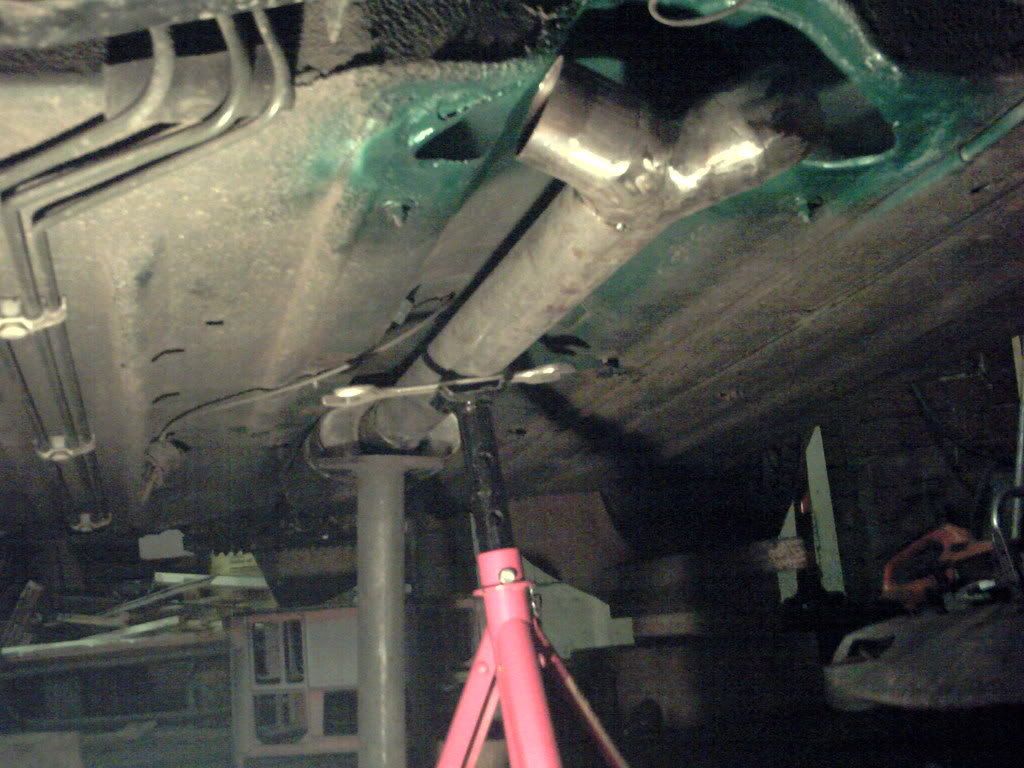
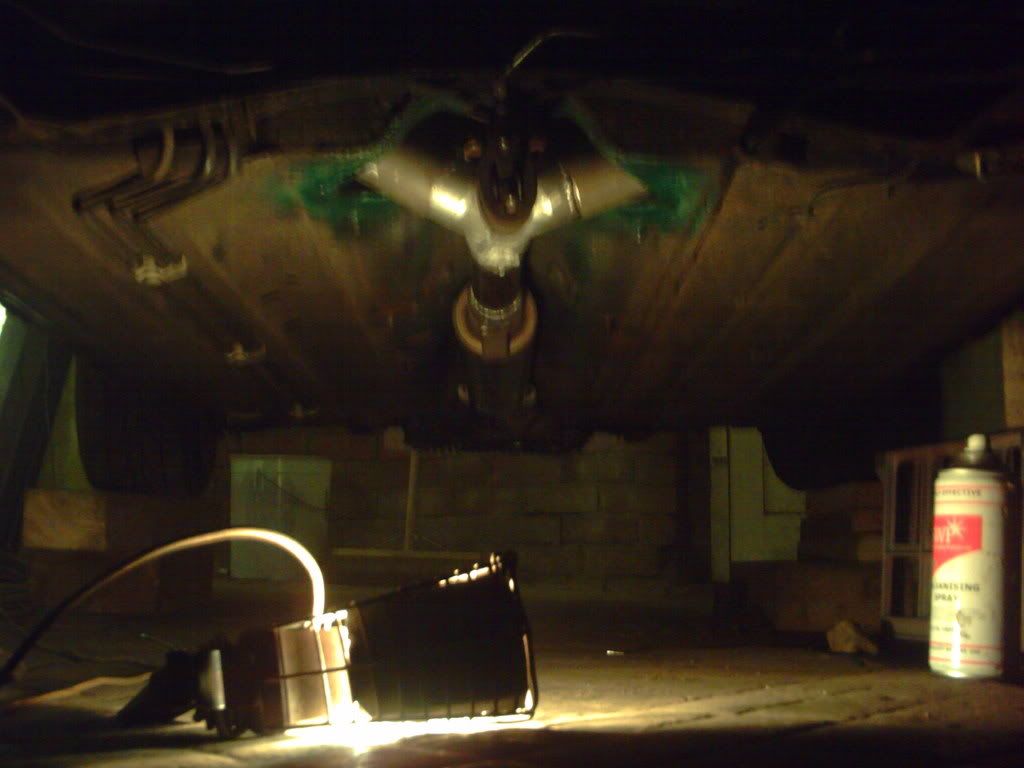
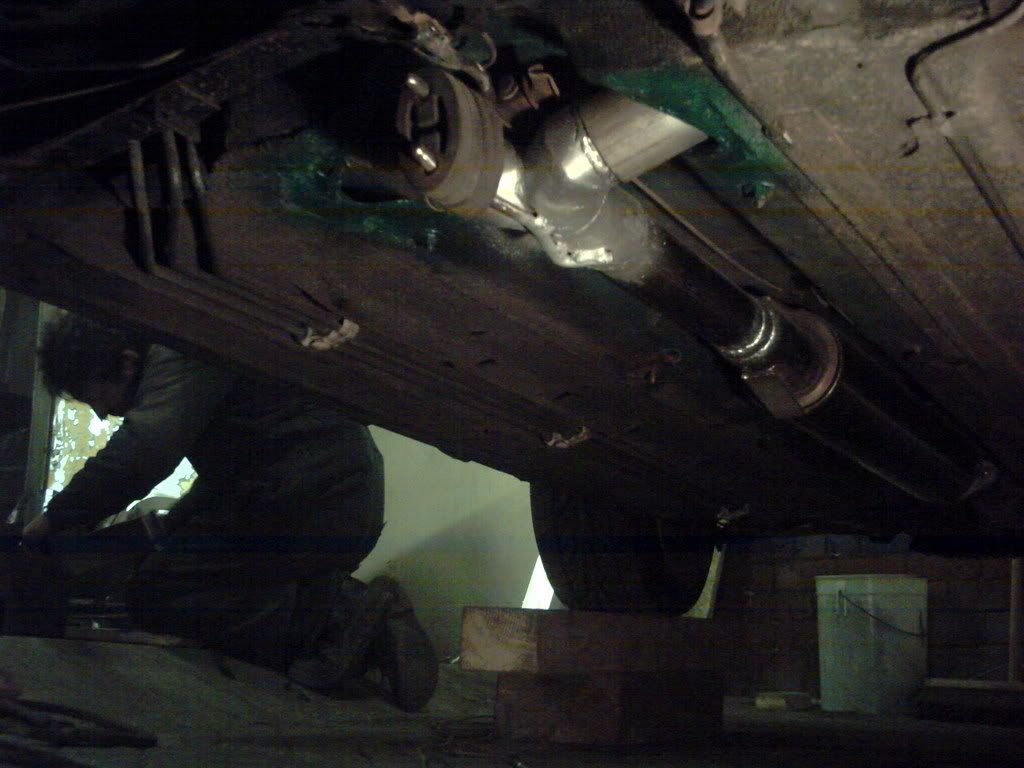
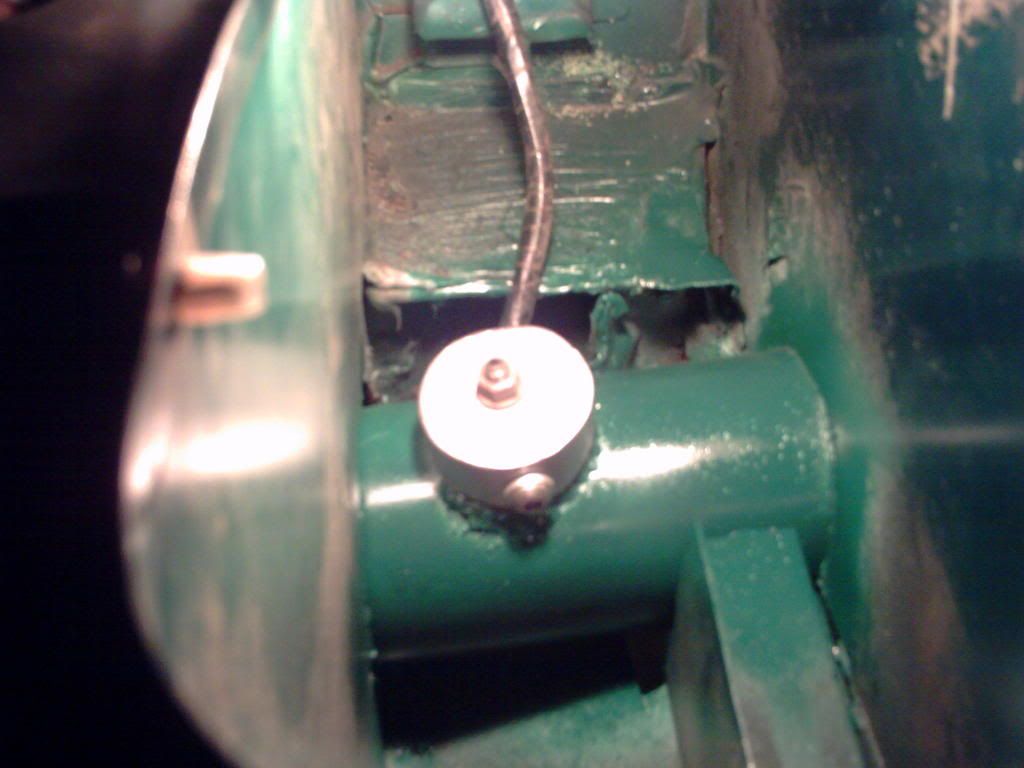
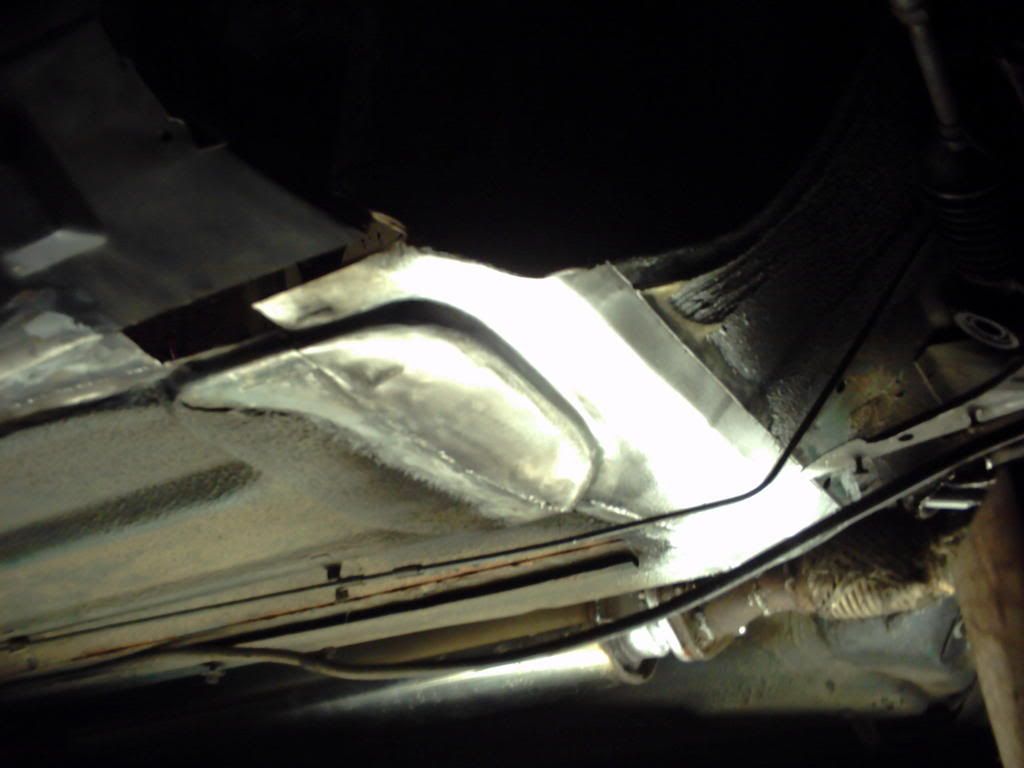
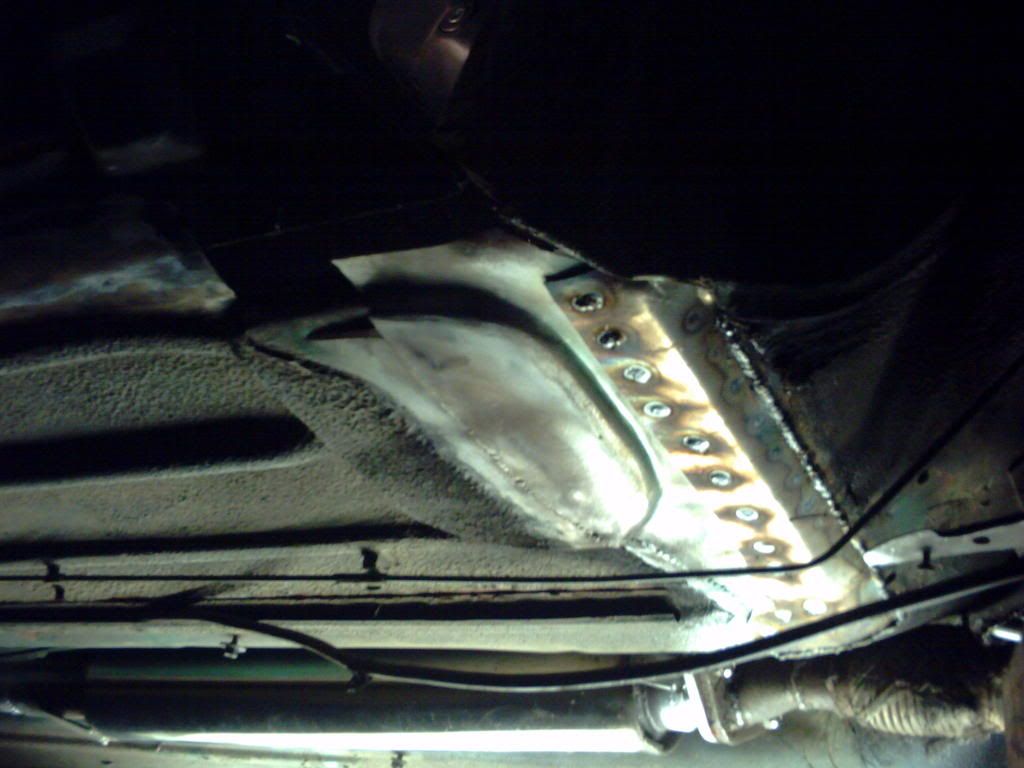
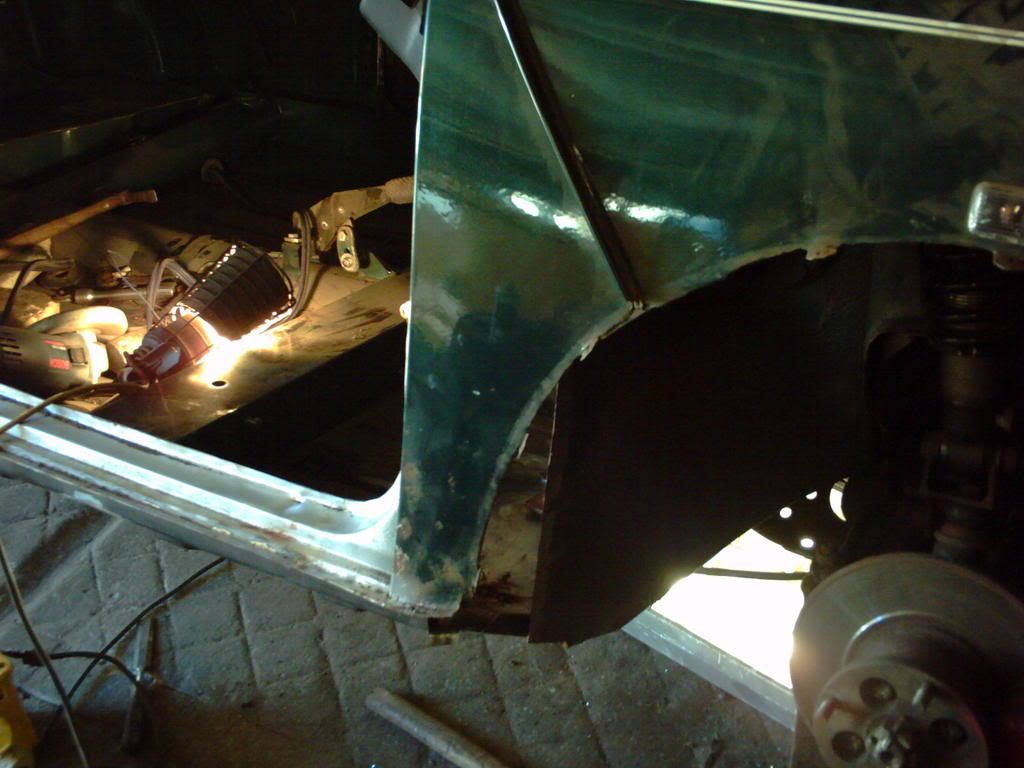
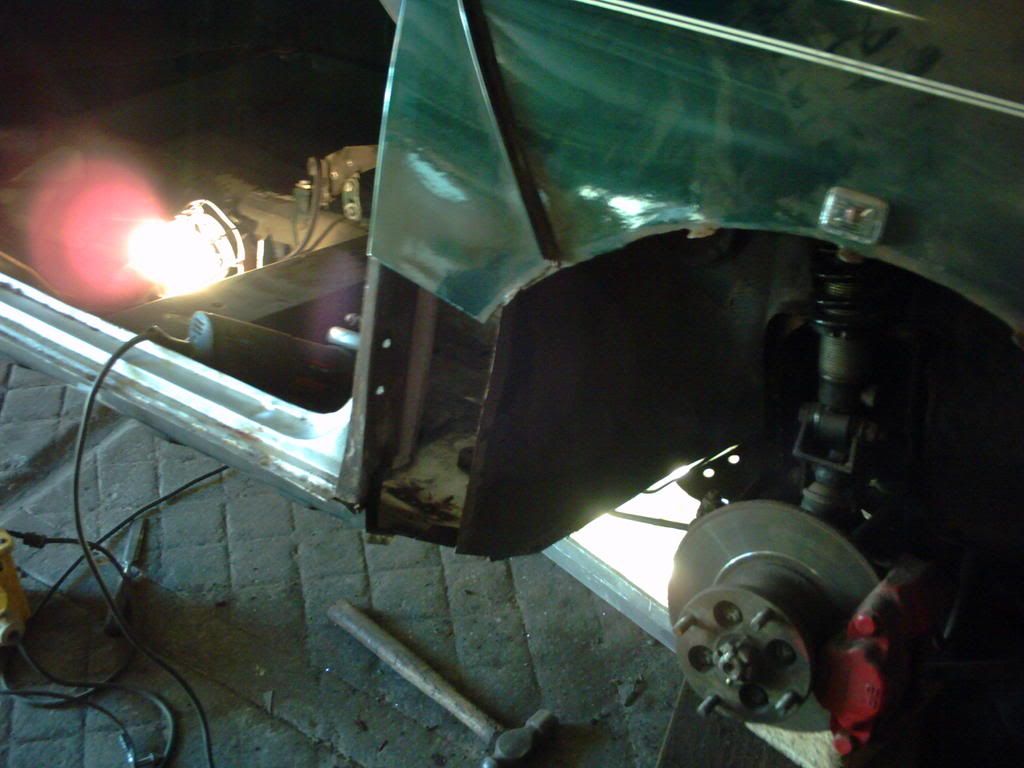
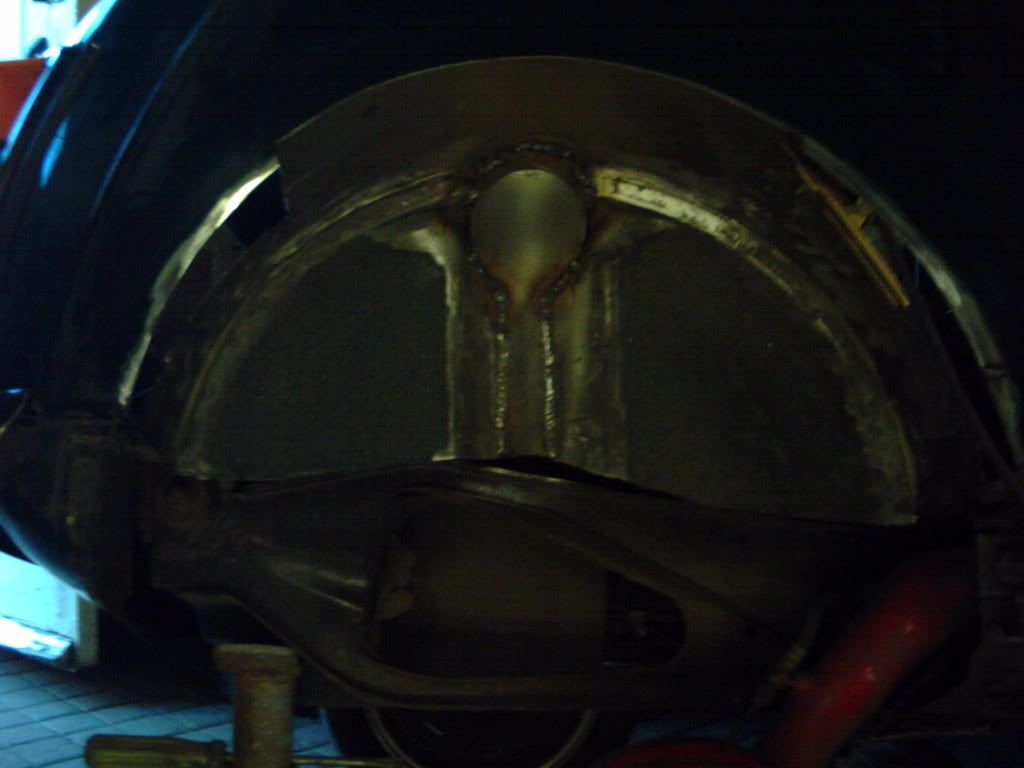
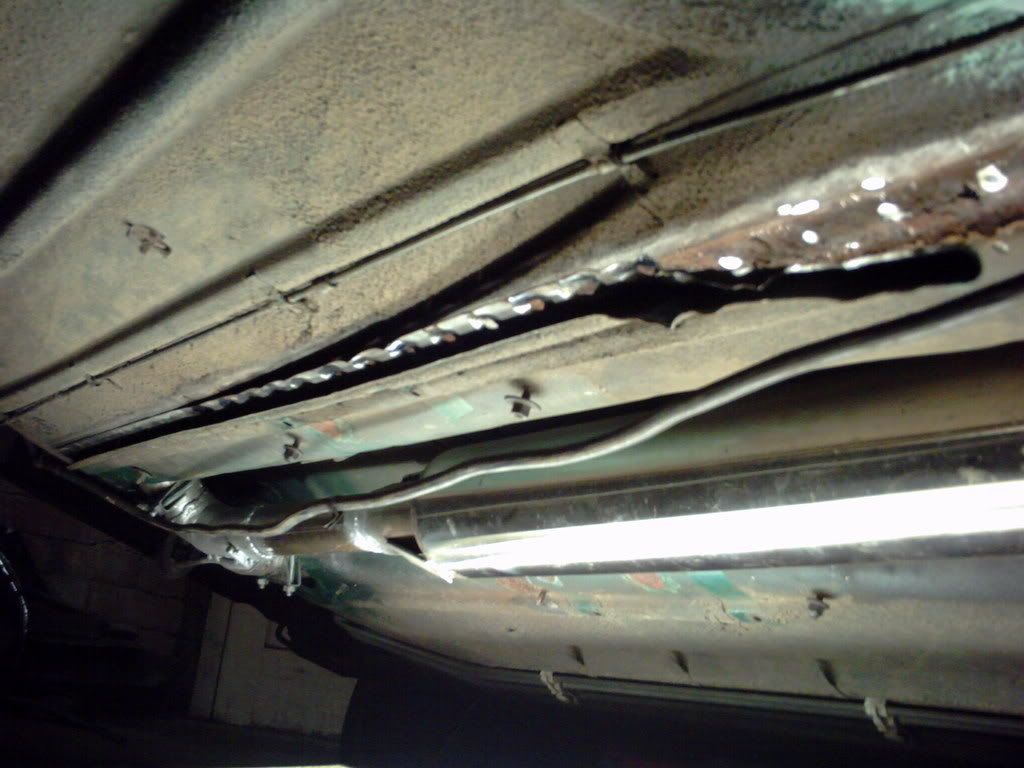
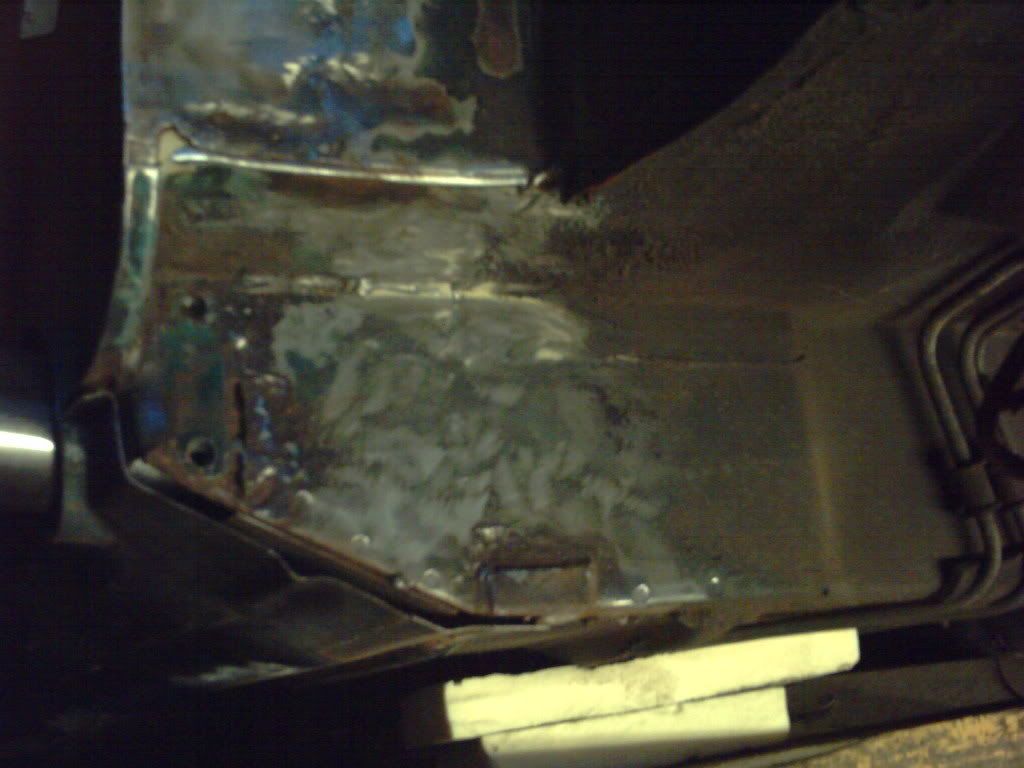
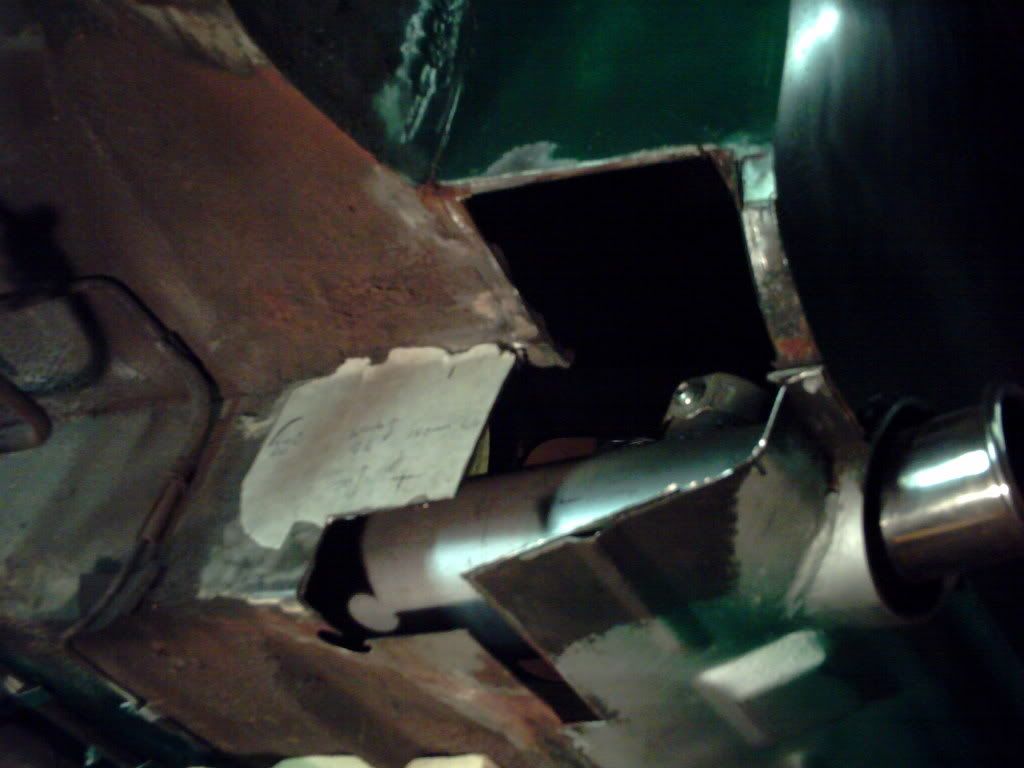
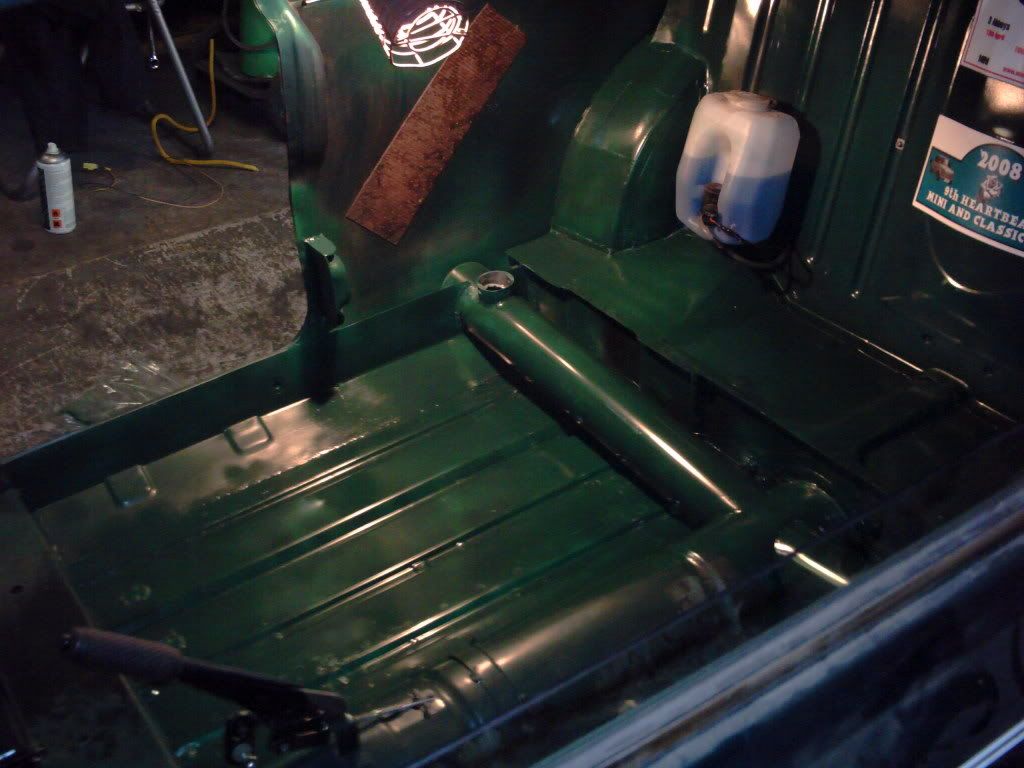
theres some rust on the heal board where the sub frame bolts on, think i'm gonna have to drop the sub frame out and sort it

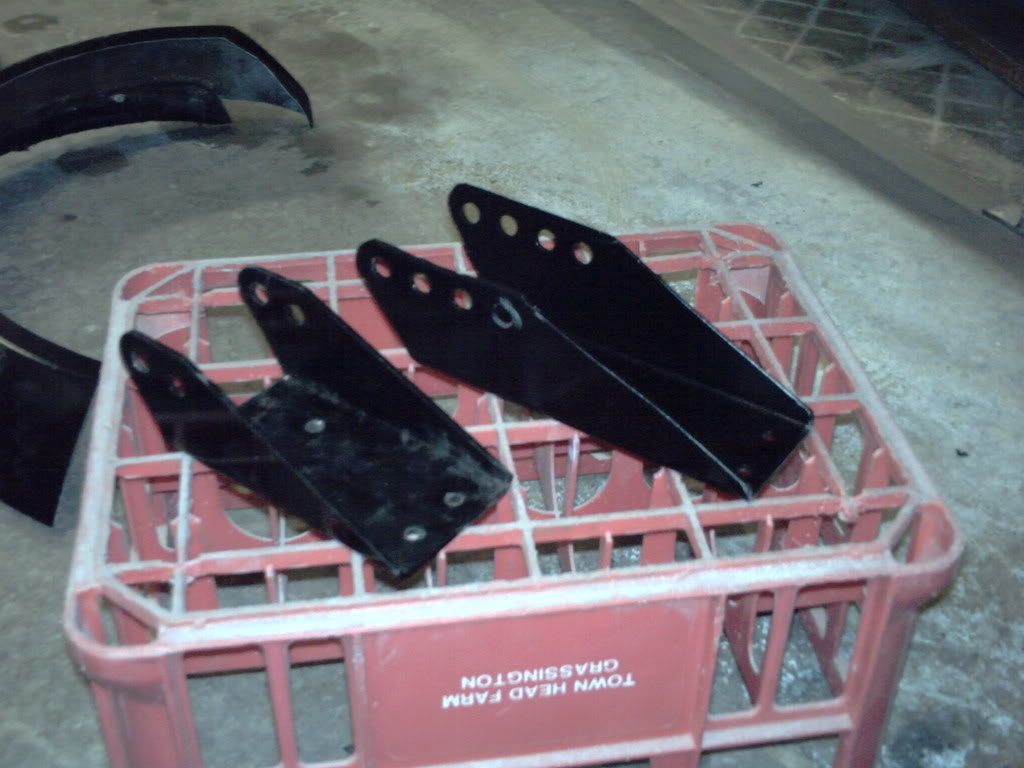
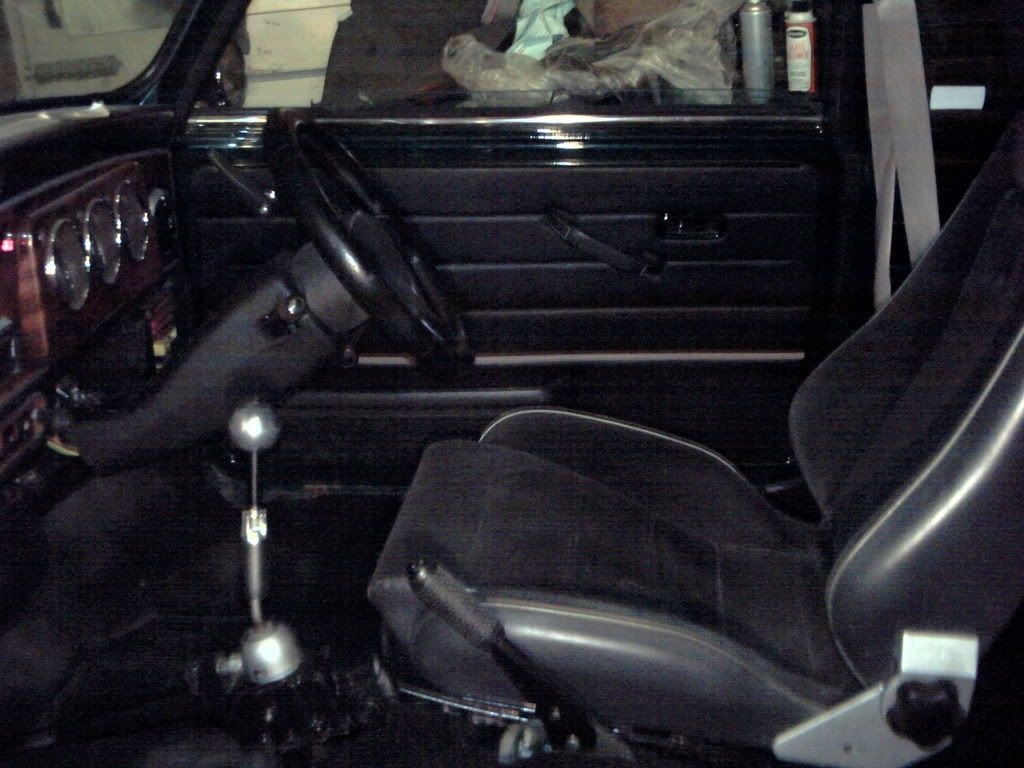
i'm going to put some gussets on the seat belt mount so i can still use the one on the rear pocket.
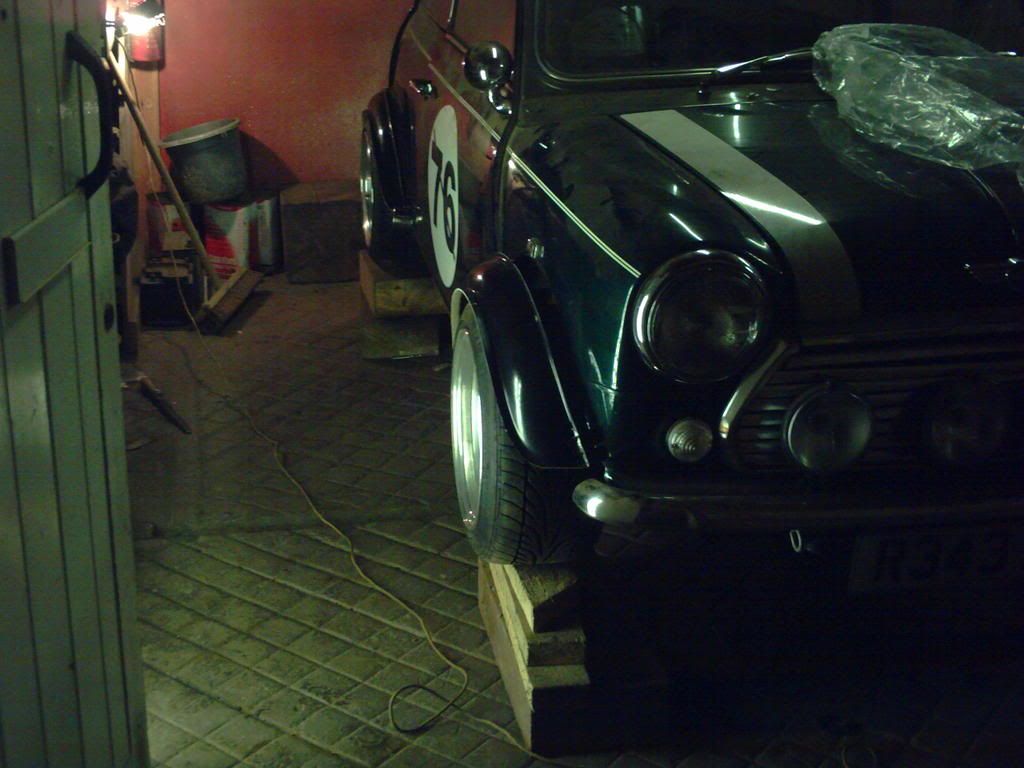
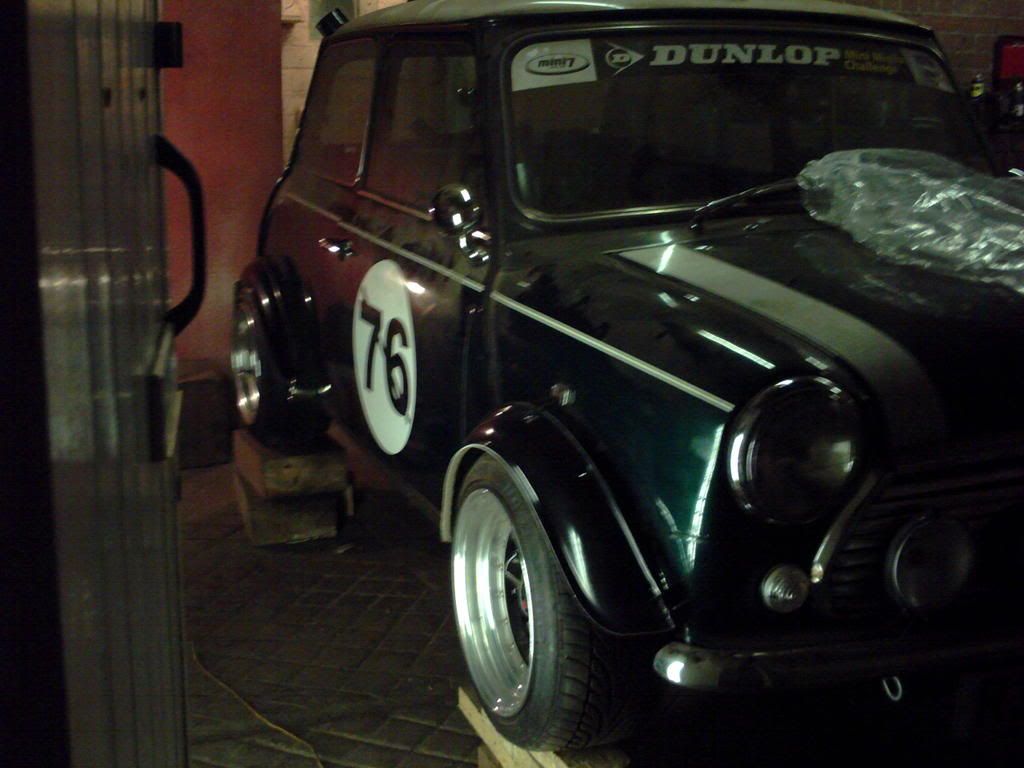
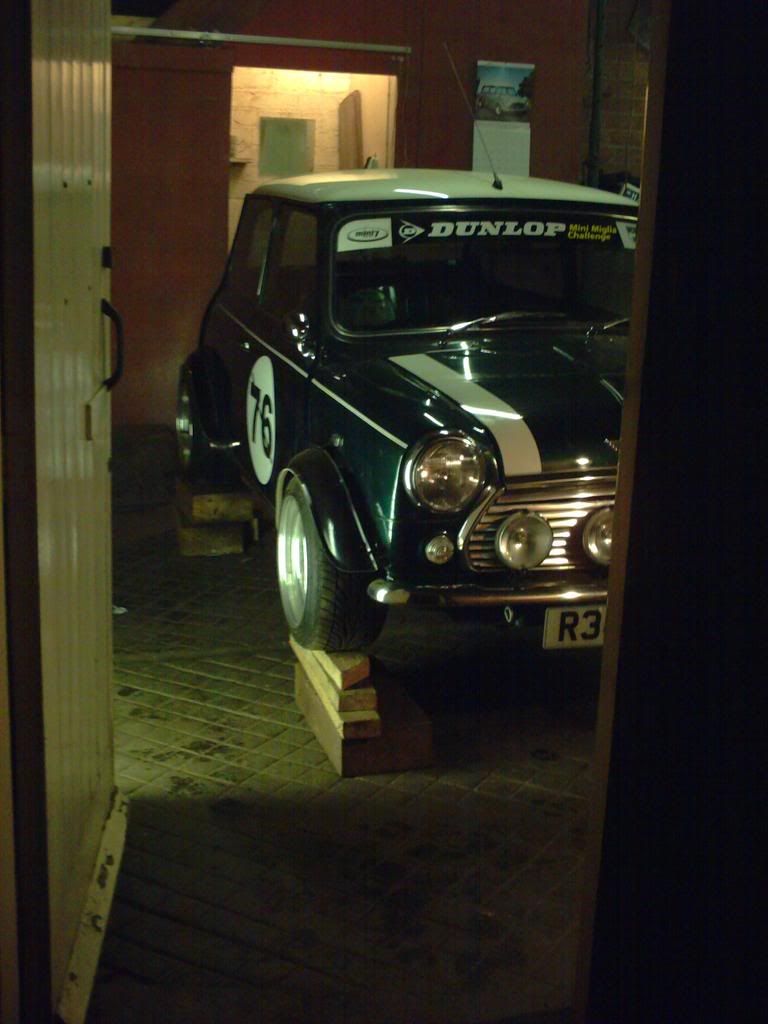
oh dear!.................................... its turned into a full on restoration :evil: :evil: :evil:
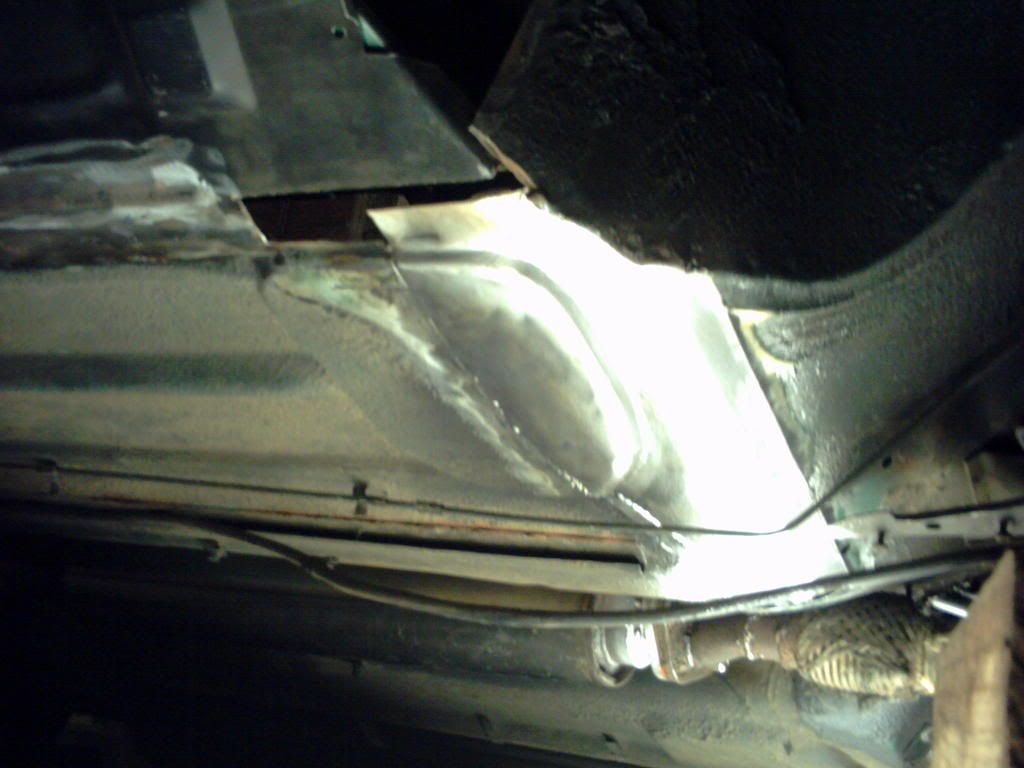
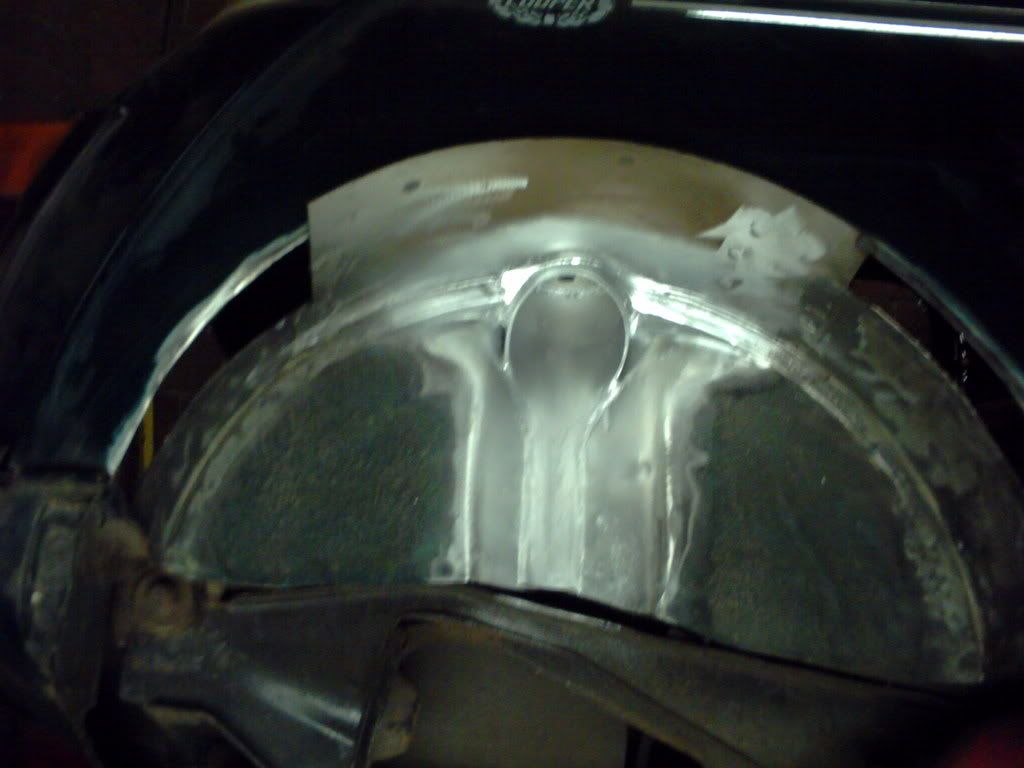
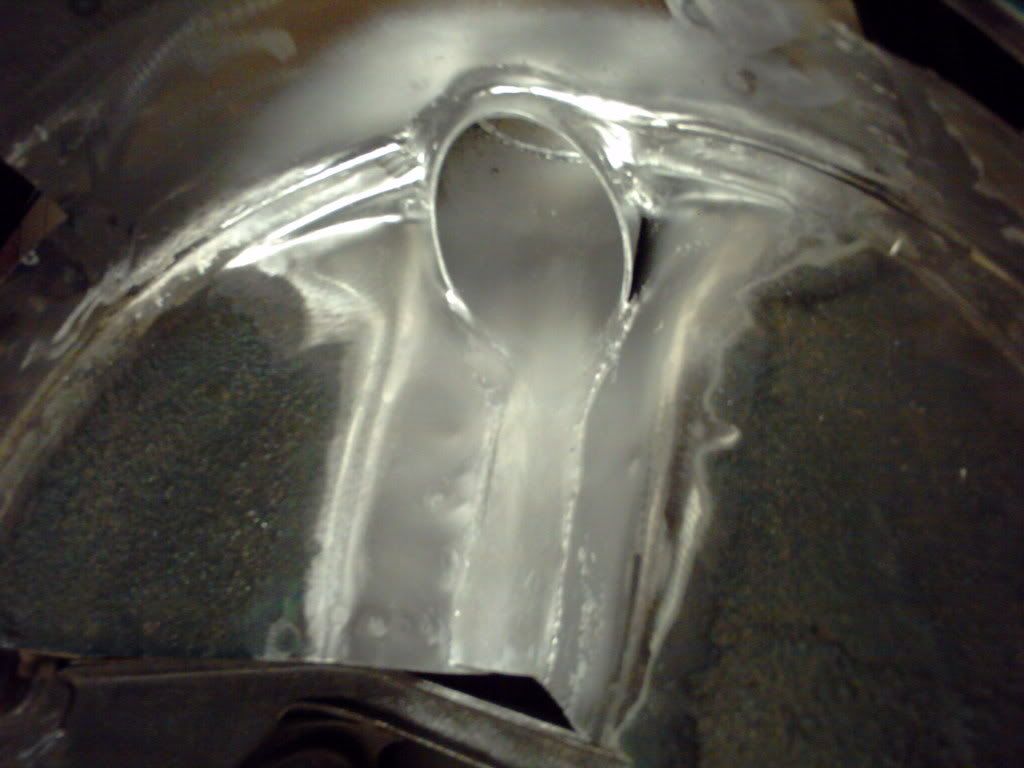
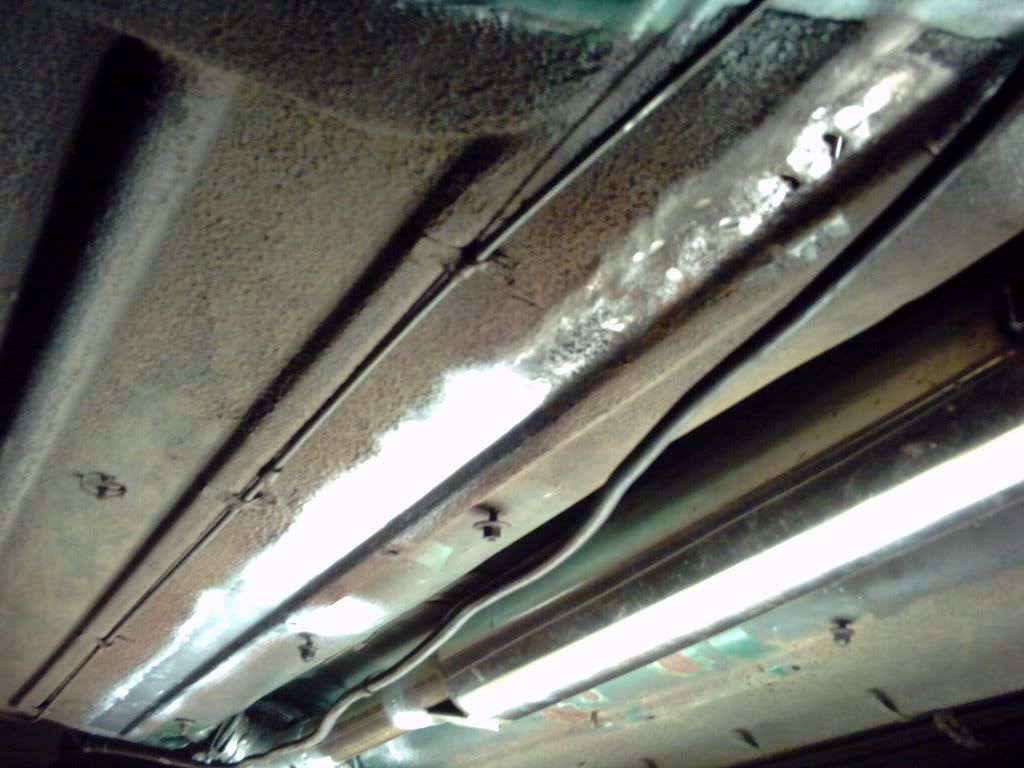
there's more rust than i thought ( how many times you heard that!!) :oops: so alot of welding to get done.
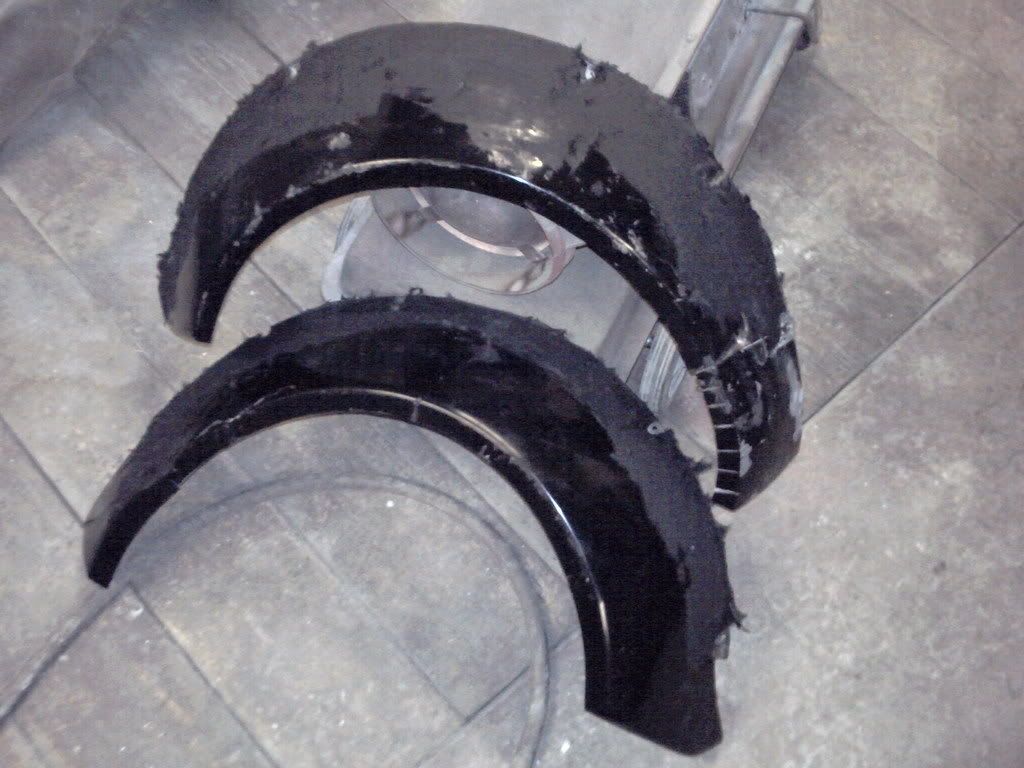
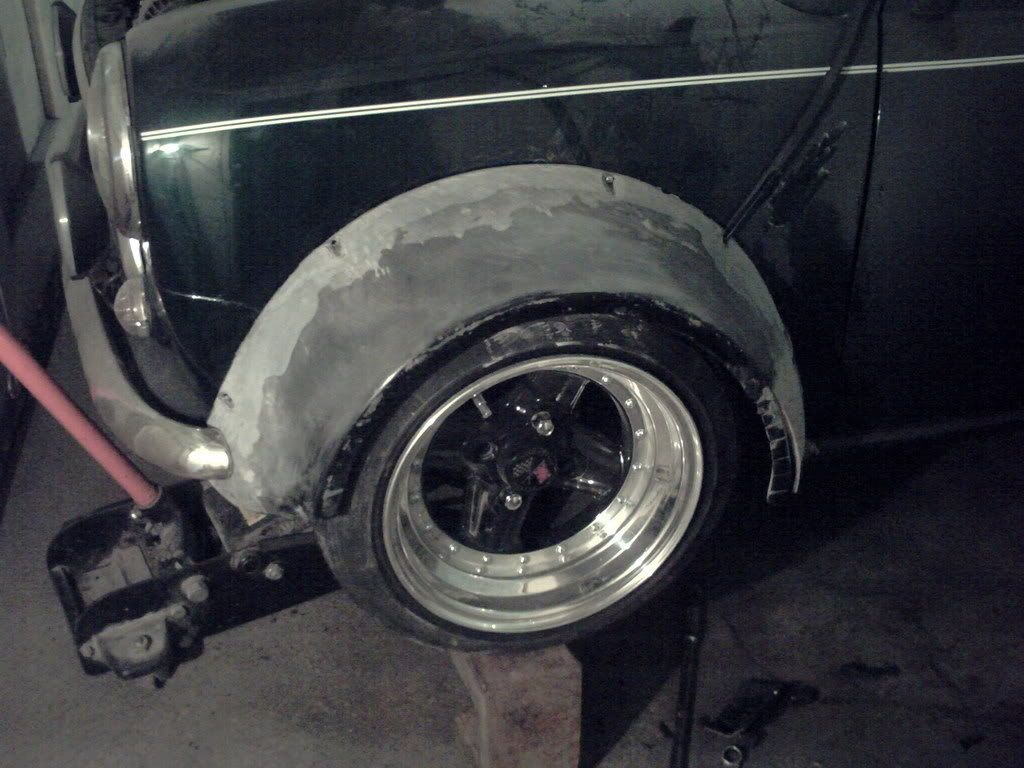
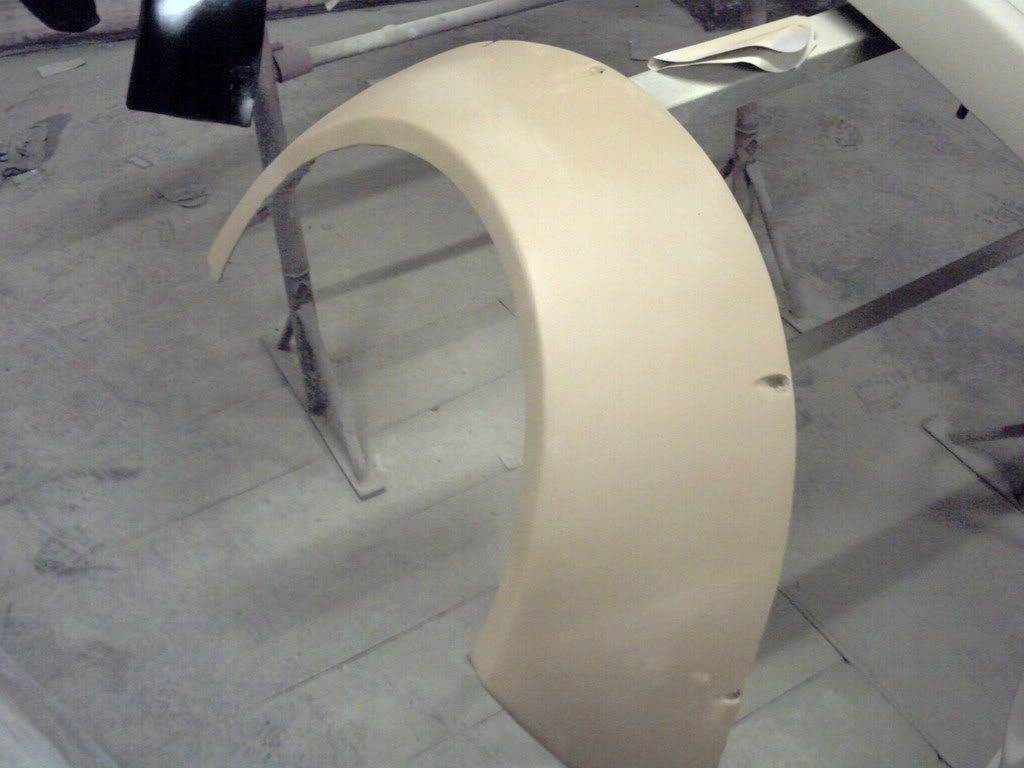
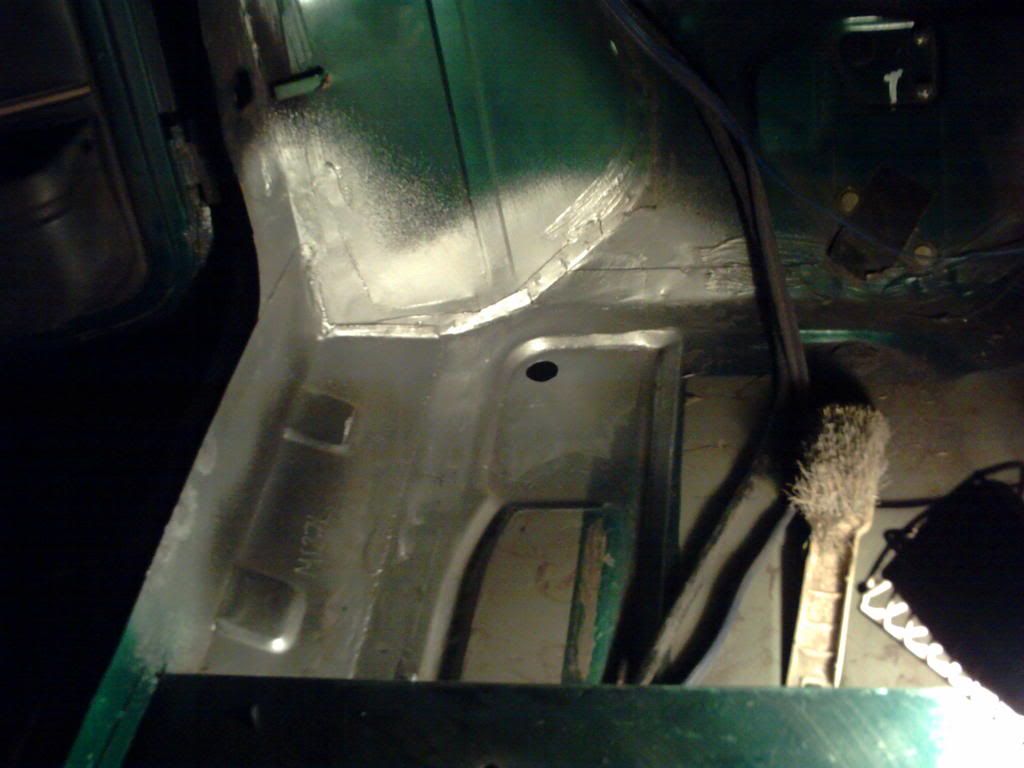
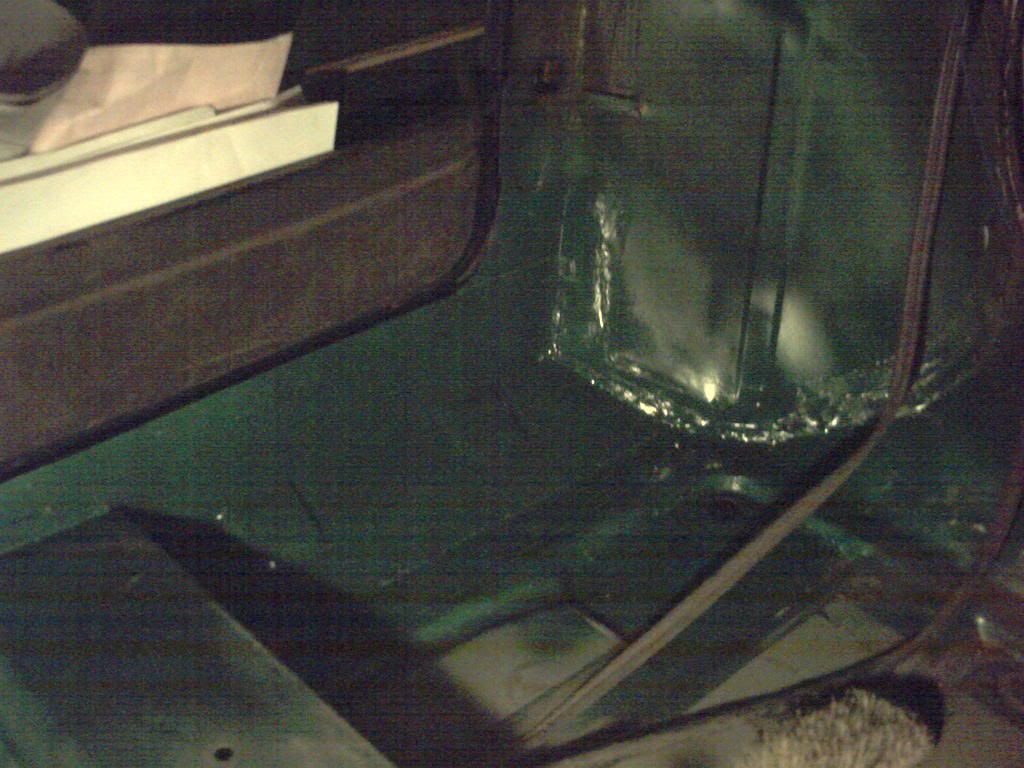
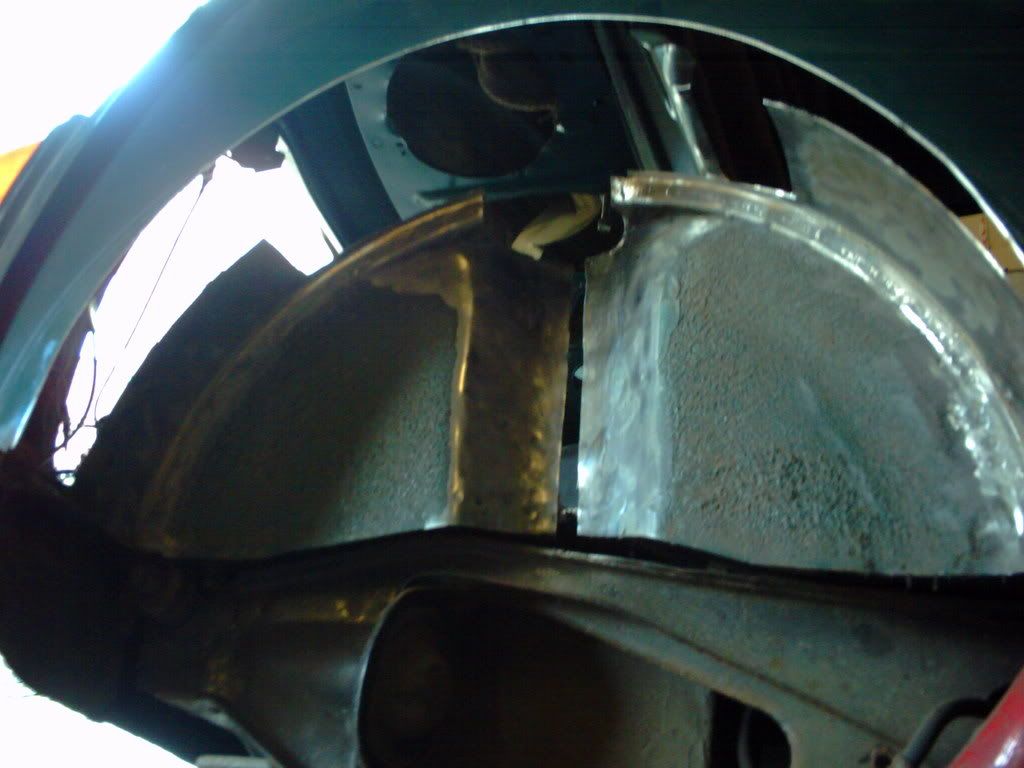
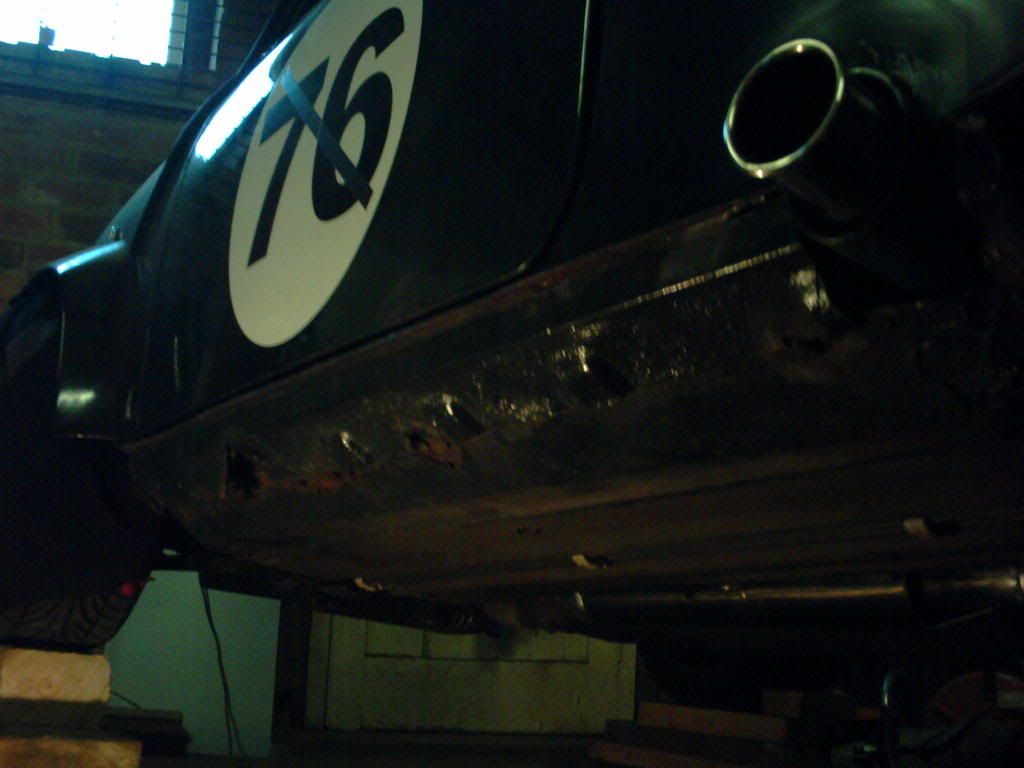
already i've put sills on the n/s and repaired the front floor and tubbed that side
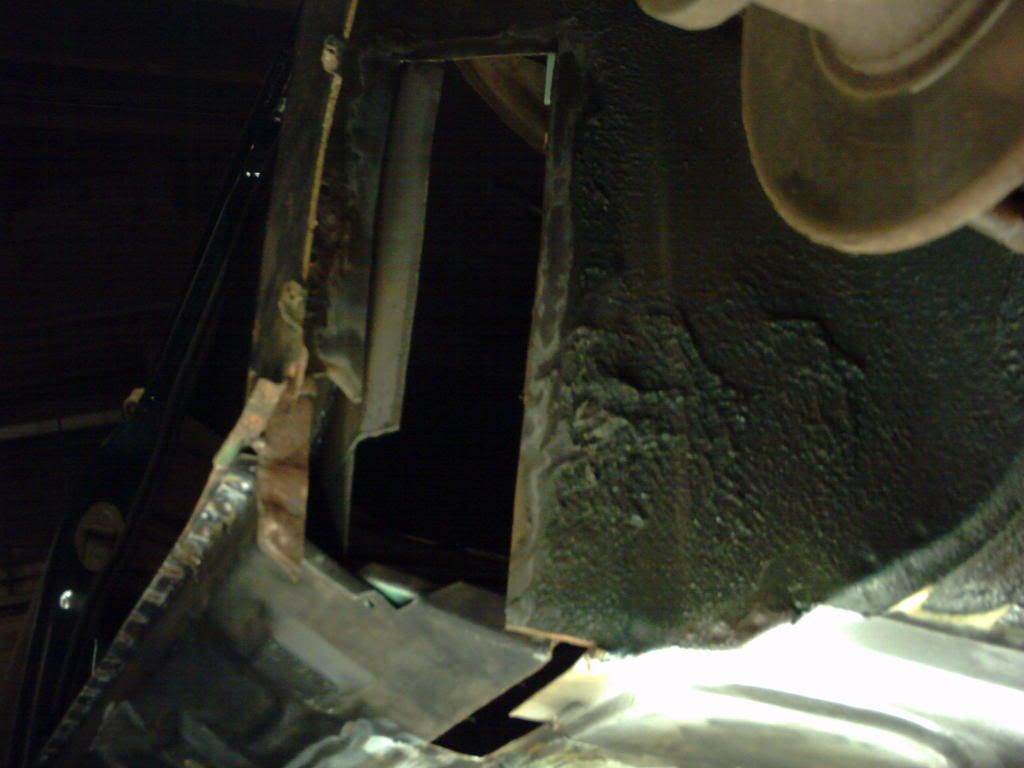
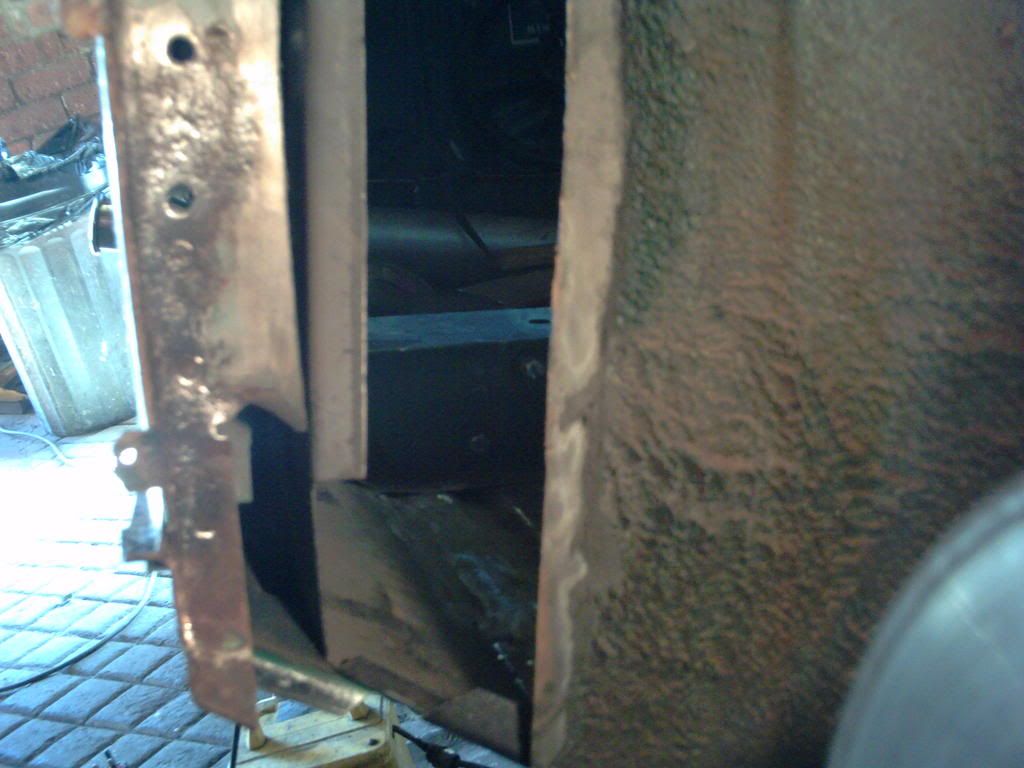
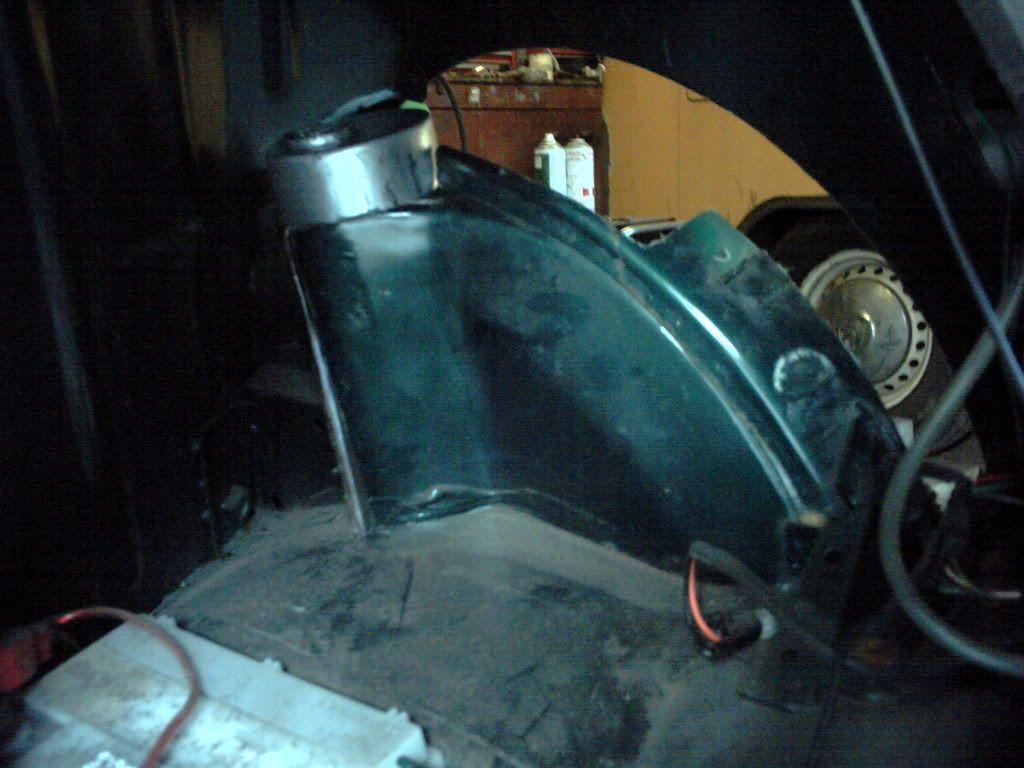
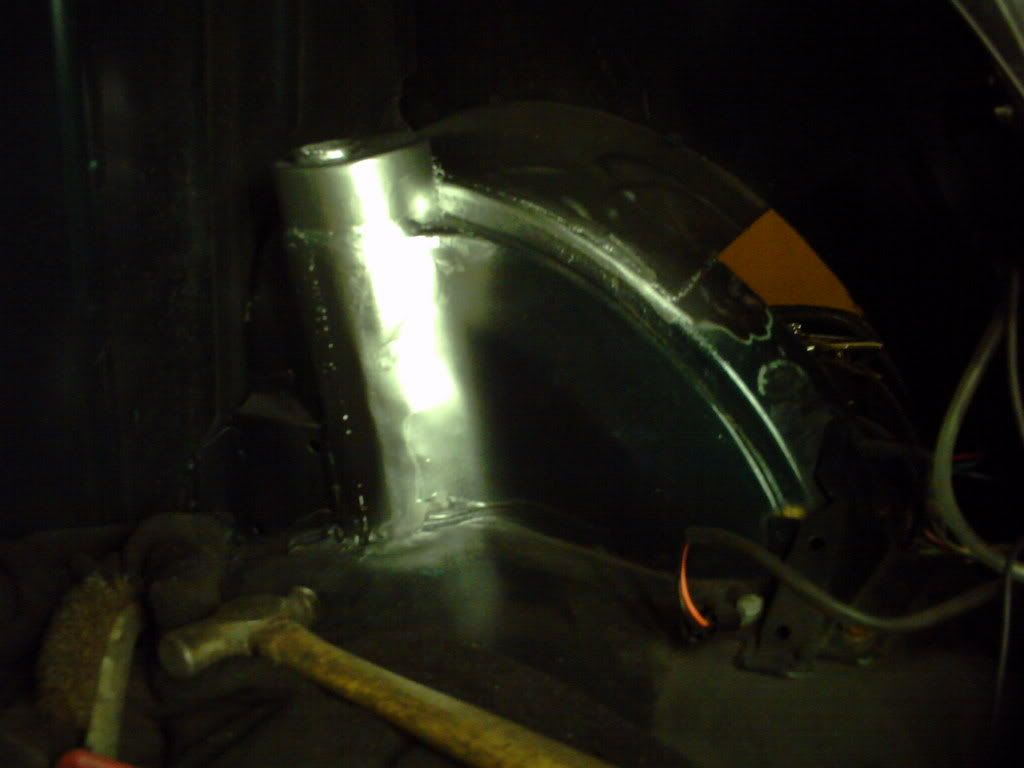
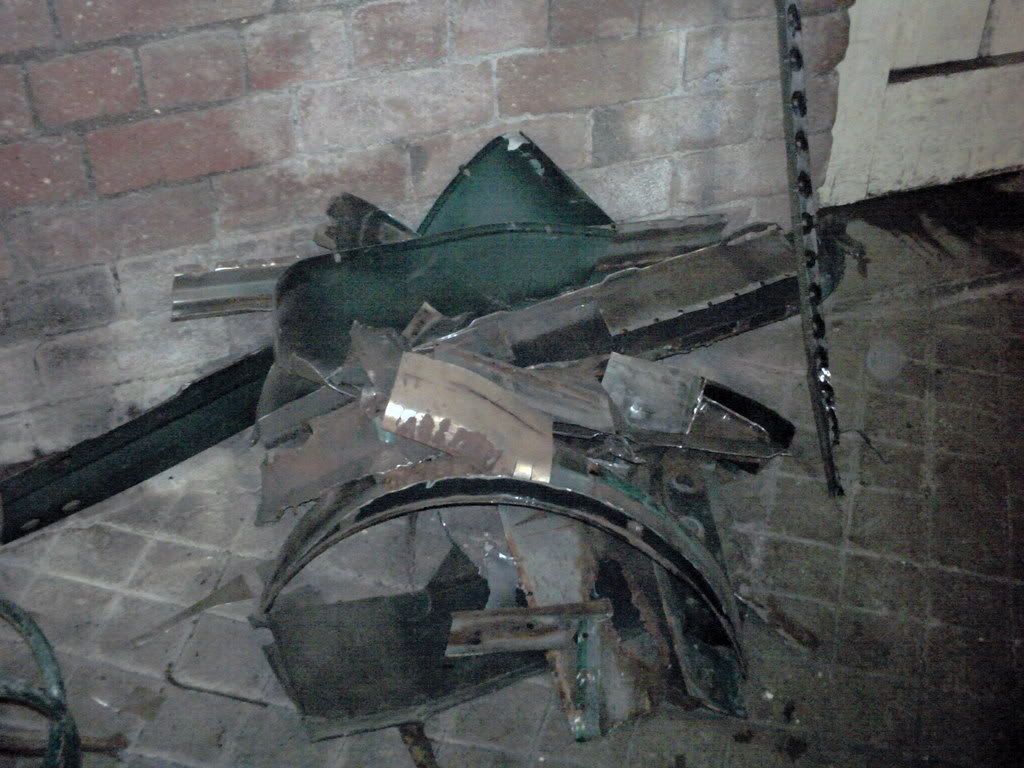
the drivers side was no better............. by a long shot!!!!!
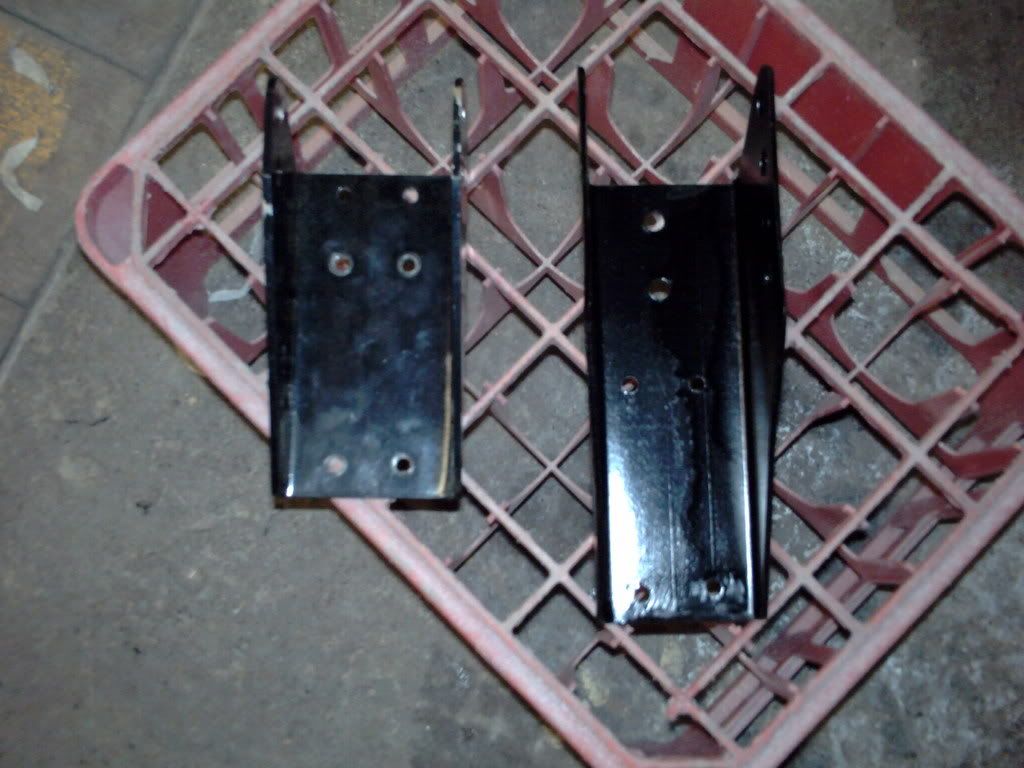
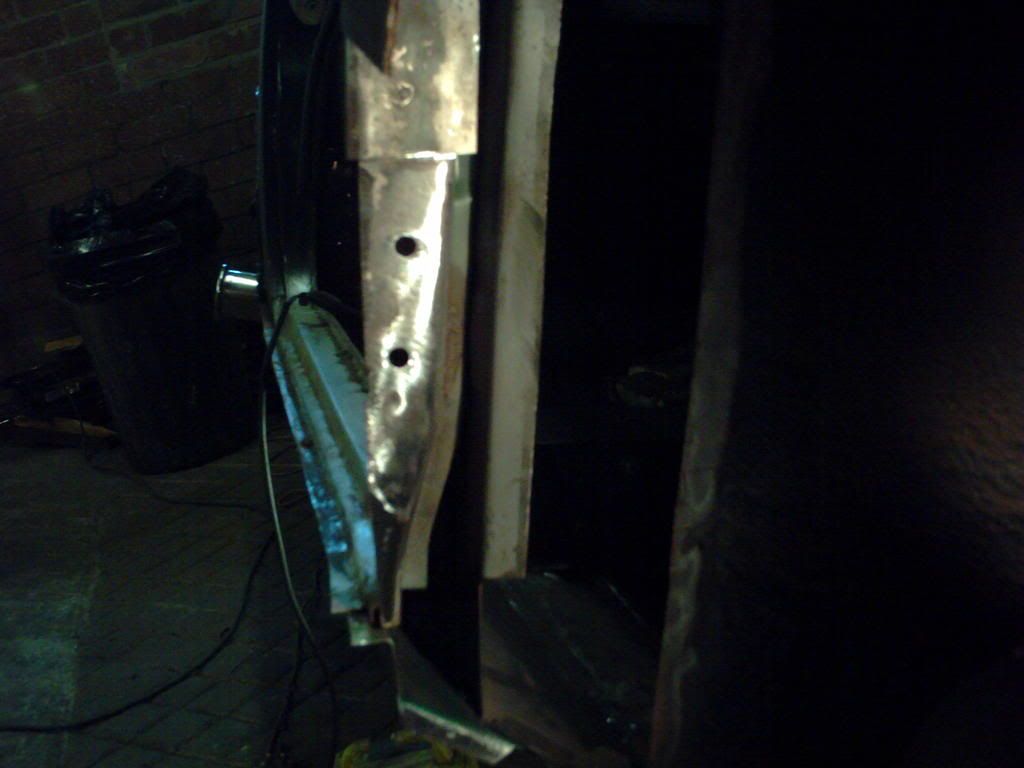
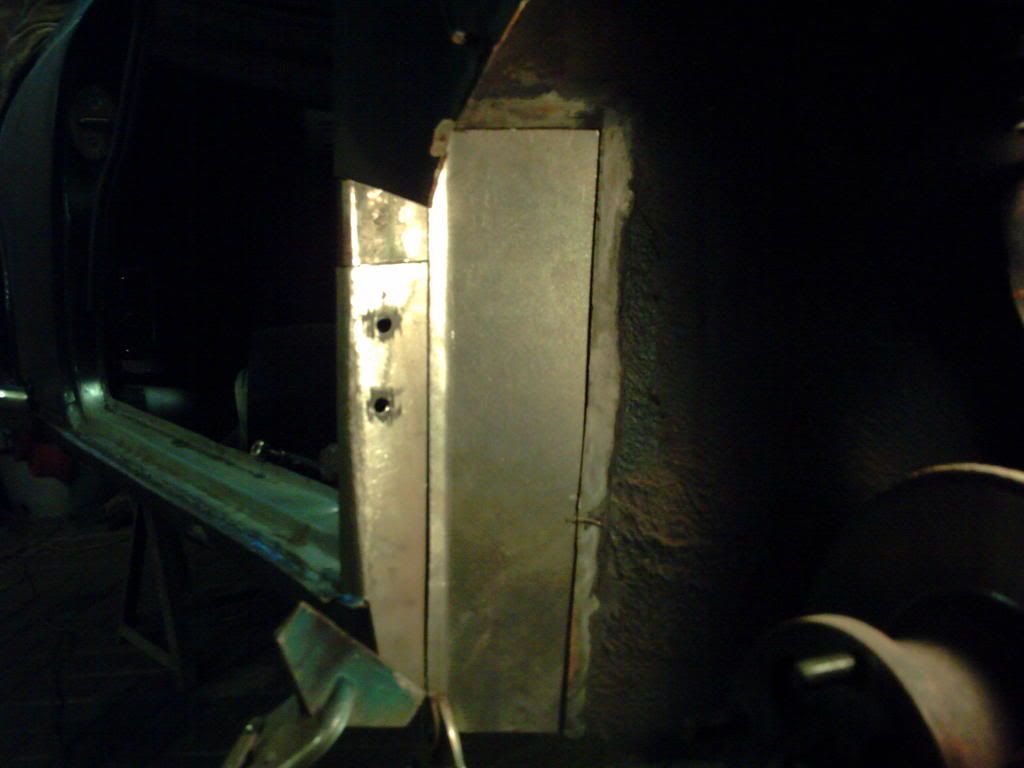
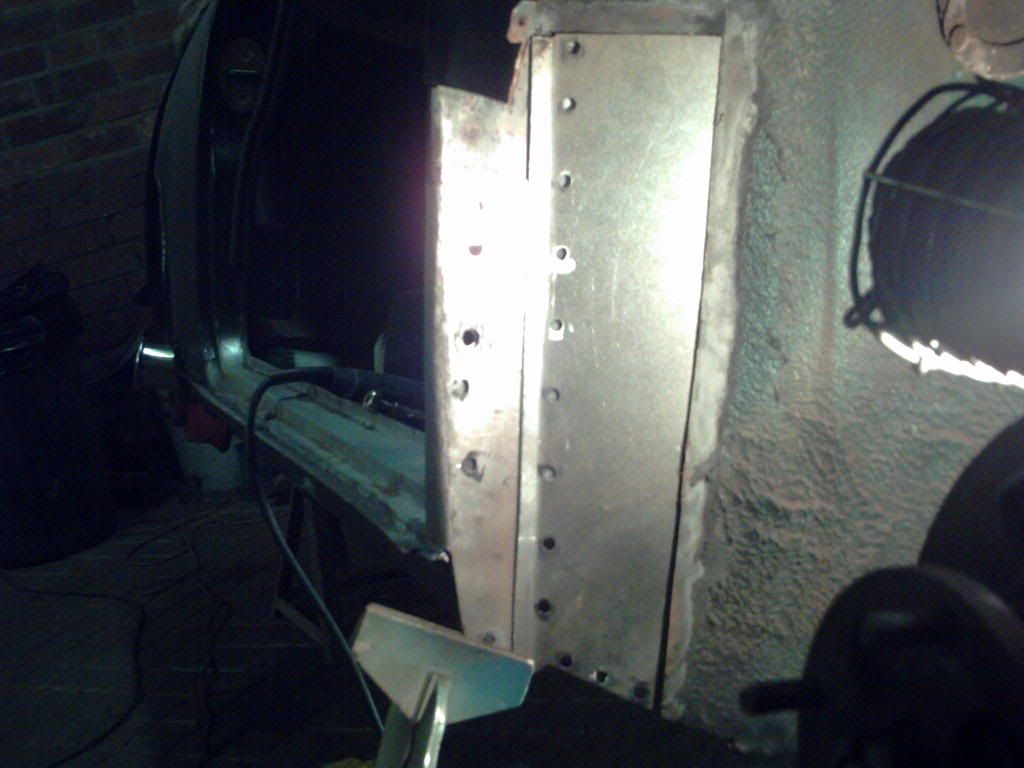
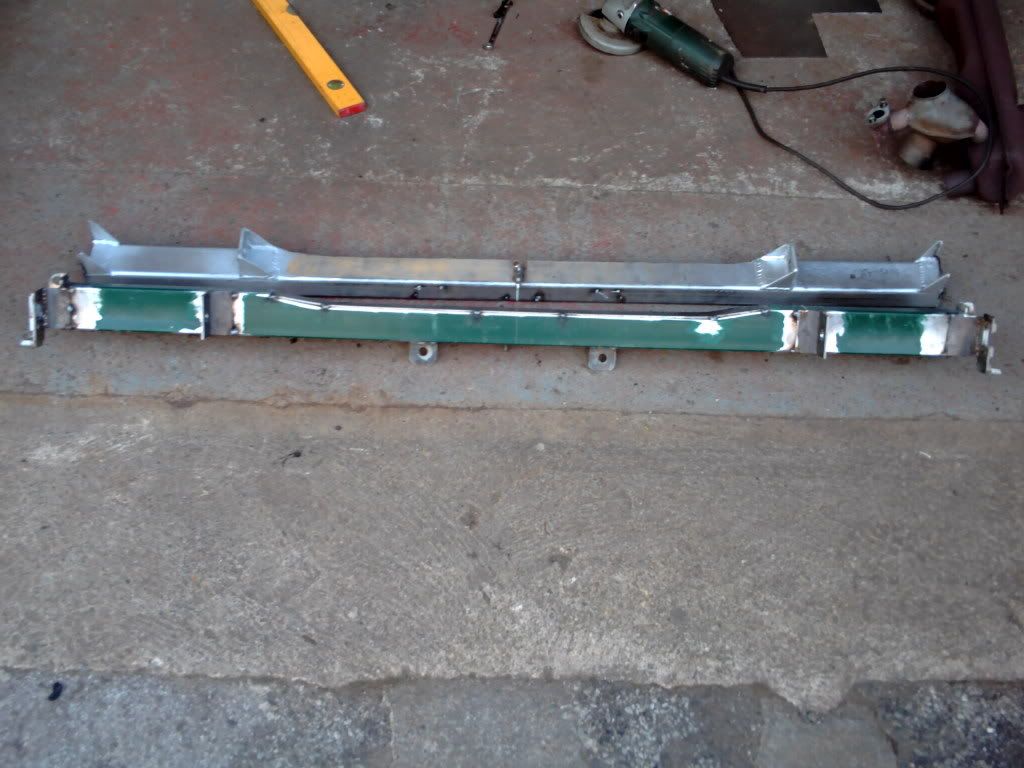
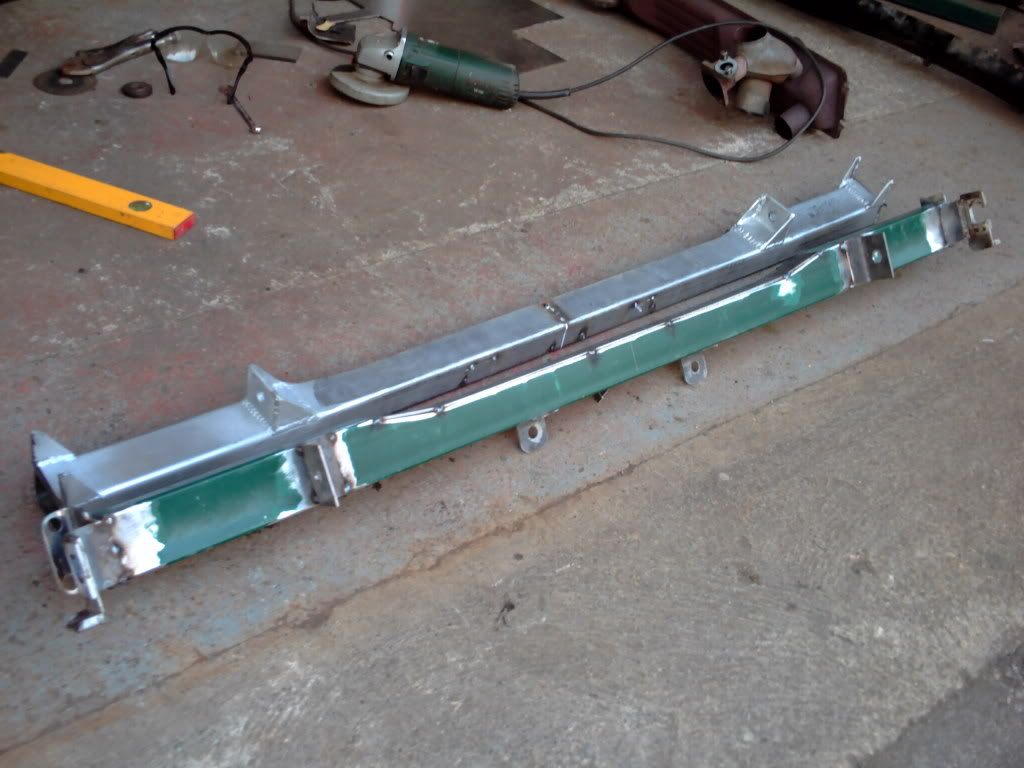
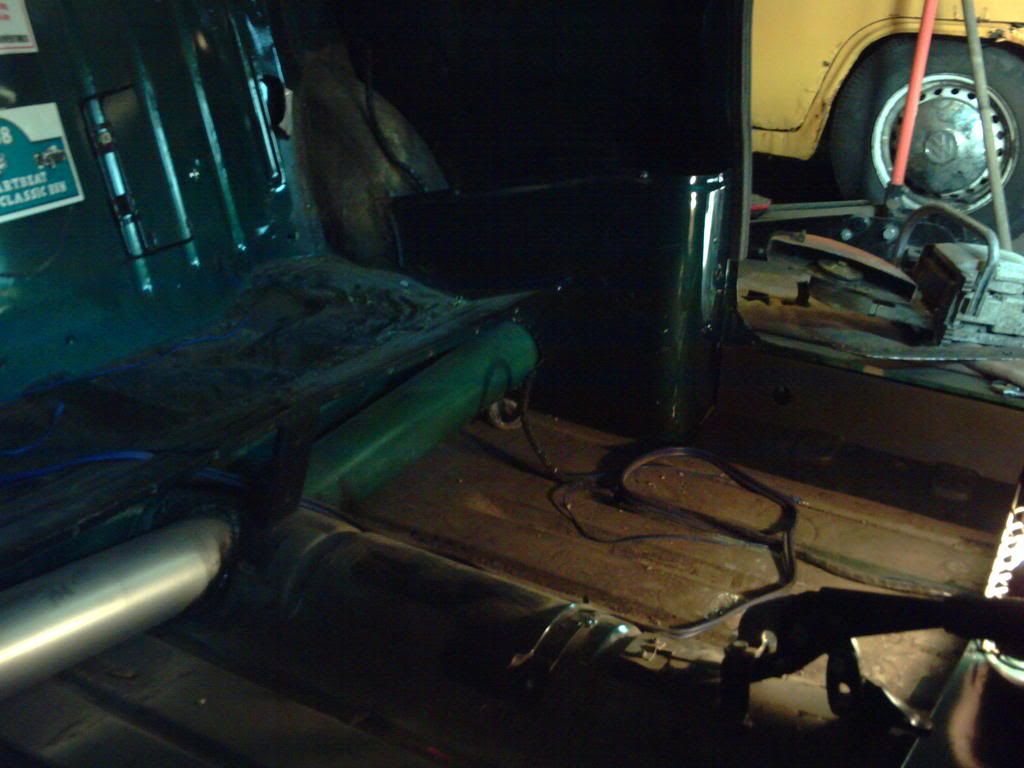
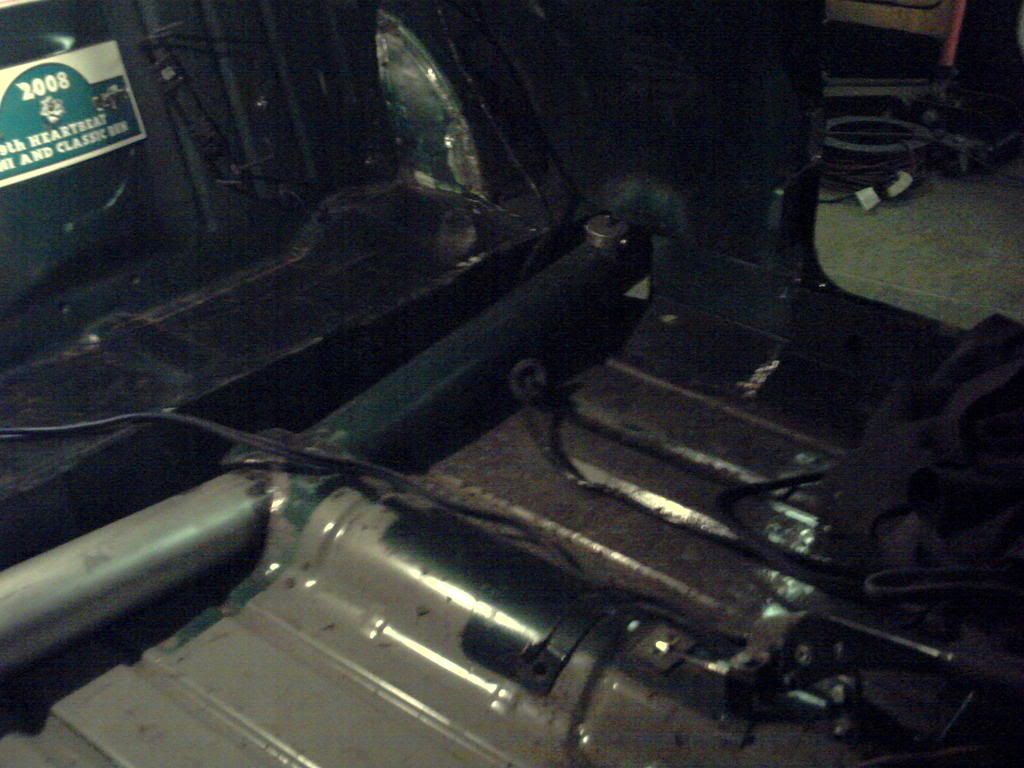
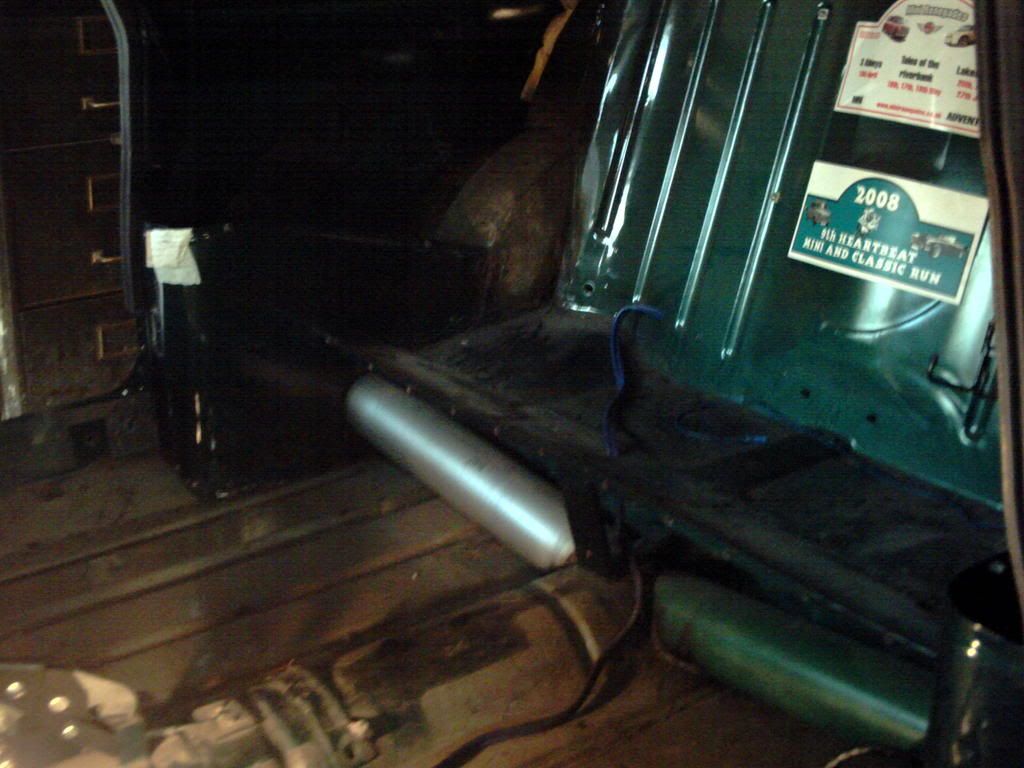
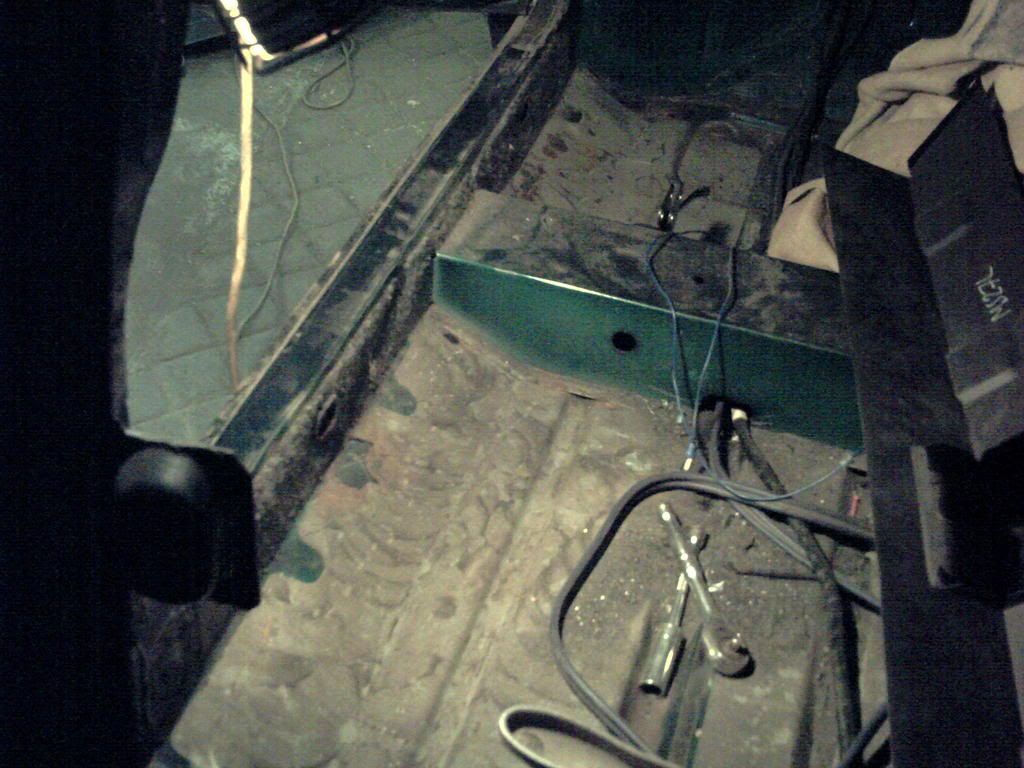
inner and outter sills, front floor, inner wheel arch, door step rear subframe mounts.........................................................
i found a tin worm, spent ages looking for all his mates!!!!!!!!!!!!! :evil:
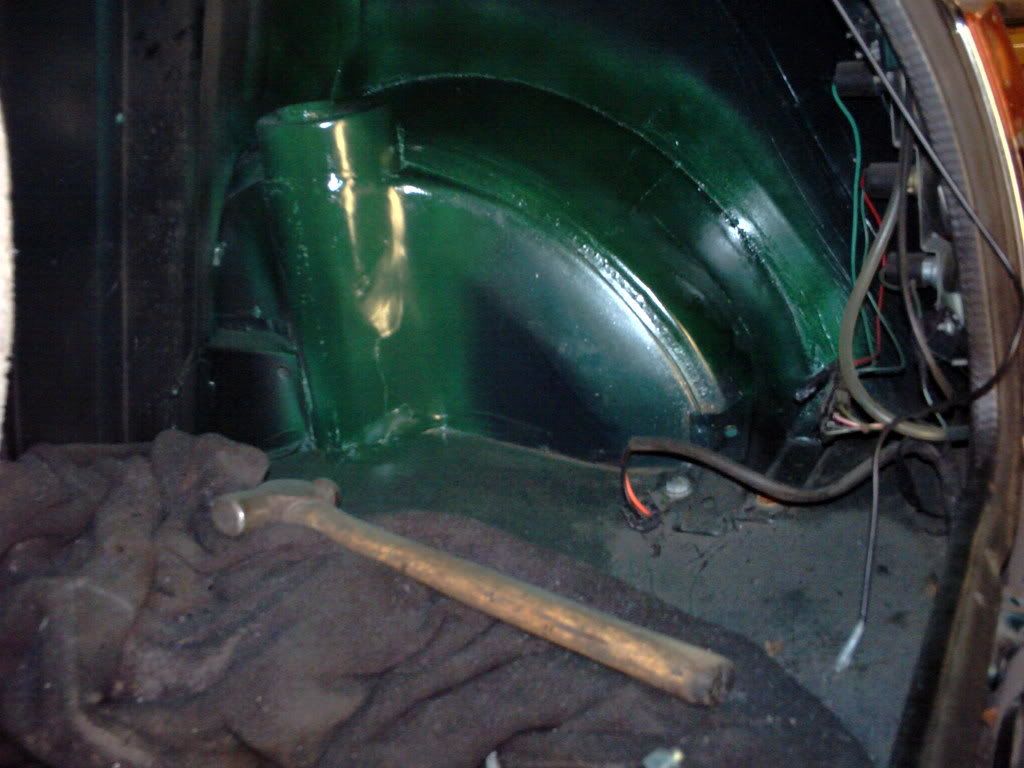
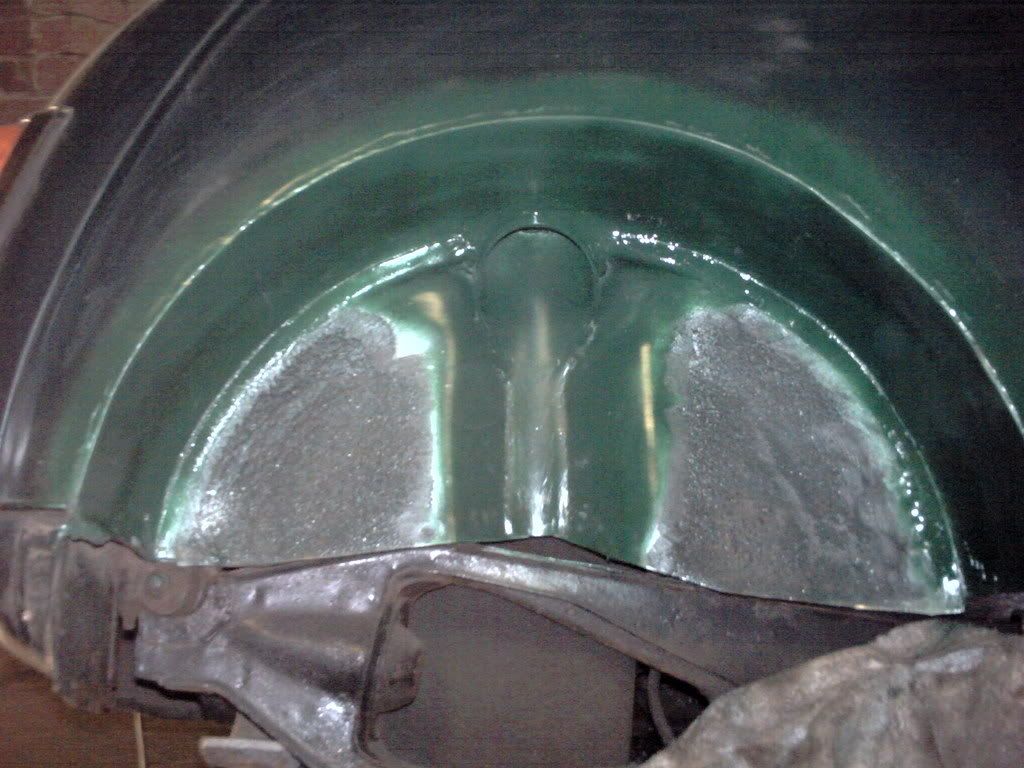
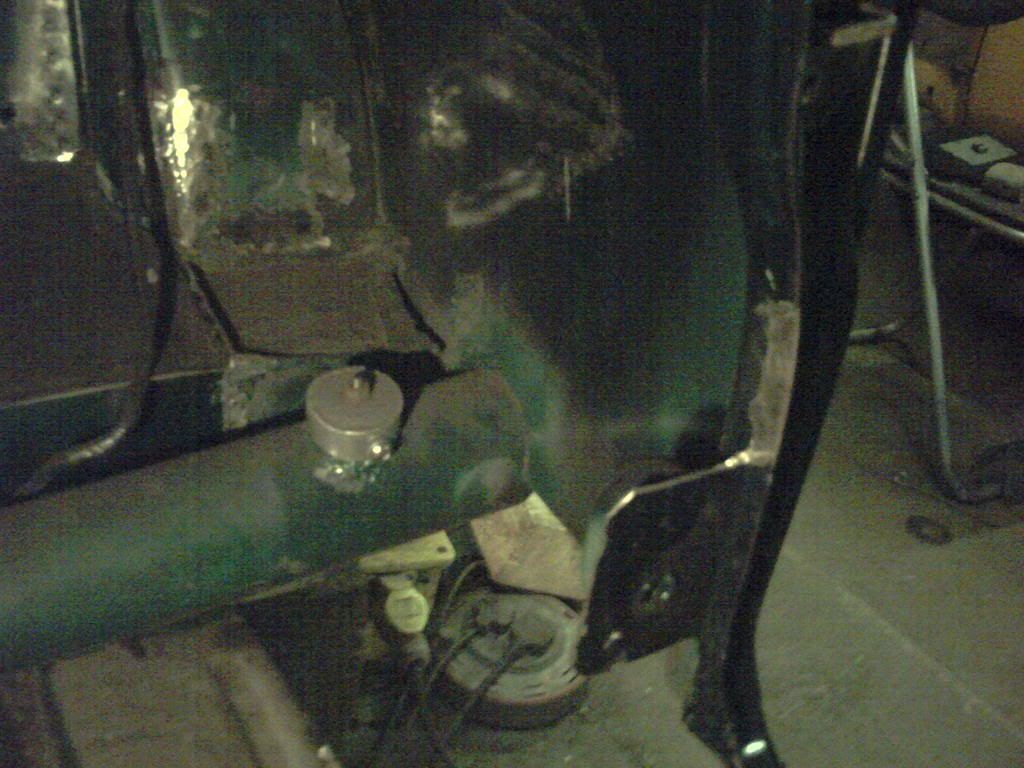
the floors look ok, but you can see little bits starting to come through, so ive done them before they get too bad. ive done the inner and outer sills, patched the floor, and tubbed the n/s
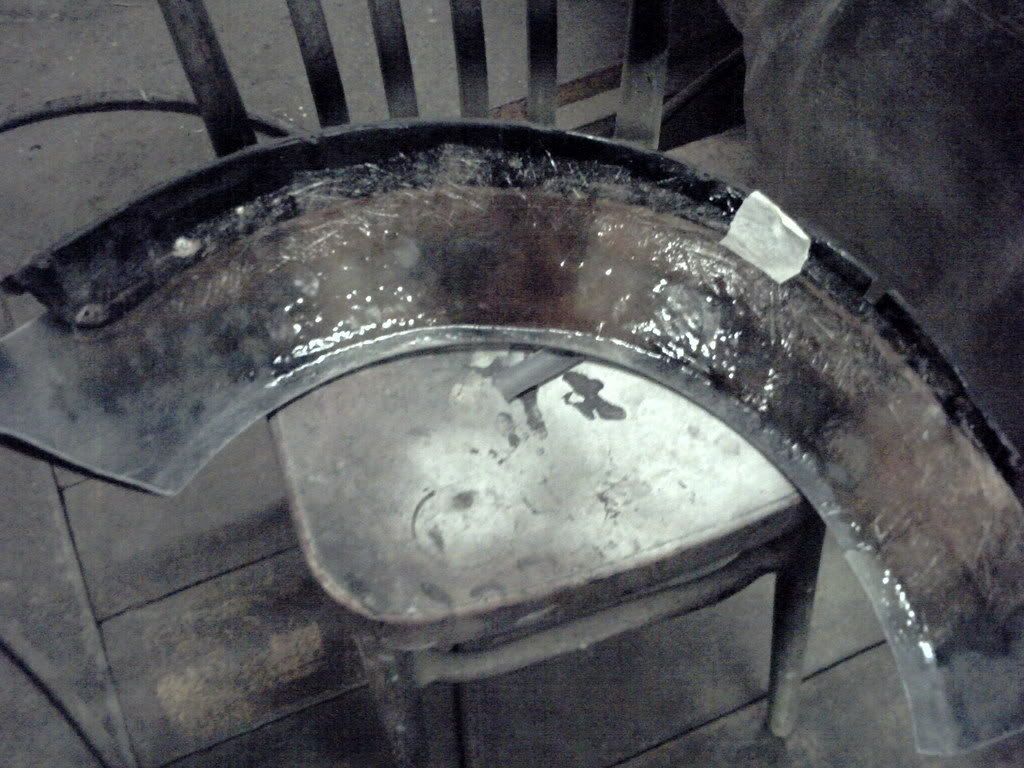
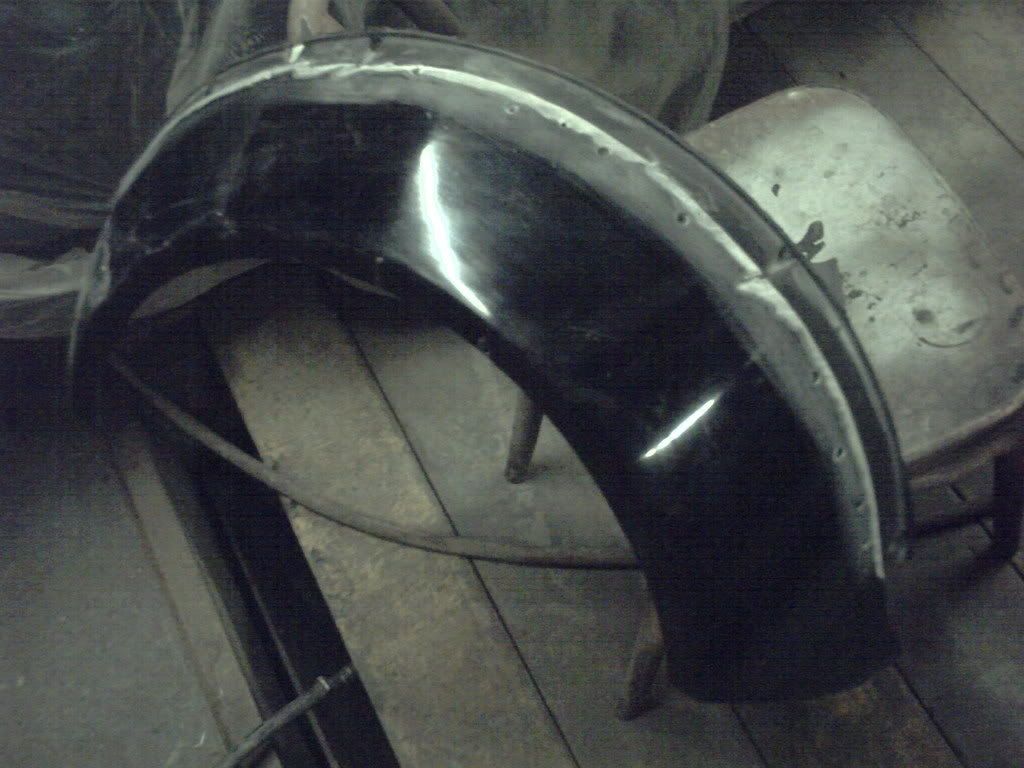
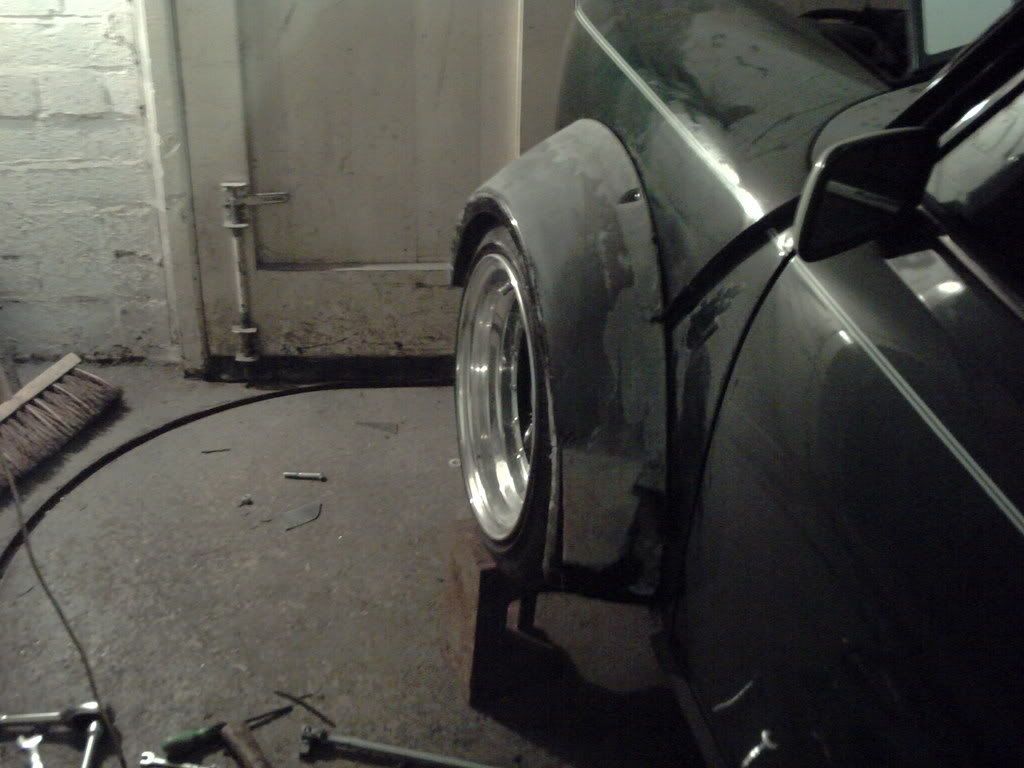
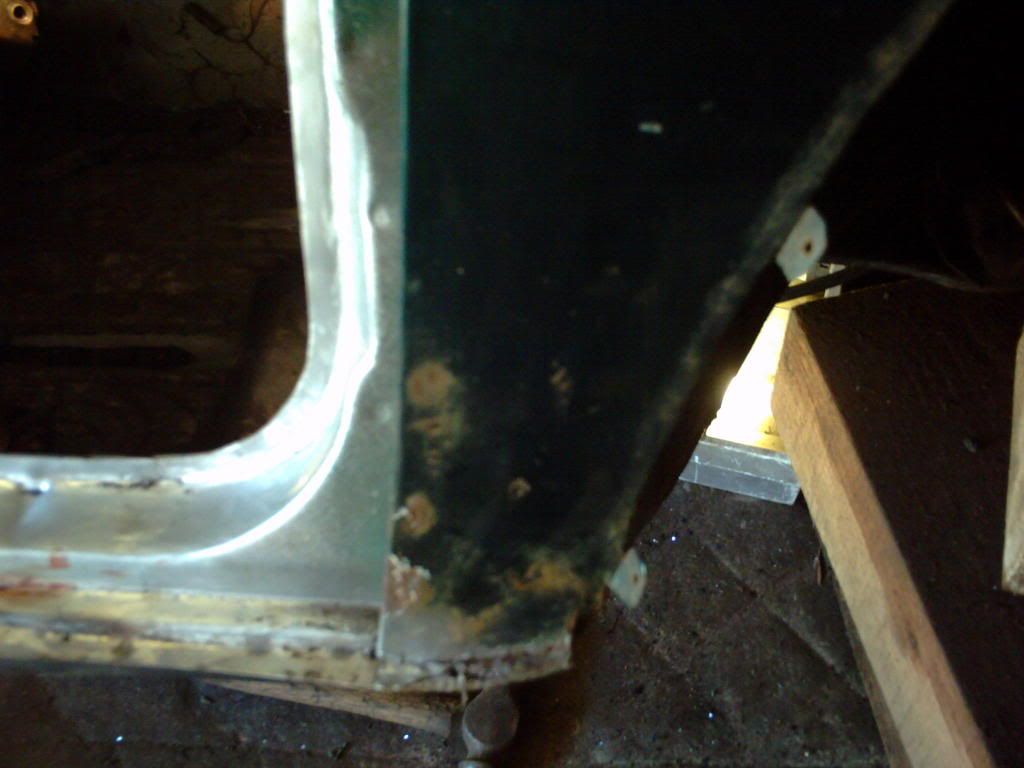
turned it around and started the o/s, ive done the inner and outer sills, put a new door step on and i'm on with the floor now.
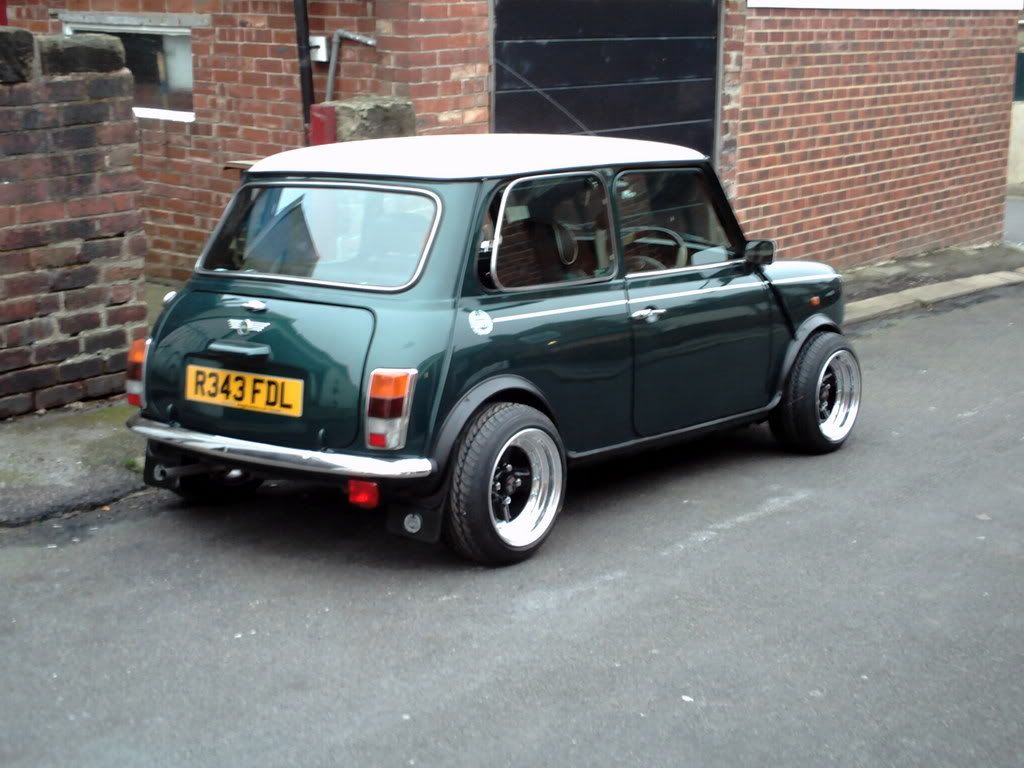
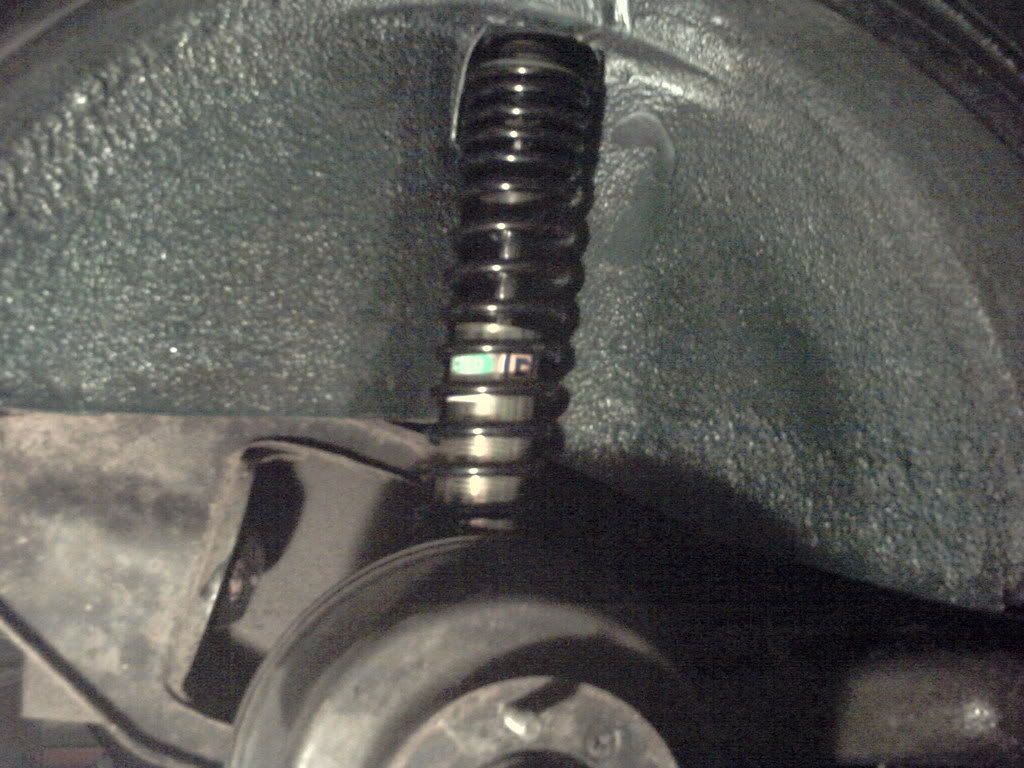
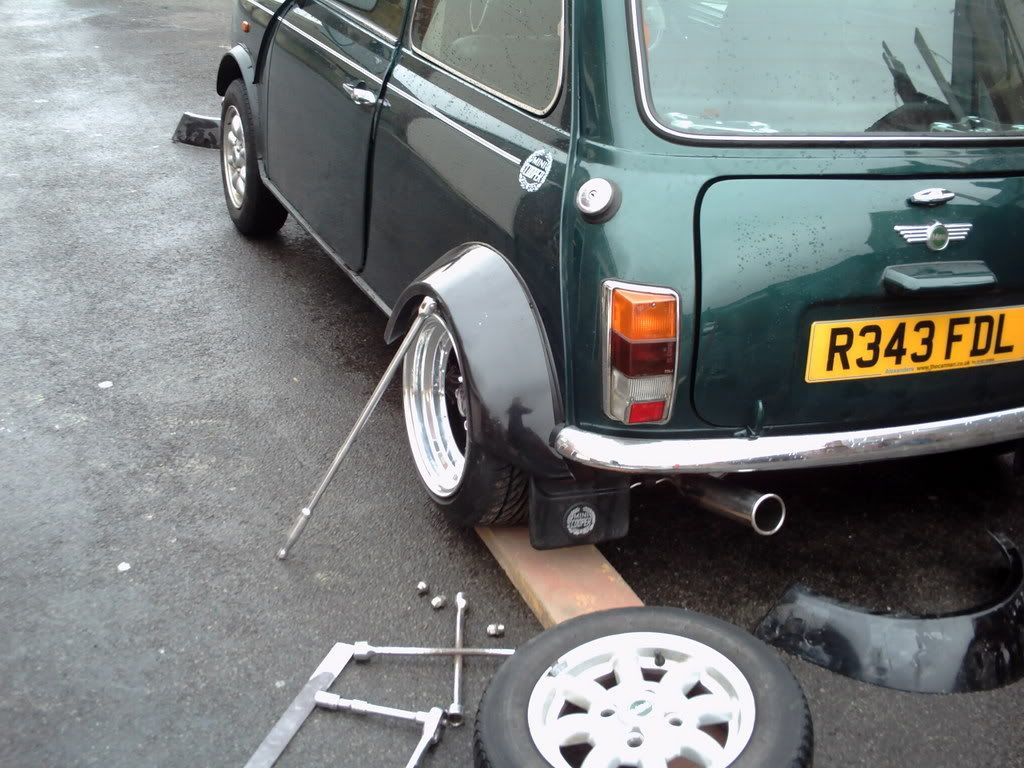
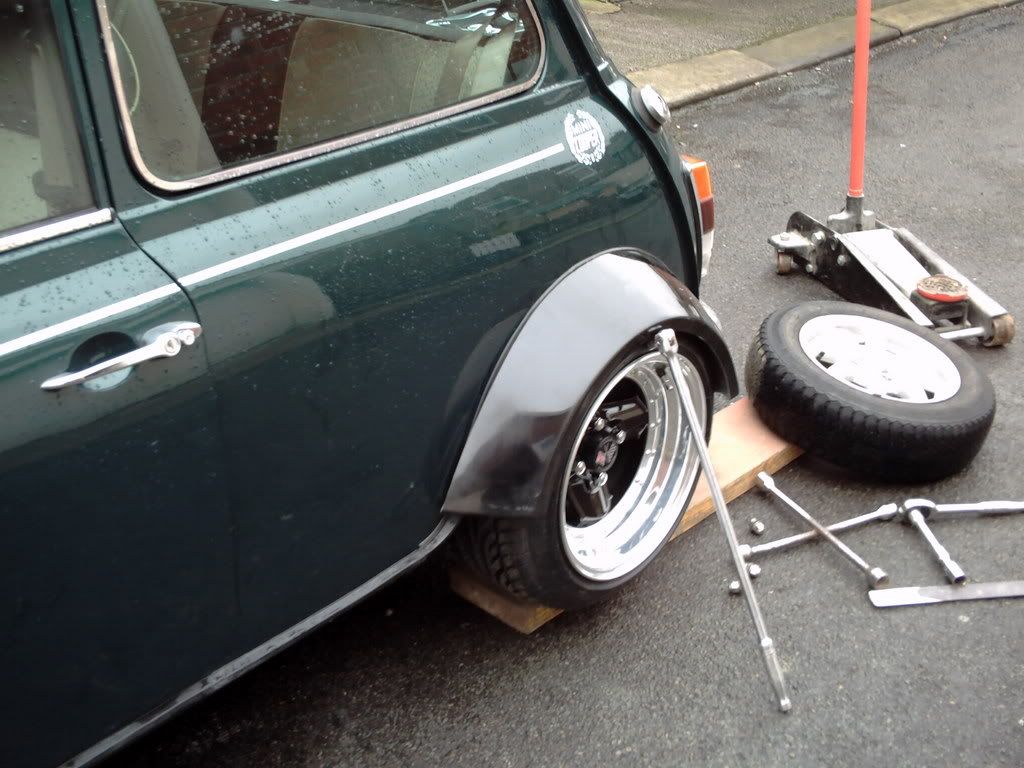
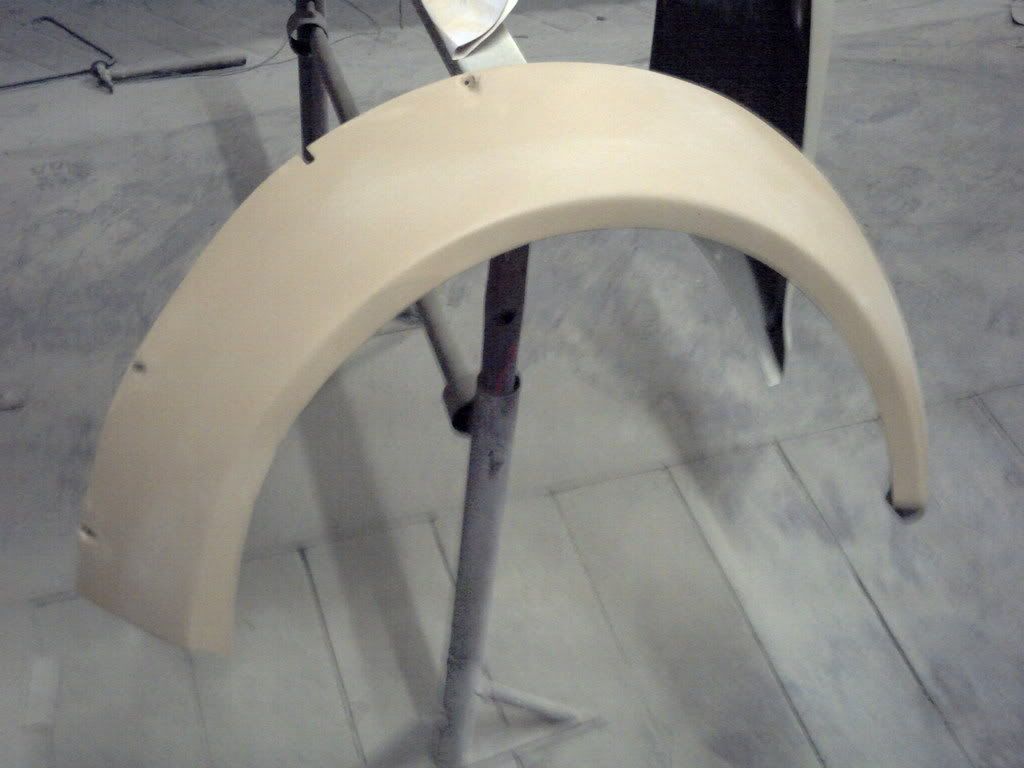
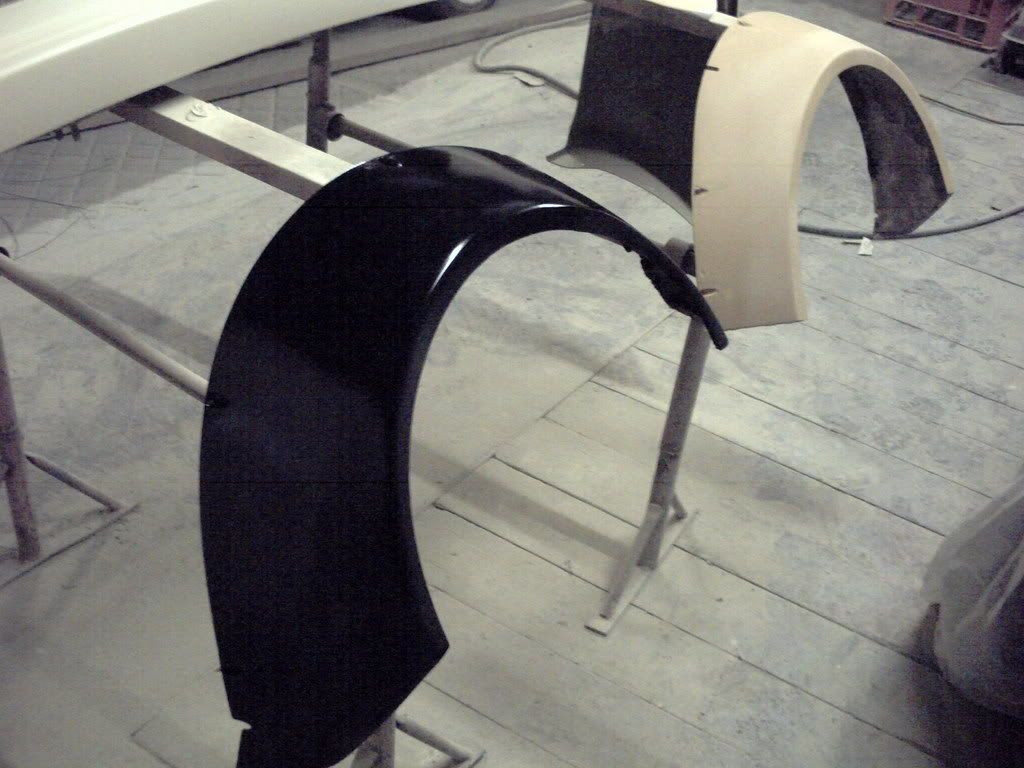
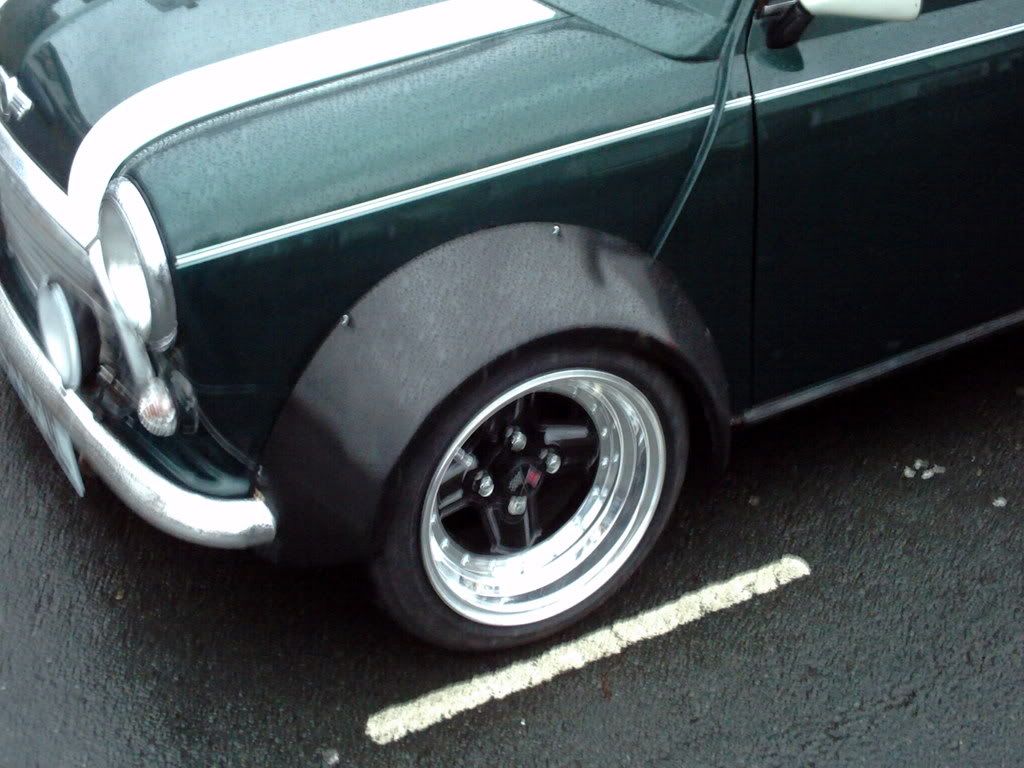
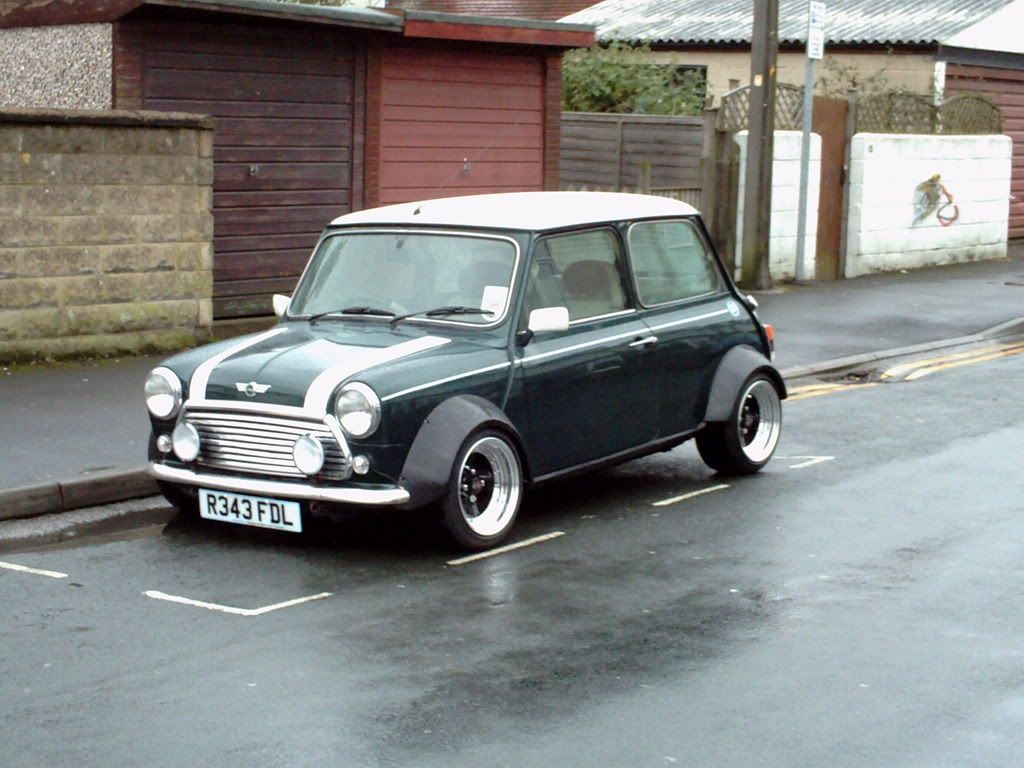
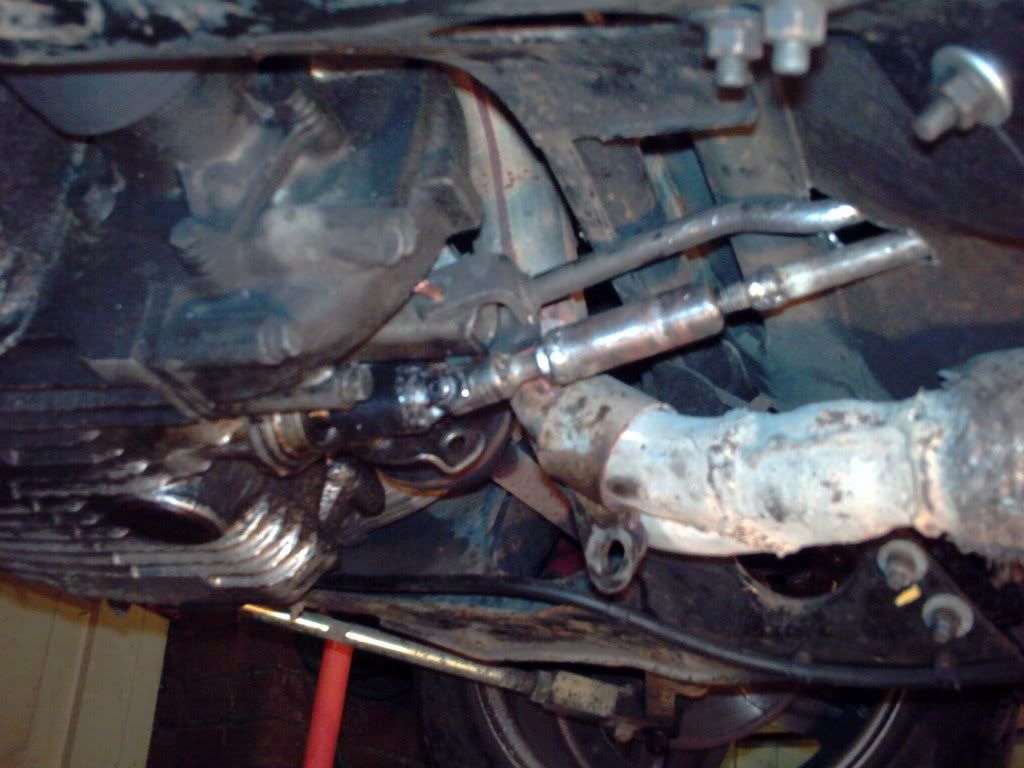
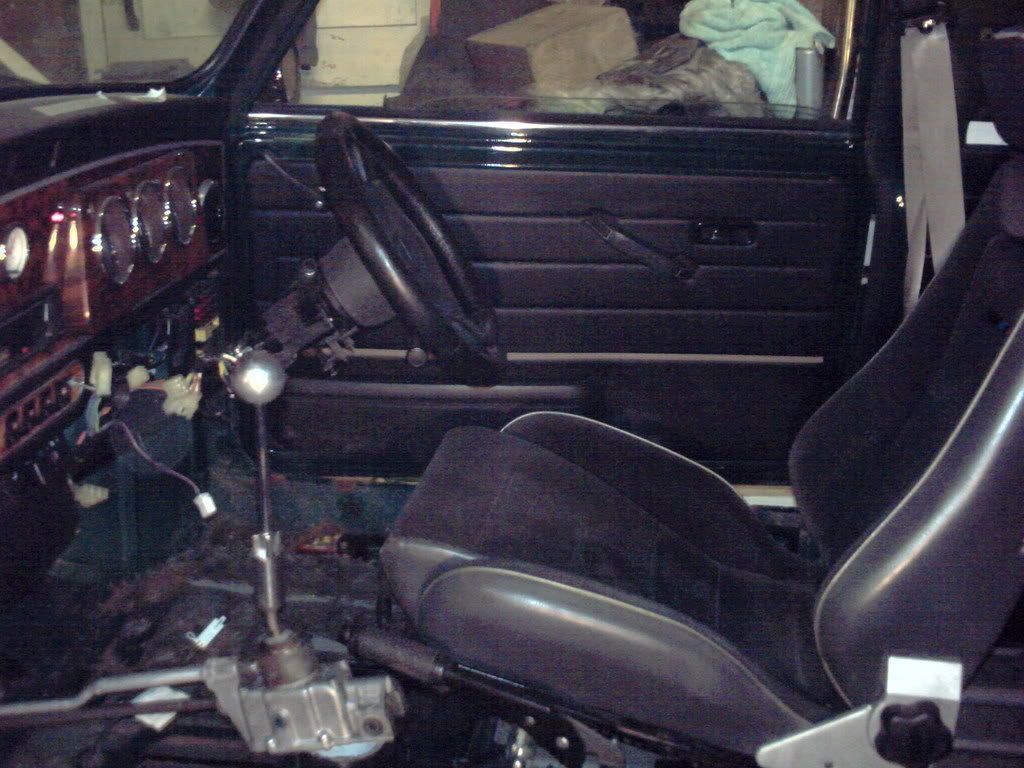
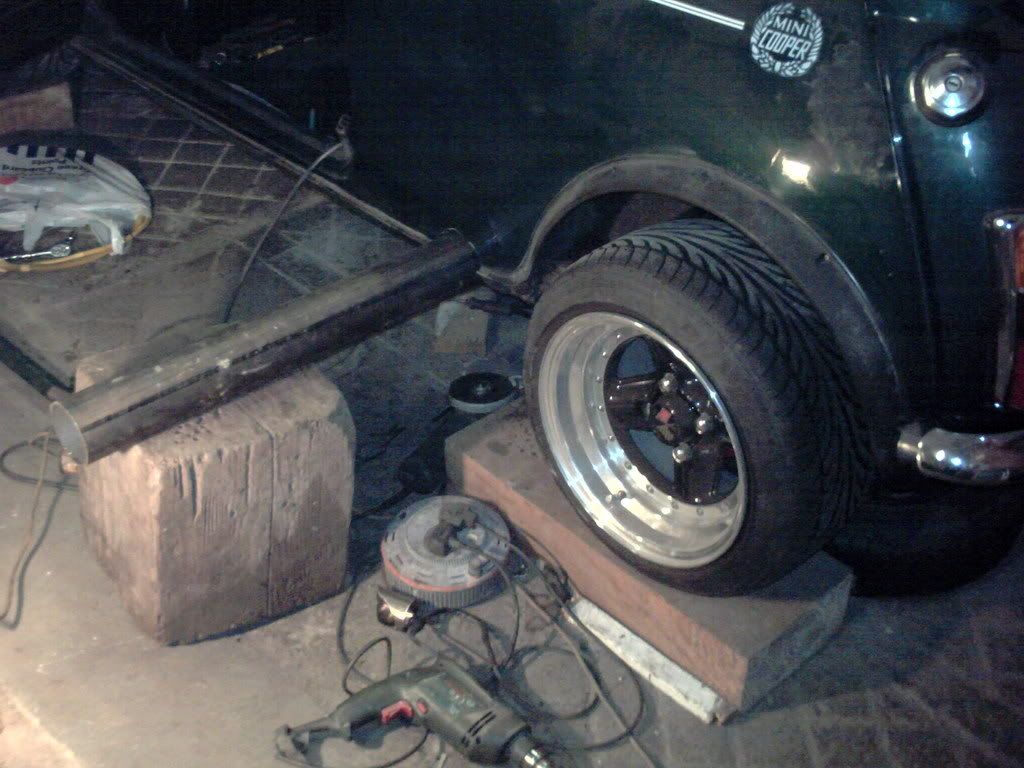
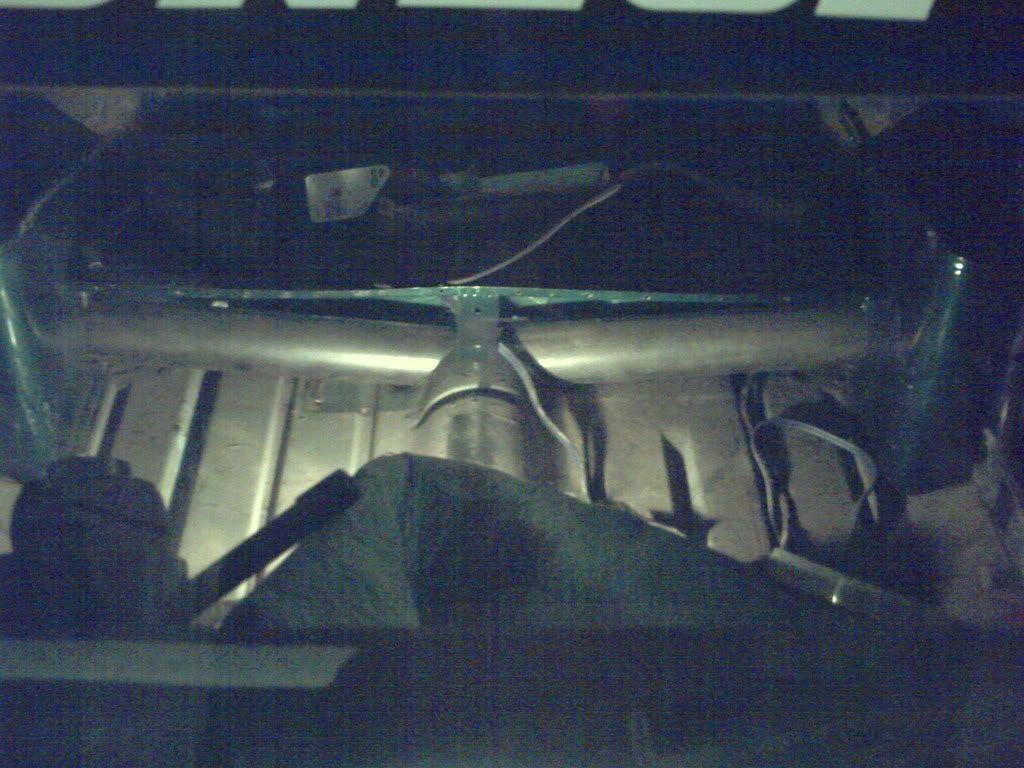
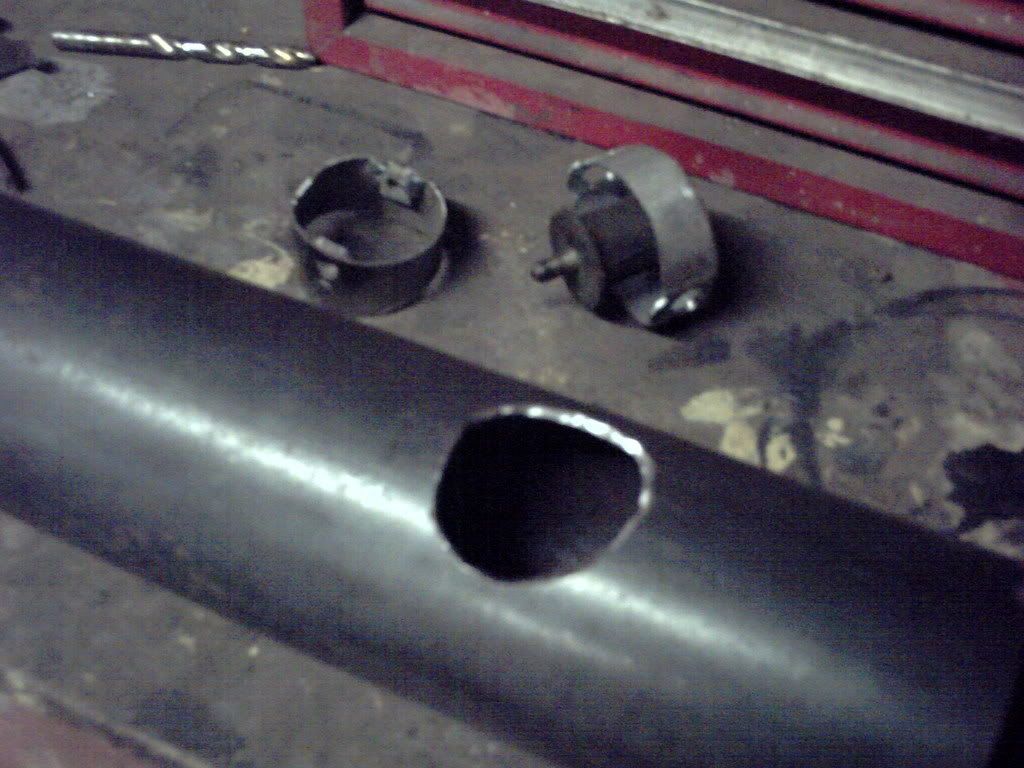
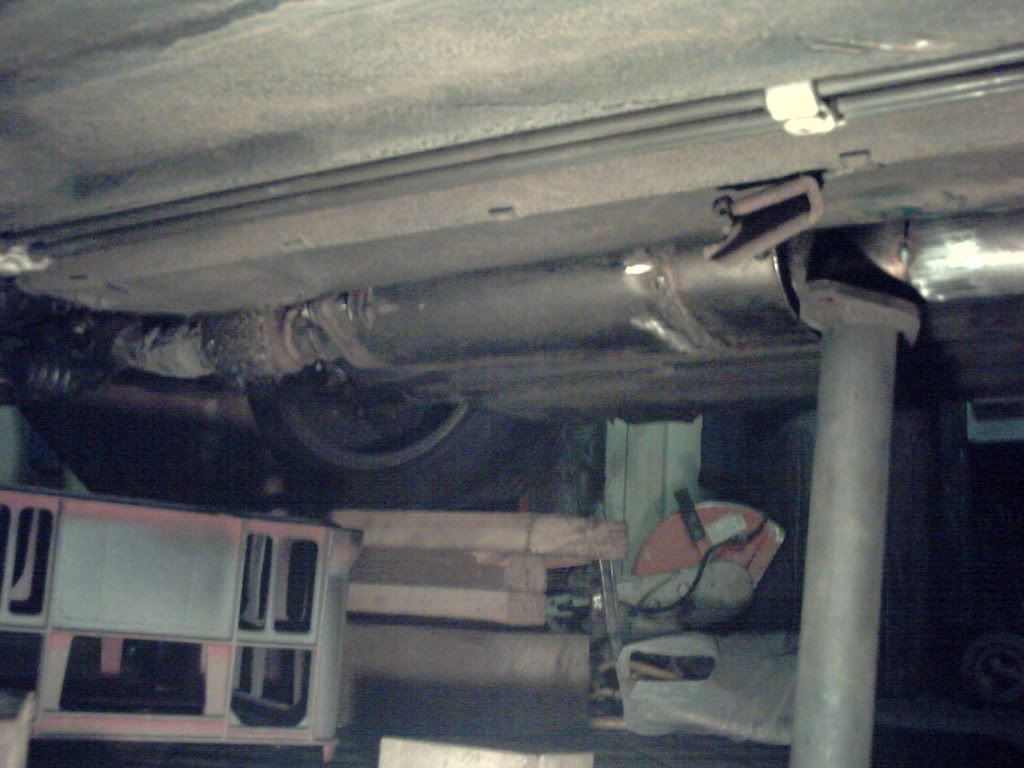
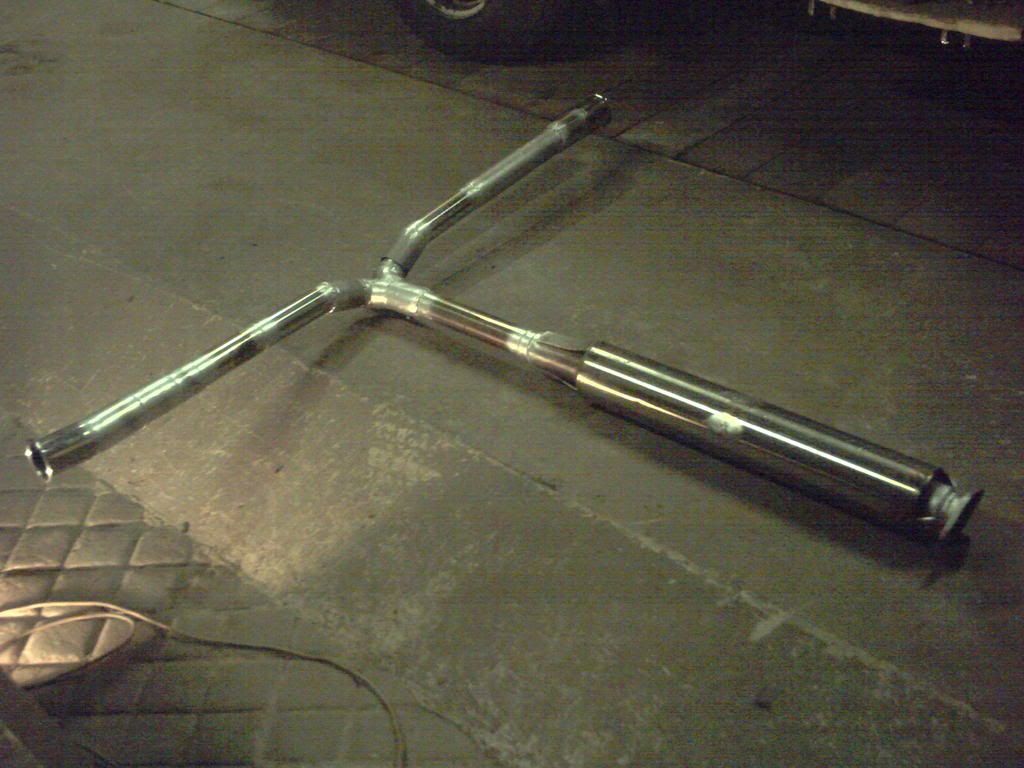
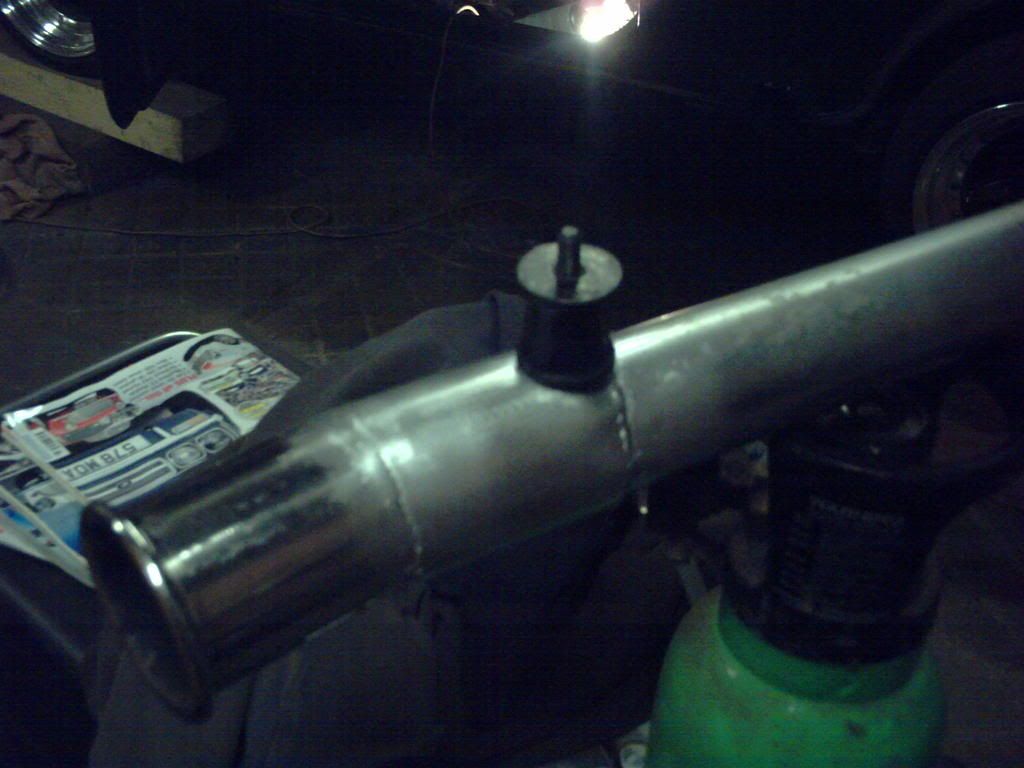
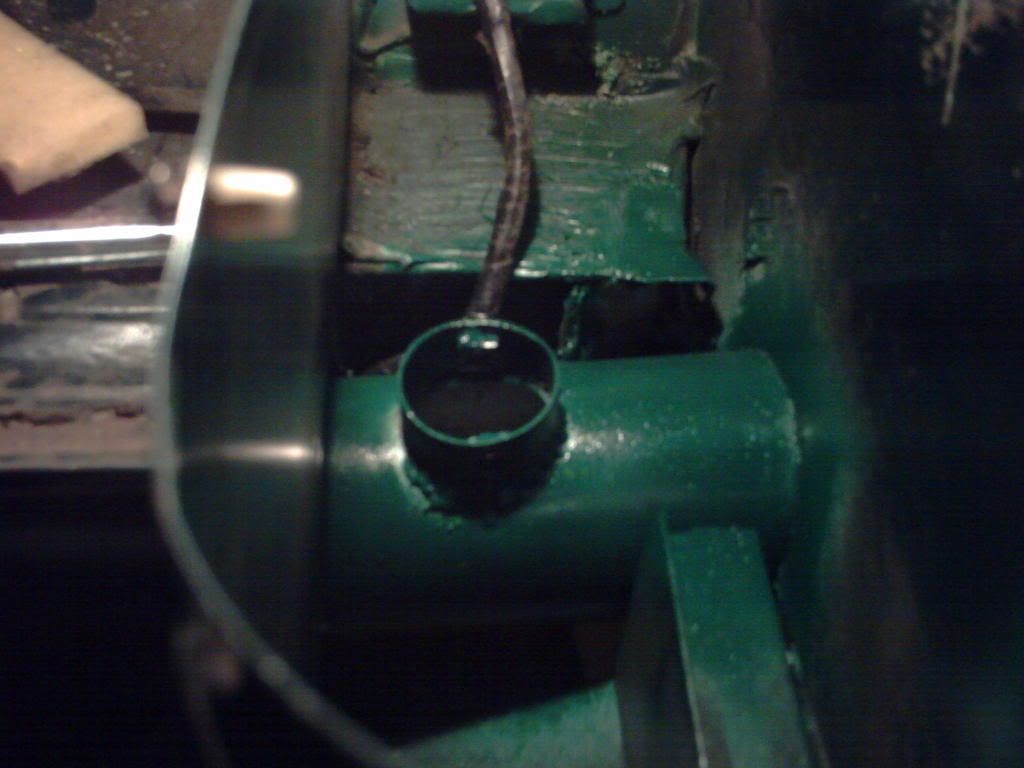
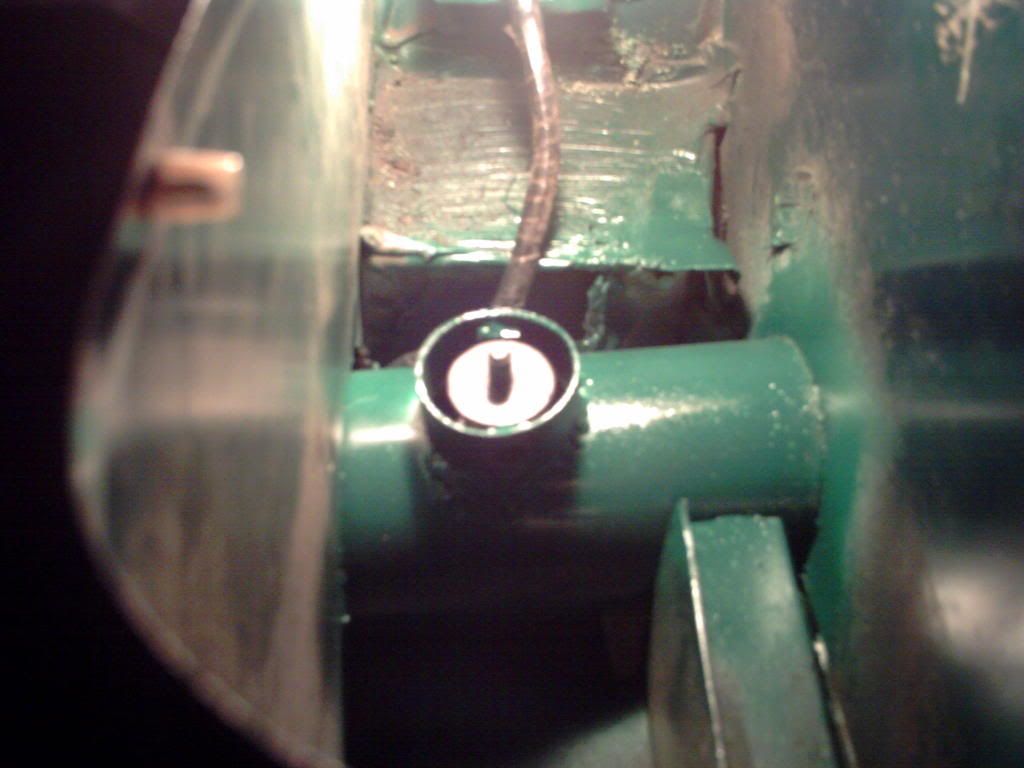
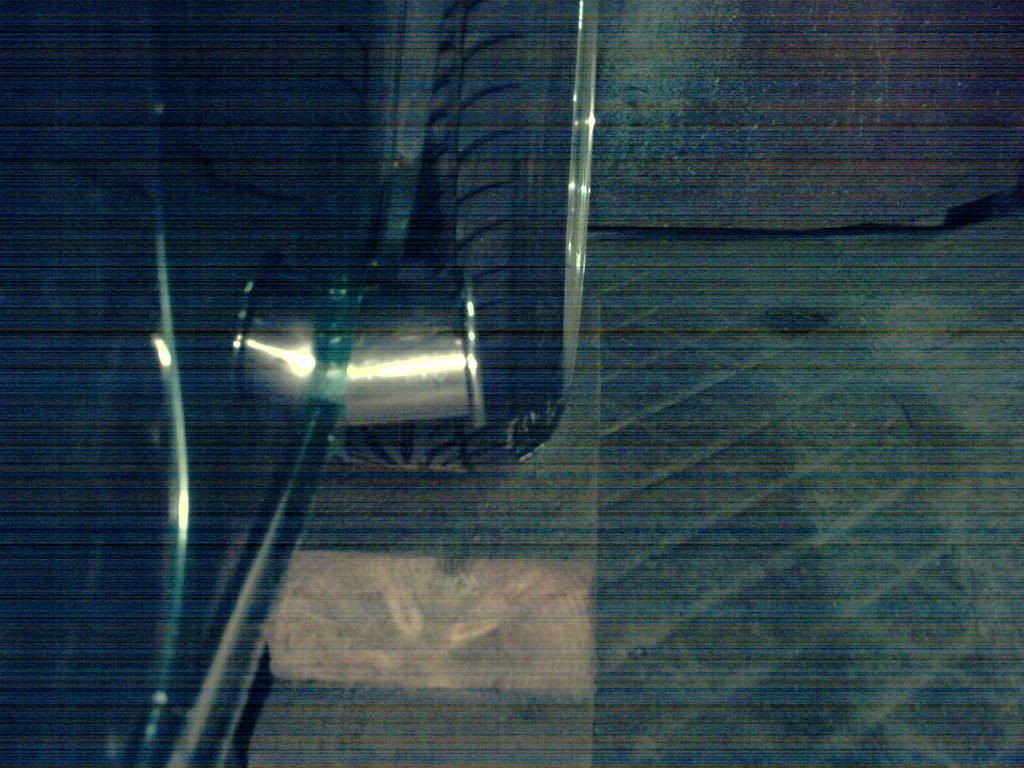
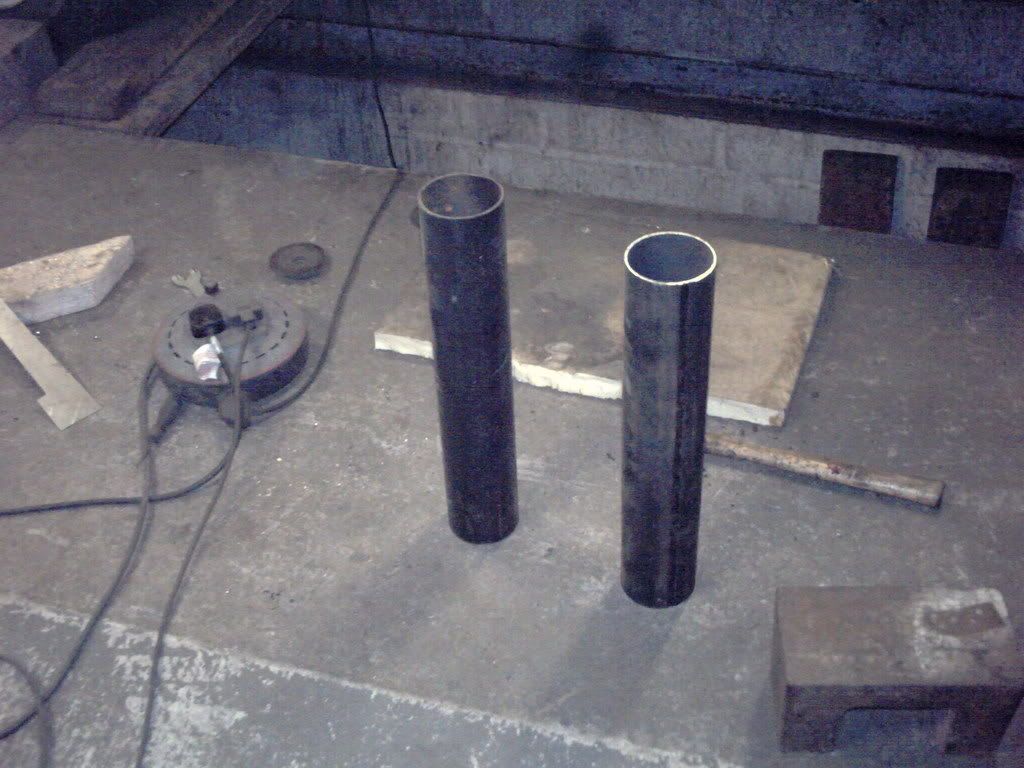
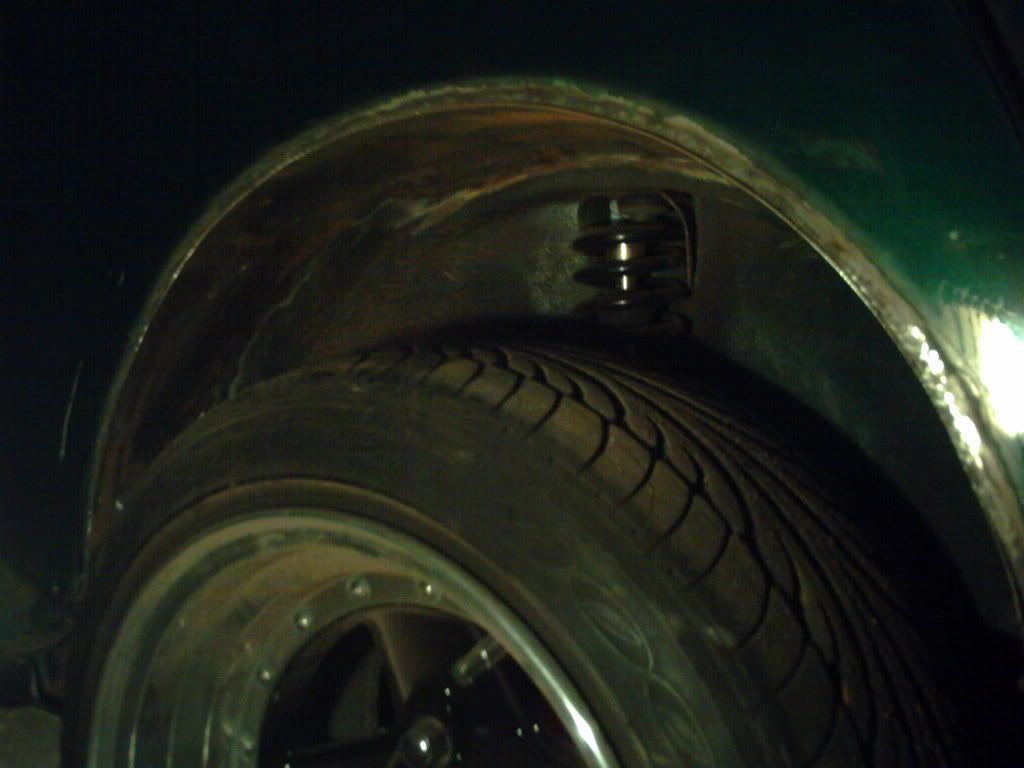
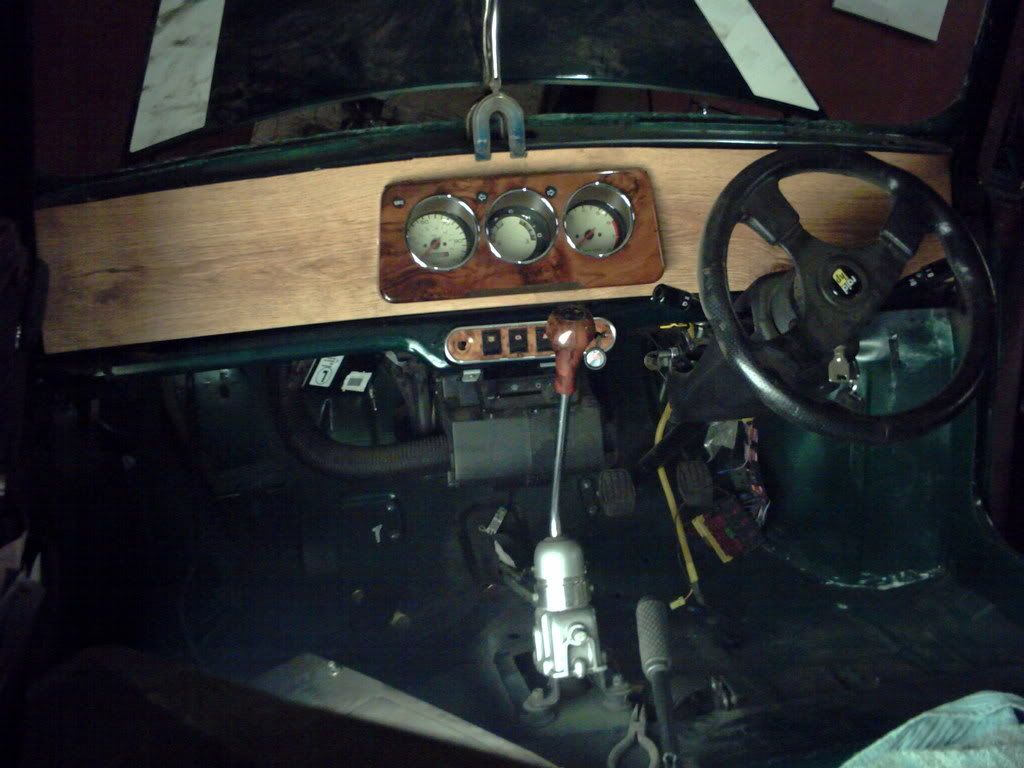
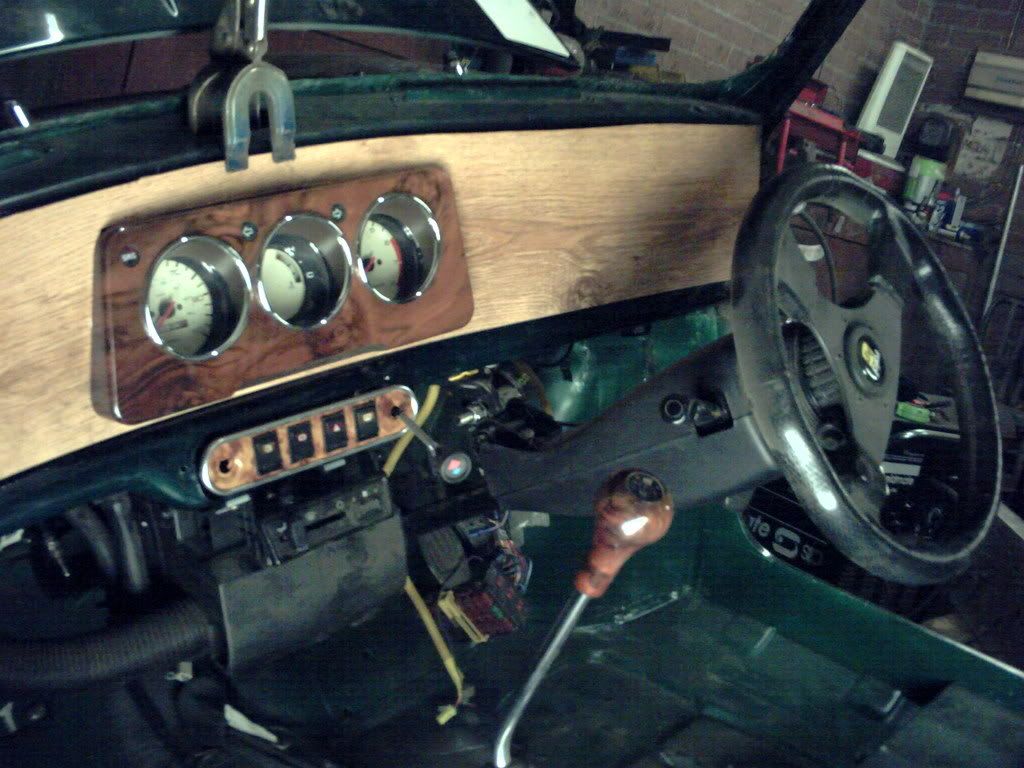
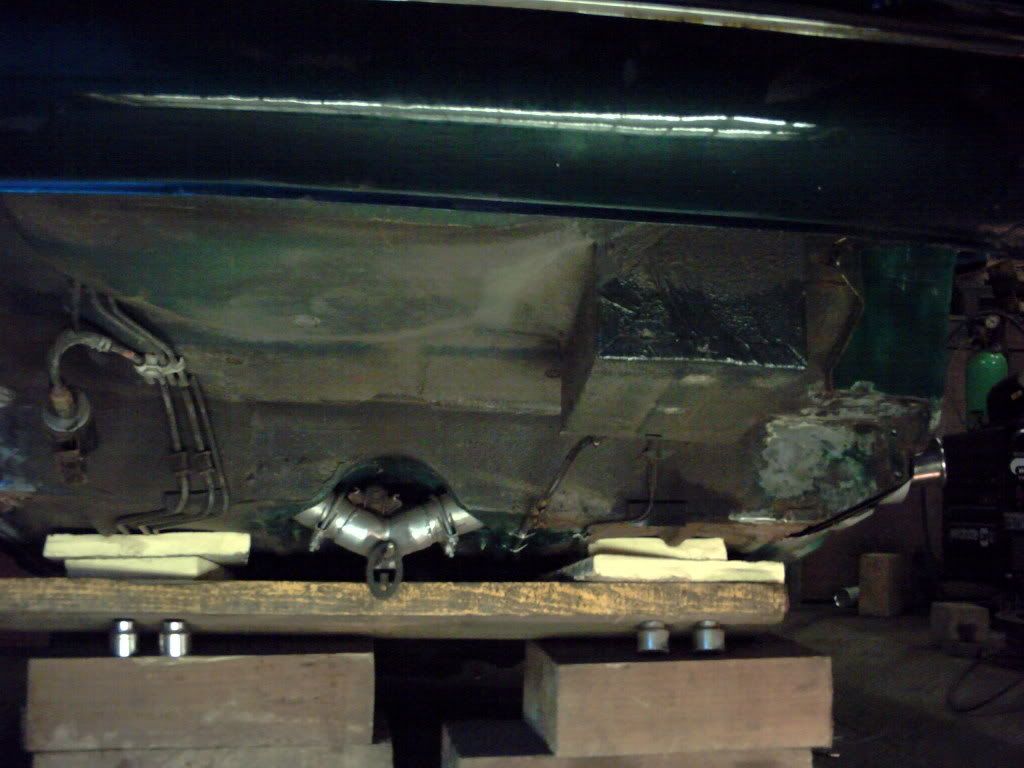
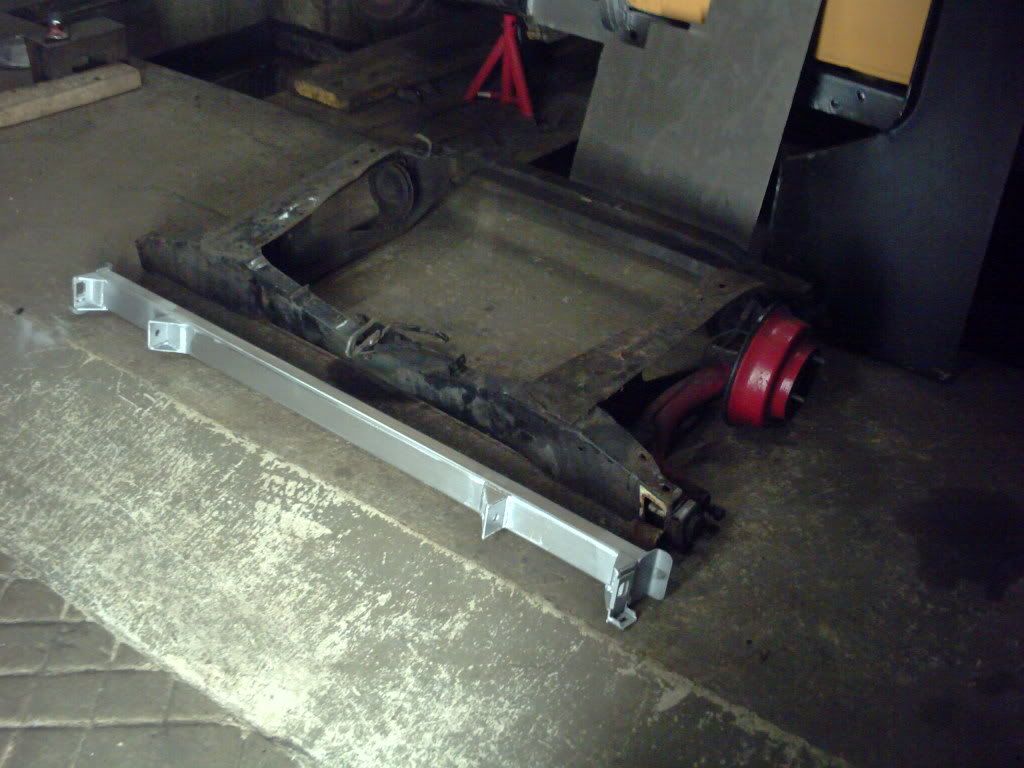
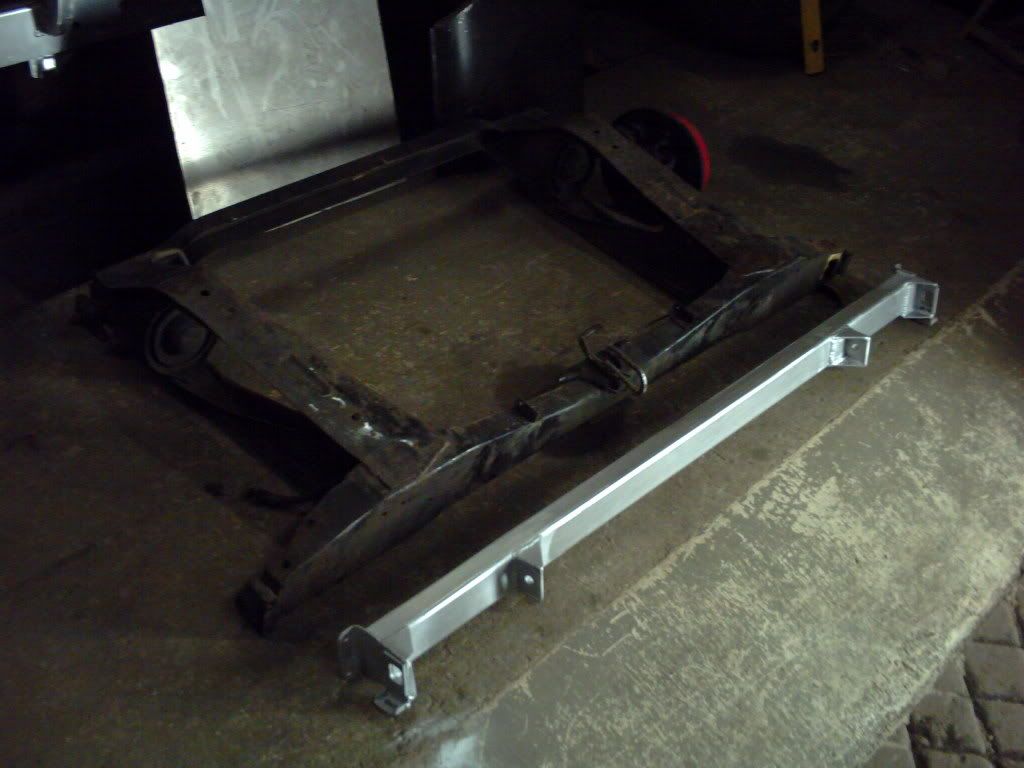
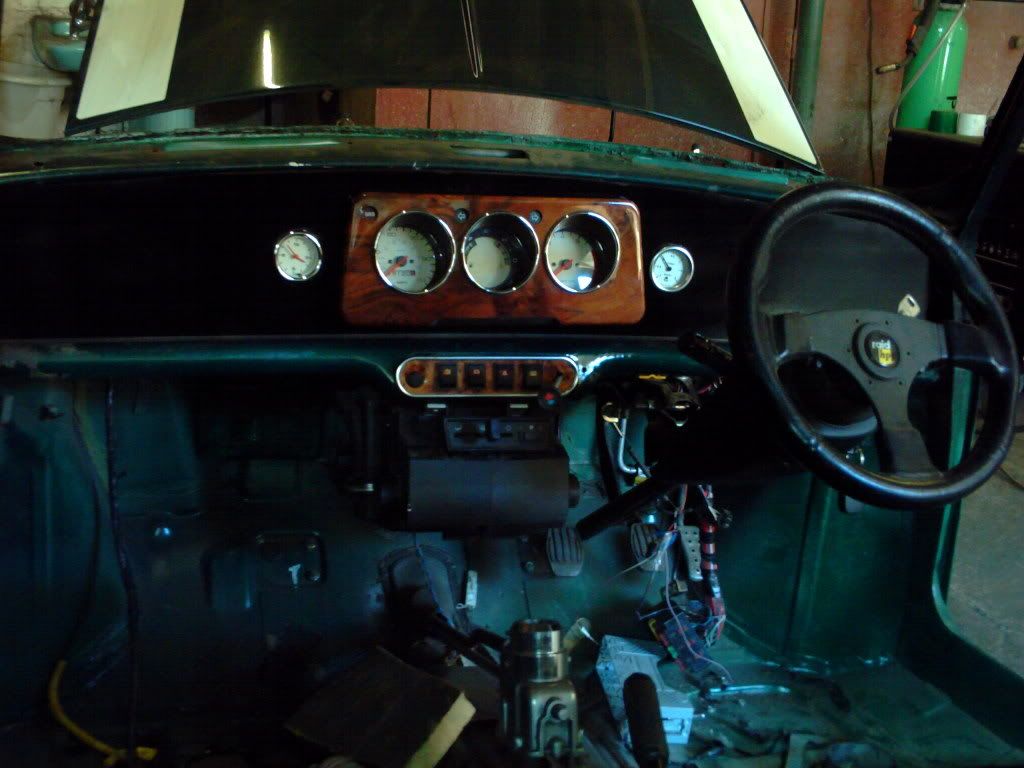
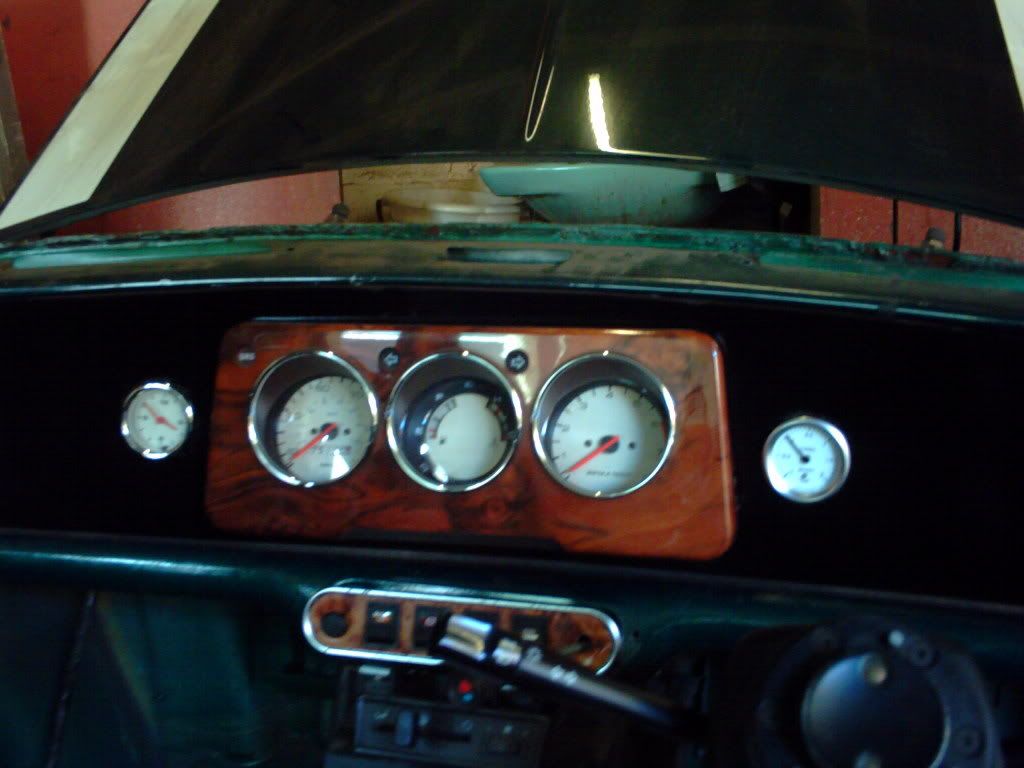
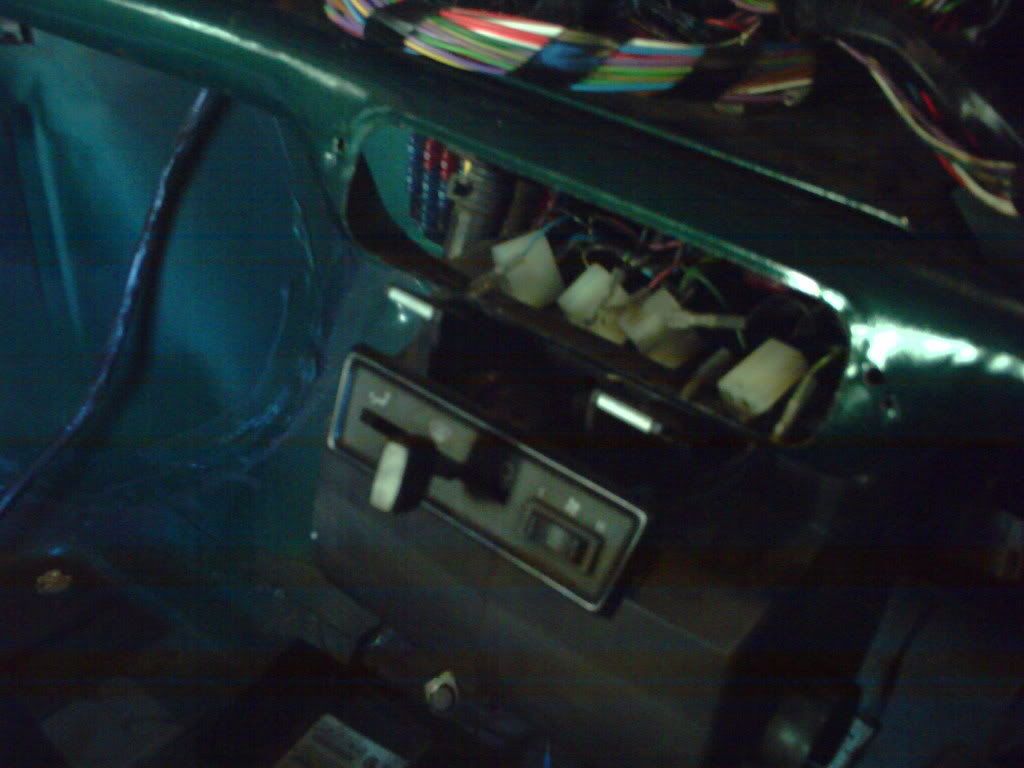
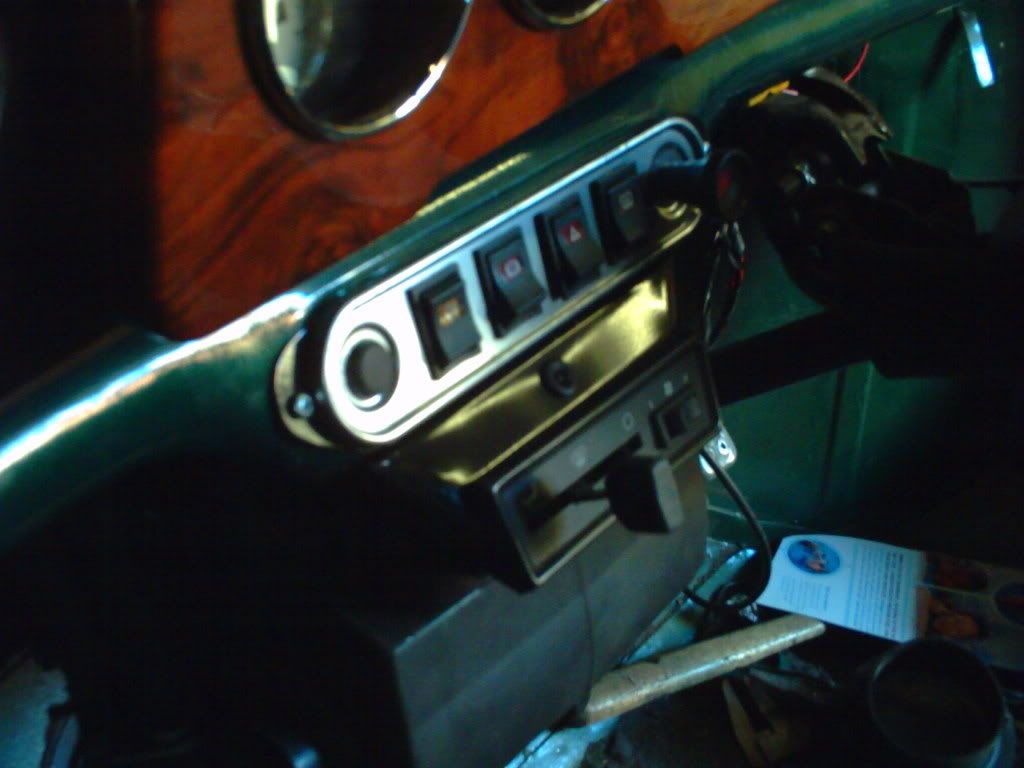
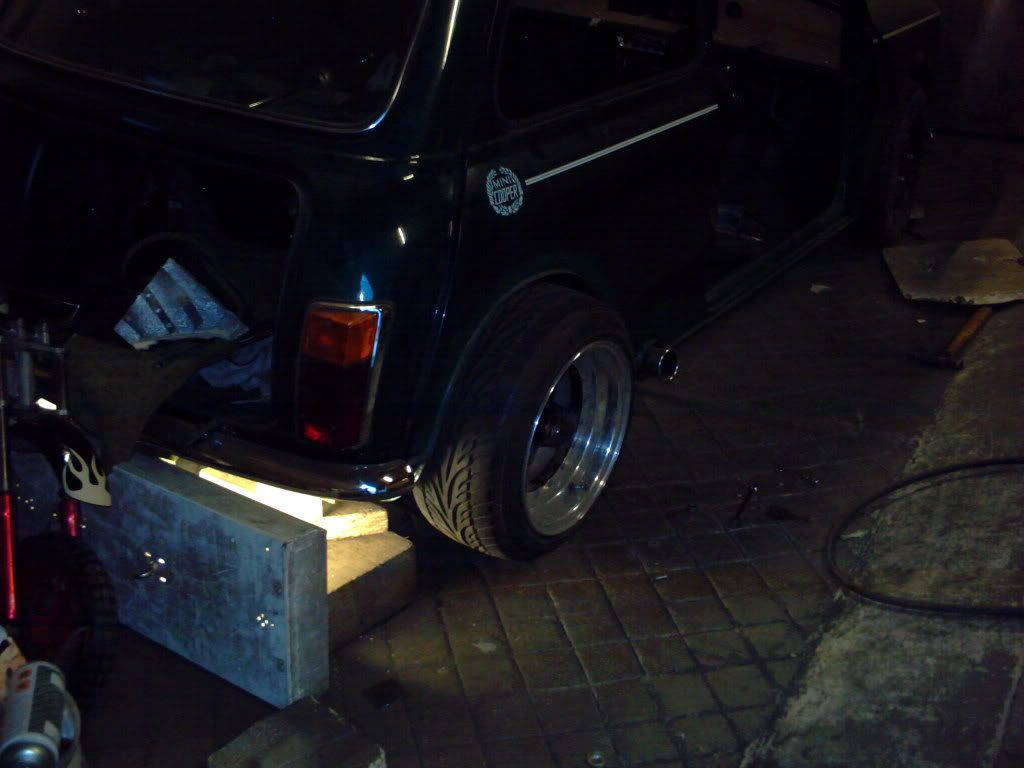
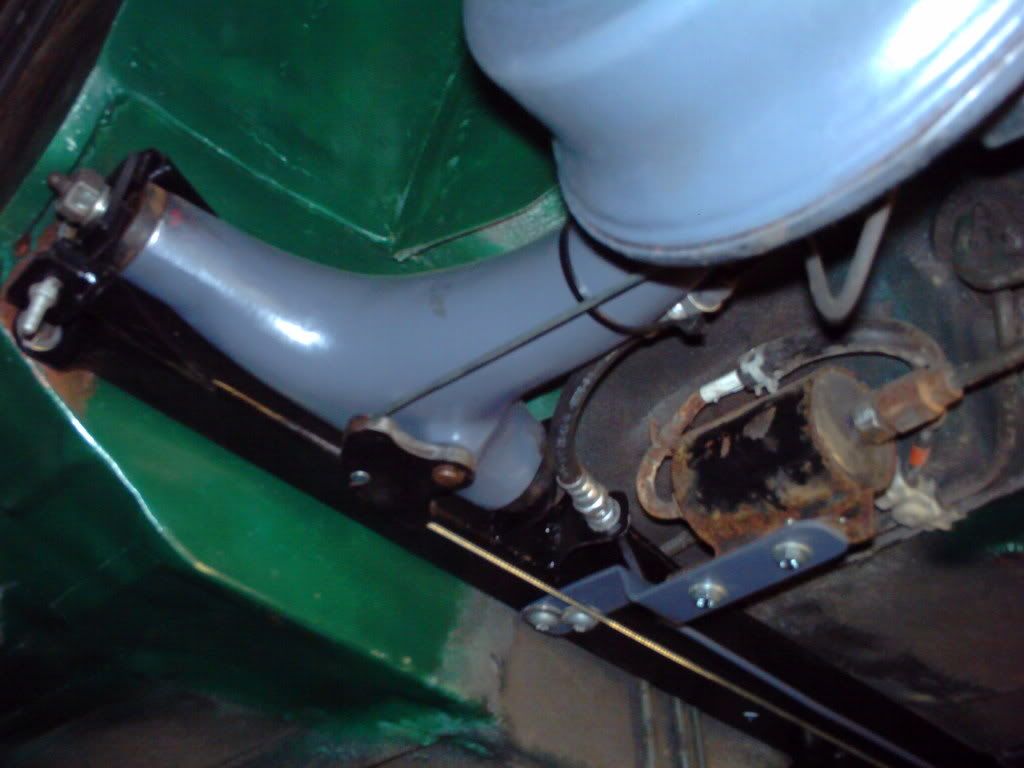
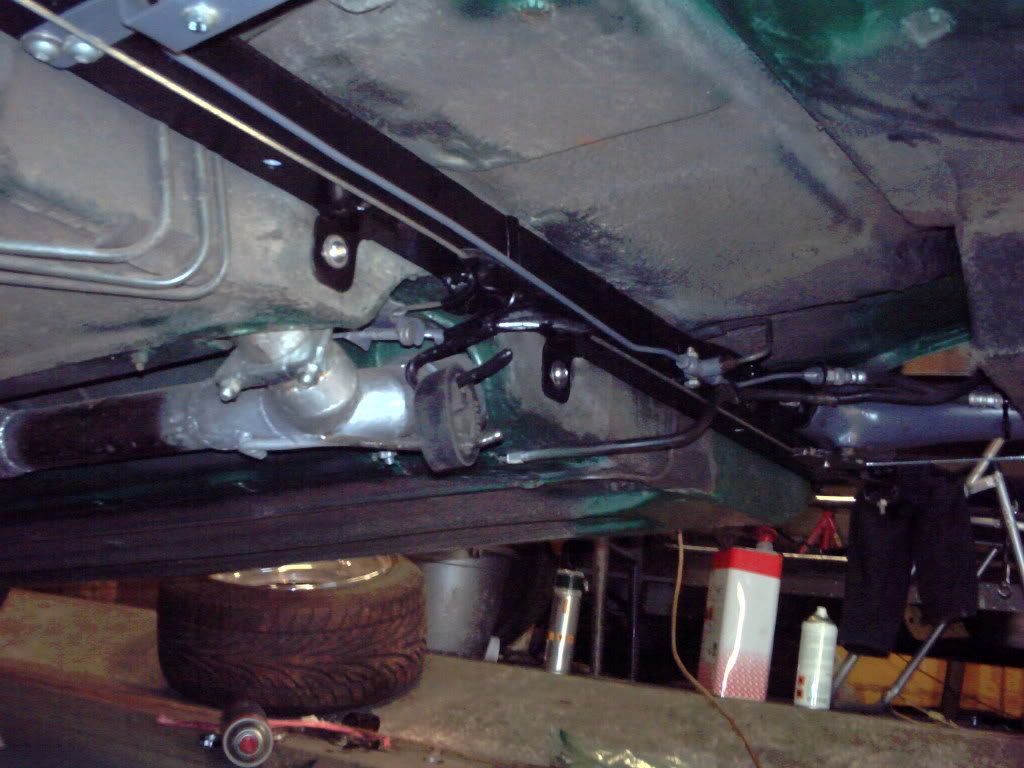
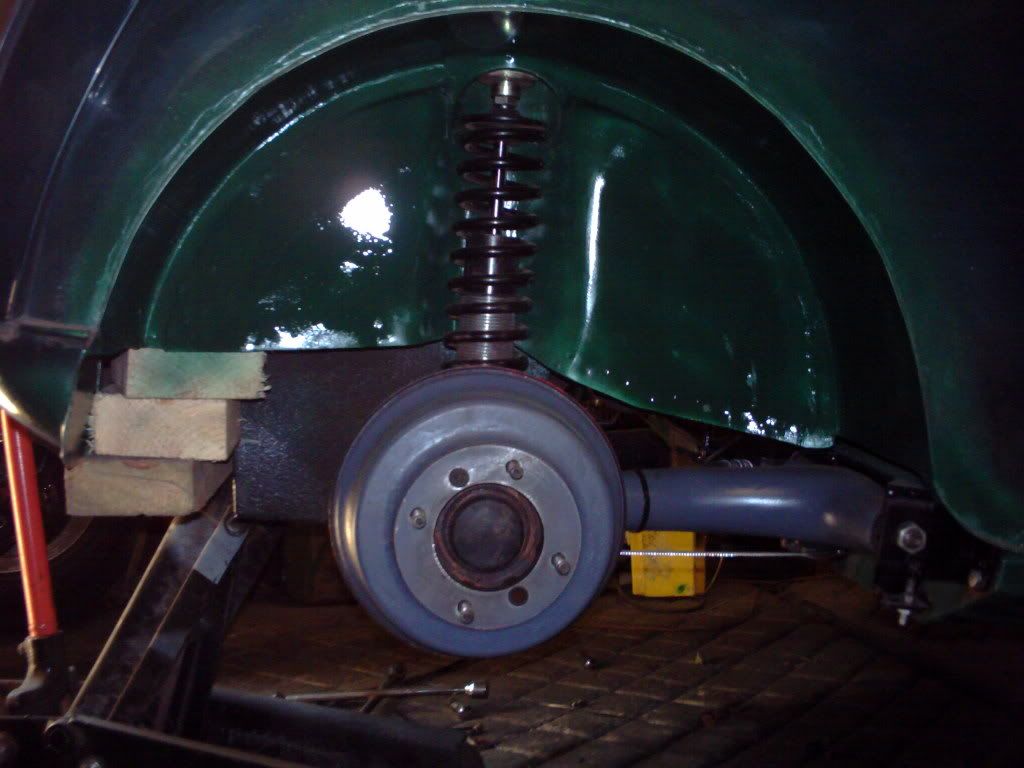
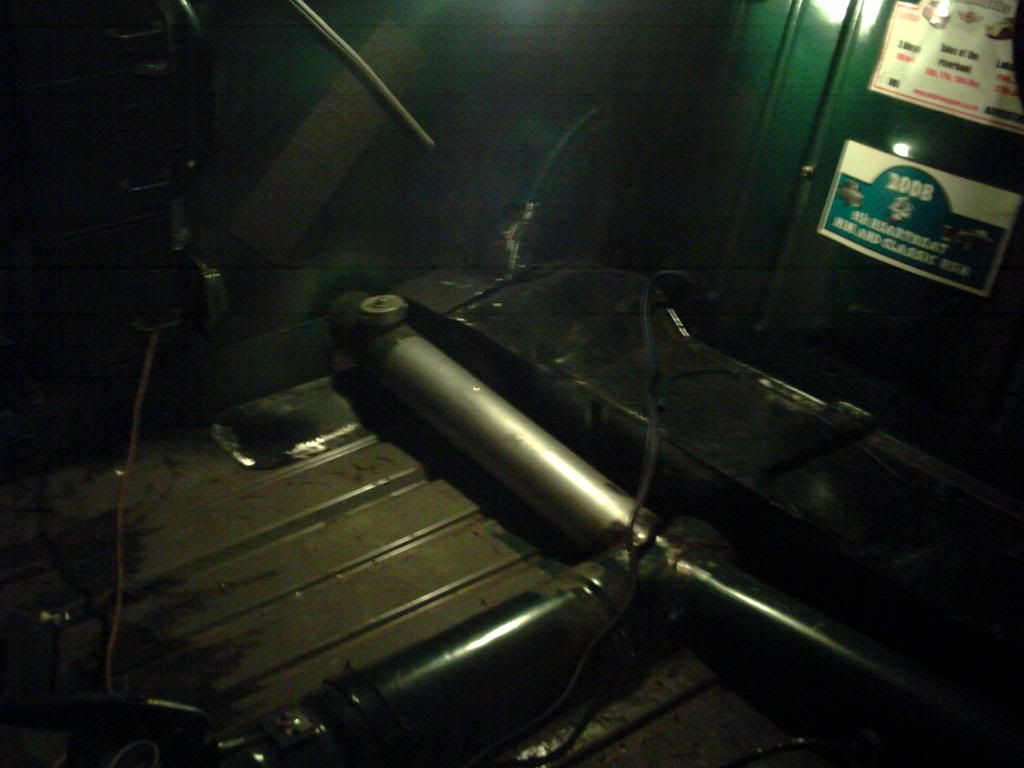
im going to move the fuse box under the dash so i can put some speaker pods under the dash too, also im making the rear shocker mounts wider and a little taller. my new spring rub on my wheels and i want to mount the coilovers higher so there not near the bump stops when its lowered.