Base coat

Clear coat. I made the fatal error of thinking "Ill just give it one more coat" moments later it's got more runs than the West Indies cricket team

Ohh well all I can do is wait for it to fully harden and see if I can flat them out. On the plus side the clear coat does a good job of hiding all the dust that was in the base coat and the shine is amazing.

An action shot Angie took LOL

I spent about 4 hours wet flatting and compounding the bonnet yesterday to get all of the runs out and it's turned out pretty well. Started out with 800 wet and dry then worked up to 1500 before using rubbing compound and T cut. All by hand and oh my god was it hard work LOL


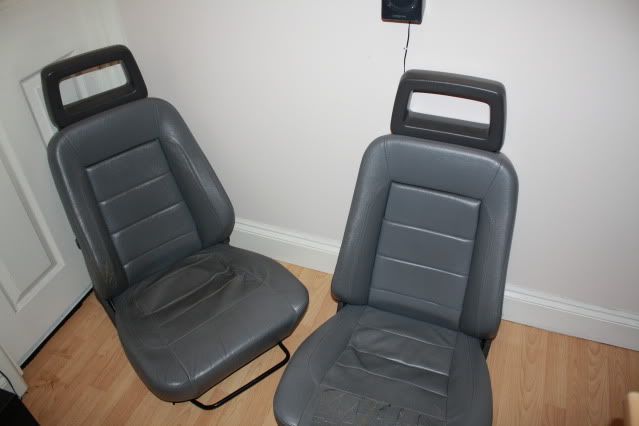
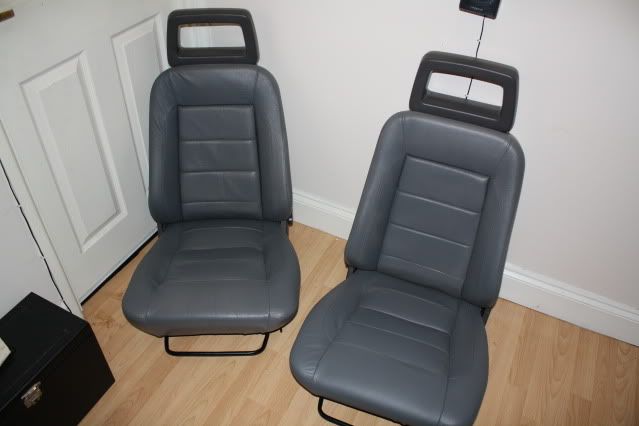
Refitted the seats too

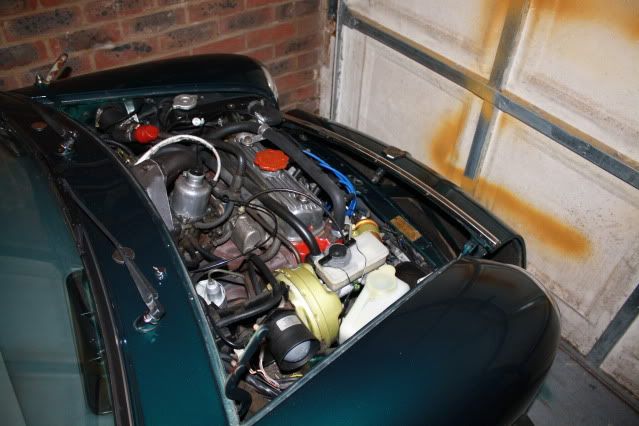
What next then? I need to start on the front parts of the body kit but I think my hands have done about as much rubbing down as they can do this year. Might play with some oily bits instead.
Phase 2 begins. The plan is to remove the front bodykit sections which also include the side skirts and repair the damage caused by years of close calls with high kerbs. I also want to see what the condition of the bodywork and sills are like behind the fibreglass kit.
With the bodykit removed I was pleased to find original sills still in very good condition. There are a couple of smalls areas of rust around where the fixing screws have been drilled into the sills. Two of the fixing screws rounded off so I had to resort to the trusty old angle grinder.

O/S/F corner, again in pretty good condition for a 20 year old mini. While I've got the kit off im going to replace the front teardrop subframe bushes and fit poly ones as they are almost imposible to replace once the kit is back on.

O/S/F wheelarch. You can clearly see the original side repeater hole and the extra lip welded on the arch to mount the bodykit

Jacking point, unique to an ERA as the bodykit gets in the way of the original jacking point

Here's the bodykit section waiting to be repaired. It looks OK in the pictures but when you look closer the paint is cracked and the front is covered in stone chips. This is the better side of the two sections.

Just got to pull my finger out and get stuck in now. There is quite alot of prep work to be done
Bit of an update:
With the bodykit off I decided to carry out some preventative repair work on the panels covered by the kit. There were some small areas of surface rust which I rubbed down to bare metal with a wire wheel on a drill and then treated with a couple of coats of kurust. As the panels behind the kit will not be seen once the bodykit is refitted I painted the area with a couple of thick coats of Hamerite which doesn't exactly give the best finish or paint match does give very good protection and as it's not going to be seen I would prefer protection over cosmetic looks. All the hidden panel work will also be treated with waxoil and I have bought some stainless steel screws from the nut and bolt store in Portslade to use when refitting the kit


The next job was to repair the fibreglass kit which turned out to be much harder work than anticipated. I started off by cutting some fibreglass strips and strengthening some of the areas that had been weakened over the years by little knock and bumps, I then filled and rubbed down some of the larger damaged areas before priming with primer filler and flatting back ready for paint.

Even though I spent a good 3-4hrs working on the section of bodykit once I rubbed down the primer filler I wasn't 100% pleased with the finish. the problem is the kit has been repaired several times before and in some places there are at least 6 layers of paint on top of several layers of filler and to be honest I'm no specialist when it comes to fibreglass repairs so with hands and fingers blistered from rubbing down and preparing in this rare case I decided 95% was good enough and to be honest the bits I'm being critical of are 2" off the ground and will never get that close an inspection.
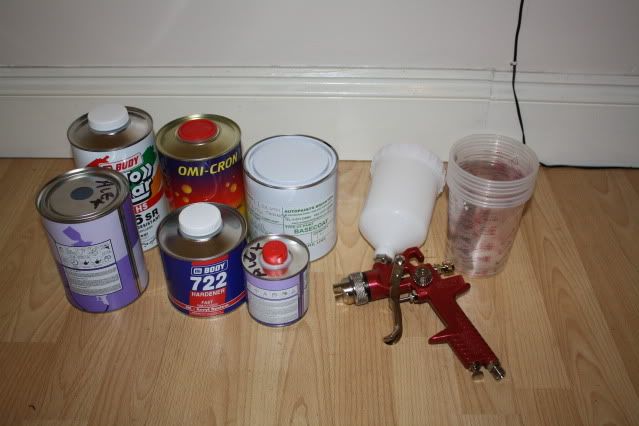
Time for spraying! Well this is my second attempt after doing the bonnet which turned out fine but needed a lot of finishing so this time I plan to get it right first time if I can. I spent ages preparing the make shift spray booth, covering and dusting everything so less dust ends up in the paint. My biggest hurdle is trying to spray when it -1 degrees so I have some heaters on for a good hour before spraying and manage to get the "booth" up to 16 degrees.
Big lesson learnt from first go at spraying was to take it slowly so I started with a very light base coast and gave it 10 minutes to become tacky before adding three more coats with about 10 minutes gap between each coat getting progressively thicker. I must have learnt from my mistakes as the paint went on perfectly so I was well pleased.
When I applied the clear coat to the bonnet I did so two days after the base coat but speaking to a friend they said the clear coat should be applied a few hours after the base coat so it will bond correctly so I gave the base coat three hours then started on the clear. When I sprayed the bonnet I put far too much clear coat on and too quickly so this time I again done a light first coat and gave it 20 mins to go tacky. I find clear coat really hard to spray it seems so easy to get it wrong and put too much on but it's very hard to get the balance between too little and too much but I think I got the first coat just right. To be honest the first coat looked perfect and I was thinking about just leaving it as it was rather than spoiling it but I really want a top finish so after waiting 20 mins the paint was really sticky and ready for the second coat. I applied the second coat quite heavy with the hope that the sticky first coat would prevent sags and runs which it did. There is the odd run here and there but I know it wont be too much trouble to flat out once it's fully hardened but I've got to say I am very very happy with the finish. It's really come out nice


Almost ready to refit the bodykit but I'm waiting for some wheel arch rubber in the post so for now I'm going to fit some Duflex Poly teardrop subframe bushes as they area almost impossible to replace once the kit is back on. The old ones are fine I just don't want to have to replace them in the future!

That's all for now folks