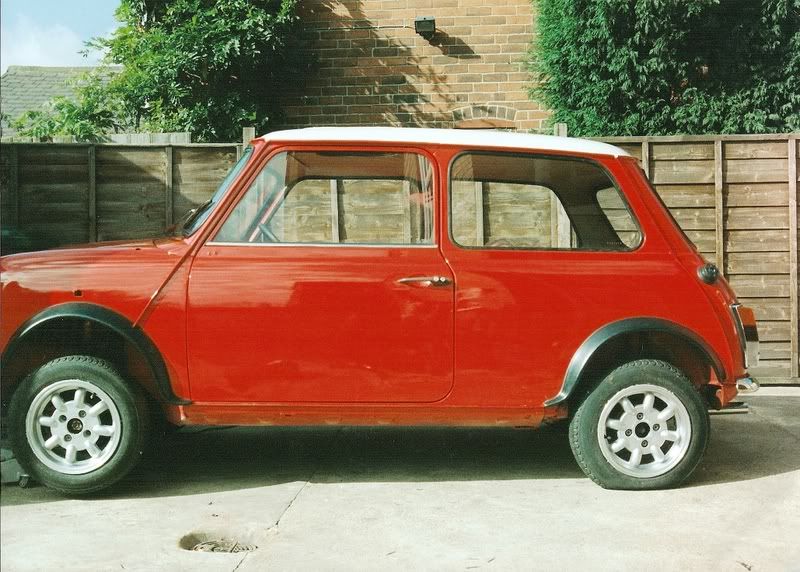
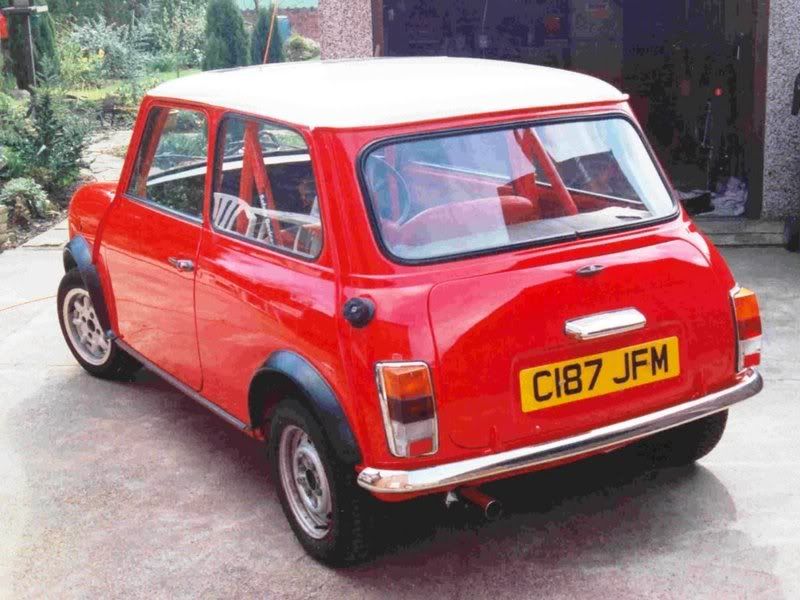
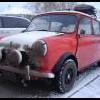
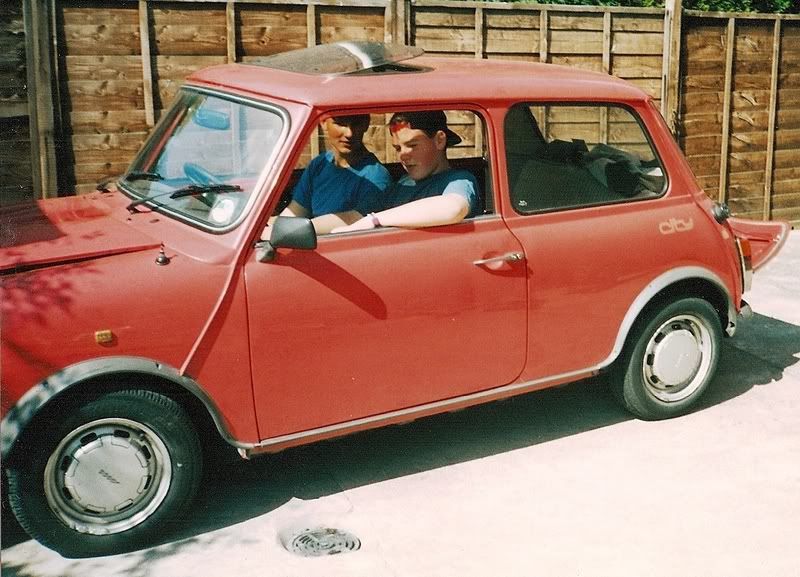
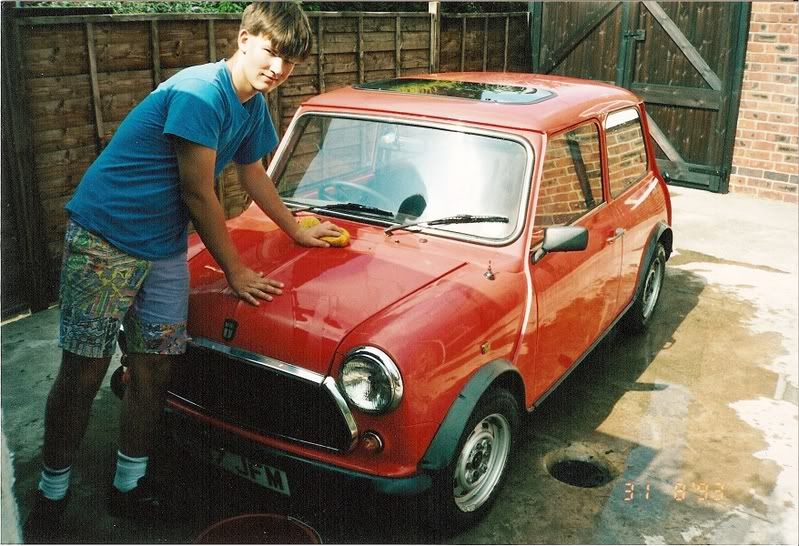
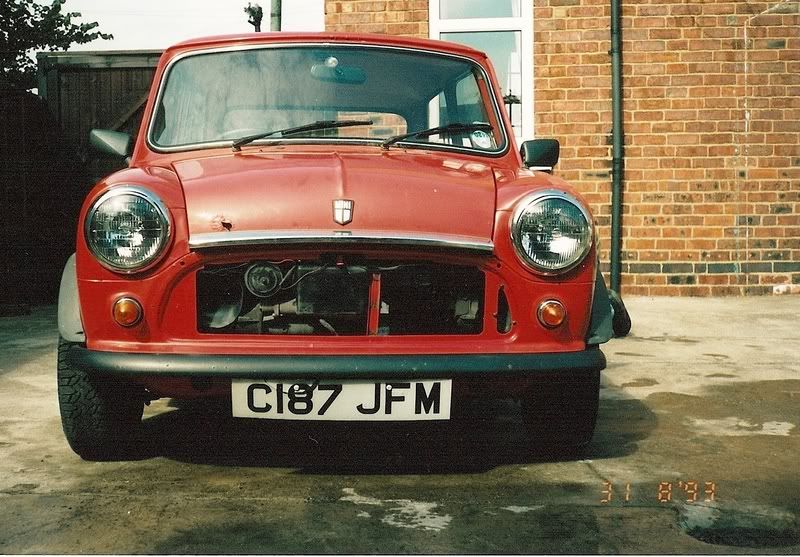
So to get to the start of the project, we need to go all the way back to the summer of 1993, when I was 16 and eager to get behind the wheel. I had saved up a fair bit of money, and was keen to get myself a car that I could tidy up in the six months before I could start driving. My Dad had spotted a mini that was being repaired at a garage owned by my mate’s Dad, and was up for sale as the owner’s husband had been banned for 12 months. So, a week or so later (on August 31st 1993, in fact), I became the proud owner of a 1985 Mini City E, which had a new MOT that day and had recorded 47420 miles. It was in good condition, but hadn’t been cleaned in a long time, so on the first day it looked like this (with me & my brother in it looking very young & of course stylish!):
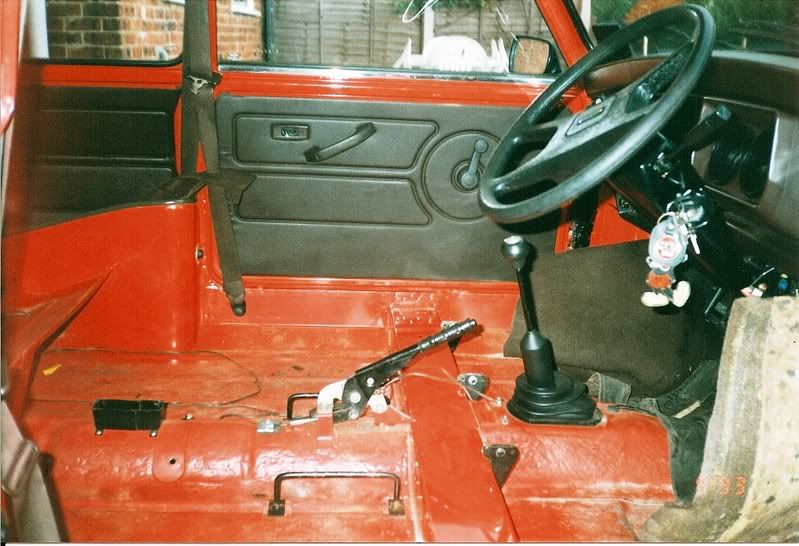
So I got my most stylish gear on and got to work giving it a clean, and got rid of the fetching brown interior, after which it looked a lot tidier:
The only visible fault was a small rust hole in the bonnet, so I got rid of that:
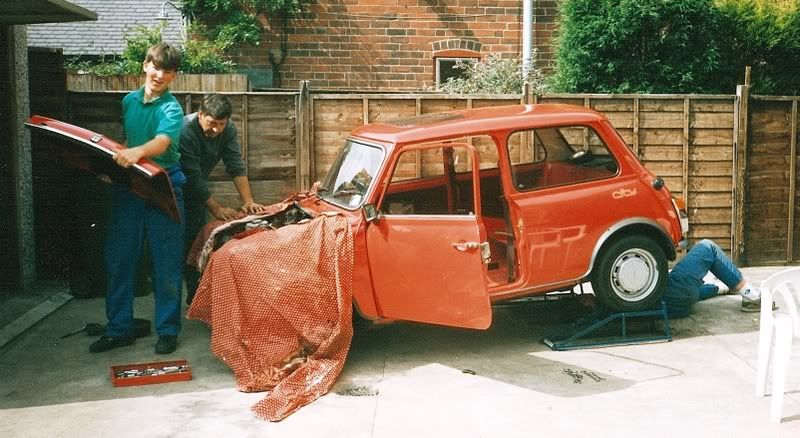
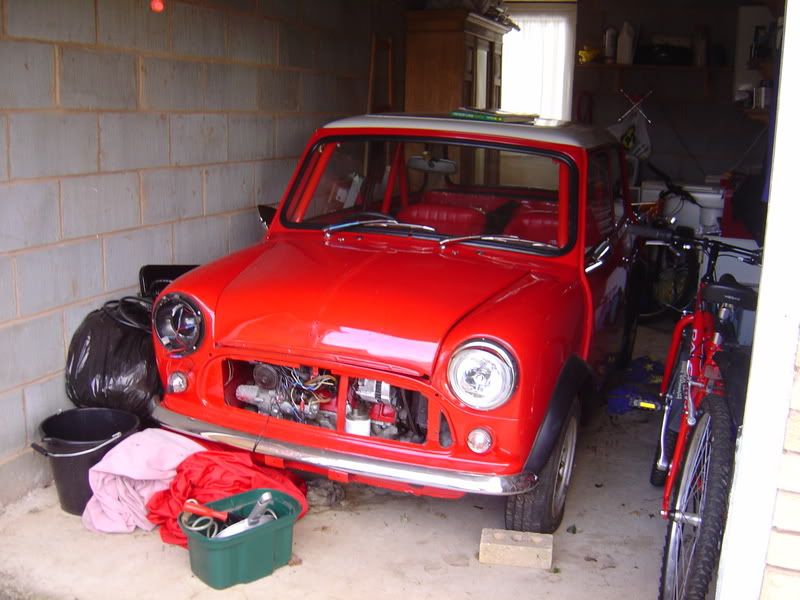
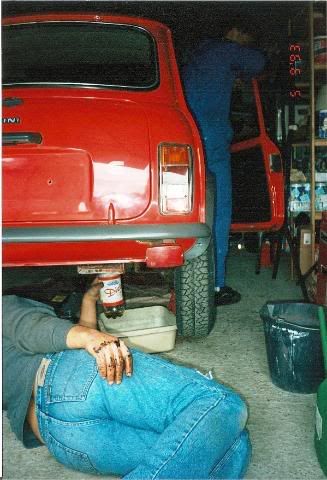
Then we thought it would be worthwhile getting it into the garage so that we could whip out the rust-prone rear subframe to repair it as needed and paint the floor in that area:
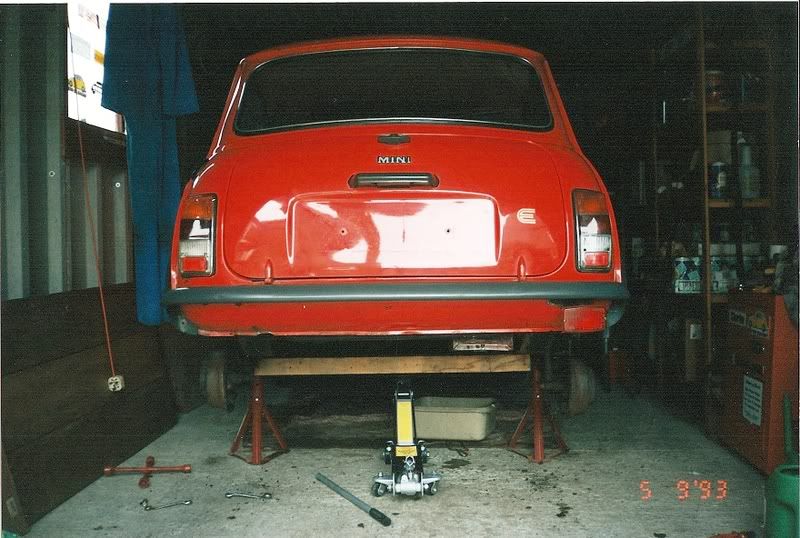
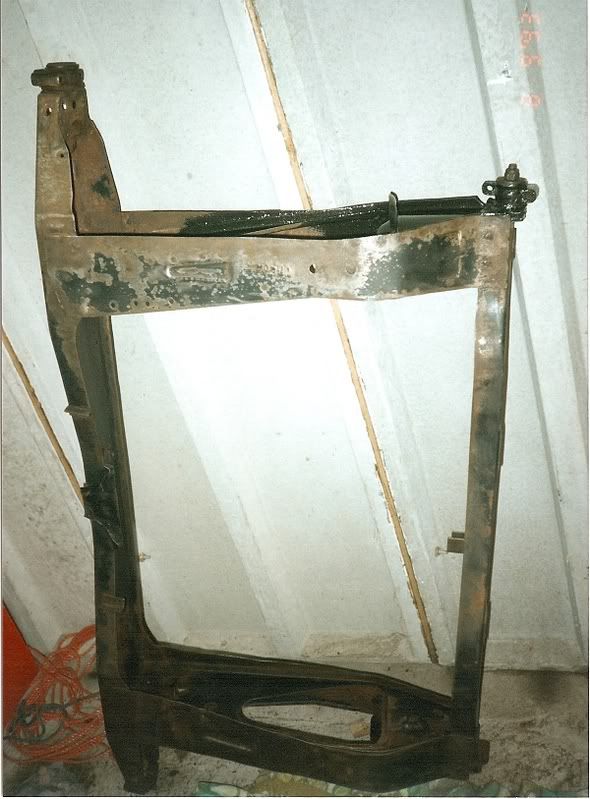
The good news was that the original subframe was in great condition, as was the boot floor, so we stripped everything back, gave it all several coats of hammerite to protect it from the elements and reassembled it all looking much better:
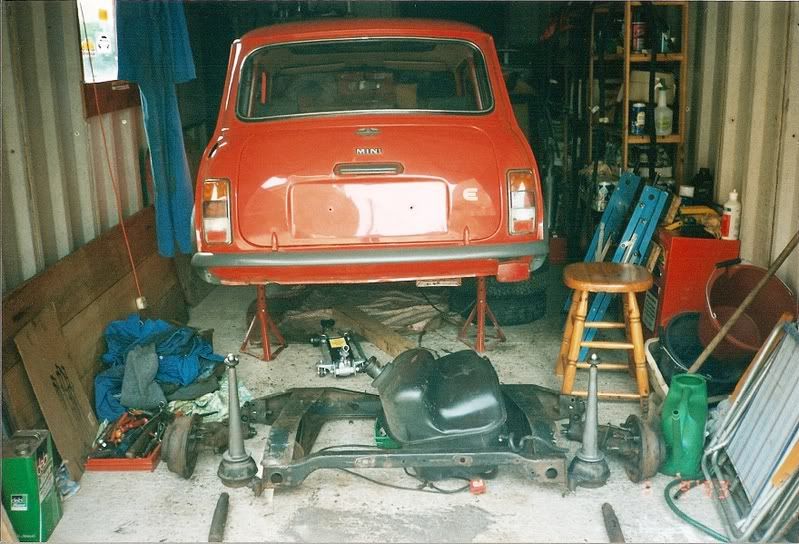

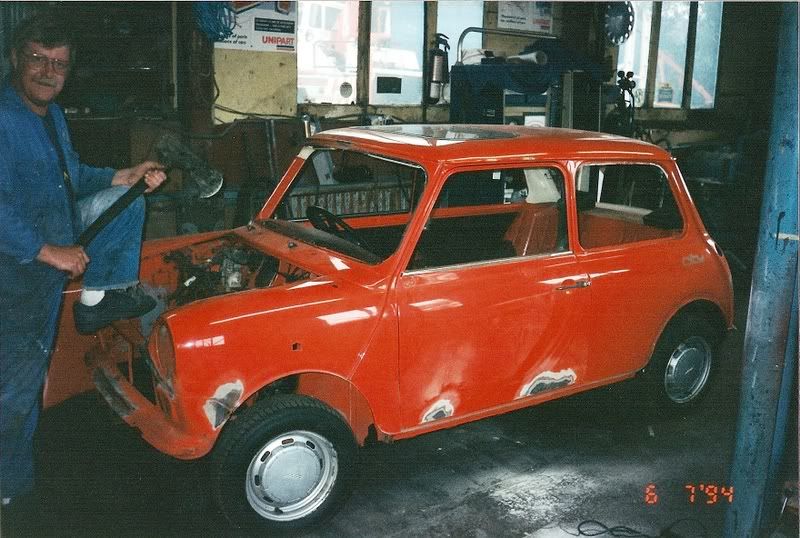
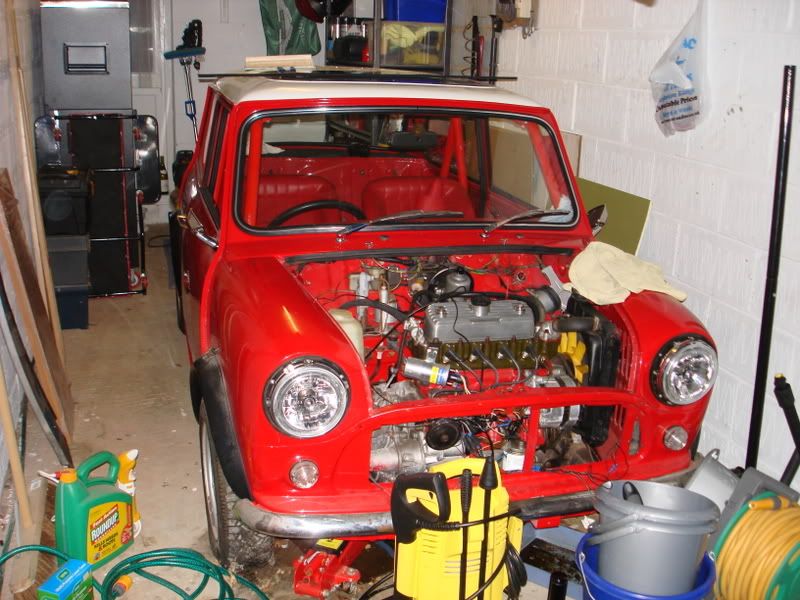
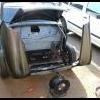
So far, so good – in fact we’d found it quite straightforward – and at this point is where things changed from a quick tidy up into a more serious project. Having sorted out the rear end, I also stripped and painted the floor in the middle of the car without any problems. Then we decided to up the ante by taking out the front subframe – achieved by simply lifting the body off the front running gear, which was then wheeled out.
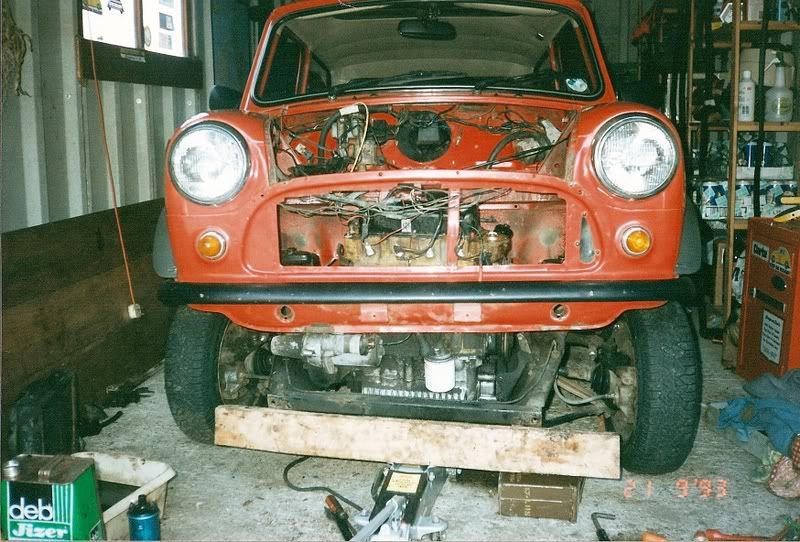
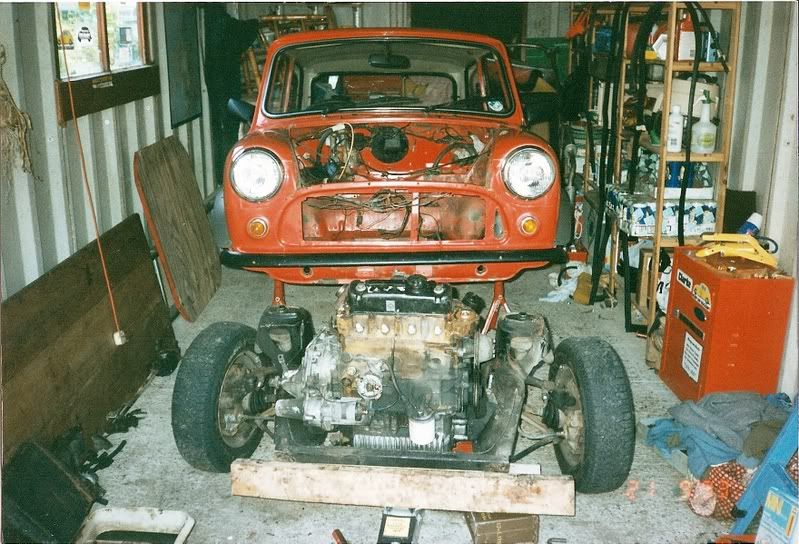
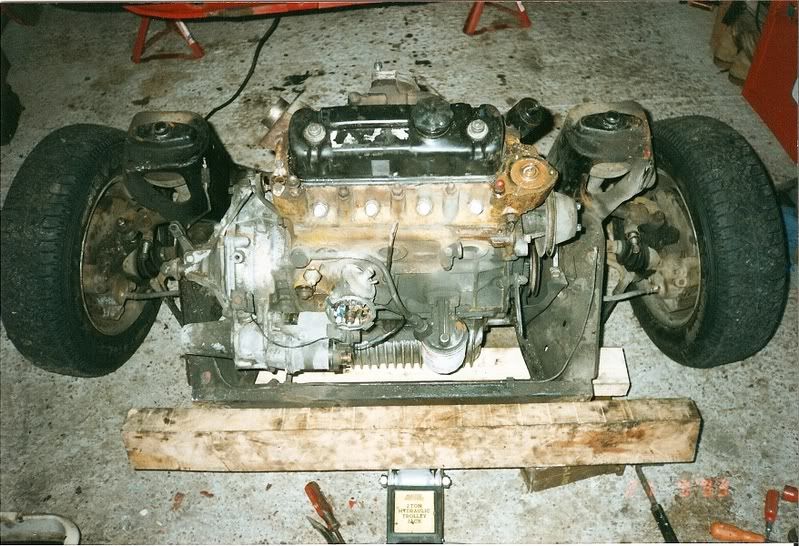
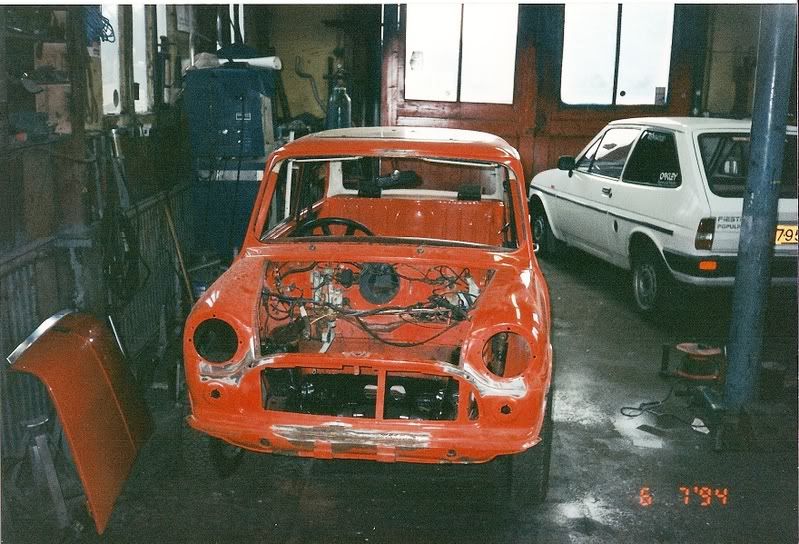
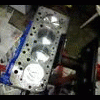
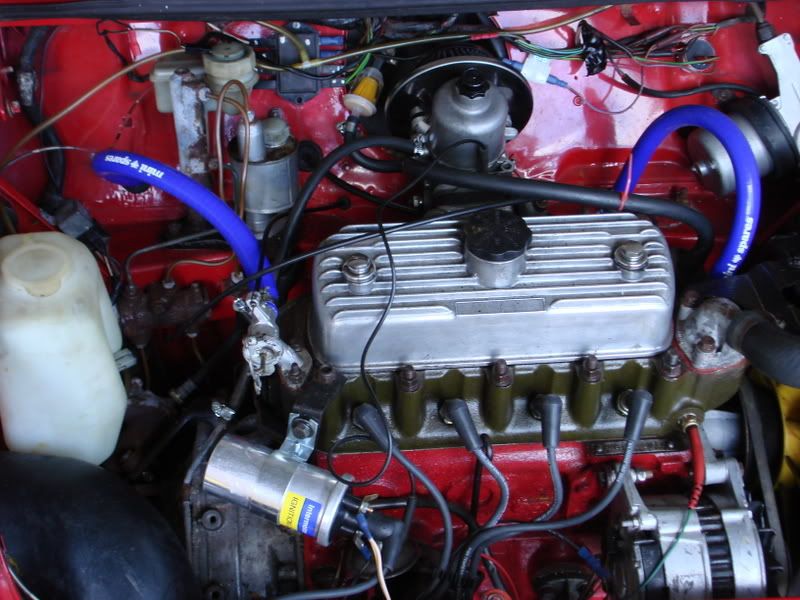
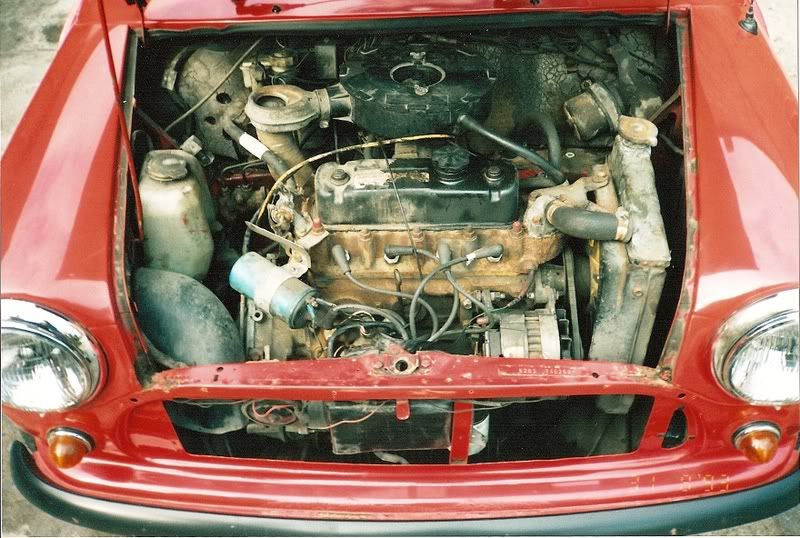
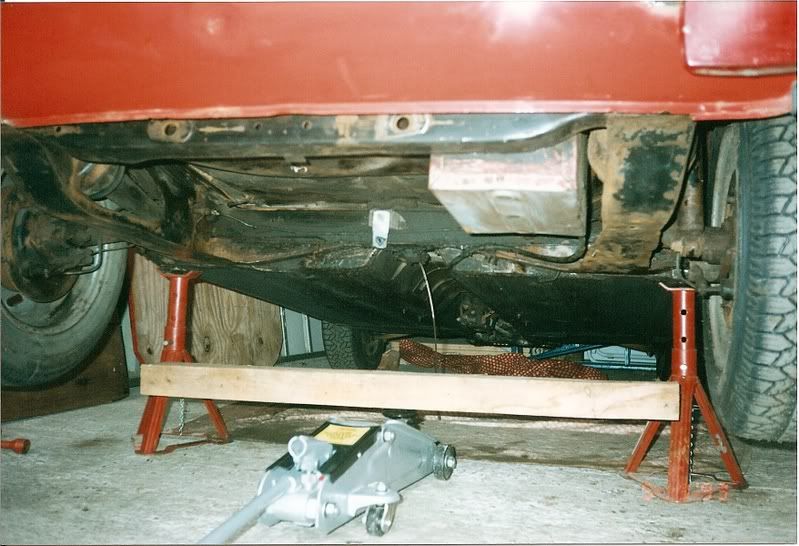
Then the engine/gearbox and all brake and suspension components were separated from the subframe and it was built back to give us a rolling shell (so that the engine could be rebuilt and put back into the shell later)
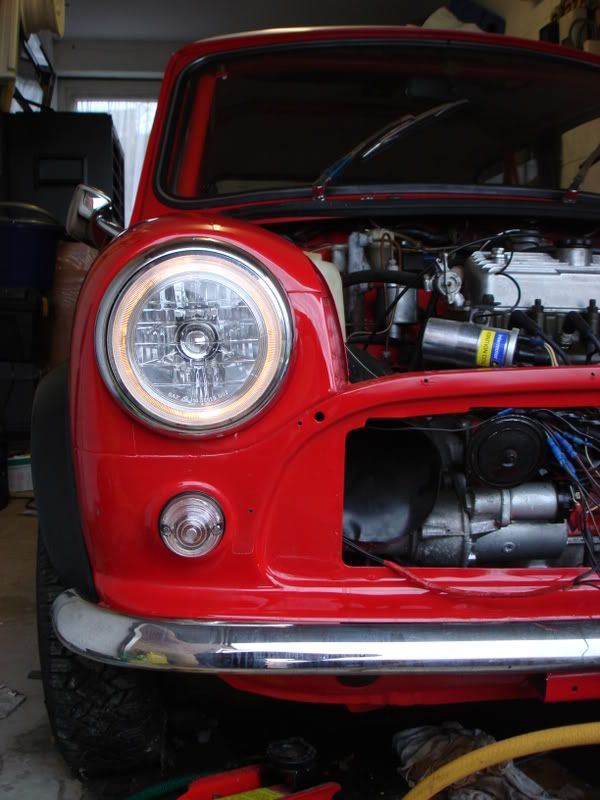
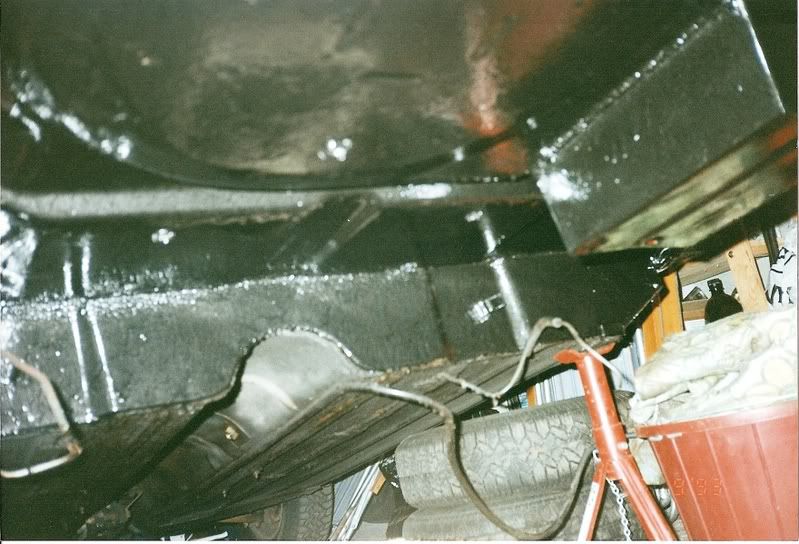
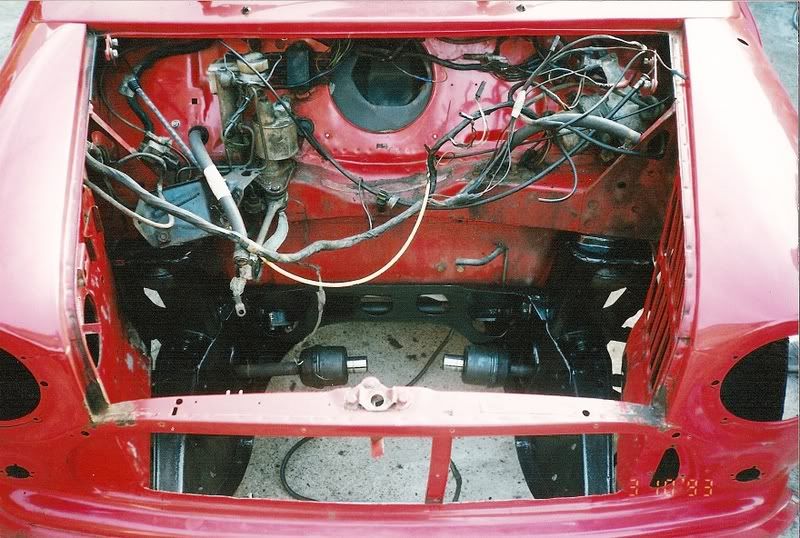
This resulted in a shell that was well protected underneath and looked like this:
Part 2 coming in a mo...