Jump to content


Photo
- - - - -

'busavan


  • Please log in to reply
92 replies to this topic

#16 rustandoil

rustandoil

    Speeding Along Now

  • Members
  • PipPipPipPipPip
  • 317 posts
  • Location: Gloucestershire

Posted 08 November 2009 - 01:42 PM

Update as promised :) more to follow :errr:

I built up the front uprights and fitted them to the front subframe, with the adjustable bottom arms and tie rods, I bought some new drive flanges from IMM but have since learned that they wont fit with the Metro 4 pot calipers and the vented discs, so I left the discs off so I could get the subframe under the van and get the front end on wheels.
Posted Image
Posted Image
I also bought some new CV joints at IMM and cut them down as of course I don't need the drive cup, having read another build thread it seems as if I may have cut them a little short doh!
Posted Image
Posted Image
All this is temporary as I am going for the Z-cars front subframe. :P

Also purchased at IMM :)
Posted Image

Edited by rustandoil, 24 August 2010 - 04:06 AM.


#17 rustandoil

rustandoil

    Speeding Along Now

  • Members
  • PipPipPipPipPip
  • 317 posts
  • Location: Gloucestershire

Posted 06 August 2010 - 07:56 AM

Trial fitted engine to frame, not happy about doing it but I had to grind a bit of the mounting bush away as I could not get the sprockets to line up.
Posted Image
Posted Image
With that sorted (thankfully looks a lot better in real life!) I removed the engine from the frame, don't know if that the best thing to do but I figured it would be better if the frame was as light as possible to manoeuvre, just got to do what you think is right at the time :P

Edited by rustandoil, 24 August 2010 - 04:07 AM.


#18 rustandoil

rustandoil

    Speeding Along Now

  • Members
  • PipPipPipPipPip
  • 317 posts
  • Location: Gloucestershire

Posted 06 August 2010 - 08:00 AM

The new steering rack fitted no big deal I know, but significant in the fact that its the first thing to be fitted to the shell :P not terribly impressed with the quality of the rack sounds awfully rough will have a look inside before final fitting, perhaps they are delivered "dry" and it needs some lube.
Posted Image
Posted Image
Posted Image

With the front end now on wheels it was now possible to lift the shell and have a go at installing the frame, I fitted some old steel 10" wheels on so the frame would roll better and reduce the amount we need to lift the shell.
Posted Image
Posted Image

Edited by rustandoil, 24 August 2010 - 04:08 AM.


#19 rustandoil

rustandoil

    Speeding Along Now

  • Members
  • PipPipPipPipPip
  • 317 posts
  • Location: Gloucestershire

Posted 06 August 2010 - 08:09 AM

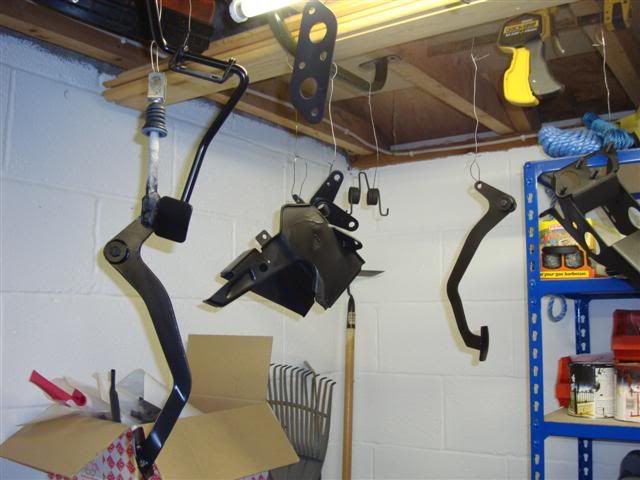
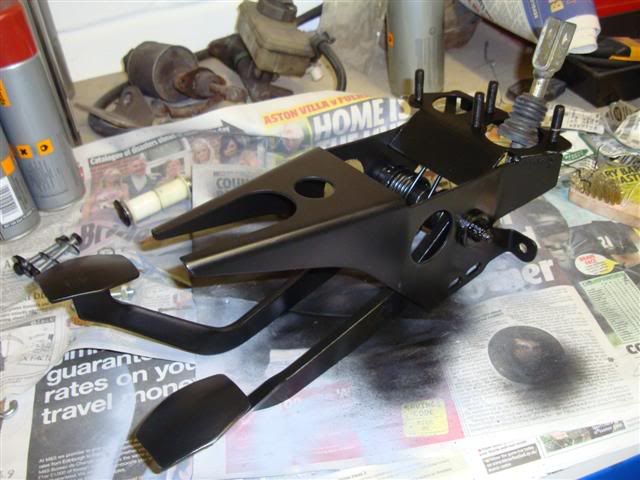
Pedal box stripped down grit blasted, primed and painted, only with Halfords rattle cans but actually seems to go on quite well.
Posted Image
Posted Image


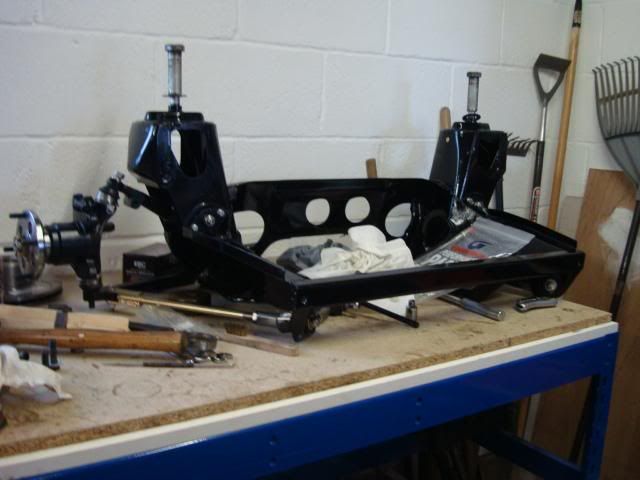
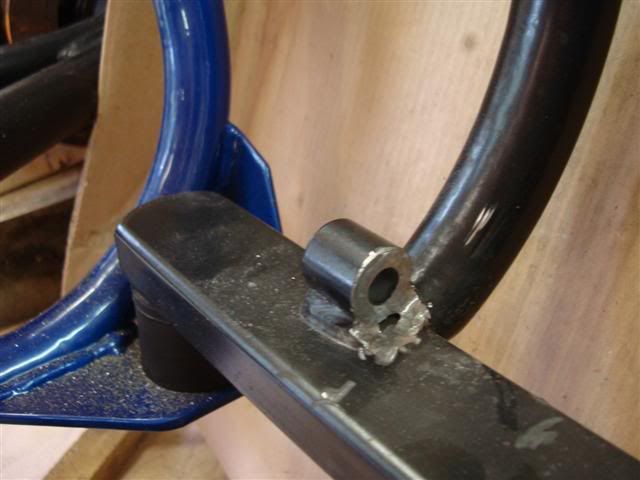
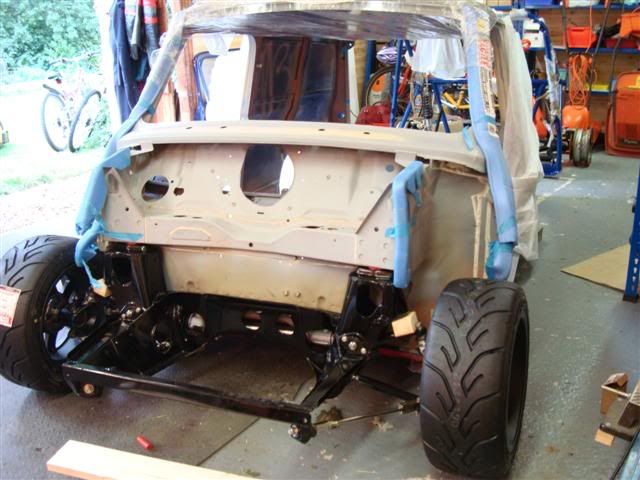
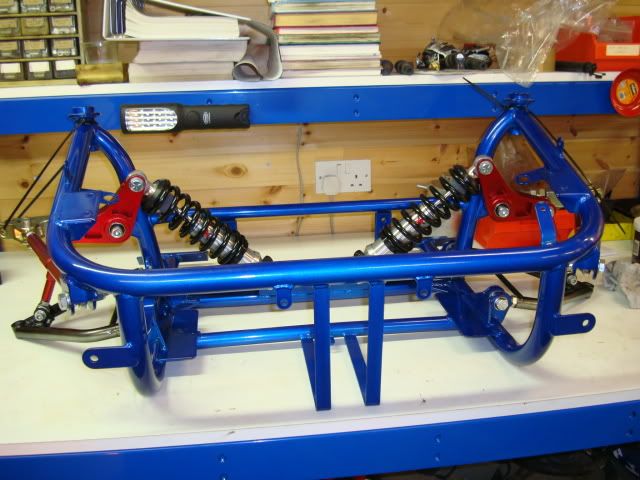
I don't knew if fitting the Z-Cars frame went well or not! but took a good few hours of pushing and shoving and a fair bit of hole fettling before it was anywhere near, anyway after speaking with Chris confidence was restored and I drilled and bolted it in.

The frame was hitting the shell above the drivers door so I cut away a bit of the pressing in the shell to relive, better but not perfect


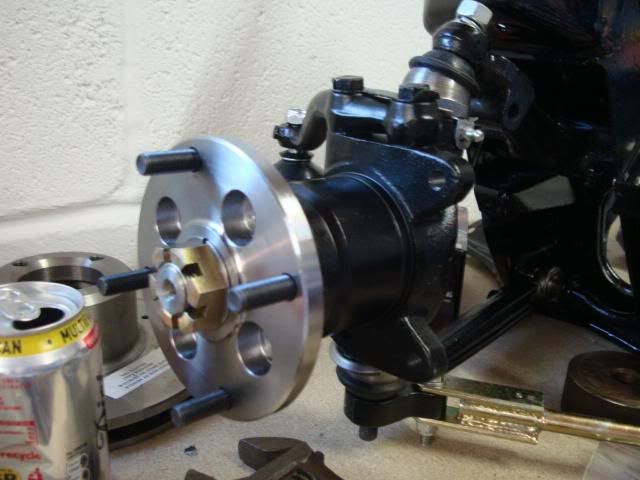
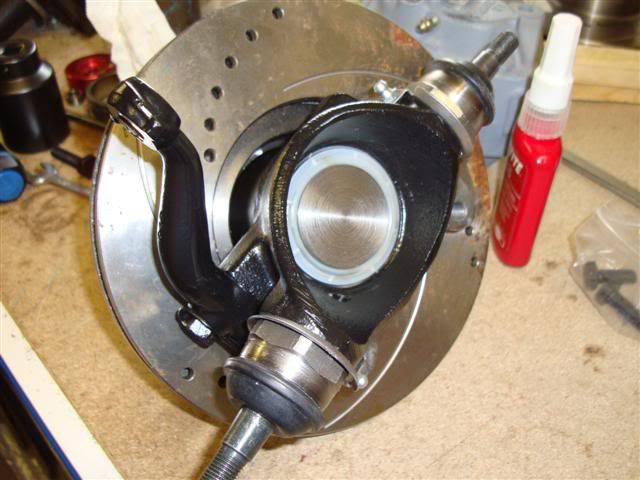
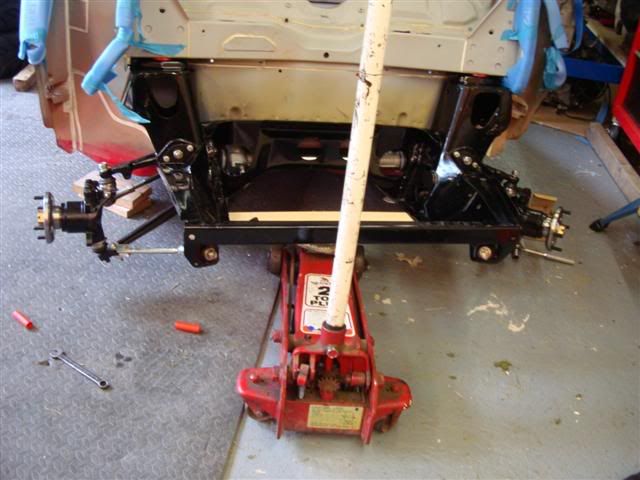
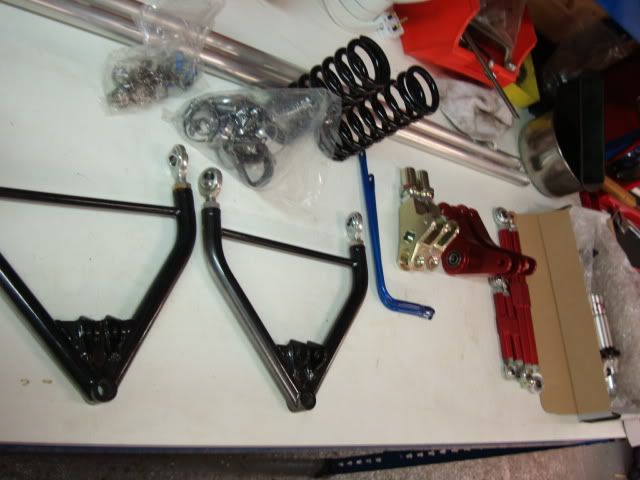
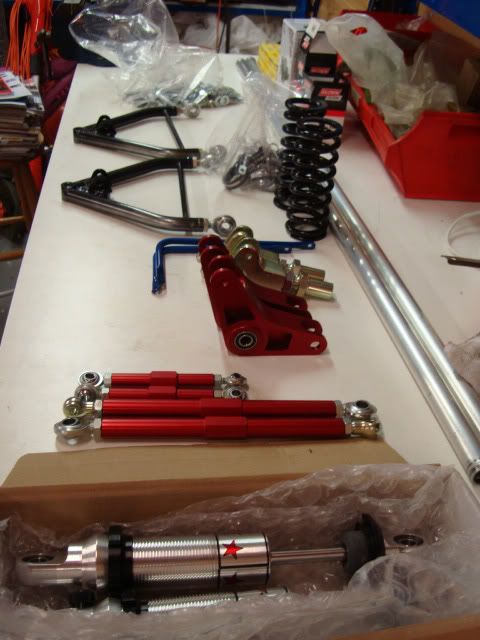
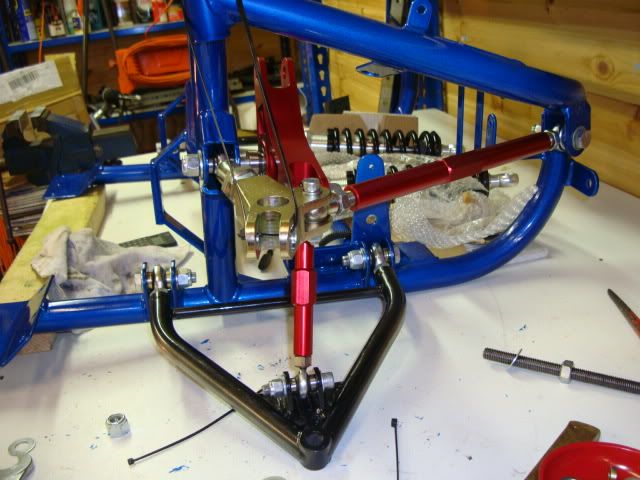
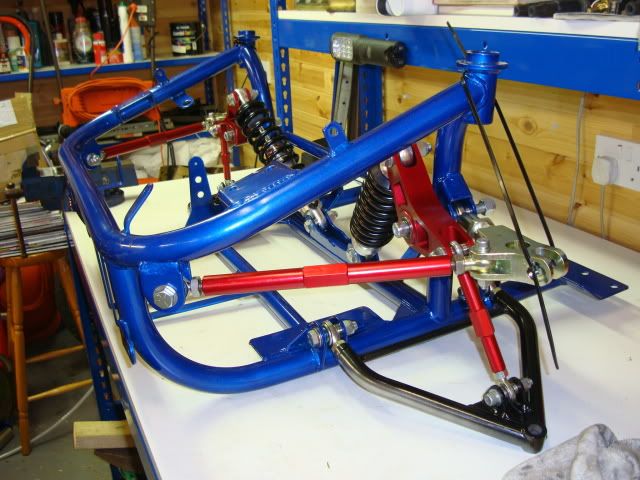
Got some Metro hubs and fitted them to the front end also fitted the calipers, all this has been done mainly to reduce the amount of stuff hanging around.

Just checked I don't have any up to date photos on Photobucket so I have the misery of re-sizing and uploading them, sorry but you will have to wait until I am in the mood for that :P


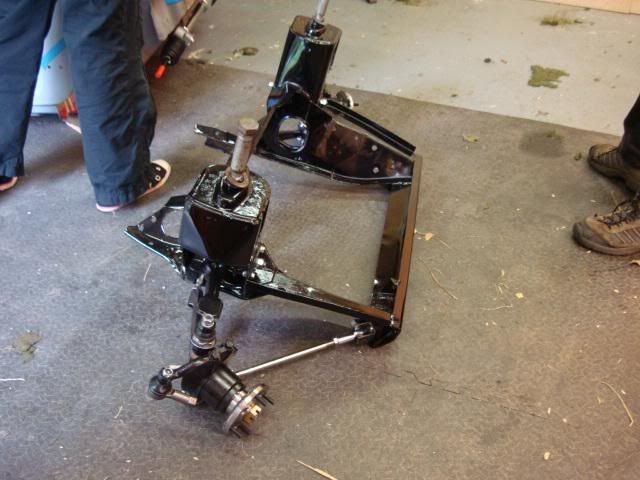
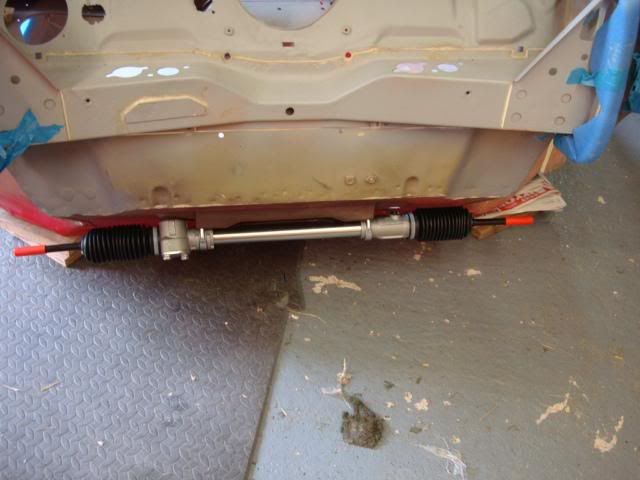
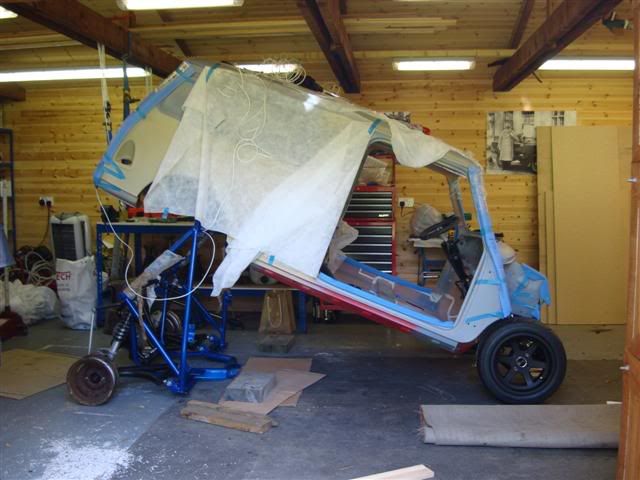
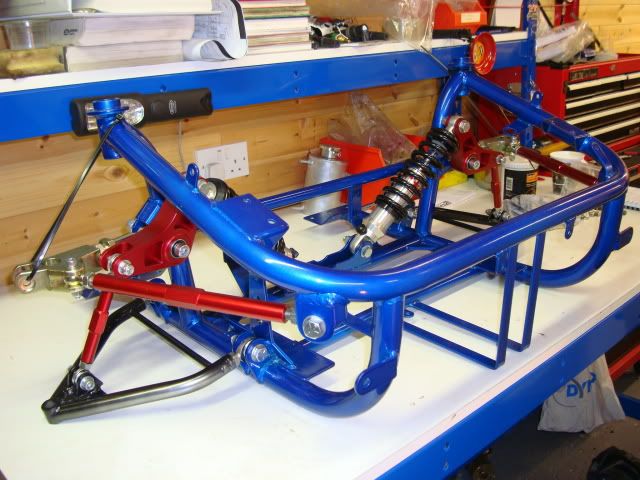
Fitted the front end just to get it out of the way really.
Posted Image

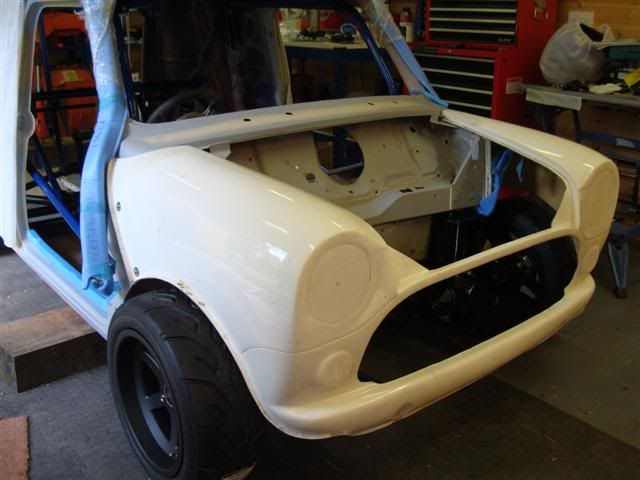
Might need to trim the front :dontgetit:
Posted Image


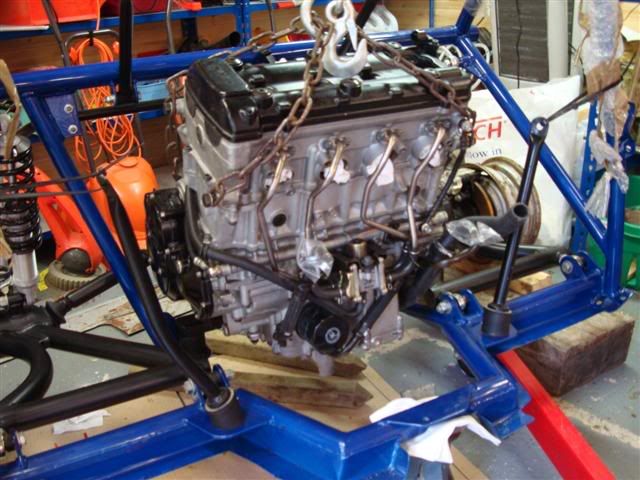
Initially I thought I would remove the frame to fit the engine but in a moment of mad inspiration I considered that if I removed the engine cradle from the frame I would be able to get the engine in from the back, no pictures but it was an epic fail! might have worked with a few helpers, anyway that was it that engine was going to go in that day! so off with the drivers door and lifted the engine on to a sheet of wood with the engine crane I then slid it in along the van and manhandled it into place in the frame sounds easy but it wasn't I will be calling in a few favours when anything heavy needs doing again........


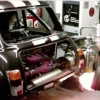
Fitted the doors to see if they are any good , not too bad but they bow out along the bottom edge they sit on the seal ok so I think they will be ok, not going for the perfect show car finish, thinking more hardcore stripped out tarmac muncher.........


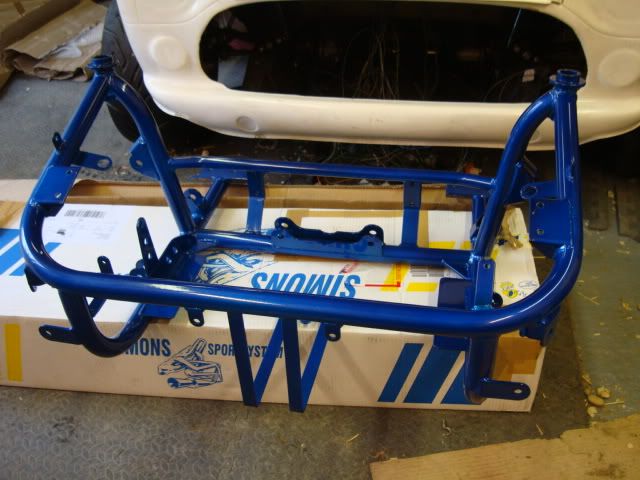
So there you have it 3 updates in one go! I will find some pictures of how it is now and post them up, after my recent visit to Z-Cars I have ordered one of there tubular front sub frames, and have a bit of a plan on how to proceed

Edited by rustandoil, 24 August 2010 - 04:10 AM.


#20 cptkirk

cptkirk

    Camshaft & Stage Two Head

  • Members
  • PipPipPipPipPipPipPipPip
  • 1,799 posts
  • Location: West Sussex
  • Local Club: B.M.C. + Chiminiclub

Posted 06 August 2010 - 08:15 AM

Good work.

#21 minimad01

minimad01

    Super Mini Mad

  • Members
  • PipPipPipPipPipPip
  • 563 posts

Posted 06 August 2010 - 01:11 PM

nice work i love them wheels if i was going to have 13's these would be the ones id have lovly project :P

#22 rustandoil

rustandoil

    Speeding Along Now

  • Members
  • PipPipPipPipPip
  • 317 posts
  • Location: Gloucestershire

Posted 08 September 2010 - 06:01 PM

No real update here but have spent a few hours stripping out the 'engine bits' of the car wiring loom, need to get on to z-cars to see what they can-do to the 'bike loom.
Anyway. While I should have been working I made this


Posted Image

This is a test piece that I hope to improve, I intend to engrave some wheel centres and perhaps a bonnet badge with my projects name. What do you think?

#23 Rosslin Racing

Rosslin Racing

    Up Into Fourth

  • Traders
  • PipPipPipPipPipPipPipPipPip
  • 2,408 posts
  • Location: Burgdorf.
  • Local Club: SMP beo BMC swiss

Posted 08 September 2010 - 08:04 PM

That is nice I would use that on the wheels and bonnet >_<

#24 rustandoil

rustandoil

    Speeding Along Now

  • Members
  • PipPipPipPipPip
  • 317 posts
  • Location: Gloucestershire

Posted 09 September 2010 - 09:39 AM

Thanks, I will try to improve the finish as there are a few scabby bits, might just be the toolpath?
I will definitely make some wheel centres, in fact the outer circle is 52 mm so probably not too far off size wise, bonnet badge and keyring would also be cool >_<
I will try to get hold of that laminated plastic sheet where you engrave through the top surface to reveal the second layer colour, will post pics if there is anything worth showing.

#25 Robnut

Robnut

    Stage One Kit Fitted

  • Noobies
  • PipPipPip
  • 66 posts

Posted 09 September 2010 - 04:10 PM

Traffolyte is the coloured plasite you are after. We use it for lables and signs at work. :trooper:

#26 rustandoil

rustandoil

    Speeding Along Now

  • Members
  • PipPipPipPipPip
  • 317 posts
  • Location: Gloucestershire

Posted 09 September 2010 - 06:19 PM

Thank Robnut, I have searched "Traffolyte" and that's exactly what i am after :trooper:

#27 Alburglar

Alburglar

    Das Pingu's

  • Members
  • PipPipPipPipPipPipPipPipPip
  • 3,331 posts
  • Location: Dover Kent
  • Local Club: Kentish Mini Club

Posted 10 September 2010 - 07:23 PM

Nice buy. and nice work so far

#28 rustandoil

rustandoil

    Speeding Along Now

  • Members
  • PipPipPipPipPip
  • 317 posts
  • Location: Gloucestershire

Posted 16 November 2010 - 01:34 PM

Ok a bit of an update, last week I received a few parcels from Z-Cars, my very nice front subframe which I now have started to assemble, and enough parts to make up both the cooling and fuel systems, yesterday my modified wiring loom was returned, fair play Chris removes a fair bit of bulk from the loom.

I now have everything I need to get the engine started, only lacking a oil cooler to do so, I intend to temporarily rig both the fuel and the cooling systems just to check that the engine actually runs, then I will get the van off the ground a bit and get things fitted nicely.

A few pics.....

Posted Image

Posted Image

Posted Image

Posted Image

Posted Image

Posted Image

#29 rustandoil

rustandoil

    Speeding Along Now

  • Members
  • PipPipPipPipPip
  • 317 posts
  • Location: Gloucestershire

Posted 22 November 2010 - 04:40 PM

I started to assemble my front subframe, its so nice working with nice clean components...... :D

I started by putting the bottom arms on to the frame, and try as I might I could not get all the little "gold" spacers in either side of the arm rose joints, with a little spreading of the frame tabs I was able to get the spacers either side of the front joint, but at the rear if I "forced" the spacers either side of the arm it seemed to produce considerable tension in the assembly and probably the arm itself, I opted to add a thin washer to one side of the joint as the spacer and replace one spacer with a washer, with the bolts tightened up with this set up the arms would fall freely under their own weight, I might turn up some spacers the correct size to replace the spacer and washer but it hardly seems worth the effort.
Posted Image
Posted Image


I turned up these spacers from stainless steel to a slightly different design to the Z-Cars ones, nothing wrong with the factory items, I just did this because I could. :)
Posted Image


The rest of the frame assembly went well, but I did machine some spacers for either side of the small rose joints that fit into the red rockers, I felt that the tolerance could be a bit tighter.


Very happy with the final result.
Posted Image
Posted Image
Posted Image
Posted Image
Posted Image
Posted Image

#30 brum,brum,mike

brum,brum,mike

    Super Mini Mad

  • Just Joined
  • PipPipPipPipPipPip
  • 554 posts
  • Location: Gloucestershire

Posted 23 April 2011 - 09:41 AM

Hi guys!

i know 'rustandoil' hasn't updated this thread for a while, but just so you know what we have been up to... :)

sorry about the quality of the sound, i think it was a bit to much noise for my little camera ;)

LINKY

i'll get him to update this thread soon ;)

Edited by brum,brum,mike, 01 May 2011 - 07:34 PM.


0 user(s) are reading this topic

0 members, 0 guests, 0 anonymous users