

Project Erm
Started by
scsracing
, Aug 30 2009 06:17 PM
834 replies to this topic
#16

analogue_radio
-

- TMF+ Member
-

- 4,897 posts
Up Into Fourth
- Location: Melton Mowbray, UK.
Posted 13 September 2009 - 06:12 PM
Corr bit of a bodge job from the previous owner, nice to see it's being taken care of
#17
scsracing
-
- Members
-
- 276 posts
Mini Mad
- Location: Eastbourne
Posted 13 September 2009 - 06:25 PM
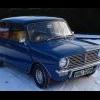
Those centers are cool
Nice aren't they.Those and the black wheels came to £82

Corr bit of a bodge job from the previous owner, nice to see it's being taken care of
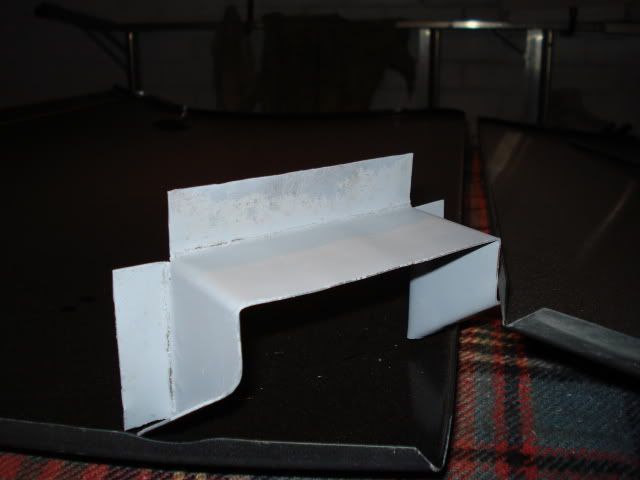
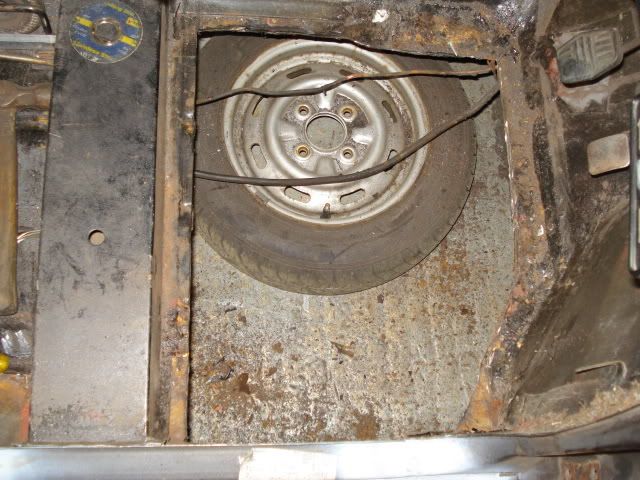
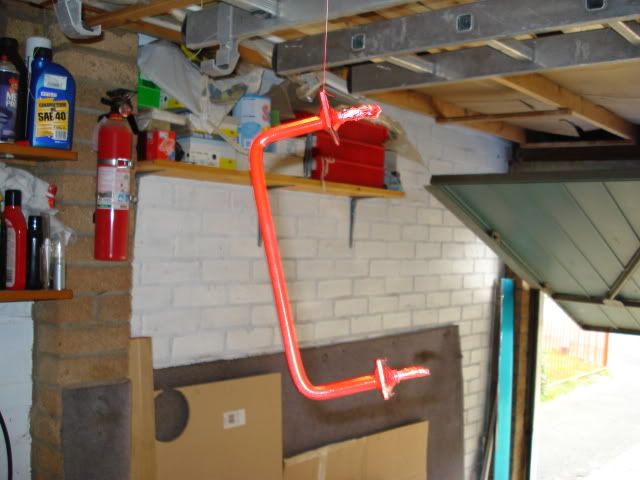
Bodge job is not the word,its a mess.Mean just look at this 'washer'
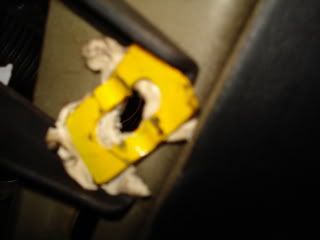
Blue tack and a bracket

Edited by scsracing, 18 June 2011 - 07:45 PM.
#18
analogue_radio
-
- TMF+ Member
-
- 4,897 posts
Up Into Fourth
- Location: Melton Mowbray, UK.
Posted 13 September 2009 - 06:49 PM
I'm lead to believe that's standard! unless the same bloke bodged my mini as well  albeit mine had a lot less 'blue tack' and it was tidier.
albeit mine had a lot less 'blue tack' and it was tidier.
#19
scsracing
-
- Members
-
- 276 posts
Mini Mad
- Location: Eastbourne
Posted 13 September 2009 - 07:00 PM
I'm lead to believe that's standard! unless the same bloke bodged my mini as well
Maybe we have a rare part only on 'special' minis,haha.Worth a fortune

#20
scsracing
-
- Members
-
- 276 posts
Mini Mad
- Location: Eastbourne
Posted 18 September 2009 - 09:59 PM
The to do list is now bigger and better,
Replace both inner sills,
Replace both outer sills,
Replace both front floor panels,
Replace r/h door step,
Replace r/h 'A' panel,
Replace inner wing radiator panel,
Replace both door skins,
Repair bottom of l/h door frame,
Replace battery box,
Replace both rear inner arches,
Replace bodged/dodgy repair sections in boot.
There maybe more rust removal but it will be localised areas.
My dad will be replacing the door step this weekend plus removing the 'A' panel and starting on the sills.
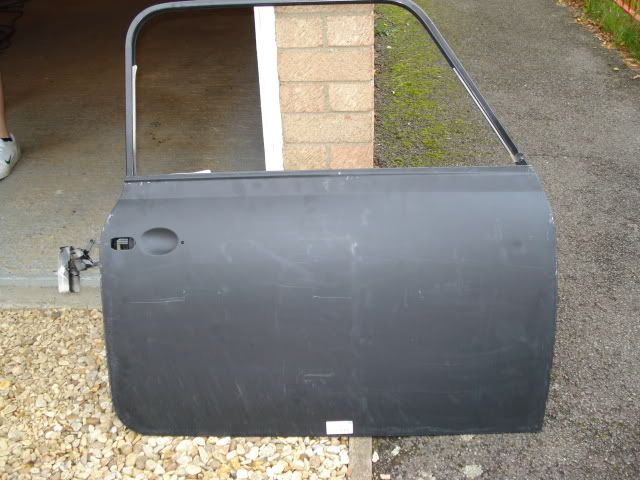
He has already etch primed and sprayed black the door skins inner sides.
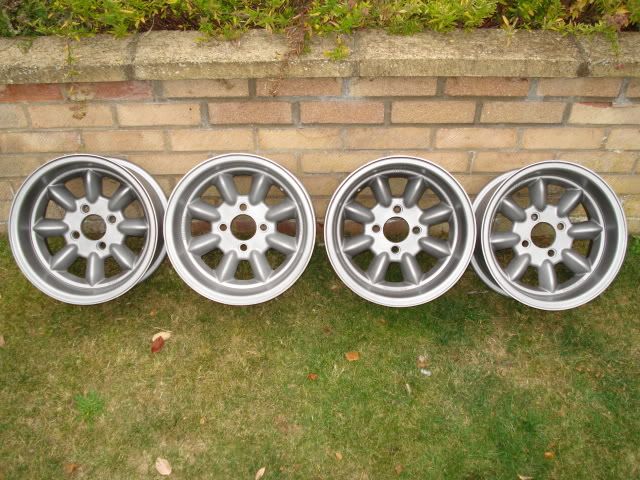
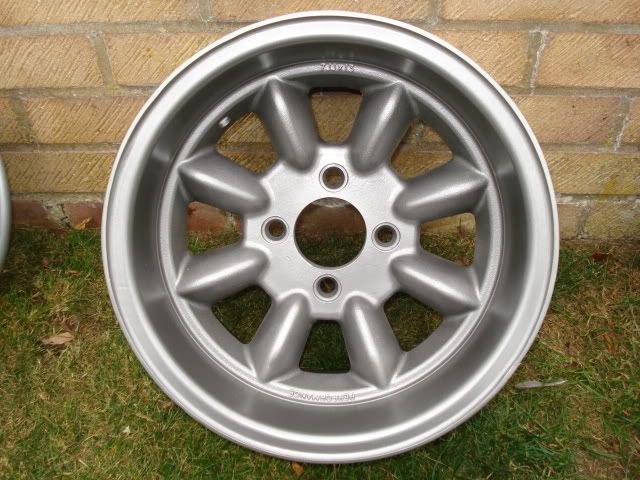
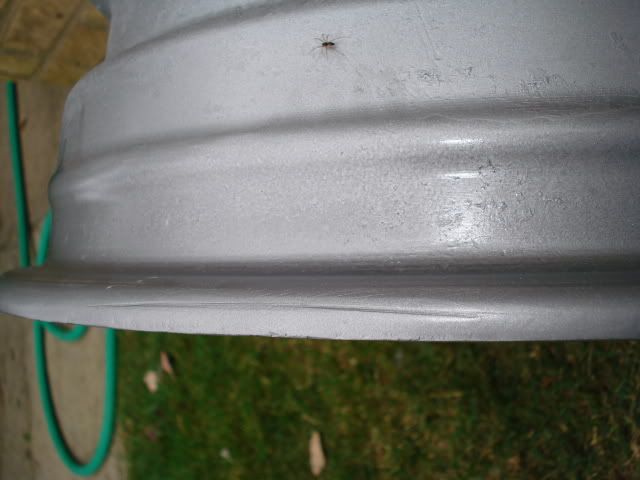
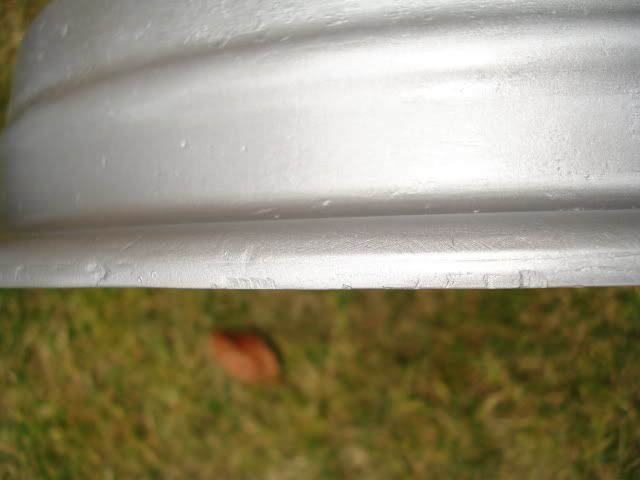
He has also sprayed the Supalites Silver/steel and clear coated them. Much much better than when we first got them with the car but still not perfect but will look good on someone else's mini. Will post more photo's tomorrow.
Replace both inner sills,
Replace both outer sills,
Replace both front floor panels,
Replace r/h door step,
Replace r/h 'A' panel,
Replace inner wing radiator panel,
Replace both door skins,
Repair bottom of l/h door frame,
Replace battery box,
Replace both rear inner arches,
Replace bodged/dodgy repair sections in boot.
There maybe more rust removal but it will be localised areas.
My dad will be replacing the door step this weekend plus removing the 'A' panel and starting on the sills.
He has already etch primed and sprayed black the door skins inner sides.
He has also sprayed the Supalites Silver/steel and clear coated them. Much much better than when we first got them with the car but still not perfect but will look good on someone else's mini. Will post more photo's tomorrow.
#21
Hekmat
-

- TMF+ Member
-
- 246 posts
Mini Mad
- Location: Coulsdon, London
Posted 19 September 2009 - 03:51 AM
Nice Center caps, do mind me asking where did you get them from.
#22
scsracing
-
- Members
-
- 276 posts
Mini Mad
- Location: Eastbourne
Posted 19 September 2009 - 09:32 AM
Nice Center caps, do mind me asking where did you get them from.
Hi
They were custom made,i may be selling them but i am not sure yet as i haven't decided.
#23
Mini-Mad-Craig
-

- Members
-
- 9,298 posts
Crazy About Metro's
- Location: Travelling in a fried out Kombi
Posted 19 September 2009 - 12:23 PM
Thats awsome, I love your dash too, Not sure why  And your centercaps have given me an idea for my next Lathe project
  worth a try.
Keep it coming.
And your centercaps have given me an idea for my next Lathe project worth a try.Keep it coming.
Edited by Mini-Mad-Craig, 19 September 2009 - 12:24 PM.
#24
scsracing
-
- Members
-
- 276 posts
Mini Mad
- Location: Eastbourne
Posted 19 September 2009 - 06:47 PM
Well today while i was out earning the money to pay for this my dad was busy tinkering in the garage.
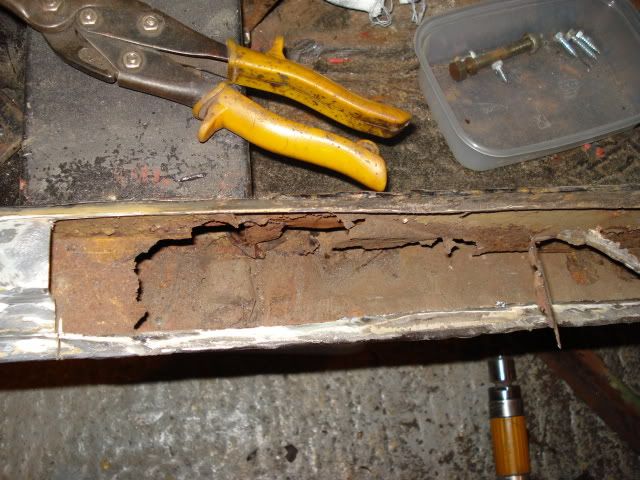
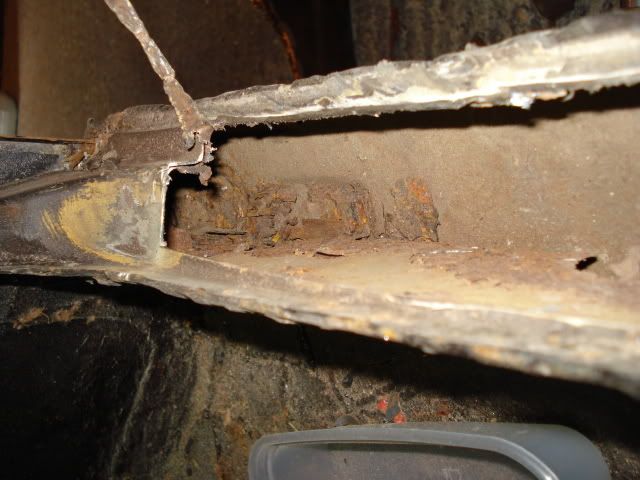
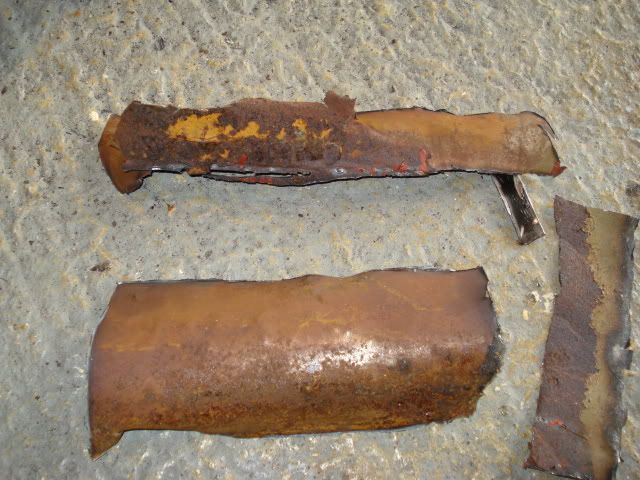
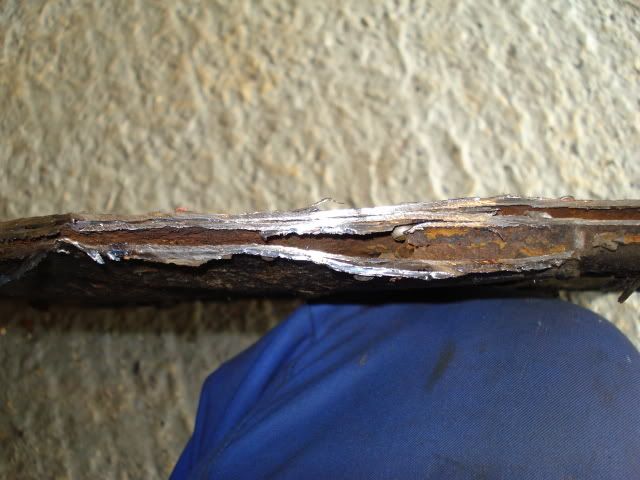
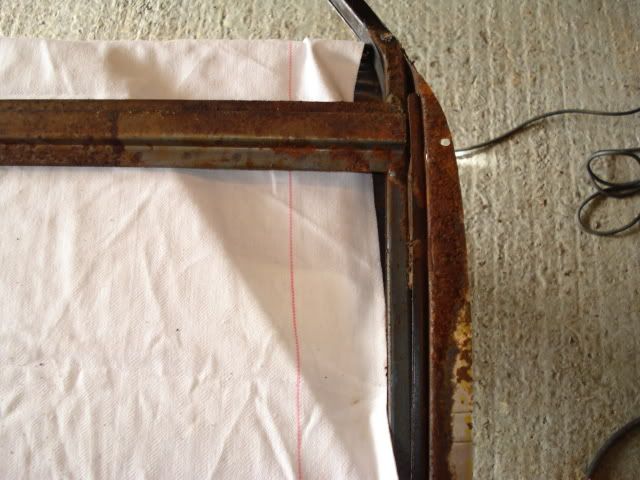
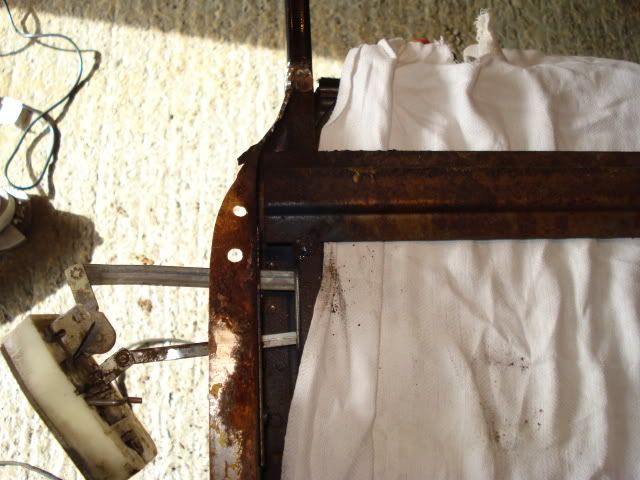
The old outer seal,was a home brew job
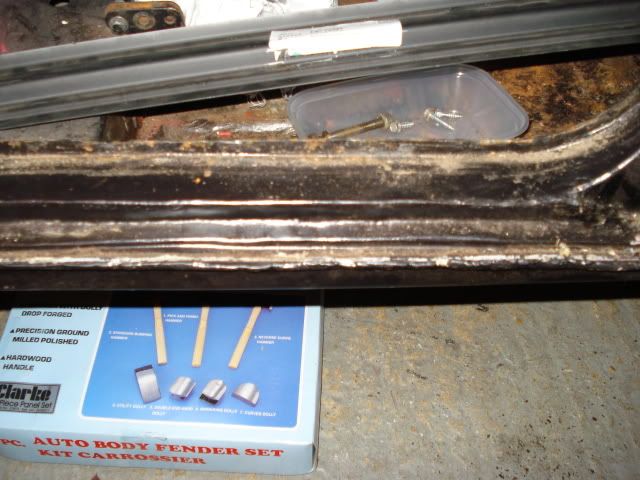
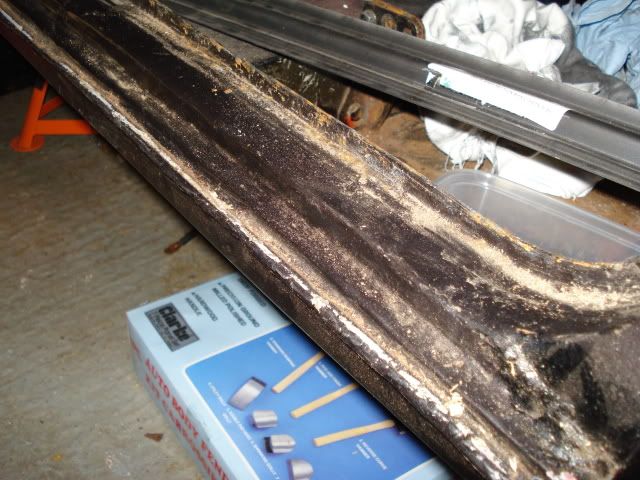
Anyone missing any rust?i think it is here
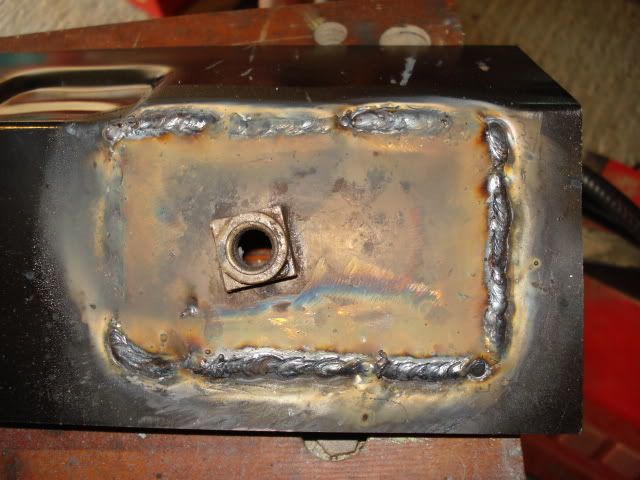
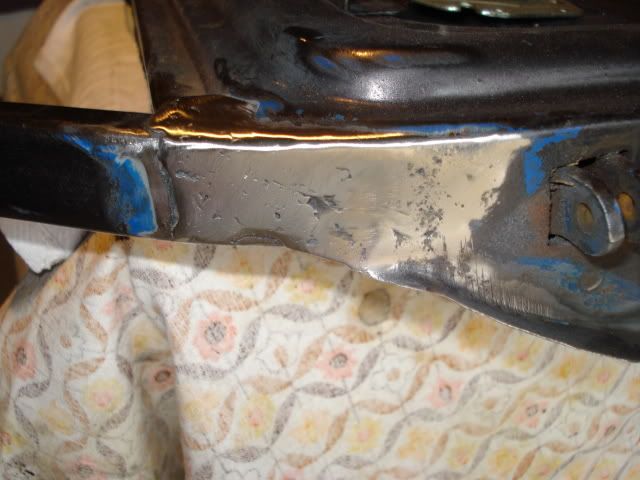
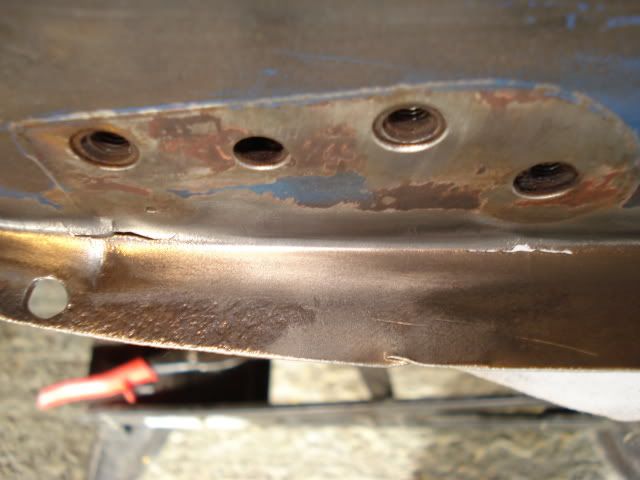
New sill welded in
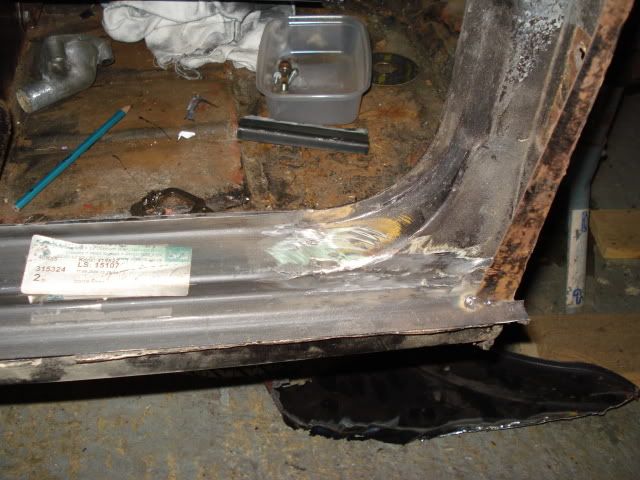
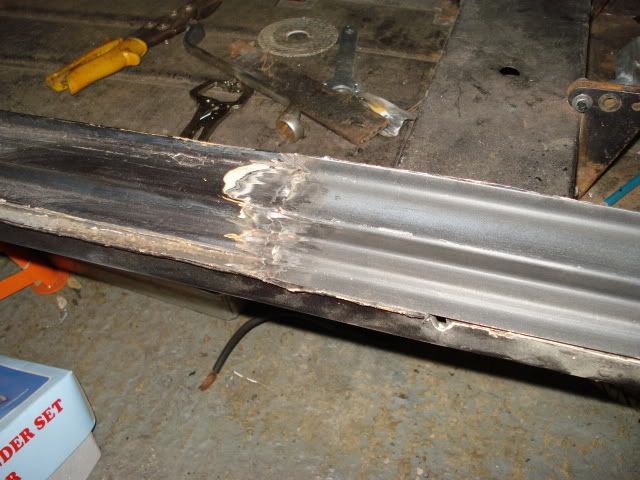
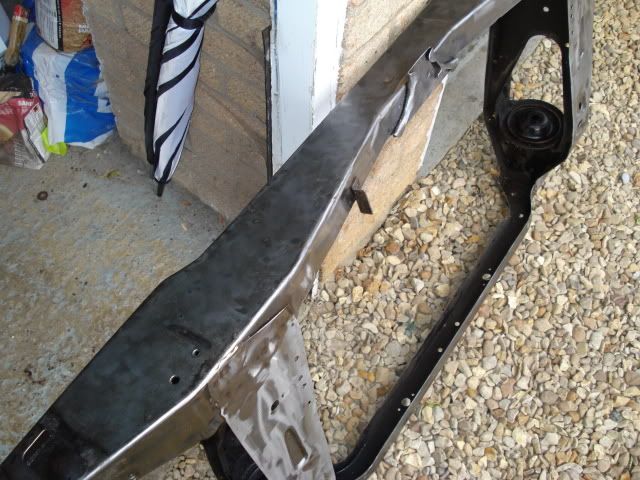
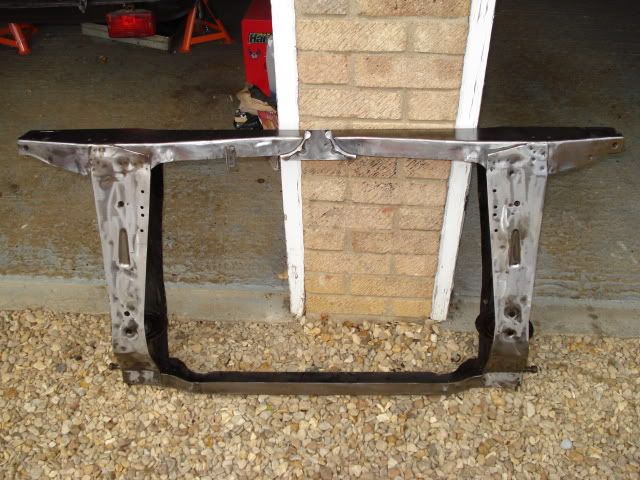
And a home made bit of the centre beam
Also wheels are done now,will be ebaying but if anyone wants them £150
The old outer seal,was a home brew job
Anyone missing any rust?i think it is here
New sill welded in
And a home made bit of the centre beam
Also wheels are done now,will be ebaying but if anyone wants them £150
#25
lawrence
-

- Members
-
- 1,330 posts
One Carb Or Two?
Posted 19 September 2009 - 07:39 PM
very nice  . in thinking of replacing my door step next year, cant afford it it atm lol.
tasty wheels to!
L
. in thinking of replacing my door step next year, cant afford it it atm lol.tasty wheels to!
L
#26
Releah
-

- Noobies
-
- 5 posts
Just On Tickover
Posted 20 September 2009 - 03:04 PM
Nice gonna look great keep the updates comming.
Ha any one spot the cheeky spider
keep the updates comming.Ha any one spot the cheeky spider
#27
scsracing
-
- Members
-
- 276 posts
Mini Mad
- Location: Eastbourne
Posted 06 October 2009 - 06:16 PM
My first reply in a while as thought i would do it all in one chunk.
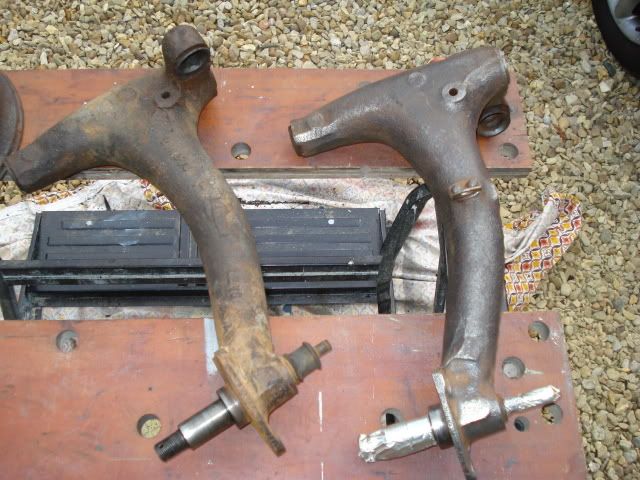
Started off my cleaning up some bits and bobs to take to powder coaters for a quote,had to clean up the sub which took a day.Loads of waxoil on it and had to clean up some corrosion on it too.
Some new tools came in the post
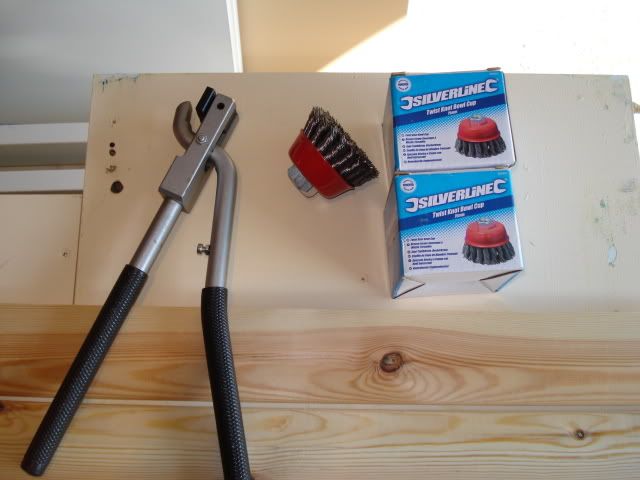
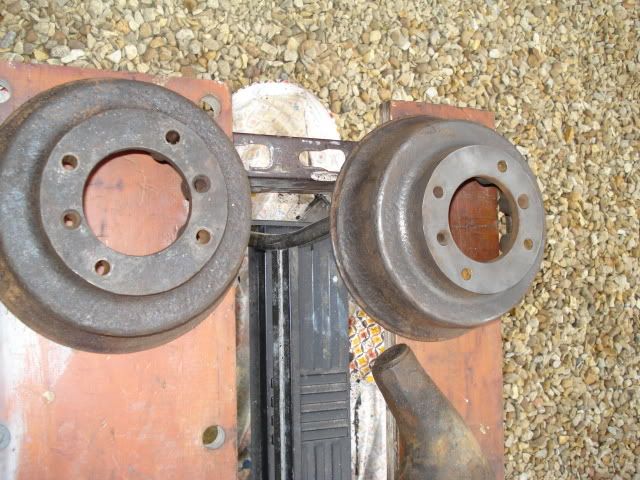
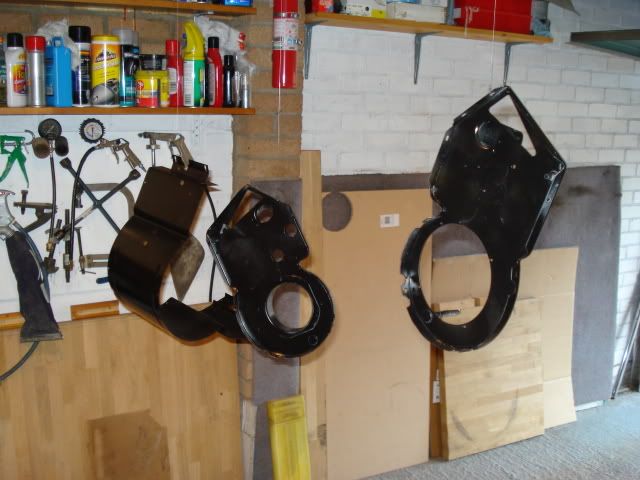
These drums look the same but honestly one is manky as hell but the photo doesn't show it.Only did one radius arm and one drum just to get a quote on powder coat.
Now for the bits my dad has done so far since he has been off
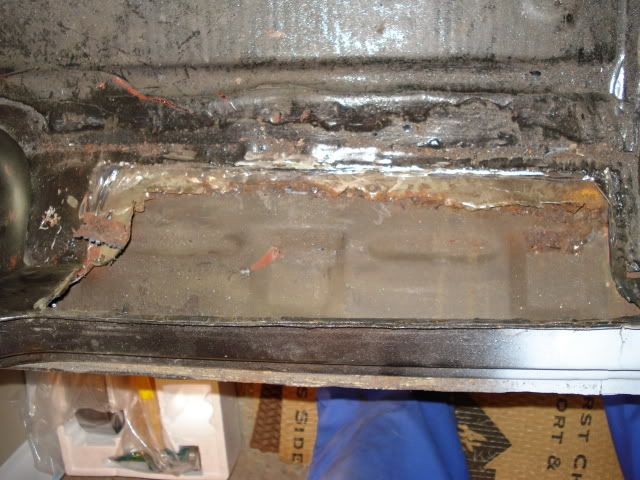
Old inner sill out but as we were waiting for a new floor pan
How many layers?
The rear inner sill cut out
My dad had to weld in the seat belt mounting point as the new inner didn't have one, Didn't tidy the weld up as its hidden in the empty space between inner and outer sills so it was just primed and sprayed black so that ti is protected.
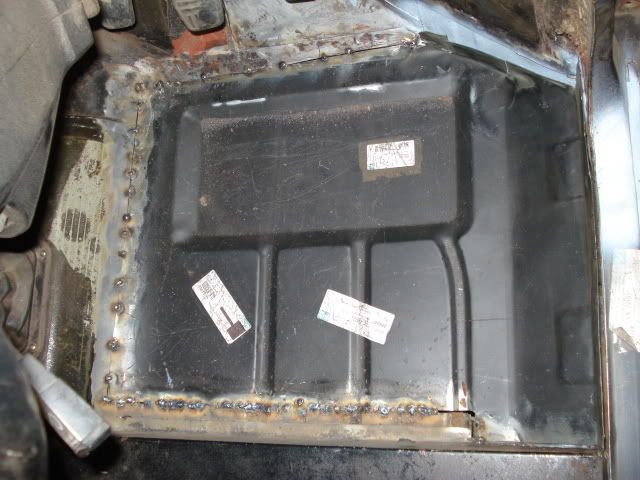
New rear inner sill welded in (Has been primed)

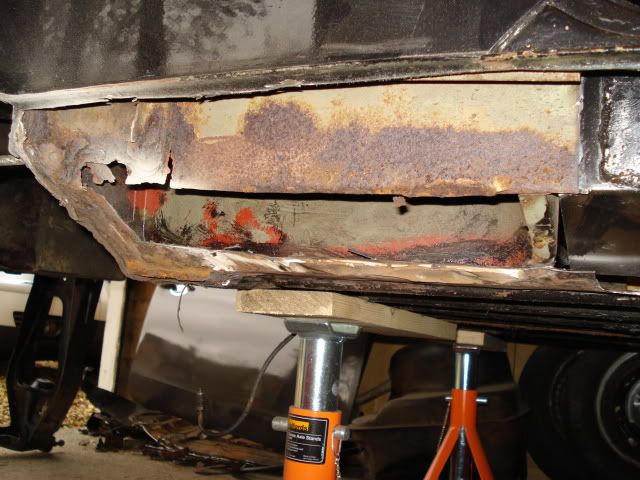
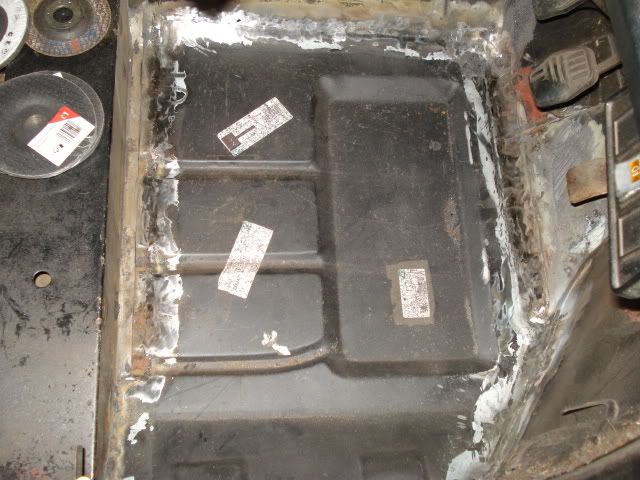
Old outer sill removed,The sub mount has gone so it will probably be a new heelboard
Foot ventilation sorted out,not having a engine any more,going flintstones style.
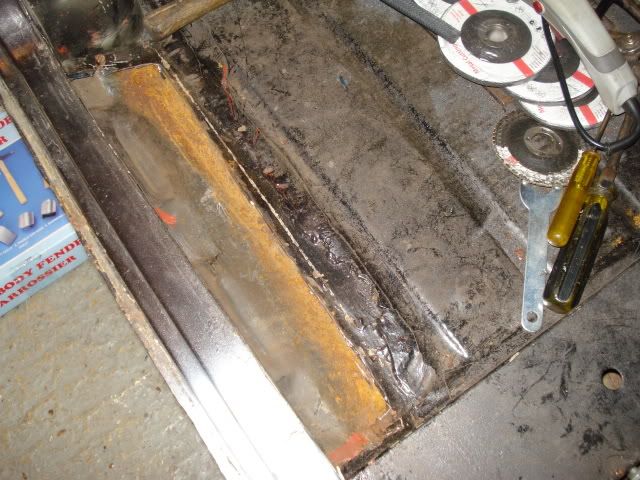
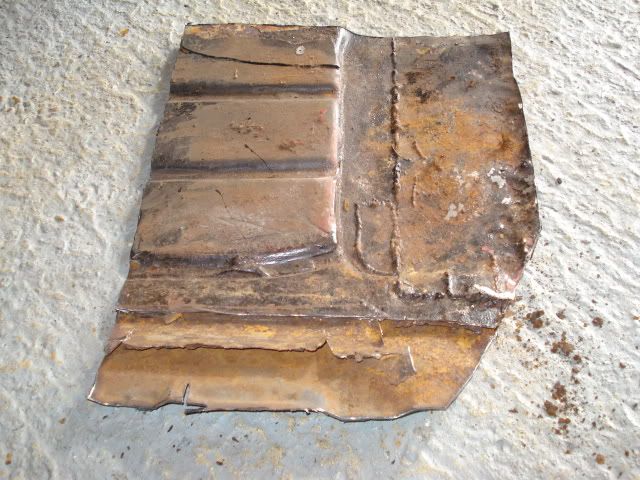
Could probably survive going over a land mine with this old floor panel
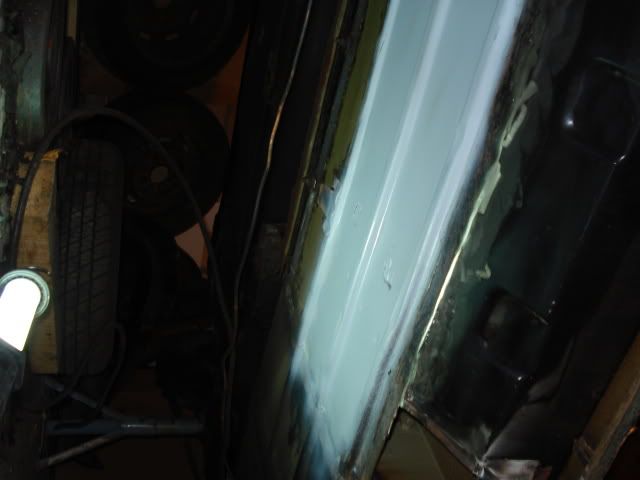
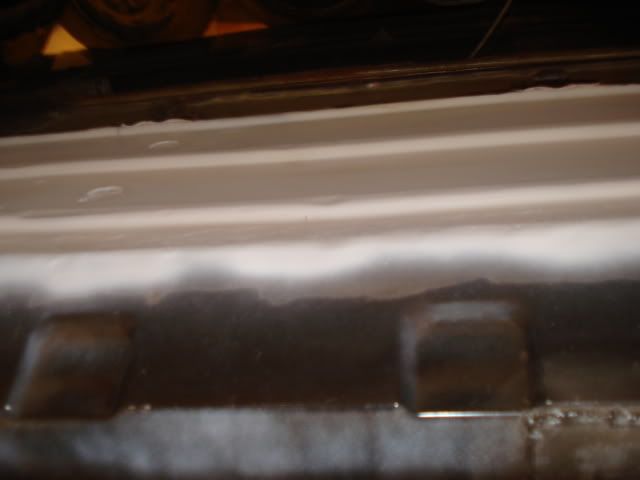
Panel tacked in
Seam welded and ground down
The grooves don't line up which is really weird and the slots don't line up on the sills either??
Started off my cleaning up some bits and bobs to take to powder coaters for a quote,had to clean up the sub which took a day.Loads of waxoil on it and had to clean up some corrosion on it too.
Some new tools came in the post
These drums look the same but honestly one is manky as hell but the photo doesn't show it.Only did one radius arm and one drum just to get a quote on powder coat.
Now for the bits my dad has done so far since he has been off
Old inner sill out but as we were waiting for a new floor pan
How many layers?
The rear inner sill cut out
My dad had to weld in the seat belt mounting point as the new inner didn't have one, Didn't tidy the weld up as its hidden in the empty space between inner and outer sills so it was just primed and sprayed black so that ti is protected.
New rear inner sill welded in (Has been primed)
Old outer sill removed,The sub mount has gone so it will probably be a new heelboard
Foot ventilation sorted out,not having a engine any more,going flintstones style.
Could probably survive going over a land mine with this old floor panel
Panel tacked in
Seam welded and ground down
The grooves don't line up which is really weird and the slots don't line up on the sills either??
#28
scsracing
-
- Members
-
- 276 posts
Mini Mad
- Location: Eastbourne
Posted 08 October 2009 - 05:56 PM
Pattern part panels are not good fun to fit hence the reason certain original features will not line up but also the blind man who did all the original welding did not help.
More panels required now are as follows:
Both door bottoms will need repair sections fitted as both bottoms are rotten,
Decided to fit proper replacement jacking points to both sides,
The heel board needs to be replaced at both sides which includes the subframe internal mounting brackets.
Will now have to fit larger sills due to the cutouts on the inner sills and replacement floor panels not lining up but will cut in breather holes like the original sills should have.
The right hand wing will have to go, its starting to bubble plus more welding required around the vent cutout and under the scuttle end.
The left hand one might go the same way but not just yet.
After being told that all the rust had been cut out prior to new sections being welded in it goes to show what a load of rubbish the previous owner was spouting.
If it wasn't for the fact that most of the outer shell is good then it would be cheaper to source another shell but in the end the car will be bullet proof plus a lot lighter.
Still at least my Dad's welder is going strong but he's bought two grinders so one is fitted with a cutting disc and the other a grinding disc. (B&Q specials)
#29
daemonchild
-

- Members
-
- 2,341 posts
Up Into Fourth
- Location: Pontypridd
- Local Club: Unknown
Posted 08 October 2009 - 08:05 PM
Looking like a small-ish list grew into a bigger one...
I know that feeling, so keep going fellas!
I love the inch thick floor pan. The poor engine must have been working hard to shift that weight...
I know that feeling, so keep going fellas!
I love the inch thick floor pan. The poor engine must have been working hard to shift that weight...
#30
scsracing
-
- Members
-
- 276 posts
Mini Mad
- Location: Eastbourne
Posted 16 October 2009 - 07:10 PM
Cleaned off some of the waxoil and rust then etch primed it for the mean while.Still got to do the other bits of the floor which will be done this sunday as its simple just time consuming
Some more rust
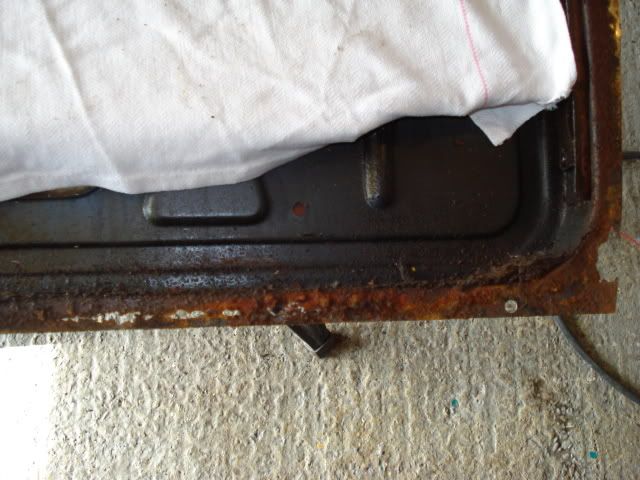

Started to clean it up
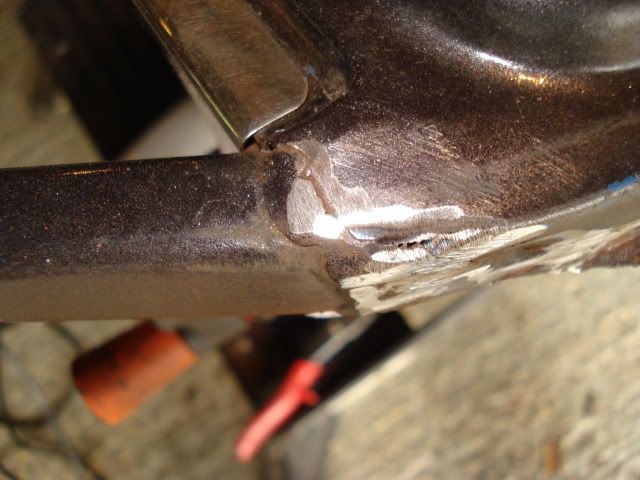
New door bottom fitted

Dad had to fabricate the corner sections so he could continue to do the door.
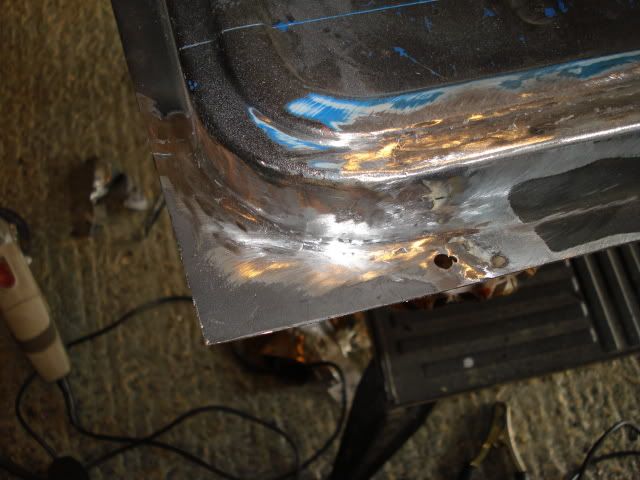
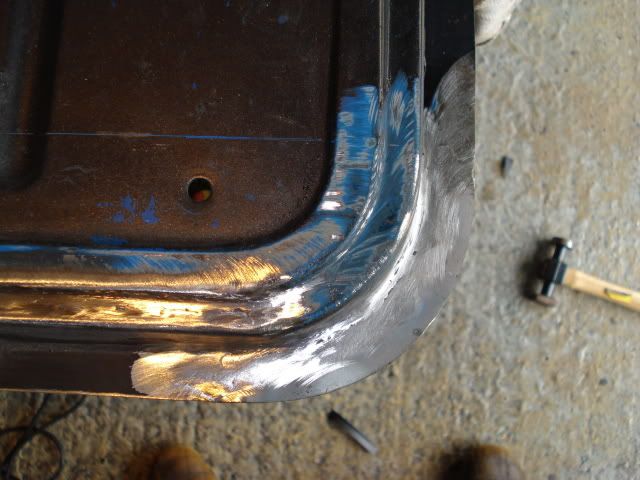
Door skinned
And after the paint reacted the first time the second time it was fine.Just got to waxoil the inside of the skin even though its primed and paint too(trying to keep the rust away)

Some bits sprayed up,the heater and one seat stop thing as it was just off at the time
Tidied up the bench so that it can be used now
Just want to get all my parts back from the powder coaters and backplates that i bought off here turn up so that i can rebuild the rear subframe.
Also thinking of getting a complete boot floor now as the old one is utterly terrible,patches are held on with filler and silicone and there is so much filler in there its crazy.whole boot floor is about £120 without battery box which i already have so it may be worth it as most of it is going to have to be chopped out.
My dad did attempt to replace the rear front subframe mounts but the panel we bought is terrible so i have got a complete rear heelboard but need to work out a price for it yet as i have;nt payed for it yet
Some more rust
Started to clean it up
New door bottom fitted
Dad had to fabricate the corner sections so he could continue to do the door.
Door skinned
And after the paint reacted the first time the second time it was fine.Just got to waxoil the inside of the skin even though its primed and paint too(trying to keep the rust away)
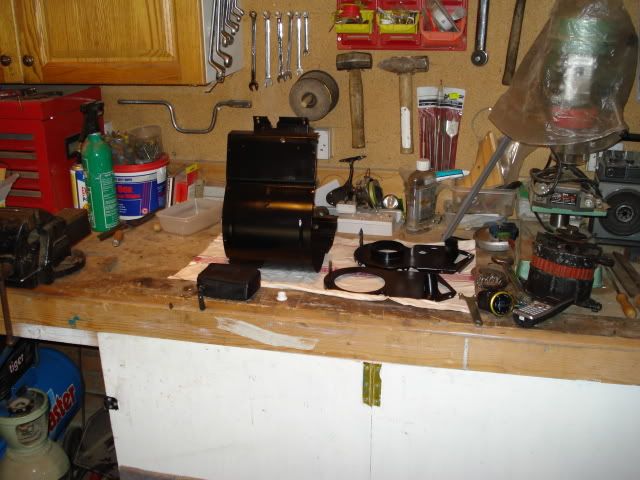
Some bits sprayed up,the heater and one seat stop thing as it was just off at the time
Tidied up the bench so that it can be used now
Just want to get all my parts back from the powder coaters and backplates that i bought off here turn up so that i can rebuild the rear subframe.
Also thinking of getting a complete boot floor now as the old one is utterly terrible,patches are held on with filler and silicone and there is so much filler in there its crazy.whole boot floor is about £120 without battery box which i already have so it may be worth it as most of it is going to have to be chopped out.
My dad did attempt to replace the rear front subframe mounts but the panel we bought is terrible so i have got a complete rear heelboard but need to work out a price for it yet as i have;nt payed for it yet
Edited by scsracing, 21 October 2009 - 06:13 PM.


0 user(s) are reading this topic
0 members, 0 guests, 0 anonymous users


