Just read every page mate. Bang on, when it comes to body work and welding I'm a novice and it scares me but you've shown me there's nothing to be scared of!
Matt.


Half pint guy in a half pint car


Posted 23 March 2018 - 08:42 PM
Just read every page mate. Bang on, when it comes to body work and welding I'm a novice and it scares me but you've shown me there's nothing to be scared of!
Matt.
One Carb Or Two?
Posted 26 March 2018 - 08:16 PM
One Carb Or Two?
Posted 01 April 2018 - 06:13 PM
 20180401_144300 by Lawrence Balls, on Flickr
 20180401_145949 by Lawrence Balls, on Flickr
 20180401_150957 by Lawrence Balls, on Flickr
 20180401_152731 by Lawrence Balls, on Flickr
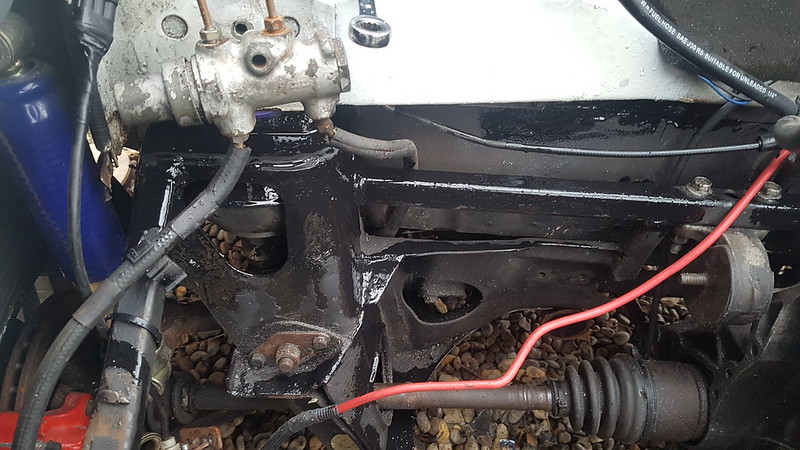 20180401_154442 by Lawrence Balls, on Flickr
One Carb Or Two?
Posted 09 April 2018 - 10:09 PM
Well then, little update.
Went and popped into specialist components, they do some real tasty alloys there. Hmmm.
 20180326_161723 by Lawrence Balls, on Flickr
 20180402_145000 by Lawrence Balls, on Flickr
This doesn’t look right
 20180402_182058 by Lawrence Balls, on Flickr
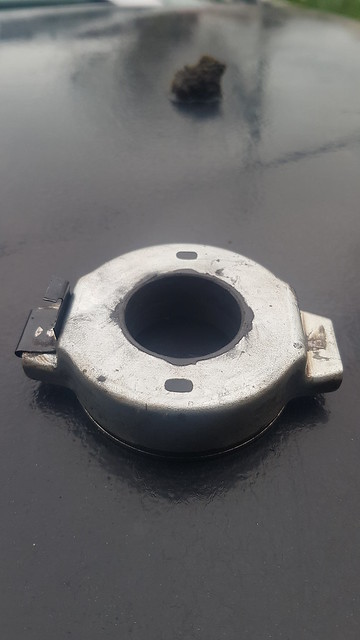
Im missing a clip and the one remaining doesn’t look complete. I wonder if that’s the cause of that strange noise during idle when the clutch release bearing is in freewheel.
Contacted Nissan the other week and they ordered one up from London for me and I picked em up today.
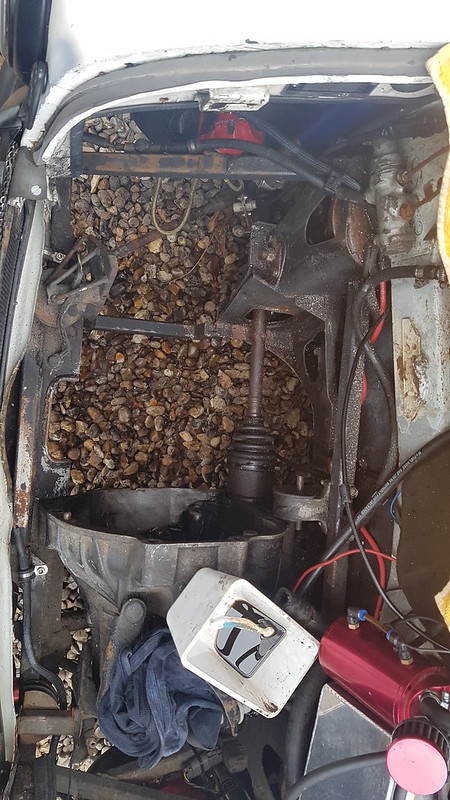
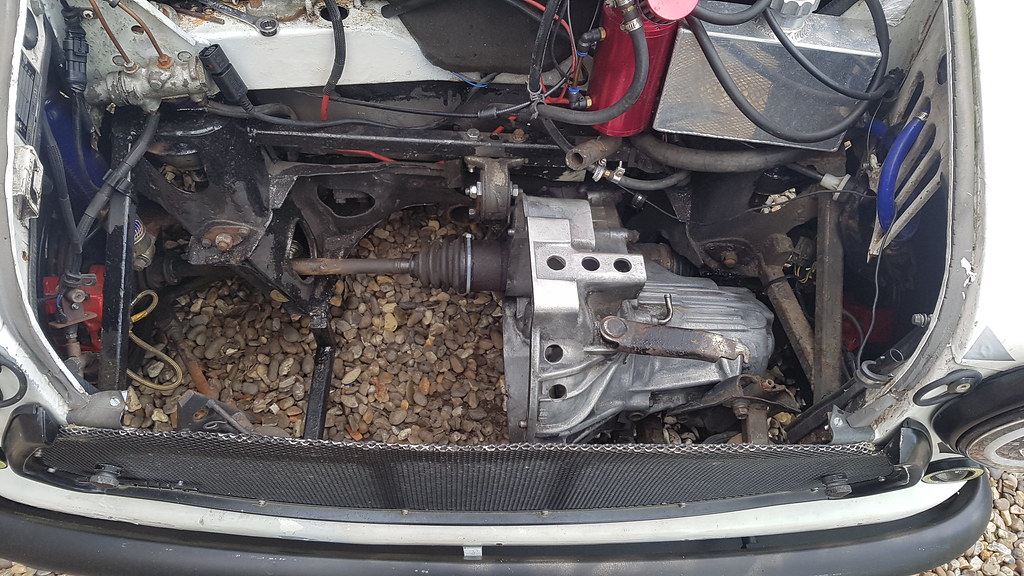
On that topic. Gearbox removed
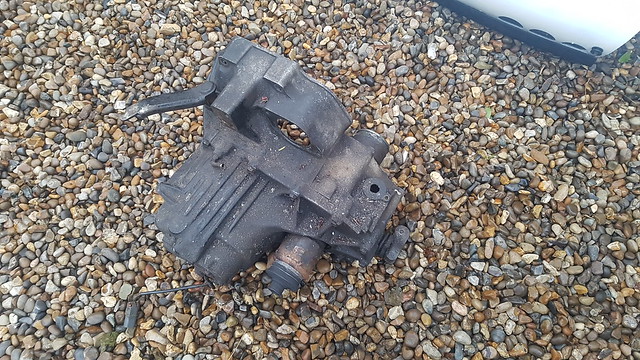 20180402_185923 by Lawrence Balls, on Flickr
cleaned up and a few air holes drilled
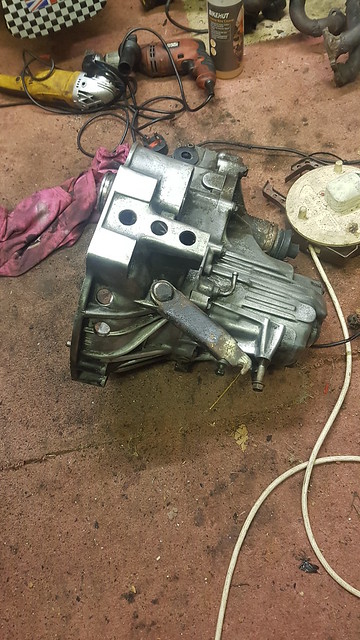 20180402_205053 by Lawrence Balls, on Flickr
made a reinforcer for the gearbox steady
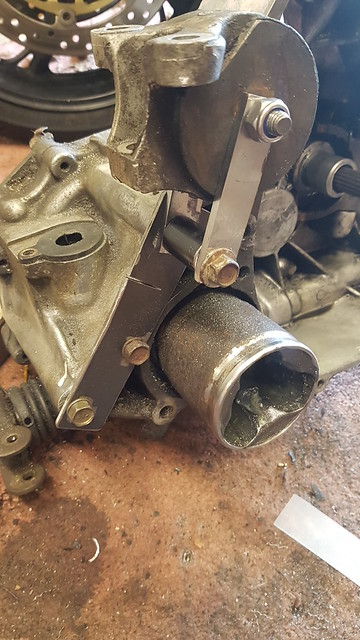 20180403_175222 by Lawrence Balls, on Flickr
not finshed it yet tho.
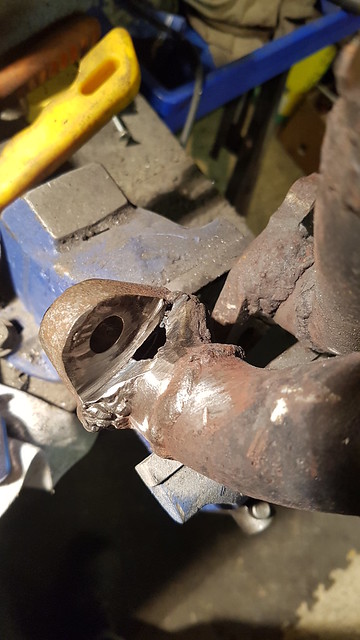
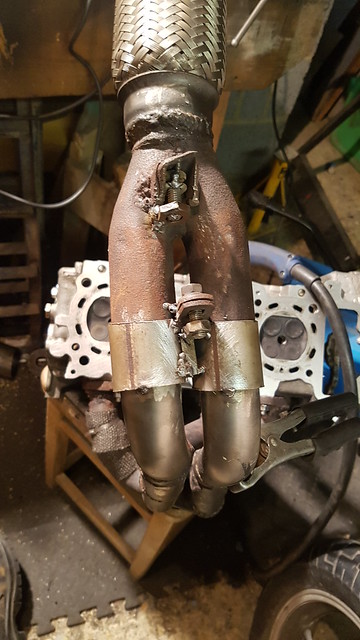
Also done some grinding on the exhaust. Needs some more welding. 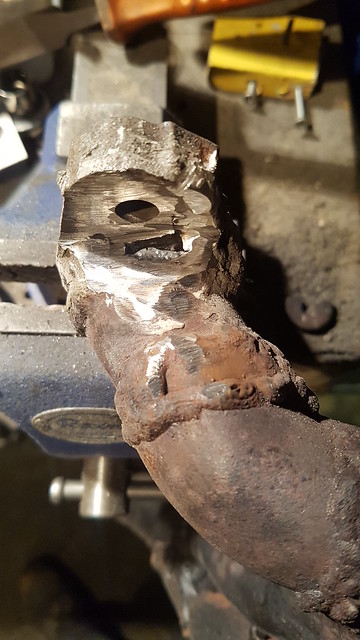 20180403_180706 by Lawrence Balls, on Flickr
 20180403_191311 by Lawrence Balls, on Flickr
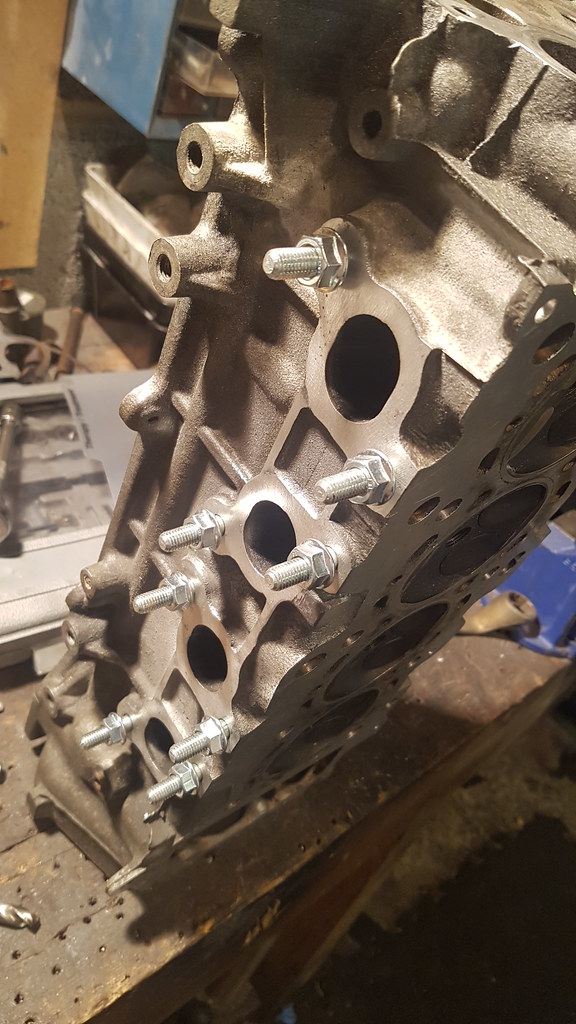
Currently im using bolts but im worried im going to cross thread the head. So ive bought some new stainless studs to go into the head and also will modify the exhaust to allow me to leave the majority of the manifold in situ should I remove the engine. (in pic below)
 20180406_113004 by Lawrence Balls, on Flickr
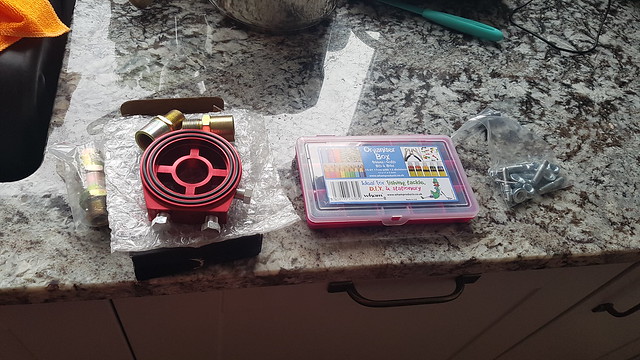
also bought an adaptor plate for the oil filter allowing me to fit the sensors for the digidash to the engine.
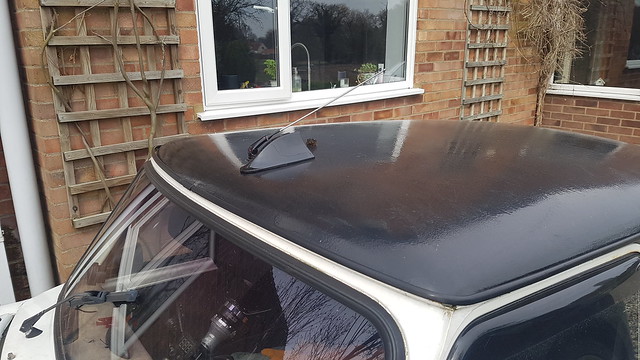
Sharkfin antenna arrived also. Bit big. May not fit
 20180406_113029 by Lawrence Balls, on Flickr
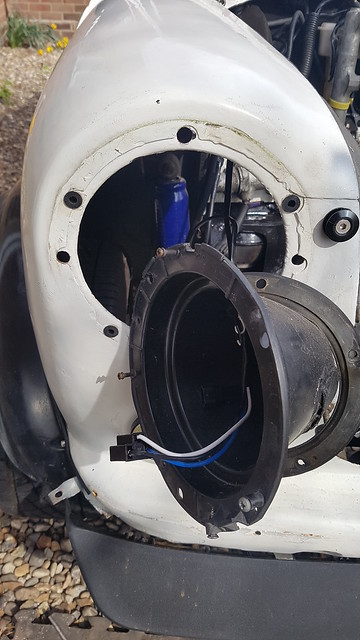
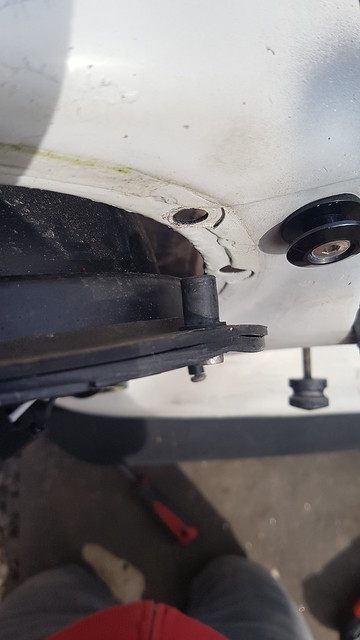
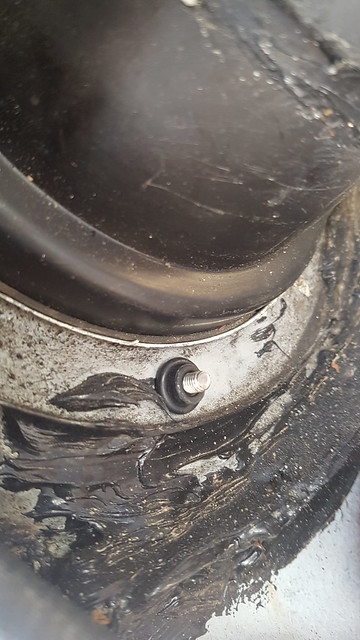
Have bought some new bits tho called rubnuts. Drilled out for the headlamps
 20180406_115603 by Lawrence Balls, on Flickr
 20180406_115711 by Lawrence Balls, on Flickr
 20180406_115817 by Lawrence Balls, on Flickr
I need to paint where I have drilled tho. But they work great. Ive bought another 50 to fit the wheel arches with. Basically they are like rivnuts but rubber and brass. So no corrosion and easy to remove.
Then my parents car overheated
 20180408_195425 by Lawrence Balls, on Flickr
I diagnosed it as water pump failure due to the erratic occourance. Its being fixed under warrantly.
Back to mini, still stripped waiting for parts
 20180409_105107 by Lawrence Balls, on Flickr
got these to fit too
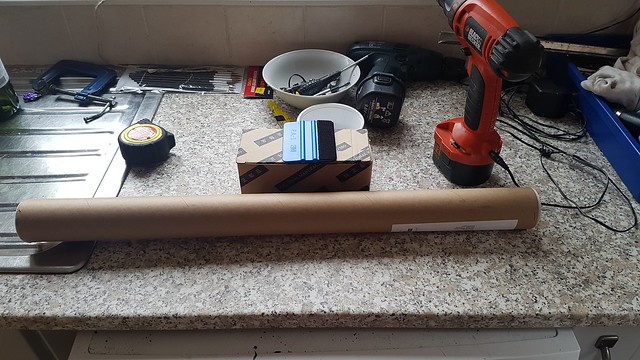 20180409_110334 by Lawrence Balls, on Flickr
ill let you guess what it is but ill hint it involved vinyl.
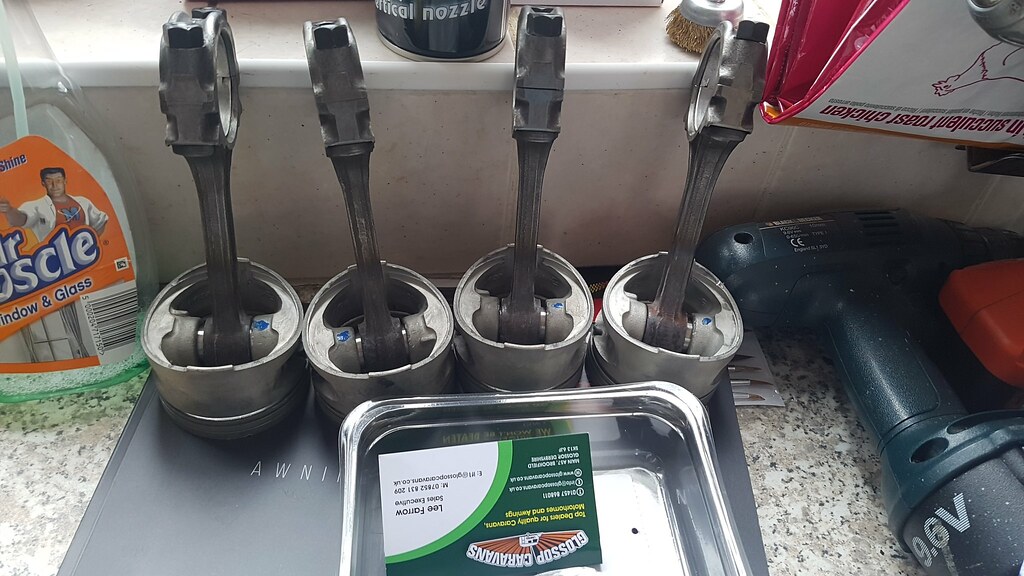
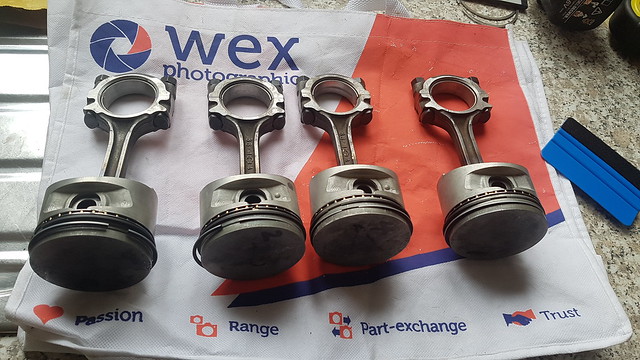
Pistons back from the mechanics. They never bothered doing them. Could have bloody told me they didn’t have the skills to do them as opposed to wasting 2 weeks of my time and countless phone calls.
Chain drilled the conrod
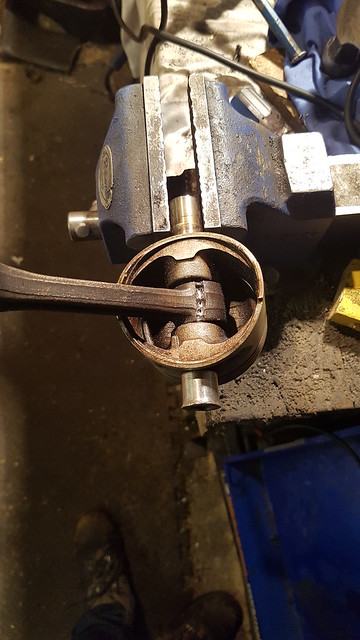 20180409_190839 by Lawrence Balls, on Flickr
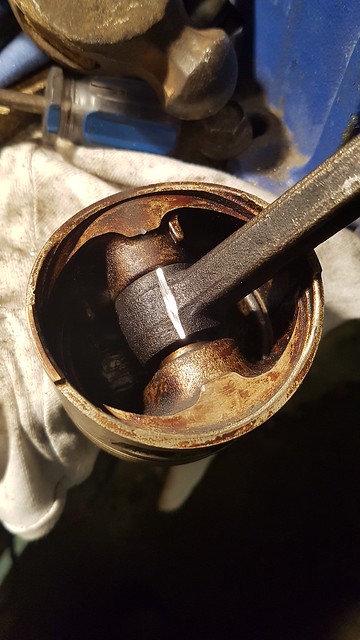 20180409_194315 by Lawrence Balls, on Flickr
all the pistons free of their rods
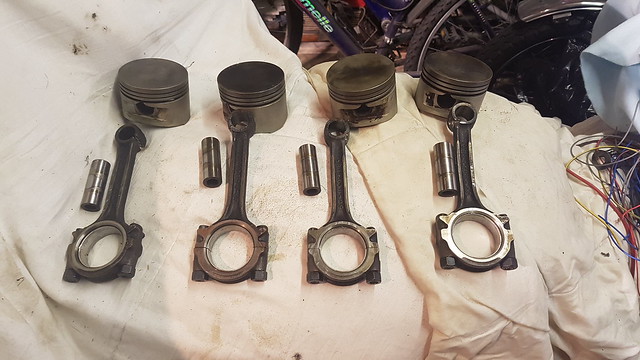 20180409_204022 by Lawrence Balls, on Flickr
ive dropped the other rods that I want to keep into another engine shop who are pressing them for me.
Interesting note. One of the above rods are bent! Far right one.
That’s all for now. My vinyl surprise will be unveiled soon. And hopefully the piston will be sorted soon!
Lawrence
One Carb Or Two?
Posted 10 April 2018 - 06:54 PM
 20180410_131924 by Lawrence Balls, on Flickr
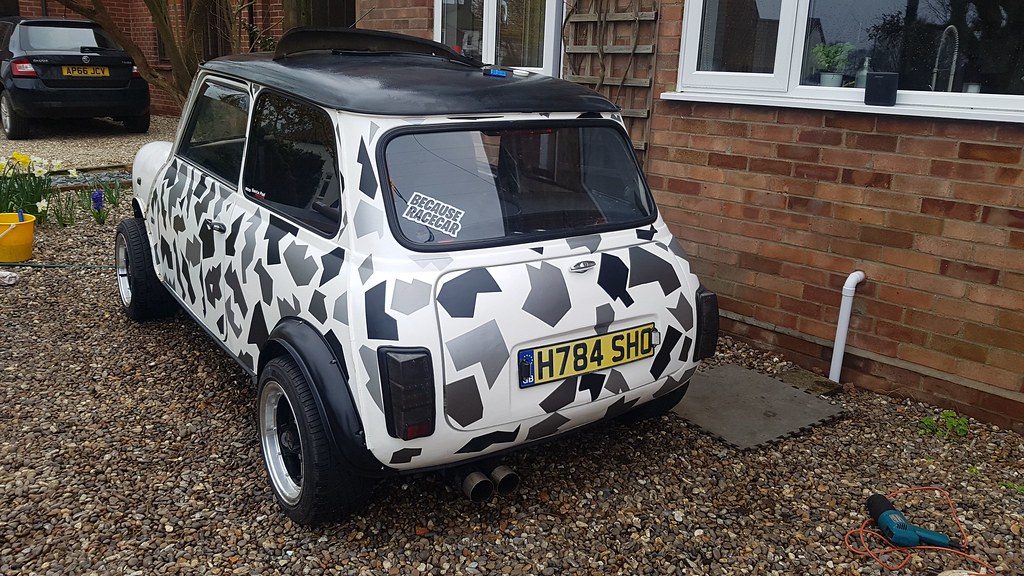 IMG-20180410-WA0002 by Lawrence Balls, on Flickr
 20180410_192459 by Lawrence Balls, on Flickr
Camshaft & Stage Two Head

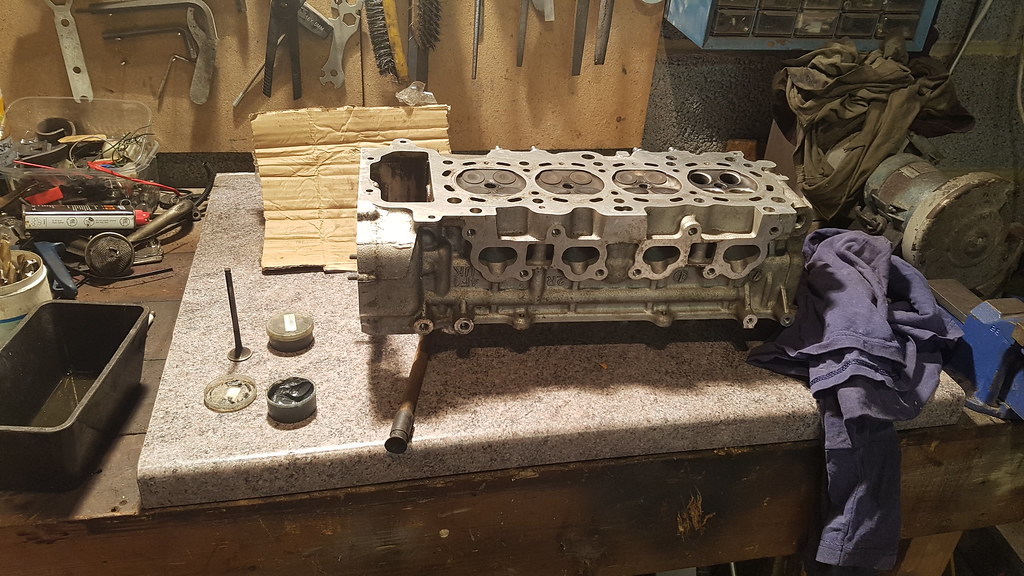
Posted 10 April 2018 - 07:49 PM
Super Mini Mad

Posted 11 April 2018 - 06:56 PM
Mini Mad

Posted 17 April 2018 - 12:40 PM
One Carb Or Two?
Posted 24 April 2018 - 11:17 AM
 20180423_115707 by Lawrence Balls, on Flickr
 20180412_094016 by Lawrence Balls, on Flickr
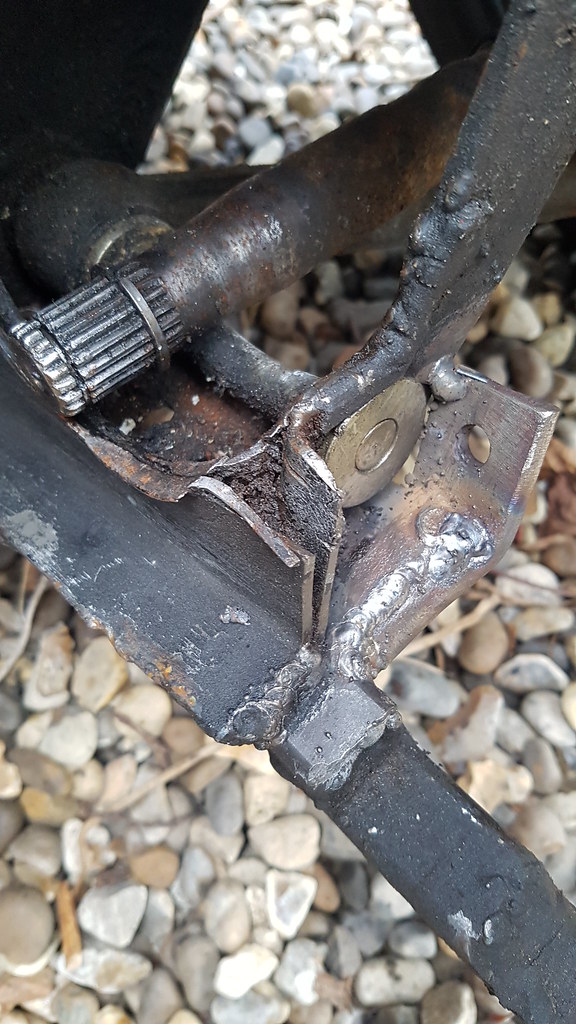 20180423_190152 by Lawrence Balls, on Flickr
One Carb Or Two?
Posted 24 April 2018 - 06:36 PM
 20180424_154927 by Lawrence Balls, on Flickr
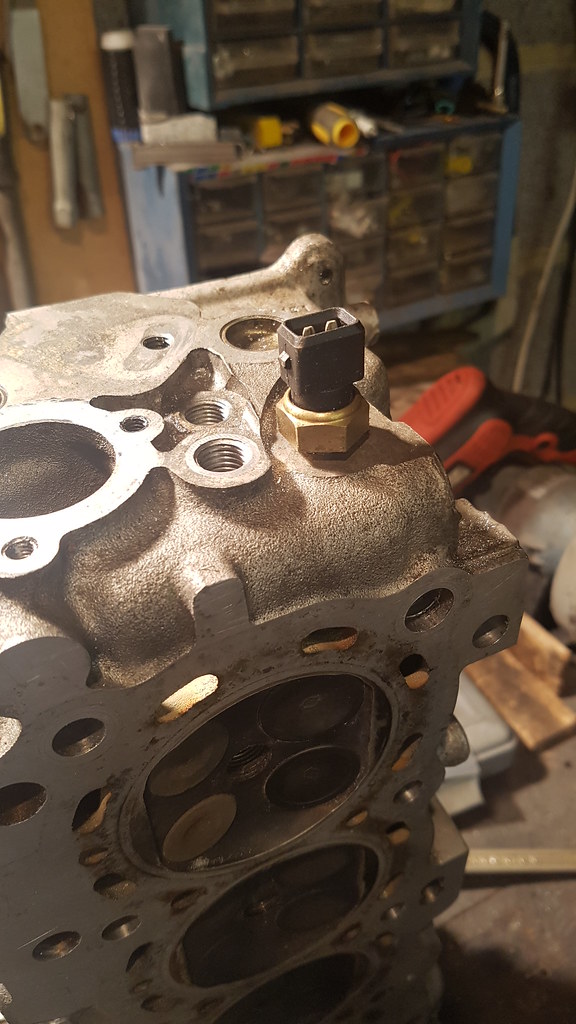 20180424_154930 by Lawrence Balls, on Flickr
 20180424_170428 by Lawrence Balls, on Flickr
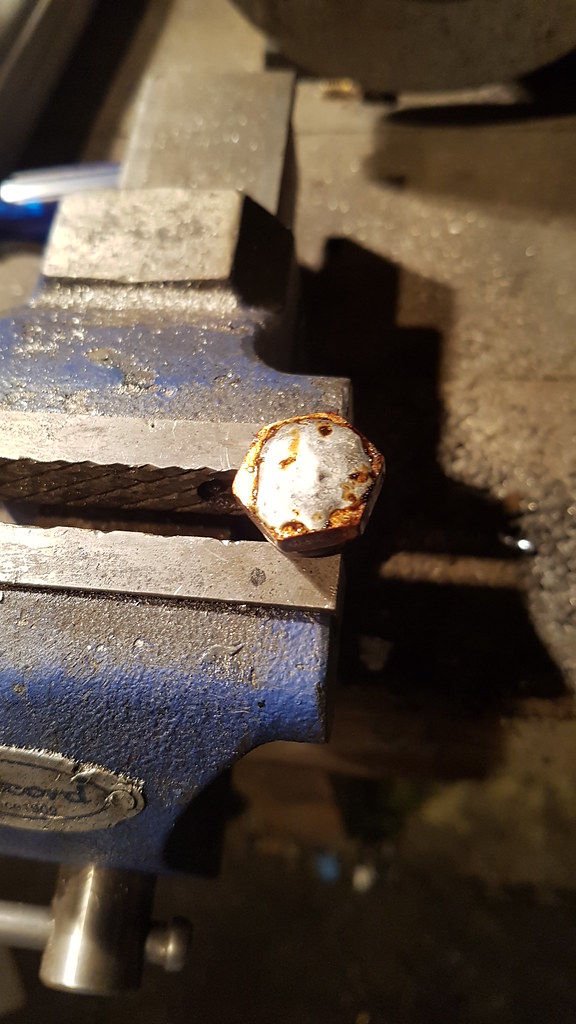 20180424_170634 by Lawrence Balls, on Flickr
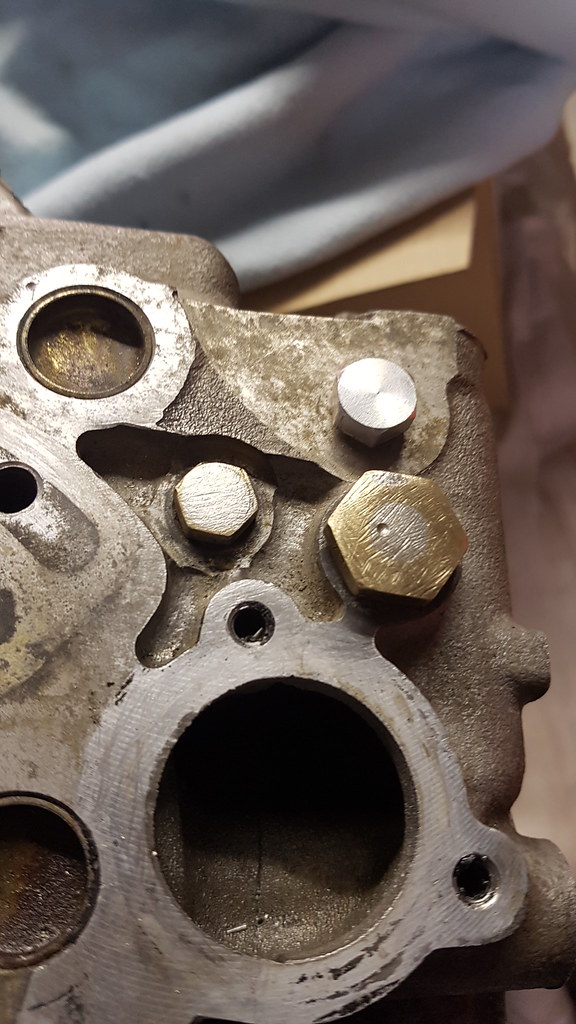 20180424_170958 by Lawrence Balls, on Flickr
 20180424_181552 by Lawrence Balls, on Flickr
One Carb Or Two?
Posted 30 April 2018 - 06:48 PM
Good evening people,
This is the first of this weeks updates. There will be plenty coming this week as I crack on!
Correct rings finally fitted to the pistons!
 20180430_102438 by Lawrence Balls, on Flickr
work desk cleared and block dug out
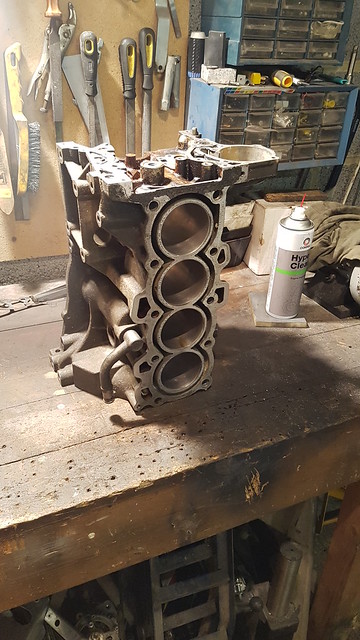 20180430_103247 by Lawrence Balls, on Flickr
Crank and cage fitted. Oil filter adaptor plate fitted also.
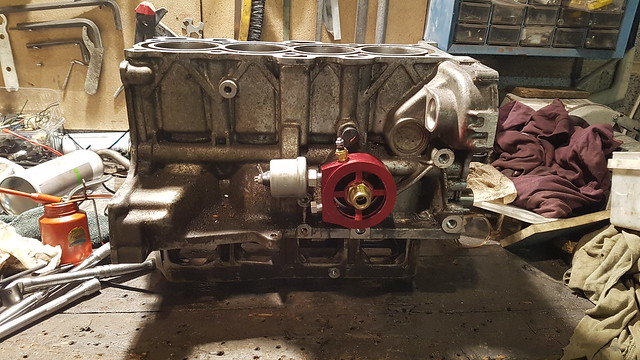 20180430_124218 by Lawrence Balls, on Flickr
I also tested the end float and its within spec. For this build im not changing any bearings etc as all of them are fine. These engines don’t tend to wear like the a series ones do and it’s a 5 bearing crank too so less flex etc.
And pistons all fitted. Considering ive never done this before it all went nice and smoothly.
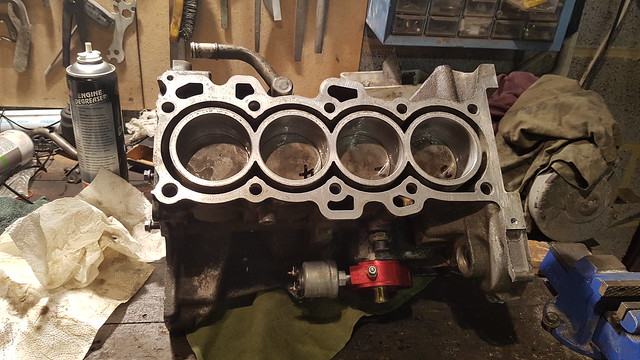 20180430_152203 by Lawrence Balls, on Flickr
Crank turns nicely and I can turn it by hand so im happy ive put it together ok. Used most of a kitchen roll and a whole can of degreaser. Although the exterior of the block looks grubby all the mating faces and bearing holders etc ive cleaned the best I can.
Ive put it to one side for now.
Onwards to the sump. Need that to protect my oily bits!
Hammered out bit cut out to be replaced
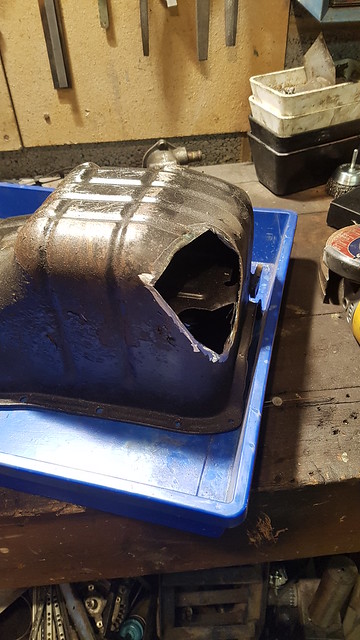 20180430_154717 by Lawrence Balls, on Flickr
panel made and partly welded in, my cad template is there too
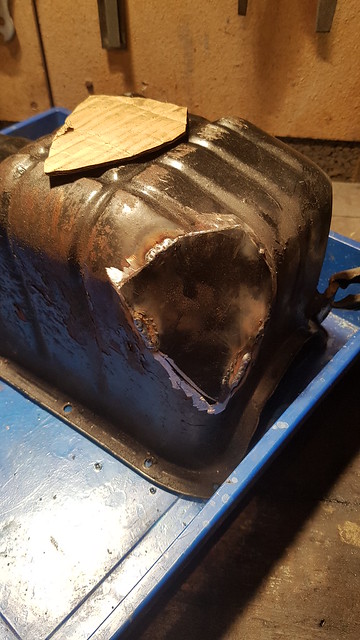 20180430_155850 by Lawrence Balls, on Flickr
weldy weldy – the blue tray is to catch oil and snuff out any chances of remaining oil going up in flames. Fire extinguisher was nearby!
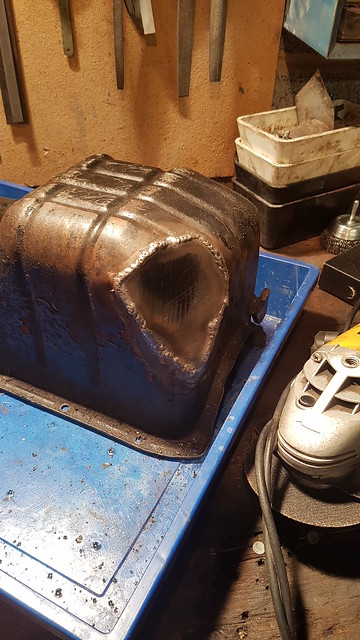 20180430_161047 by Lawrence Balls, on Flickr
Painted – cut out bit next to it
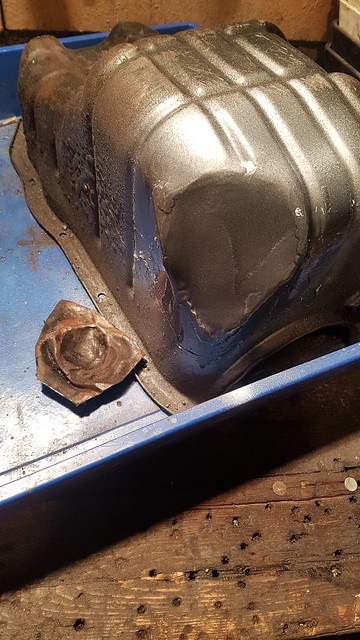 20180430_162303 by Lawrence Balls, on Flickr
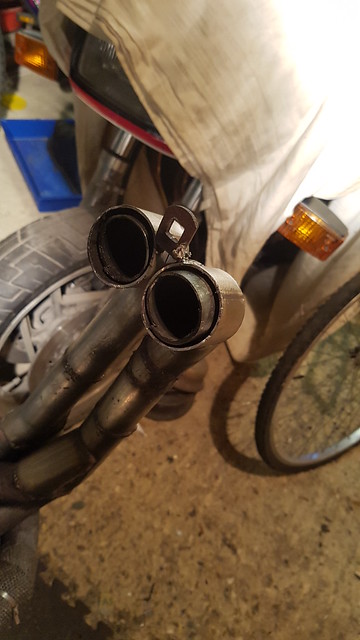
I have also rewelded the exhaust where I ground it back
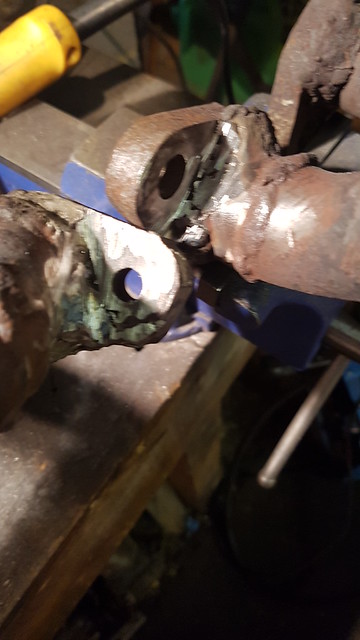 20180430_164005 by Lawrence Balls, on Flickr
sorry for the poor photo.
In addition to that ive bought some carbide bits to clean up the exhaust and open it out a little so ill tidy the ports up when they arrive.
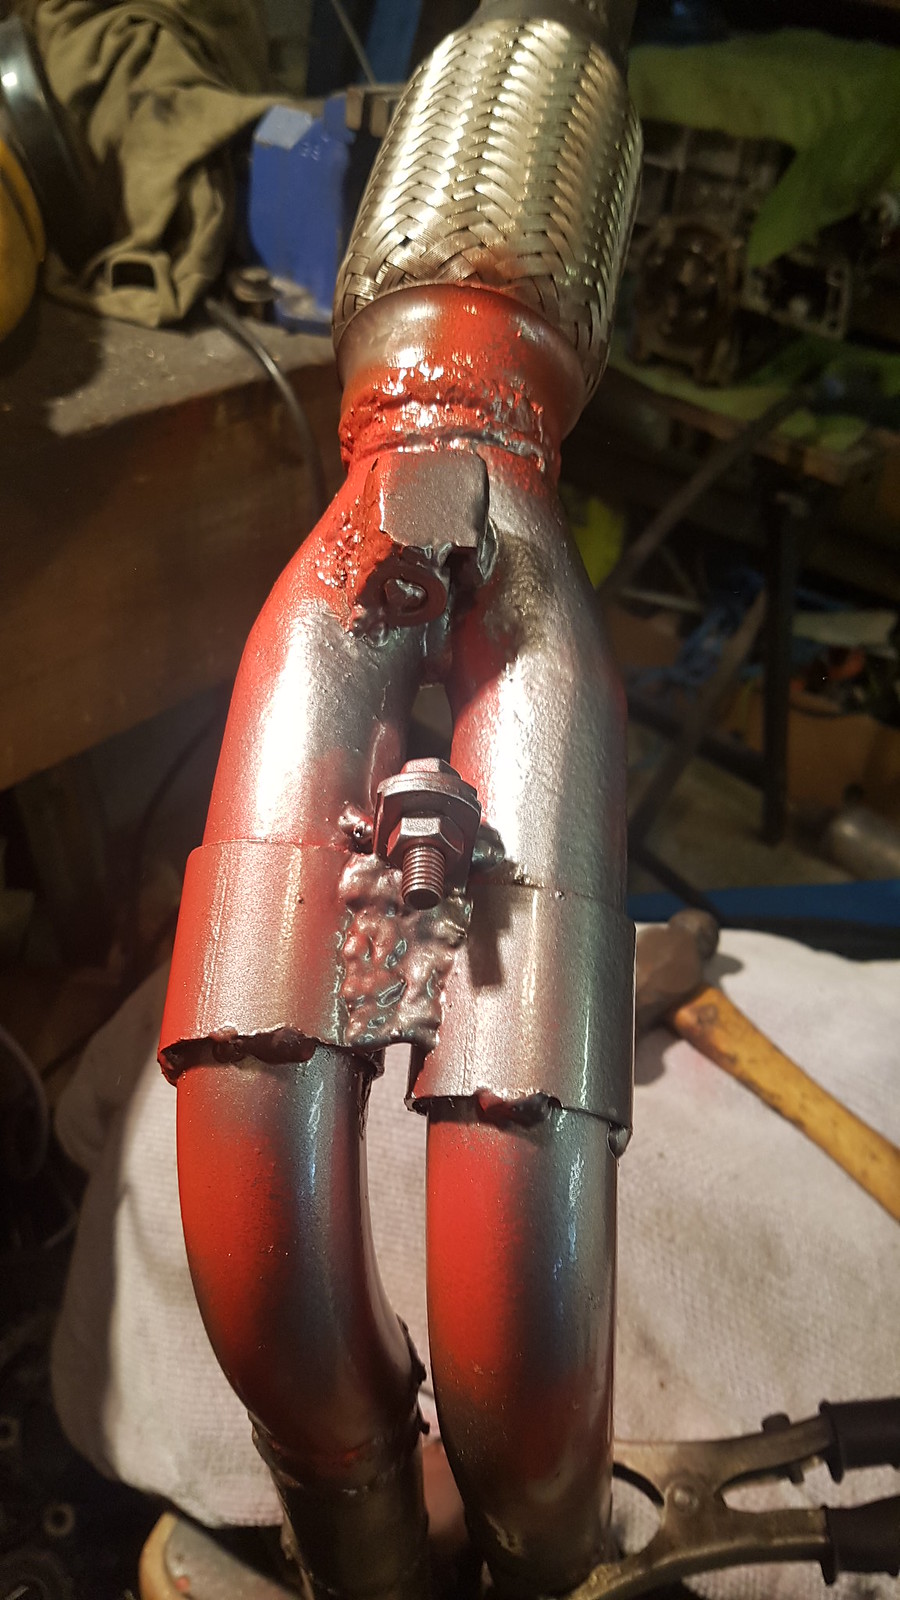
Ive also redesigned part of the exhaust where it enters the Y piece. Its all tacked currently (note the pigeon pooh welding)
Instead of the 2 clamps that seems to fail after only a few miles ive devised a new system of keeping the exhaust more air tight. One part slots inside the other
 20180430_184454 by Lawrence Balls, on Flickr
 20180430_184617 by Lawrence Balls, on Flickr
In addition to being more gas proof its also a low profile as this part of the exhaust is snug to my subframe.
More tomorrow.
lawrence
One Carb Or Two?
Posted 01 May 2018 - 01:03 PM
 20180501_103503 by Lawrence Balls, on Flickr
 20180501_113327 by Lawrence Balls, on Flickr
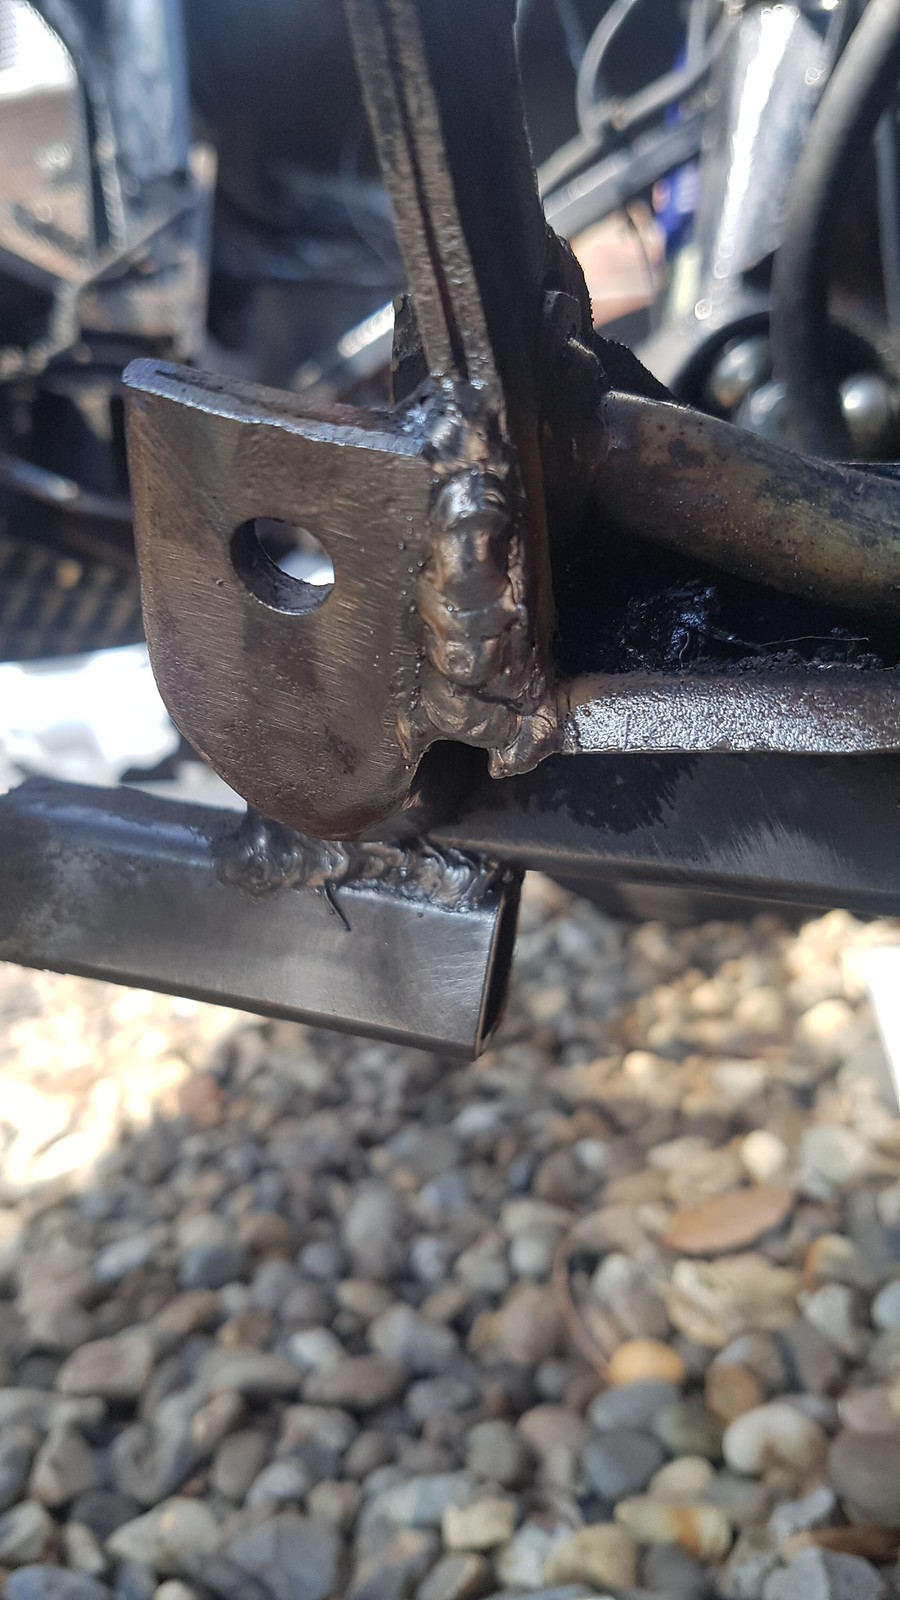 20180501_114743 by Lawrence Balls, on Flickr
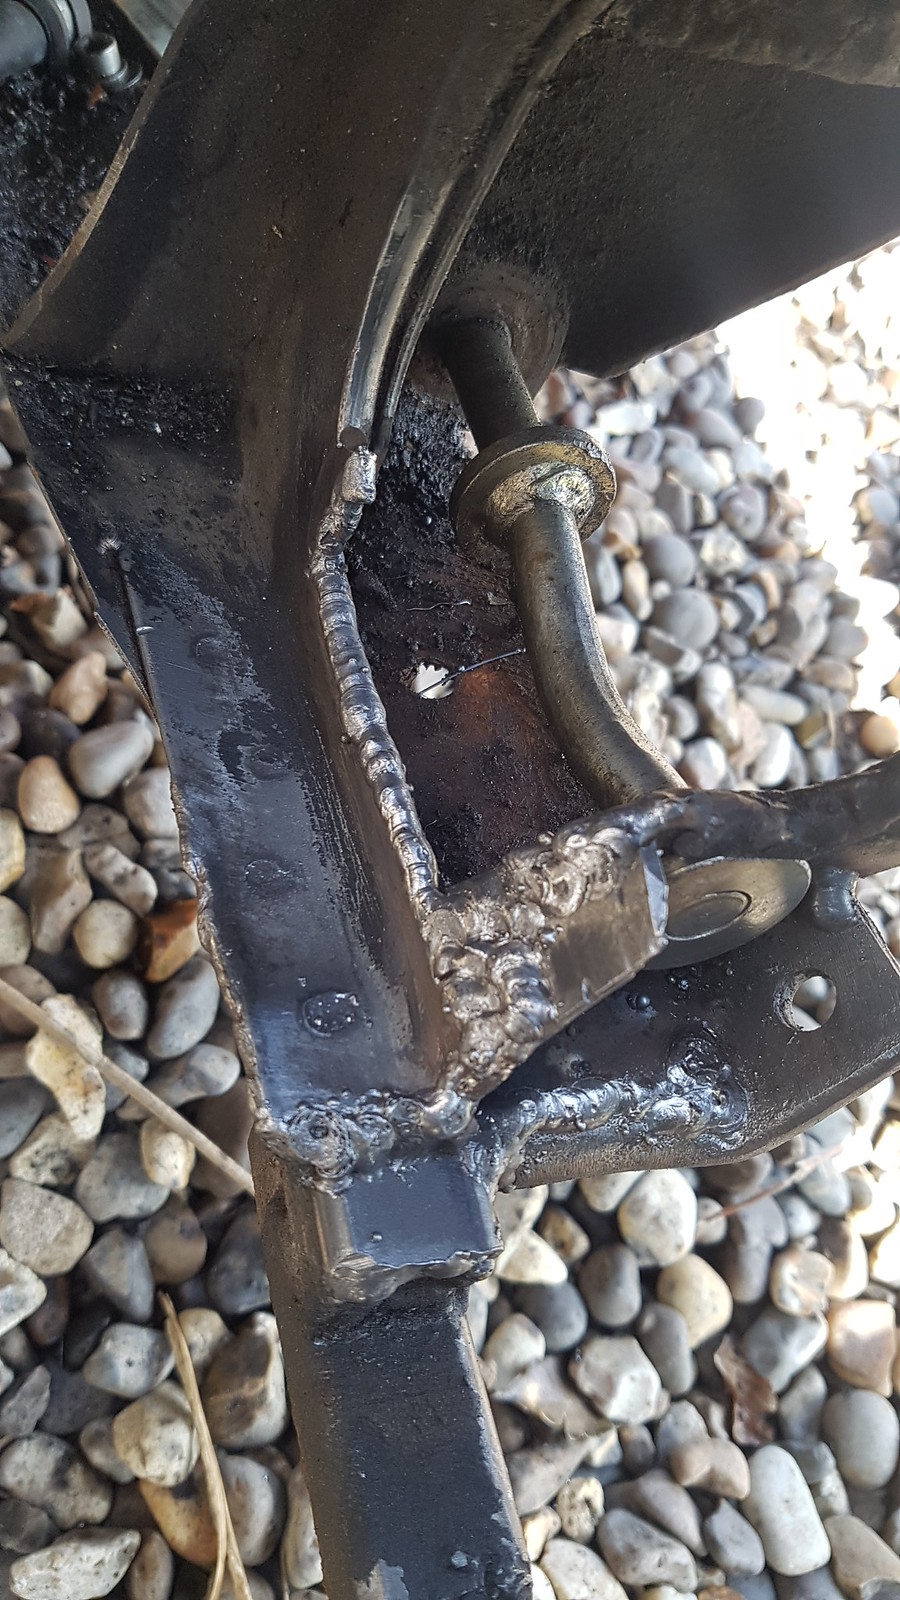 20180501_124433 by Lawrence Balls, on Flickr
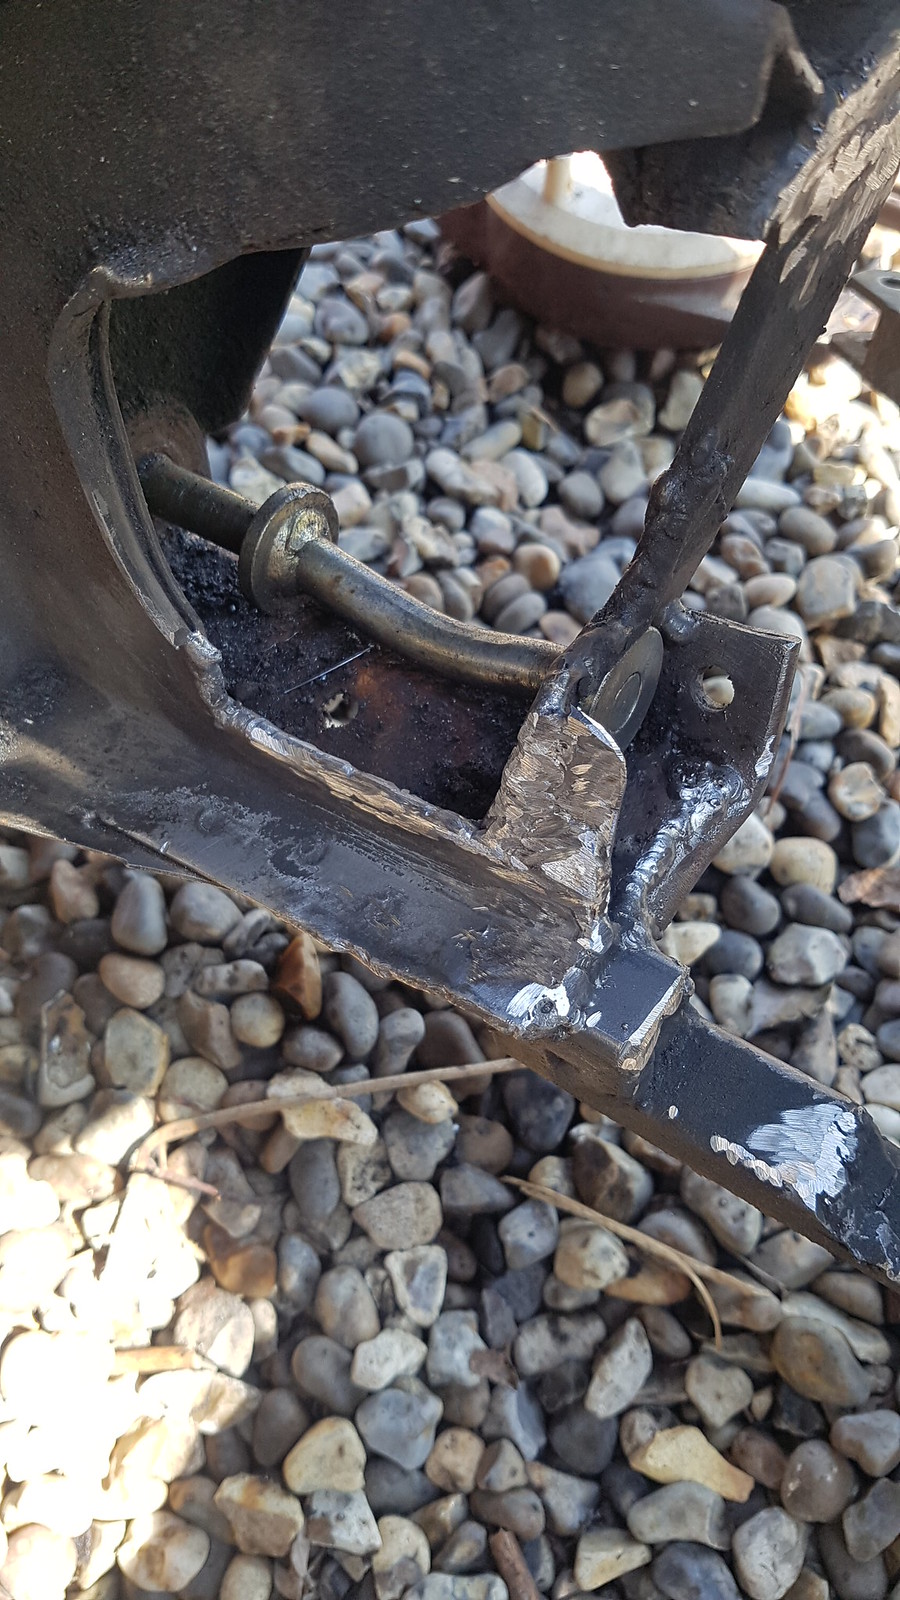 20180501_125427 by Lawrence Balls, on Flickr
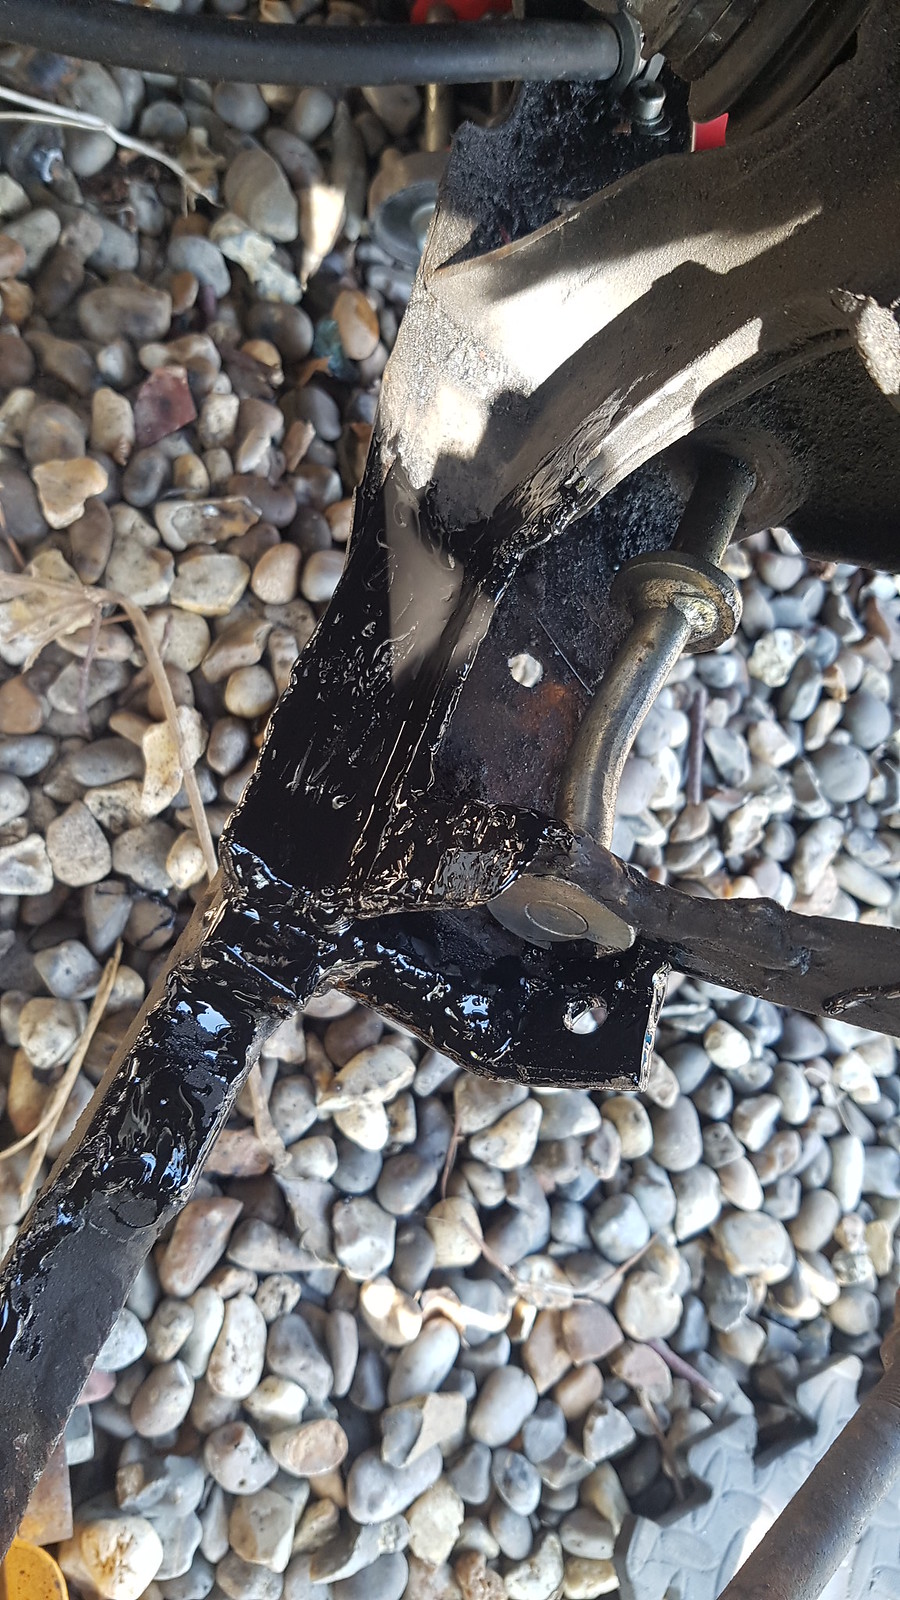 20180501_130425 by Lawrence Balls, on Flickr
 20180501_130444 by Lawrence Balls, on Flickr
One Carb Or Two?
Posted 01 May 2018 - 06:07 PM
 20180501_174537 by Lawrence Balls, on Flickr
Super Mini Mad
Posted 02 May 2018 - 06:05 AM
One Carb Or Two?
Posted 03 May 2018 - 06:09 PM
 20180503_103907 by Lawrence Balls, on Flickr
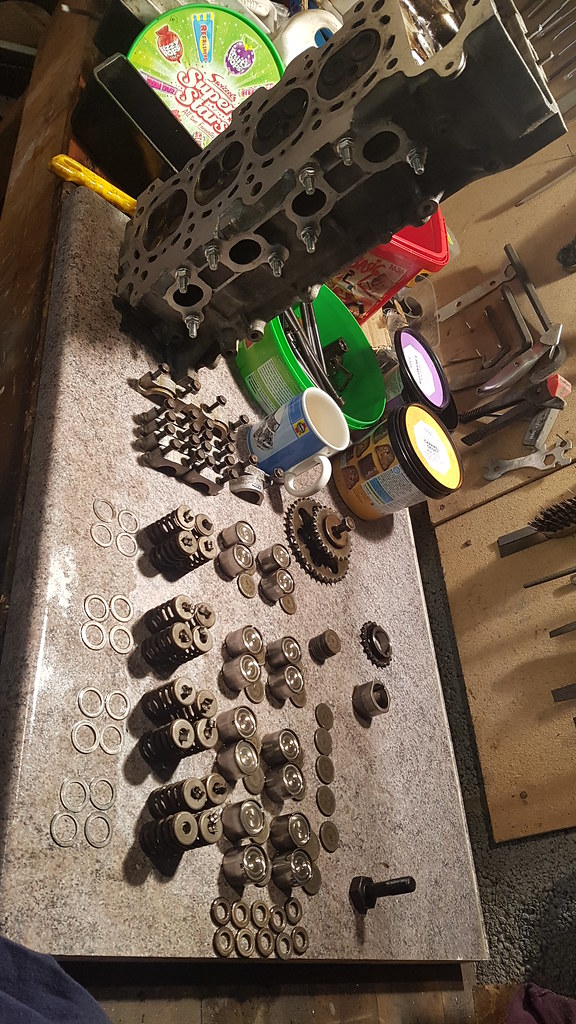 20180503_120832 by Lawrence Balls, on Flickr
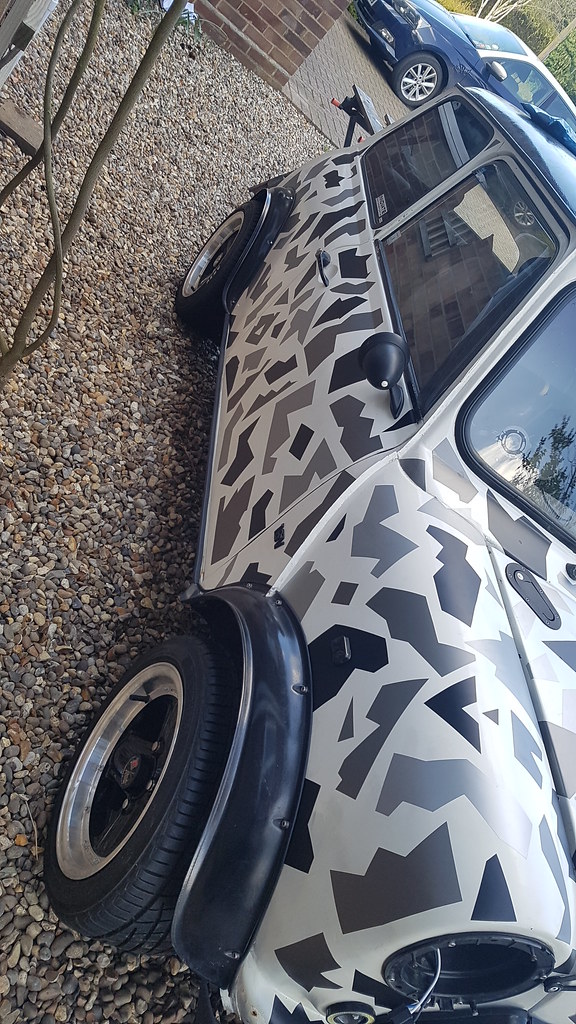 20180503_155436 by Lawrence Balls, on Flickr
 20180503_171714 by Lawrence Balls, on Flickr
 20180503_171816 by Lawrence Balls, on Flickr


0 members, 1 guests, 0 anonymous users


