Jump to content


Photo
- - - - -

Hill Climb Car - Converting Into - Tarmac Rally Car


  • Please log in to reply
371 replies to this topic

#46 warning634

warning634

    Speeding Along Now

  • TMF+ Member
  • PipPipPipPipPip
  • 488 posts

Posted 22 April 2010 - 08:49 PM

Hi everyone

right I have now welded extra metal plates onto the tie bar mounts, thanks GraemeC

Posted Image

Posted Image

I also started to play with my new Kad bias assy, also almost finished off my hubs, just need to order some new bolts and wheel bearings.

Posted Image

Posted Image

Posted Image

any way many thanks for your comments.

Cheers

kevin

#47 CH007

CH007

    Stage One Kit Fitted

  • Noobies
  • PipPipPip
  • 63 posts

Posted 22 April 2010 - 09:05 PM

Very nice work so far :(

I am just stripping my shell and snooping round for ideas and inspiration. I am not planning on rally but am planning on turbo lump so will need some serious strengthening as you have done.

Thanks for sharing and look forward to next update

#48 GraemeC

GraemeC

    Crazy About Mini's

  • TMF+ Member
  • PipPipPipPipPipPipPipPipPipPip
  • 7,314 posts
  • Location: Carnforth

Posted 23 April 2010 - 07:35 AM

That looks good - much stronger than standard!

#49 andydlc

andydlc

    Stage One Kit Fitted

  • Noobies
  • PipPipPip
  • 77 posts
  • Local Club: JMC&LCC

Posted 16 December 2010 - 12:52 AM

Updates? :thumbsup:

#50 warning634

warning634

    Speeding Along Now

  • TMF+ Member
  • PipPipPipPipPip
  • 488 posts

Posted 16 February 2011 - 10:50 PM

Well it's been some time, and this has been due to purchasing a house so money and time are both in short supply.

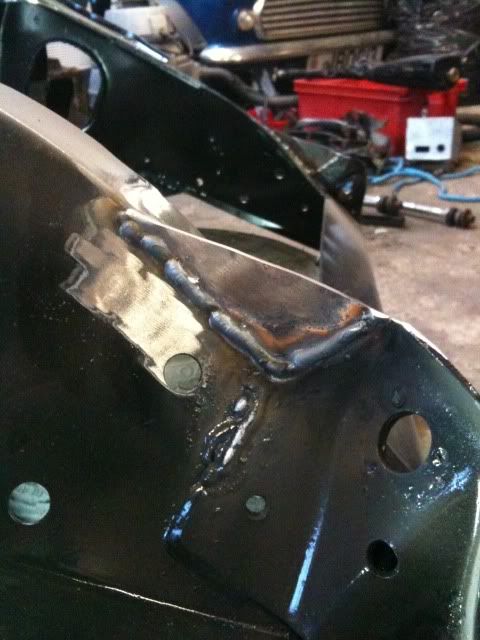
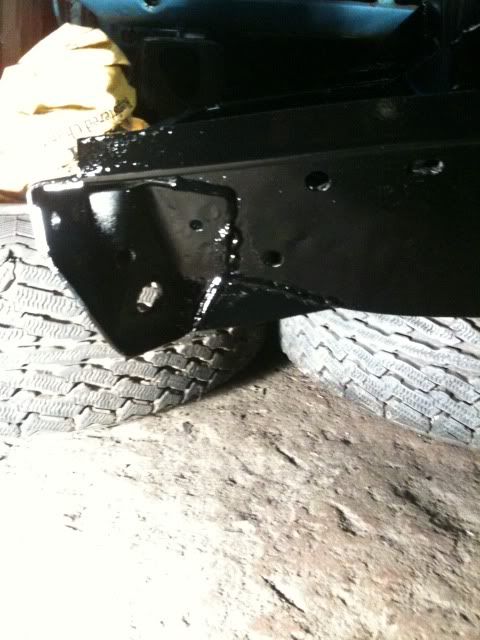
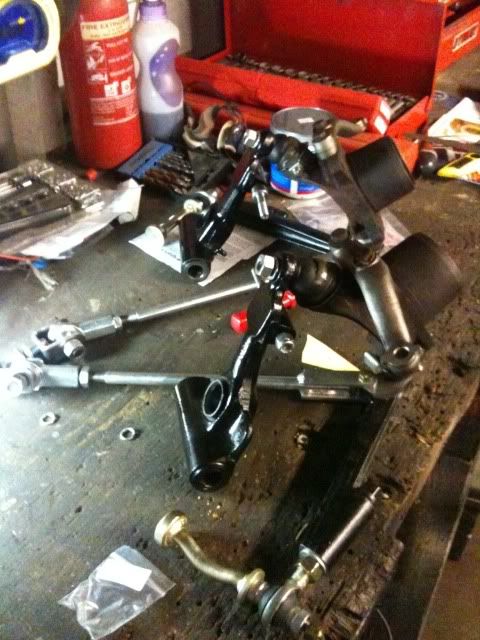
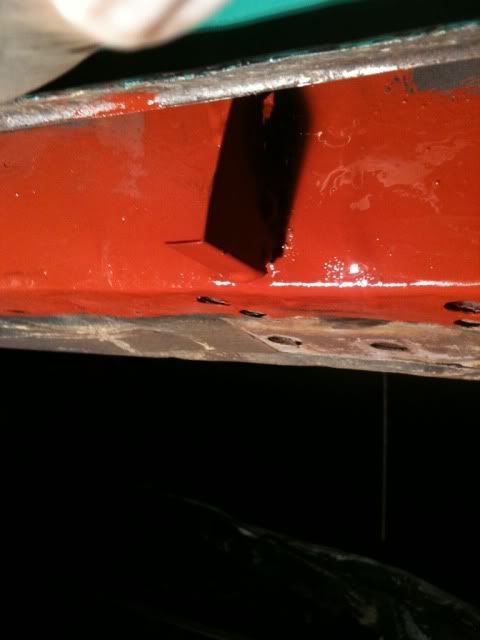
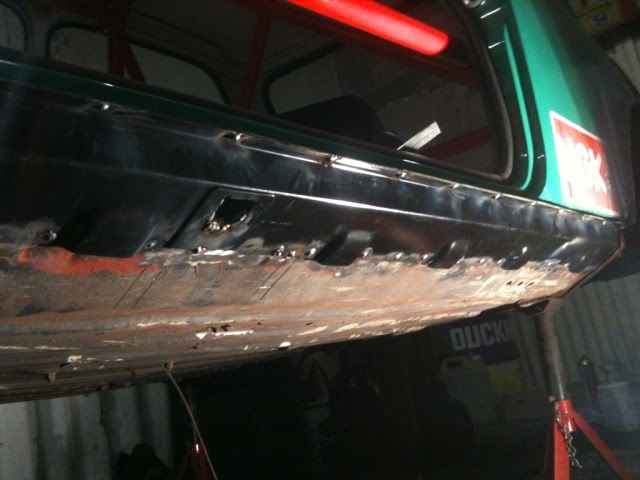
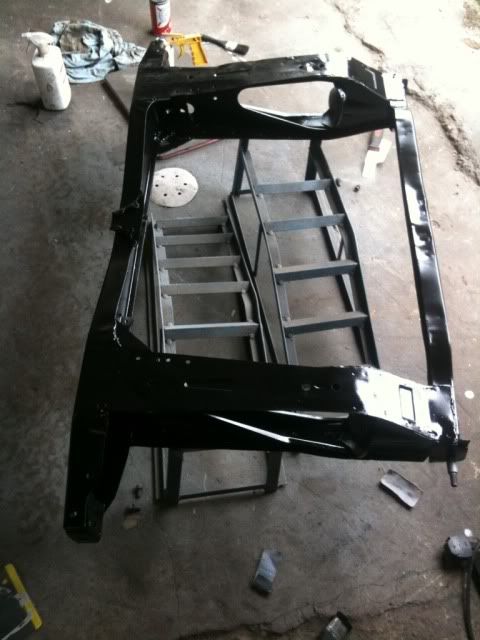
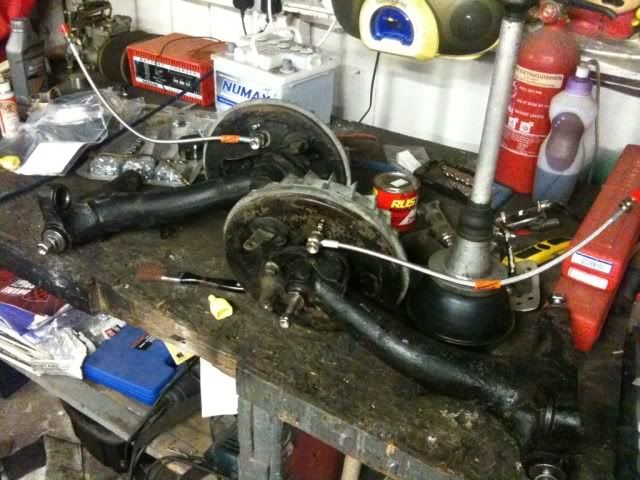
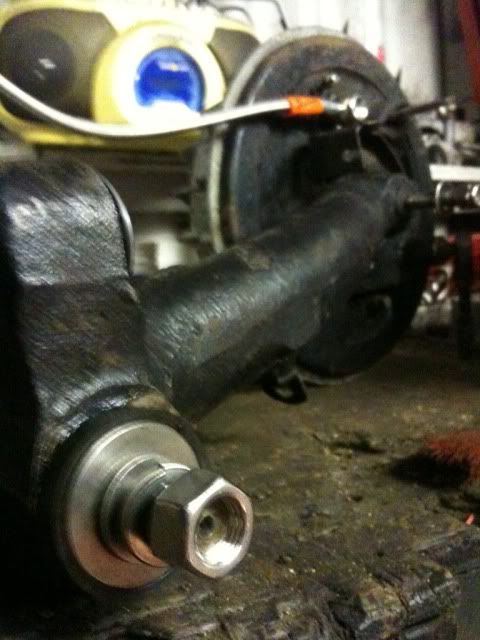
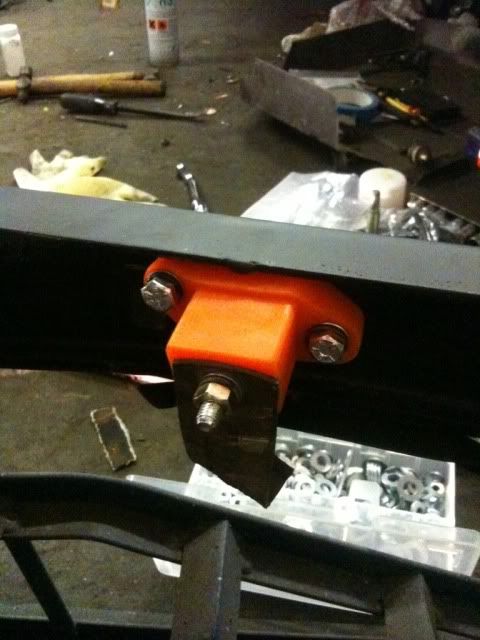
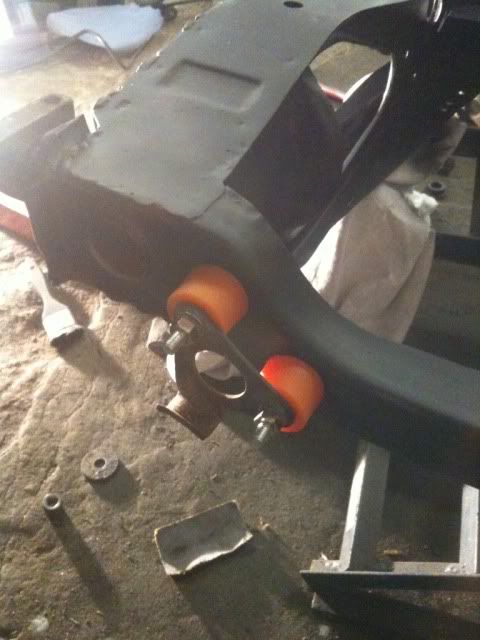
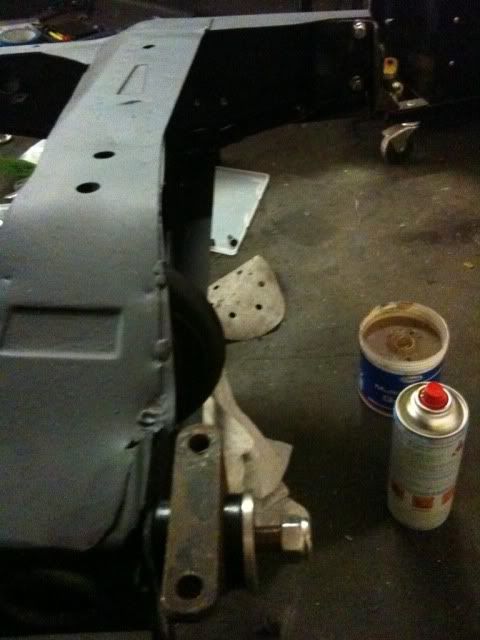
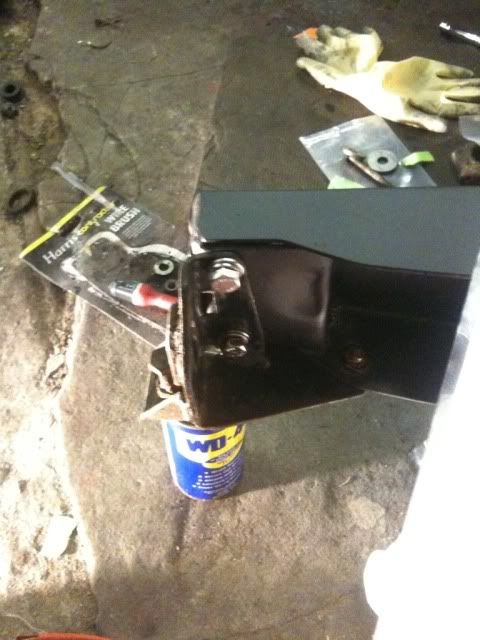
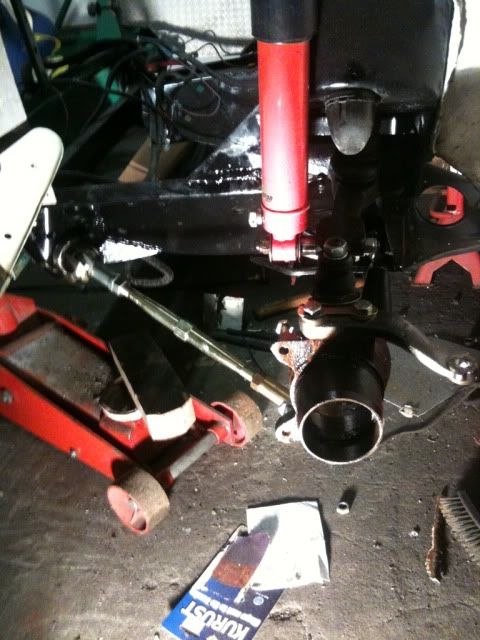
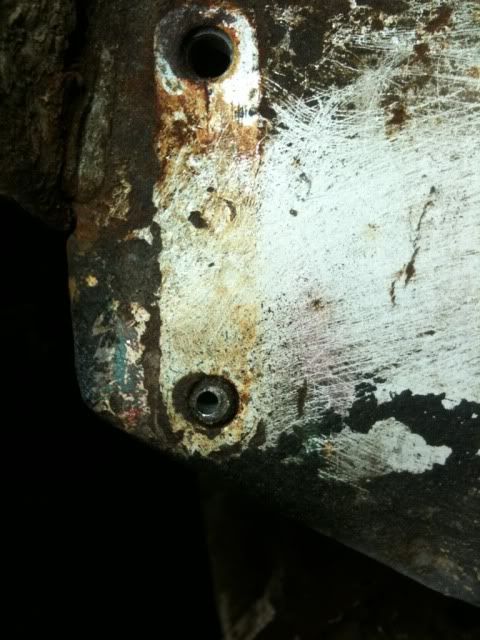
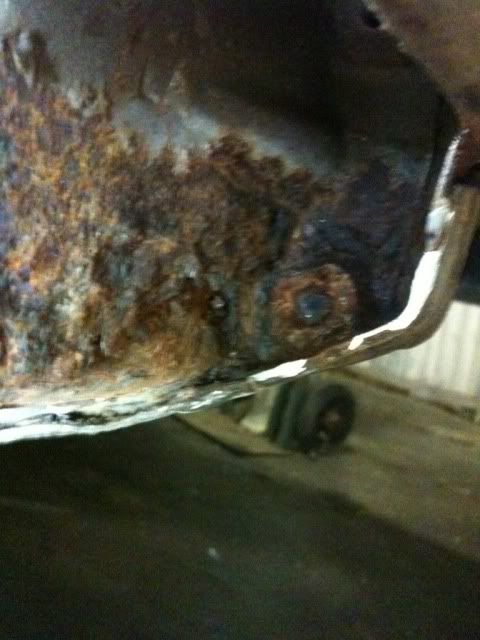
But don't worry I don't have to sell the mini! Right update then, well the front subframe is now bolted on, with the front hubs with suspension temp in place. On replacing the top shock mounts I found rot behide the drivers side shock mount, so that will need to be repaired:( the rear sub frame is out stripped, gussets and seam welded just needs a coat of paint. I bought all new stainless bolts gor the rear subframe and uprated bushes. While on the subject of rear subframes one of the bolts which locate into lower part of the sill has snapped off, I have tried an easy out, with no joy. So what is the best way to remove either the snapped bolt or the rusted nut (oh by the way I have also removed the outer sill on ge same side which the bolt has snapped)

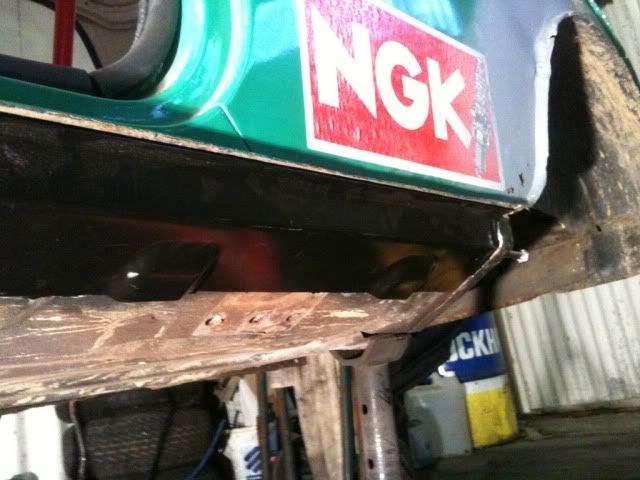
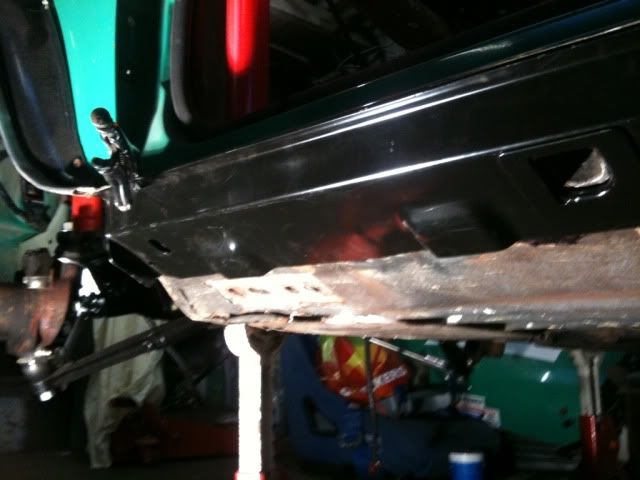
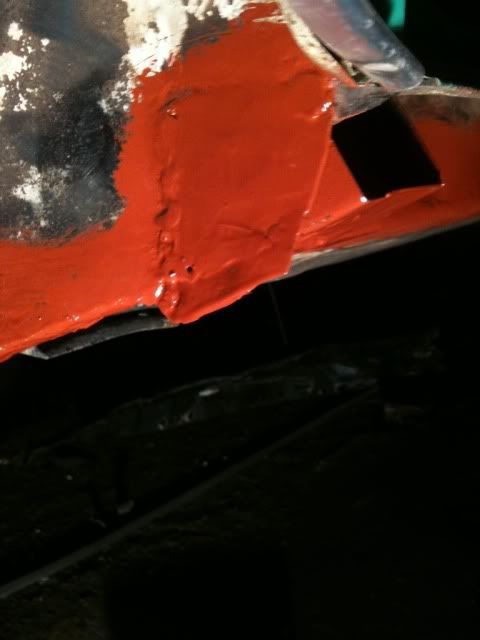
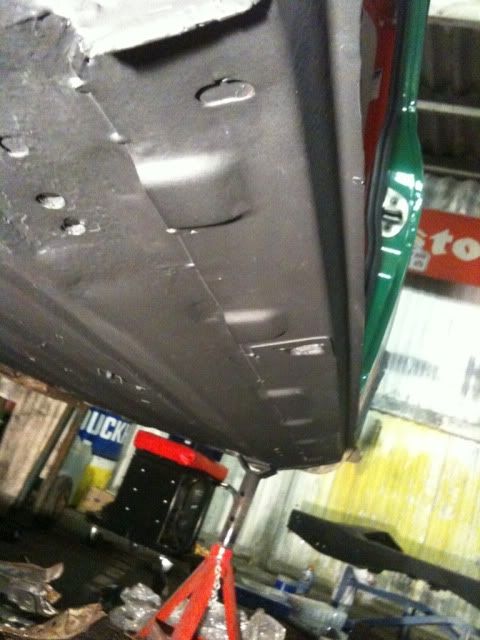
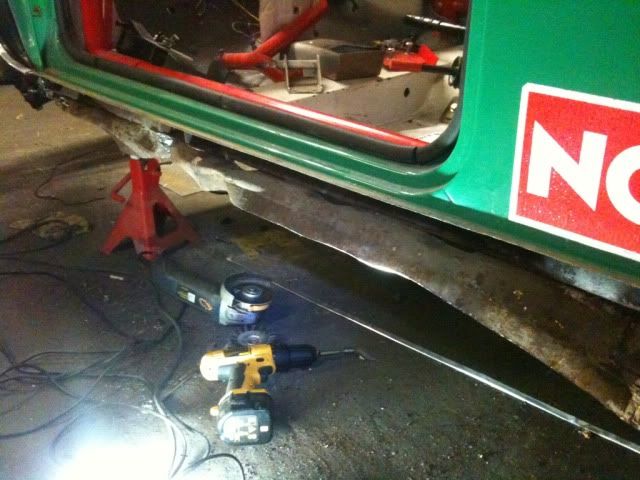
Yer I noticed that the l/h sill was looking a bit iffy, so I took an angle grinder to the under body seal, and found rot! So I'm now replacing my first mini sill, so any handy hints you can pass my way would be great.

Posted Image
Posted Image
Posted Image

Any more updates to follow.

Thanks
Kev

#51 andydlc

andydlc

    Stage One Kit Fitted

  • Noobies
  • PipPipPip
  • 77 posts
  • Local Club: JMC&LCC

Posted 16 February 2011 - 11:17 PM

Come on kev, need a few more updates now I'm laying around not doing much!!

See you soon.. :)

#52 mini_matt_106

mini_matt_106

    Super Mini Mad

  • Members
  • PipPipPipPipPipPip
  • 591 posts
  • Location: Andover

Posted 17 February 2011 - 09:58 PM

with sills attack it with a wire wheel on angle grinder! from whats left you should be able to judge the condition of the metal left and either replace or slap on some rust preventer and paint :xxx:

#53 warning634

warning634

    Speeding Along Now

  • TMF+ Member
  • PipPipPipPipPip
  • 488 posts

Posted 18 February 2011 - 07:47 AM

Cheers andydlc, more updates are on there way. I hope you are recovering ok.

Mini_Matt_106 that is plan, there is a small little section of inner sill I need to replace by the heelboard.
What anti rust would you recommend?

Thanks
Kevin

#54 mini_matt_106

mini_matt_106

    Super Mini Mad

  • Members
  • PipPipPipPipPipPip
  • 591 posts
  • Location: Andover

Posted 18 February 2011 - 12:51 PM

i have used KRUST by hammerite before but there is probably something better out there, also red oxide primer is great stuff

#55 warning634

warning634

    Speeding Along Now

  • TMF+ Member
  • PipPipPipPipPip
  • 488 posts

Posted 05 March 2011 - 07:47 PM

Hi all

Right then, well after buying some correct tools for the job (spot welder drill bit, aviation metal snips)

I have now managed to remove the sill. I also cut out the rot on the inner sill near the heelboard, and welded in some new metal. While I was attacking the rot near the heelboard I removed the lower subframe nut (as the subframe bolt had snap), I then welded some new metal to the inner section of the heelboard. I then welded a new nut to a repair washer, and then welded this to the inner section of the heelboard.

Then I fixed into place the new sill for a trail fit, and all is good.

Posted Image

Posted Image

I will be ordering a few more panels, clutch parts, head gasket etc

More updates to come

Cheers

Kevin

#56 warning634

warning634

    Speeding Along Now

  • TMF+ Member
  • PipPipPipPipPip
  • 488 posts

Posted 24 March 2011 - 08:55 PM

Right then, I have almost finished fitting the sill, I just have a little bit more welding to do, then grind down the plug welds, prime it then stone chip it. I also cut out the rot in the inner wing and inner sill.

This is the repair on the lower section of the inner wing, the welds have been cleaned up
Posted Image

Here is one of the brackets I had to make.
Posted Image

And here is the new sill all plug welded in place
Posted Image

And the rear subframe is now ready to be built up and fitted back on
Posted Image

Any way that's it for more updates soon.

Thanks

Kevin

#57 dougie1142

dougie1142

    Super Mini Mad

  • Members
  • PipPipPipPipPipPip
  • 500 posts
  • Location: Inverness/Elgin
  • Local Club: I.M.O.G

Posted 24 March 2011 - 11:08 PM

This is really lovely, once mines is back on the road i'd love to do something like this.

#58 warning634

warning634

    Speeding Along Now

  • TMF+ Member
  • PipPipPipPipPip
  • 488 posts

Posted 25 March 2011 - 09:18 AM

This is really lovely, once mines is back on the road i'd love to do something like this.


Cheers dougie1142

It's slowly getting there, it's mainly the bodywork which has slowed the progress down. I should only have a section of the r/h inner arch I need to replace. I will be able to get it back on it's wheels soon.

Thanks

#59 warning634

warning634

    Speeding Along Now

  • TMF+ Member
  • PipPipPipPipPip
  • 488 posts

Posted 12 April 2011 - 09:20 PM

Hi all

Right then I have finished off the sill, and if I do say so myself for my first time in changing a sill I'm really happy with it.

Posted Image

Next on the list is the rear subframe which I have now seam welded and added some gussets.

Posted Image

I have bought a full stainless steel bolt kit from eBay. The rear arms I have cleaned up added new braided hoses.

Posted Image
Posted Image

I'm now just waiting for some alloy billet rear subframe mounts from DSN Classic.
Posted Image
Posted Image
Posted Image
Posted Image

I also fitted my grp A tie bars, so the ones I have removed will be for sale.
Posted Image
So it's these tie bars that will be up for sale.
Posted Image

That's it for.

Thanks
Kevin

#60 Matrix

Matrix

    Super Mini Mad

  • TMF+ Member
  • PipPipPipPipPipPip
  • 589 posts

Posted 13 April 2011 - 08:35 AM

Hi all

Right then I have finished off the sill, and if I do say so myself for my first time in changing a sill I'm really happy with it.

Posted Image


Those sills should be seam welded mate and not just tacked on >_< nice project keep at it, it's going to be a nice car when you are finished 8)


0 user(s) are reading this topic

0 members, 0 guests, 0 anonymous users