

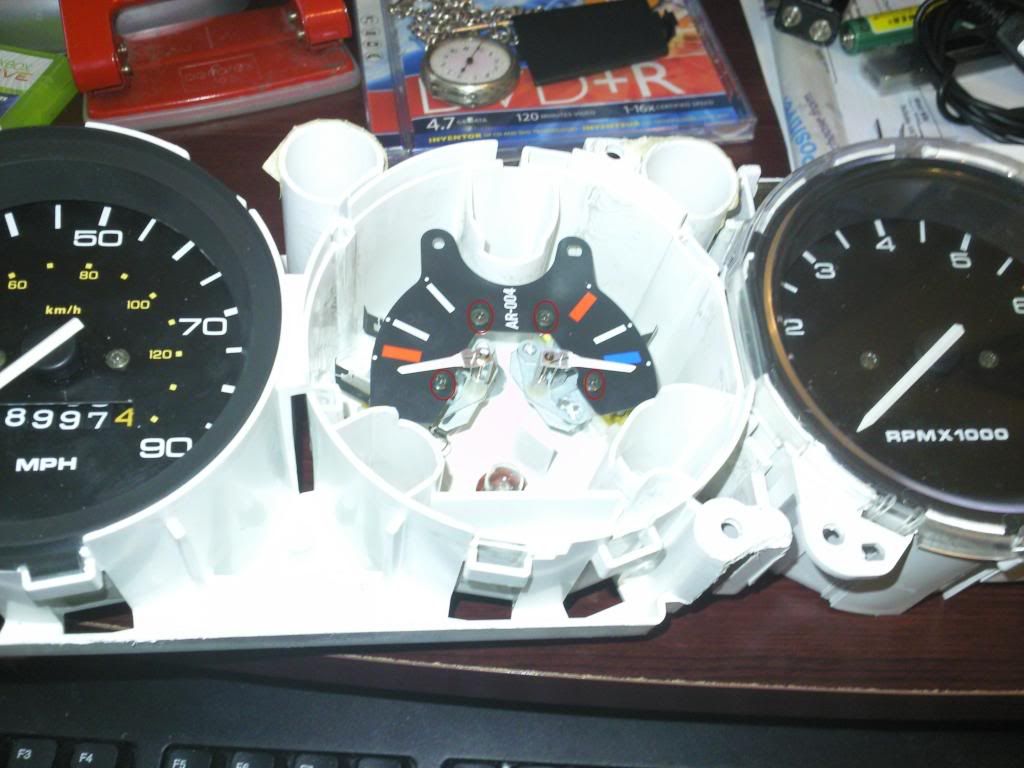
First task, a simple one, remove the clear plastic and the inner black face of the cluster so you left with this
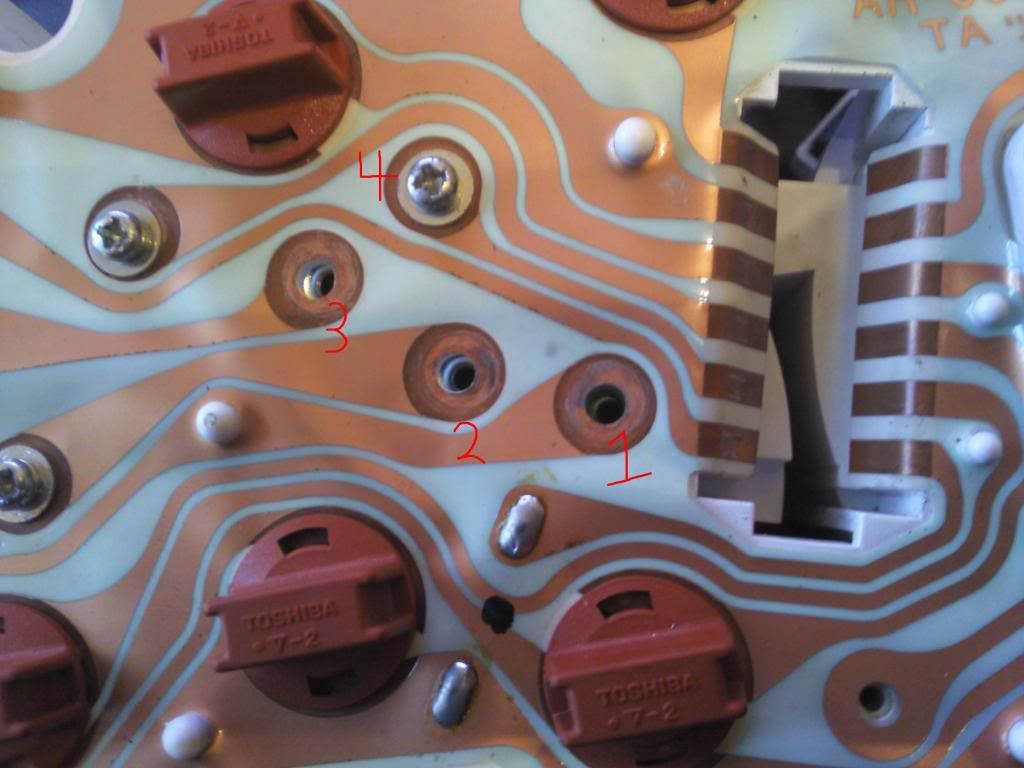
To make things a little easier and to avoid damage to the temp gauge, remove the 4 screws that i have circled red, this allows you to remove the fuel gauge which also holds the voltage stabiliser.
Then flip the cluster round, and remove screws 1 and 4, now this was a picture taken a few steps later hence why 3 screws are already gone.
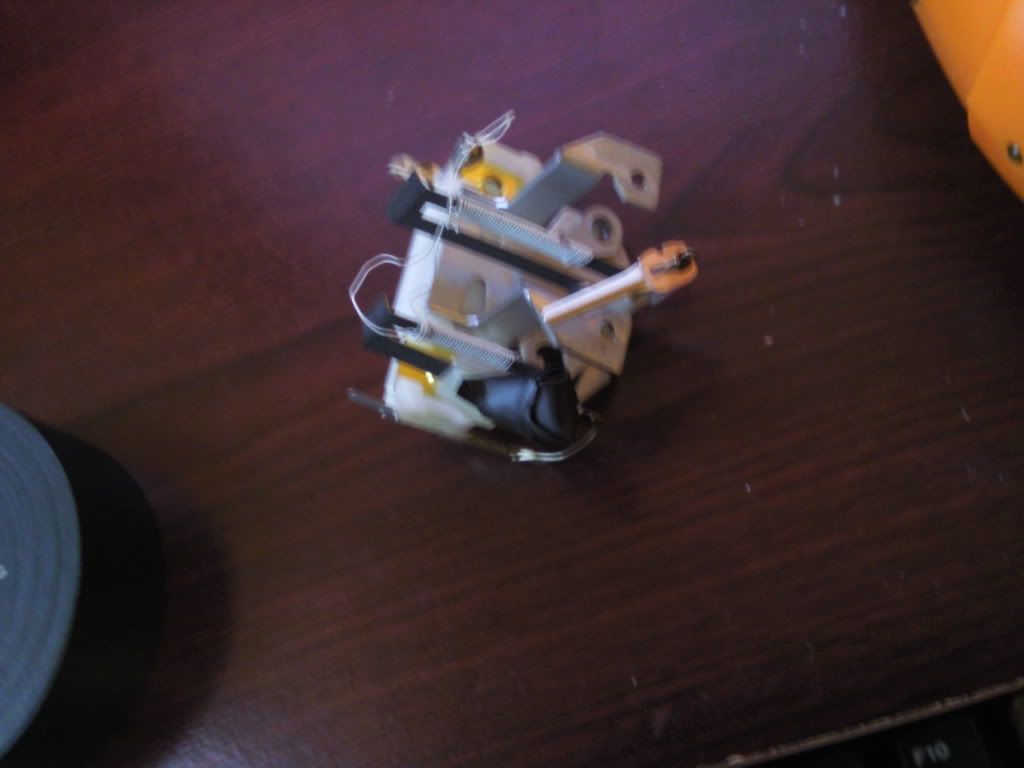
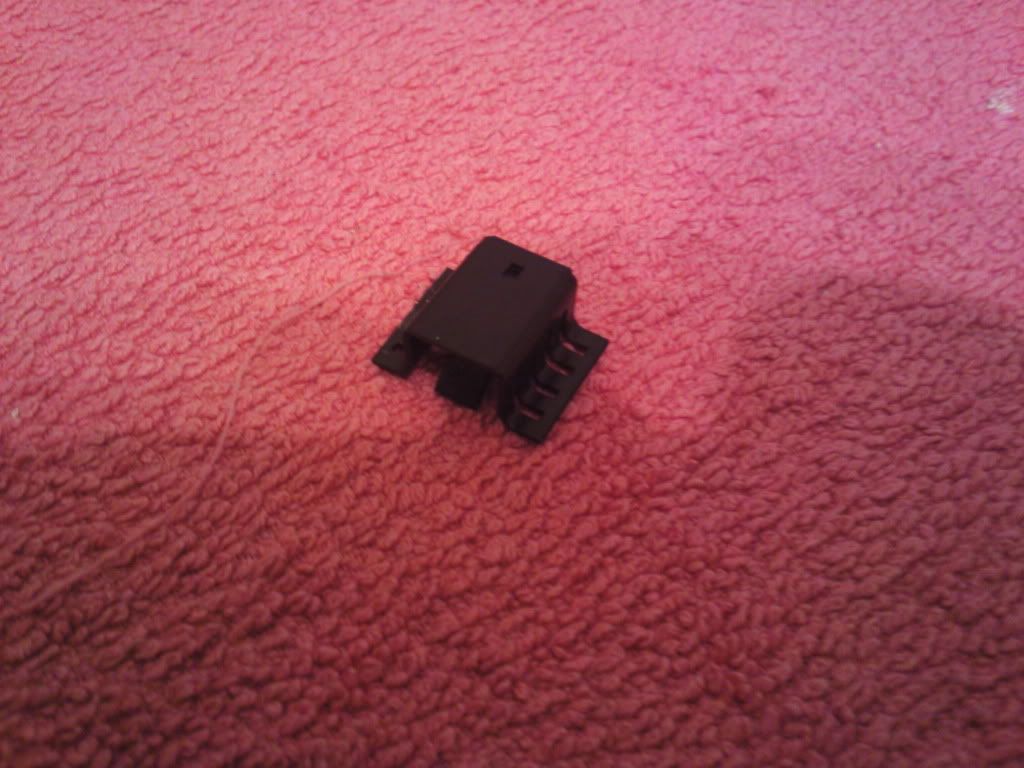
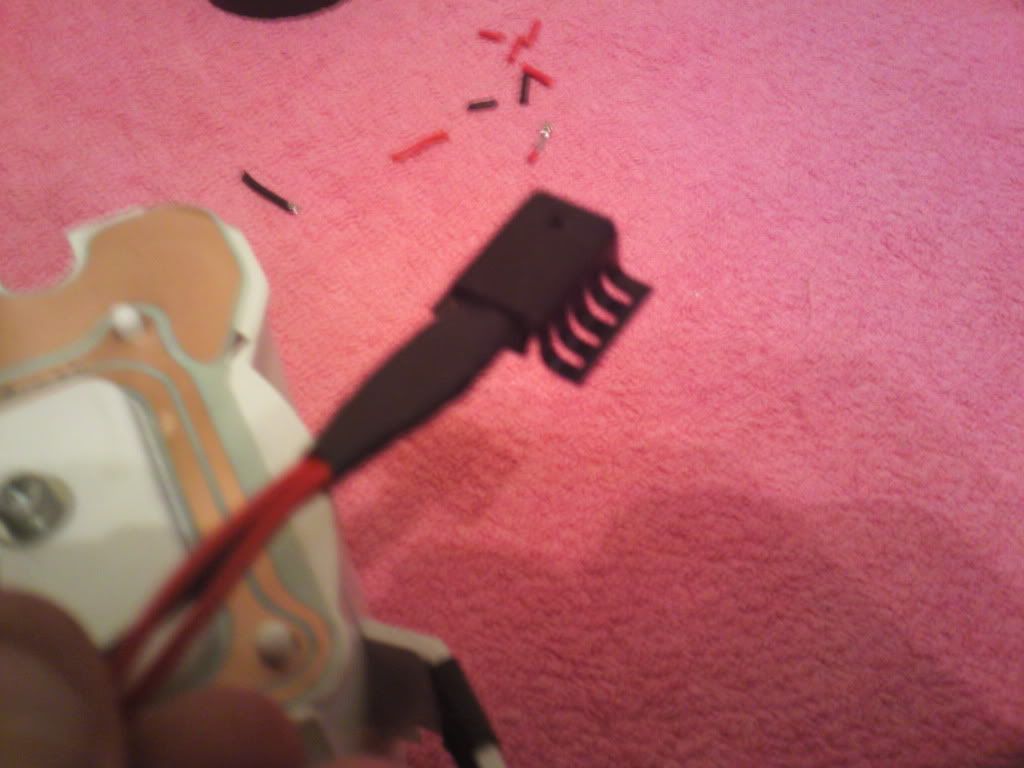
with the gauge removed, you then need to block the contact points marked, i used some electrical tape

Now...i chose a 1 Amp fixed voltage regulator from maplins
Now before anyone moans..i only had 2 colours of wire so i numbered the pins, 1 is the input, 2 is the ground and 3 is the output
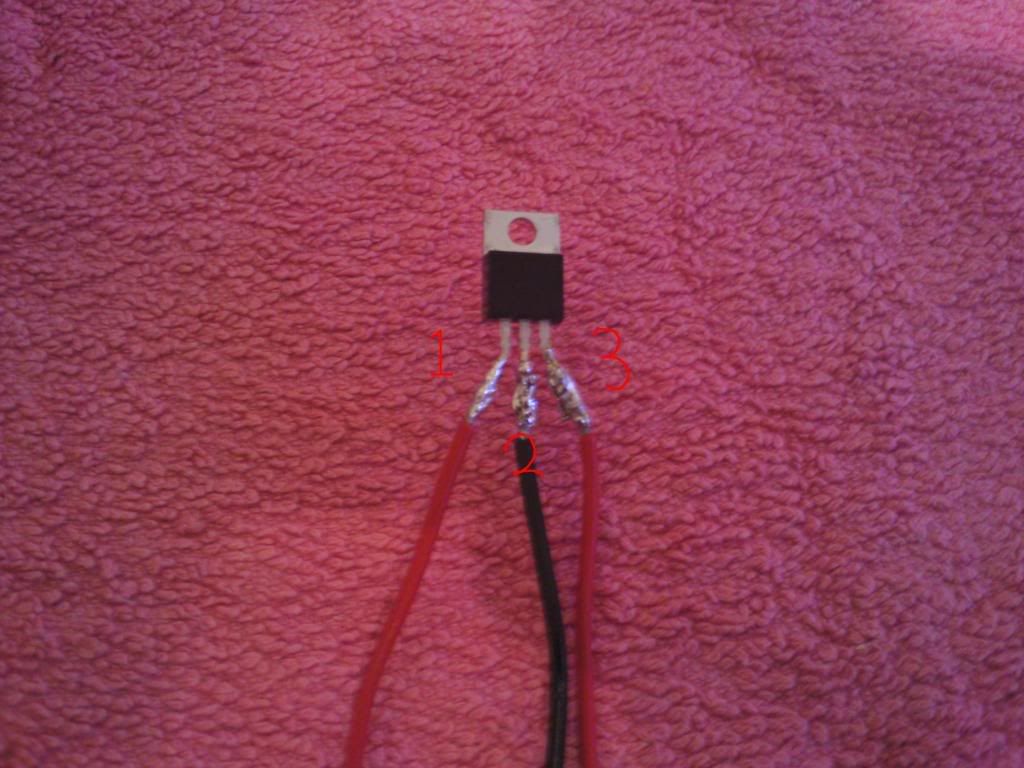
Because of the proximity of each pin, and the fact im not realy any good at soldering smile.gif i used some electrical tape to isolate each terminal, and them wrapped all 3 together for neatness and to ensure they don't move/flex too much

All you have to do now is add some ring terminals to the end of the wires, now its up to you where you mount it, DKLawson suggested moutning it onto the firewall to use it as a heat sink, but personally i didnt fancy having long wires reaching to the bulkhead, so i chose to buy a heatsink for my chip at maplins
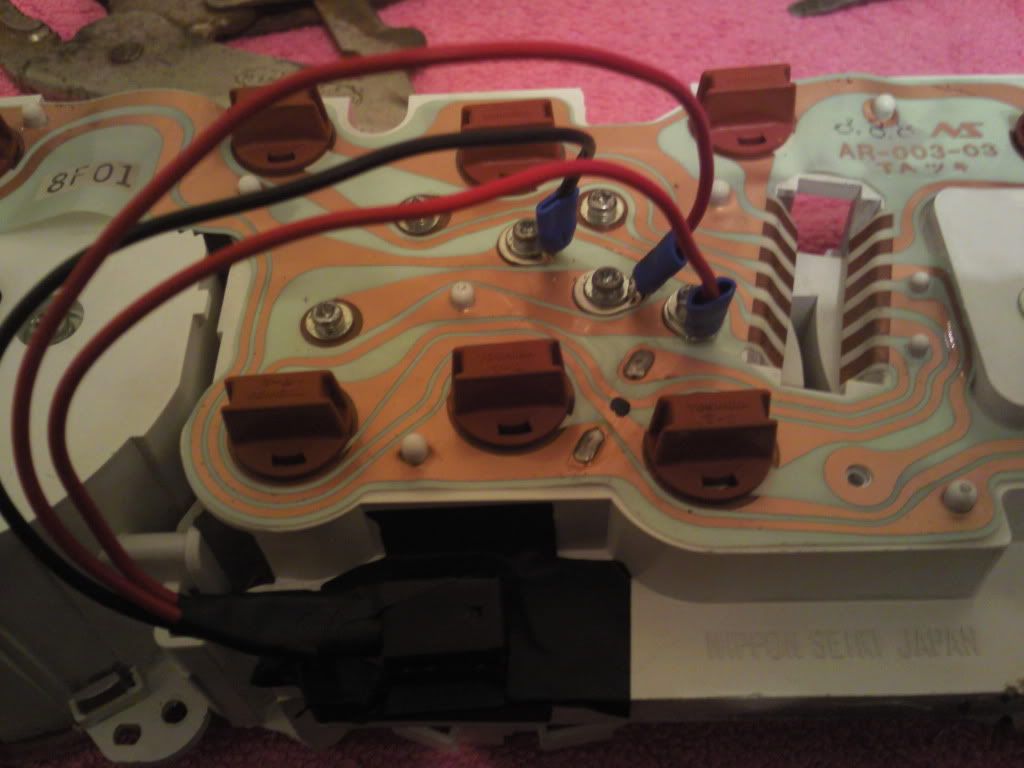
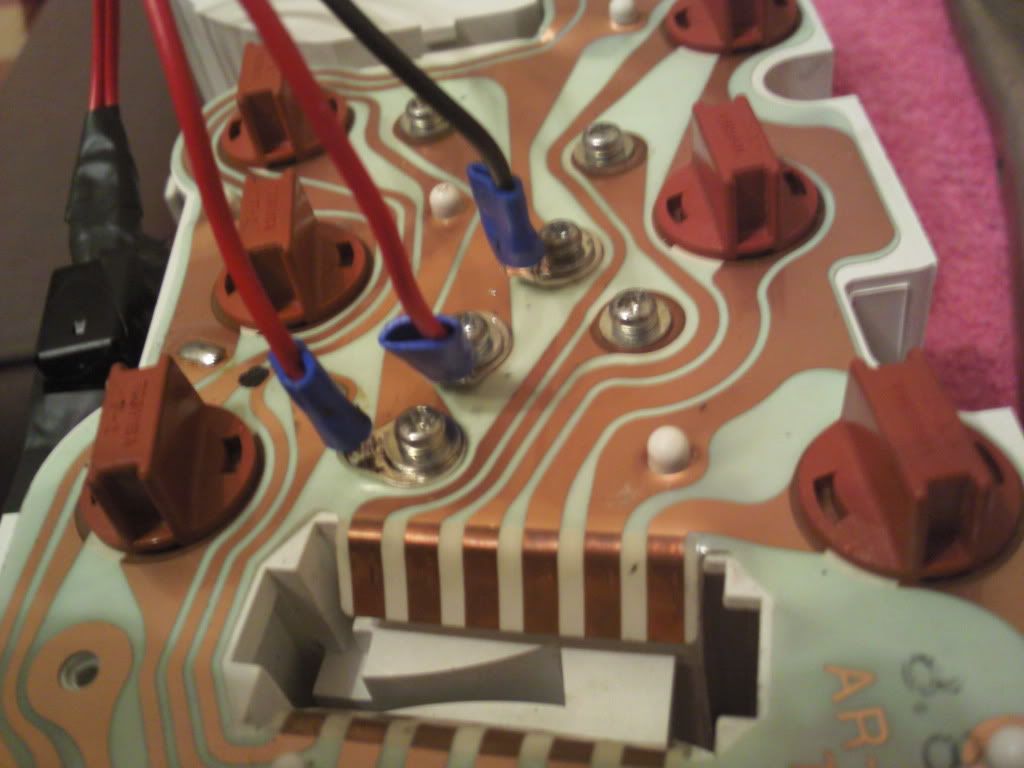
The ring terminals get screwed to the back of the cluster, 1 is the input, 2 is the output and 3 is the ground
with all screws back in you should have a working pair of gauges running at a constant 10V with a deviation of +-0.05V
which is a hell of alot better than the smiths stabiliser going from approx 13.8V to 0V and back again
Now i mounted the chip with heatsink to the back of the cluster, please note i have used electrical tape as i misplaced my glue gun which i would have used if i hadnt of lost it, this is only a temporary fixing to stop it from flapping around
Also note i found it neccessary to bend the ring terminals as shown in the pictures, this i found to be neccessary or else the terminals would have came into contact with other PCB lines
the chip and heatsink only cost me just shy of £2 together so this is not an expensive modification, i cannot comment on price of soldering iron, solder, wire and terminals as i have already had them and for some time so unfortunately cannot remember prices
the specific chip i used was maplins order code N38CA
If a MOD would be kind enough to make this a stuck thread or whatever the word is would they please do so as i have seen many to[pictures/threads now on gauges not reading right even though the senders are fine or new.
So this would be a help to many people i am sure
Big thanks to those who helped me with this
Please direct any questions regarding this FAQ to the Author Stormintrooper
Edited by Guess-Works.com, 20 January 2010 - 06:57 PM.


