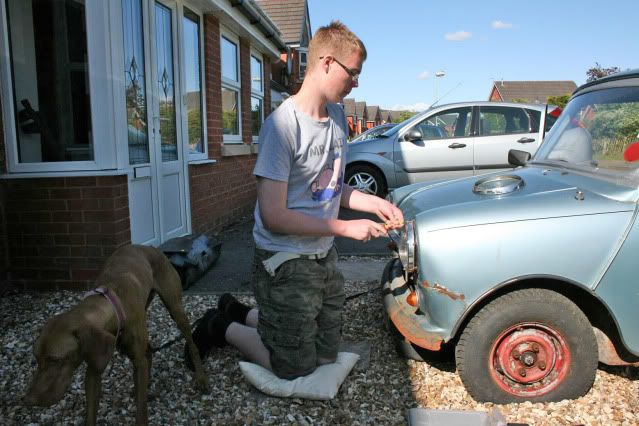
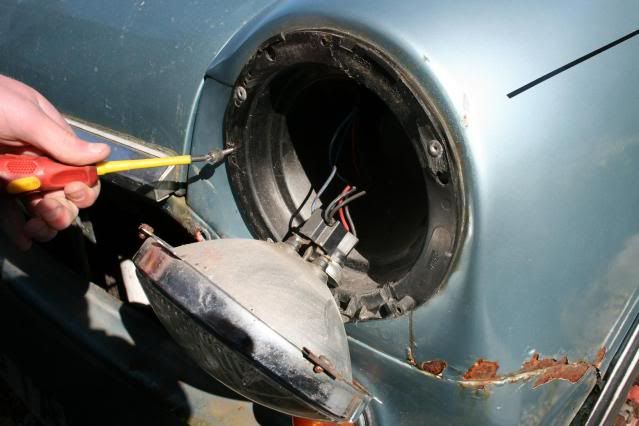
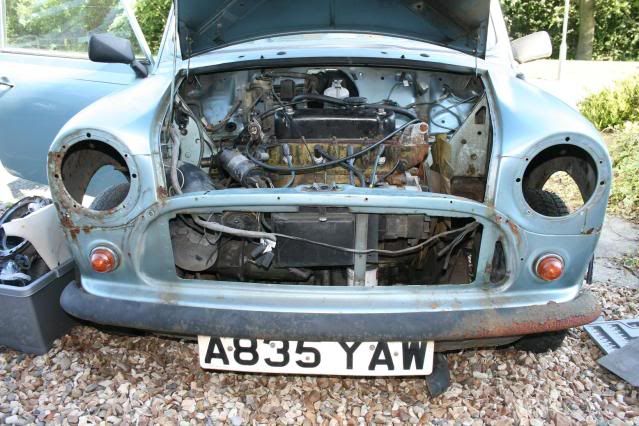
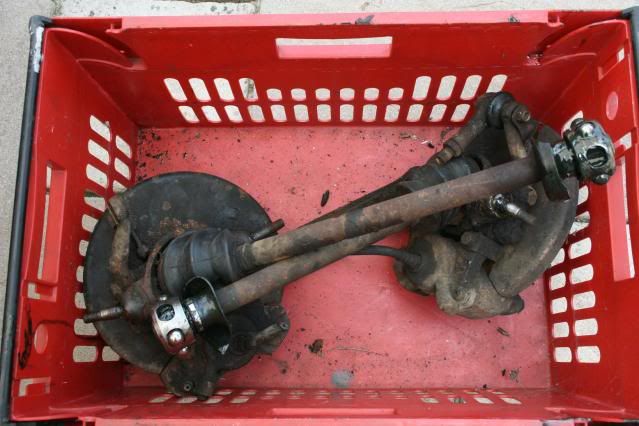
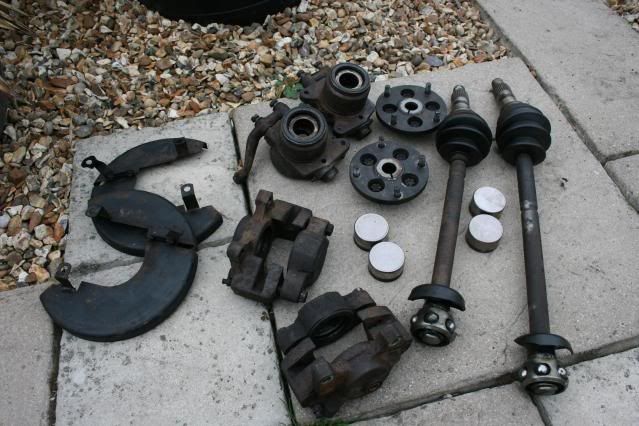
Another couple of days have gone by and the weather has been kind, needs lots more too as doing the whole thing on the front. Had my first Woah from a neighbour down the road today and we chatted about his minis from the past, everyone likes a mini I am finding. Got a few parts from a breaking too, new windscreen and the car's first bit of bling.
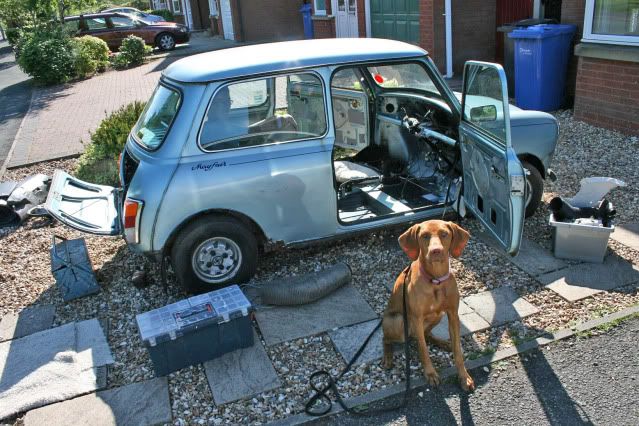
Matt was really impressed and he now has some more polishing to do, straight after he finishes cleaning up the windscreen. Matt has exams at the moment so I am cracking on with some stripping while he works, it's a bit tight in there for two 6 footers with small nuts
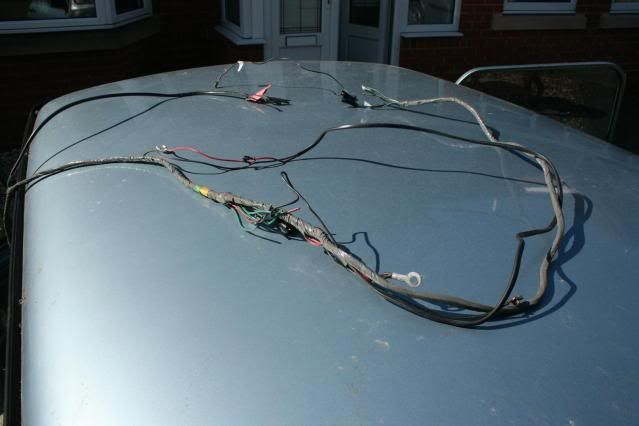
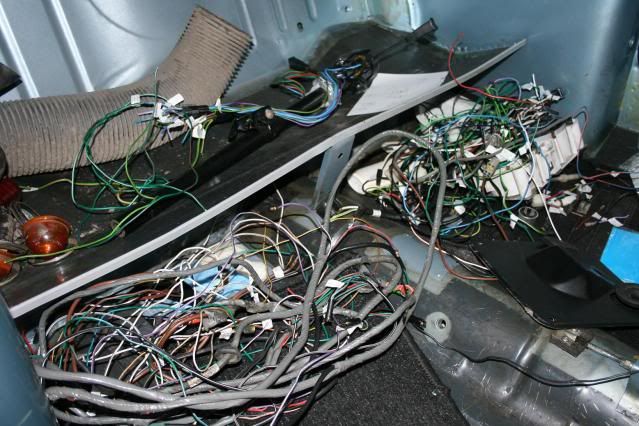
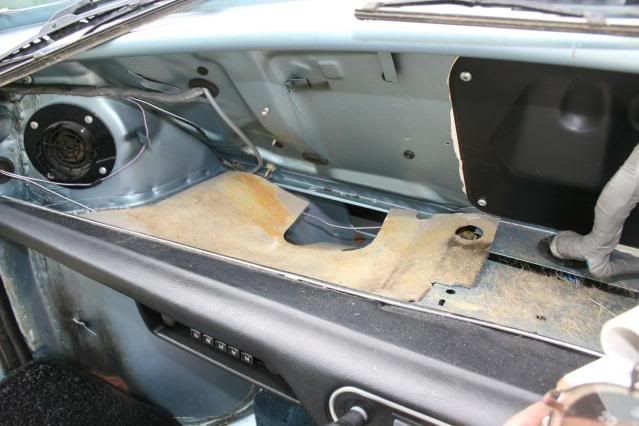
 on the dash I mean. I took my time labelling the wires as they came off
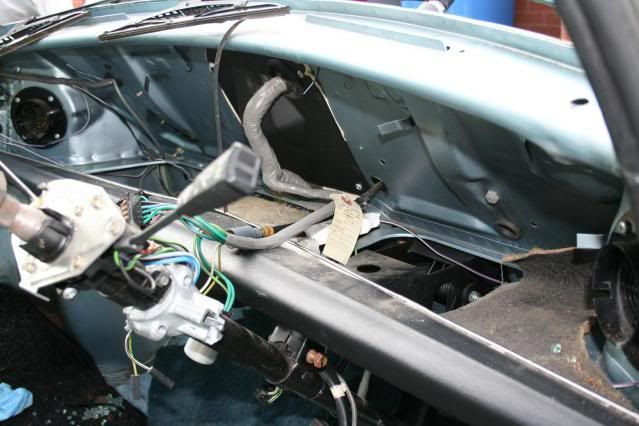
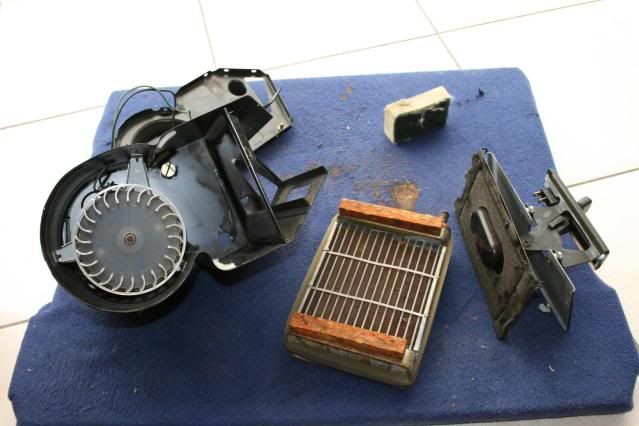
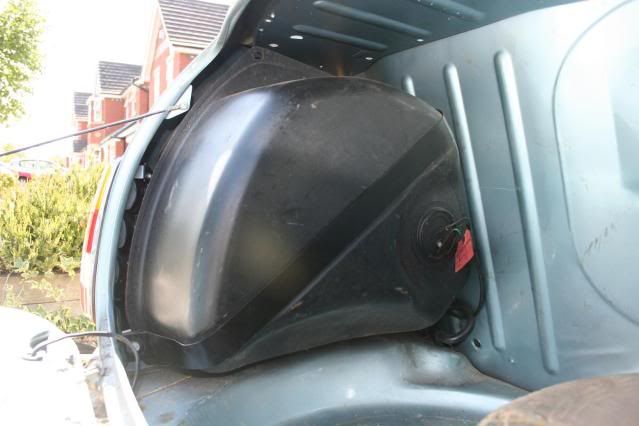
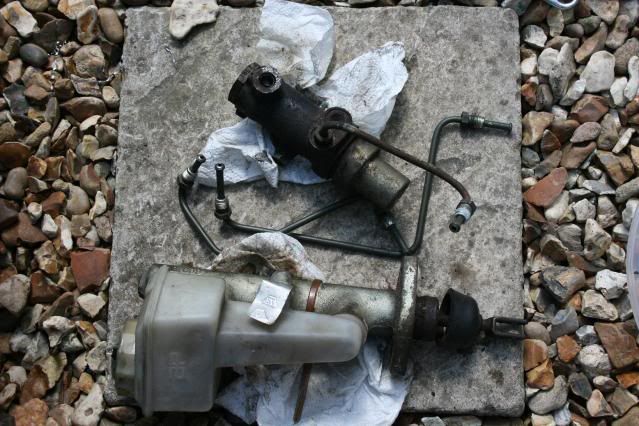
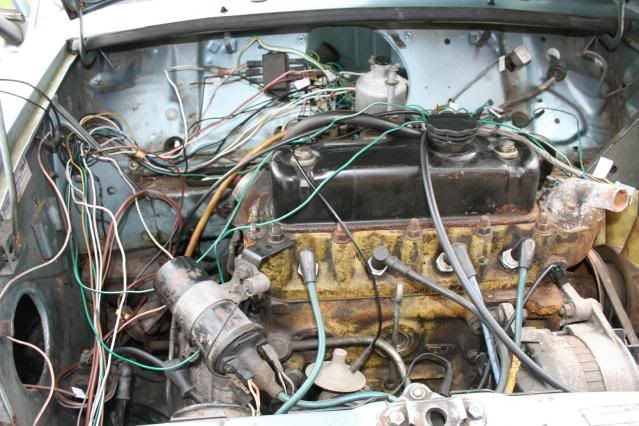
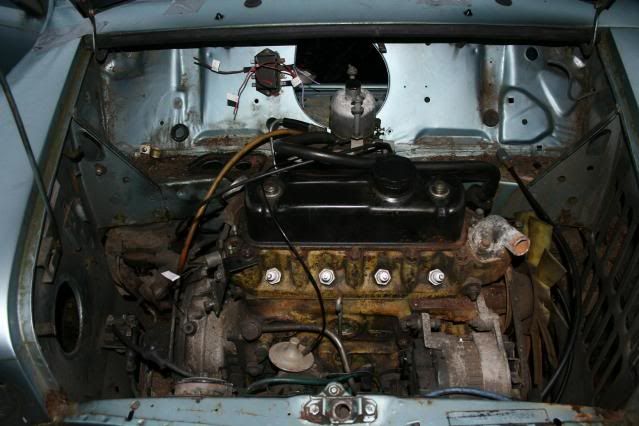
The heating matrix was a bit of a pig to get off as the water hoses had seized on and I eventually resorted to cutting them off, can always get new ones I hope.
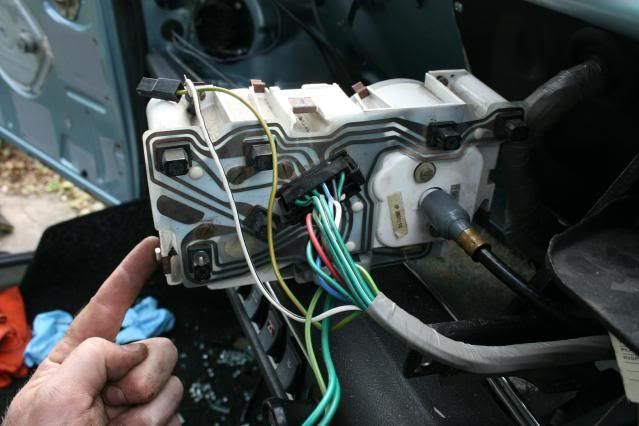
I took the clocks off and found two extra wires that I am sure I had't knocked from a terminal and am wondering what they are for, always bits left over isn't there !!
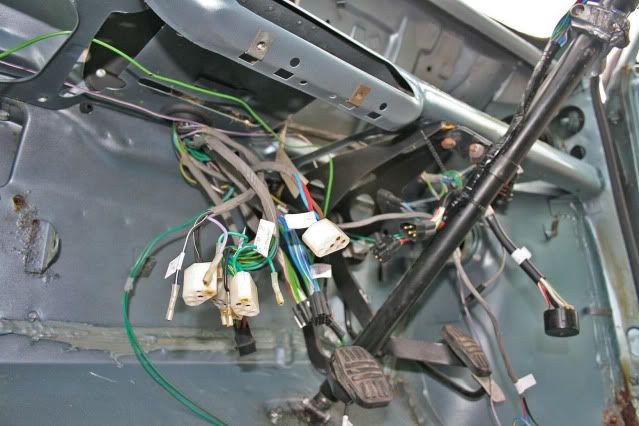
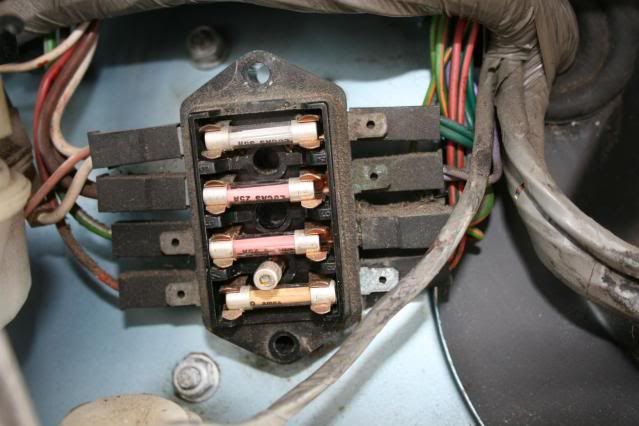
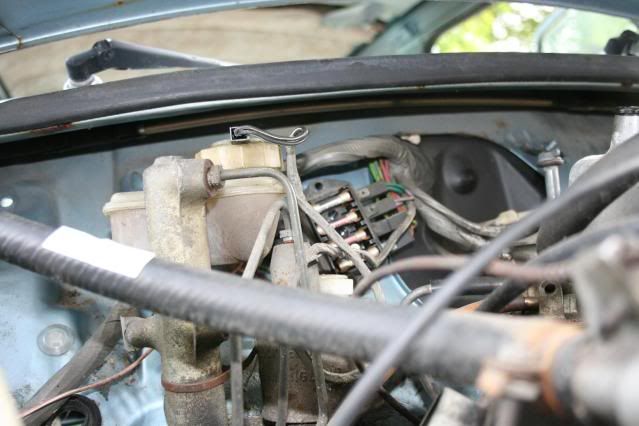
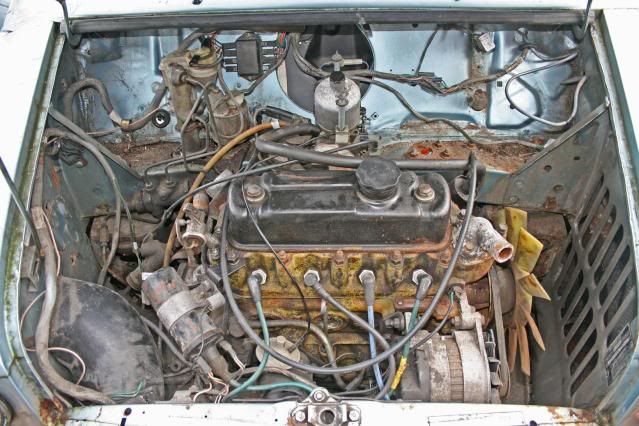
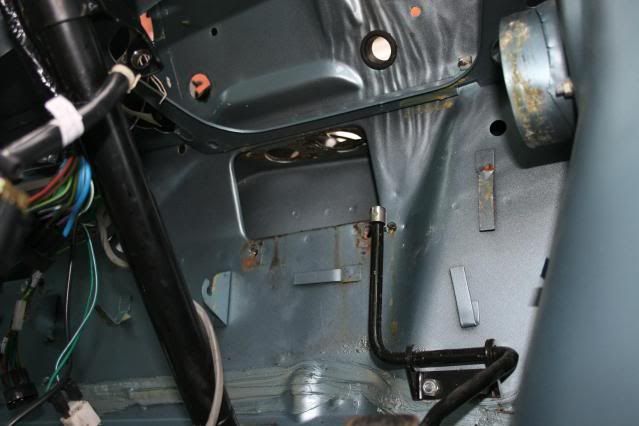
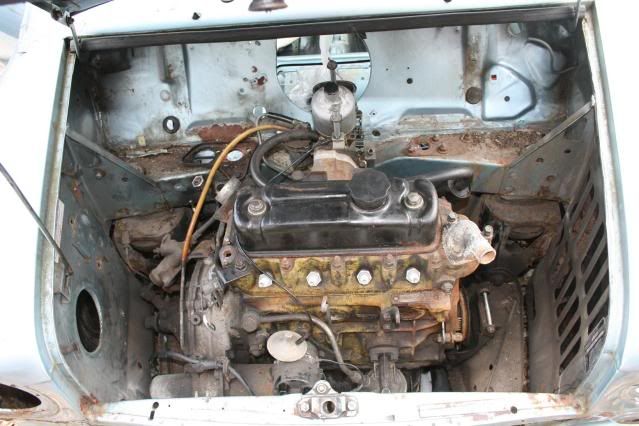
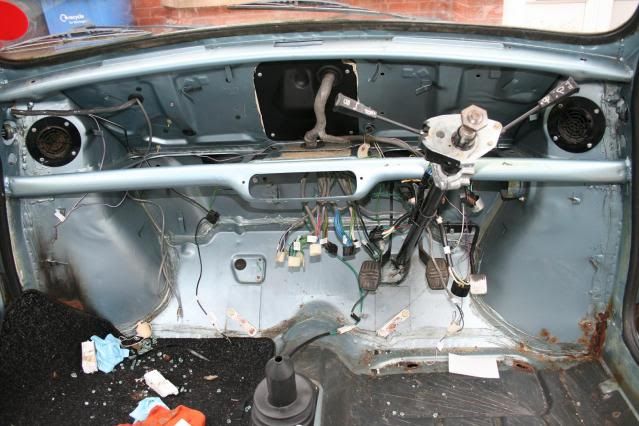
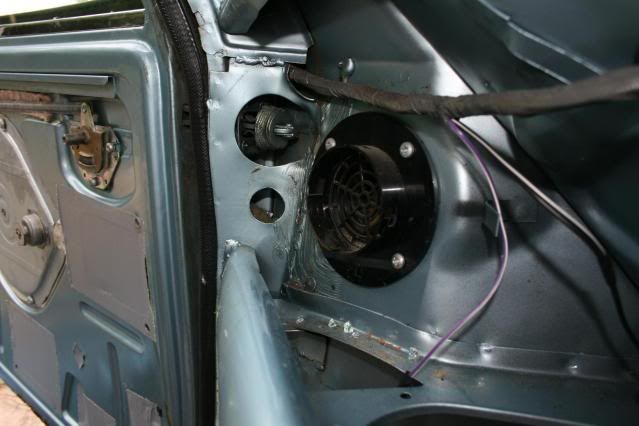
The wiring pretty much stripped and labelled, all dash out and I can tell that I am going to have to strip the loom down so I can work out where everything is going. An example of this is the 4 way fuse box with about 20 wires going in !! Whats that all about ?? I think I will be wiring in a modern fuse box from another car to replace this but it must work as no sign of fire in the loom, there was even a spare fuse in there!!
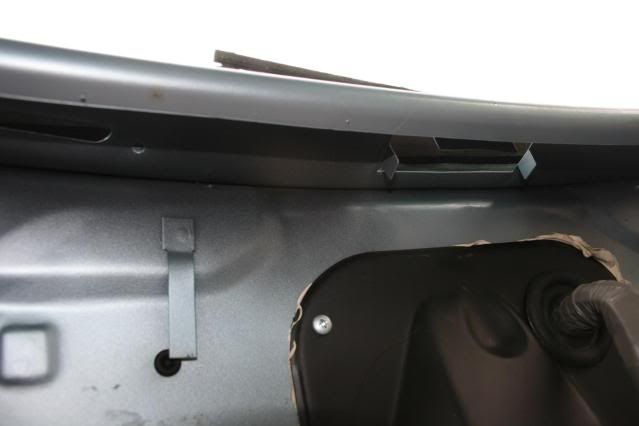
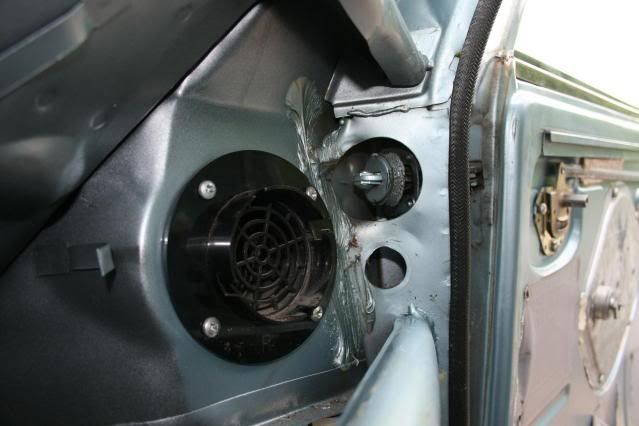
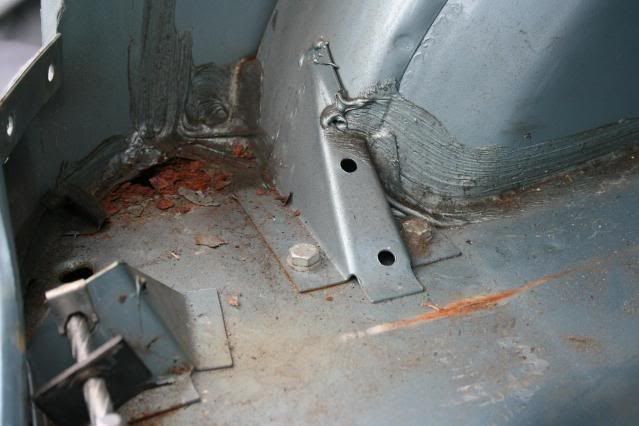
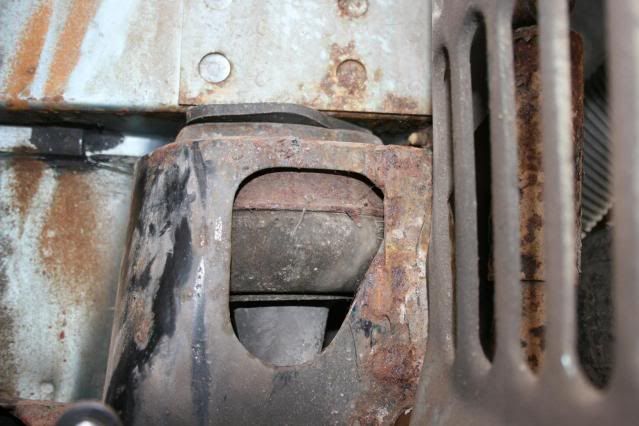
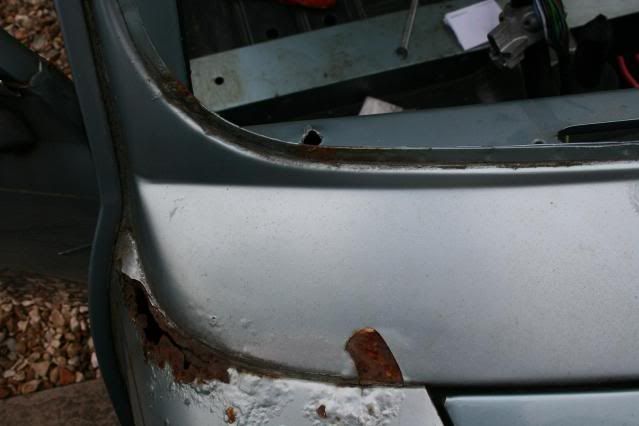
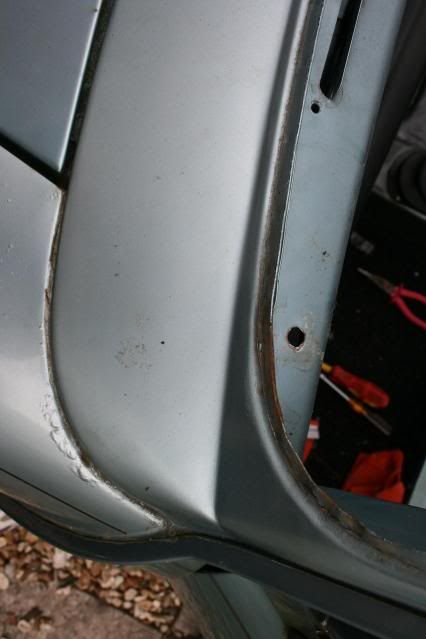
The bulkhead look mint which seems to fit with the rest of the car, (except front wings), as do the air vents on NS and OS. The screws holding these plastic mounts in though were stuck fast and I will have to drill them out tommorrow, maybe rusty behind

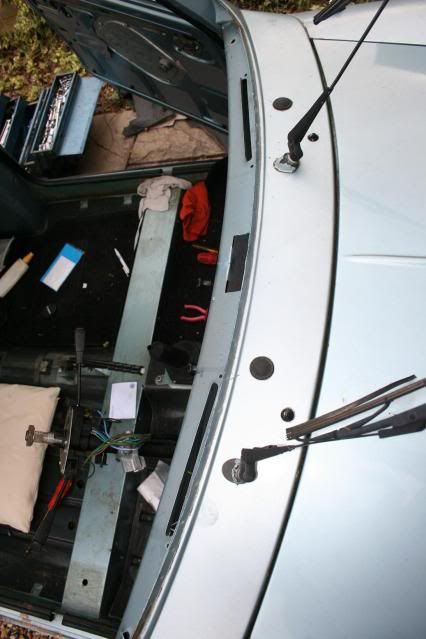
Jus a few pictures of the scutle from the outside and it really does look like the car is in pretty good nick given it's 27 years. I am looking into the 4 previous owners through a service from DVLA to see if I can contact them regarding mileage as the condition of the car is starting to make me think it maybe genuine.

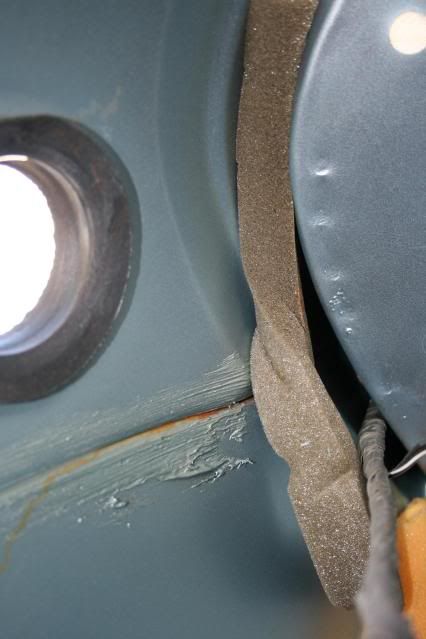
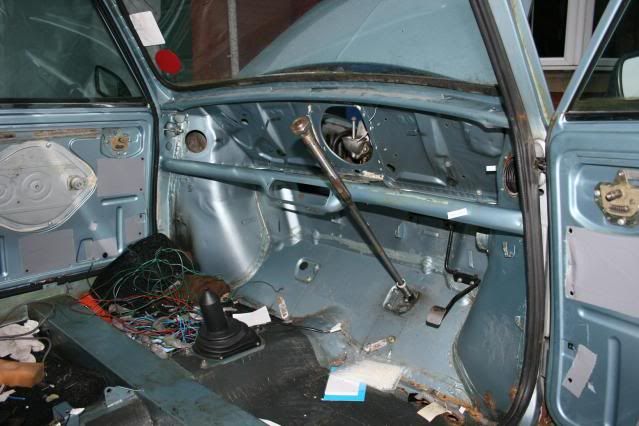
Just a bit of gaffa tape to finnish off today as I took the window out to strip the dash and cut the seal rubber so I could et it back in. Hopefully the gaffa tape will keep the rain out till I get a cover !!