Swiftune Duplex is ace, I wouldn't be disappointed fitting it! (have them on all of mine)
Cams are also great too, looking like a great build! 

Crazy About Mini's


Posted 24 September 2017 - 06:07 PM
Swiftune Duplex is ace, I wouldn't be disappointed fitting it! (have them on all of mine)
Cams are also great too, looking like a great build!
Speeding Along Now
Posted 12 November 2017 - 10:30 PM
Right then! Haven't posted an update in a while because I've been spending every spare moment working on the car. Quite a bit of progress has been made, so here goes.
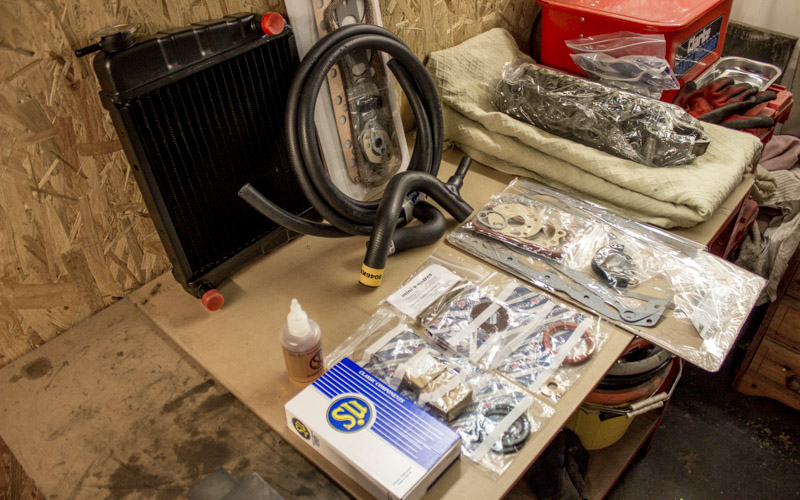
First of all, here is a bunch of parts I bought! New rad, hoses, carb rebuild kit, diff parts, seals, gaskets. Also bought but not in this pic is a RC40 exhaust. :)
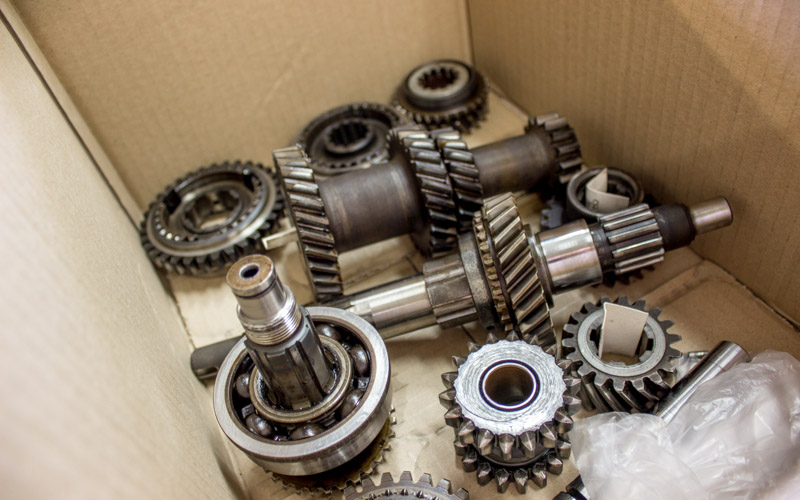
While the engine was away at Stanwood Engineering, I worked on the gearbox myself. Everything stripped down, cleaned and inspected.
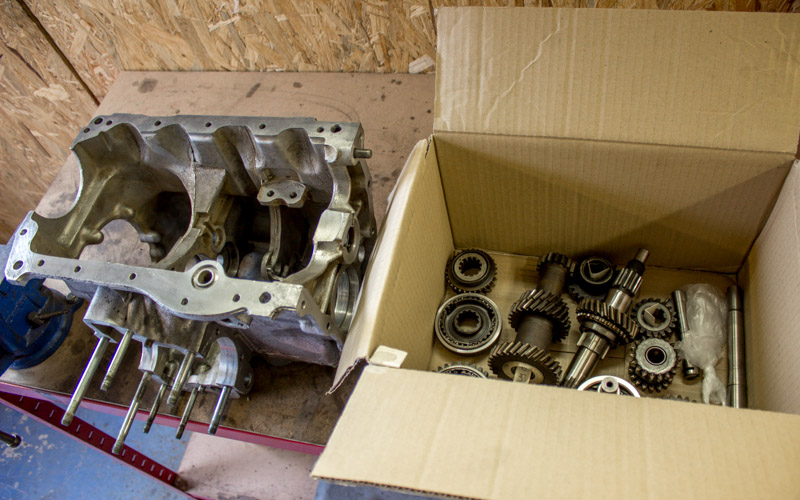
Thankfully, no major badness was found, so all of this lot went back in again.
Here is the cleaned out casing after much scrubbing!
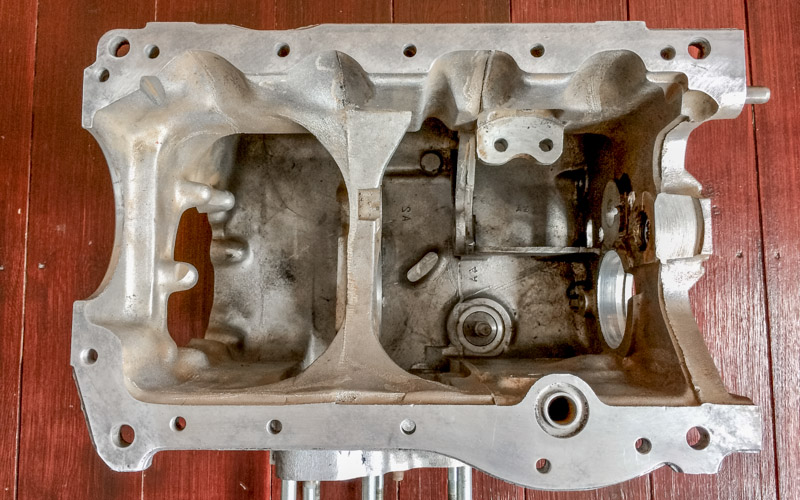
New baulk rings went in, and the old oil pick up replaced with a centre oil pick up pipe.

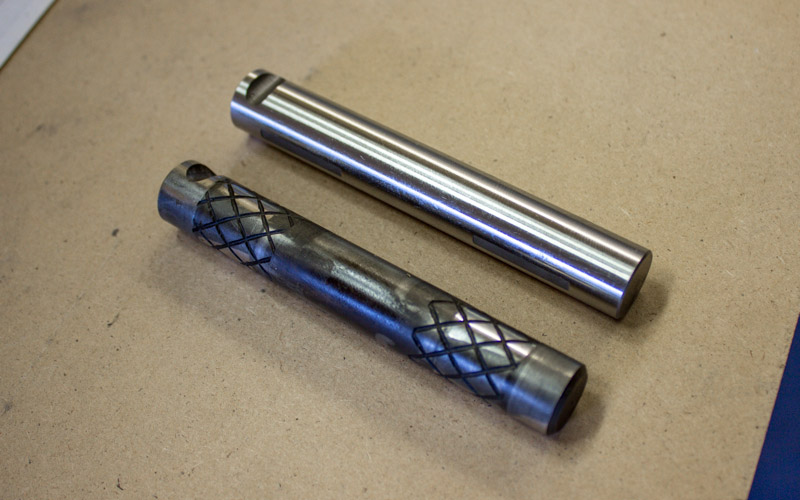
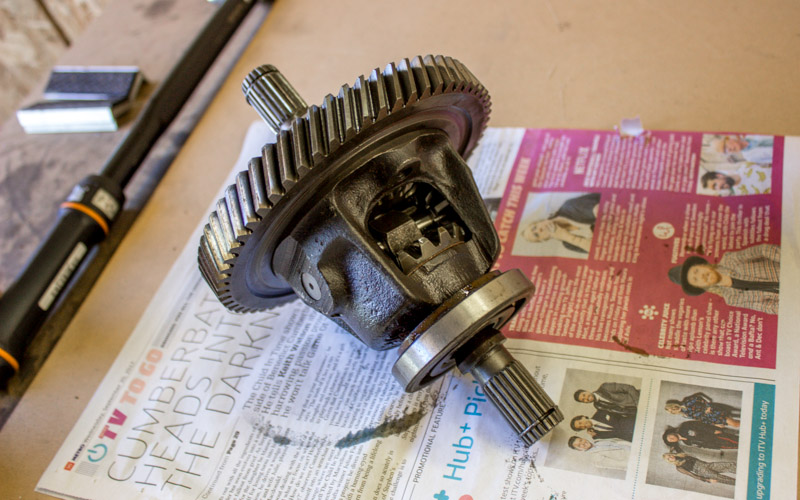
Also took the diff to bits to replace the pin, washers, and planet gears.
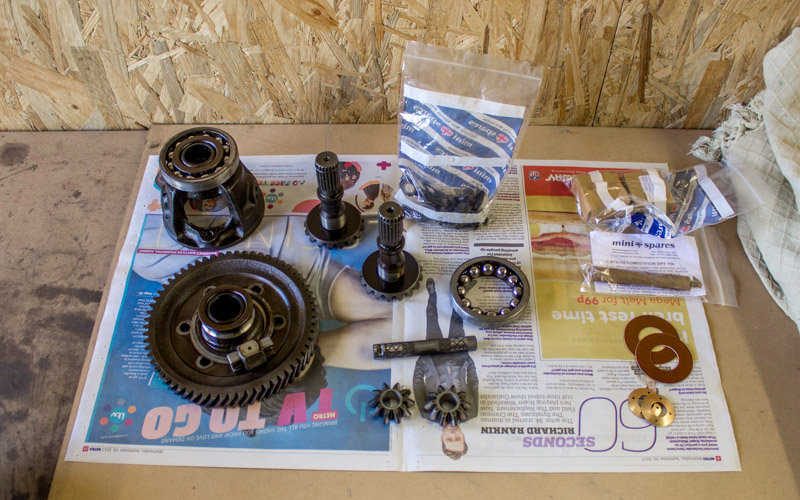
Old diff pin vs new 'performance' diff pin which was cheaper than the standard one.
The finished article with new bits installed.
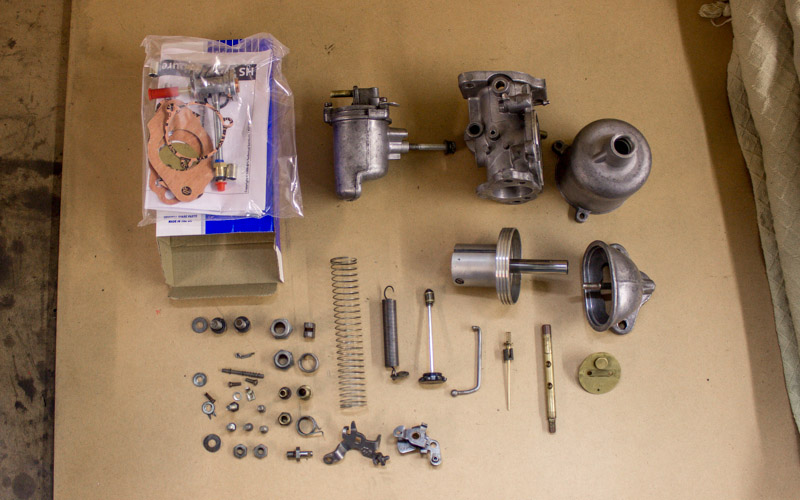
I also fully stripped the HS4 carb and cleaned everything out. Bought the full rebuild kit to renew all the worn parts.
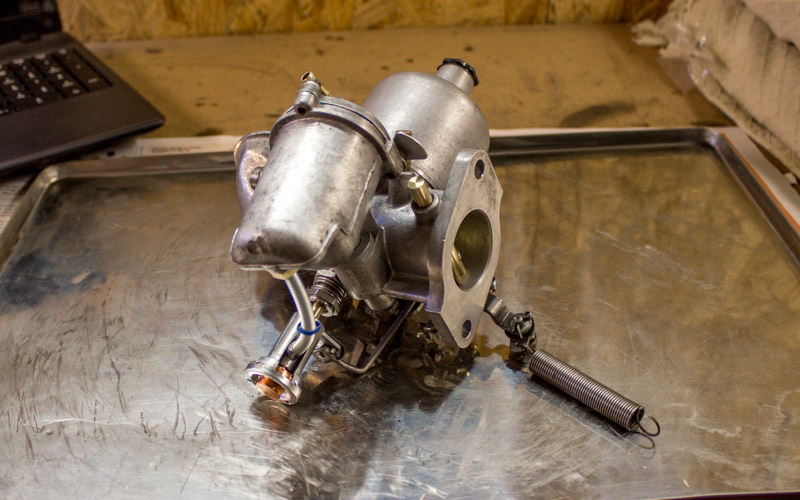
Here it is all back together. No idea yet how to go about tuning this thing but I guess I will have to learn!
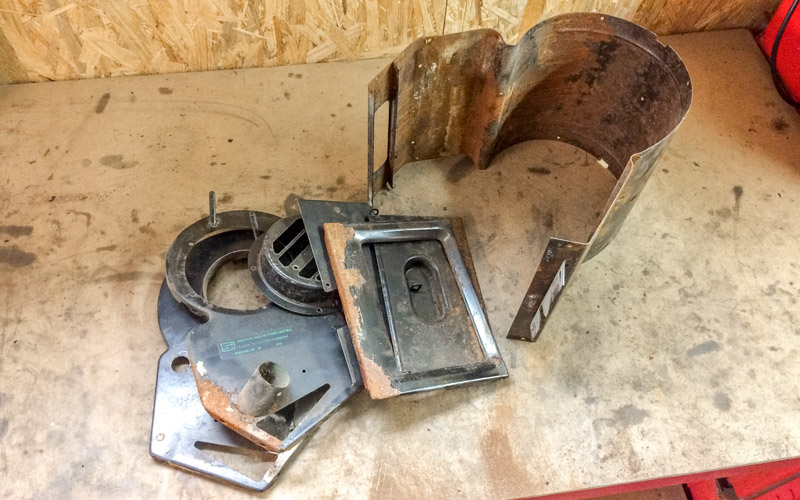
In other news, I needed to do something about the heater unit situation. I had somehow come to own 2 of these things, but neither of them were in decent condition. The idea was to recon the best one.
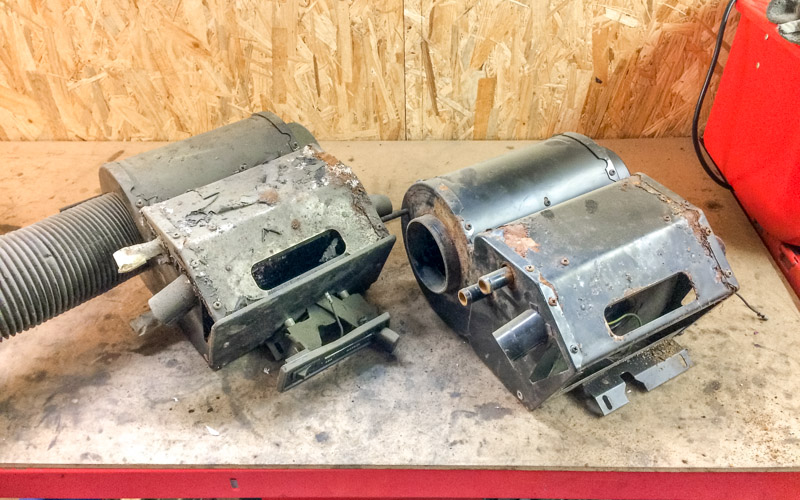
All this panels ready for rust repair.
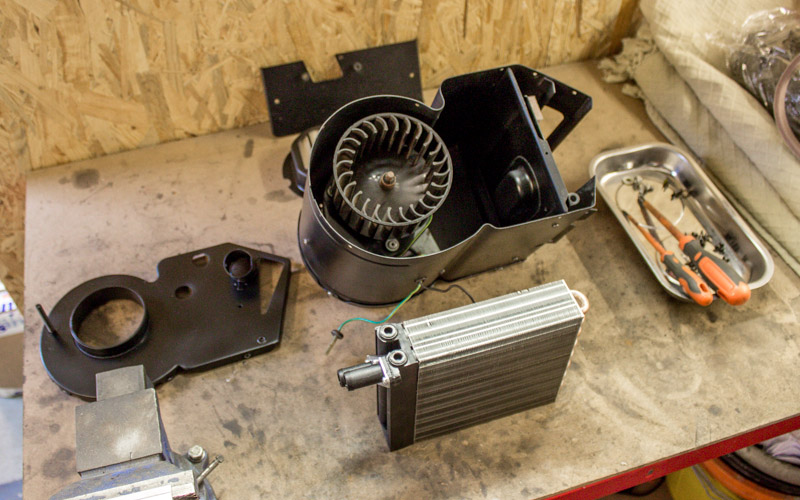
Everything painted and going back together. One of the units was a later version with 2 holes in one side, so I used that one because a new later matrix is cheaper :)
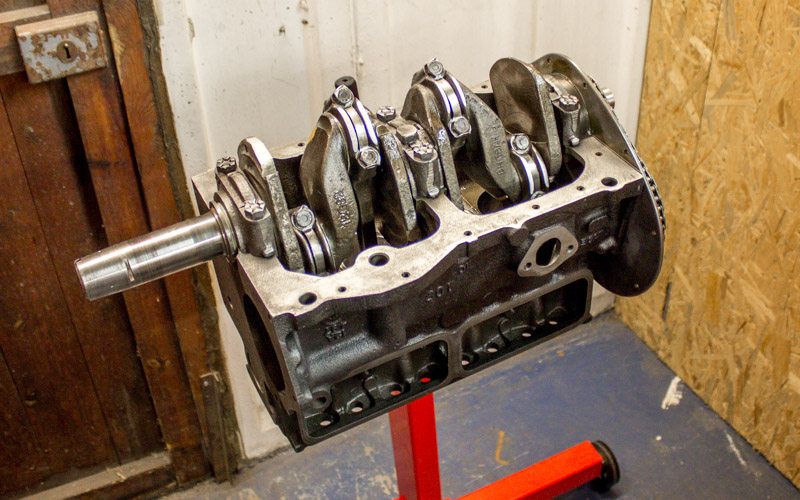
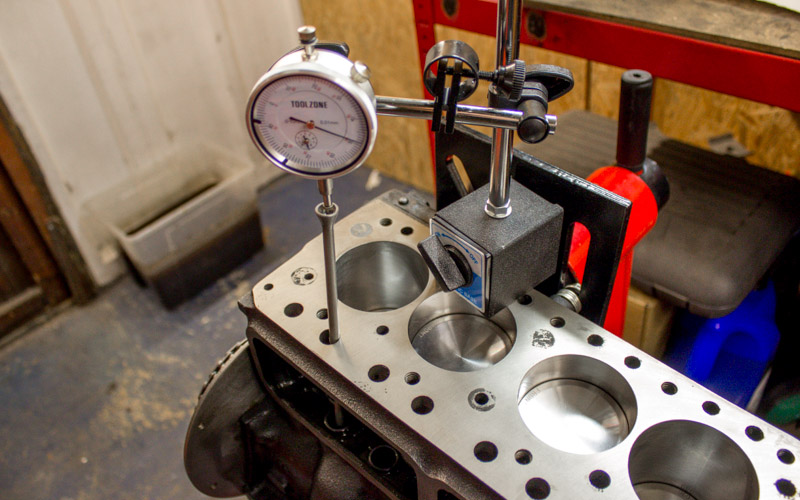
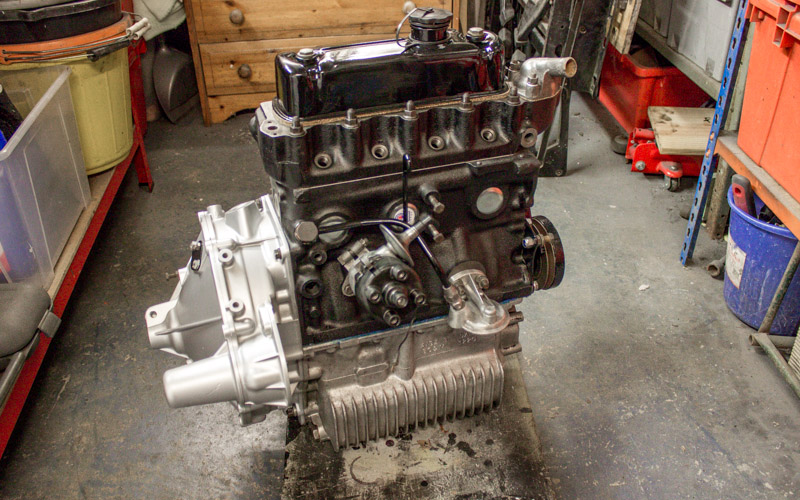
Then the short motor build came back from Stanwood. Hooray! Very pleased with the work they have done - rebore block, new pistons, unleaded head recon.
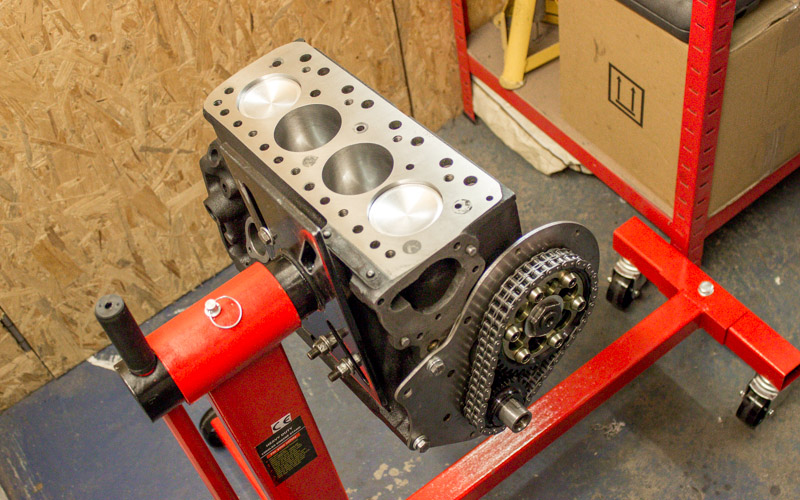

Then it was up to me to do the rest of the build. First job was to install cam followers and confirm the cam timing was accurately set up. All good.
Head studs and gasket on.

Then on with the head and 1.3:1 roller rockers.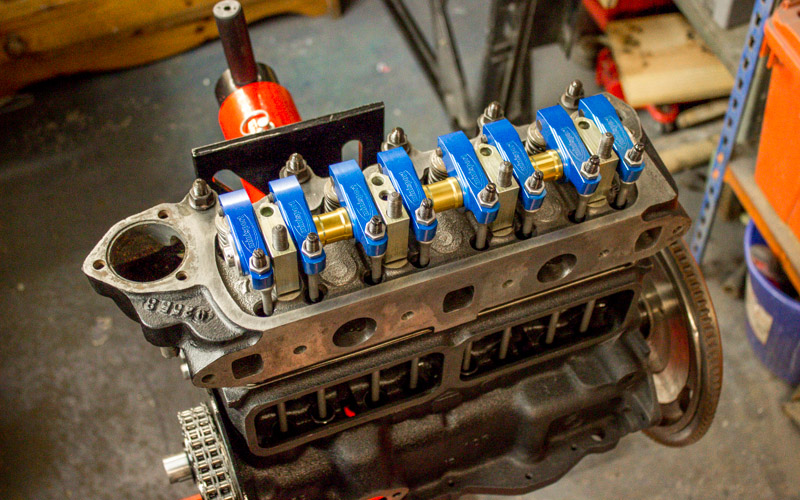
The gearbox went on and off a few times because I encountered a problem which stopped the engine turning over. (Didn't take any pics because I was too stressed!). It turned out to be a slightly raised locktab on a con rod fouling the oil pick up pipe. Solved it by hammering the offending article flat.
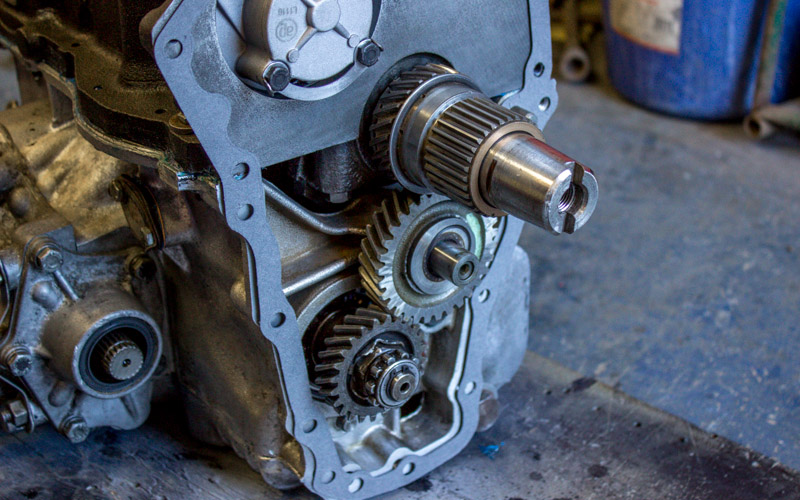
On with attaching new things - here is a new oil pump from Swiftune.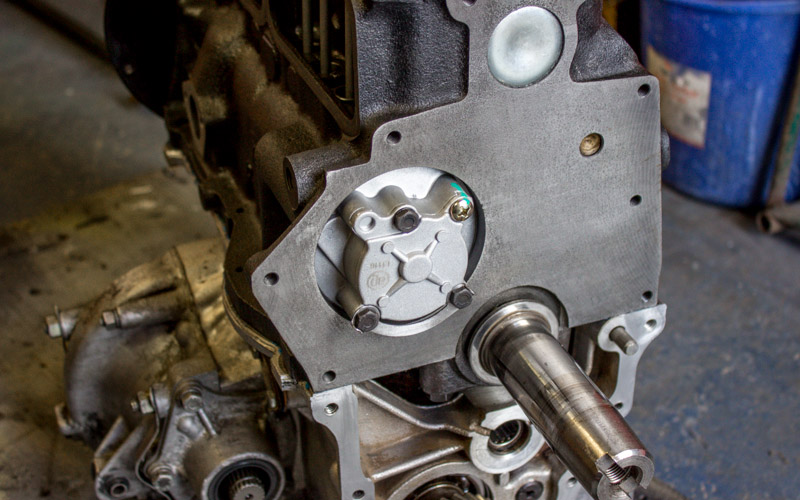
The man at Stanwood Engineering said I needed to replace the old worn idler gear, so I had planned to buy a new one from minispares. Then I noticed a cool dude called Darren was selling a NOS one on this forum so I snapped it up. :)
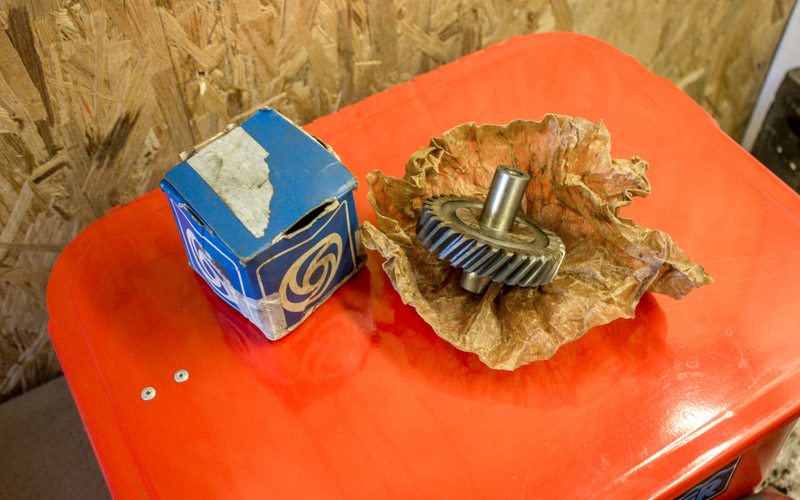
Works very nicely!
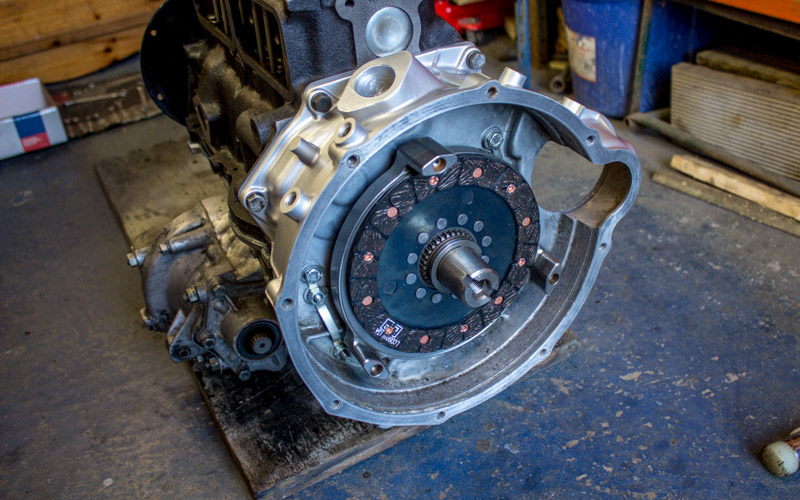
Then on with the transfer casing, new pressure plate and clutch disc.
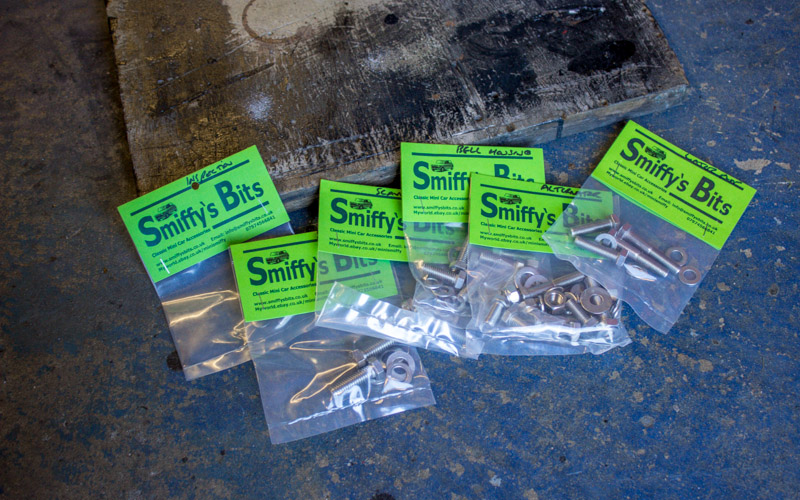
I decided it would be worth getting a few new fasteners to replace some of the nasty old rusty ones...
This is how I left it today. Flywheel is on, which has its new ring gear installed, oil filter housing is on, timing cover and front pully are both on. Cleaned up distributor is also on, which was a scary experience because its very easy when trying to install the spindle to drop it down into the gearbox. Thankfully that didn't happen.
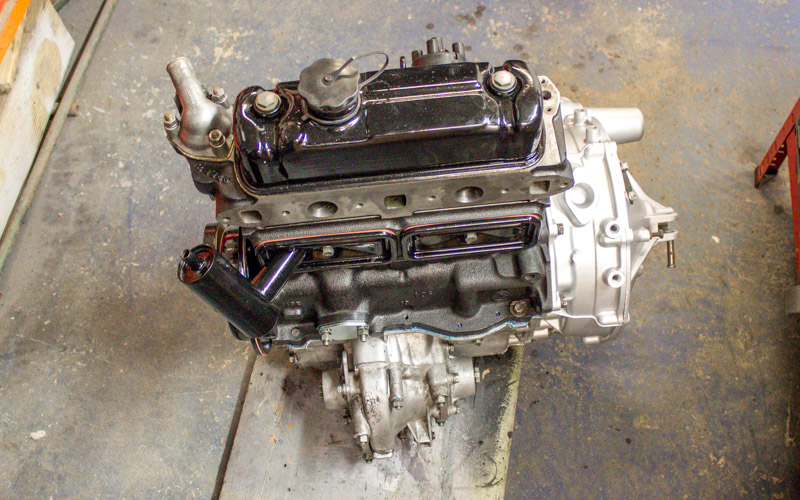
Need to do another quick order from minispares to pick up a few more bits that I need, but I feel like I can almost see the light at the end of the tunnel with the engine build now. I just hope it works!
One Carb Or Two?

Posted 13 November 2017 - 08:01 PM
Wow!
Up Into Fourth

Posted 13 November 2017 - 09:20 PM
You're coming on well now, the car looks great out in daylight!
Up Into Fourth

Posted 14 November 2017 - 01:36 PM
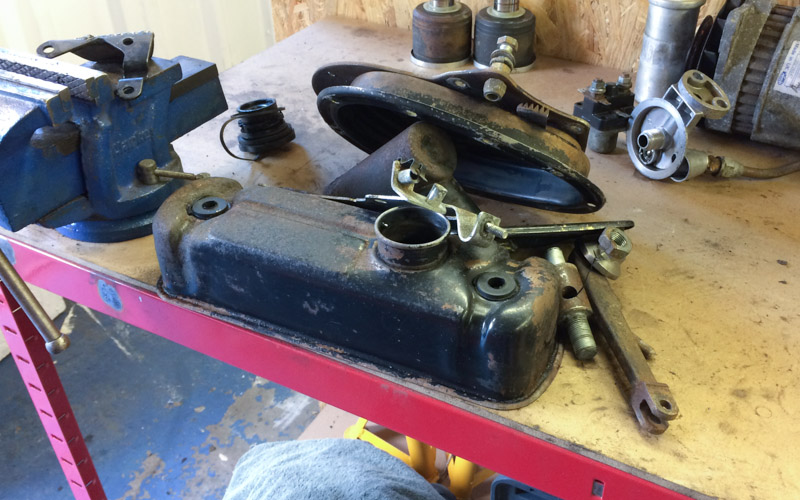
With most of the engine away with the experts, I am left with a pile of dirty rusty parts to clean up. Joys!
I am sticking with this rocker cover rather than buying a new one because I like the original and understated look of it. Moreover, this engine build is getting well dear, so I'm trying not to bankrupt myself by forking out for things which I can restore with a bit of elbow grease.
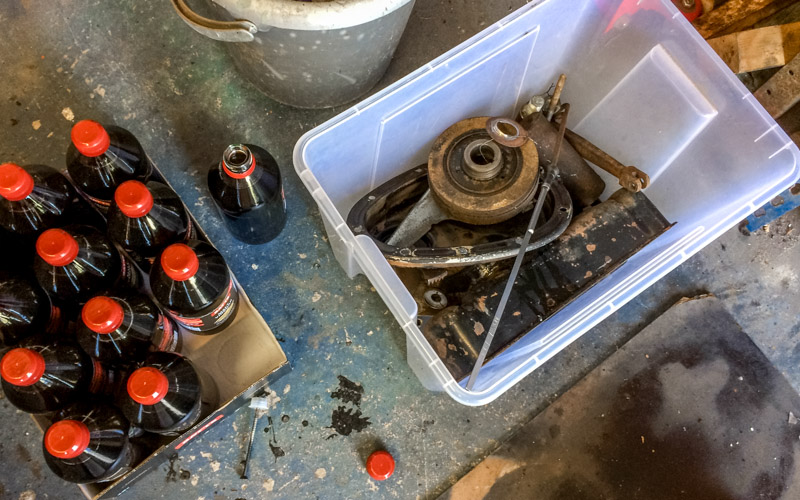
Everything went in this box for a fortnight with some nice Lidl vingar.
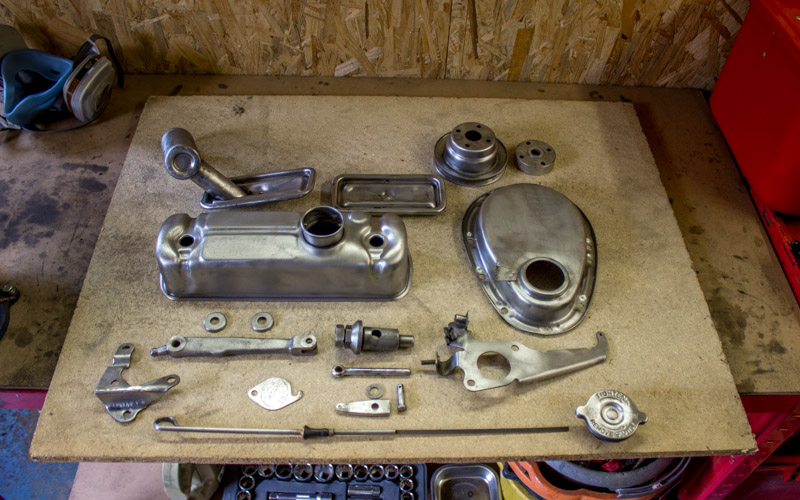
Then I hosed it all down and finished it off with a wire brush. The parts below are now getting painted in temperature resistance gloss black. (Not the clutch bits or the carb plate, actually)
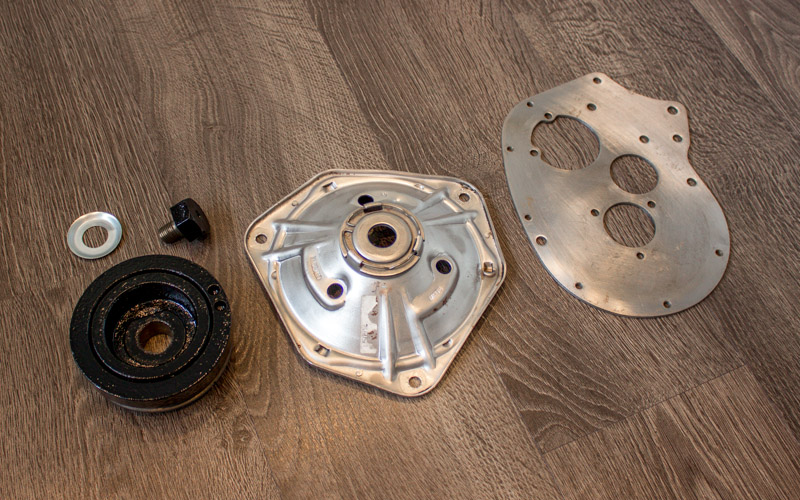
Here is the cleaned up front pulley, clutch diaphragm (waiting to hear if this is usable) and the back plate thingy that goes behind the timing chain. I'll paint the exposed bits of that when its in situ, I think.
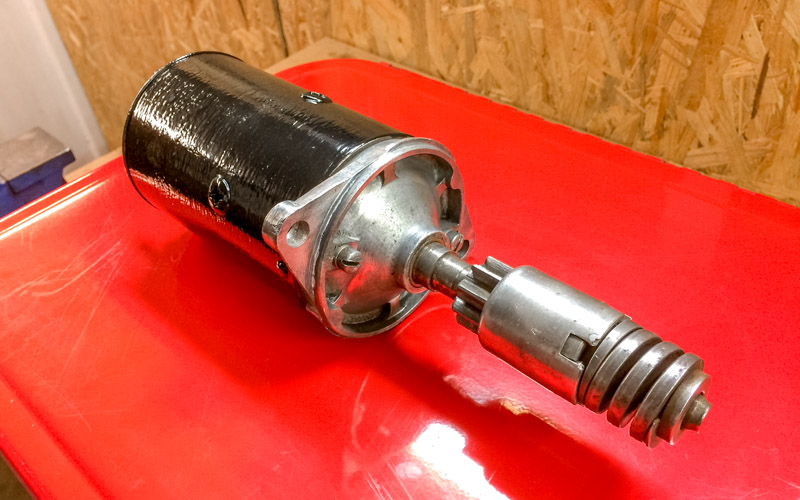
I also took a wire brush to the starter motor body. (I had already done this earlier in the project, but I didn't paint it at the time, so its rusted itself up again since.) *EYEROLL*
Looks a bit more presentable now.
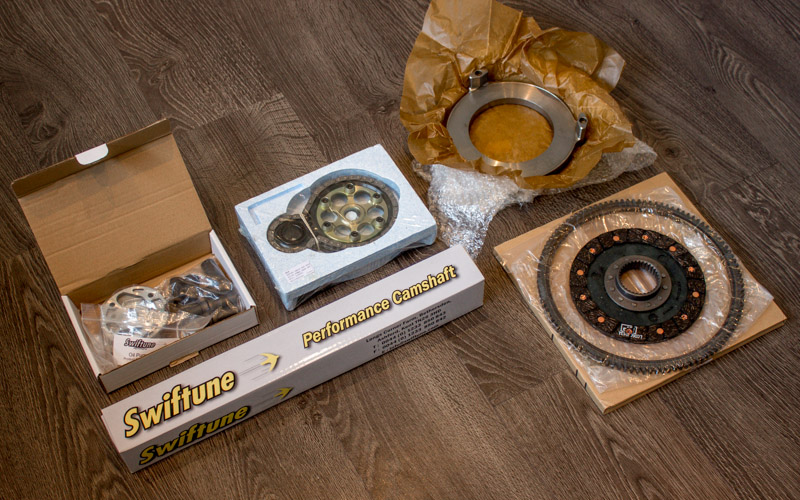
I also received a few of the bits I had ordered. I went for the duplex chain because they used one on the Ultimate 1380 build DVD so I thought it was an obvious choice. Plus, adjustable. Then I read in this months mini magazine that Keith Calver is not a fan at all, and says people fit them because of 'folklore'. *SIGH* Oh well.
Still waiting on the roller rocker assembly from minisport.
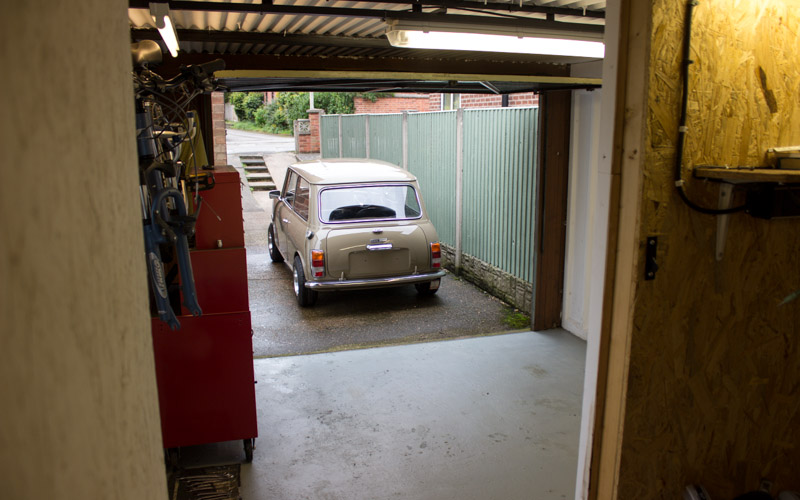
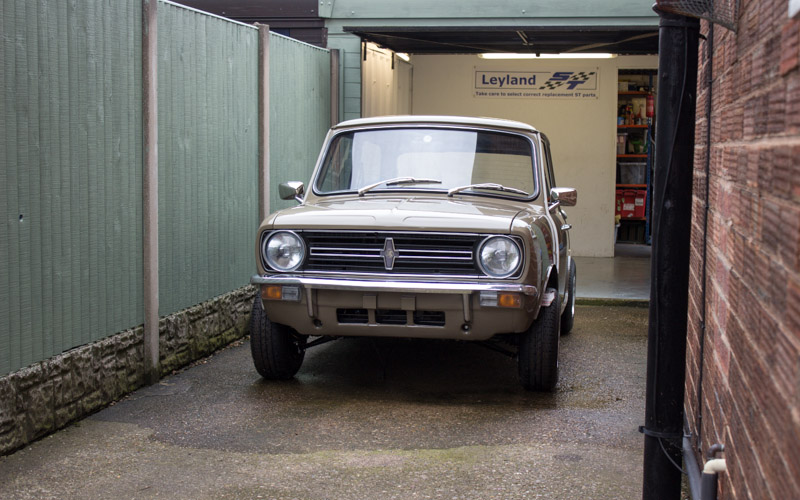
As the car has been sitting in the garage for over a year since it was painted, it was starting to look a bit dusty so I pushed it out onto the driveway to give it a wash.
Can't wait to get the engine in just to weight the front end down a bit!
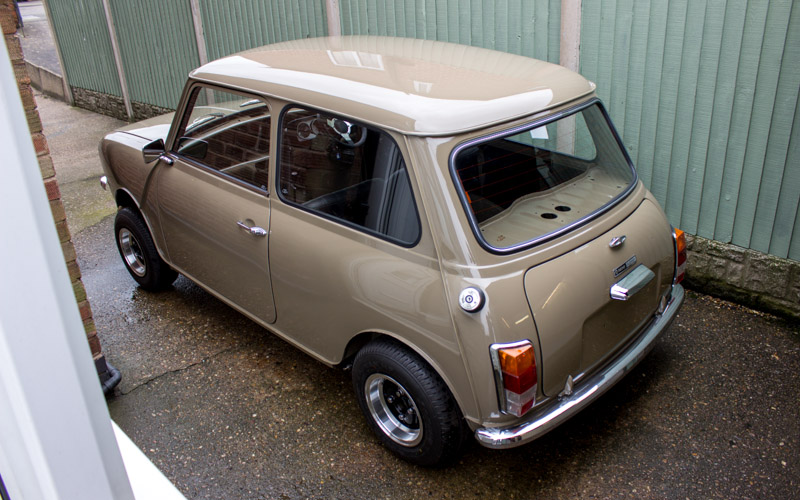
This thing is stunning, looking forward to seeing this out at some shows :)
Speeding Along Now
Posted 12 December 2017 - 09:26 PM
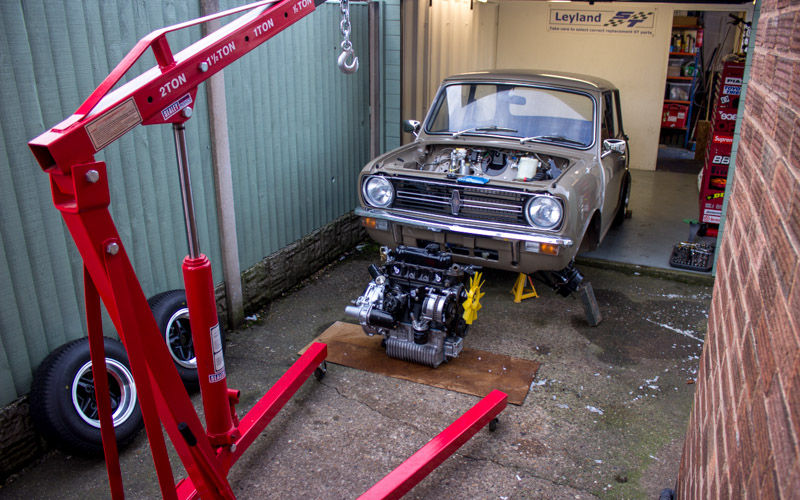
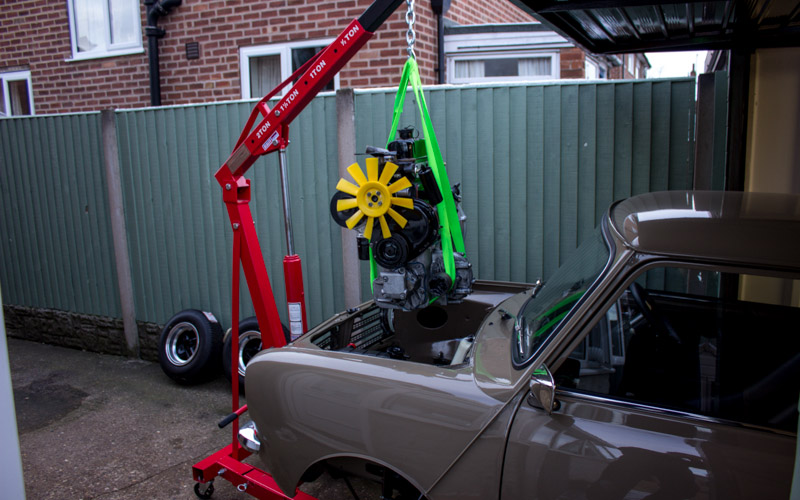
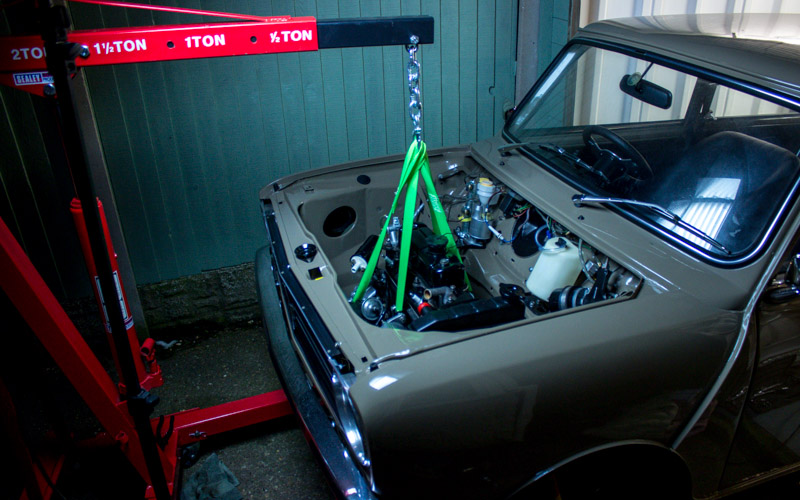
-2° outside and snow still on the ground, but what the hell. Lets put the engine in!
Not a lot to write about this other than that it was bloody hard work! Here are some pics!
Camshaft & Stage Two Head

Posted 12 December 2017 - 09:47 PM
Brave man 
Super Mini Mad

Posted 12 December 2017 - 11:40 PM
Speeding Along Now

Posted 13 December 2017 - 12:23 PM
just re-read the start of your thread, and looks like the pitting on the front bulkhead area originally is very similar to mine. I think on the back of what you went through and the fantastic work, i'll persevere a little longer with mine before opting for the replacement bulkhead. Thank you!
Speeding Along Now
Posted 13 December 2017 - 01:19 PM
Thanks everyone!
Spot the beginners mistake in the above pics! (Was kindly pointed out to me by someone on instagram!)
g111mds: In hindsight maybe I should have done more work to repair the pitting in the bulkhead, or just replaced it entirely. At that time I was much less experienced and I didn't want to mess too much with the structure of the car. There comes a point where you end up basically building a whole shell out of panels if you're not careful, so you have to draw the line somewhere. The pitting in the metal on my car is definitely a weakness in those areas though.
Speeding Along Now
Posted 13 December 2017 - 01:49 PM
Thanks everyone!
Spot the beginners mistake in the above pics! (Was kindly pointed out to me by someone on instagram!)
g111mds: In hindsight maybe I should have done more work to repair the pitting in the bulkhead, or just replaced it entirely. At that time I was much less experienced and I didn't want to mess too much with the structure of the car. There comes a point where you end up basically building a whole shell out of panels if you're not careful, so you have to draw the line somewhere. The pitting in the metal on my car is definitely a weakness in those areas though.
Mr. 7-Port

Posted 13 December 2017 - 01:52 PM
Mini Mad
Posted 13 December 2017 - 04:51 PM
Winced when I saw the engine being dropped into that freshly painted engine bay. Great work and I just love the look of the car, I'll be rebuilding my clubby estate once the roundnose is up and running, might just borrow a few ideas........................................
Speeding Along Now
Posted 15 December 2017 - 12:51 PM
NothernPower wins! ;)
Speeding Along Now
Posted 17 March 2018 - 09:32 PM
Hi!
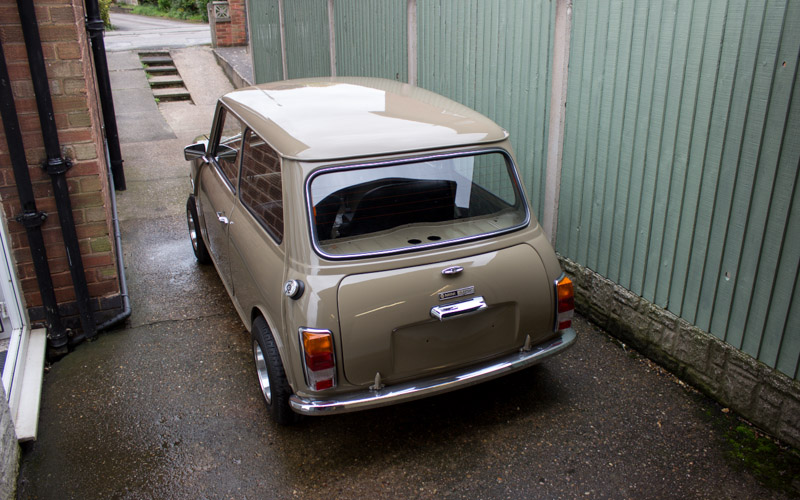
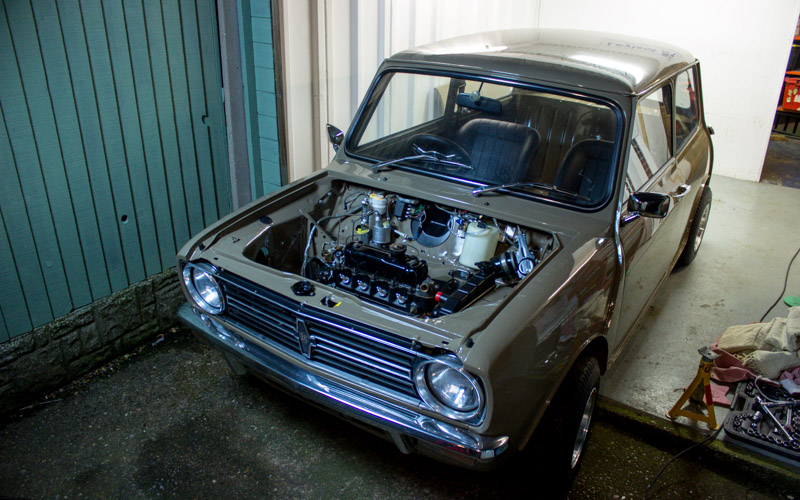
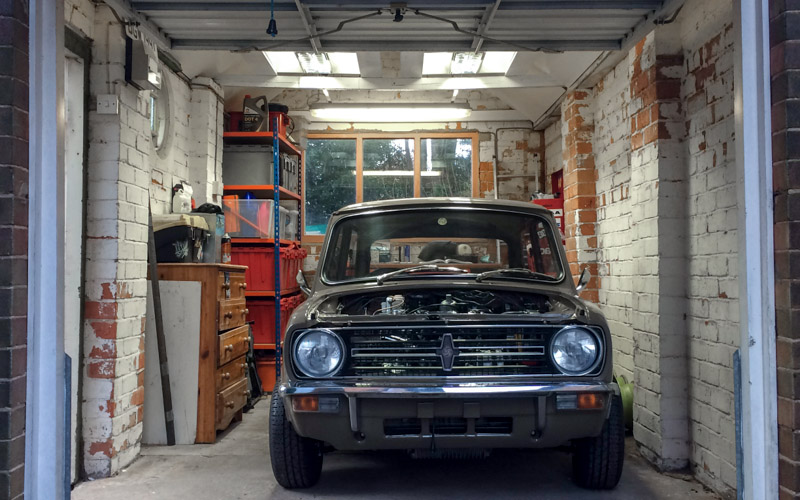
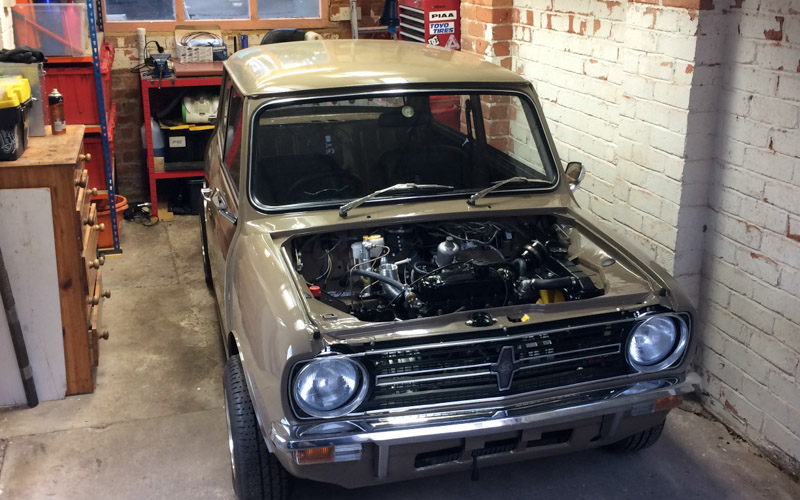
Long time no post! I've been a bit busy lately moving house, so not exactly loads of mini progress to report, but here are some pics of the car in its new garage.
(Not nearly as spacious as my previous garage/workshop which I'm sure I will sorely miss, but at least this one is built of brick with a proper roof!)

I had a day last weekend working on the electrics with my Dad (who is an electrician), and managed to turn the engine over a little on the starter motor. All good so far. No more engine progress on the engine as I'm waiting for an oil pressure meter to arrive so I can make sure I'm getting oil pressure.
Have been reading all I can about first start procedures, but honestly finding the whole thing mind boggling since there are so many opposing expert views on the subject. :S
As far as electrics are concerned, the situation is as follows:
Headlights dipped: working
Headlights main beam: working
Sidelights: working
Indicators: lamps working but missing flasher unit (on order)
Rear lights: working
Brake lights: working
Reversing lights: working
Hazards: working
Horn: working
Wipers: basically working but a bit weak
Washer pump: working
Heater fan: working but catching heater body, needs a tweak 
Fuel pump: working, wired to inertia switch for safety.
Have also tried filling the clutch reservoir up and bleeding, but hey ho the only old union left in the circuit leaked, so now waiting for a new pipe to come. Not holding out much hope for the brakes because I have reused most of the old pipework. Have a feeling I may end up replacing some/all of it!


0 members, 0 guests, 0 anonymous users