Jump to content


Photo
- - - - -

1979 Rust Heap Clubman Rebuild


  • Please log in to reply
625 replies to this topic

#61 Goacher65

Goacher65

    Mini Mad

  • Just Joined
  • PipPipPipPip
  • 161 posts
  • Location: Maidstone, Kent
  • Local Club: Medway Mini Club

Posted 28 January 2011 - 02:13 PM

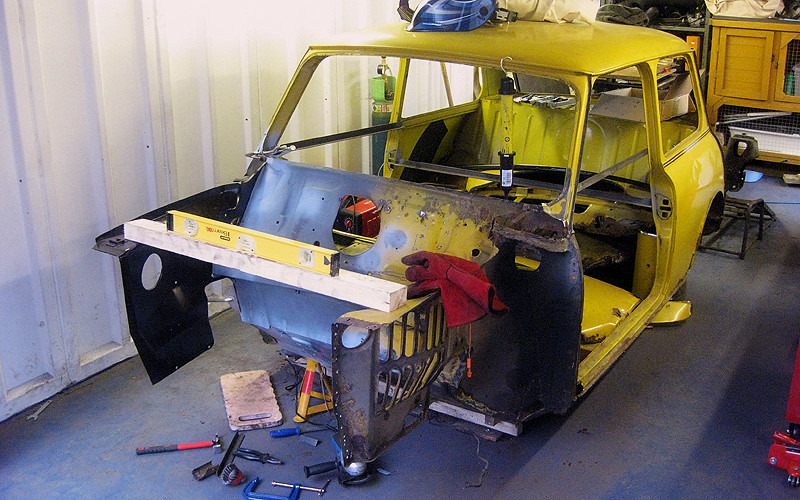
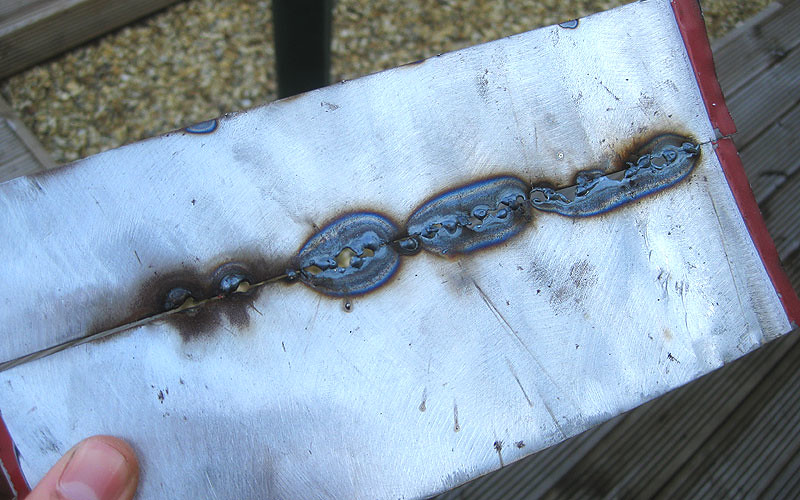
More welding practice this weekend. Behold my gallery of little bits of metal!

For the sake of comparison, this was about the standard I was at last week (ie. crap):
Posted Image

This weekend's mission was to work out how to do a decent butt weld. This was my process... (Experts, please feel free to critique. I'm all ears!)

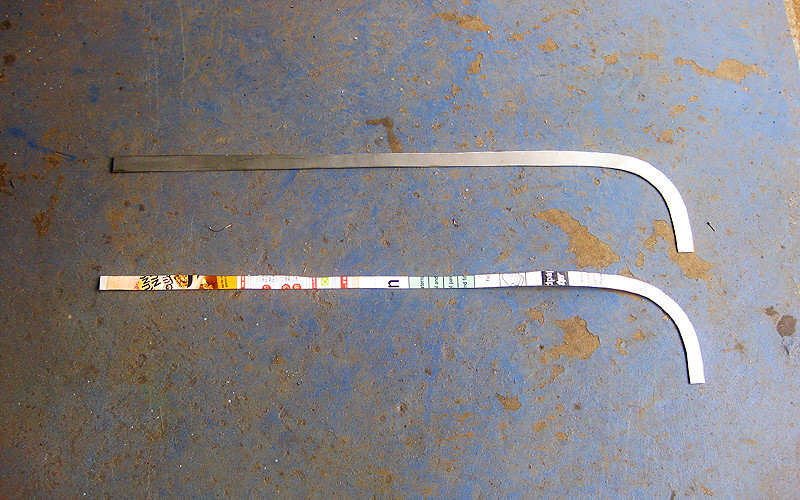
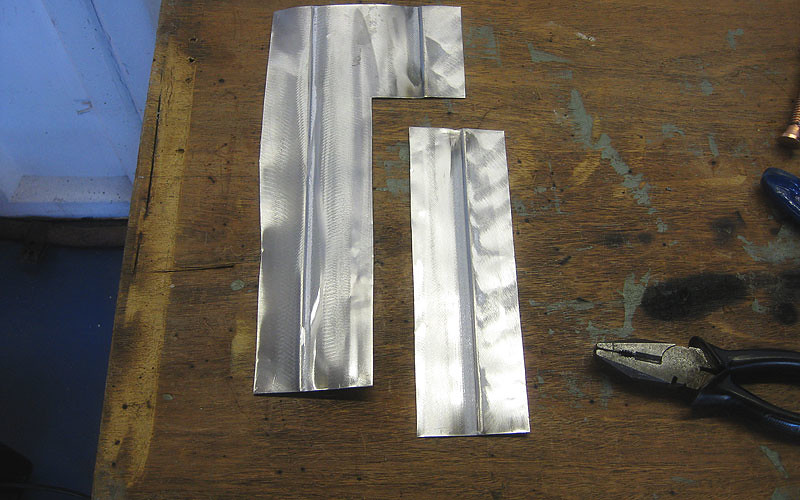
I was trying to join these two pieces of 0.9mm steel...
Posted Image

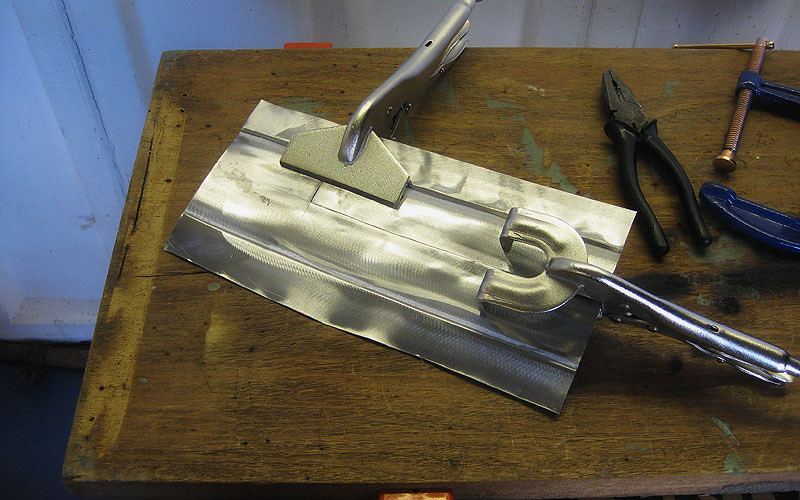
Clamped up as closely as possible.
Posted Image

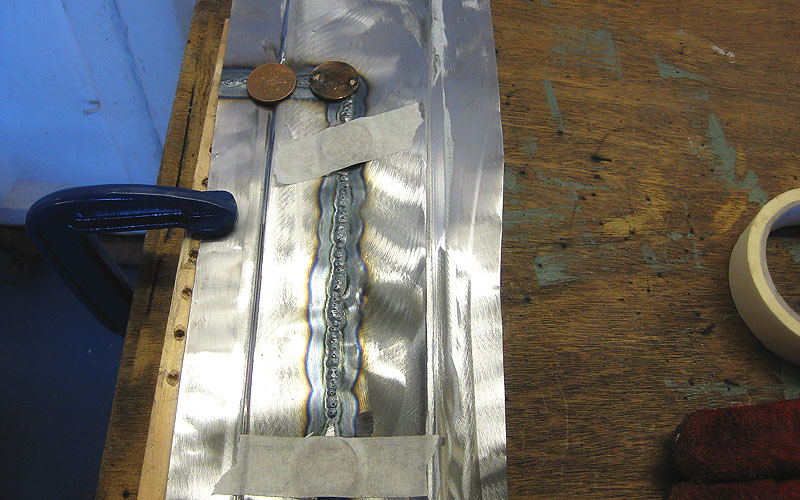
Tack welds in place.
Posted Image

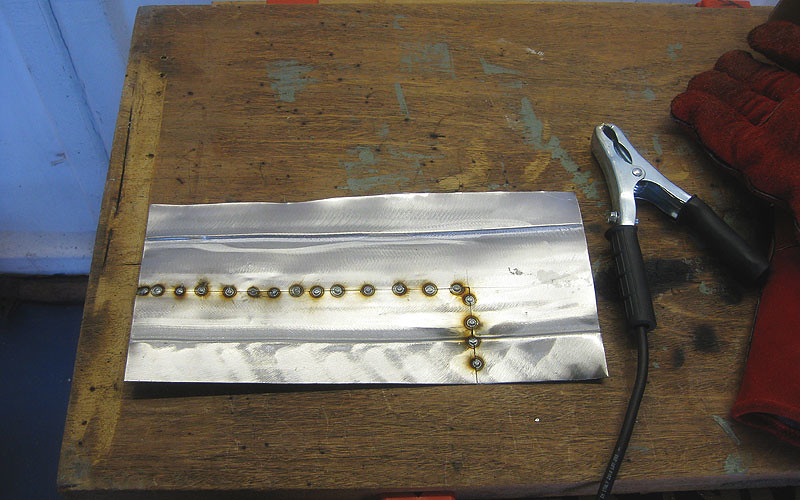
Stitch welded, jumping from one area to another to avoid heat build up. Still blew a few holes, and the metal got really distorted in the process.
Posted Image

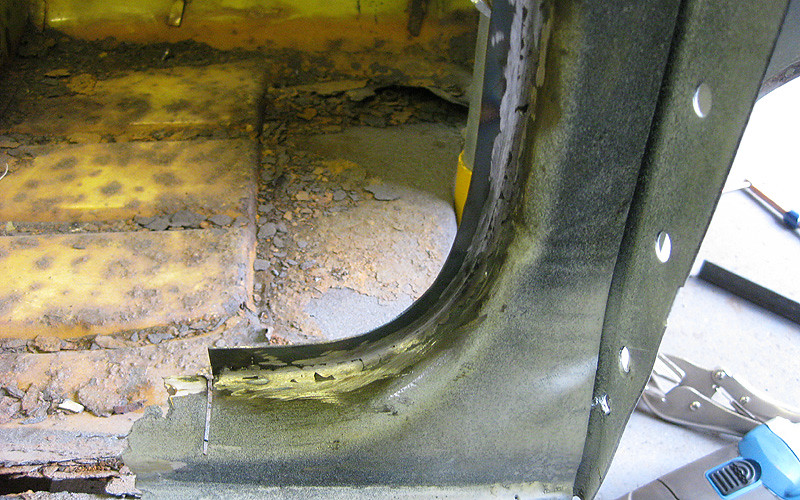
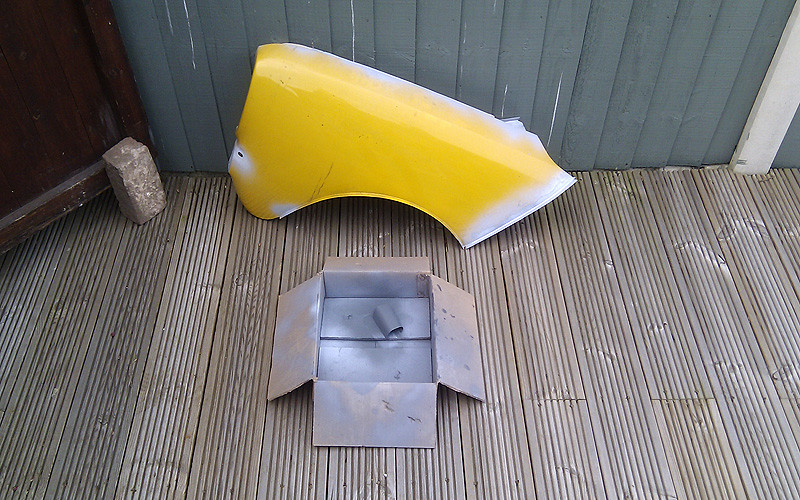
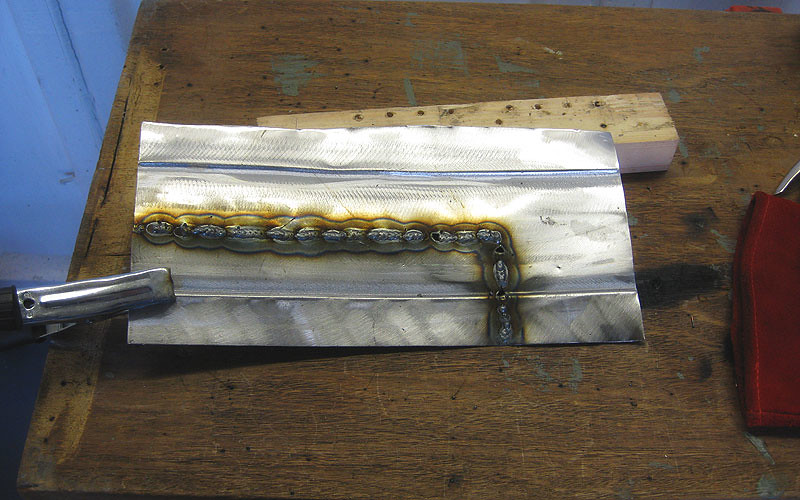
Ground down the welds on the reverse around the holes and taped on copper coins, so that I could fill the holes
Posted Image

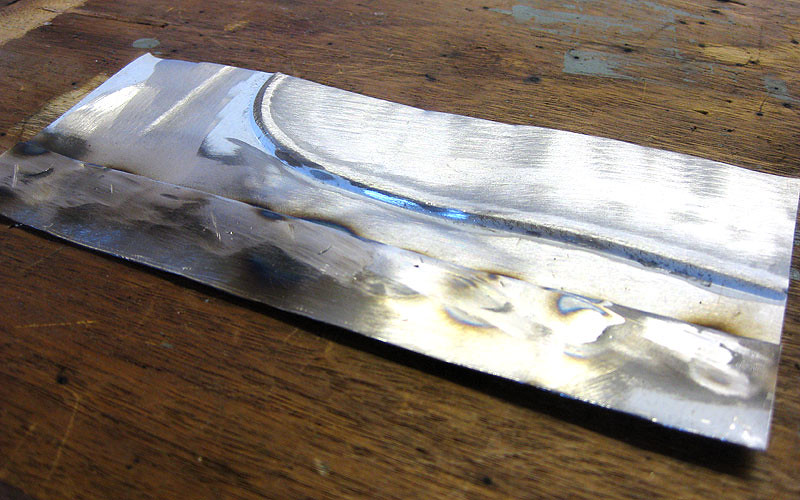
All welded up and dressed down.
Posted Image

So am I doing this right? I still don't understand how using intergrips are supposed to be used. Whenever there is the slightest gap between the join, I immediately blow holes. Can anyone shed any light?

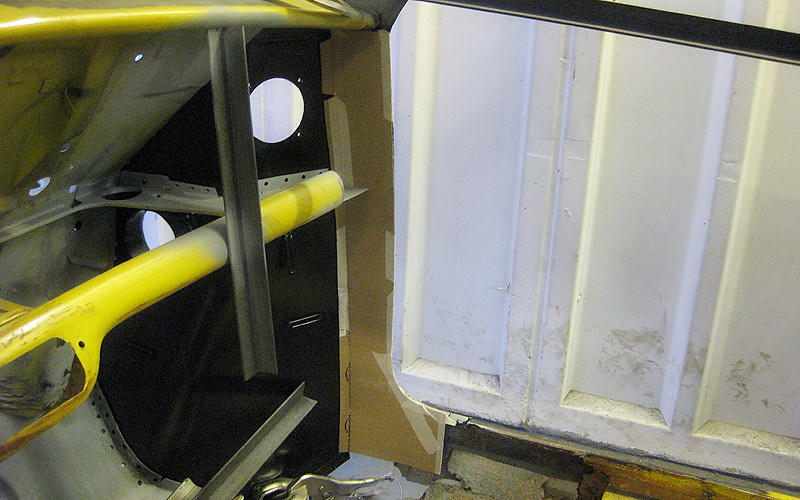
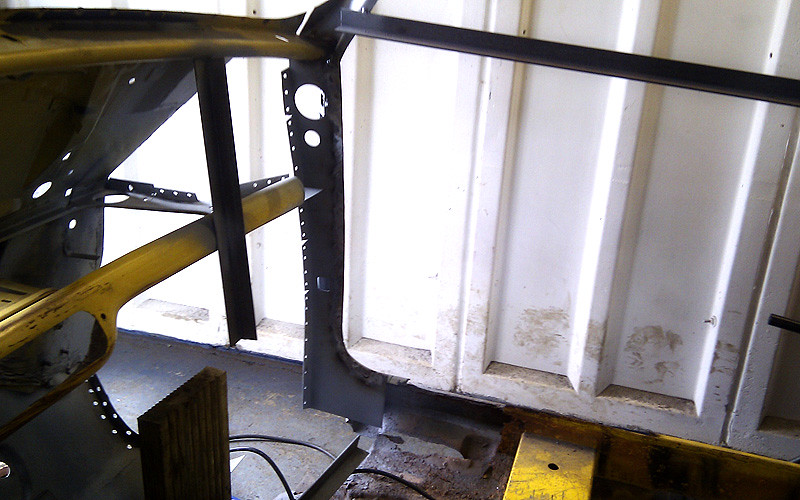
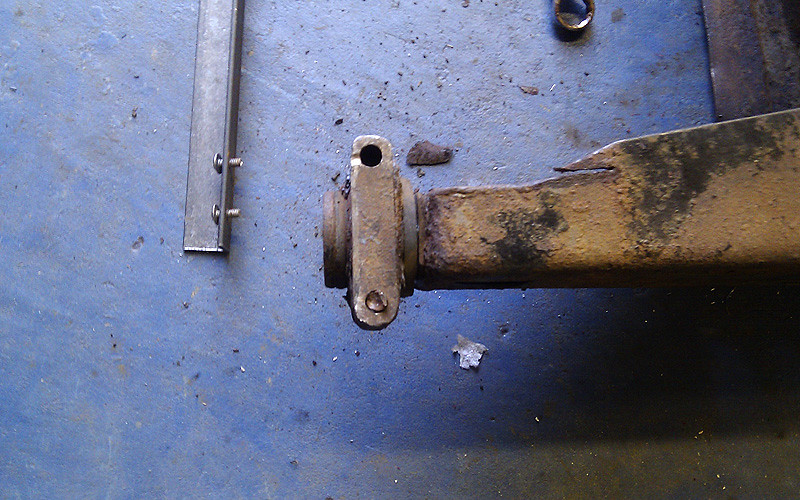
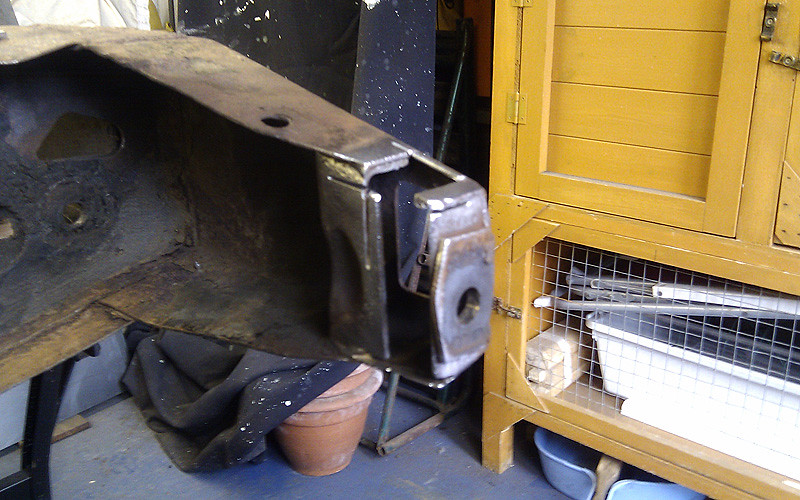
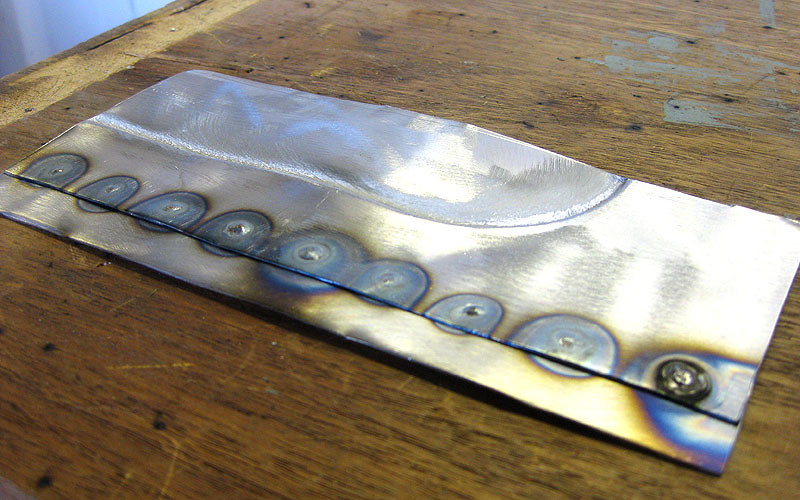
I'm finding plug welding much more straight forward...
(front)
Posted Image

(back)
Posted Image

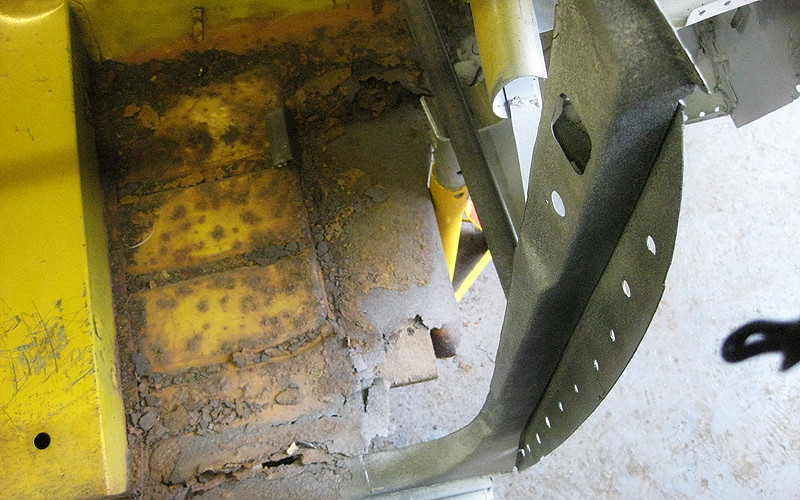
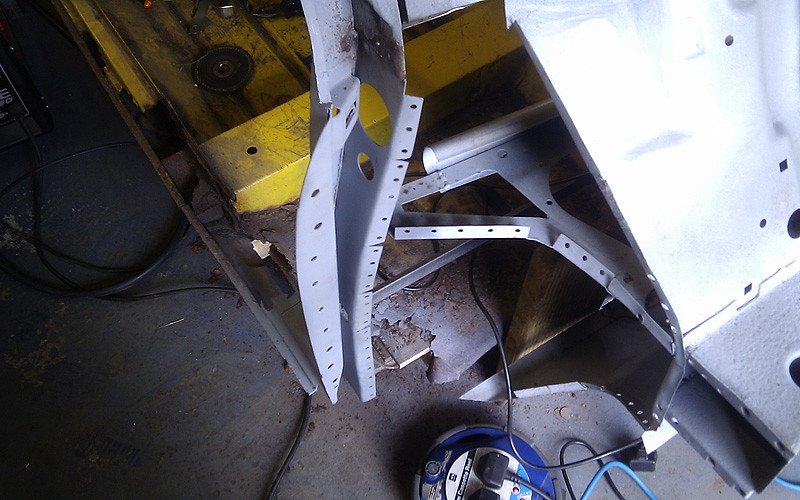
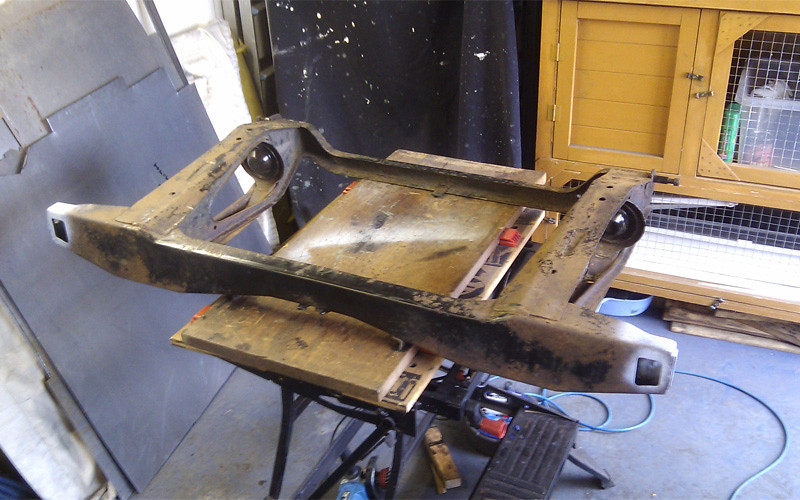
So now I should really start ordering a few panels! There's a newark autojumble next weekend, so I might see what I can find there. :thumbsup: I really regret not buying a pair of really cheap rust-free doors I saw last time!


Hi.

Got the same welder as you. Just in the process of going through the practicing welding stage myself now :X.

Would you be able to let me know what settings you had the welder on and wire speeds for the different welds you have there? I'm only using the bottle of Co2 they supply with the welder at the moment, but may look at getting a BOC subscription when I know it will be worth my while because I will be able to produce a decent weld.

Many thanks

Howard

#62 rich2

rich2

    Speeding Along Now

  • Members
  • PipPipPipPipPip
  • 351 posts

Posted 31 January 2011 - 09:04 AM

I really like everything about this resto!fabrication is brilliant! i only have a hammer and a vice to bend steel:/ really nice!!


Thanks! You're a lucky man! I've only got a g-cramp and a couple of bits of angle! Lo-fi! :o

what are your plans for it when its time to style???


I'm not sure yet. It depends on the quality of finish I can achieve on the bodywork. If its looking good a bit further down the line, I'd like to go for a proper straight restoration. If I only manage to get it to an 'OK' standard, and it wouldn't be good enough as a properly restored car that I would want to show off, then I might have some fun with it instead.

Would you be able to let me know what settings you had the welder on and wire speeds for the different welds you have there?


When I did that, I had the switches on '1' and 'min', and wire speed about 4, BUT I realised afterwards that the steel I was welding (from a washing machine) was actually a lot thinner than on the stuff on the car, so I was making life harder for myself. The welding I have been doing recently on the car has been more like '1', 'max' and speed 8. Hope that helps!


So anyway, I thought I'd better tackle the door post. The inner piece (originally part of the inner wing?) had to go because it was a MESS, and I ended up chopping off the lip around the door recess with it. Observe:

Posted Image

Then I made a new one!

Posted Image

Welded in:

Posted Image

Then with the new inner wing clamped in, I could make a cardboard template for this bit. You can probably buy this piece ready made, but since its just a flat shape with a couple of holes, I decided it would be cheaper and not too difficult to make myself.

Posted Image

I started cutting out the steel, but by this time its was so freezing in the garage I called it a day. So heres the 'car' (if it can be called that at the moment) as it currently stands. Enjoy:

Posted Image

#63 Sleeping Park Lane

Sleeping Park Lane

    Mini Mad

  • Noobies
  • PipPipPipPip
  • 132 posts
  • Location: Reading

Posted 31 January 2011 - 11:05 AM

For a seasoned pro those repair panels would be good, for a complete beginner they're just excellent - especially that dash support. :o

Much kudos to you; this is deffo a thread to watch.

Steve

#64 Pitcrew6464

Pitcrew6464

    Camshaft & Stage Two Head

  • Members
  • PipPipPipPipPipPipPipPip
  • 1,673 posts
  • Location: uk
  • Local Club: mini 7 racing club

Posted 31 January 2011 - 11:40 AM

great project lots of rust but good progress on the repairs

#65 rich2

rich2

    Speeding Along Now

  • Members
  • PipPipPipPipPip
  • 351 posts

Posted 12 March 2011 - 07:37 PM

Wow long time no update! If I'm honest, I've been procrastinating a bit while I try to decide what colour to paint the mini. I want to paint some body parts before welding them in, so the bodywork went on hold while I tried to make a decision. I'm still not 100%, but I'm leaning towards Antelope (the crewes missiles mini has sold it to me!). I also really like the colour below, but I've got no idea what it is. Can anyone identify it?

Posted Image

So anyway, I finished cutting out that repair I was working on in my last post, shaped it, and primed it up.

Posted Image

And here it is welded in.

Posted Image
Posted Image

This area is starting to come together now. I want to top coat the enclosed section before fitting the inner wing. Speaking of which, I stripped and primed the enclosed areas ready for paint. I also welded up the pre-drilled holes for the door hinges because the are nowhere near the existing holes on the car.

Posted Image

In the meantime, I decided the near side wing I had taken off was salvageable, so I carried out some rust repairs and primed the areas for protection. The round thing in the foreground is a home-made repair to the rusty end of the dash rail. :mrcool:

Posted Image

I also set about restoring the front subframe. I took the suspension bits off, soaked it in degreaser in a kiddies paddling pool, jet washed it with a hosepipe, then attacked it with a wire cup on the grinder. I also did a bit of seam welding around the towers for fun. :P

Posted Image

I had read some good things about POR15 on this site so I gave it a try, and I was really pleased with the result. Highly recommended! Its more of a chemical treatment than a paint job, but the final product is awesome. I will take a pic soon. I'm storing the subframe in the house now as it is in such a clean and pristine condition!

The rear subframe is much more rusty, but I think it can be rescued, so I'm going to give it the same treatment. Here is my home-made 'tool' for removing the mounting bolt.

Posted Image

Some of the bolts on the suspension assembly were going nowhere, so I had no choice but to drill them out. This was a pain because I destroyed the captive nuts in the process, so the only thing to do was to cut out the affected area and weld in some new 3mm plate. I can then hopefully offer up the mounting bracket and drill new holes in the right place and weld new captive nuts onto the inside.

Posted Image

Here is a little before and after a session with the wire cup.

Posted Image
Posted Image

I'm off to newark autojumble tomorrow, so I hope I can pick up some more POR15 to finish the job. :o

#66 Goacher65

Goacher65

    Mini Mad

  • Just Joined
  • PipPipPipPip
  • 161 posts
  • Location: Maidstone, Kent
  • Local Club: Medway Mini Club

Posted 15 March 2011 - 09:23 PM

Glad to see it's all starting to come together! I managed to get my rear subframe off the other week but haven't got the pictures up yet. No sheared bolts! :(.

Will be interested to see what it all looks like with the POR 15 on as i'm still undecided what to do with mine. Have you given it any kurust or anything first? And will it then require a topcoat after the POR 15?.

H

#67 rich2

rich2

    Speeding Along Now

  • Members
  • PipPipPipPipPip
  • 351 posts

Posted 16 March 2011 - 02:28 PM

Will be interested to see what it all looks like with the POR 15 on as i'm still undecided what to do with mine. Have you given it any kurust or anything first? And will it then require a topcoat after the POR 15?.

H


This is the front subframe after 3 coats of POR 15.

Posted Image

You have to treat the metal with POR 15 'Metal Prep & Ready' and 'Marine Clean' first. I didn't bother with the marine clean, but the prep and ready stuff seems to have a similar effect to kurust. It neutralises surface rust and etches the metal, I think. There is no need to top coat afterwards, but you can if you want. At this point it is rock hard and looks quite bling, so i'm leaving it as is ;)

#68 analogue_radio

analogue_radio

    Up Into Fourth

  • TMF+ Member
  • PipPipPipPipPipPipPipPipPip
  • 4,897 posts
  • Location: Melton Mowbray, UK.

Posted 16 March 2011 - 04:02 PM

Posted Image

Did you ever find out what colour that is?

#69 Sleeping Park Lane

Sleeping Park Lane

    Mini Mad

  • Noobies
  • PipPipPipPip
  • 132 posts
  • Location: Reading

Posted 16 March 2011 - 04:47 PM

So anyway, I finished cutting out that repair I was working on in my last post, shaped it, and primed it up.

Posted Image


Wow - nice repair patch!

What did you use to cut the perfectly round holes - hole cutter in a drill perhaps?

#70 rich2

rich2

    Speeding Along Now

  • Members
  • PipPipPipPipPip
  • 351 posts

Posted 16 March 2011 - 10:28 PM

analogue_radio: no. No idea, but I don't think its an original mini colour, because I've been through all of them for that period and can't find it.

Sleeping Park Lane: Thanks! I just drilled a rough ring of holes and finished it off with a file. Took a while but got the eventually!

#71 Scholes2012

Scholes2012

    Mini Mad

  • Members
  • PipPipPipPip
  • 239 posts
  • Local Club: NONE

Posted 17 March 2011 - 12:24 PM

Some very nice work here, I need the same door frame inner repair on the Mrs SPI, after see your great job will have a go at it myself. keep up the good work :cry:

#72 paul1275s

paul1275s

    Stage One Kit Fitted

  • Noobies
  • PipPipPip
  • 55 posts
  • Location: Eastbourne
  • Local Club: EDMC

Posted 17 March 2011 - 05:05 PM

It's great looking at these complete restorations and seeing peoples welding and fabrication skills emerge from nothing!! Top work fella.. It reminds me that there is an Inca Yellow GT shell lurking at the back of my garage waiting for the day...

That colour is bugging me now, it looks very familiar, I'm thinking Elf/Hornet? Or maybe it was mixed from a BMC paint code and has just turned out a slightly different shade?

#73 Artful Dodger

Artful Dodger

    " I AM THE SPECIAL ONE"

  • Members
  • PipPipPipPipPipPipPipPipPip
  • 4,435 posts
  • Local Club: aint no body got time fo dat

Posted 17 March 2011 - 08:05 PM

fabrication :xmas: :Dyou seem to be at one with the steel! and please tell me your keeping it yellow:D

what are your pans for the body, are you gonna just repair it to standard specification or are you going to add bits like arches and remove the bomper on the front?

Edited by MiniclubmanGT, 17 March 2011 - 08:06 PM.


#74 sonikk4

sonikk4

    Twisted Paint Polisher!!!

  • Admin
  • PipPipPipPipPipPipPipPipPipPipPip
  • 15,897 posts
  • Name: Neil
  • Location: Oxfordshire

Posted 17 March 2011 - 08:13 PM

Liking the repairs the only thing i would say rather than drilling holes in the support structure for the inner wing plug welds you would have been better to have drilled the holes in the inner wing panel as it will make it easier to grind the welds down. That way they are all in front of you rather than having to go in the engine bay, A post and inside the car to grind them down.

#75 miniman92

miniman92

    One Carb Or Two?

  • Members
  • PipPipPipPipPipPipPip
  • 761 posts
  • Location: Winsford
  • Local Club: Crewes Missiles

Posted 17 March 2011 - 08:20 PM

I also really like the colour below, but I've got no idea what it is. Can anyone identify it?


That is also antelope beige, its the same colour as Bens antelope mini from our club.


0 user(s) are reading this topic

0 members, 0 guests, 0 anonymous users