Jump to content


Photo
* * * * * 2 votes

My Poor Wee Mini Sky


  • Please log in to reply
1146 replies to this topic

#1 hughJ

hughJ

    Soldiering Along

  • Members
  • PipPipPipPipPipPipPip
  • 727 posts
  • Location: Highlands, Scotland

Posted 13 November 2010 - 05:12 PM

My Mini Sky was a Christmas present from my wife in 2004. It belonged to her sister and had reached the end of it's more easily repaired working life. It was a wonderful surprise. My brother in law drove it north to Edinburgh where we were spending Christmas. I was unaware Anne had bought it from them. The keys were handed to me and I couldn't believe it. I drove it north on January 3rd 2005 and used it for two weeks till its MOT ran out. It has stayed in my garage since then.

Reading through the projects here, especially "Project Erm" , "Elliot - Second Attempt" and "Mini Sky Rebuild" has inspired and shamed me. Neil very kindly gave me some encouragement about welding. These guys are something else.

Posted Image

Posted Image

Posted Image

Posted Image

Posted Image

In 2004 I took the windscreen out and cut bits around the windscreen surround and scuttle where the rust is bad. I also removed the drivers side A-panel. And then left it! Chickened out!

Posted Image

Posted Image

Posted Image

8th & 9th November
Removed seats, seatbelts, carpets and petrol tank.

Posted Image

Posted Image

Posted Image

13th November
I have been drilling out spot welds the last few days as well. Today I finally got the whole front off. I am considering reusing it. I'm not sure. It is mostly sound. I had to get it off to get at the rust at the door pillars (A posts?) and also the scuttle and windscreen surround.

Posted Image

Posted Image

Here's rust

Posted Image

Posted Image

The flitch panels aren't too bad. I'm trying to use the correct technical terms. I will probably get it all wrong so forgive.

Posted Image

Posted Image

Now I've put this post up I really must get on. Otherwise I'll look stupid - or more stupid.

Edited by hferrier, 20 November 2010 - 07:40 PM.


#2 miniman24

miniman24

    Camshaft & Stage Two Head

  • Traders
  • PipPipPipPipPipPipPipPip
  • 1,696 posts
  • Location: Up North

Posted 13 November 2010 - 08:44 PM

Wow great work so far, good job on getting the front end off in one piece, i tried this on my project but got impatient and took the grinder too it :) couldnt have reused mine anyway, accident damage :o

Keep up the good work!

#3 sonikk4

sonikk4

    Twisted Paint Polisher!!!

  • Admin
  • PipPipPipPipPipPipPipPipPipPipPip
  • 15,894 posts
  • Name: Neil
  • Location: Oxfordshire

Posted 13 November 2010 - 09:02 PM

Glad to see it now but there is a fair bit of work to do. As you have gone this far with the front turn it into a barbie or a chair do not reuse it on the car. The front panels are not that expensive for a round nose.

If i was you change the complete scuttle, yes the Heritage panel is not cheap but you will get a better finish. Those flitch panels are well gone so they will need replacing.

Its like anything with mini's where do you stop. The rust at the top of the windscreen surround is nasty so if i was you strip the paint along the top there to see exactly how far it goes.

I'm sure as you take more stuff off you will find other nasties but don't get too disheartened you have seen what Deathrow and myself have gone through and the final results are worth it.

Keep going it will all come together in the end. :) :o

#4 Timty

Timty

    One Carb Or Two?

  • Members
  • PipPipPipPipPipPipPip
  • 848 posts
  • Location: Up North
  • Local Club: S.U.N.M.C.

Posted 13 November 2010 - 10:12 PM

Great to see another mini sky still about :) what are your plans for it? are you keeping it original? or modifying? great work so far! Tim.

#5 J_1275_O

J_1275_O

    previously known as Jamie5414

  • Members
  • PipPipPipPip
  • 160 posts
  • Local Club: Twingo133.net and AMOC

Posted 13 November 2010 - 11:22 PM

Wow, Been in the Garage for 5/6 Years!

Good Luck With the Project Mate. Looking Good!

#6 hughJ

hughJ

    Soldiering Along

  • Members
  • PipPipPipPipPipPipPip
  • 727 posts
  • Location: Highlands, Scotland

Posted 15 November 2010 - 05:33 PM

What kindly replies. I'm afraid its boring. I just hope to get the bodywork sound, stick to same colours, no fancy engine, reuse as much as possible. The engine on it runs as sweet as a nut with no leaks so I am not even touching it. I don't mind mechanics - I've done all my own for the last 33 years. It's this bodywork that frightens me.

I'm an older chap with two sons at university and a daughter to go next year so keep it as cheap but as sound as I can. I'm also Scottish! Have just got a 30L cylinder of Ferromax 7 from Air Products. That hits the old wallet. Thankfully can pay it monthly.

I'm going to replace the whole scuttle and screen surround, Neil - its very bad.

Found this in the mini - nice to have

Posted Image

Edited by hferrier, 15 November 2010 - 05:40 PM.


#7 Teapot

Teapot

    TMF Legend

  • Members
  • PipPipPipPipPipPipPipPipPipPip
  • 5,010 posts
  • Location: Seaton, East Devon

Posted 15 November 2010 - 05:37 PM

I'm afraid its boring.

You'd be amazed how many of us sit scrutinising photos of rust and metal while our partners pass by and shake their heads. I tell my wife it's better than looking at porn but she's not convinced.

Good luck with the project. :)

#8 emalee

emalee

    One Carb Or Two?

  • Members
  • PipPipPipPipPipPipPip
  • 813 posts
  • Local Club: west of england

Posted 16 November 2010 - 04:59 PM

Its good to see another Sky being restored the Mini Sky Rebuild thread is mine, and i'm glad its inspired you :ph34r:

good luck with the rebuild, it will be worth all the hard work in the end ^_^

#9 hughJ

hughJ

    Soldiering Along

  • Members
  • PipPipPipPipPipPipPip
  • 727 posts
  • Location: Highlands, Scotland

Posted 20 November 2010 - 08:49 PM

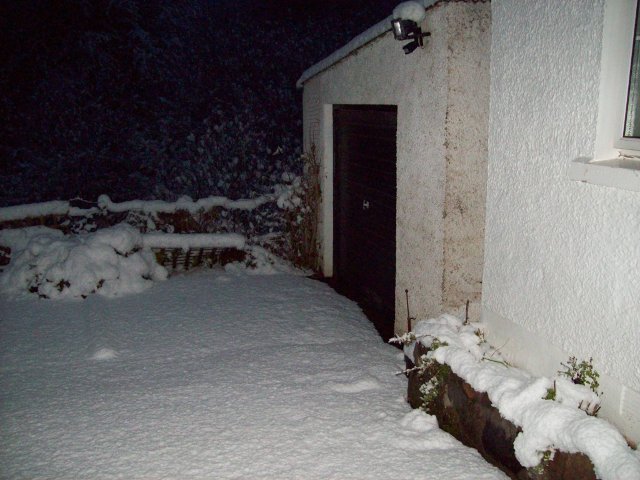
I've done a bit more this week good and bad. Thanks for the replies. Delighted to get one from emalee. She did a very brave restoration of a Mini Sky outside in the frost and rain. Put's me to shame that I struggle to go out to the garage on frosty nights.

Well Monday and Tuesday were frosty - just did a little to keep it going.
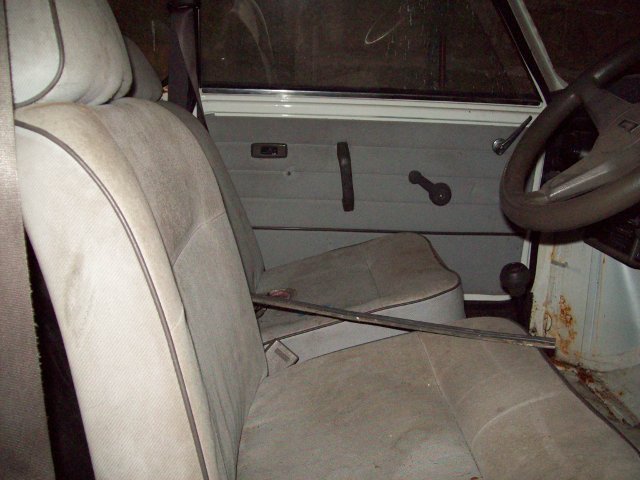
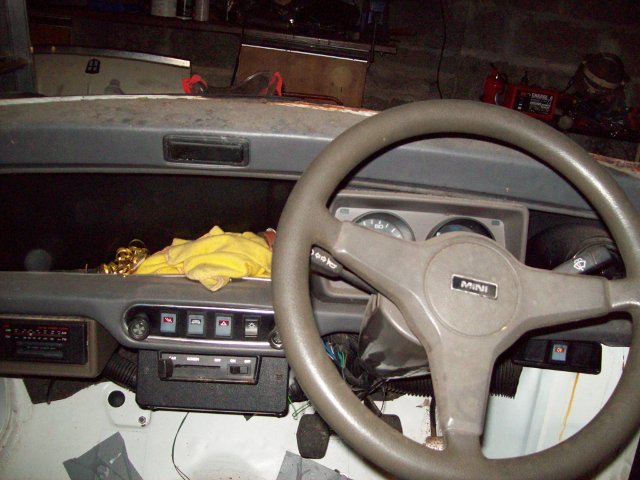
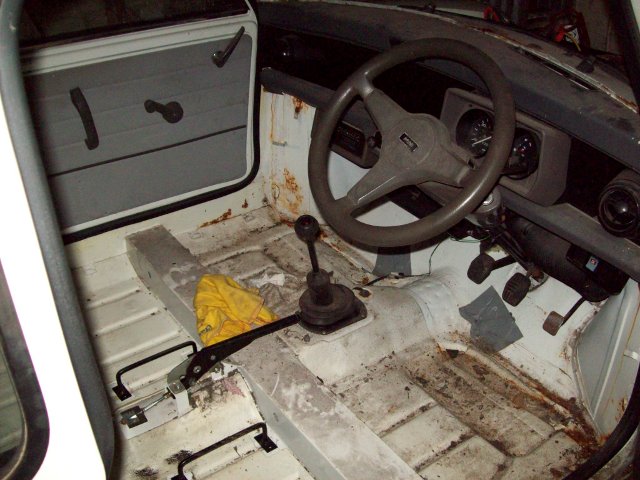
Monday 14th November
Removed radio, steering column, and air vents. Then tried to remove the lower dash rail and broke it! Bit depressed about that. Dear knows how it's fixed.
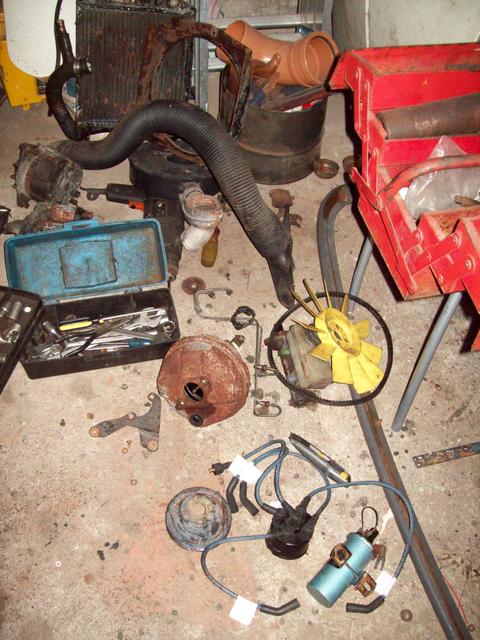
Tuesday 15th November
Labelled parts of the wiring loom and disconnected loom from the front. Removed carb and starter motor.

Thursday 17th November
Removed alternator and clutch slave cylinder.

Tha was just doing a wee bit to keep it going - bytesize restoration.

Saturday 20th November (today)
Drained engine oil and coolant, removed radiator and disconnected heater hoses.

Posted Image


Removed engine steady bars. Dissconnected exhaust and gear linkages. What a pain to drive the split pin out - I had to raise the Mini even higher to get access. Then disconnected track rod ends and upper swivel pins. I got stuck on removing the driveshafts not wanting to hit anything too hard with the hammer - I'm too good at breaking things. So I came in and searched the Mini Forum and got the answer. Just drove a chisel between the diff and end of the drive shaft - pot joint, it seems to be called. Easy when you know how.
I then drained the brake fluid and dissconnected the master cylinder, two pipes and removed the servo. That was a job. Getting the fourth bottom nut off!! I am used to working on cars but the Mini is something else for awkward bolts. Then had to get the pin out holding it to the top of the pedal.
And one of the worst jobs was getting the engine mount rear bolts off the subframe. You have to be an octopus to get them out.

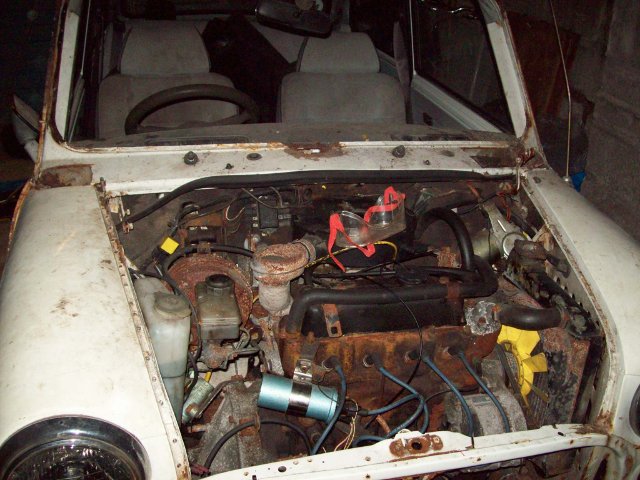
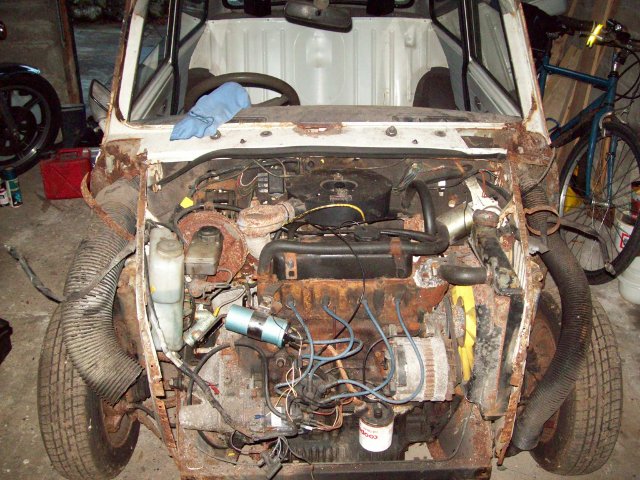
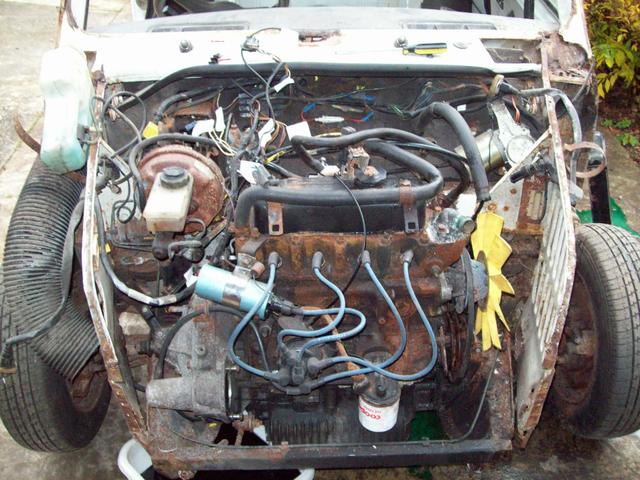
Engine ready to come out

Posted Image


The effect on a garage of getting a Mini engine out

Posted Image


Coming out

Posted Image

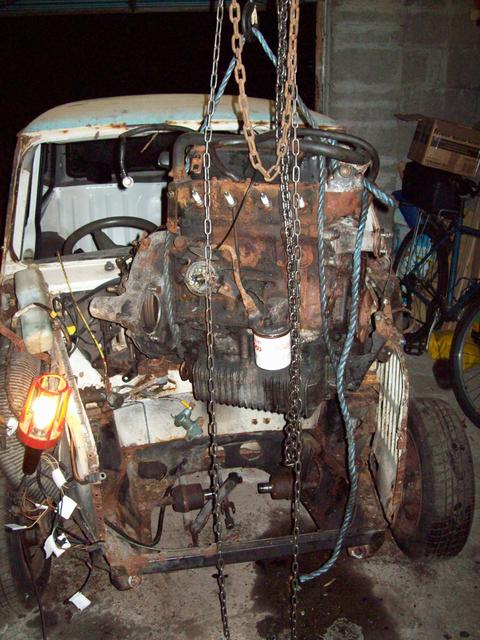
This is what I use to take engines out - put it in the garage 25 years ago when building it. I think its strong enough to take a tank engine out. I took the engine out my old Espace three times!! These were children and father-in-law days.
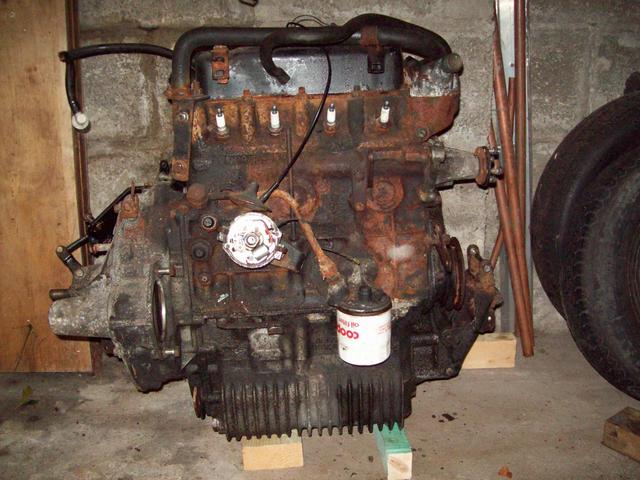
Posted Image


And its out

Posted Image


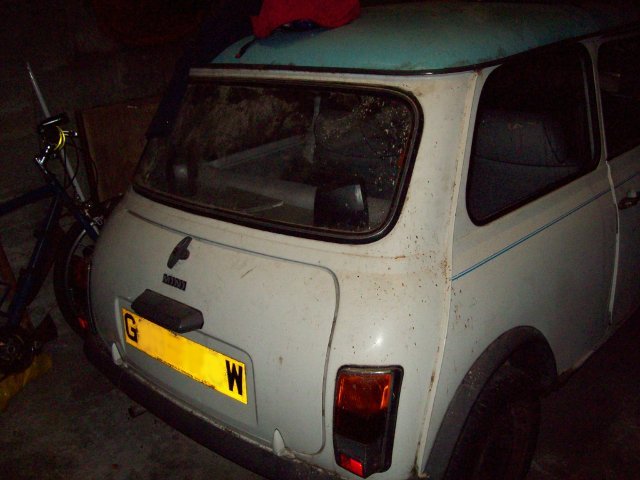
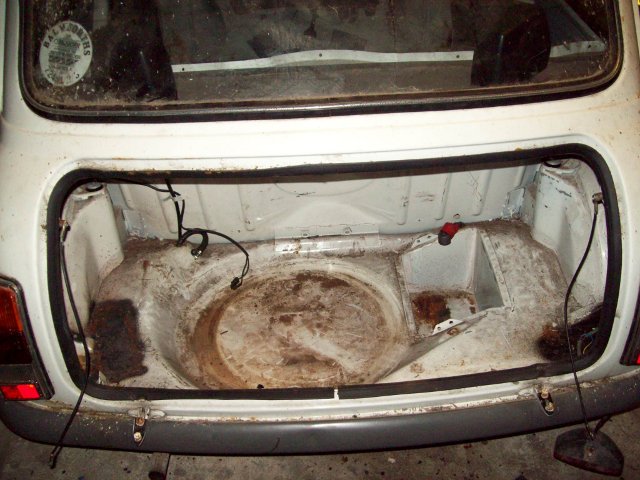
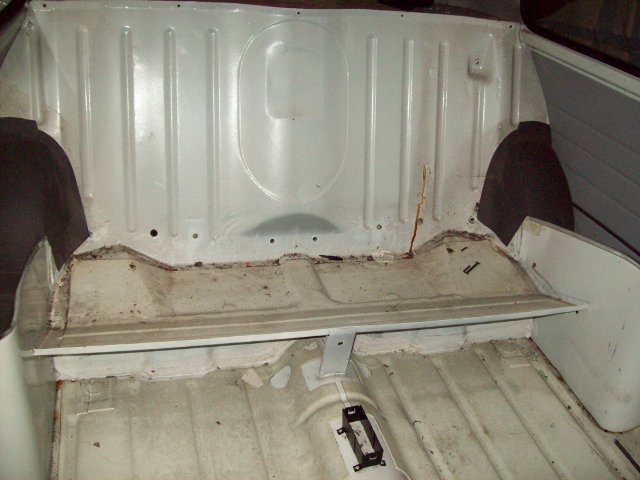
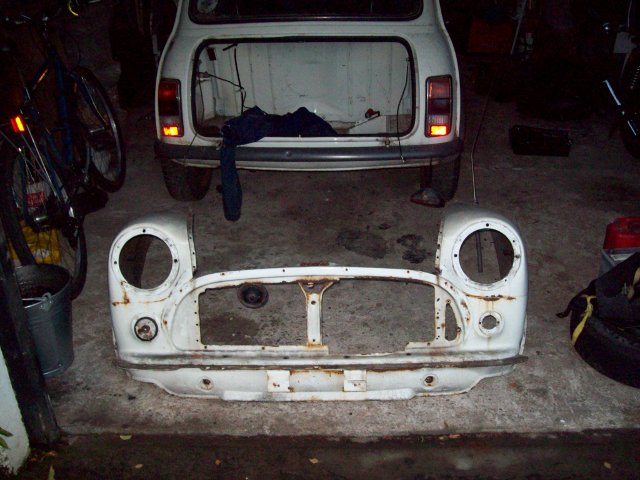
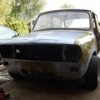
Leaving this - back on its wheels so I can move it

Posted Image

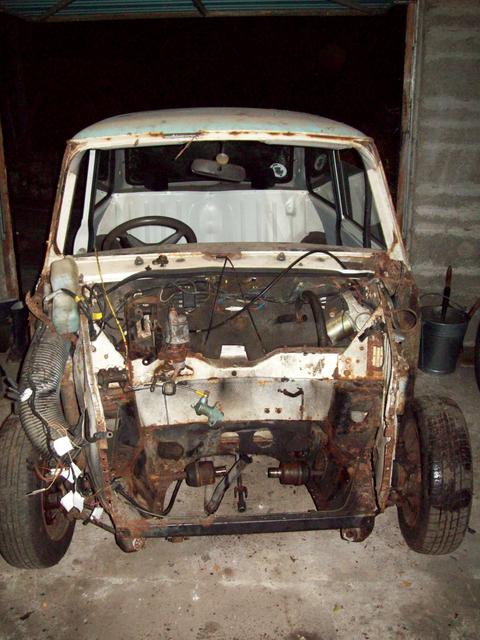
So I feel happy with that. I read other rebuilds on this forum and it seems all so quick and clean. And reading it you are warm and comfortable. But when you are doing it, its cold and dirty and you get stuck. Your hands are filthy and covered in cuts. Why do it??

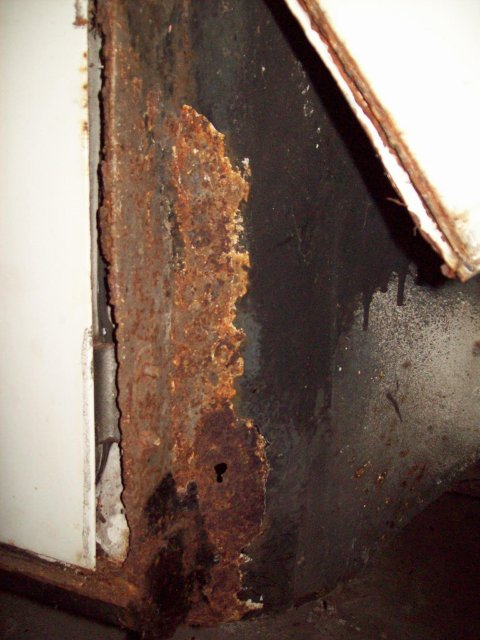
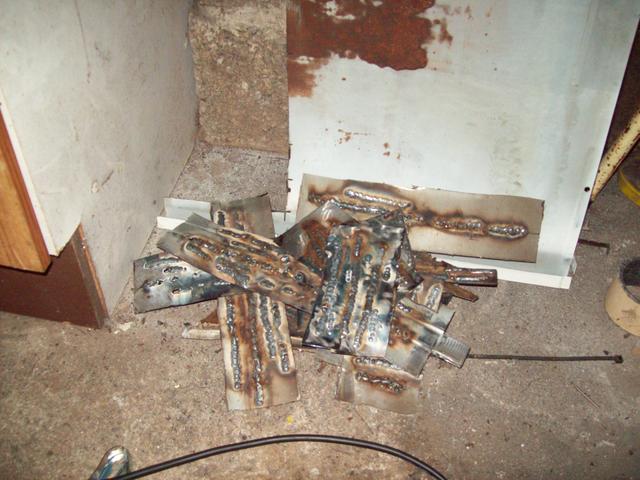
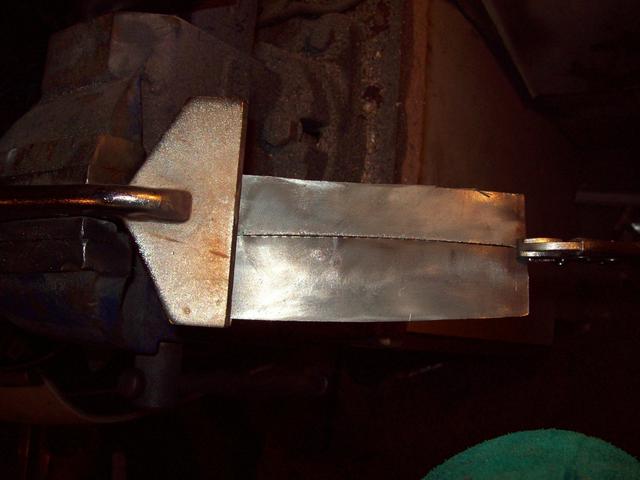
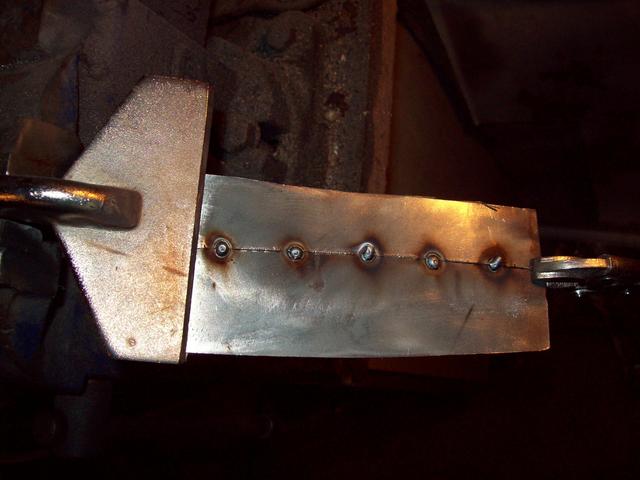
My other thing was trying welding and I am major depressed. I was running beads along the cut out A-panel.
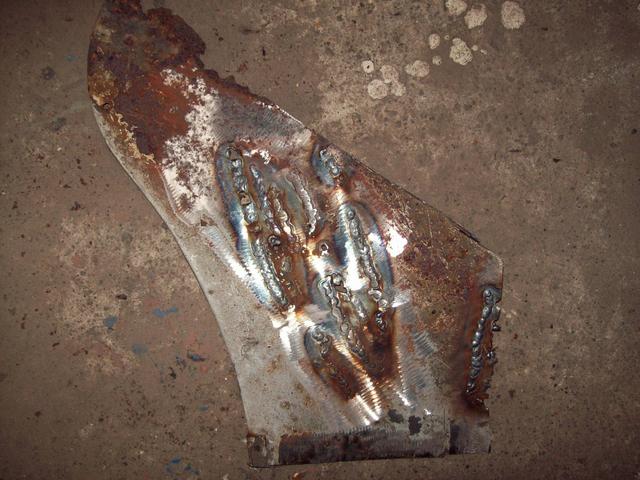
Posted Image


and the back

Posted Image

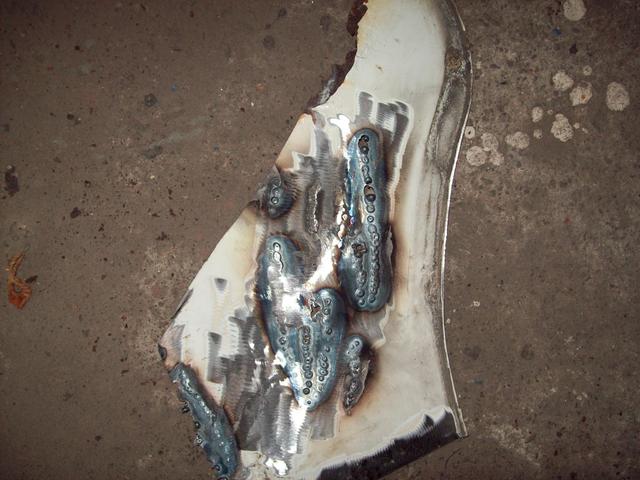
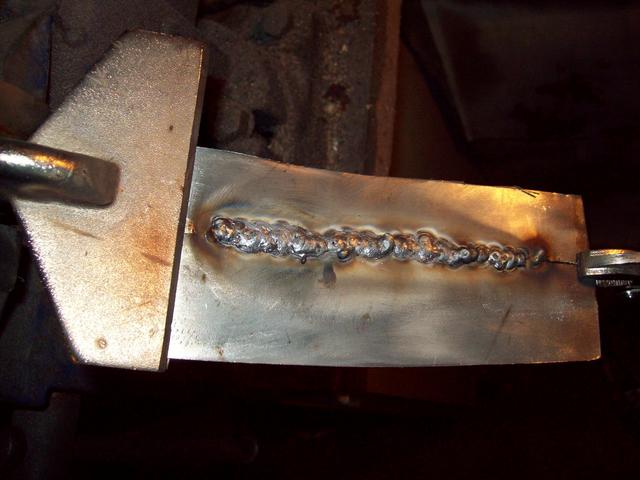
Then I tried to join bits after cutting - what a disaster it did not penetrate. I can't show a photo as I then welded along the back!! The secret must be midway between blowing through and having the weld sit on the surface. Only you have a 0.1 of a micro-second to decide!

Posted Image


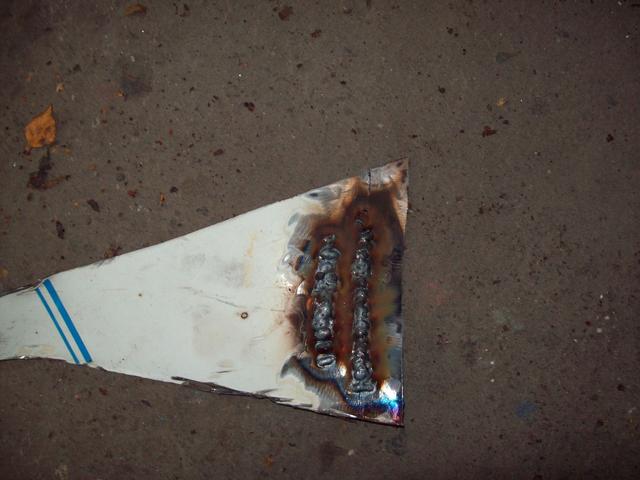
I think I need a higher volume flowmeter. This one is 8 litres/minute. This was at lowest power as well. Without pulsing you just blow through it. I am more scared than ever to try on the Mini itself. I will practice a lot more. When you see what others do you are just amazed.

I'll keep trying.

#10 cooper s wannabe

cooper s wannabe

    Stage One Kit Fitted

  • Traders
  • PipPipPip
  • 63 posts

Posted 20 November 2010 - 08:57 PM

years ago i was extremely scared of welding but i locked myself in the garage and just kept trying and trying until i was happy. its a case of just practicing. i am now self employed doing alot of welding and body work on anything from minis to yank tanks. and the majority i do i was self taught. so it can be done just take your time and try every setting and option you can think of.

keep up the good work fella

#11 jinjrich

jinjrich

    Super Mini Mad

  • Members
  • PipPipPipPipPipPip
  • 543 posts
  • Location: York
  • Local Club: YMMOC

Posted 20 November 2010 - 09:00 PM

You need to practice on some nice clean metal

#12 Timty

Timty

    One Carb Or Two?

  • Members
  • PipPipPipPipPipPipPip
  • 848 posts
  • Location: Up North
  • Local Club: S.U.N.M.C.

Posted 20 November 2010 - 09:06 PM

Great progress :thumbsup: keep us updated i'v got this to do on mine perhaps next year though :( (when i've got a garage).

#13 sonikk4

sonikk4

    Twisted Paint Polisher!!!

  • Admin
  • PipPipPipPipPipPipPipPipPipPipPip
  • 15,894 posts
  • Name: Neil
  • Location: Oxfordshire

Posted 20 November 2010 - 09:58 PM

The gas is not the problem you only need a gentle hiss coming from the torch. Mini panels are very thin 0.9mm thick and does not take to seam welding to well.

You need to practise on clean metal with a good earth and then keep practising. If you want to butt weld then tack weld an 1" apart then fill in between with seam weld or you can pulse weld. I use this process a lot on the mini as there are less chances of blowing through. The thicker areas like the rear heel board and front cross member can be easily seam welded.

You can seam weld thin steel but the power needs to be low but enough to penetrate. Take your time but practise is everything but the primary things to remember is clean metal and a good earth, without either of these you will always have poor welds.

#14 hughJ

hughJ

    Soldiering Along

  • Members
  • PipPipPipPipPipPipPip
  • 727 posts
  • Location: Highlands, Scotland

Posted 27 November 2010 - 06:57 PM

Well I've been very lazy this week - Put the ancillaries back on the engine so they don't get lost. Bagged and boxed some of the bits taken off. Then a bit more practice welding. I'm waiting on some 0.8mm sheet steel arriving to try properly. I was struck down by 'man flu' and then it has got pretty cold. Here's my garage on Friday!

Posted Image

So I've wimped out this week.

A big thanks for the encouragement and advice - cooper_s_wannabe, jinjrich and Timty.

I always have to thank Neil (sonikk4) who gives good advice. Neil, I know you do so much for the forum and your time must be precious, but if you could ever demonstrate your technique in welding with little youtube clips linked to your post that would be a tremendous reource for us less than expert welders. Or other expert welders like shifty or cooper_s_wannabe could do it. The Mig Welding Forum has great stuff and there is great clips on youtube but a Mini specific tutorial would be great. I'm not even sure how you use aviation tin snips! I do one cut and then where do you go? But I do want to learn.

#15 hughJ

hughJ

    Soldiering Along

  • Members
  • PipPipPipPipPipPipPip
  • 727 posts
  • Location: Highlands, Scotland

Posted 11 December 2010 - 04:04 PM

Not much to report - nothing Mini, anyway. The weather has been awful, down to -12 here. However I have been going out to the garage most nights following cooper s wannabe 's advice and practicing welding.
Posted Image

I hate welding!! I have seen people describe it as the same as drawing a felt pen line! No it's not, or I'm brilliant at felt pen lines. My respect for Shifty, or Neil (sonikk4), or Deathrow, or emalee just grows and grows. I'm hoping this dog's not too old to learn new tricks.

But welding is awful, particularly if there is the tiniest gap. And I've seen people's welding on this forum with fair sized gaps between the panels they are welding.

Here's my butt welding - I can have holes blasted all the way along sometimes! This is as good as it gets. But my glasses steam up, the mask steams up, I can't see the line I am welding along, I stop seeing the green weld pool. It's weld by feel half the time.

Cleaned and clamped
Posted Image

Tacked
Posted Image

Welded (in the loosest sense of the word)
Posted Image

And the back - so there is some penetration
Posted Image

I'm far too nervous to try on the Mini itself - but I do hate welding.


1 user(s) are reading this topic

0 members, 1 guests, 0 anonymous users