
No going back now lol going to look ace once done tho judging by the rest of your work :)

It Begins...... Minus.
Started by
jonny f
, Dec 15 2010 09:35 PM
910 replies to this topic
#887

Baldspeed Racing
-

- Members
-

- 1,185 posts
One Carb Or Two?
- Location: Southam
Posted 08 January 2019 - 07:32 AM
gone in hard dude, bet the first cut was a bit twitchy bum
A little, worst bits were the scuttle cuts and then prying the sections off the A pillars.
I bet chap, well hope the next stages go well for you, will be following as love this car
#888
jonny f
-
- Members
-
- 1,485 posts
One Carb Or Two?
- Location: Surrey
- Local Club: Boxhill Mini Club
Posted 10 January 2019 - 03:21 PM
Cracked on yesterday, got everything stripped down, engine out etc.
Then I removed the last bits of the inner wings.
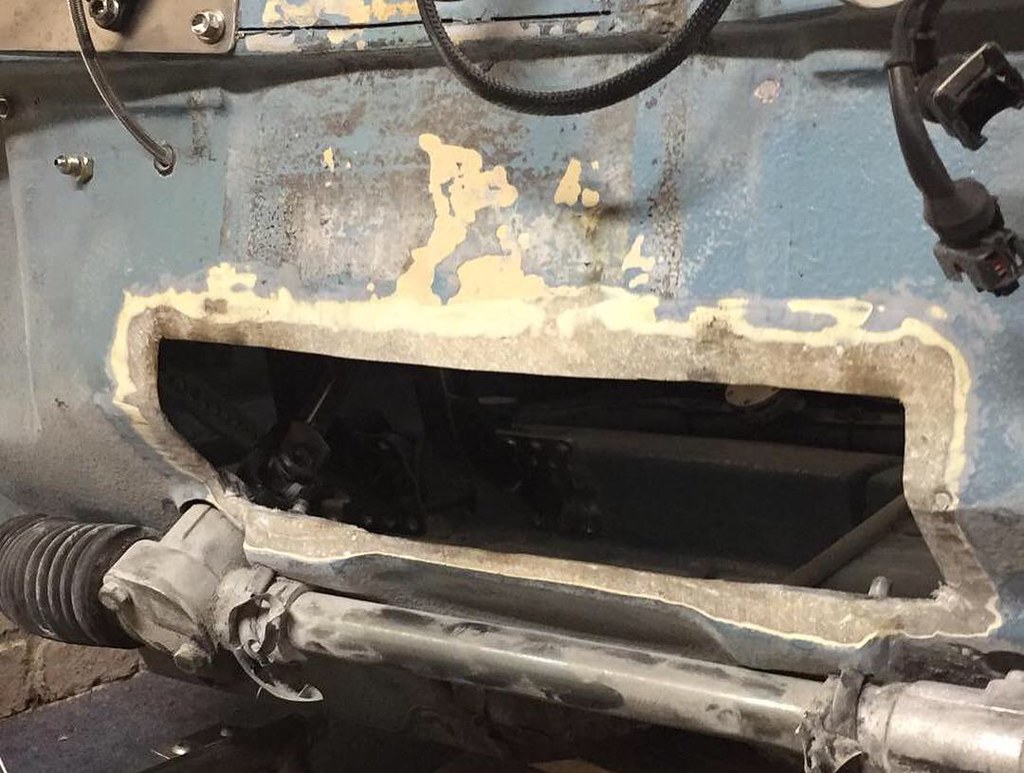
Tried a few times to get the frame to go in nicely, gave up and chopped a few sections out the bulkhead and now it’s sitting back where it needs to. I’m guessing it didn’t fit to great because it’s in a minus and it was also originally built for a single bolt bulkhead. I’m going to repaint the bulkhead anyway so it’s not much of a problem to rebuild a few bits.

Then I removed the last bits of the inner wings.
Tried a few times to get the frame to go in nicely, gave up and chopped a few sections out the bulkhead and now it’s sitting back where it needs to. I’m guessing it didn’t fit to great because it’s in a minus and it was also originally built for a single bolt bulkhead. I’m going to repaint the bulkhead anyway so it’s not much of a problem to rebuild a few bits.
#889
jonny f
-
- Members
-
- 1,485 posts
One Carb Or Two?
- Location: Surrey
- Local Club: Boxhill Mini Club
Posted 13 January 2019 - 03:19 PM
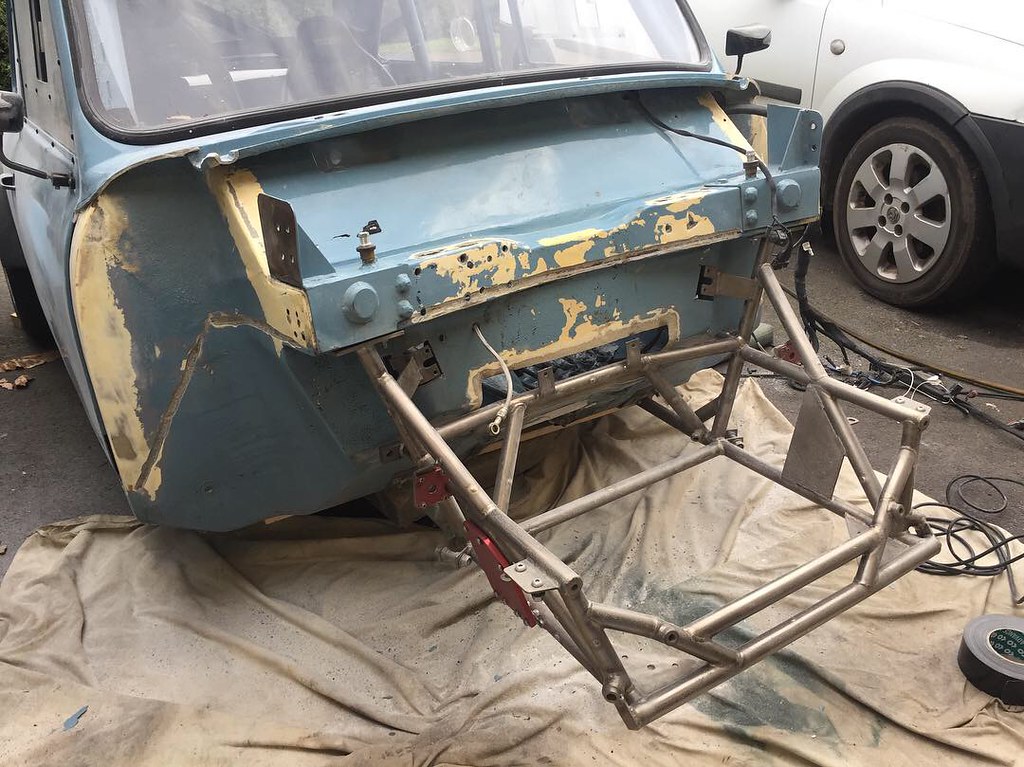
Bit more details on the subframe.
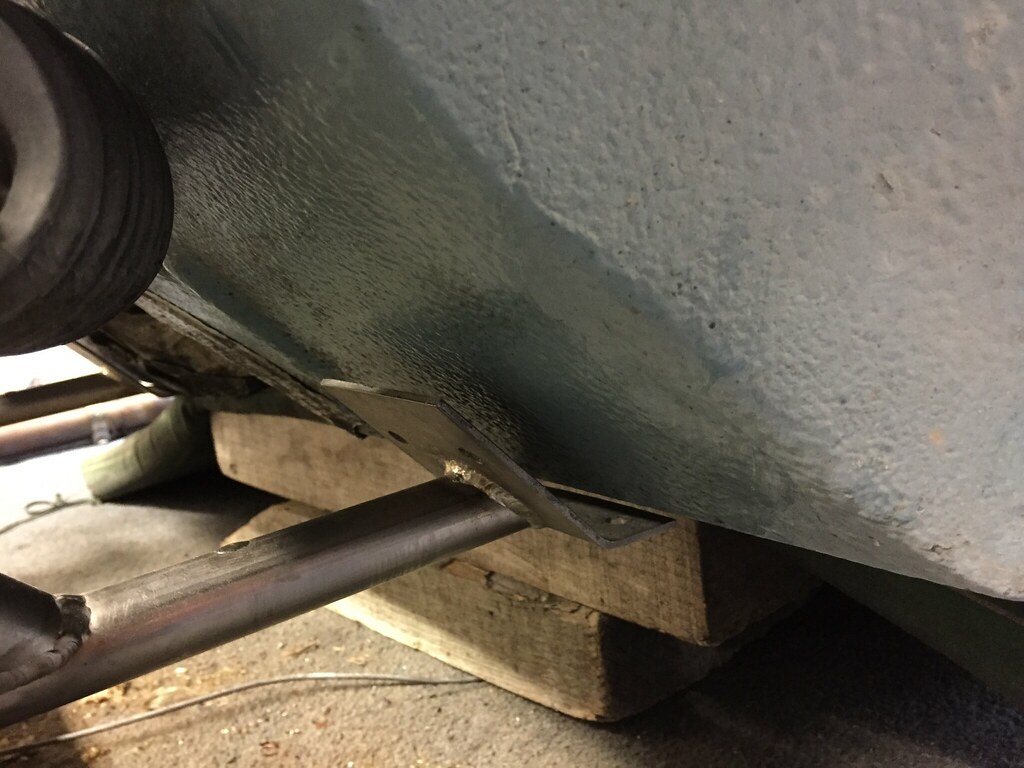
You can see here it was touching the bulkhead along the back to early. Rather than perhaps space it out on the lower mounts i felt it was best to get cutting. Will give more room for the downpipe and hopefully get it to the right place.
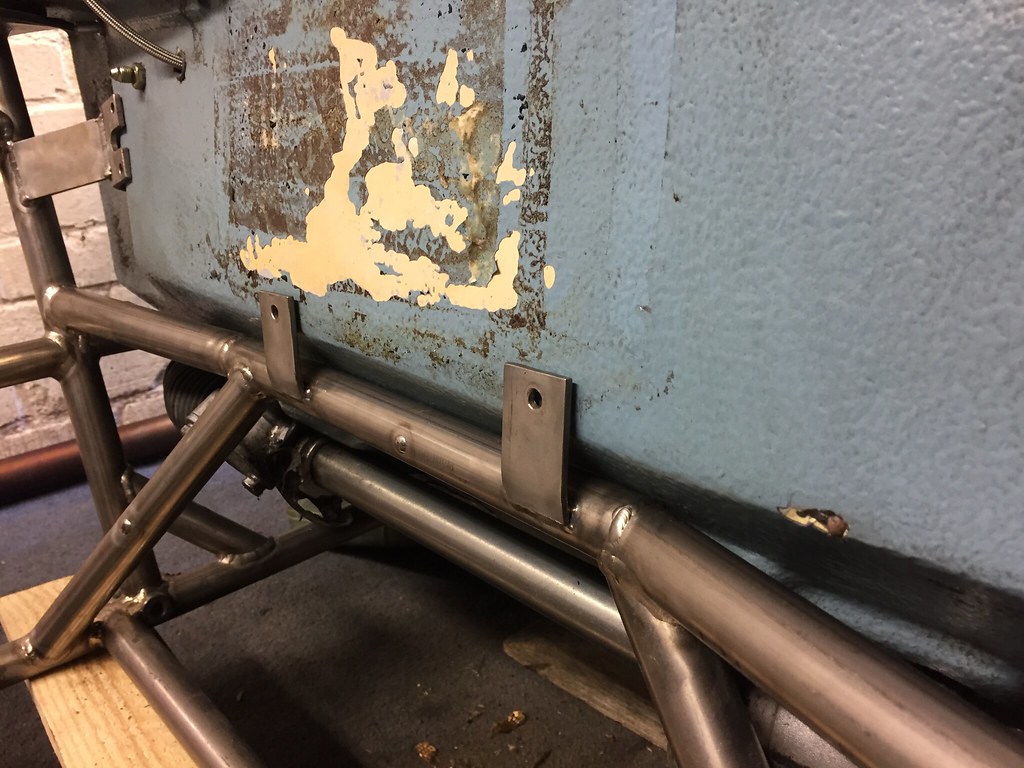
Hence getting busy with the grinder and powerfile...
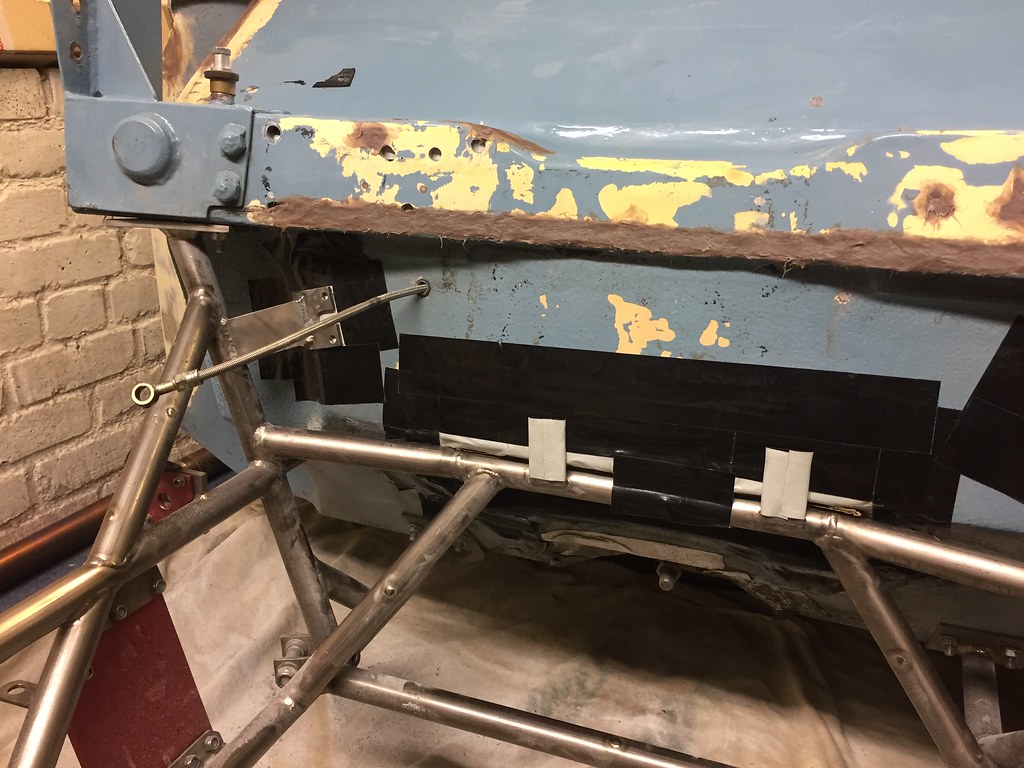
Discovered then that the bracing mounts also touched a little to early so they got cut out to!
Hey presto, fitting back properly.
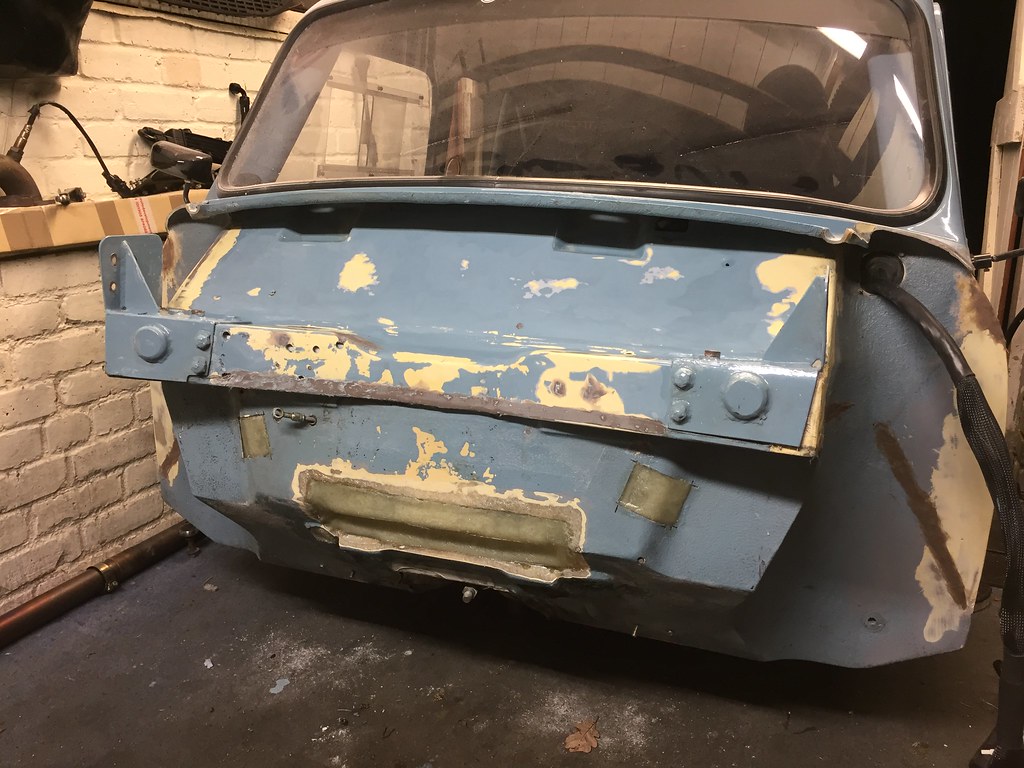
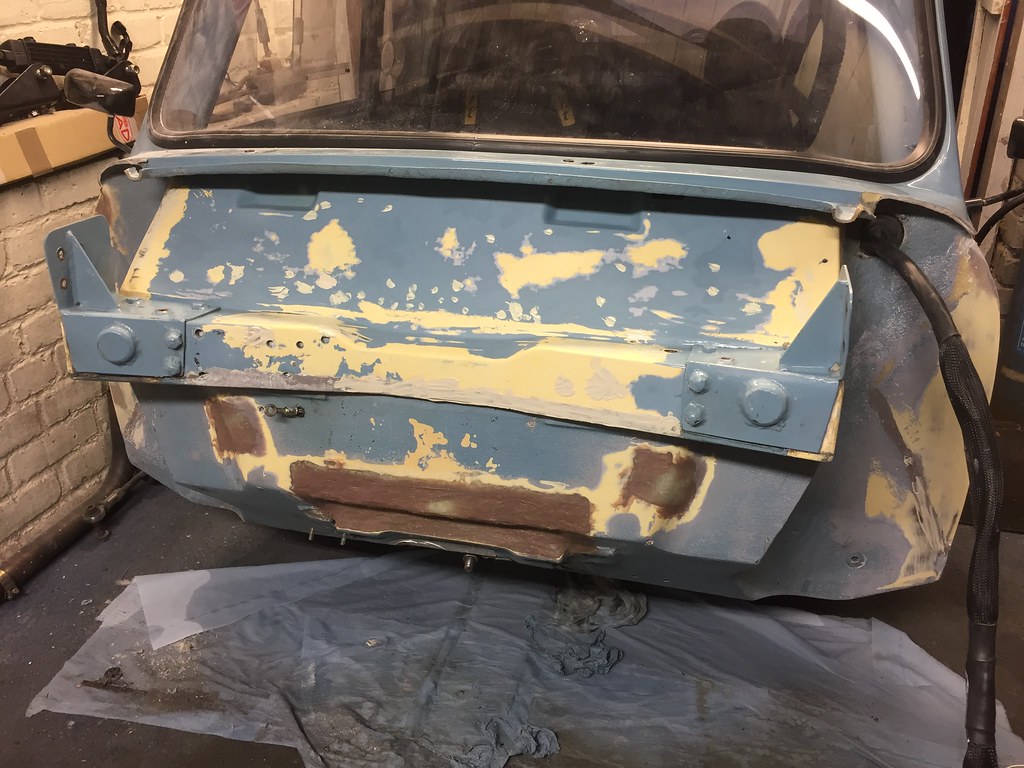
I've also managed to get some of the bulkhead prepped so i can paint it again.
Chased out any cracks or areas to repair. The body had a few panel seam lines that were quite deep so i've removed all of these to fill with GRP.
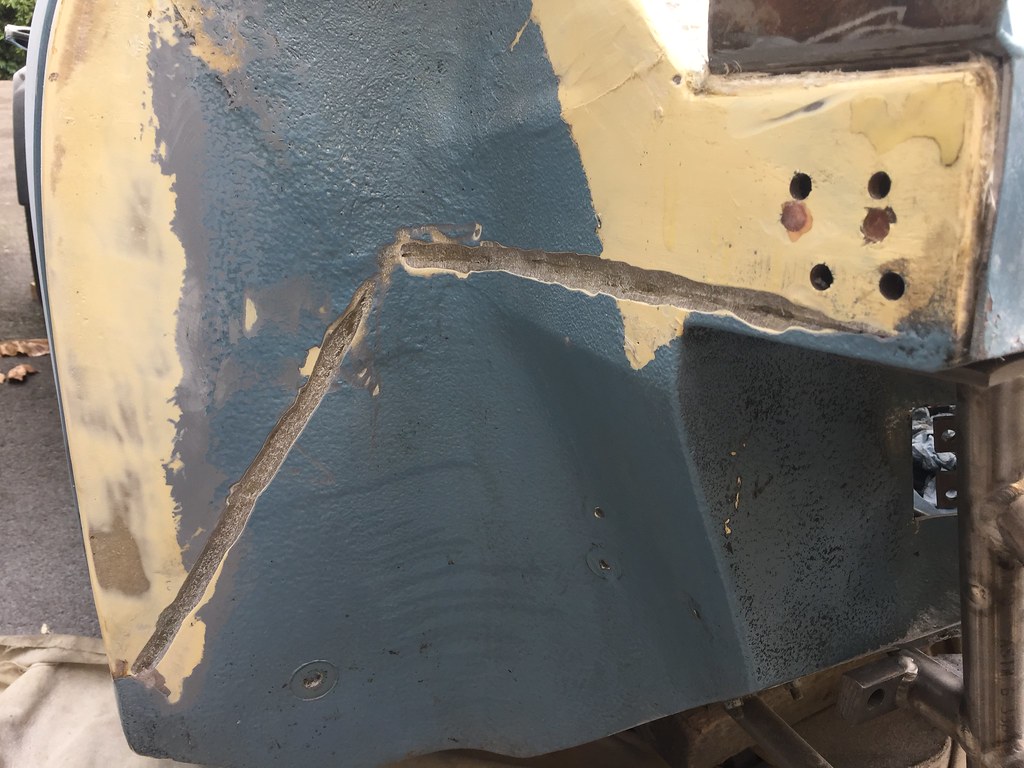
All these holes are going.

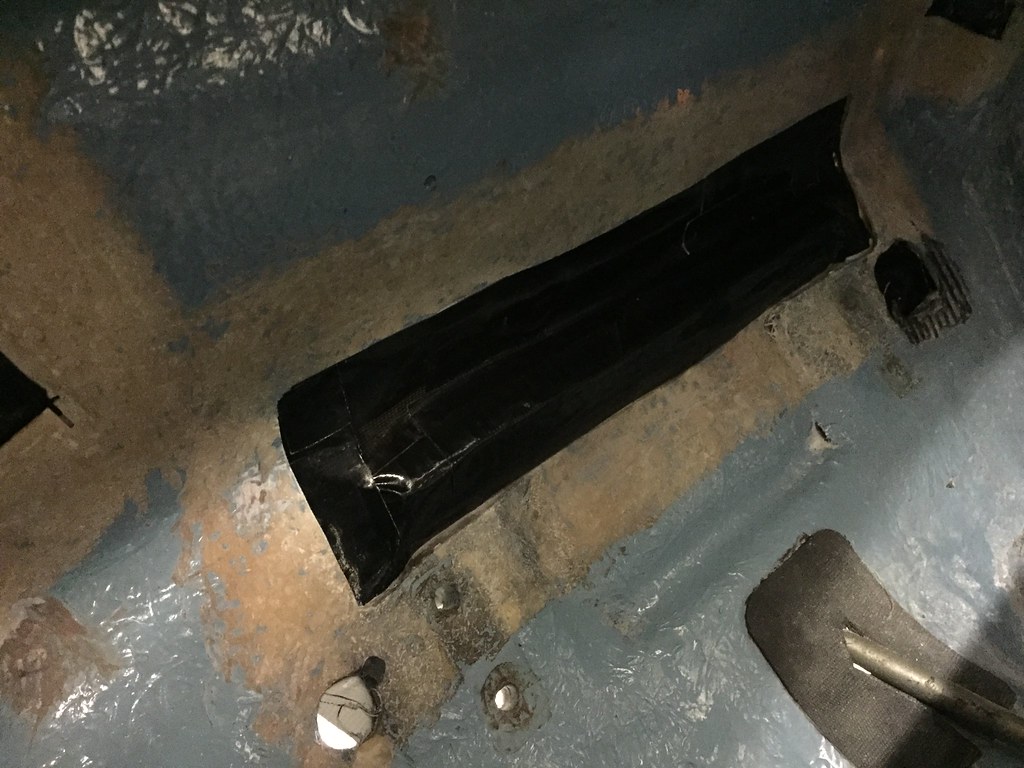
Managed to get the holes I cut in the bulkhead closed up. A quick run through of the process I use, not sure whats the best way but it seems to do well enough for me.
I make sure all edges keyed properly with 80 grit and there is no thick sections at the edges where the hole has been cut.
I use any old tape, parcel tape, gaffa tape, clear tape to create a base to lay the grp onto. This time it was gaffa tape and some card to give it some shape/support.
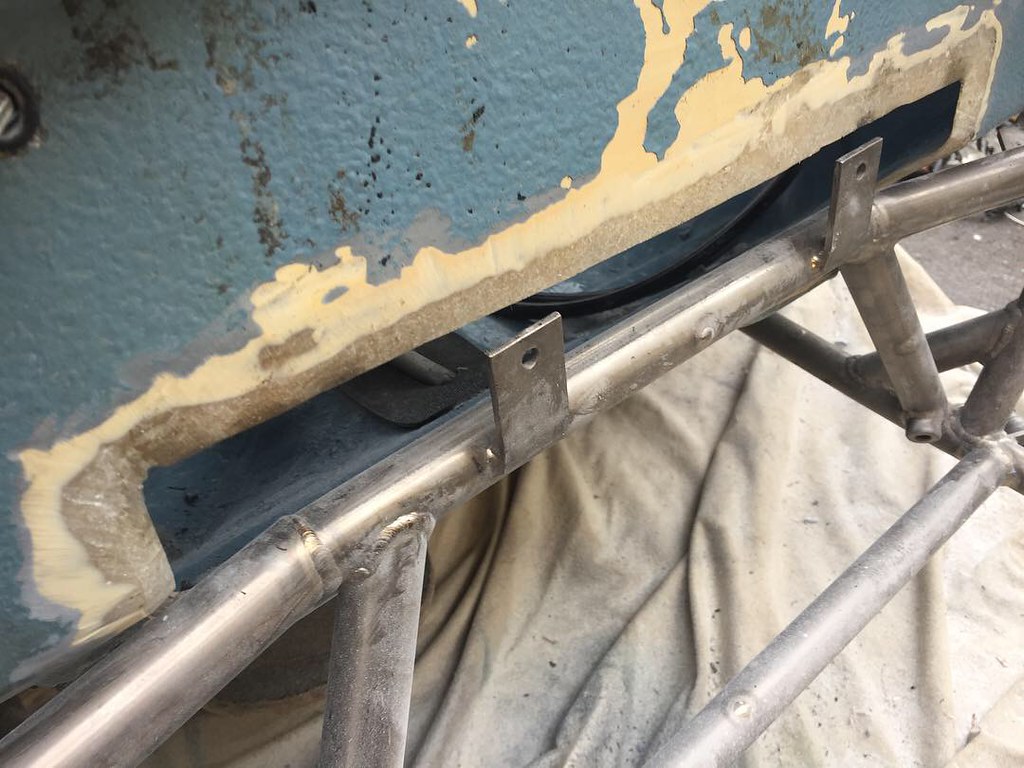
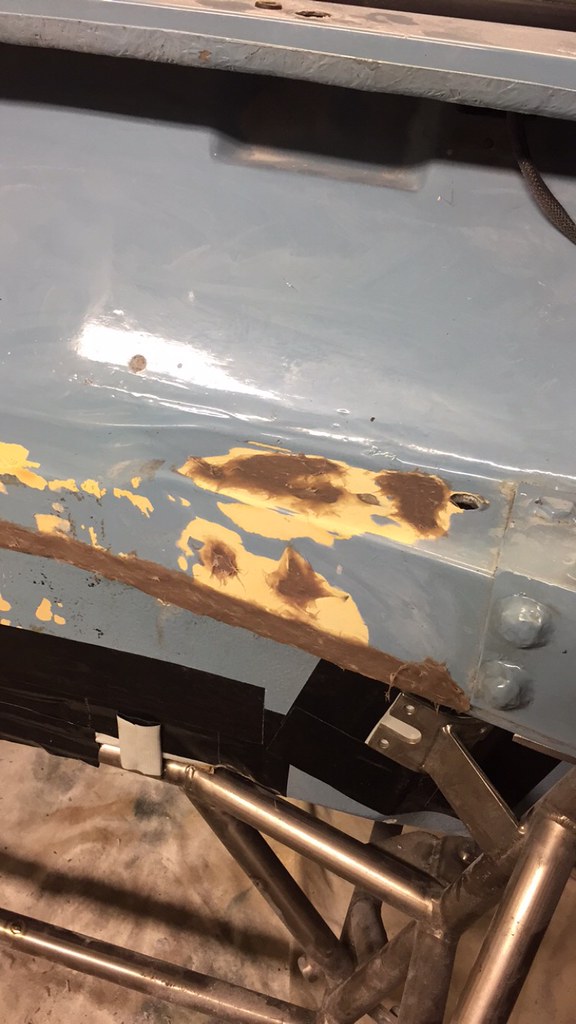
From the outside.
I've stuck the tape right up against the mounting tabs for the subframe.
On the inside I then put some tape down. The GRP won't stick to the tape so it makes removal painless. You can see the keyed edges here.
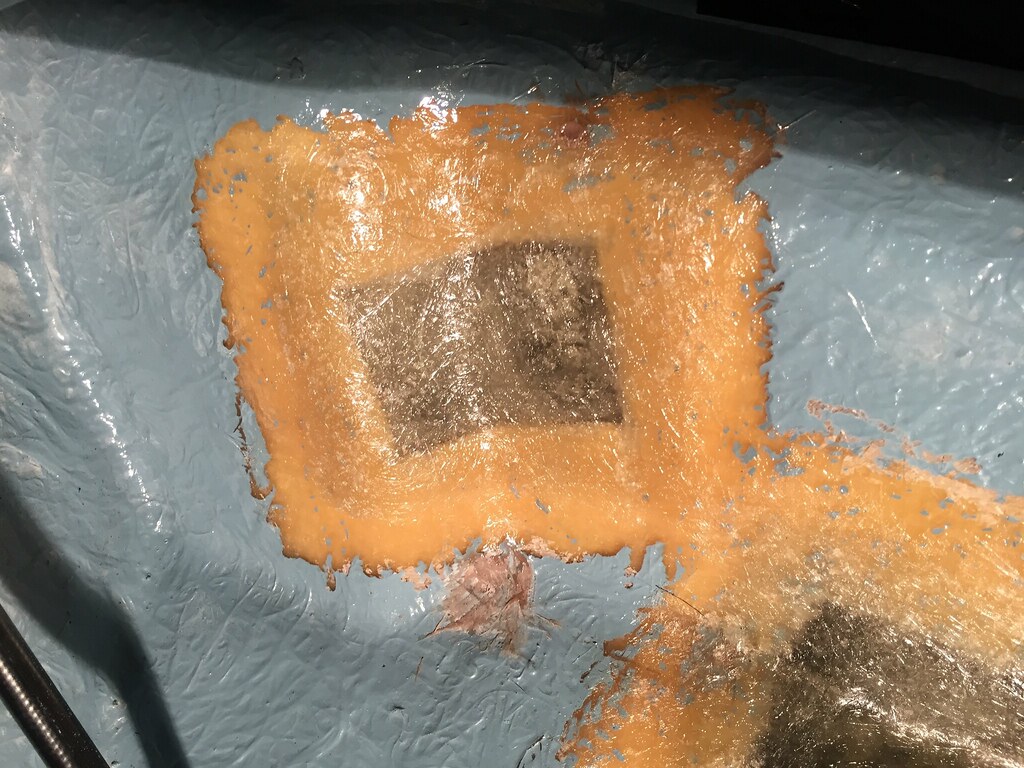
I always cut and measure the GRP matting before mixing up any resin so i get the maximum working time. With everything prepared and the resin mixed, using a brush i put some resin on the repair section and then start to layer up the matting. Putting resin on each layer and allowing a little time for it to absorb.

When the resin is absorbed it becomes quite workable and you can feather it out and into corners easily. I try to use as little resin as possible. Its stronger and obviously less weight.
This section has 5 layers, quite thick as its a repair and the subframe will be bolted to it.
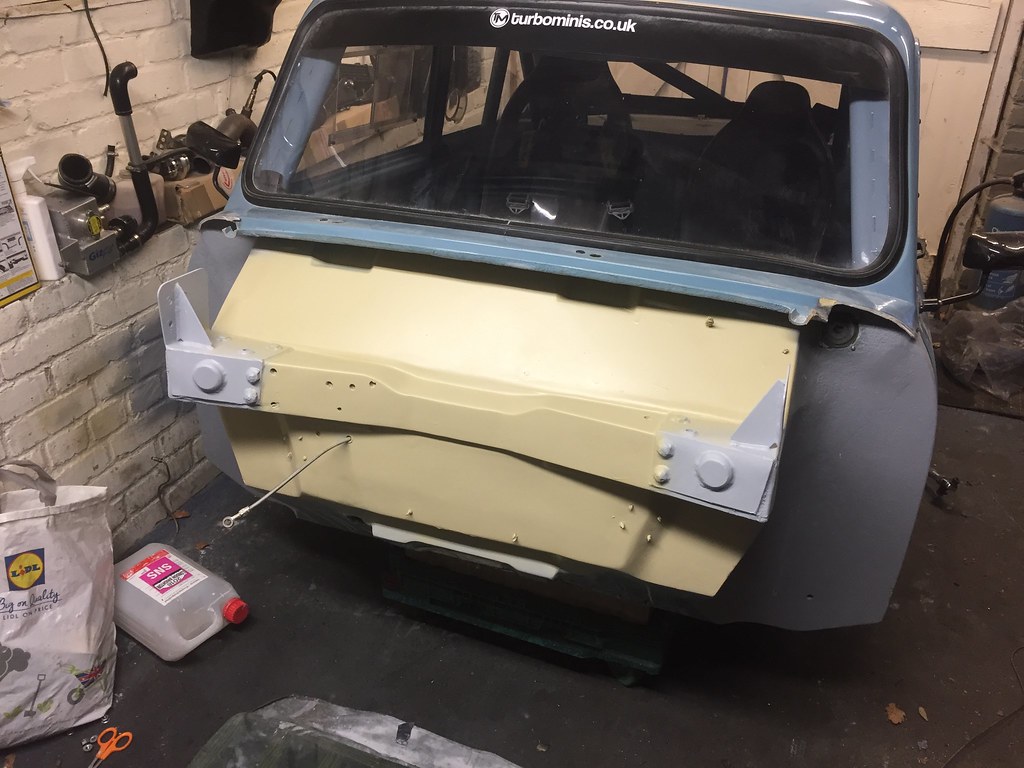
All sections repaired from the inside.
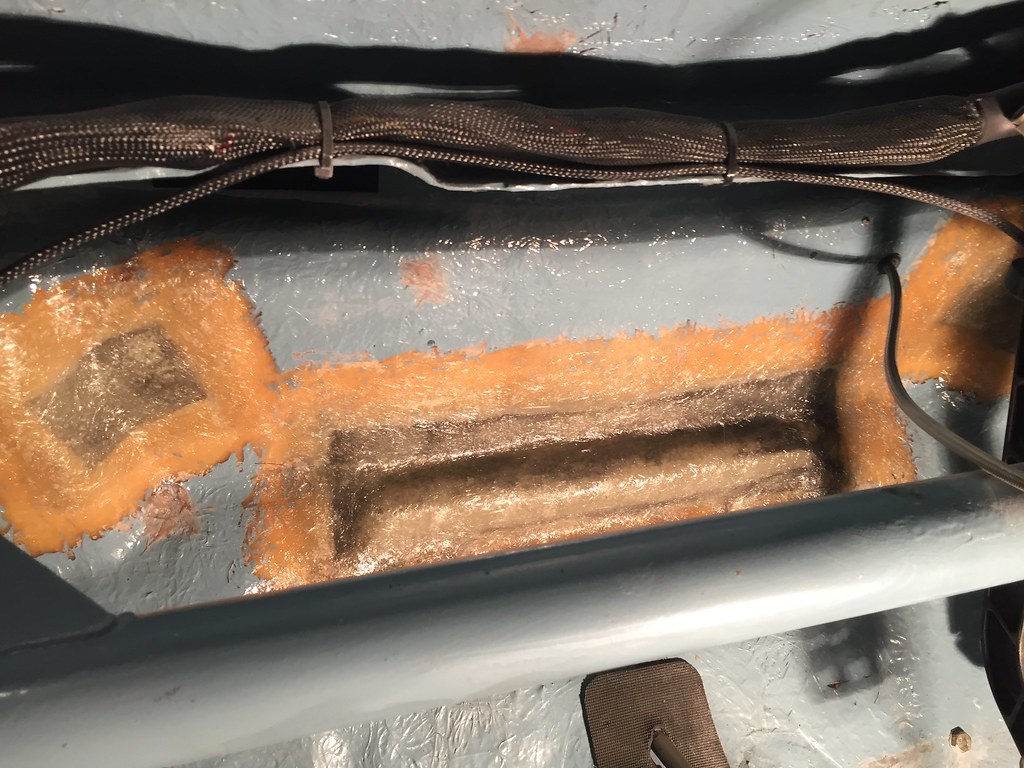
From the outside, with some GRP filler around the edges it should look like nothing has be altered when painted.
#890
jonny f
-
- Members
-
- 1,485 posts
One Carb Or Two?
- Location: Surrey
- Local Club: Boxhill Mini Club
Posted 13 January 2019 - 03:20 PM
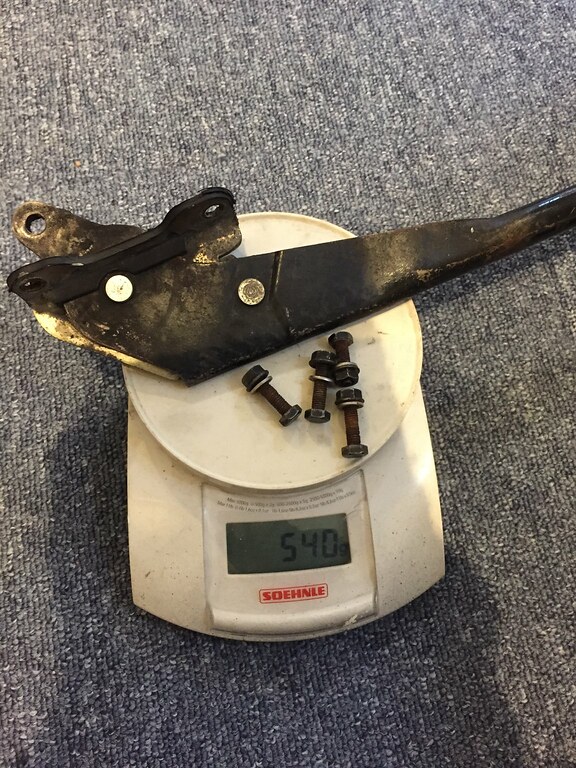
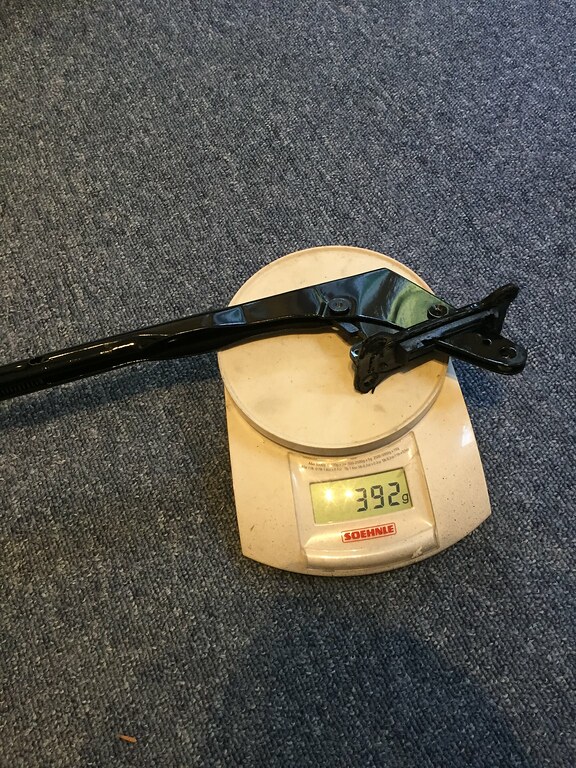
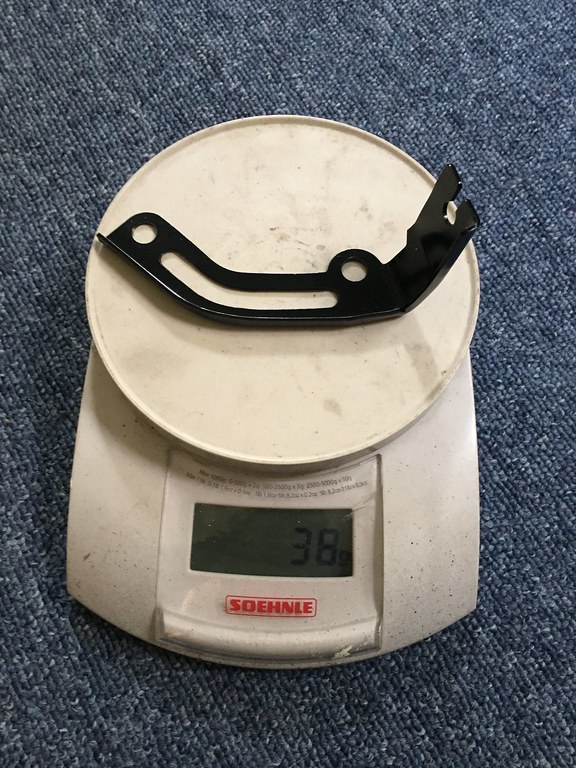
Took a bit of the handbrake
ARB blade bolts
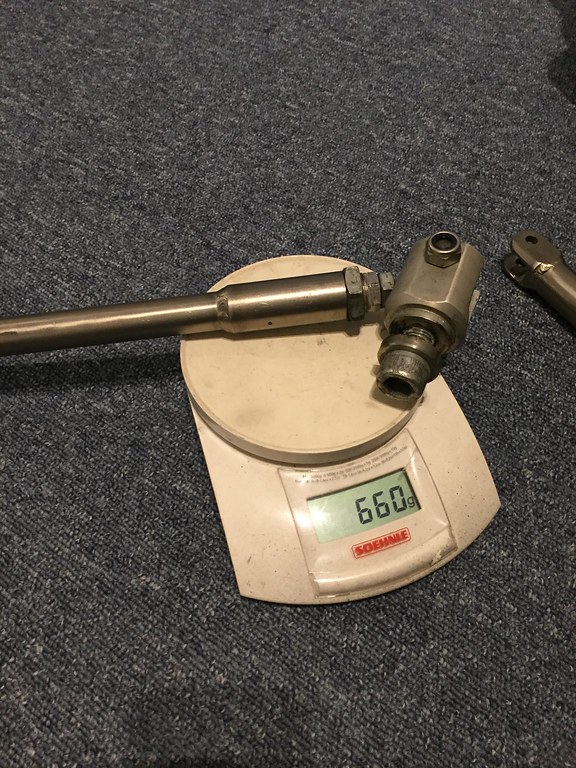
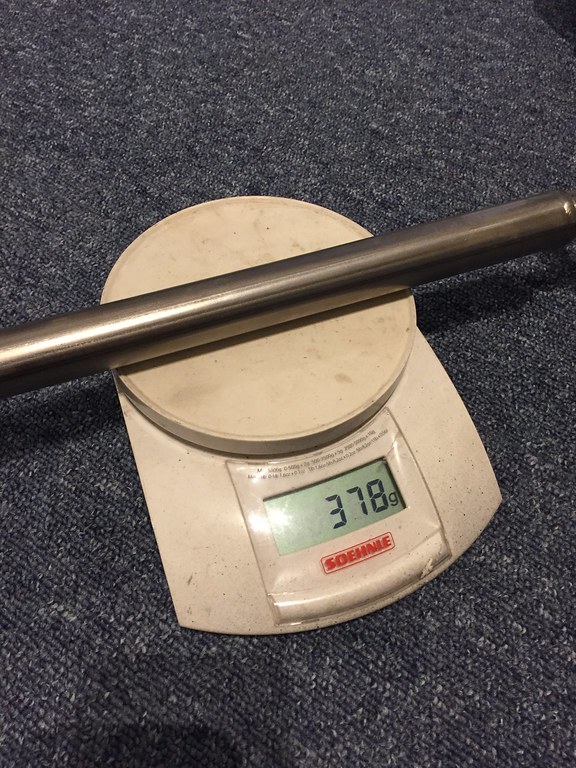
An interesting one, the frame saves 564g just by running different Ti tie bars.
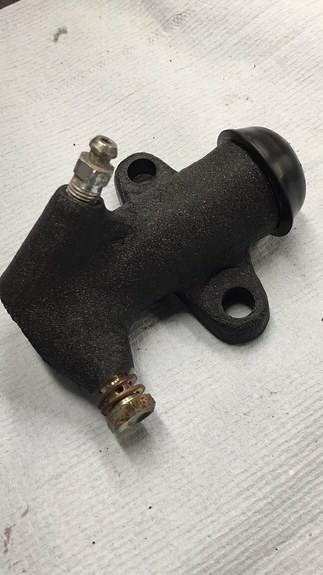
A few I didn't weigh
Cylinder was all trimmed down etc
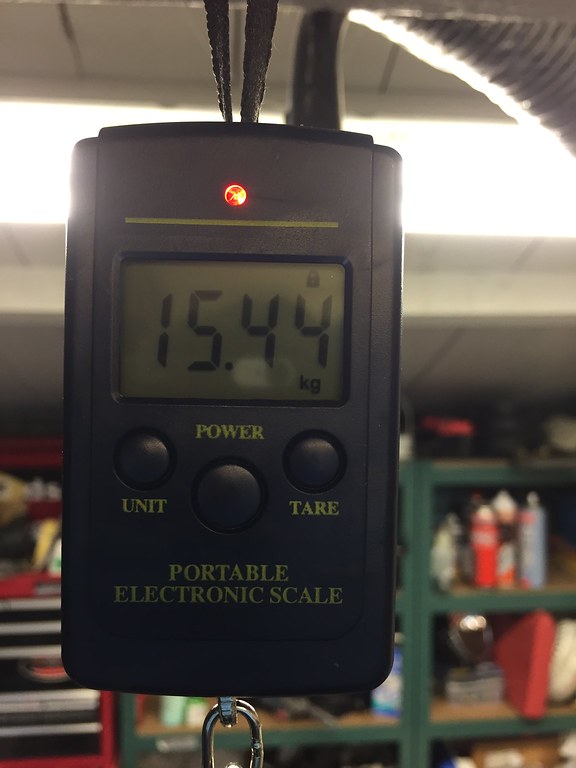
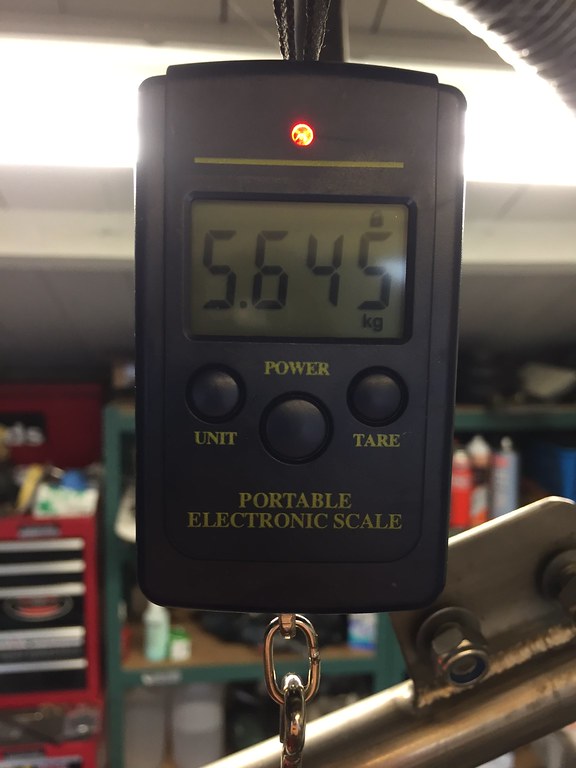
Here's the weight of the standard front end with most of the inner wings. Probably another 400g with the rest i cut off. Quite heavy at about 7.65kg.
#891
Baldspeed Racing
-
- Members
-
- 1,185 posts
One Carb Or Two?
- Location: Southam
Posted 14 January 2019 - 07:33 AM
Good work on the holes being cut and repaired mate, the weight saving is well impressive as well. glad the subby is fitting better
#892
jonny f
-
- Members
-
- 1,485 posts
One Carb Or Two?
- Location: Surrey
- Local Club: Boxhill Mini Club
Posted 15 January 2019 - 10:03 PM
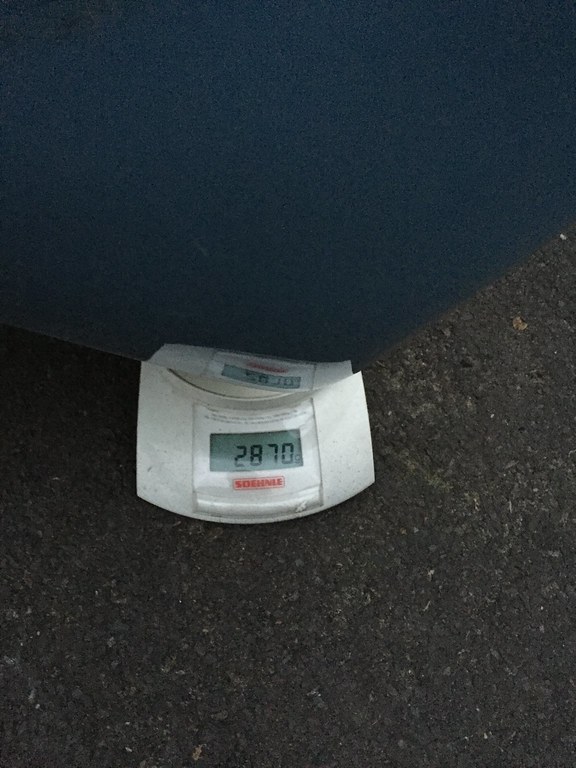
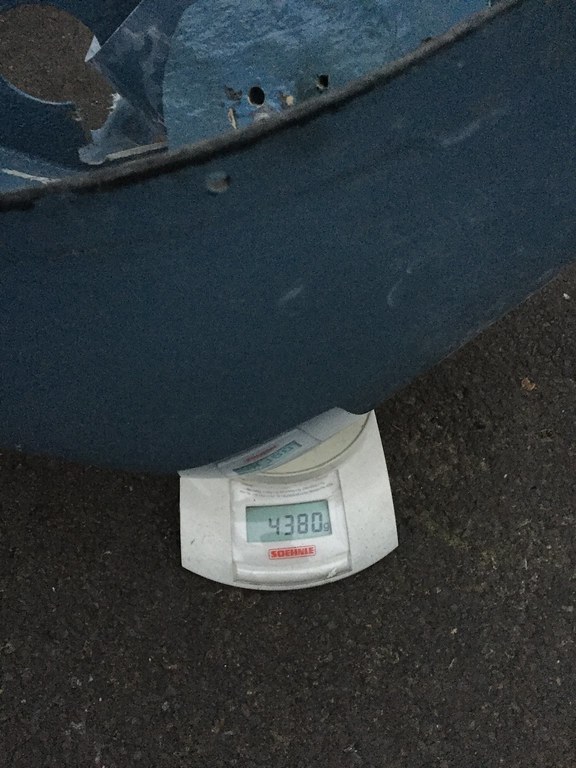
Standard frame with bottom arm pins
VS ti frame, this doesnt use pins
#893
Alburglar
-

- Members
-
- 3,331 posts
Das Pingu's
- Location: Dover Kent
- Local Club: Kentish Mini Club
Posted 25 January 2019 - 03:10 PM
Thats a pretty light frame, but whats surprising is how little the mini subframe weighs.
#894
jonny f
-
- Members
-
- 1,485 posts
One Carb Or Two?
- Location: Surrey
- Local Club: Boxhill Mini Club
Posted 05 April 2019 - 05:31 PM
Been a little while! I made some steady progress, then had about a month of doing other stuff, Including smashing my face up . Much to many’s amusements!
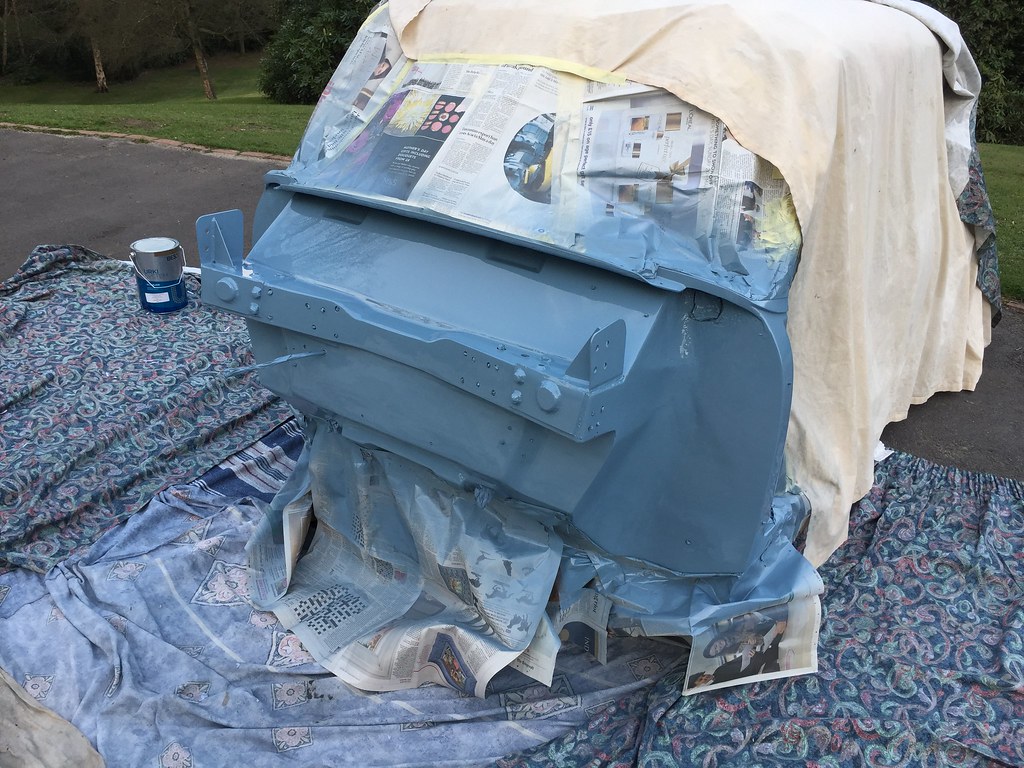
Got the front end GRP fillered.
Etch primed.
Then high build.
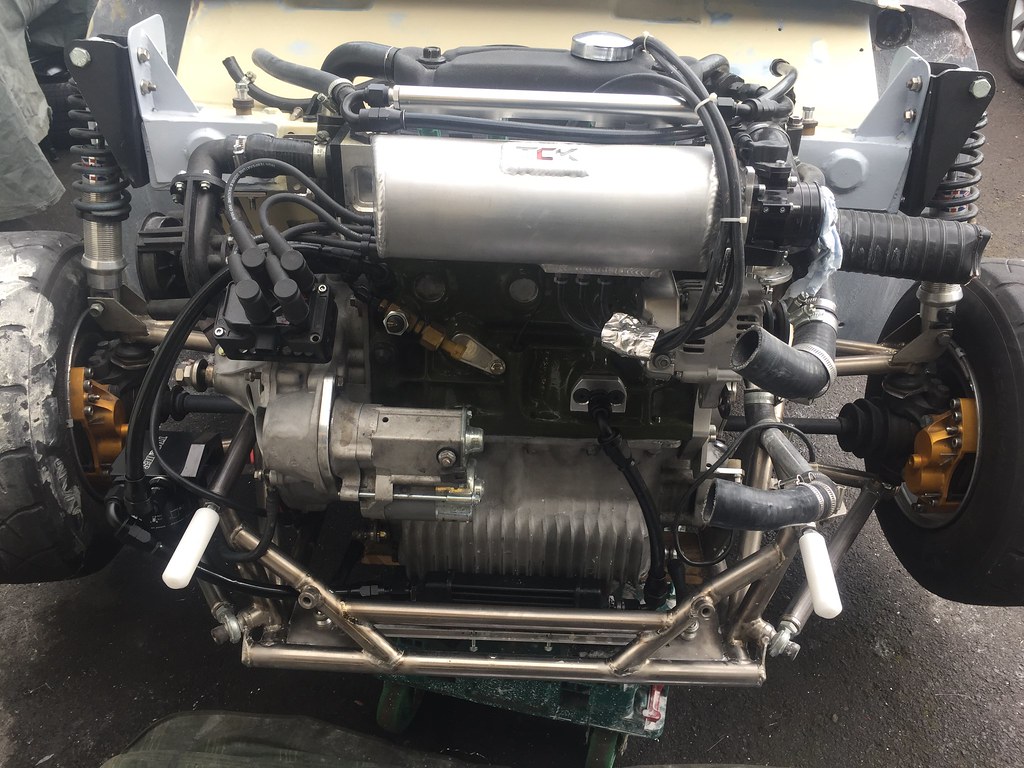
Got the frame back in to trial fit the engine.
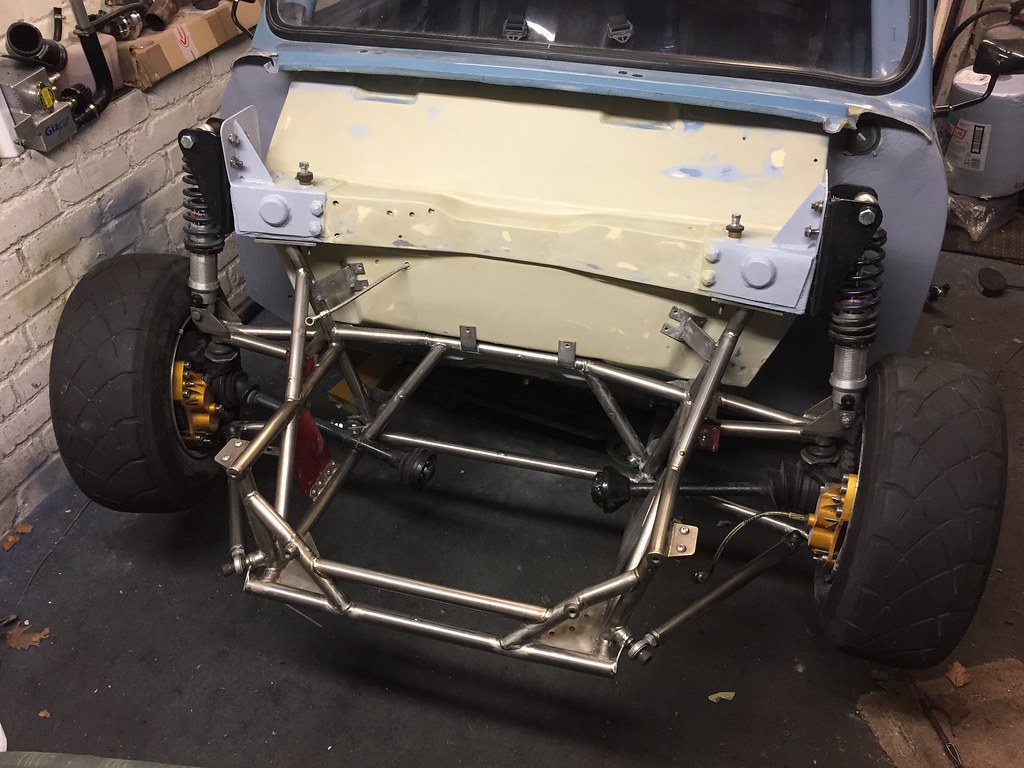
With a lot of faffing about it went in, had to add some shims under the engine mounts to get it to clear a few bits of the frame but it’s all good.
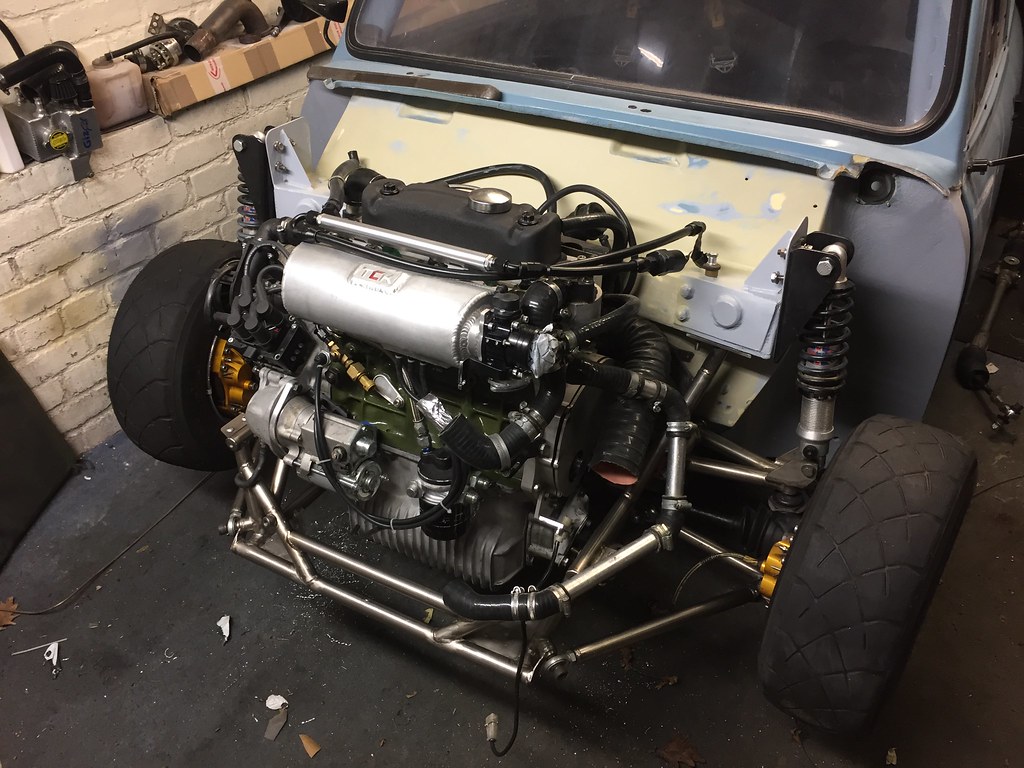
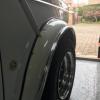
I then got the front end on again and realised the frame hangs quite low at the front. Apparently this is normal.
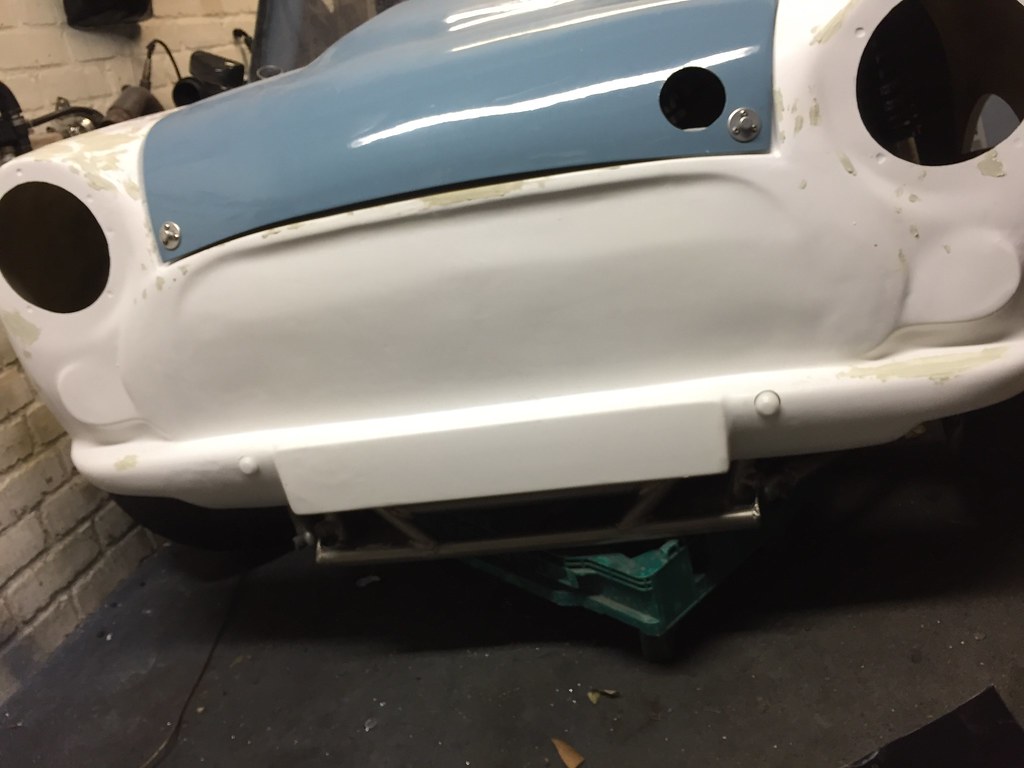
Wasn’t to keen on it so I have added a front lip, bolted to the frame. Again not to keen, but I will probably re visit it. Will give some needed downforce!
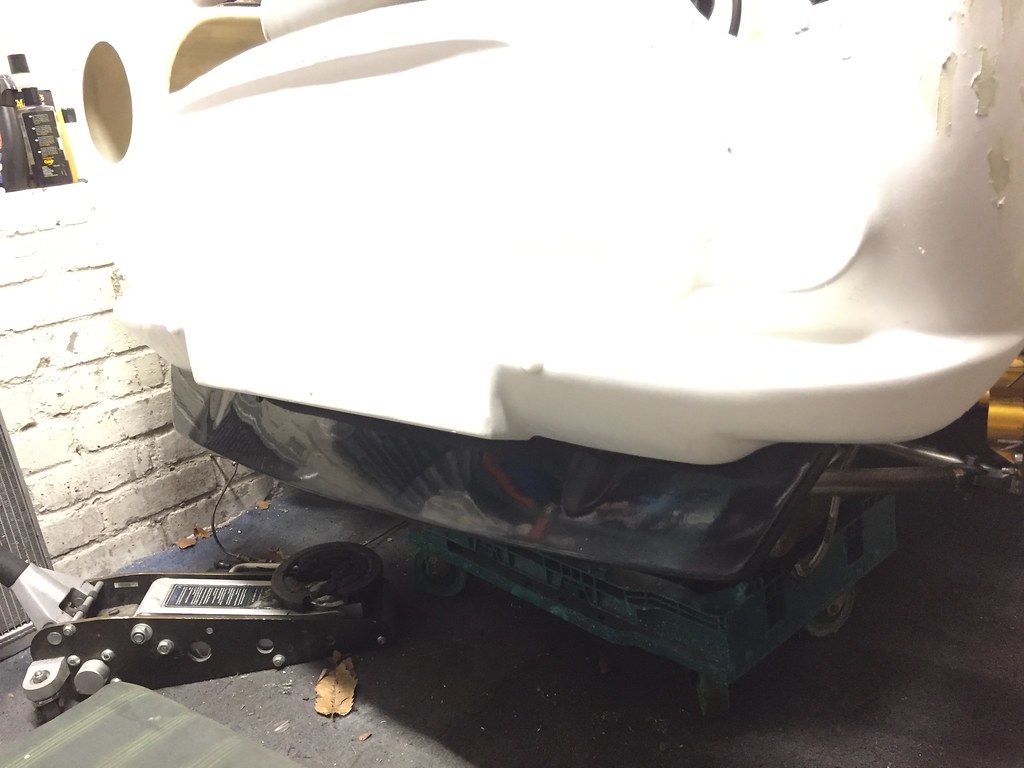
Lip and oil cooler location, will have to duct the cooler through the lip.

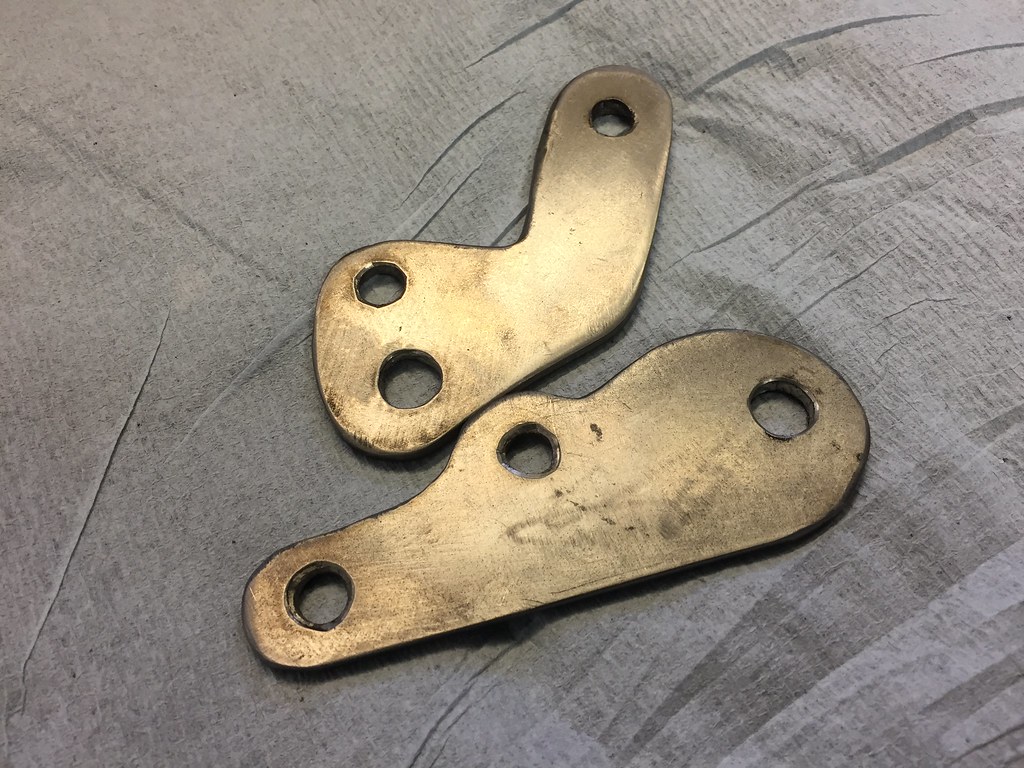
Knocked up some Ti engine steady brackets to go off the front.

In an effort to make things easier, I’ve relocated the oil filter.
Made a take off.
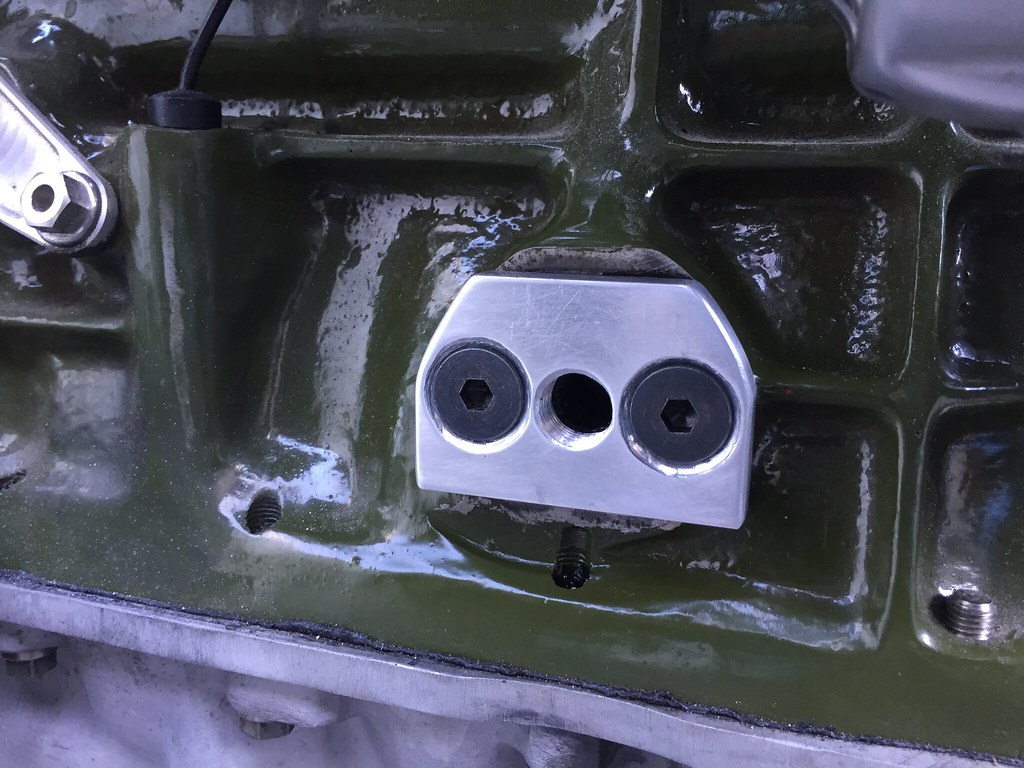
Completed and hung of the frame on the drivers side.
Rad roughly in place. I am changing the feeds so it’s on the drivers side.
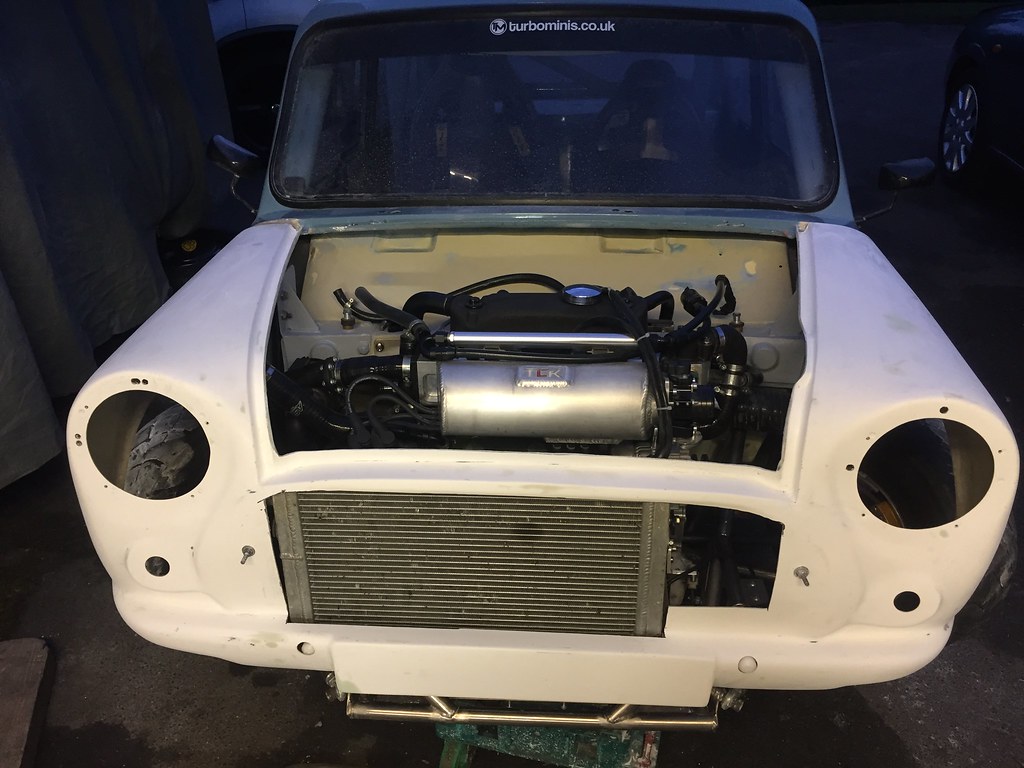
Added an extra return lip around the scuttle to add some strength back in and when the fronts fitted it will look correct through the panel gap.

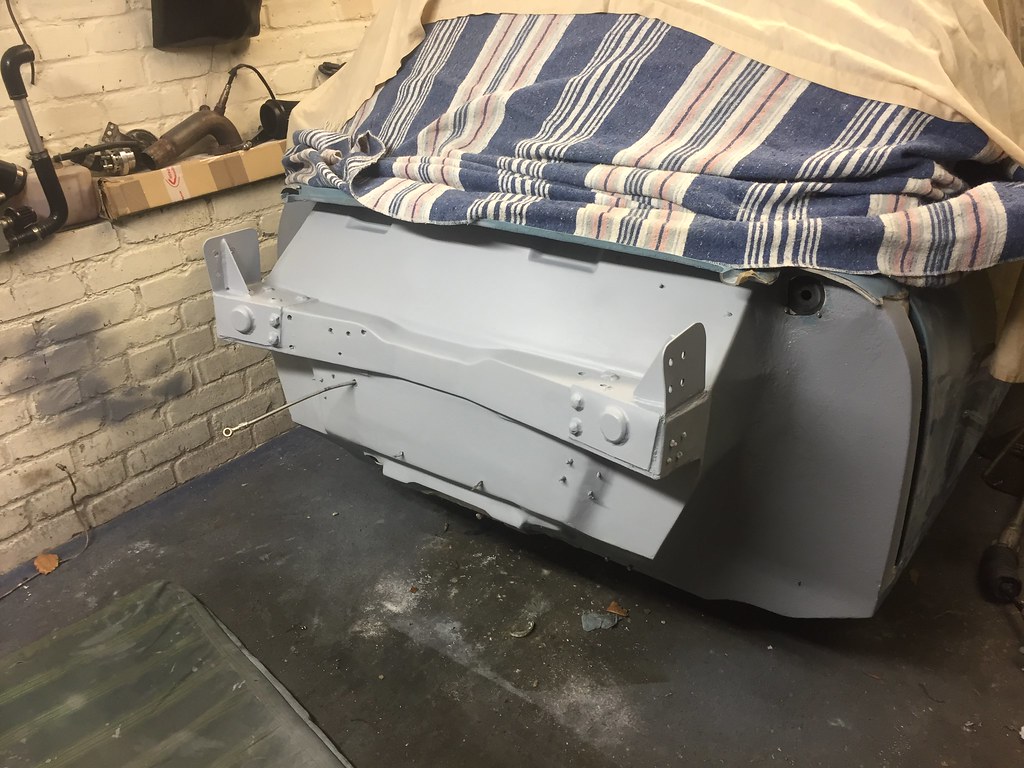
Then painted it!
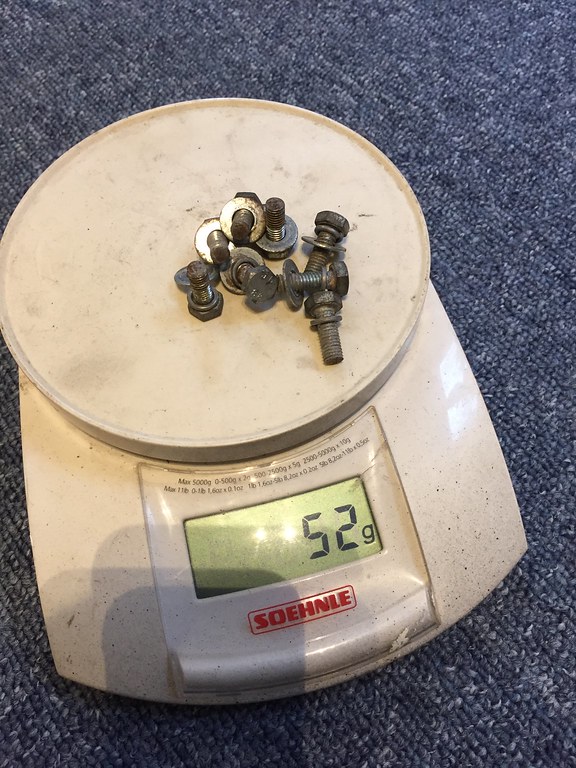
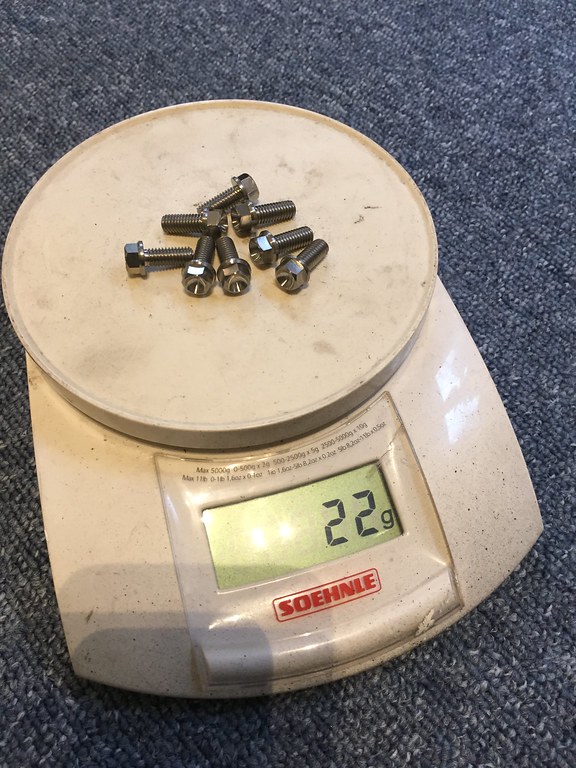
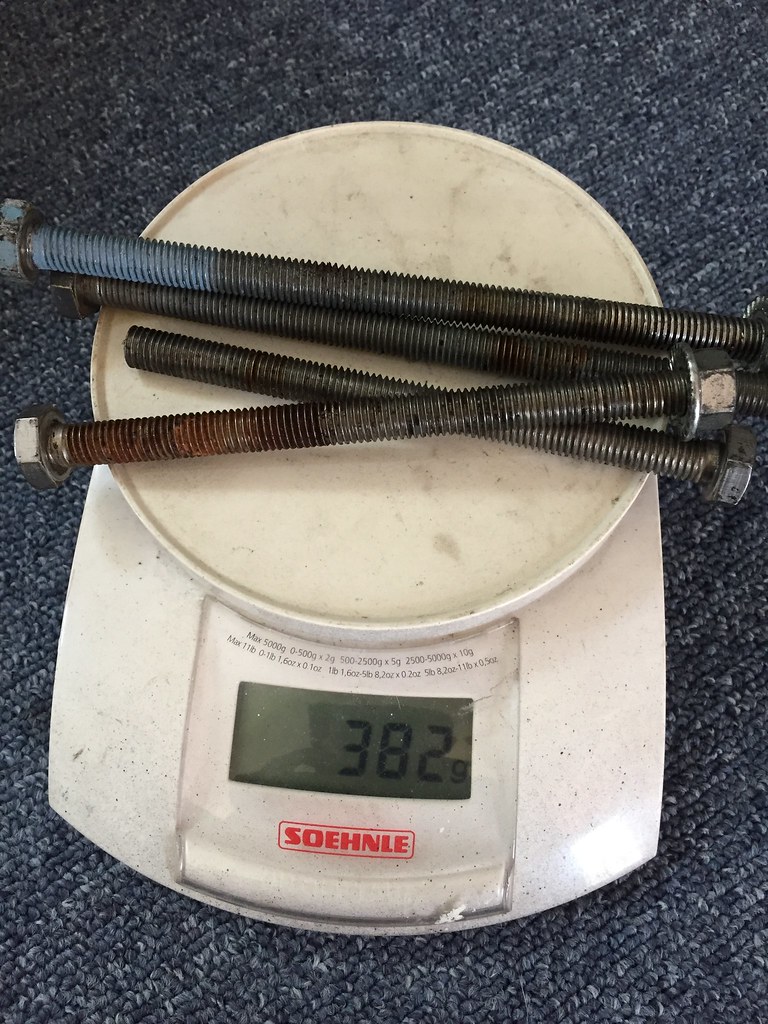
A nice little weight saving here. Going from big stainless bolts to Ti studs on the subframe.

Got the frame back in again mounted up with new spreader plates against the body etc.
Back up to date now. Spending next couple of days on it so hopefully get a lot done.

Edited by jonny f, 05 April 2019 - 05:33 PM.
#895
longtimenomini
-
- Members
-
- 708 posts
One Carb Or Two?
Posted 05 April 2019 - 05:40 PM
Looking good ... big fan !
#896
Steve220
-

- Members
-
- 4,896 posts
Up Into Fourth
- Location: Shropshire
- Local Club: BMC
Posted 05 April 2019 - 06:00 PM
Jonny - any idea what the weight is close to now?
#897
jonny f
-
- Members
-
- 1,485 posts
One Carb Or Two?
- Location: Surrey
- Local Club: Boxhill Mini Club
Posted 05 April 2019 - 07:51 PM
Jonny - any idea what the weight is close to now?
Absolutely no idea to be honest! I’m hoping it should come in around 510 ish with a good amount of fuel in it.
Got some scales now so will be able to see.
#898
Jon937
-

- Noobies
-
- 130 posts
Mini Mad
- Location: Devon
Posted 16 May 2019 - 09:17 PM
Great car from the pics I can see. I have checked out this thread many times as the car has progressed. Do you have drop box or anything with all your photos as id like to see all your hard work, including the pics im not currently able to see?
#899
Broomer
-

- Members
-
- 1,771 posts
Camshaft & Stage Two Head
Posted 16 May 2019 - 10:01 PM
Is there any reason why you have stuck with A series? I mean the 100% dedication to weight saving, but then keeping that heavy old tech when compared to modern engines with much higher bhp per kilo available?
No offence intended.
No offence intended.
#900
jonny f
-
- Members
-
- 1,485 posts
One Carb Or Two?
- Location: Surrey
- Local Club: Boxhill Mini Club
Posted 23 May 2019 - 09:08 PM
Great car from the pics I can see. I have checked out this thread many times as the car has progressed. Do you have drop box or anything with all your photos as id like to see all your hard work, including the pics im not currently able to see?
Thank you. If you send me a PM I will send you a link to them.


0 user(s) are reading this topic
0 members, 0 guests, 0 anonymous users


