

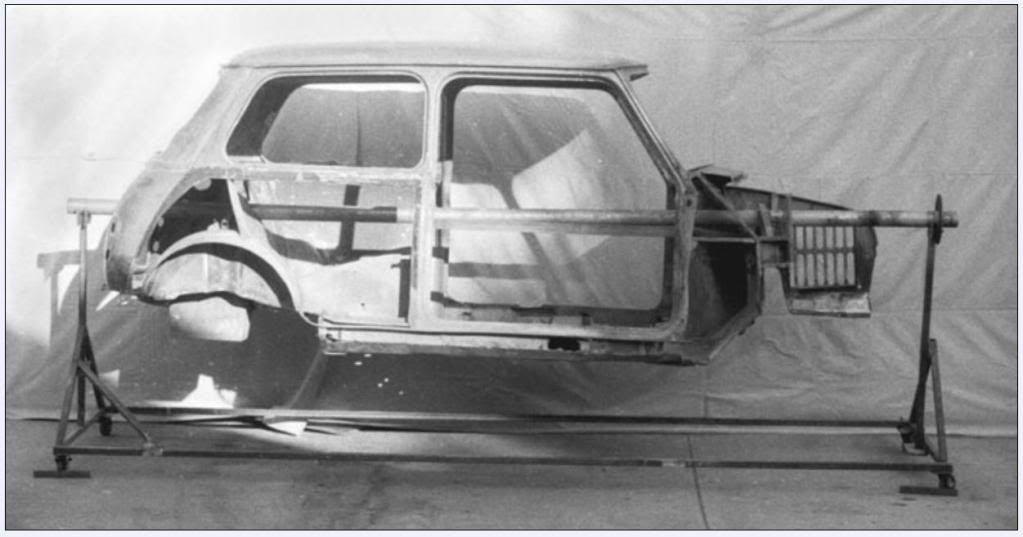
I’m known as Crazy Canuck here to a few on this forum. I have been restoring my 73 Mini Saloon and found I needed a hand, so I decided to build a Rotisserie.
I hope that a few of you can take from this what you will, and I hope it helps in making your restoration project a little easier.

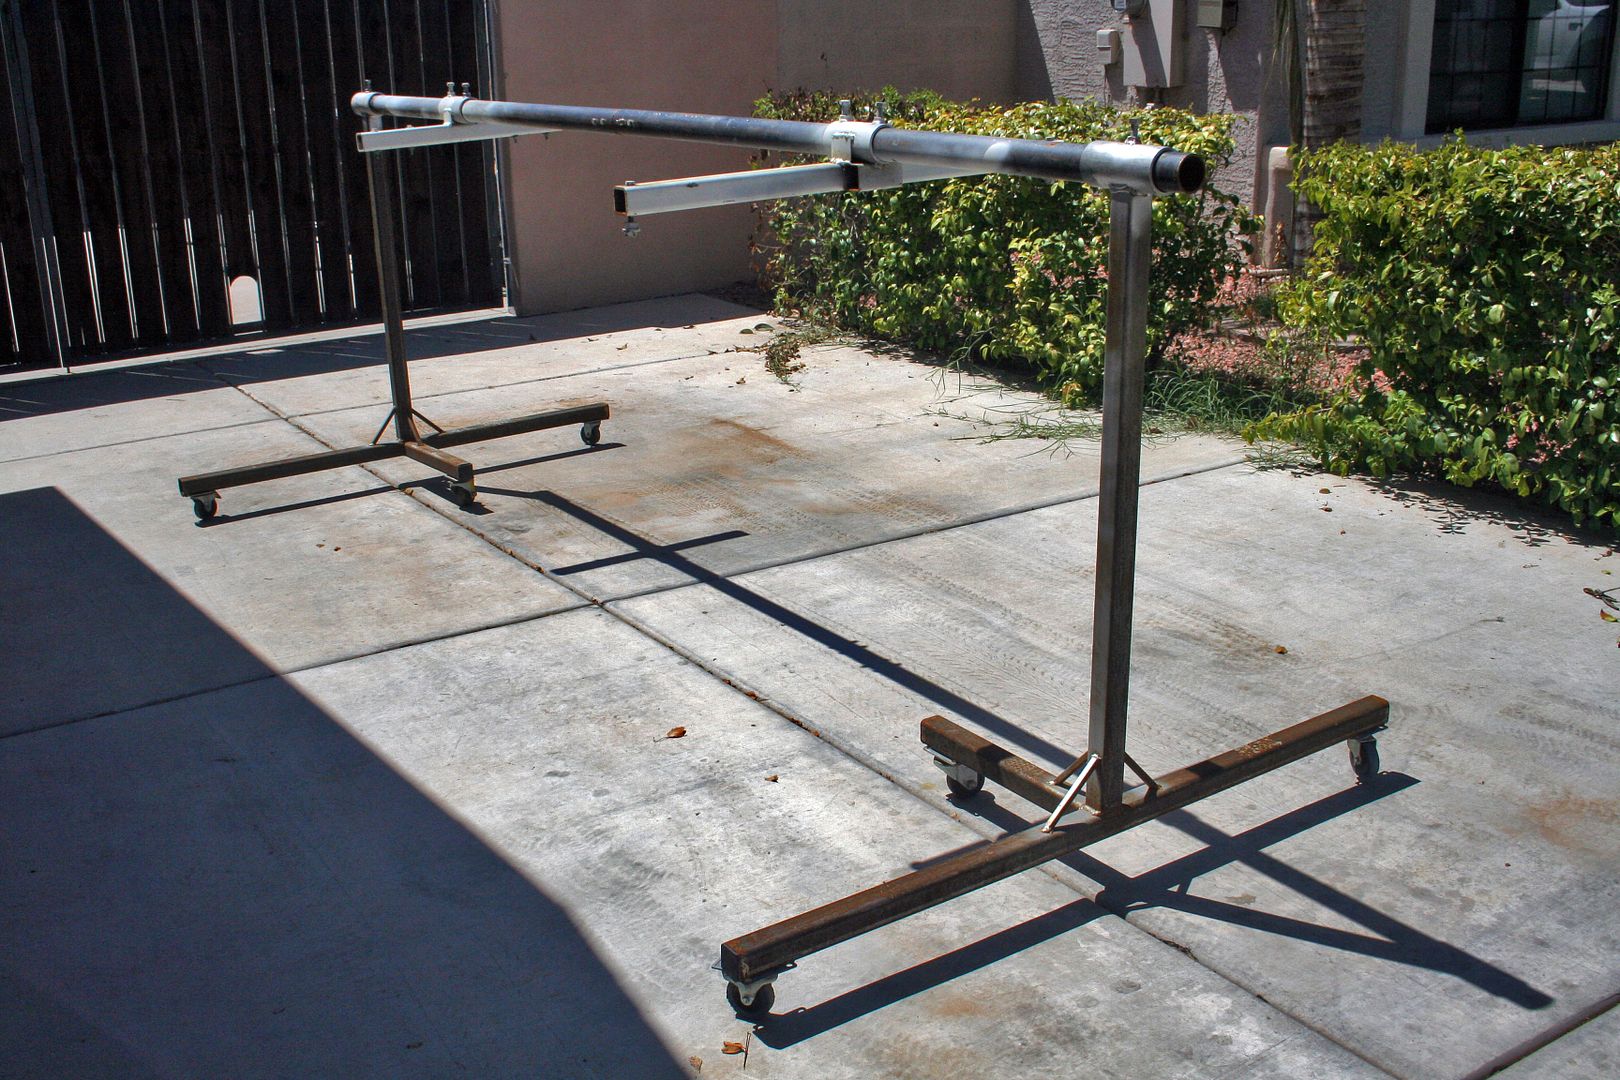
B.O.M.
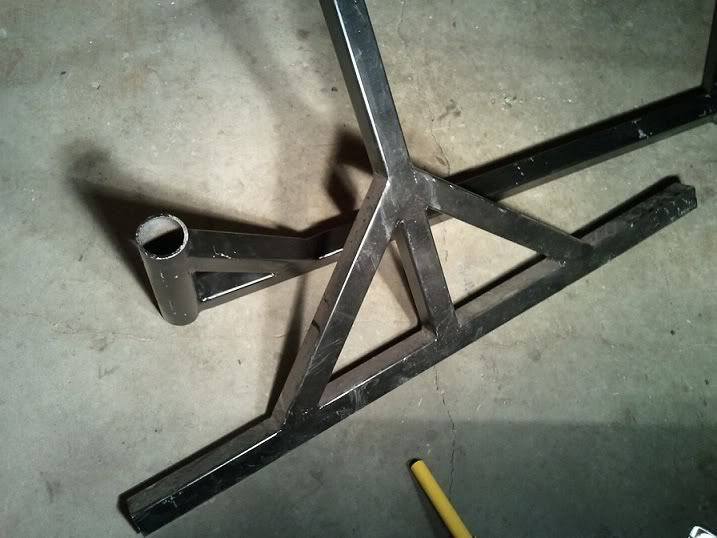
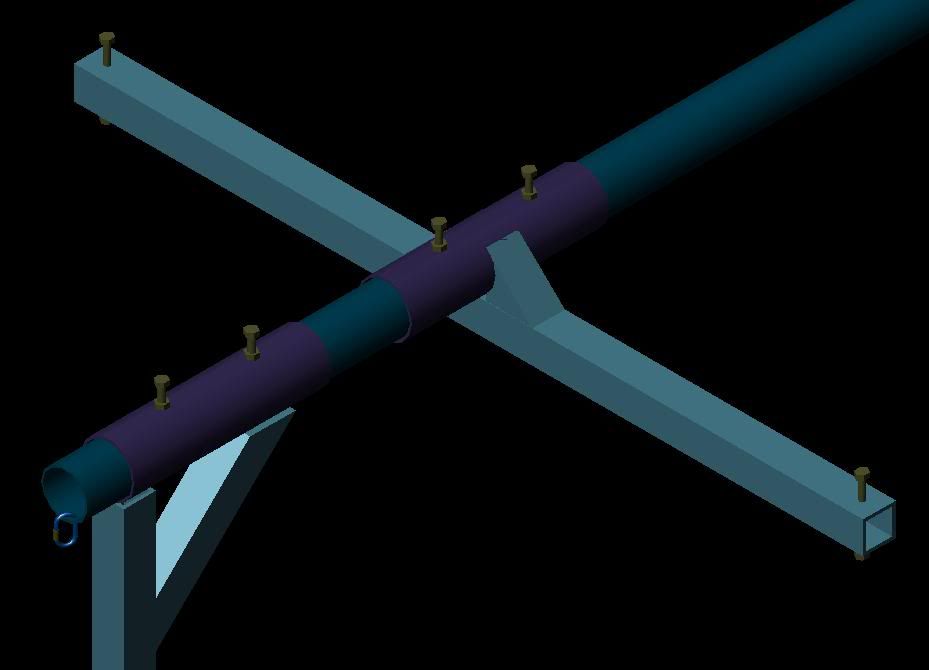
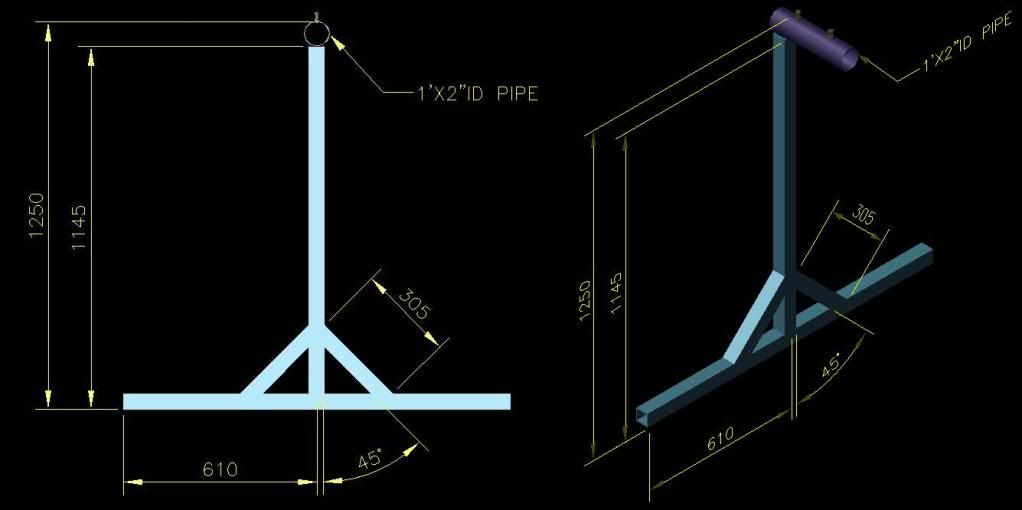
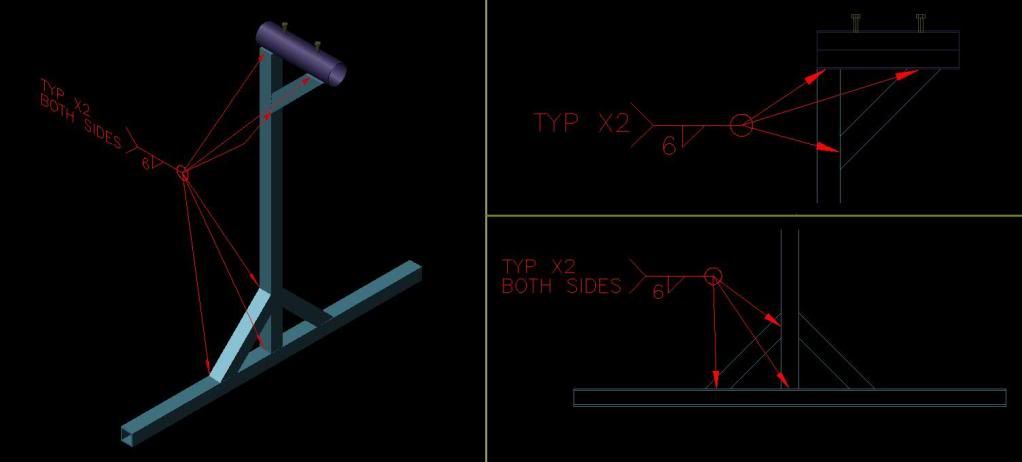
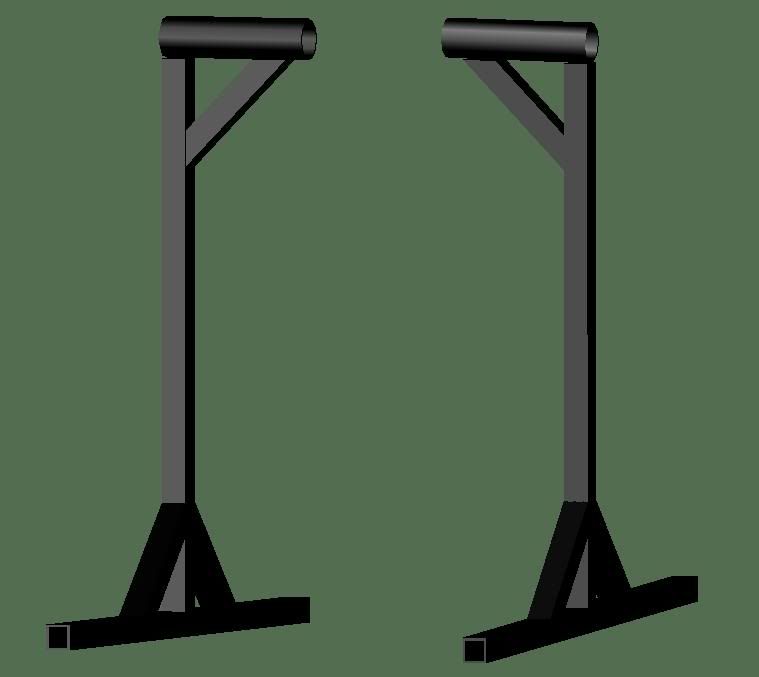
- 24’ - 2” square tubing (End-Stands)
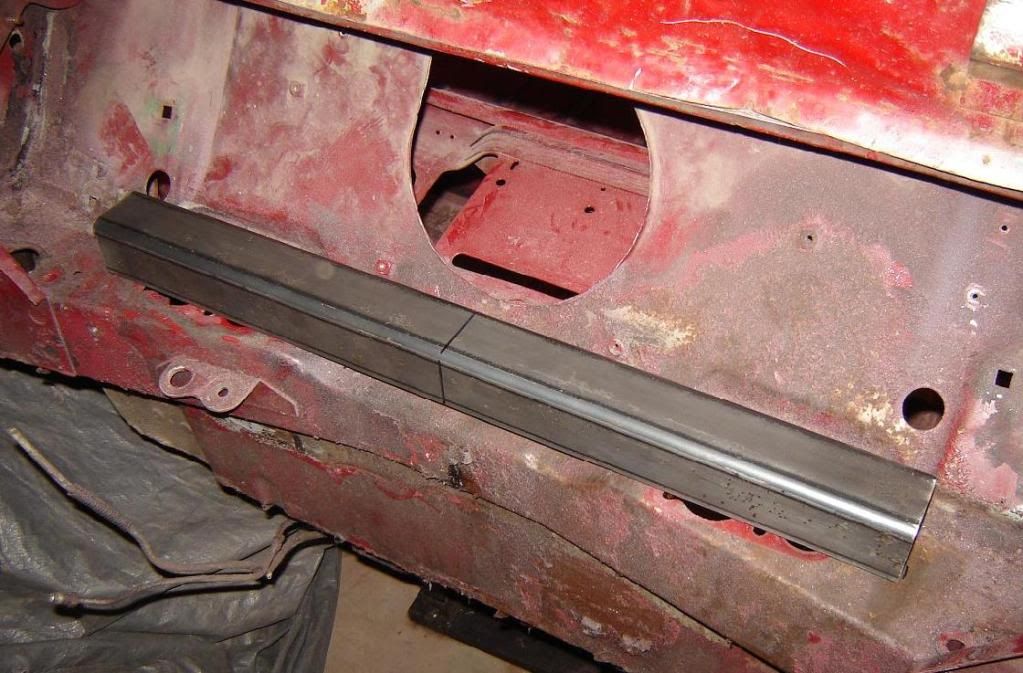
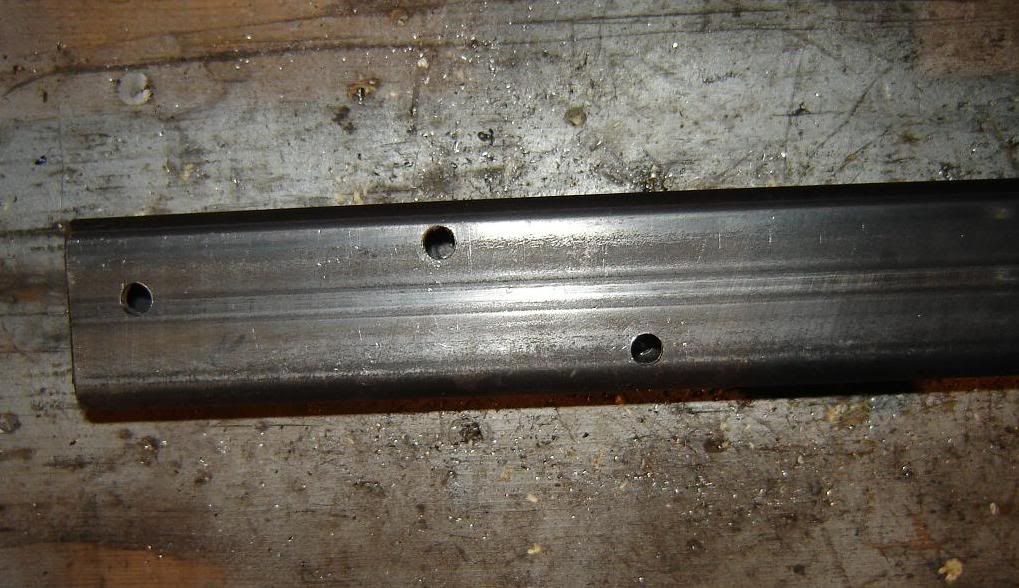
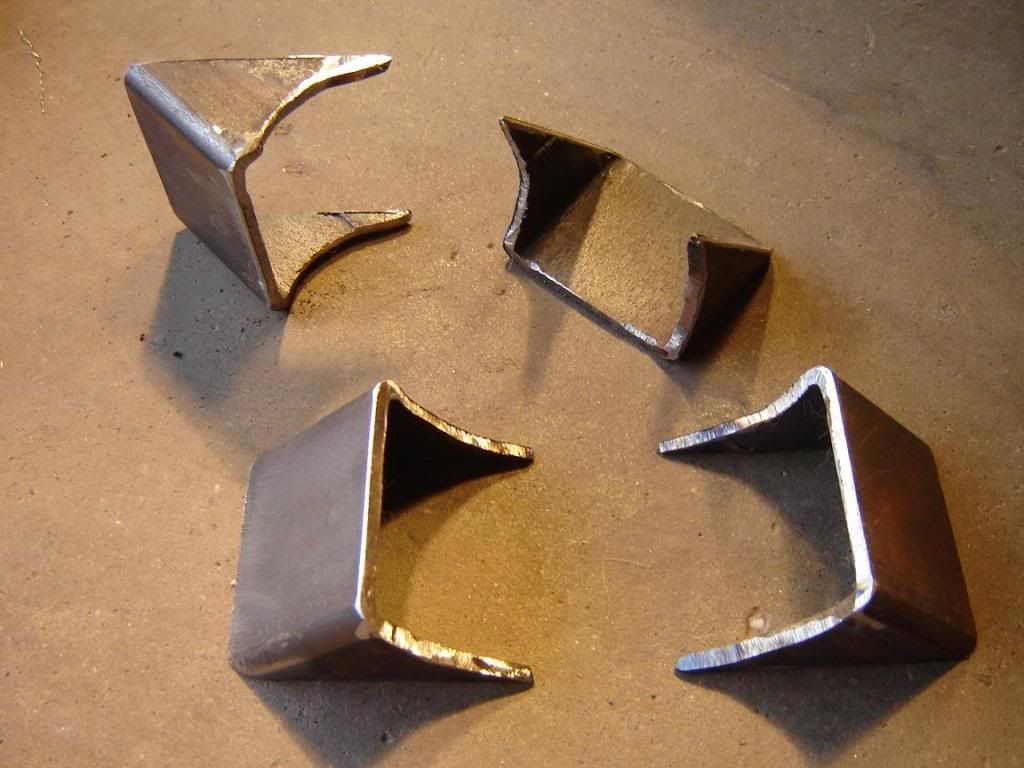
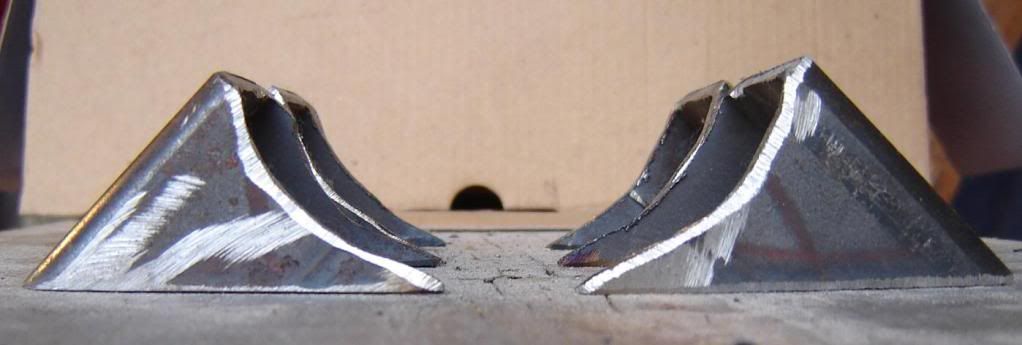
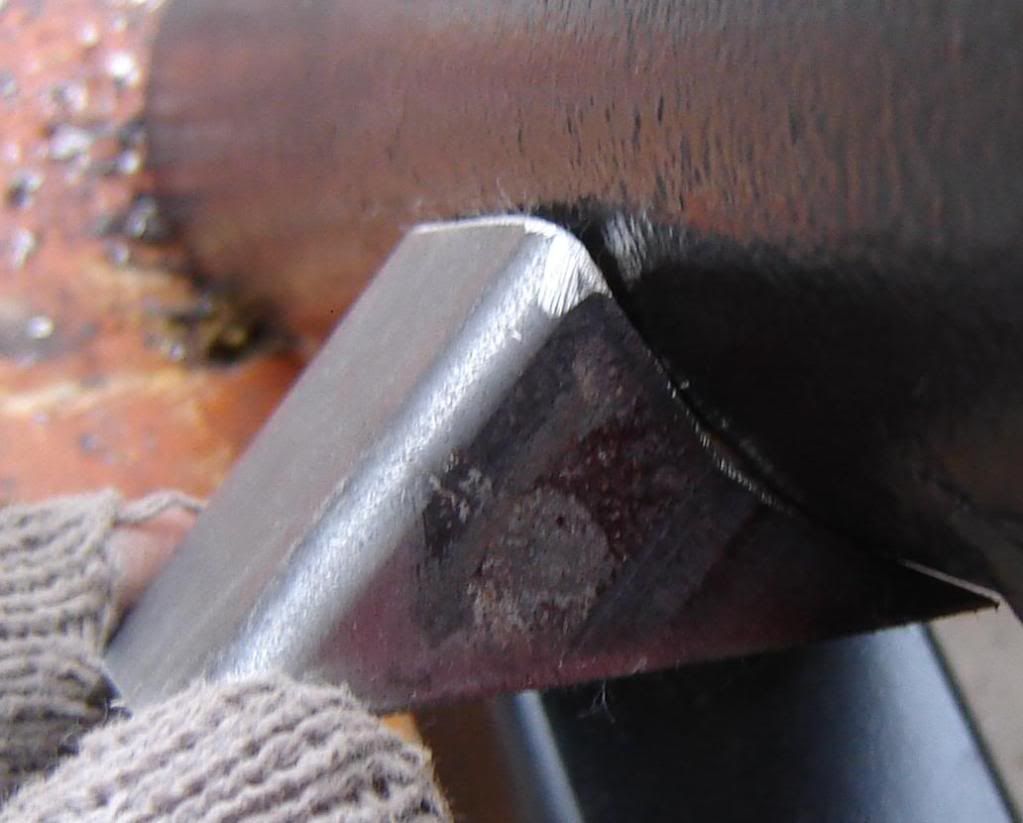
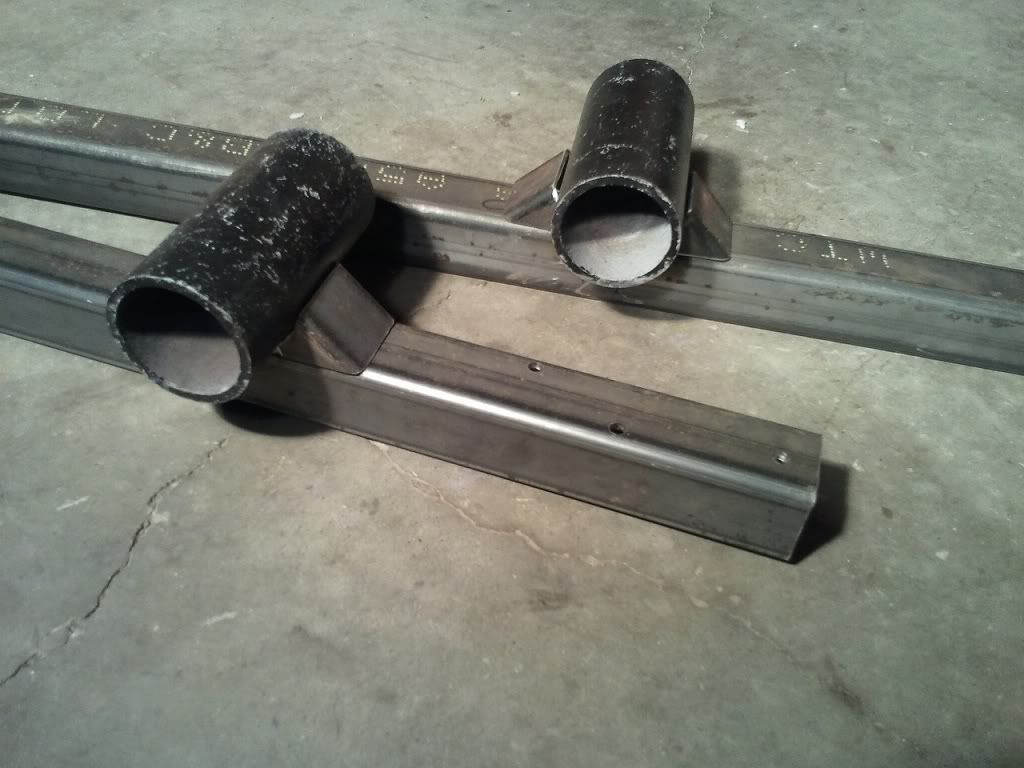
- 5’-6” - 2” square tubing (Mounting Arms and Support Brackets)
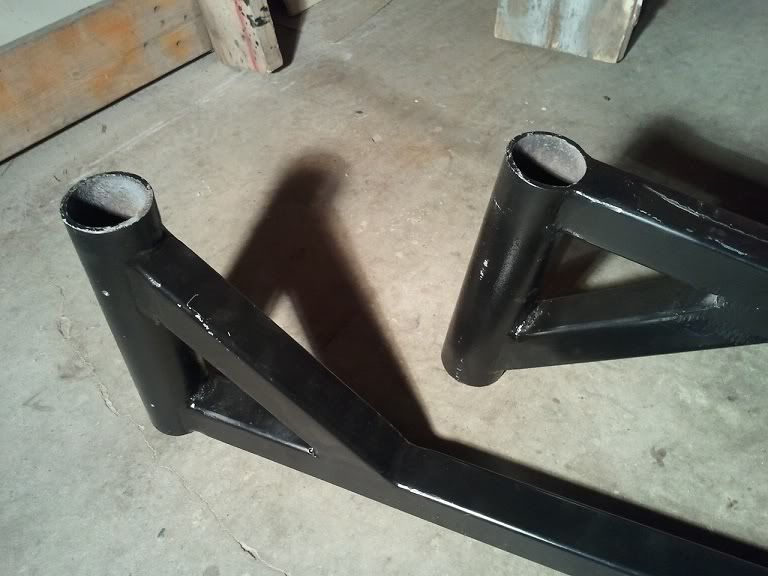
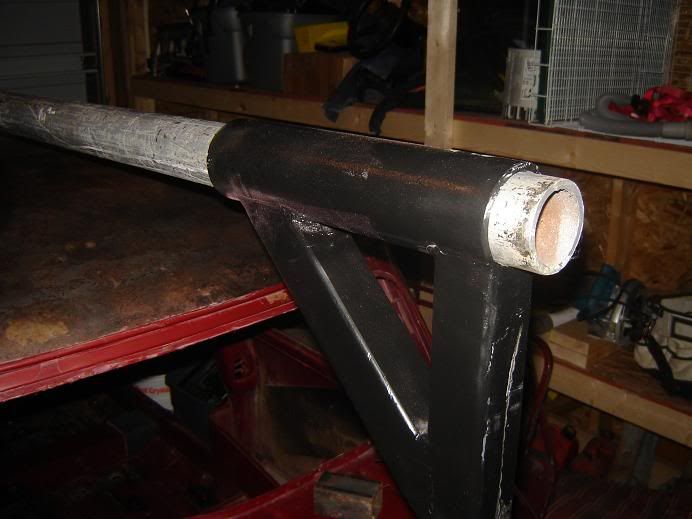
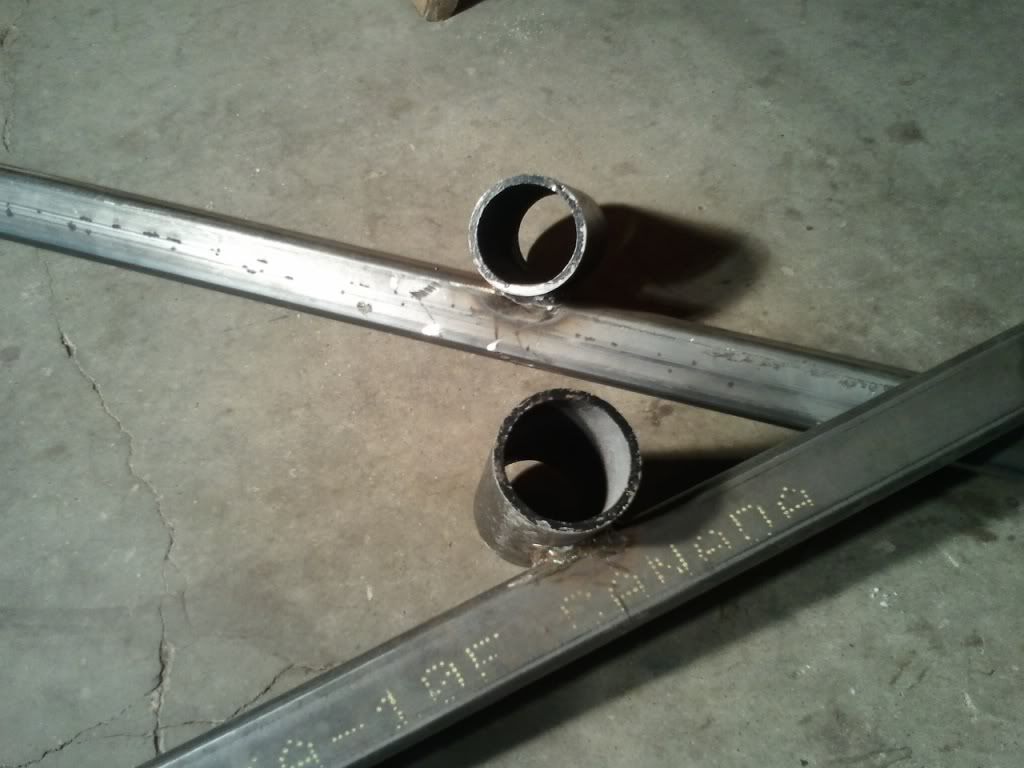
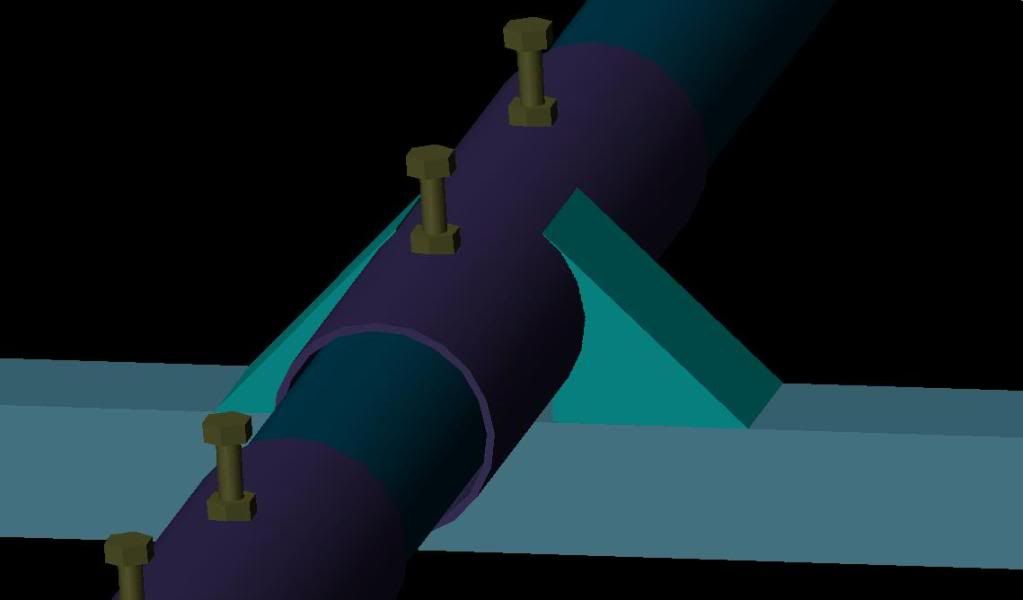
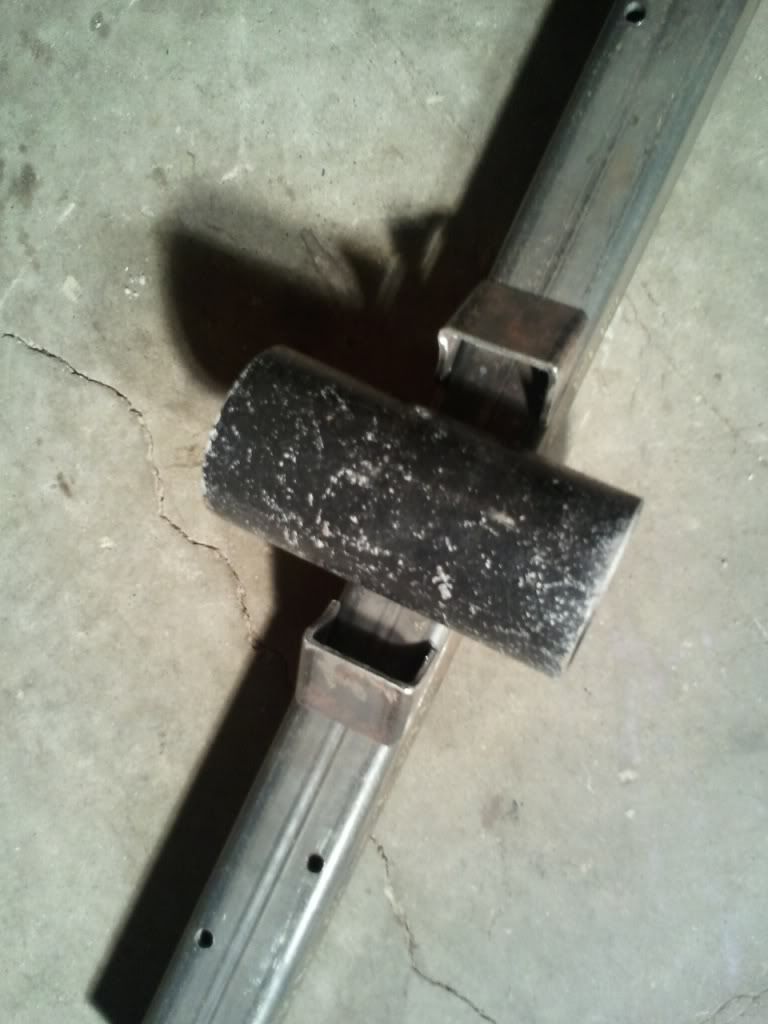
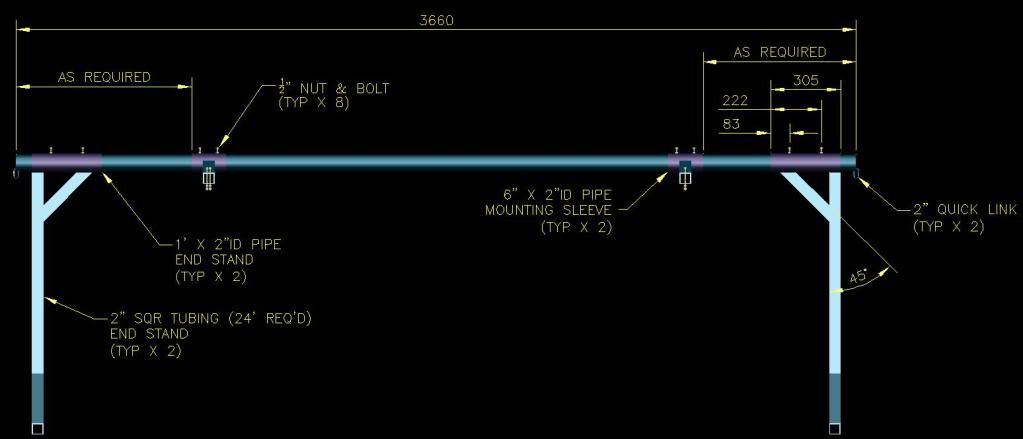
- 12’ - 2”OD pipe (Squire)
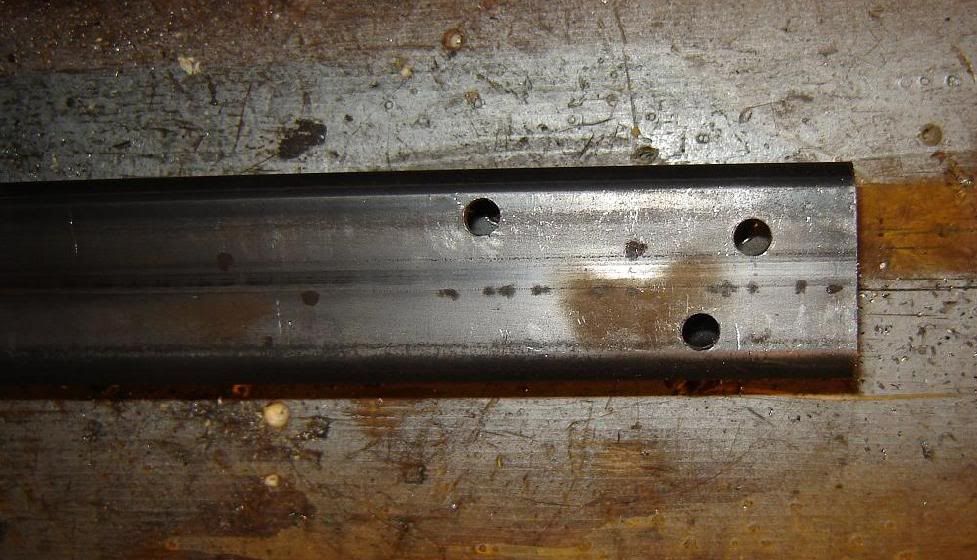
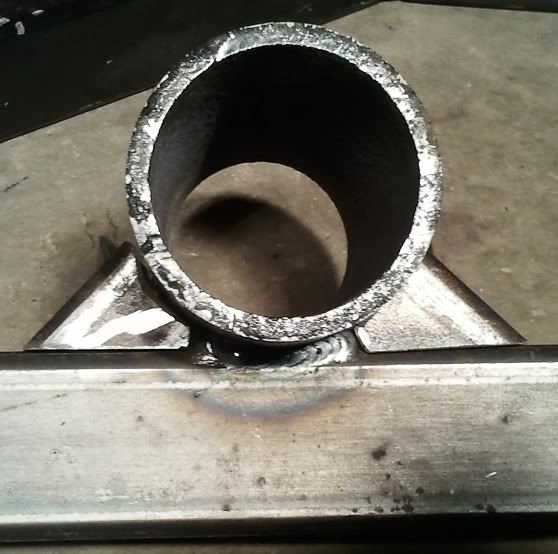
- 3’ - 2-1/8”ID pipe (Mounting Sleeves)
- 8 - ½” x 1-½” Nuts and Bolts (Lock down Bolts)
- 2 - ½” x 4-½” Nuts and Bolts and washers (Rear Mount Bolts)
- 6 - 5/16” x 3" Nuts and Bolts and washers (Bulk-Head Mount Bolts)
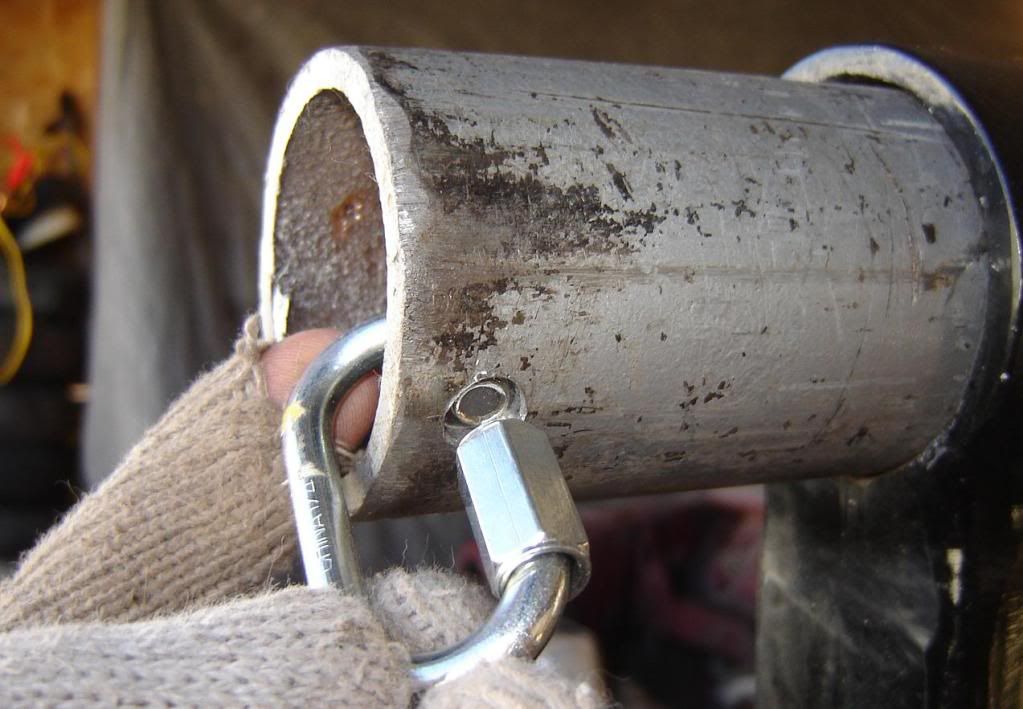
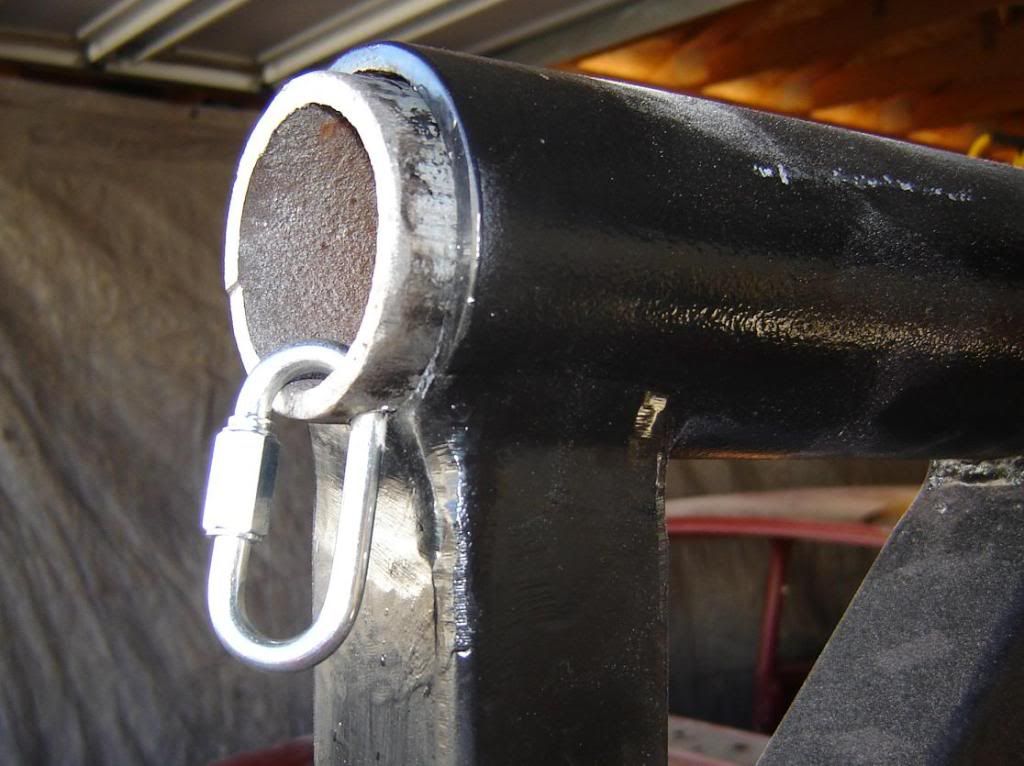
- 2 – 2” Quick Links (Squire Stopper)
Safety Glasses
Ear plugs
Welding mask
Welding gloves
Coveralls
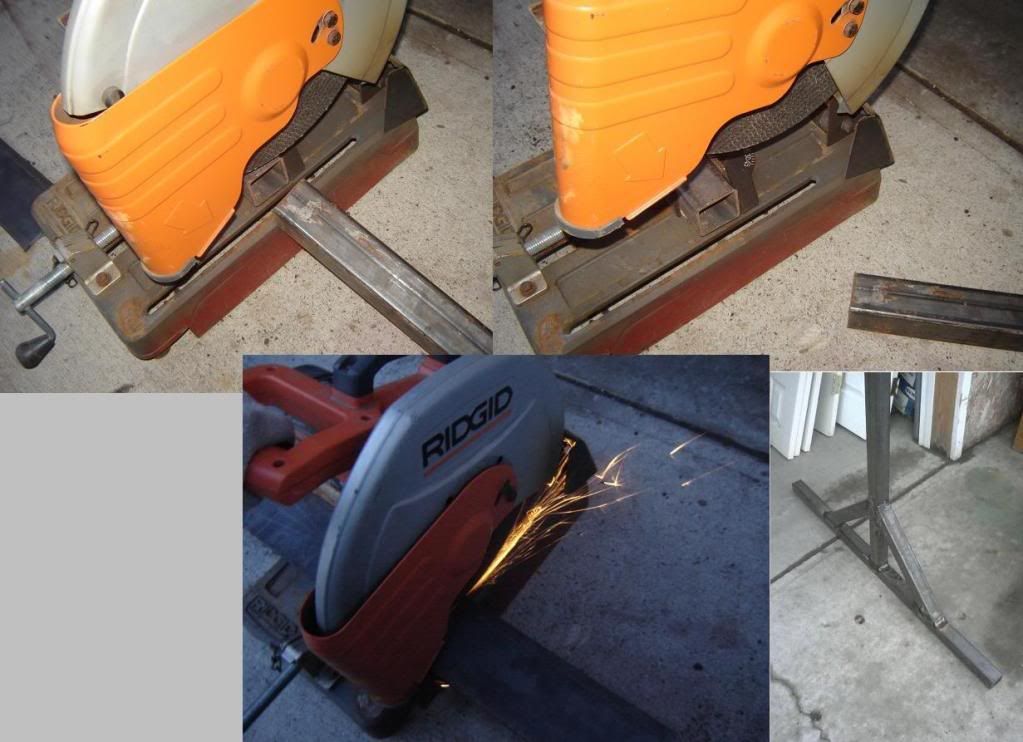
Steel Cut Saw
¼” Grinder
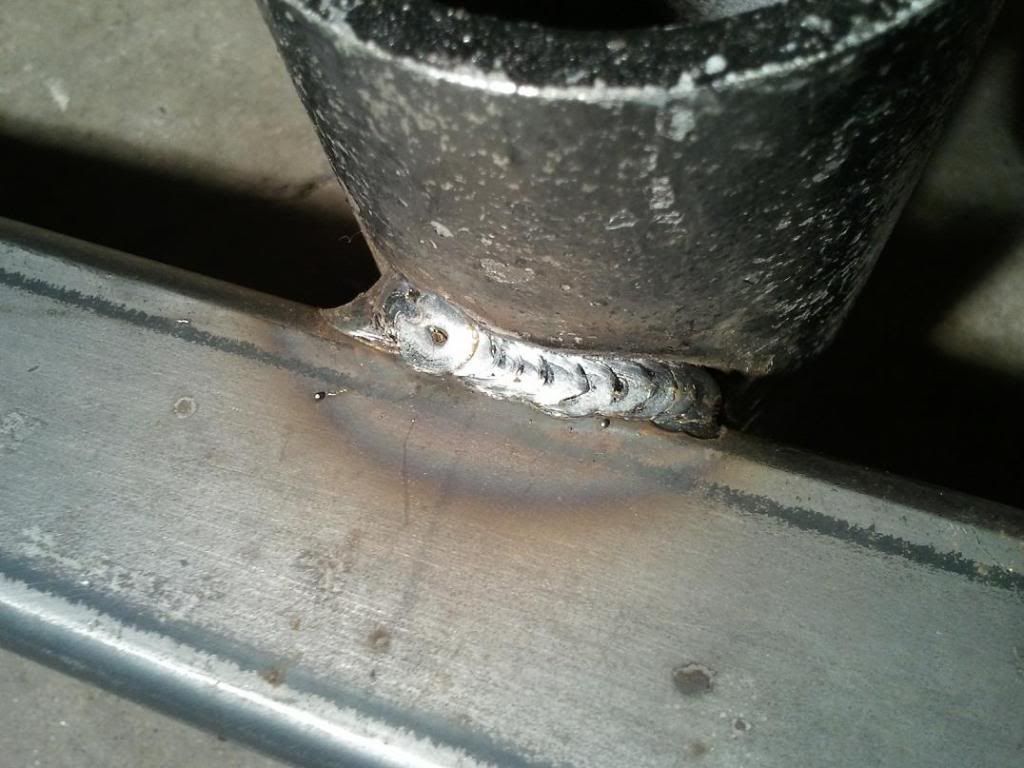
Stick Welding Unit
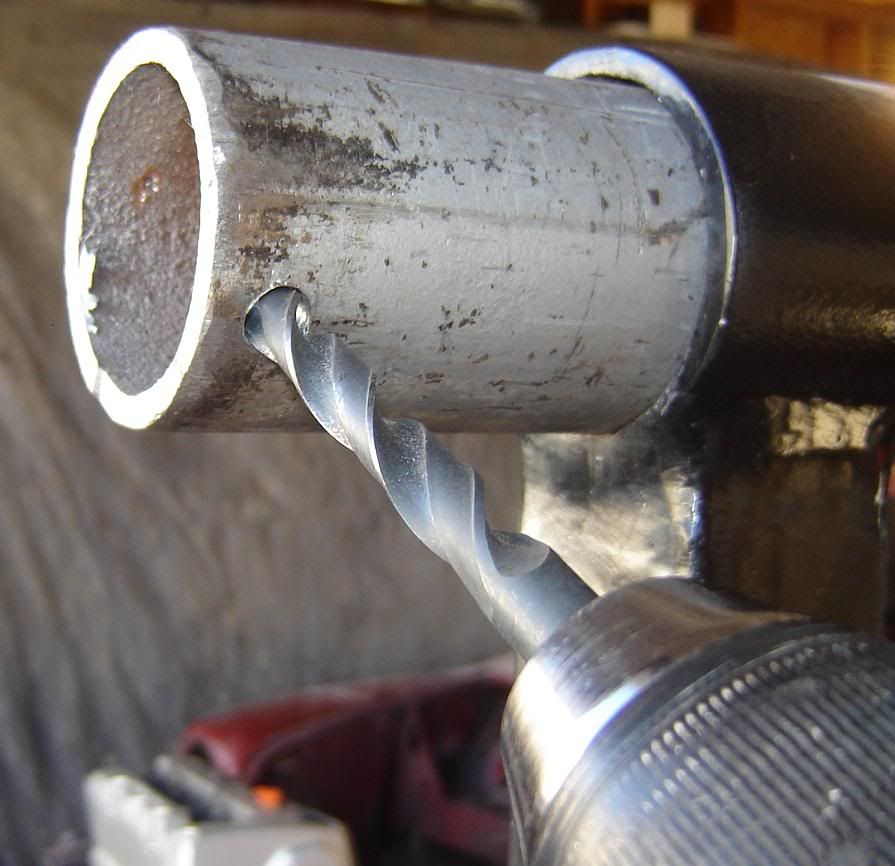
Drill
½” ‘Steel’ Drill Bit
5/16” Steel’ Drill Bit
Money, Time and Beer…….
Edited by M1n1c00per, 27 March 2011 - 01:16 AM.