ah okay my bad!
i cant remember exactly, but if you give the subframe a REALLY good clean with a jetwash or just a hose they should become apparrent


1978 Clubman 1275GT
Started by
Goacher65
, Jan 16 2011 06:40 PM
48 replies to this topic
#31

benjy_18
-

- TMF+ Member
-

- 1,038 posts
One Carb Or Two?
- Local Club: LSMOC
Posted 12 September 2011 - 01:03 PM
#32
sonikk4
-

- Admin
-
- 15,885 posts
Twisted Paint Polisher!!!
- Name: Neil
- Location: Oxfordshire
Posted 12 September 2011 - 01:12 PM
Although not the answer to your question about the subframe here's a link to something i added to the bodywork section earlier this year
http://www.theminifo...howtopic=194176
This will help with your welder settings as well. By the way for the amount of welding you need to do you will need a bigger bottle. There are a few out there. Mine is from B.O.C.
http://www.theminifo...howtopic=194176
This will help with your welder settings as well. By the way for the amount of welding you need to do you will need a bigger bottle. There are a few out there. Mine is from B.O.C.
#33
Goacher65
-
- Just Joined
-
- 161 posts
Mini Mad
- Location: Maidstone, Kent
- Local Club: Medway Mini Club
Posted 15 September 2011 - 04:49 PM
ah okay my bad!
i cant remember exactly, but if you give the subframe a REALLY good clean with a jetwash or just a hose they should become apparrent
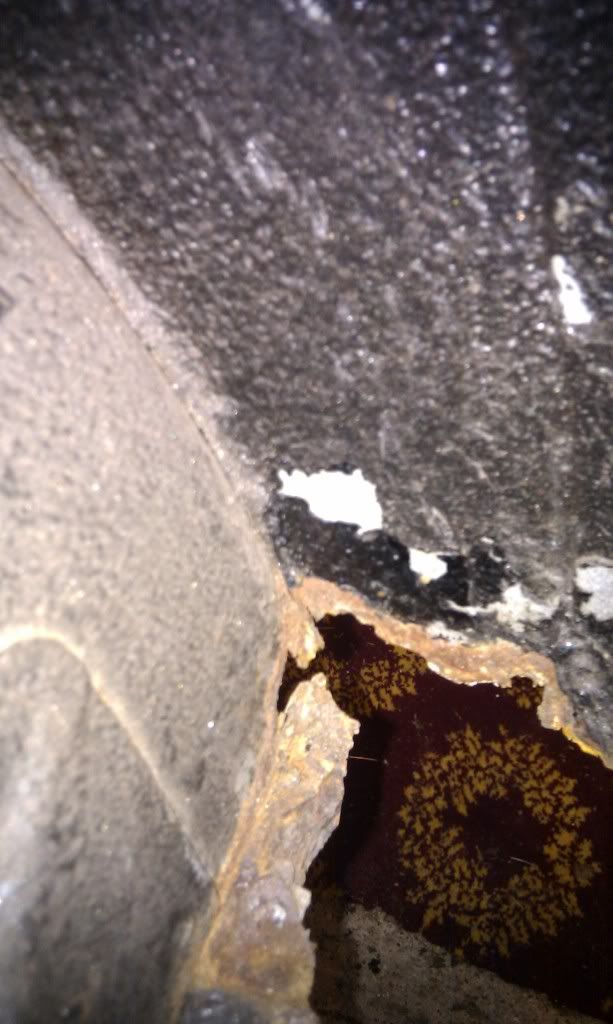
Still not quite what i'm after. Ha. The subframe is clean, hardly any rust on it, on the box section corners, there are about 4 holes, one of which has a captive nut in it, but wondering if the others are intended to have captive nuts in as well. Sorry to keep coming back! I should really take some pictures, maybe if there is a next time I shall
 .
.
#34
Goacher65
-
- Just Joined
-
- 161 posts
Mini Mad
- Location: Maidstone, Kent
- Local Club: Medway Mini Club
Posted 14 March 2012 - 02:31 PM
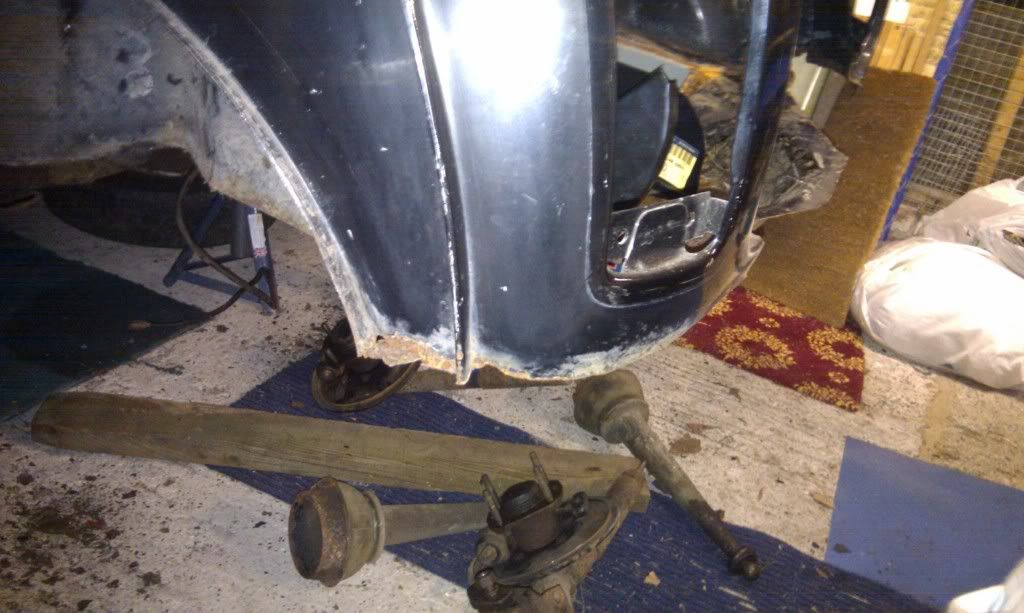
Loong time since I last updated this! Finally got round to doing some work on the shell! Have been doing a few bits with everything else and got the subframes sandblasted and painted up, got some suspension parts refurbed and painted and in the process of sand blasting the brake calipers then they'll be getting a rebuild and some new pistons/seals. All adjustable geometry brought, hilos, adjustable lower arm, tie bar etc. rally cones, the works.
Engine is currently in the process of being assembled, but see my rebuild thread for that which I will be updating in the next couple of days.
Back to the body work, finally plucked up the courage to do some welding on the car. Had a friend that assisted me and gave me a hand as the panel fitted is the boot floor repair to the rear which benefited from two people to support it sufficiently and check the alignment on each side. Anyway, got that tacked in and then seamed bewteen the tacks. Don't have a photo uploaded for the tacking but do have the finished article all primed up.
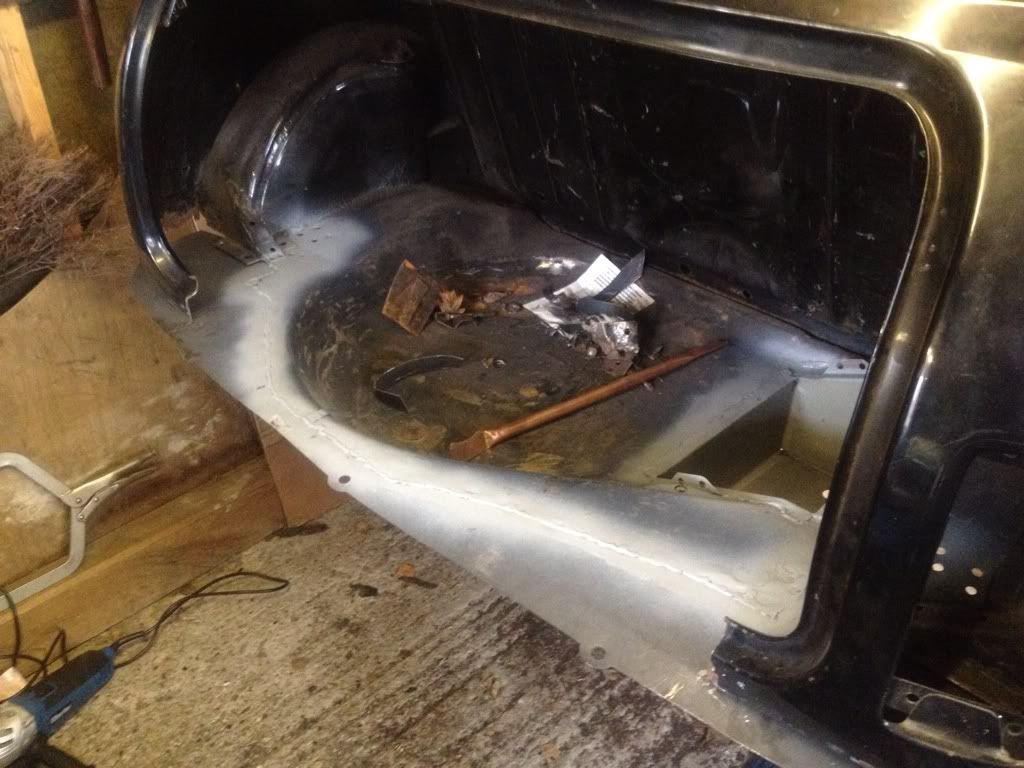
Now need to do a few small repairs in the corners of the boot and to the rear panel and the back of the rear quarters.
Photos were taken before floor repair put in so obv there will be metal to work down to.
Engine is currently in the process of being assembled, but see my rebuild thread for that which I will be updating in the next couple of days.
Back to the body work, finally plucked up the courage to do some welding on the car. Had a friend that assisted me and gave me a hand as the panel fitted is the boot floor repair to the rear which benefited from two people to support it sufficiently and check the alignment on each side. Anyway, got that tacked in and then seamed bewteen the tacks. Don't have a photo uploaded for the tacking but do have the finished article all primed up.
Now need to do a few small repairs in the corners of the boot and to the rear panel and the back of the rear quarters.
Photos were taken before floor repair put in so obv there will be metal to work down to.
#35
Goacher65
-
- Just Joined
-
- 161 posts
Mini Mad
- Location: Maidstone, Kent
- Local Club: Medway Mini Club
Posted 28 March 2012 - 09:25 AM
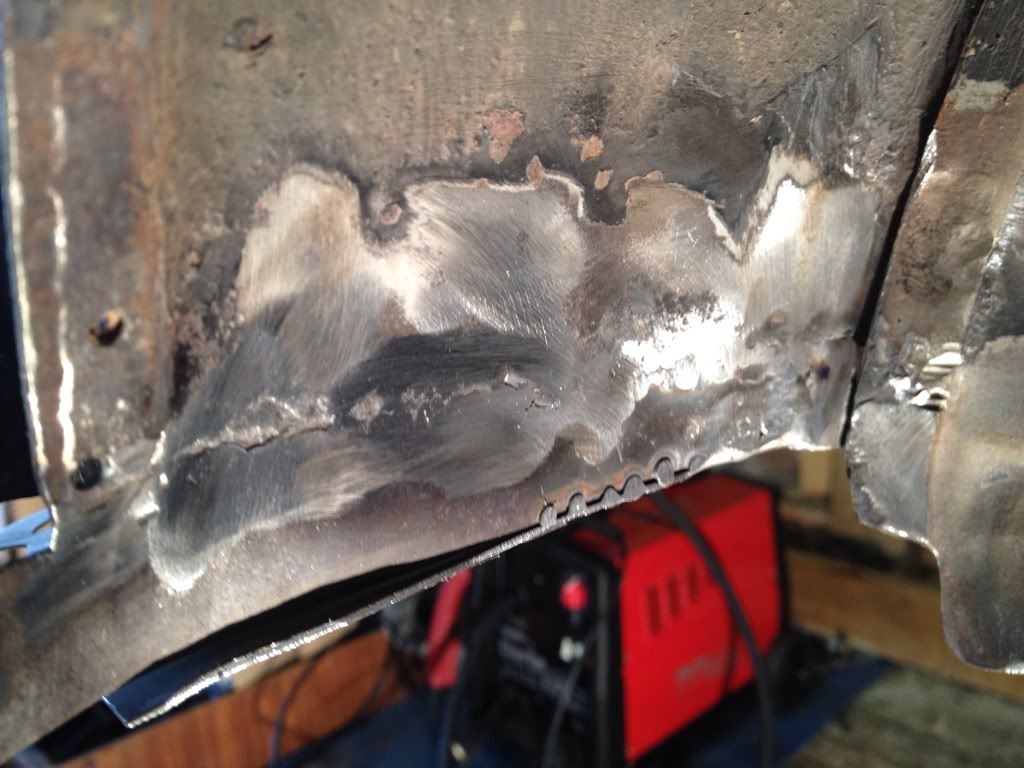
Whilst the engine build is underway, i have been playing with the welder! Dangerous I know! Finally got the courage that should I blow holes I can just fill it in with more metal, and assuming I don't run out of metal it should all be okay. Have learnt so much more about welding whilst welding the car than I have practicing on nice bits of metal. Anyway, down to business.
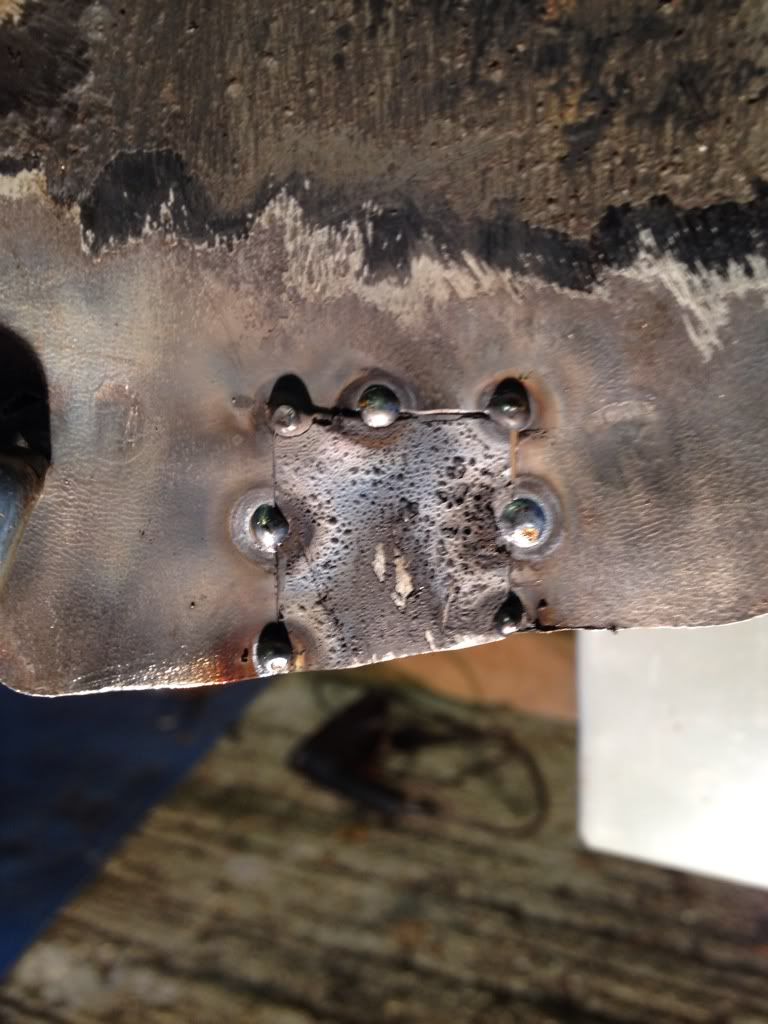
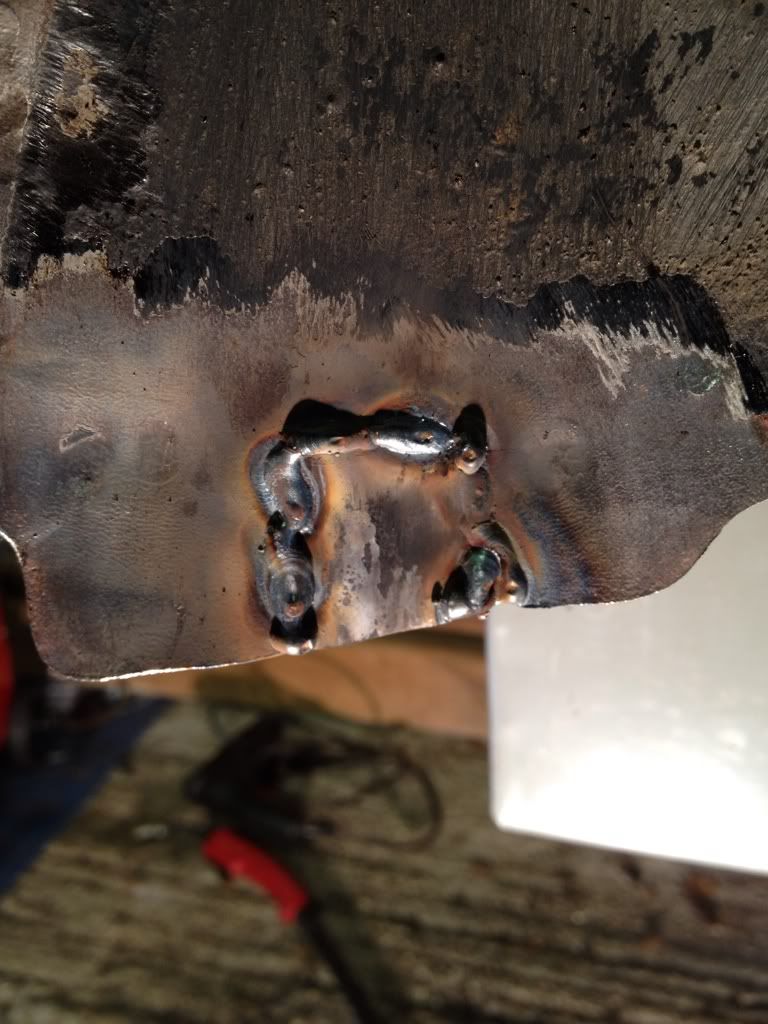
Got the rear of the boot floor cut out and the new repair panel tacked in.
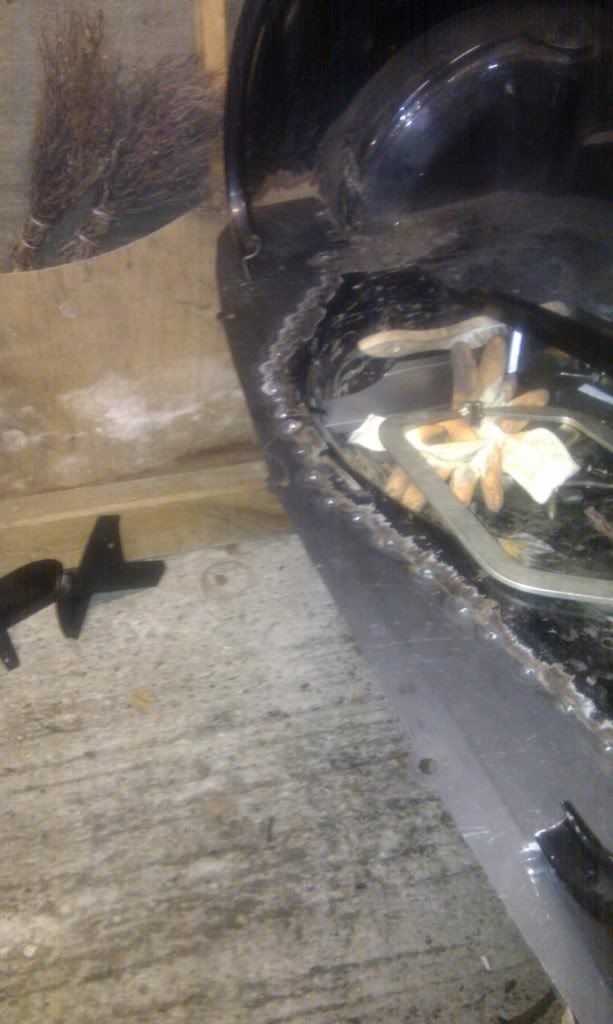
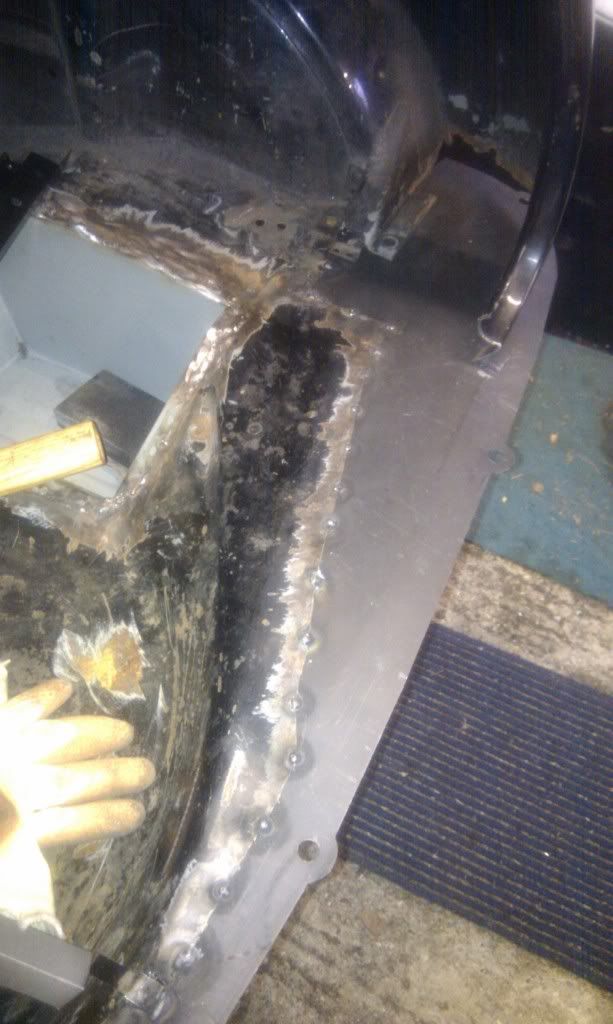
Seamed the gaps and rimed it up. Also shows the battery box welded in.

More too follow....
Got the rear of the boot floor cut out and the new repair panel tacked in.
Seamed the gaps and rimed it up. Also shows the battery box welded in.
More too follow....
#36
Goacher65
-
- Just Joined
-
- 161 posts
Mini Mad
- Location: Maidstone, Kent
- Local Club: Medway Mini Club
Posted 28 March 2012 - 10:26 AM
More photos of the repairs to the boot floor area.
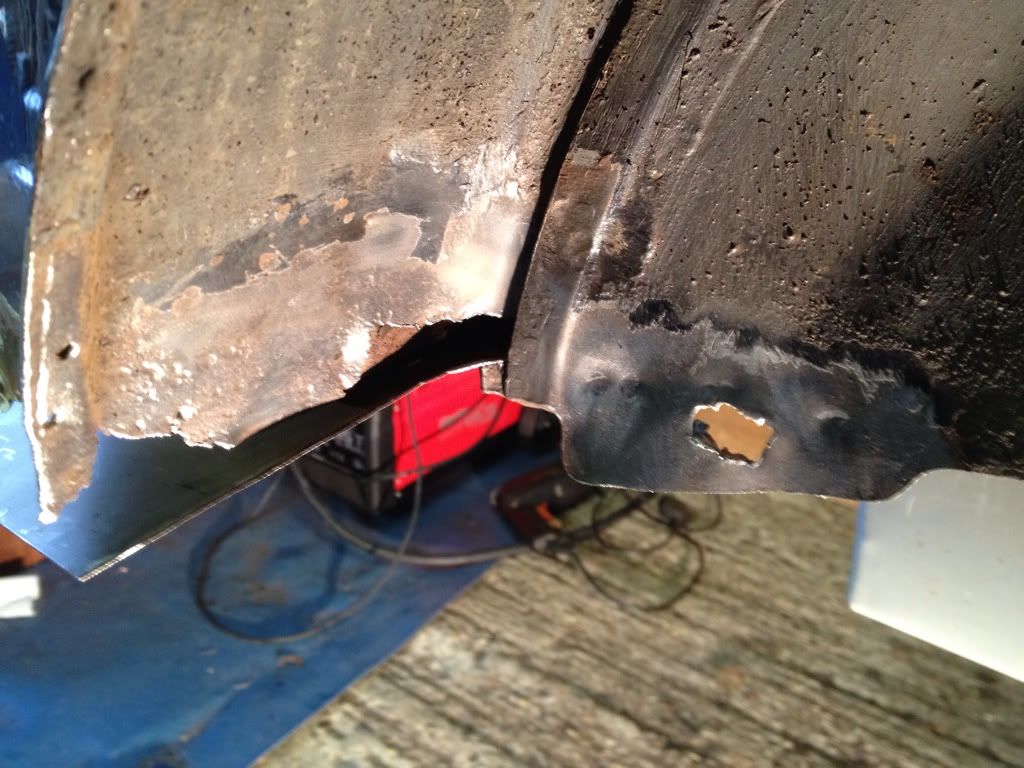
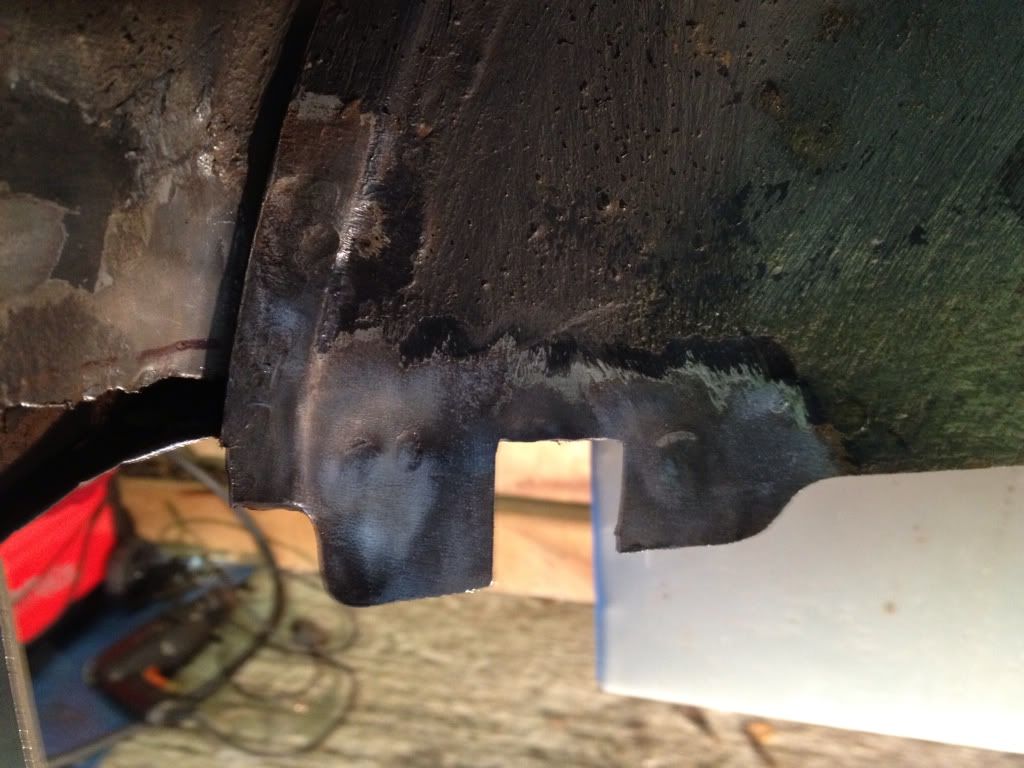
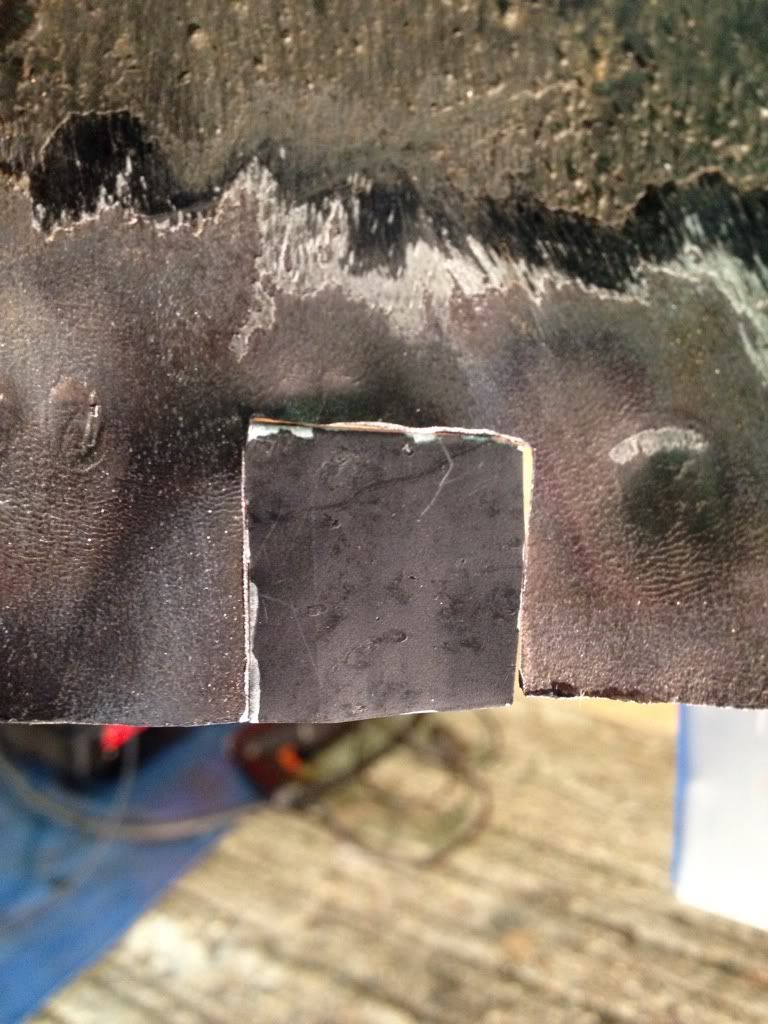
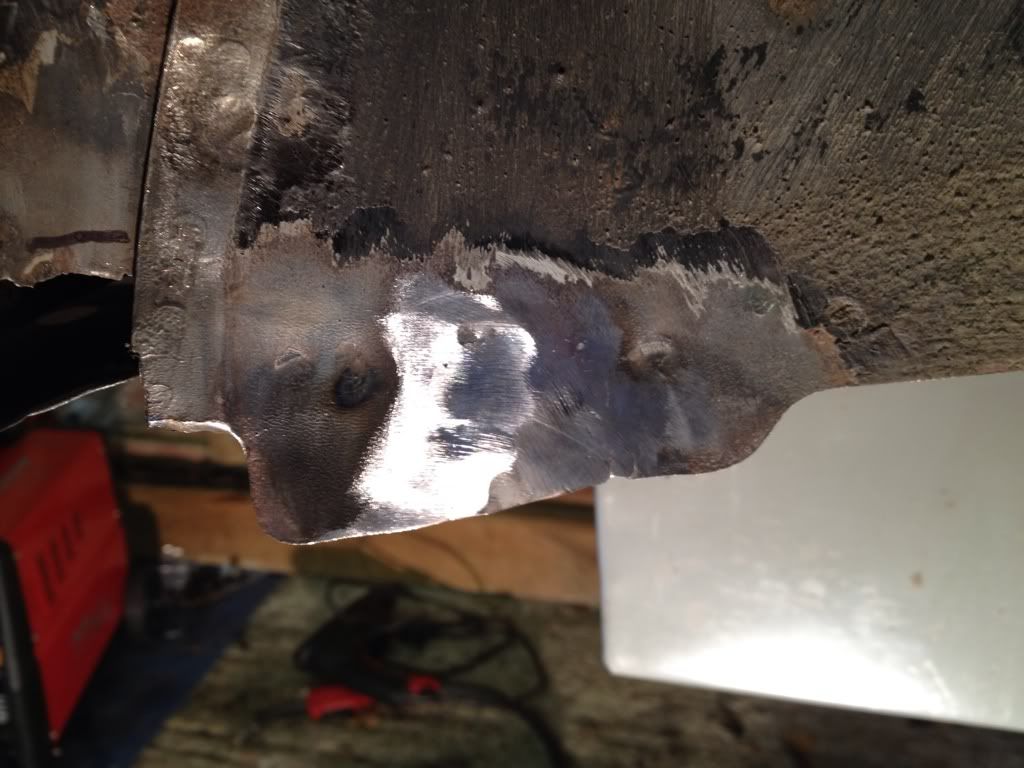
All dressed back. Not the prettiest, but as it is inside the wheel arch and not going t be visible from underneath the stonechip it shouldnt matter. Not too bac for my first solo repair.
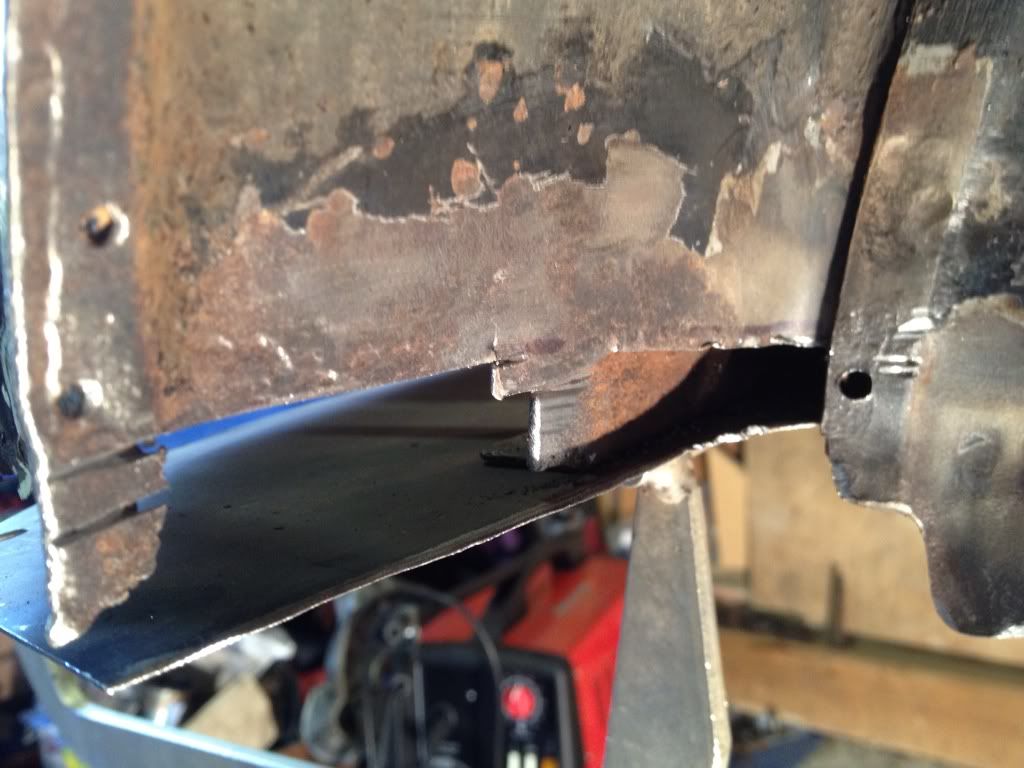
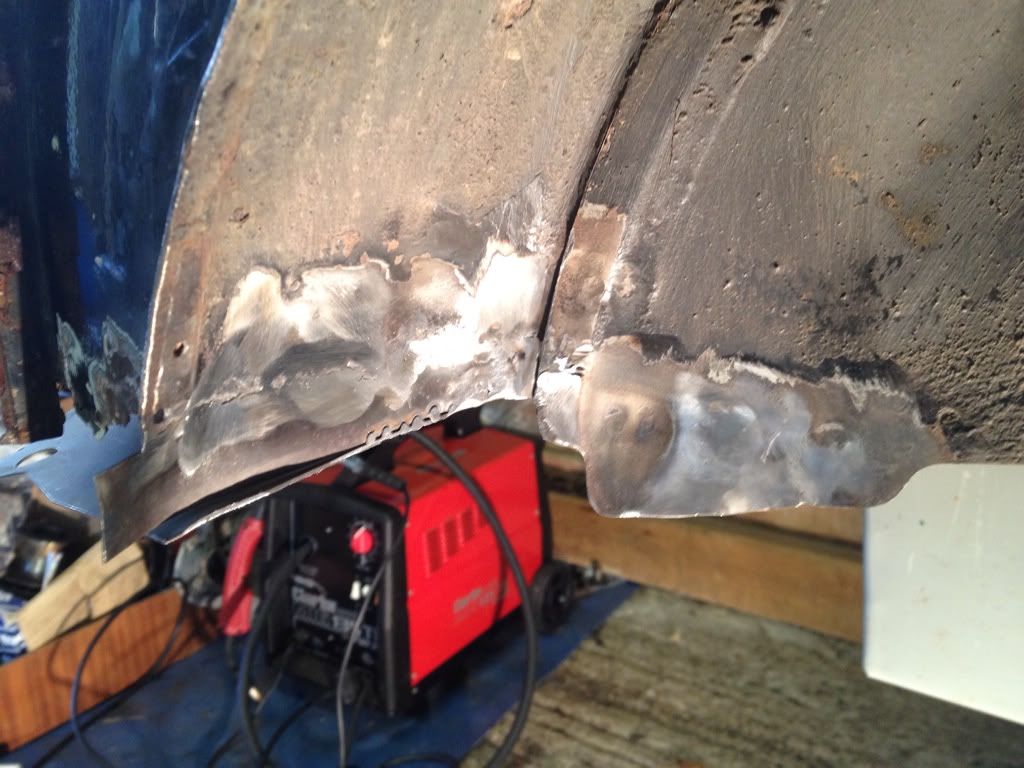
Also half way through repairing the rear quarter and the flange at the bottom of the rear panel, will update when they are complete.
All dressed back. Not the prettiest, but as it is inside the wheel arch and not going t be visible from underneath the stonechip it shouldnt matter. Not too bac for my first solo repair.
Also half way through repairing the rear quarter and the flange at the bottom of the rear panel, will update when they are complete.
#37
MiniJosh92
-
- Traders
-
- 1,691 posts
Camshaft & Stage Two Head
- Location: Nr Ashford, Kent
Posted 28 March 2012 - 07:35 PM
Good bit of progress 
#38
Goacher65
-
- Just Joined
-
- 161 posts
Mini Mad
- Location: Maidstone, Kent
- Local Club: Medway Mini Club
Posted 30 March 2012 - 07:39 PM
Don't know about good, but it's progress so thats better than nothing! :)
#39
Goacher65
-
- Just Joined
-
- 161 posts
Mini Mad
- Location: Maidstone, Kent
- Local Club: Medway Mini Club
Posted 27 November 2013 - 04:19 PM
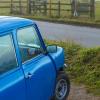
Well thanks to some nifty work by minijosh92, my shell has been finished and painted and currently looks like this!
 image.jpg 74.91K
15 downloads
image.jpg 74.91K
15 downloads
Now it's back under way I shall try and throw some updates on here as and when I can. Painful bit now is finding all the bits I still need and waiting for them to arrive in the post! (So far so good Minispares!)
image.jpg 74.91K
15 downloadsNow it's back under way I shall try and throw some updates on here as and when I can. Painful bit now is finding all the bits I still need and waiting for them to arrive in the post! (So far so good Minispares!)
#40
malcs_miniturbo
-
- Members
-
- 602 posts
Super Mini Mad
- Location: swindon
Posted 27 November 2013 - 06:07 PM
that shell looks stunning now get some more pics uploaded
#41
MiniJosh92
-
- Traders
-
- 1,691 posts
Camshaft & Stage Two Head
- Location: Nr Ashford, Kent
Posted 27 November 2013 - 08:39 PM
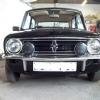
A random selection of pics I took during the bodywork -


#42
sonikk4
-
- Admin
-
- 15,885 posts
Twisted Paint Polisher!!!
- Name: Neil
- Location: Oxfordshire
Posted 27 November 2013 - 08:42 PM
Nice and shiny, looking good.
#43
Jase
-

- Traders
-
- 1,160 posts
One Carb Or Two?
- Location: Wales
Posted 20 February 2014 - 04:27 PM
Just picked up the thread. Car looks fantastic. I'm sure I remember seeing this on ebay a long time ago?
Jase
#44
Goacher65
-
- Just Joined
-
- 161 posts
Mini Mad
- Location: Maidstone, Kent
- Local Club: Medway Mini Club
Posted 23 February 2014 - 11:24 AM
Yes it was indeed on eBay. The early pics I think include the original listing photos. You know how these things go, takes a few years to get into the swing of things :). It's well underway now :). I'll try and arrange some more recent photos for all to see.
#45
caggiano
-

- Noobies
-
- 8 posts
Just On Tickover
- Location: london
Posted 23 February 2014 - 12:11 PM
I would replace it to be safe.


0 user(s) are reading this topic
0 members, 0 guests, 0 anonymous users


