Jump to content


Photo
- - - - -

Project Paddy A Long And Slow Rebuild.


  • Please log in to reply
1086 replies to this topic

#16 sonikk4

sonikk4

    Twisted Paint Polisher!!!

  • Admin
  • PipPipPipPipPipPipPipPipPipPipPip
  • 15,894 posts
  • Name: Neil
  • Location: Oxfordshire

Posted 28 April 2011 - 06:12 PM

Started on the flitch repair today so chopped out the lower section of rot
Posted Image
New repair section inner and outer view
Posted Image
Posted Image
And what is really pleasing is how good the floor is for a 36 year old Clubman
Posted Image
Posted Image

I don't give two hoots about the royal wedding so i will be welding the repair section in tomorrow. There was only one wedding that was important to me and that was mine 25 years ago. :P :D

#17 fabdabcab

fabdabcab

    Mini Mad

  • Noobies
  • PipPipPipPip
  • 175 posts

Posted 28 April 2011 - 07:18 PM

Started on the flitch repair today so chopped out the lower section of rot
Posted Image
New repair section inner and outer view
Posted Image
Posted Image
And what is really pleasing is how good the floor is for a 36 year old Clubman
Posted Image
Posted Image

I don't give two hoots about the royal wedding so i will be welding the repair section in tomorrow. There was only one wedding that was important to me and that was mine 25 years ago. :P :D

dito on the wedding working on mini is much more inportant, wished alice had less rust :dontgetit:

#18 hughJ

hughJ

    Soldiering Along

  • Members
  • PipPipPipPipPipPipPip
  • 727 posts
  • Location: Highlands, Scotland

Posted 28 April 2011 - 08:24 PM

Great to see you back fabricating, Neil. I do enjoy seeing your work and how you tackle things. I also enjoy seeing just how tidily and cleanly you do jobs. Up here in the Highlands the local council is so miserable we don't get the day off for welding, I mean the wedding. Looking forward to seeing this panel go in.

Hugh

#19 STREET TWEAKS

STREET TWEAKS

    Super Mini Mad

  • Traders
  • PipPipPipPipPipPip
  • 662 posts

Posted 28 April 2011 - 08:46 PM

Hi mate i don't know how you have got time for 2 mini's , i just about have time for 1 . fair play you , iam picking up alot of tips off the way you do thing's on your car's great work love it :P

#20 grahama

grahama

    Up Into Fourth

  • Members
  • PipPipPipPipPipPipPipPipPip
  • 2,442 posts
  • Location: Warrington
  • Local Club: None in my area !!

Posted 28 April 2011 - 09:00 PM

I have my suit pressed for the wedding and will be stood to attention for the big event, lol. However I fully suspect that when
i have had my morning coffee I will have had enough TV coverage so I fully intend to spend the day as you all are doing !

by the way Neil, you Whale omelette, nice work again, I have my eye on a clubby for my daughter but don't thing it will be around when I am ready :P .

Graham

#21 minimuk

minimuk

    Camshaft & Stage Two Head

  • Members
  • PipPipPipPipPipPipPipPip
  • 1,946 posts
  • Location: Midlands

Posted 28 April 2011 - 10:48 PM

Well Niel, what can I say, this looks like a fine tidy car alright, should have that one finished within a few royal wedding replays.
Same here as Hugh said,"I also enjoy seeing just how tidily and cleanly you do jobs"and attention to detail that makes all the difference, we keep learning from you. thanks.

#22 Scholes2012

Scholes2012

    Mini Mad

  • Members
  • PipPipPipPip
  • 239 posts
  • Local Club: NONE

Posted 29 April 2011 - 02:42 AM

I don't give two hoots about the royal wedding so i will be welding the repair section in tomorrow.


LOL.
I too have some welding to do, nice of them to give us an extra day for those finishing touch's before L2B. Great work as always, something to aspire to.
keep us posted. :P

Edited by Scholes2012, 29 April 2011 - 02:43 AM.


#23 sonikk4

sonikk4

    Twisted Paint Polisher!!!

  • Admin
  • PipPipPipPipPipPipPipPipPipPipPip
  • 15,894 posts
  • Name: Neil
  • Location: Oxfordshire

Posted 07 May 2011 - 08:59 PM

Did nothing on either mini's today as i was car shopping however yesterday i managed to weld in the lower flitch repair piece
Posted Image

A few of the welds were not too sports as there was some rust still evident due to not doing a full flitch repair at this time. With a bit of luck the end of next week i will get it all ground down ready for the next bits ie the sill and jacking point.

#24 lawrence

lawrence

    One Carb Or Two?

  • Members
  • PipPipPipPipPipPipPip
  • 1,330 posts

Posted 19 May 2011 - 08:38 PM

some more dam good work going on again :lol: makes me want to do even more work on mine. Tomorows going to be a mini day! keep it up

#25 sonikk4

sonikk4

    Twisted Paint Polisher!!!

  • Admin
  • PipPipPipPipPipPipPipPipPipPipPip
  • 15,894 posts
  • Name: Neil
  • Location: Oxfordshire

Posted 21 May 2011 - 07:20 PM

Under the cosh from Scott now to get Paddy mobile again so cracked on with the sill and jacking point. installation.

Jacking point on
Posted Image
Sill on
Posted Image
And ground down
Posted Image
So tomorrow i will paint the rear quarter and door step then move onto the flitch repair and scuttle close out fit.

#26 hughJ

hughJ

    Soldiering Along

  • Members
  • PipPipPipPipPipPipPip
  • 727 posts
  • Location: Highlands, Scotland

Posted 21 May 2011 - 07:38 PM

Brilliant - what work you get through. Neil, how do you clean out the old sill at the heel-board just where the rear subframe mount is. You seem to have the new one nicely tucked in behind the heel-board. Did you make or buy the jacking point? How does the sill fit at the jacking point? Is it welded to the sill?

Sorry for so many questions but you know the answers!

Hugh

#27 sonikk4

sonikk4

    Twisted Paint Polisher!!!

  • Admin
  • PipPipPipPipPipPipPipPipPipPipPip
  • 15,894 posts
  • Name: Neil
  • Location: Oxfordshire

Posted 21 May 2011 - 08:12 PM

Brilliant - what work you get through. Neil, how do you clean out the old sill at the heel-board just where the rear subframe mount is. You seem to have the new one nicely tucked in behind the heel-board. Did you make or buy the jacking point? How does the sill fit at the jacking point? Is it welded to the sill?

Sorry for so many questions but you know the answers!

Hugh


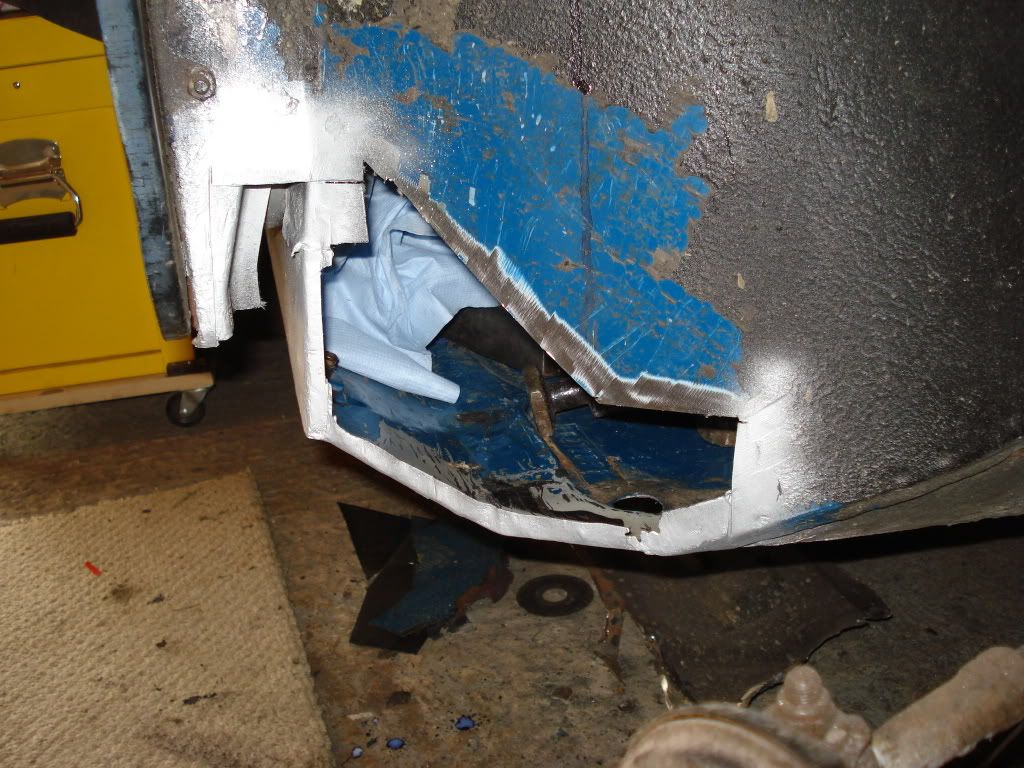
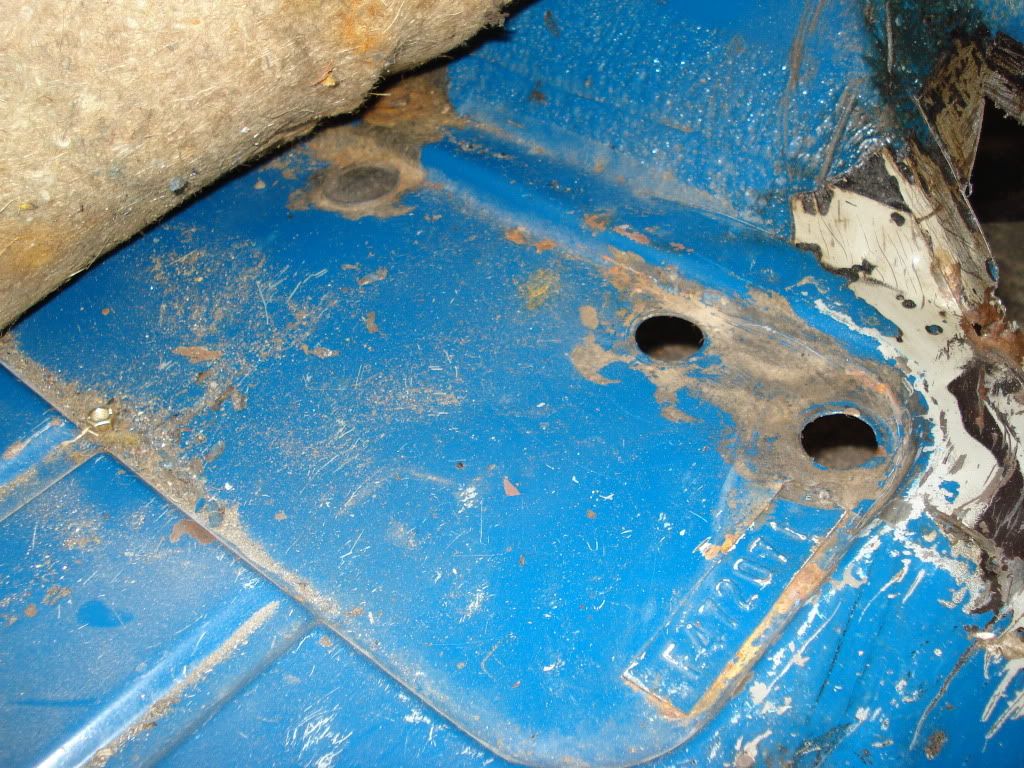
Hi Hugh i cheated with the sill at the subframe end. I chopped the joggled section off and then butt welded to the heel board. I could have spent time clearing out inside the heel board but to be honest as this is only a make over i could not be bothered.

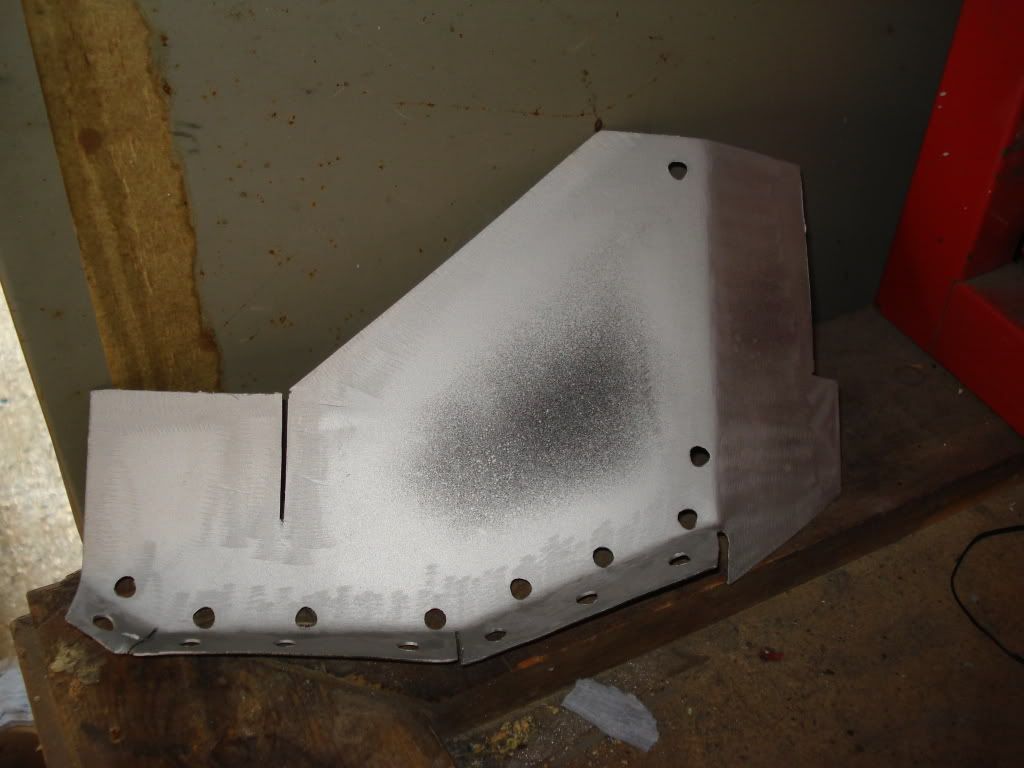
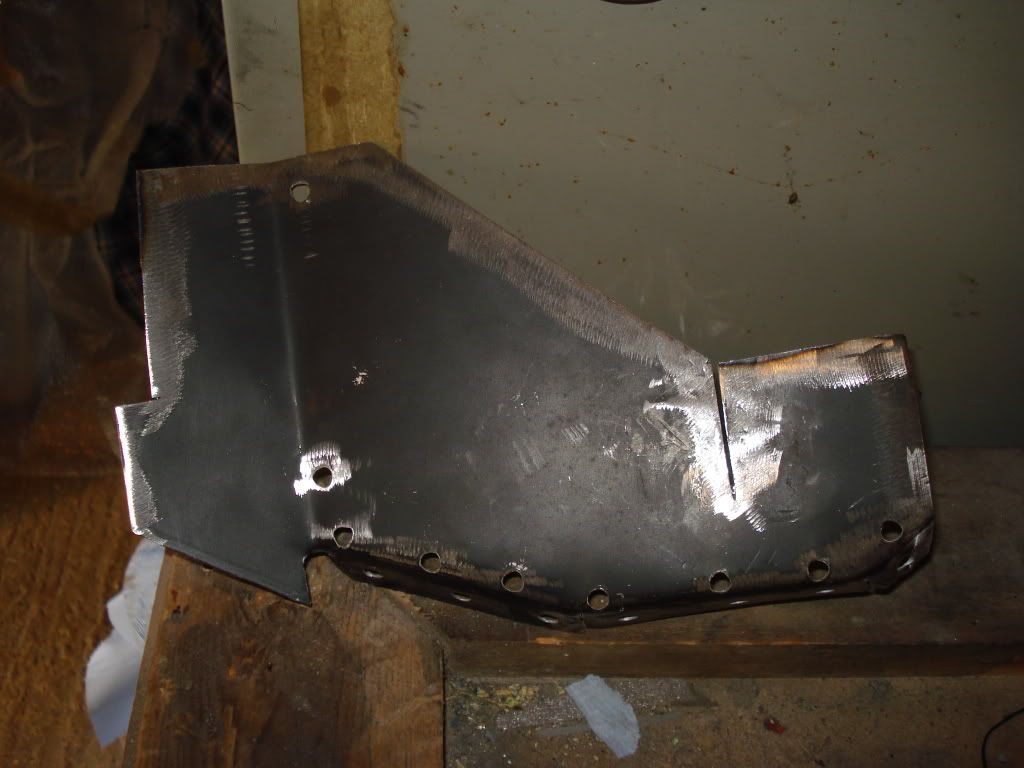
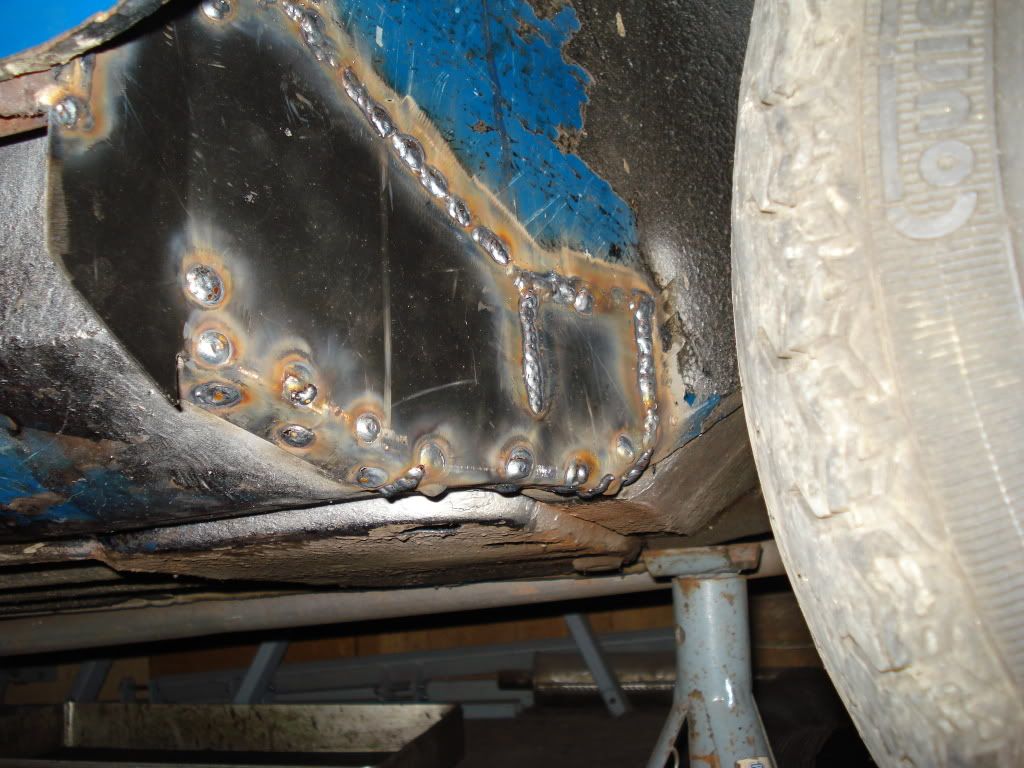
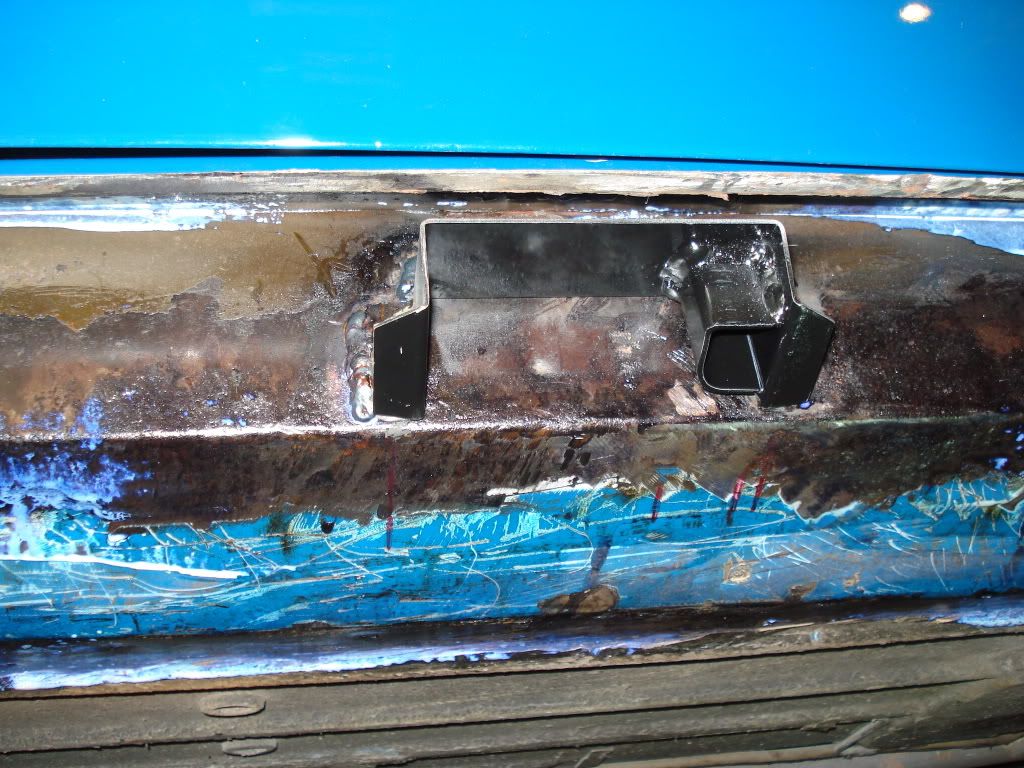
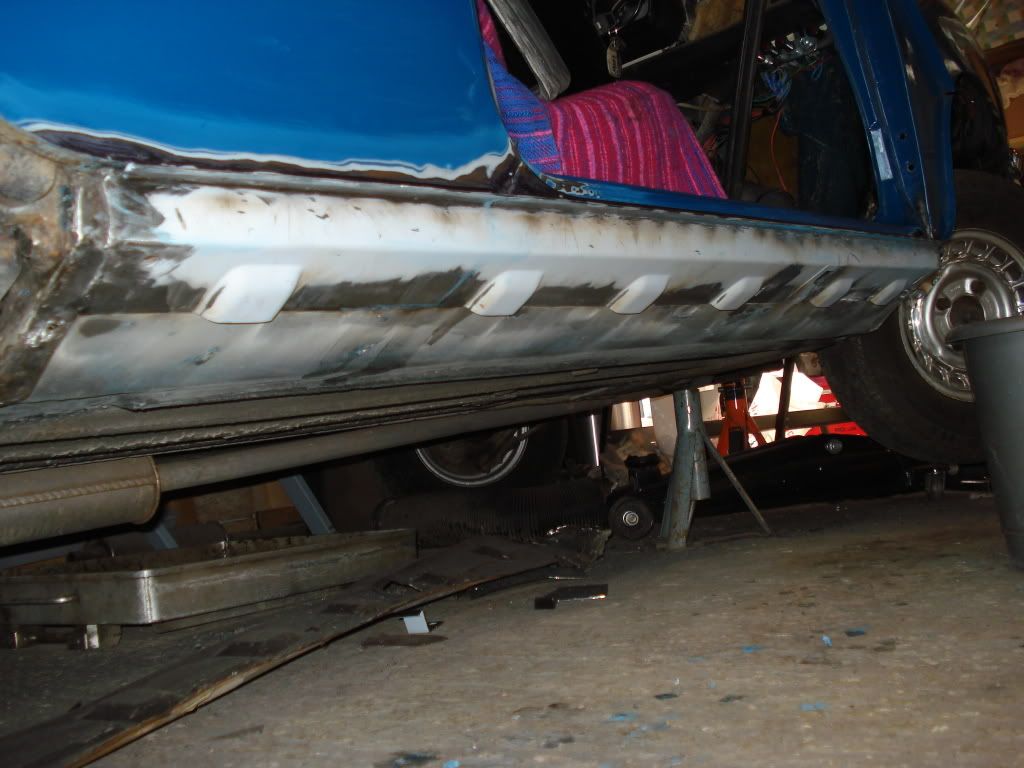
With reference to the jacking point i clamped the sill in its correct place then drew two lines down from the jacking point cut out onto the inner sill. Took off the sill then by eye tacked the jacking point in line with my lines and offered up the sill again. This took two attempts but once i was happy with its position i then seam welded it in place.

Again offered the sill up so i could drill some 1/4" inch holes to plug weld the sill to the mount. Took off the sill and spray painted Hammerite up into the underside of the door step and inner sill reinforcing panel. At the same time sprayed some zinc rich primer onto the door step flange and the lower section of the inner sill so i could weld on the sill.

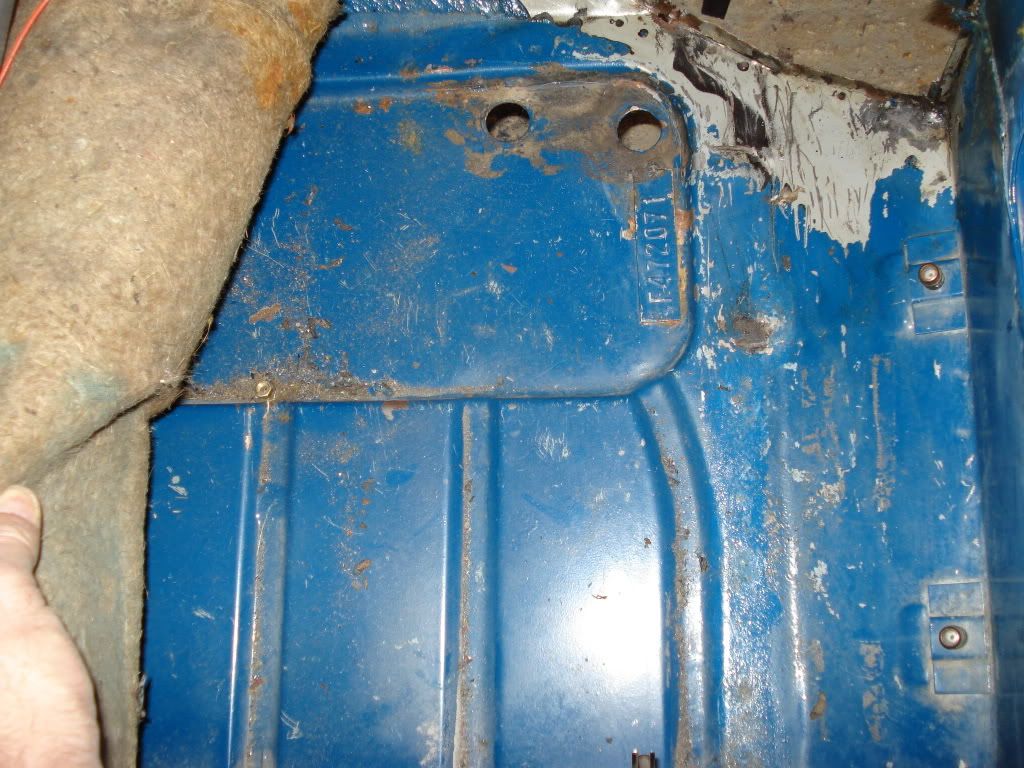
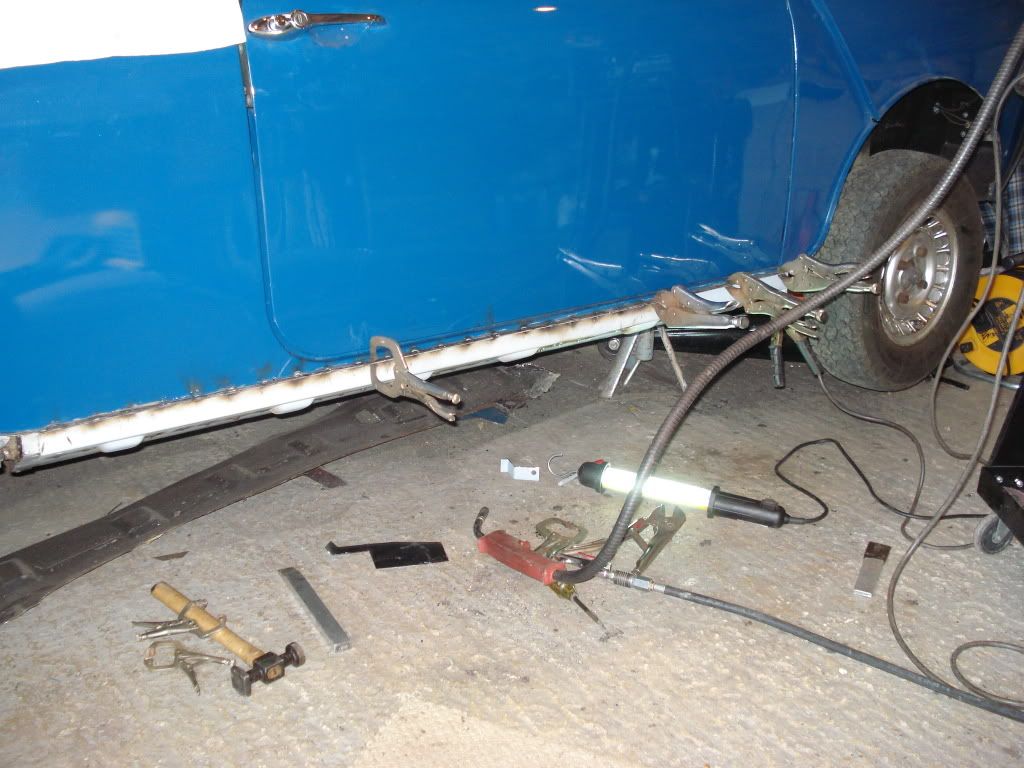
Welded the sill on and ground flush. The stupid thing is in a couple of years all of this will be coming off again to carry out a full restoration, the inner sills will need some attention as they are starting to look a little worse for wear but will do for the time being.

#28 hughJ

hughJ

    Soldiering Along

  • Members
  • PipPipPipPipPipPipPip
  • 727 posts
  • Location: Highlands, Scotland

Posted 21 May 2011 - 09:08 PM

Neil, as usual a great help, thanks

Hugh

#29 grahama

grahama

    Up Into Fourth

  • Members
  • PipPipPipPipPipPipPipPipPip
  • 2,442 posts
  • Location: Warrington
  • Local Club: None in my area !!

Posted 21 May 2011 - 09:18 PM

Sorry Neil, what is a joggled joint on the sil ??

Sorry if simple but bin out !!!

Graham

#30 sonikk4

sonikk4

    Twisted Paint Polisher!!!

  • Admin
  • PipPipPipPipPipPipPipPipPipPipPip
  • 15,894 posts
  • Name: Neil
  • Location: Oxfordshire

Posted 21 May 2011 - 09:37 PM

At the heel board end of the sill Graham is a section that tucks inside the heel board. For it to do this and follow the contour of the sill it has a step in it (the joggle) which enables the sill to fit flush with the heel board.

I will try and post a photo tomorrow to better explain this. Its is something that is used a lot on car repairs especially wheel arches for example. You can buy a tool to actually make the joggle.


0 user(s) are reading this topic

0 members, 0 guests, 0 anonymous users