Jump to content


Photo
- - - - -

Project Paddy A Long And Slow Rebuild.


  • Please log in to reply
1086 replies to this topic

#31 sonikk4

sonikk4

    Twisted Paint Polisher!!!

  • Admin
  • PipPipPipPipPipPipPipPipPipPipPip
  • 15,897 posts
  • Name: Neil
  • Location: Oxfordshire

Posted 22 May 2011 - 06:35 PM

Splashed some paint on Paddy today.
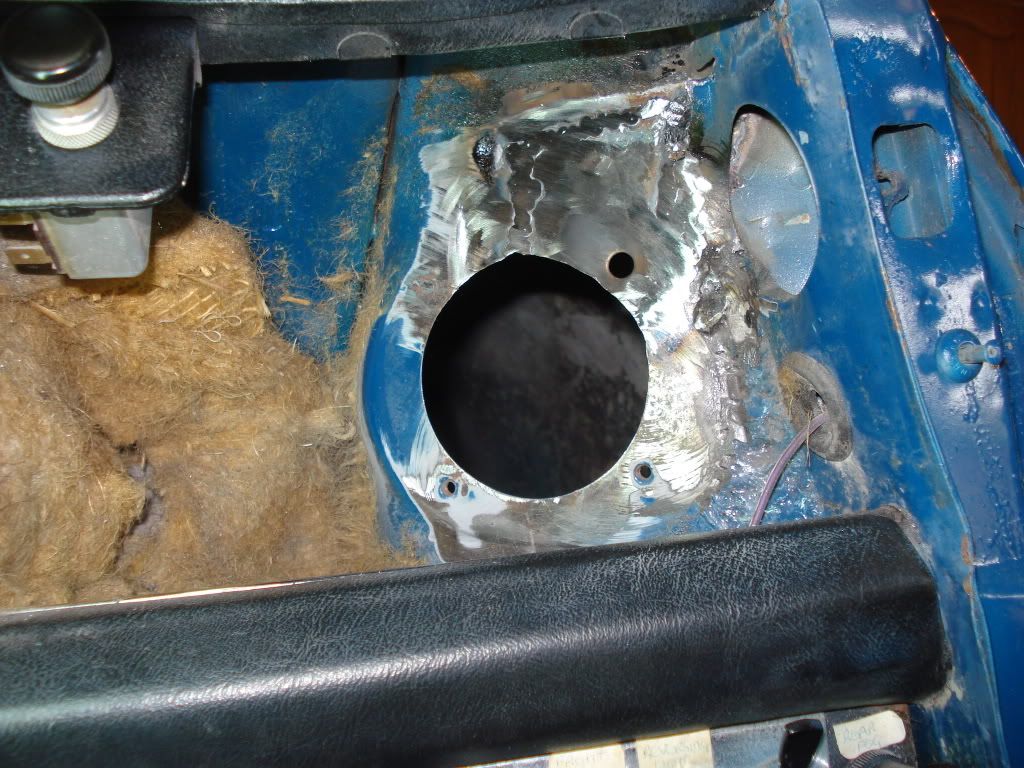
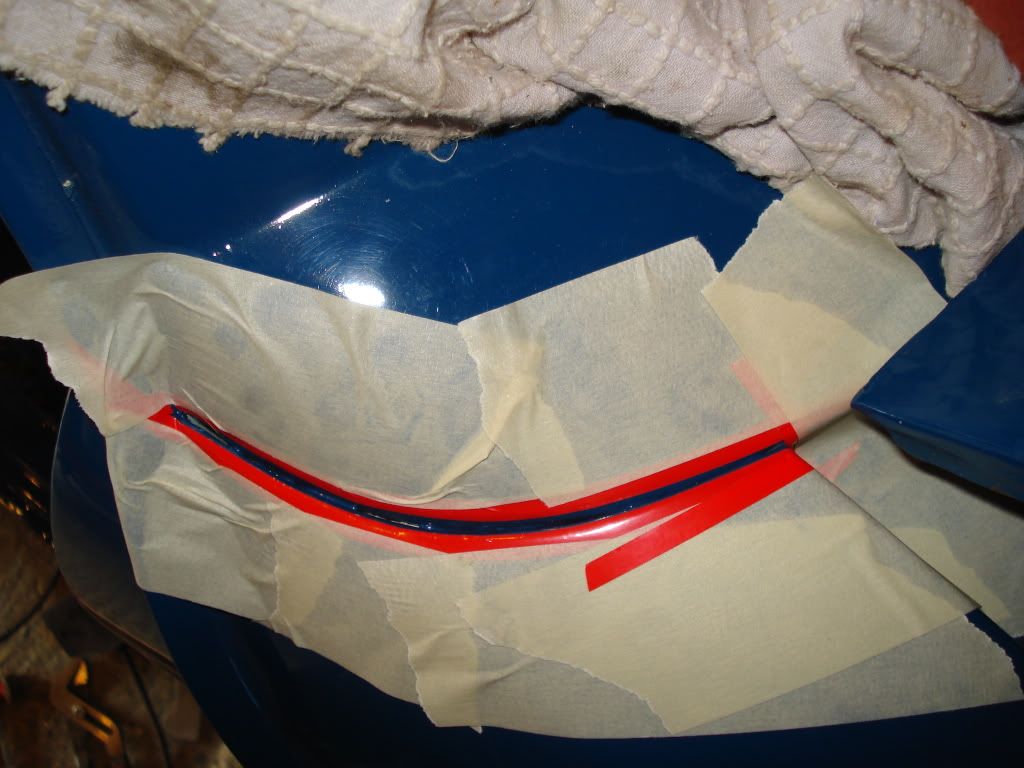
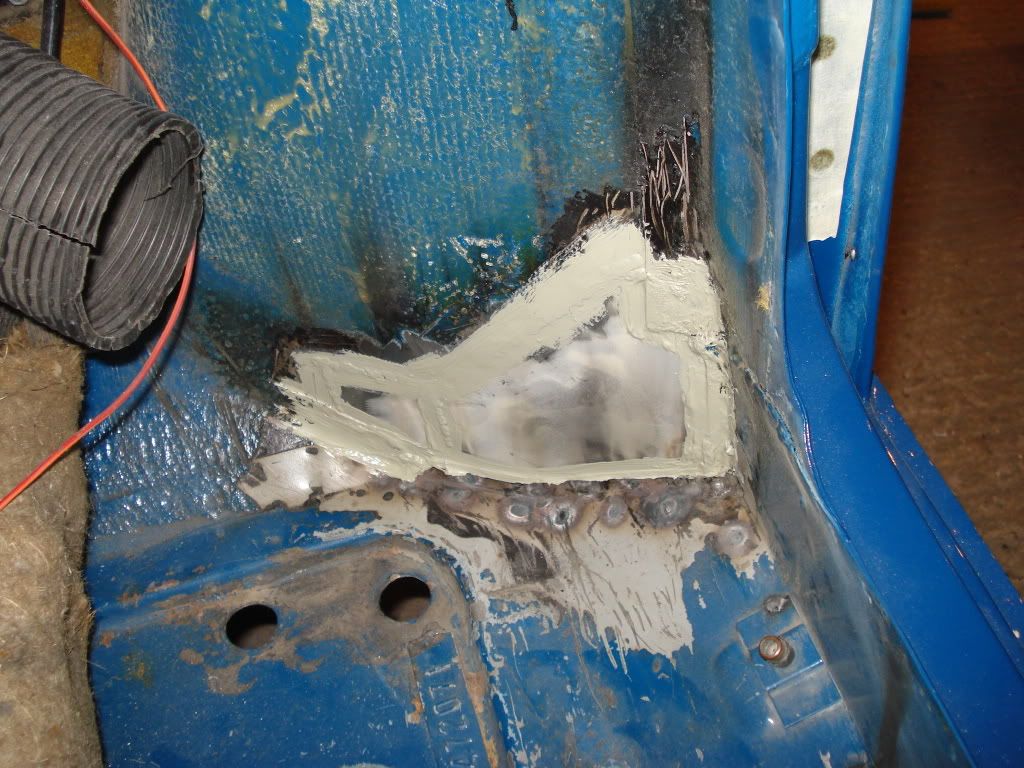
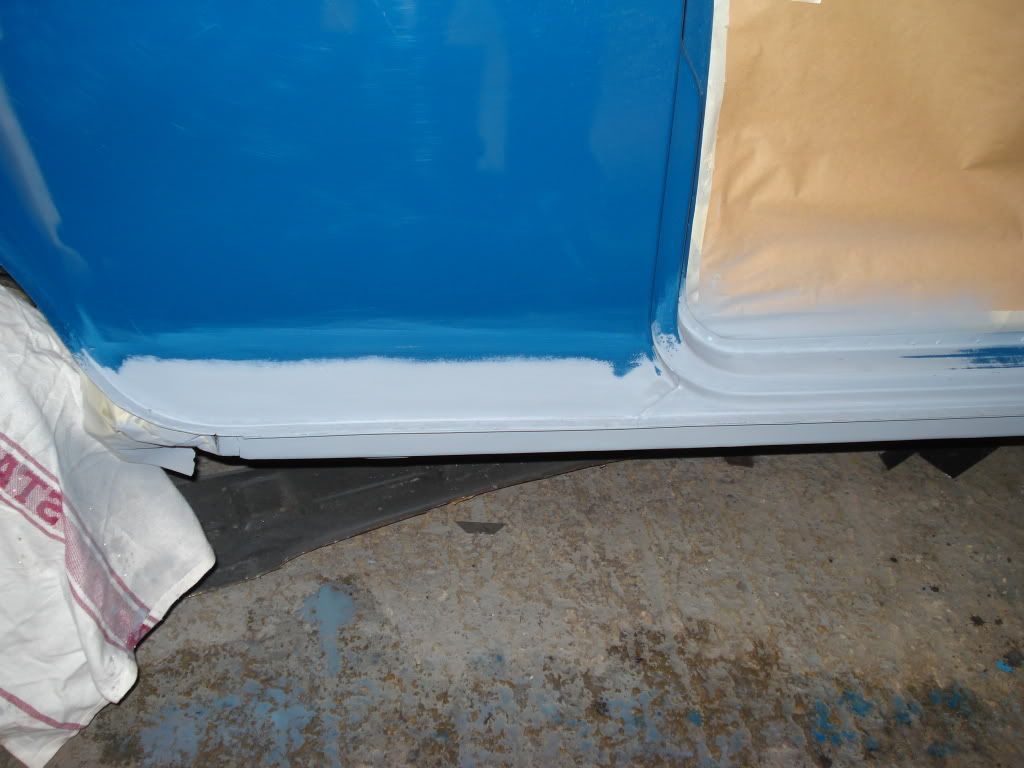
First off the areas to be painted were masked off using some fine line tape (the blue tape in the photo's) and masking tape.
Posted Image
Posted Image
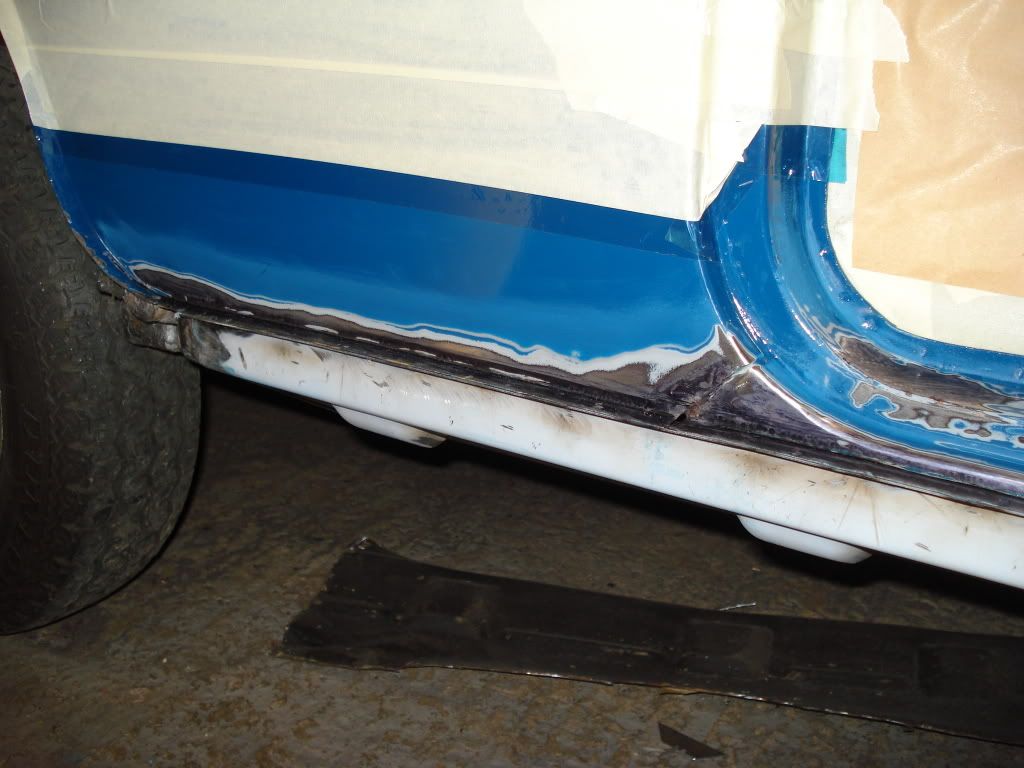
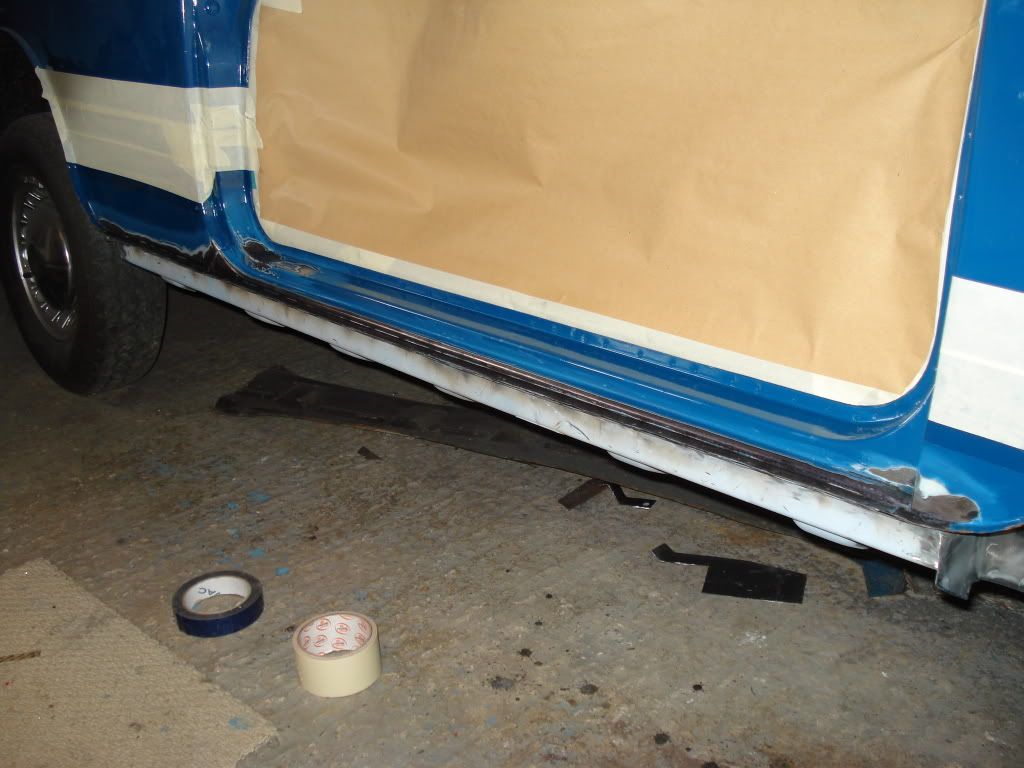
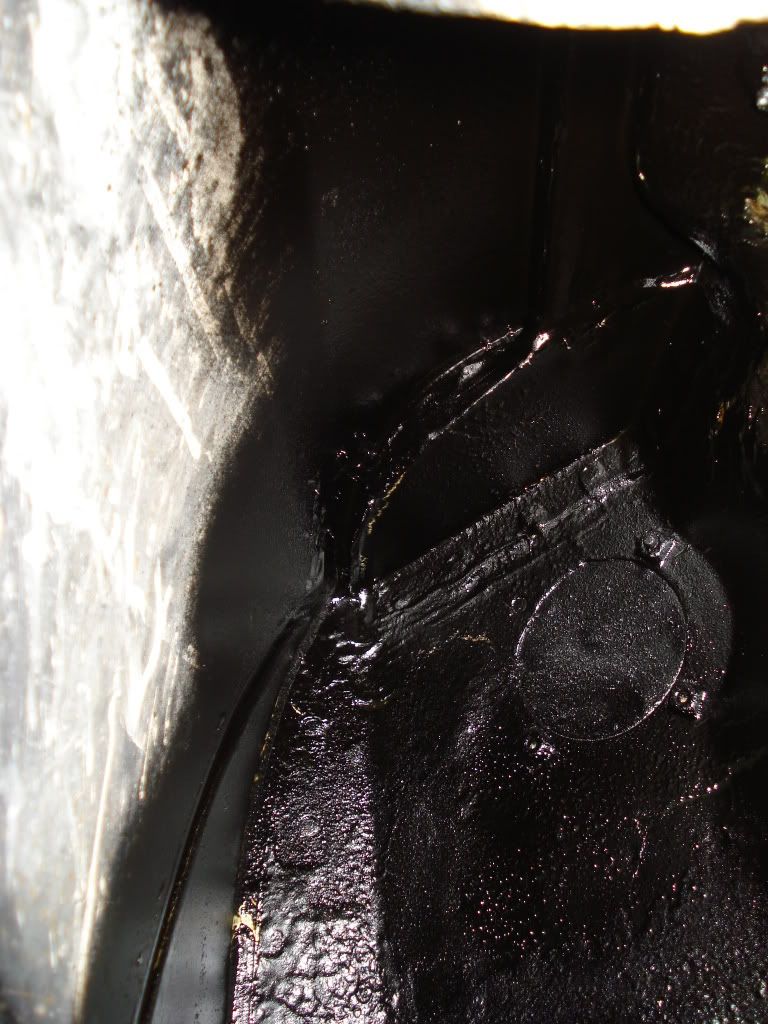
Any bare metal was treated with Krust and then a fine coat of etch primer was applied
Posted Image
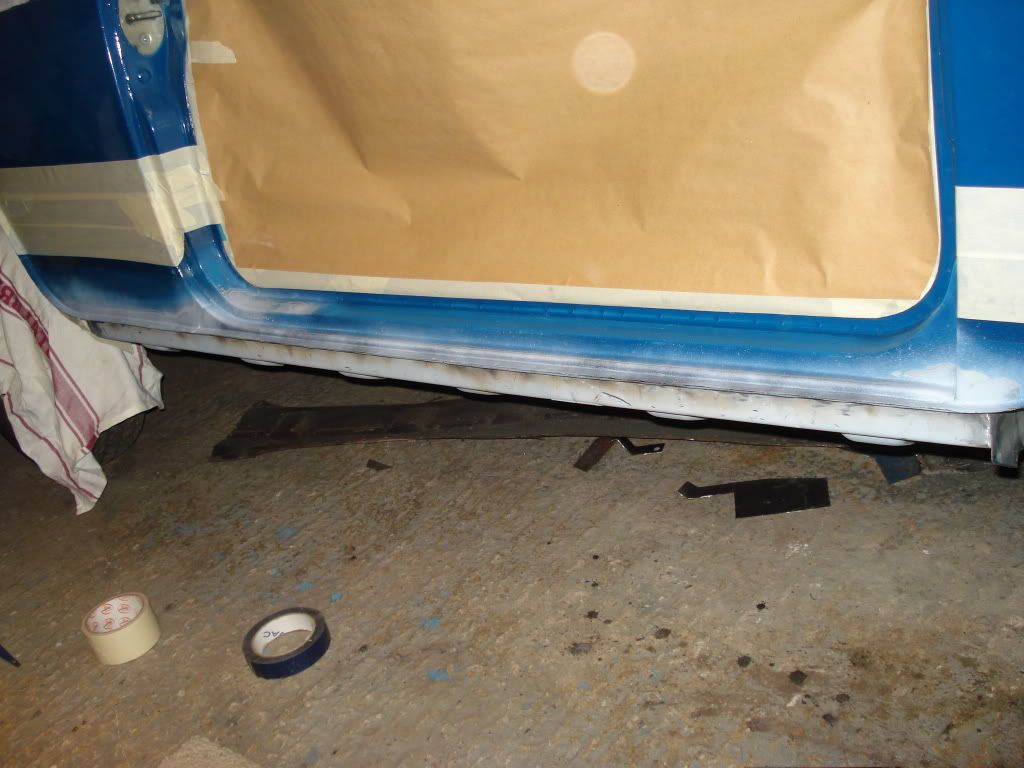
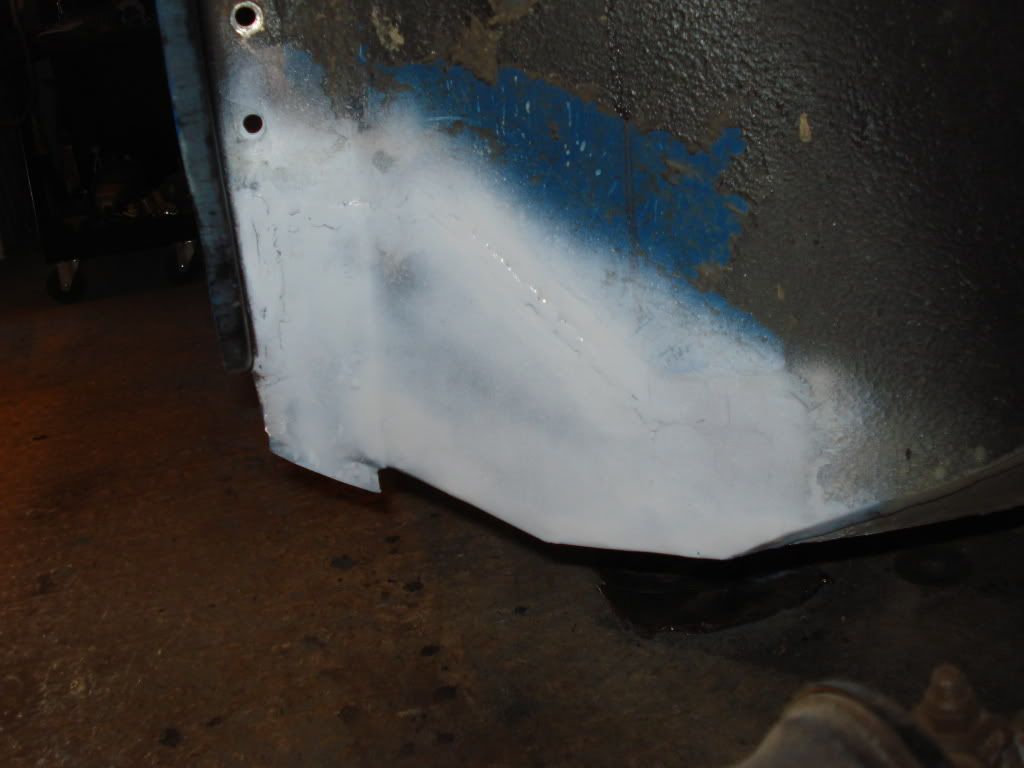
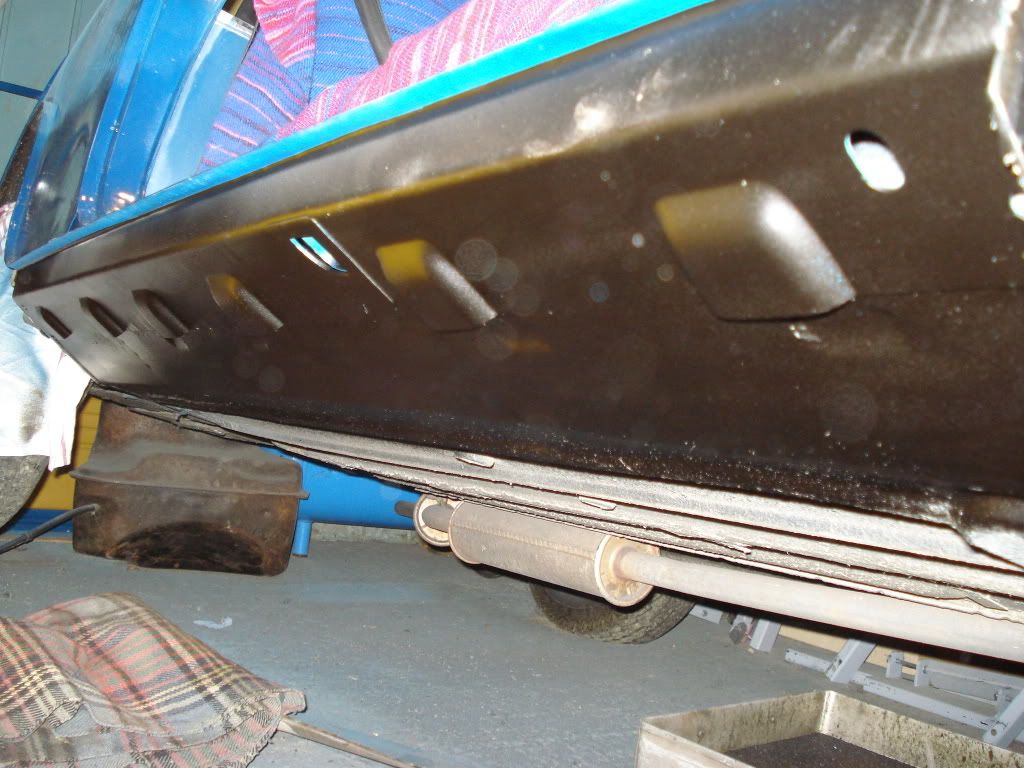
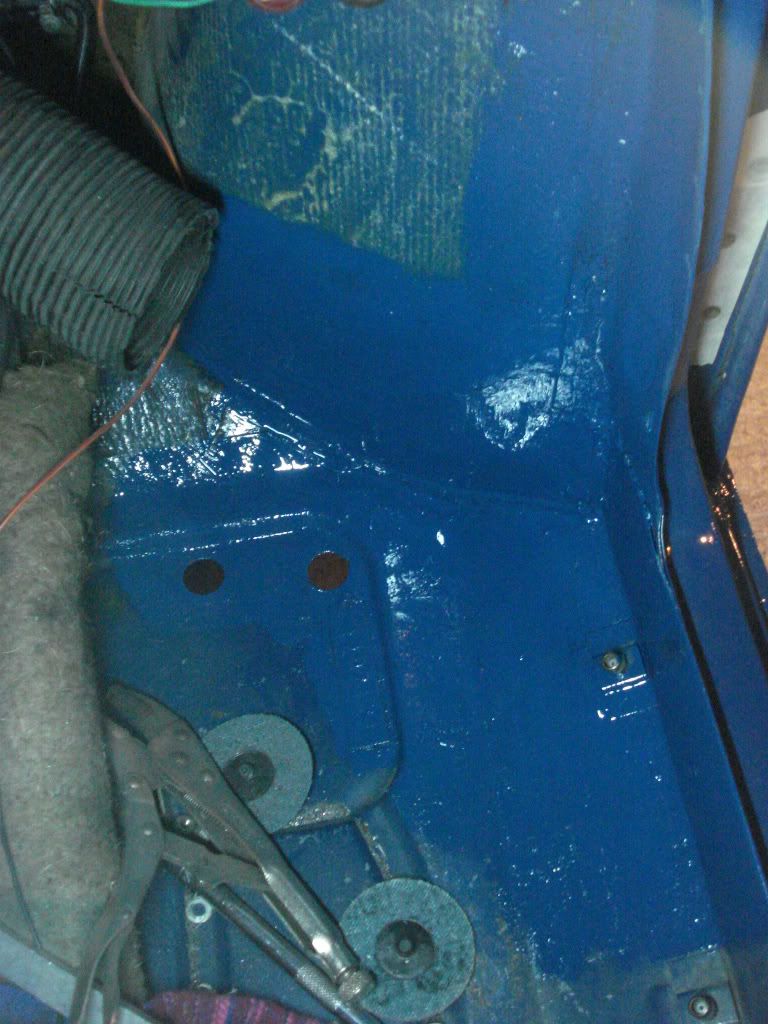
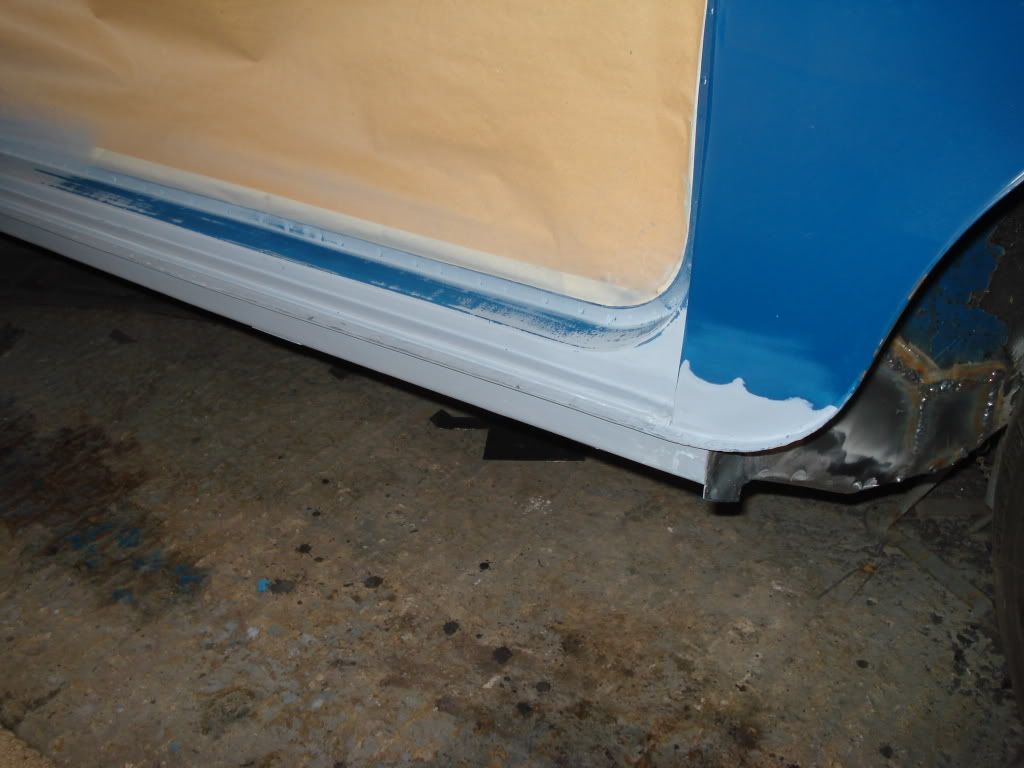
Next step was several coats of high build primer
Posted Image
Posted Image
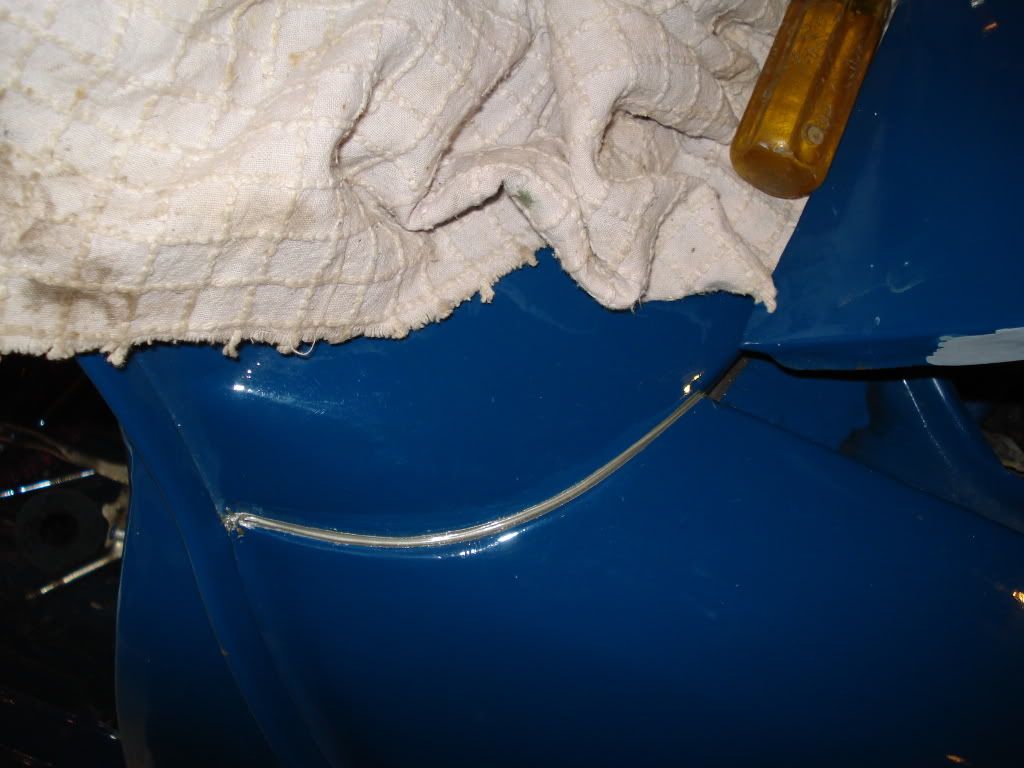
All of the tape and paper was removed and then the high build was rubbed flat with some 400 grit wet and dry followed by some 2000
Posted Image
Posted Image
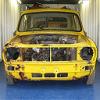
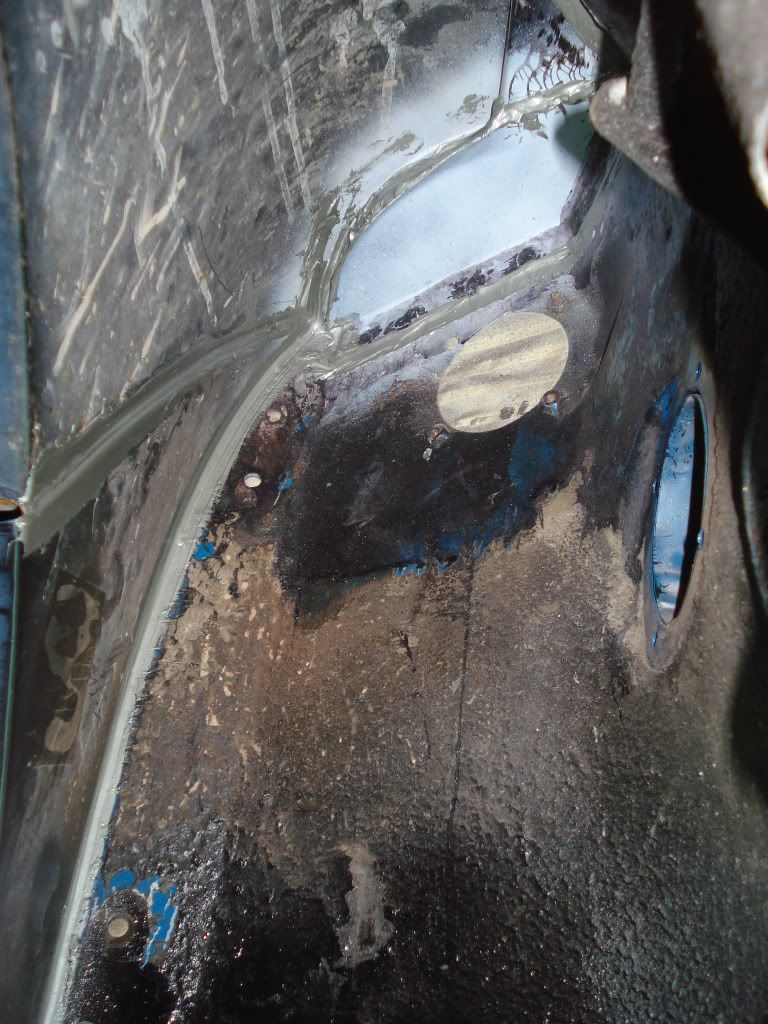
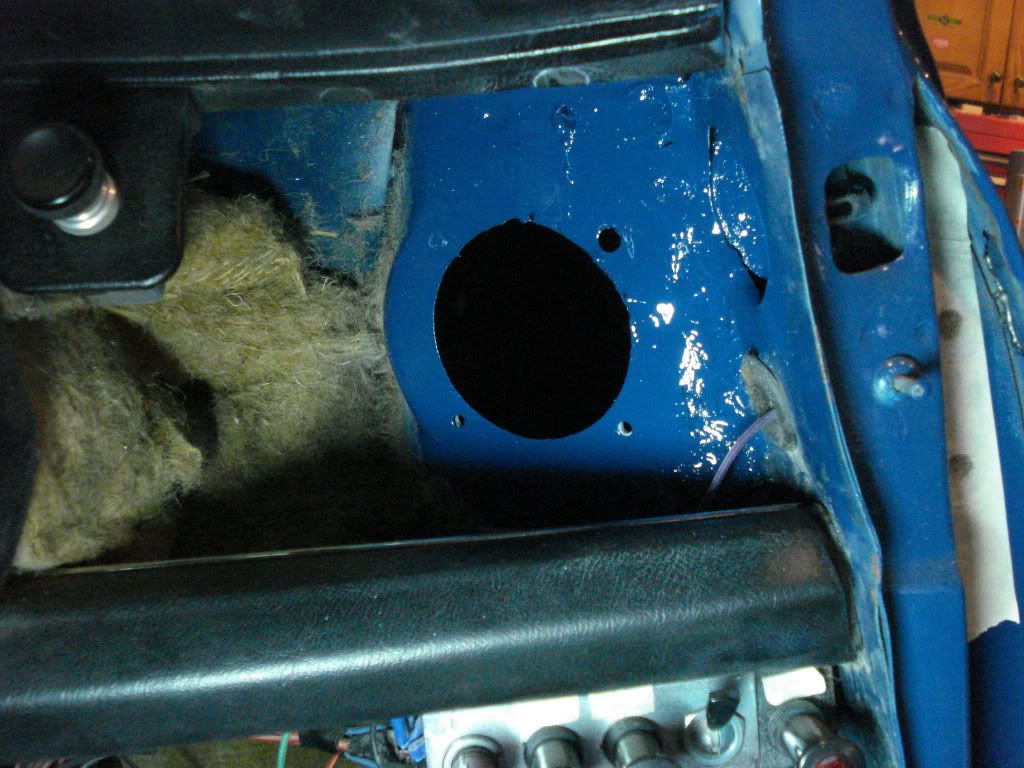
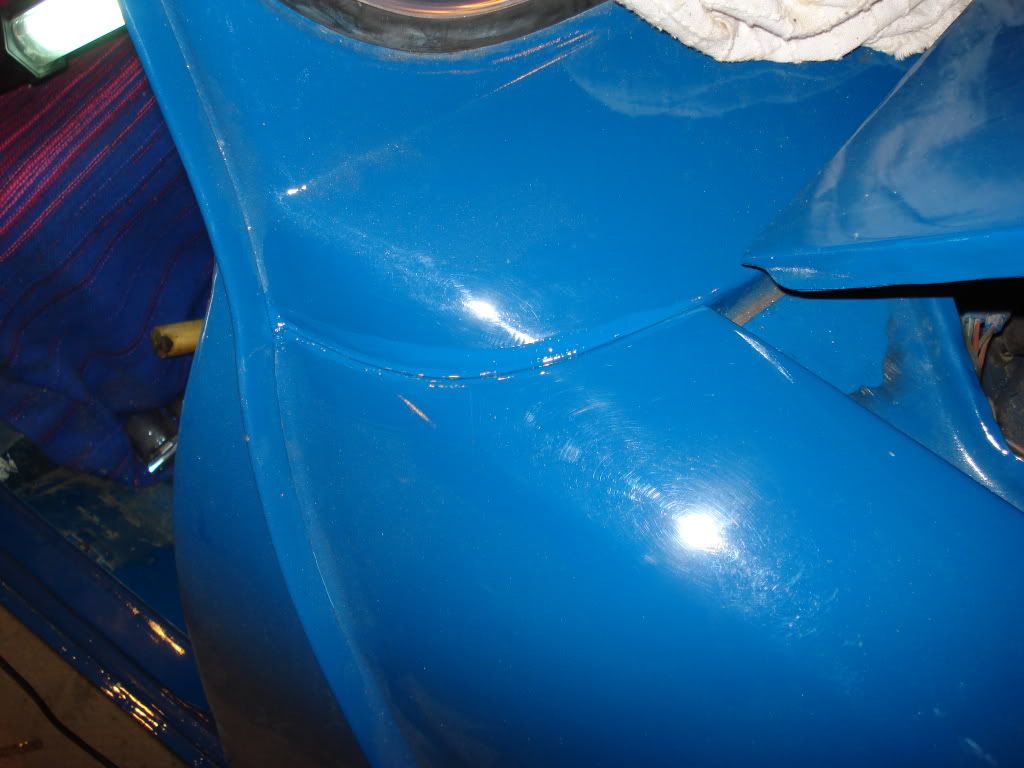
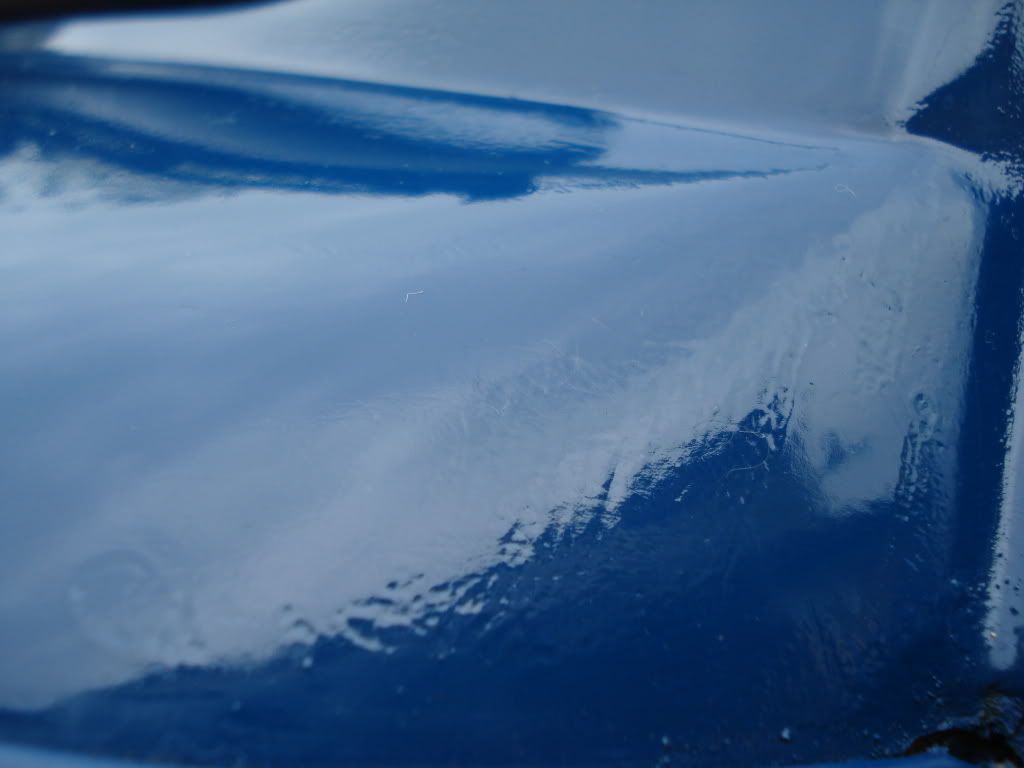
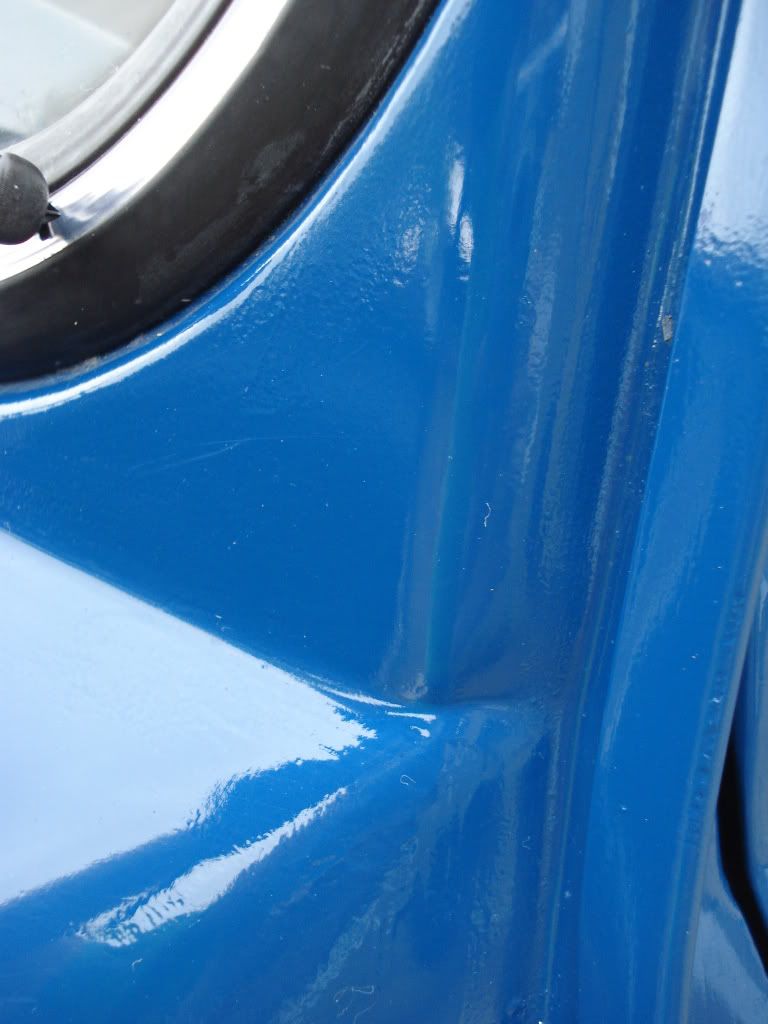
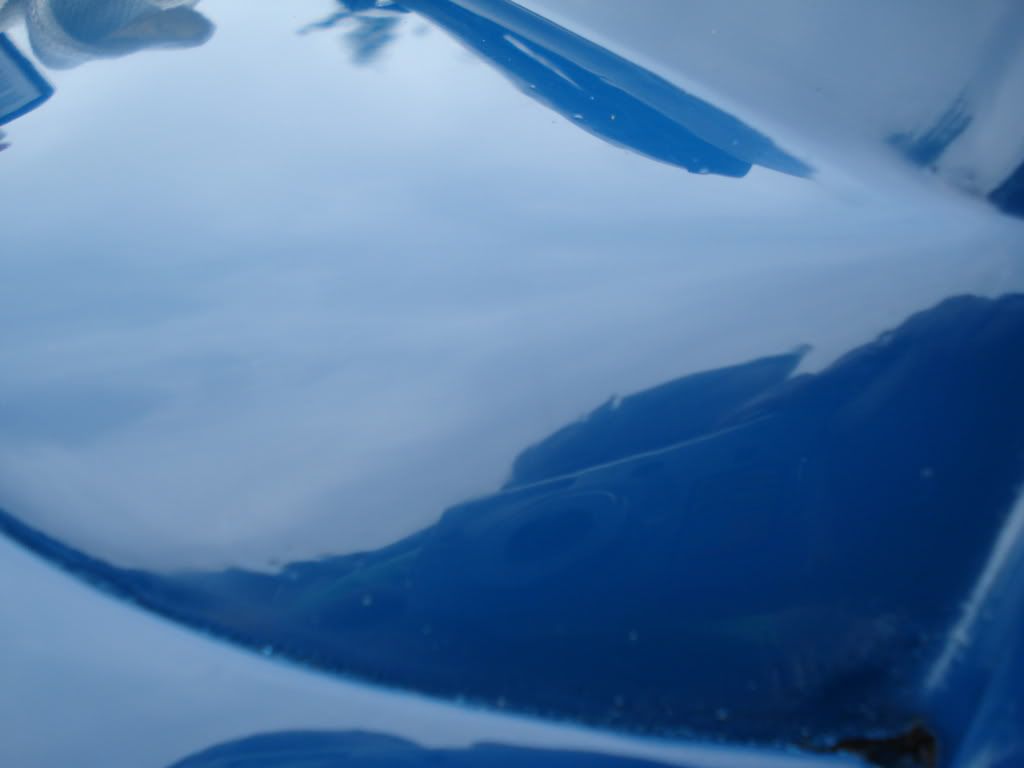
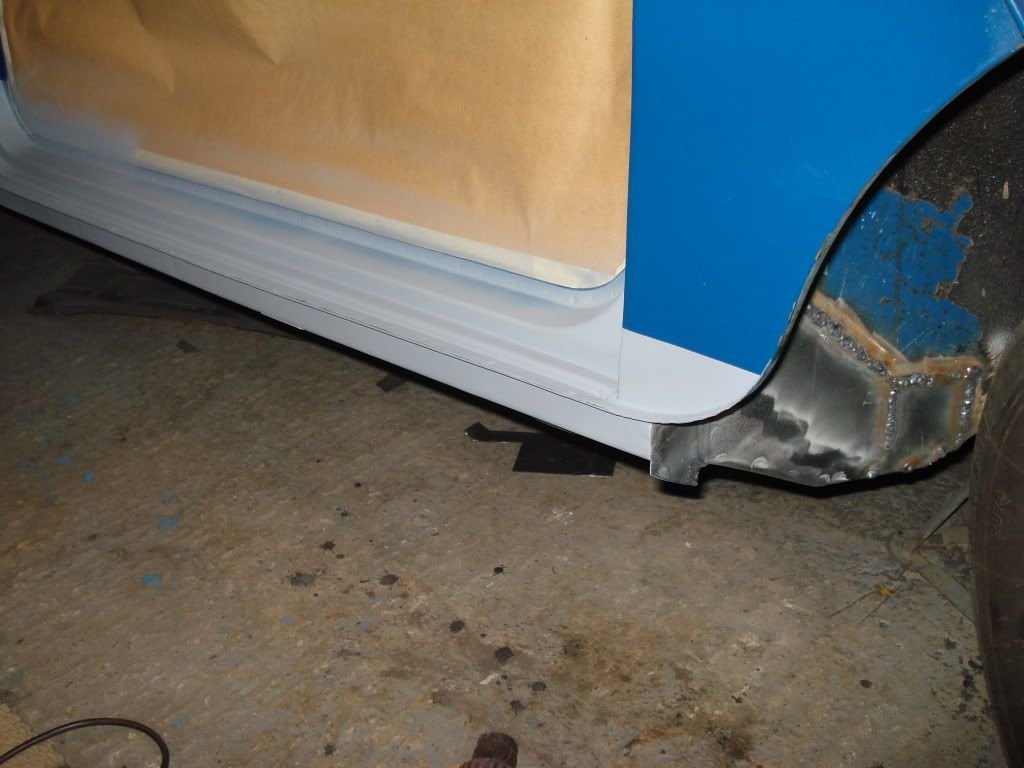
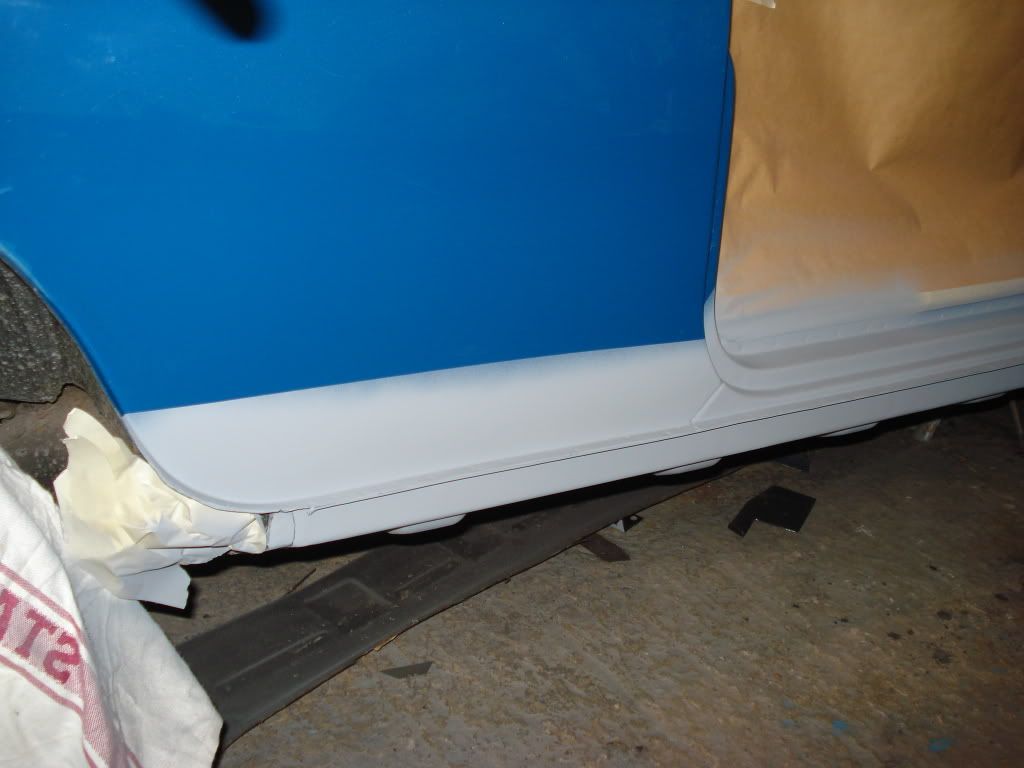
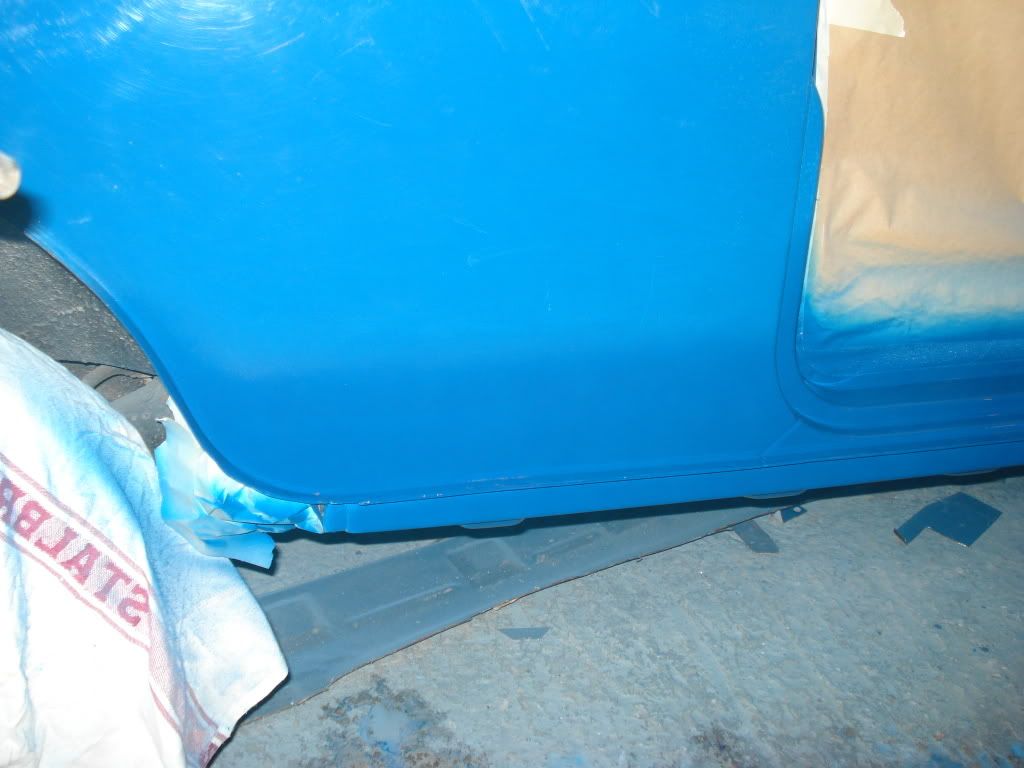
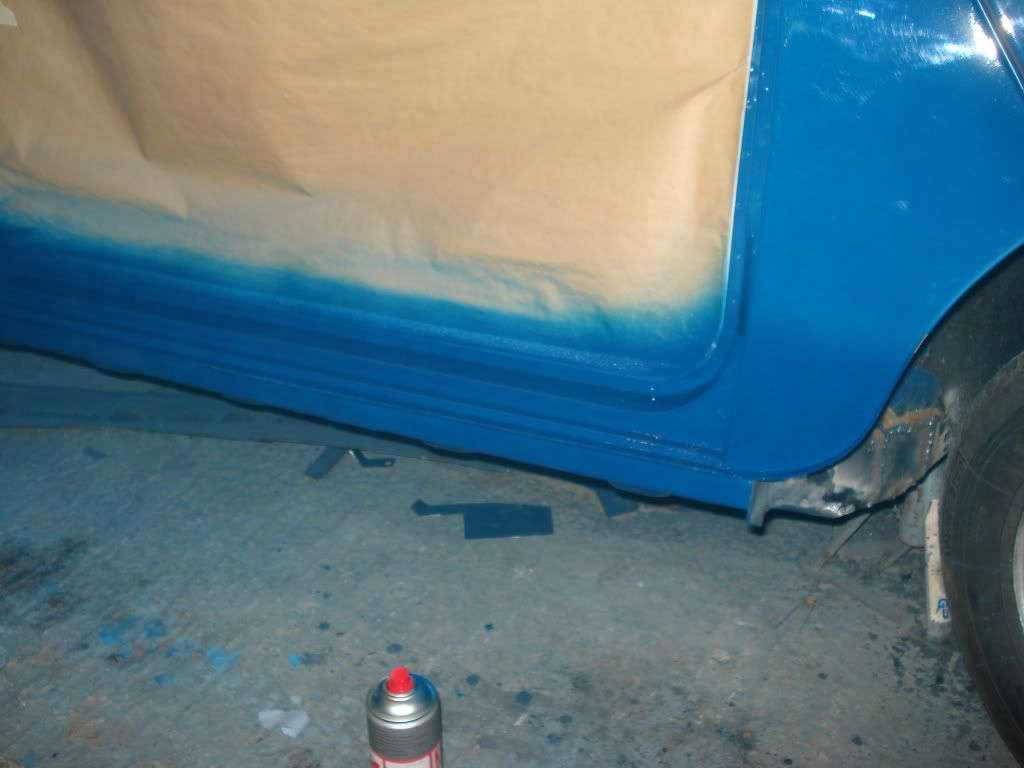
Then once the whole lot was panel wiped several coats of top coat were applied, the overall finish was good but the colour match not so good, however it all needs to be flatted back and then polished. Hopefully this will improve things.
Posted Image
Posted Image

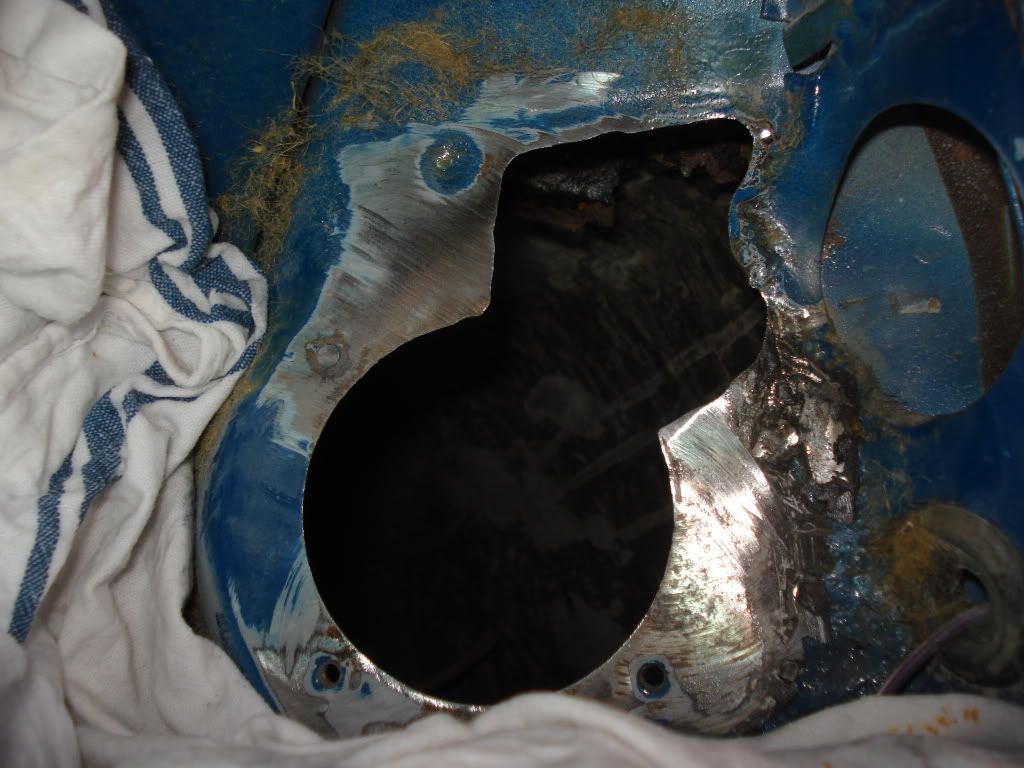
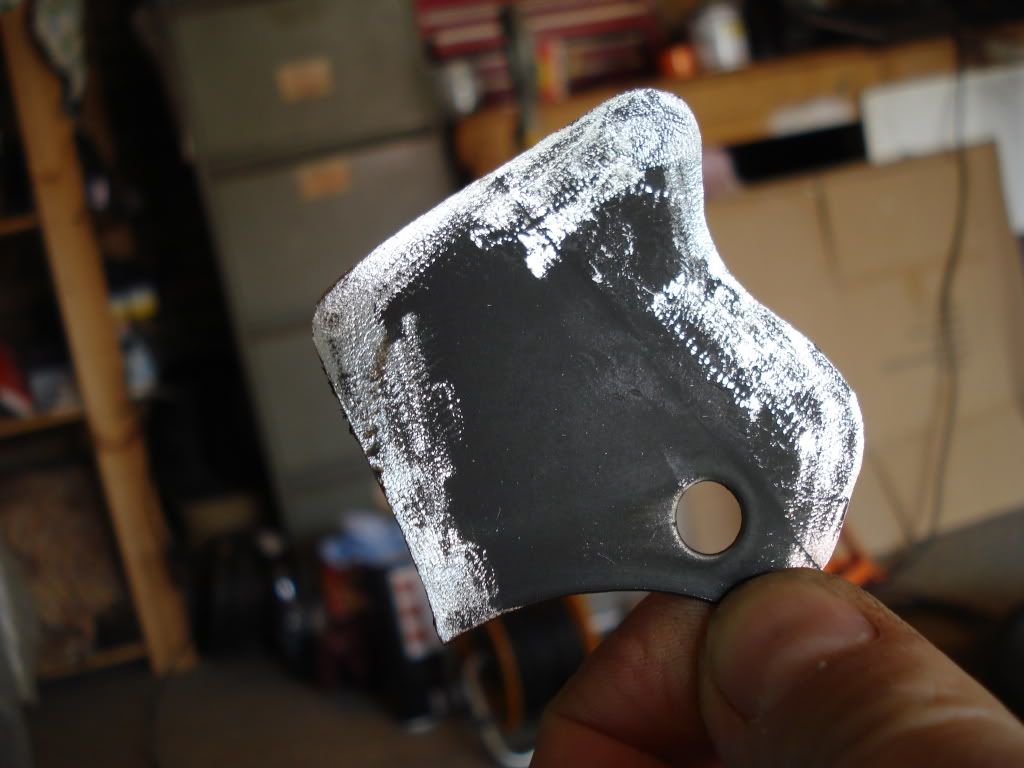
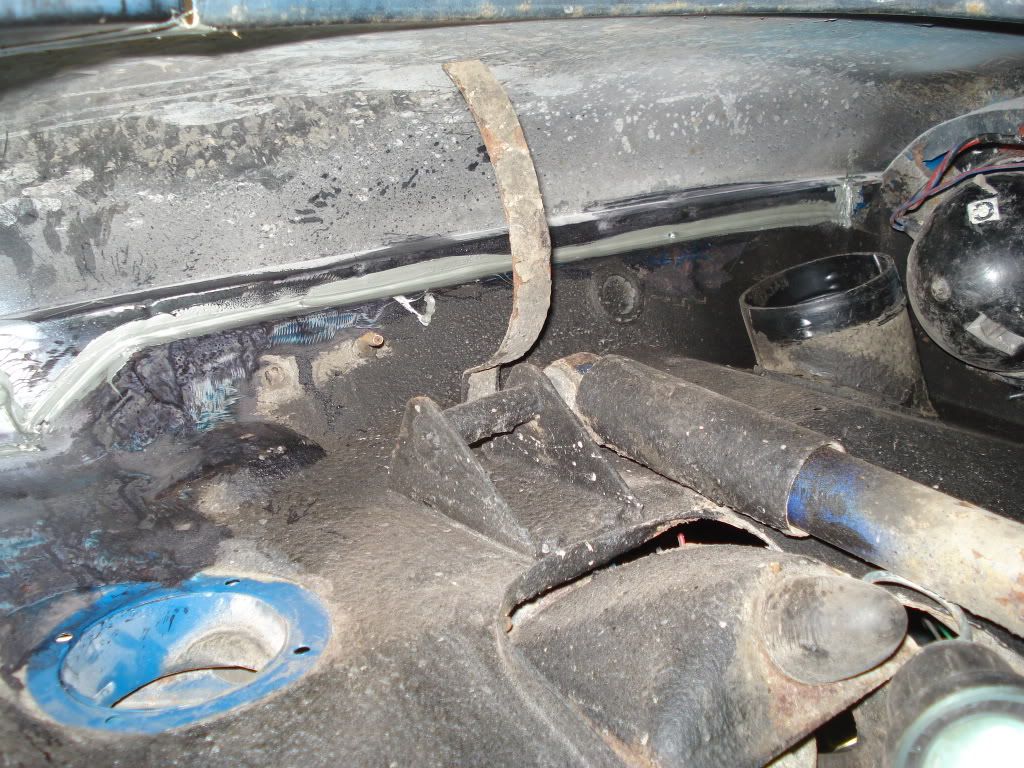
Back onto the upper flitch repair and scuttle close out panel tomorrow.

#32 rich2

rich2

    Speeding Along Now

  • Members
  • PipPipPipPipPip
  • 351 posts

Posted 22 May 2011 - 06:58 PM

Wow I can't believe how quickly things are getting done on this car. I know its not the 'full treatment', but it still looks like top drawer quality from where I'm standing. A bit of a bummer about the colour match though! :thumbsup:

#33 sonikk4

sonikk4

    Twisted Paint Polisher!!!

  • Admin
  • PipPipPipPipPipPipPipPipPipPipPip
  • 15,897 posts
  • Name: Neil
  • Location: Oxfordshire

Posted 22 May 2011 - 07:05 PM

Yes Rich disappointed with the colour match and that colour code was taken off the tin of paint left over from the recent respray. Very strange?? still once its flatted back and then polished up hopefully it may lighten up a touch.

#34 sonikk4

sonikk4

    Twisted Paint Polisher!!!

  • Admin
  • PipPipPipPipPipPipPipPipPipPipPip
  • 15,897 posts
  • Name: Neil
  • Location: Oxfordshire

Posted 23 May 2011 - 08:42 PM

Sorted the upper flitch repair today
Before replacement
Posted Image
Damage cut out
Posted Image
New repair section
Posted Image
Welded in and ground down
Posted Image
Its not perfect but it will do for the moment, i'm in the process of fitting the scuttle close out panel but its not pretty and is going to need a few cunning mods to make it look nice.
Also ground down the welds on the lower flitch repair
Posted Image

Again all of this is only temporary as in the near future it will all get replaced properly

#35 sonikk4

sonikk4

    Twisted Paint Polisher!!!

  • Admin
  • PipPipPipPipPipPipPipPipPipPipPip
  • 15,897 posts
  • Name: Neil
  • Location: Oxfordshire

Posted 29 May 2011 - 07:16 PM

Finally finished off the flitch and scuttle close out today with sealant and Waxoyl.

Everything sealed
Posted Image
Posted Image
Painted and Waxoyled
Posted Image
While i was at it i noticed the previous owner had used filler in the gap between the scuttle and wing so dug it all out
Posted Image
Then sealed it properly
Posted Image
Once the sealant has cured it will get painted.

Oops forgot Scott had Waxoyled the new sill
Posted Image

Edited by sonikk4, 29 May 2011 - 07:21 PM.


#36 myredmini

myredmini

    My Mummy Says It's OK

  • TMF+ Member
  • PipPipPipPipPipPipPipPipPip
  • 3,211 posts
  • Name: Dan
  • Location: Teesside
  • Local Club: BOG MOG

Posted 29 May 2011 - 07:43 PM

I really do admire your work !! always fills me with motivation !!

#37 sonikk4

sonikk4

    Twisted Paint Polisher!!!

  • Admin
  • PipPipPipPipPipPipPipPipPipPipPip
  • 15,897 posts
  • Name: Neil
  • Location: Oxfordshire

Posted 29 May 2011 - 07:52 PM

I really do admire your work !! always fills me with motivation !!


Cheers Dan :) :)

#38 analogue_radio

analogue_radio

    Up Into Fourth

  • TMF+ Member
  • PipPipPipPipPipPipPipPipPip
  • 4,897 posts
  • Location: Melton Mowbray, UK.

Posted 29 May 2011 - 08:47 PM

Posted Image

I assume you used one of your fancy air tools for this? It's what I need to do.

#39 sonikk4

sonikk4

    Twisted Paint Polisher!!!

  • Admin
  • PipPipPipPipPipPipPipPipPipPipPip
  • 15,897 posts
  • Name: Neil
  • Location: Oxfordshire

Posted 29 May 2011 - 08:53 PM

Posted Image

I assume you used one of your fancy air tools for this? It's what I need to do.


I certainly did sir i certainly did. :) :) although it's only a right angle windy grinder and a grinding burr.

#40 sonikk4

sonikk4

    Twisted Paint Polisher!!!

  • Admin
  • PipPipPipPipPipPipPipPipPipPipPip
  • 15,897 posts
  • Name: Neil
  • Location: Oxfordshire

Posted 30 May 2011 - 03:52 PM

In between Erm's wheels Paddy got some paint on the inside of the car and the sealant on the r/h wing to scuttle gap
First thing was to apply some sealant to the repairs inside the car (i forgot to use the sealant from yesterday DOH!!!)
Posted Image
Then it was on to the top coat on all of the repaired areas
Posted Image
Posted Image
And the scuttle sealant
Posted Image

Once the scuttle paint has hardened i will flat it back and polish it up to hopefully form an invisible repair. Watch this space!!!!

#41 myredmini

myredmini

    My Mummy Says It's OK

  • TMF+ Member
  • PipPipPipPipPipPipPipPipPip
  • 3,211 posts
  • Name: Dan
  • Location: Teesside
  • Local Club: BOG MOG

Posted 30 May 2011 - 04:05 PM

Yet again another :thumbsup: from me..

#42 grahama

grahama

    Up Into Fourth

  • Members
  • PipPipPipPipPipPipPipPipPip
  • 2,442 posts
  • Location: Warrington
  • Local Club: None in my area !!

Posted 30 May 2011 - 07:41 PM

Neil,

do you apply seam sealant ' as you go ', thought it was a whole car process. Also once sealed is the weld protedted as if primed, or have you primed aswell??

Asking as thinking of going back over my welds and sealing if I need to.

Graham

#43 sonikk4

sonikk4

    Twisted Paint Polisher!!!

  • Admin
  • PipPipPipPipPipPipPipPipPipPipPip
  • 15,897 posts
  • Name: Neil
  • Location: Oxfordshire

Posted 30 May 2011 - 08:01 PM

Neil,

do you apply seam sealant ' as you go ', thought it was a whole car process. Also once sealed is the weld protedted as if primed, or have you primed aswell??

Asking as thinking of going back over my welds and sealing if I need to.

Graham


As this is a on the go sort of job Graham i have to seam seal each bit at a time. All of the welds on the outside have been treated ie etch primed first, then sealed with aviation sealant, Hammerited then waxoyled.
On the inside i have already used weld through zinc rich primer so the welds had some protection to start with so once they were dressed back tight then sealed followed by top coat. Plus the panel had already been primered.

With Erm it was a different kettle of fish as i waited until the whole welding process was completed then went around the car sealing every join seam etc. All of the joins on Erm had been put together using zinc rich primer plus anything else i could force in there.

Going over any previously welded seams is a good idea, anything to prevent moisture from getting in.

#44 sonikk4

sonikk4

    Twisted Paint Polisher!!!

  • Admin
  • PipPipPipPipPipPipPipPipPipPipPip
  • 15,897 posts
  • Name: Neil
  • Location: Oxfordshire

Posted 06 June 2011 - 08:52 PM

Well today Paddy got his door back on and this time fitted properly although i did have to do this quite a few times until it was right. The one thing i have learned is never try to fit and gap a door when the car is jacked on its jacking point, it does twist slightly.

Then in went his battery and within a few turns he started HURRAH but the starter would not disengage. What the hell!!! this however was a simple fix as the ignition key i used was not allowing the barrel to return properly causing the starter to stay engaged. Now this is the first time i have come across this problem.

Gave him a wash (he was minging) then had a go at some of the poor paint finish on the scuttle
It looked like this
Posted Image
Posted Image
and after some 2000 wet and dry plus some serious polishing it ended up like this
Posted Image
Much better all that's got to be done now is to seal it up like the other side.

#45 GreaseMonkey

GreaseMonkey

    Has Ratchet, Will Make Noises

  • Members
  • PipPipPipPipPipPipPipPipPip
  • 3,663 posts

Posted 06 June 2011 - 09:09 PM

Neat work!


0 user(s) are reading this topic

0 members, 0 guests, 0 anonymous users