Slug
#16
Posted 10 April 2011 - 02:23 AM
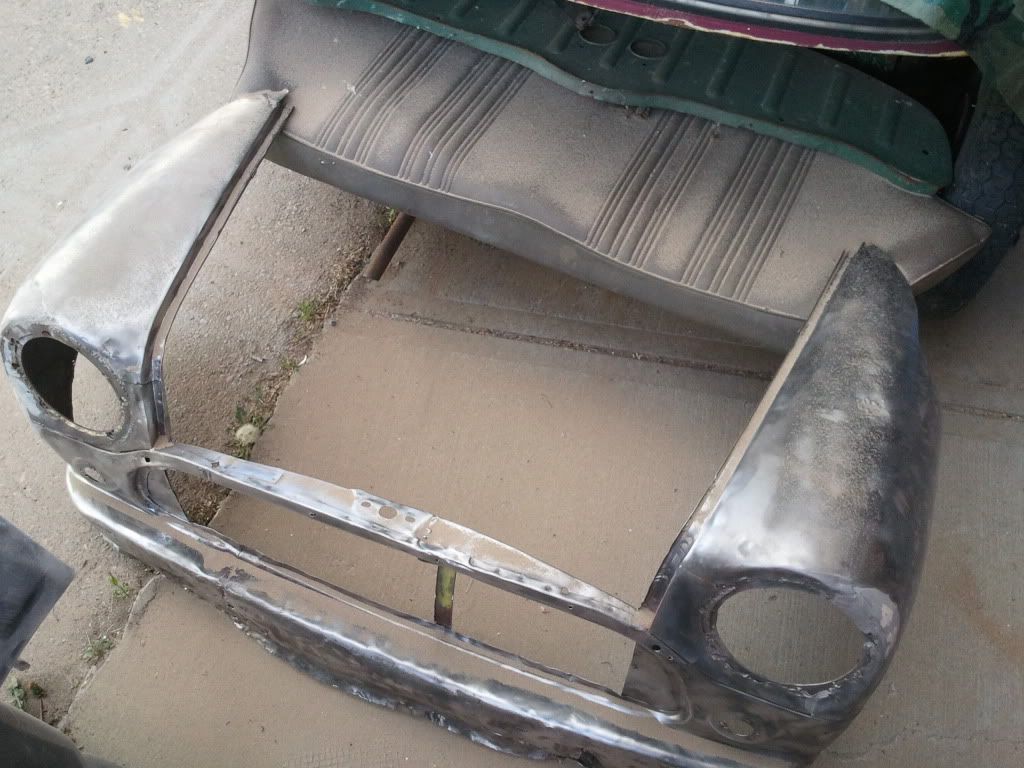
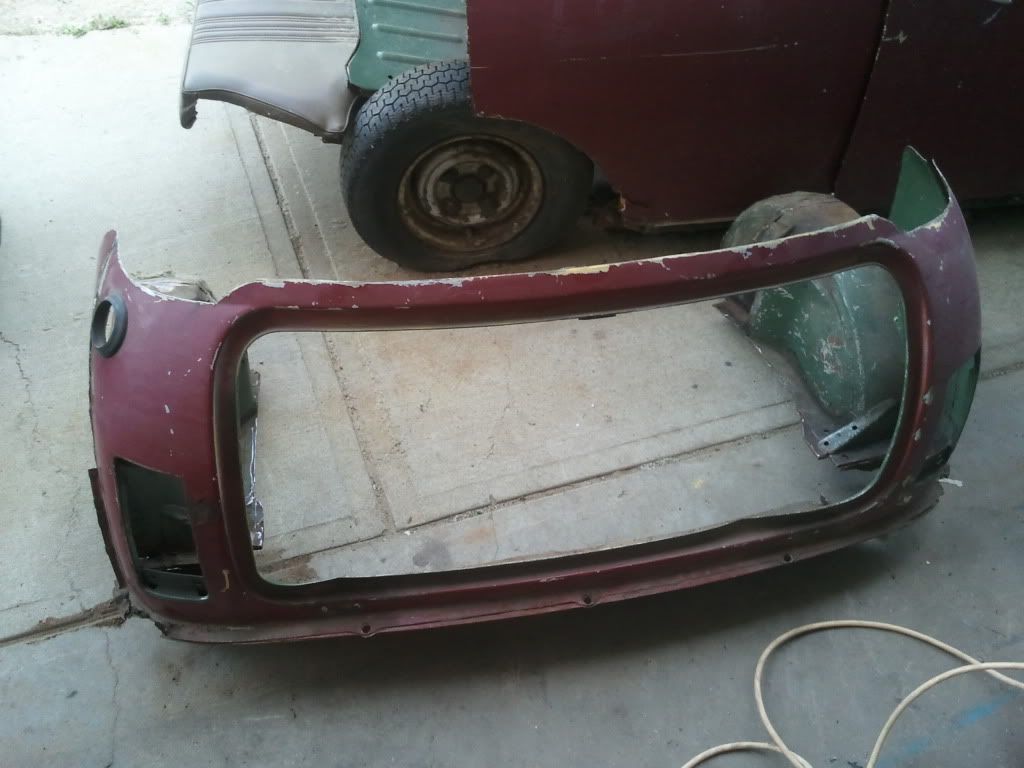
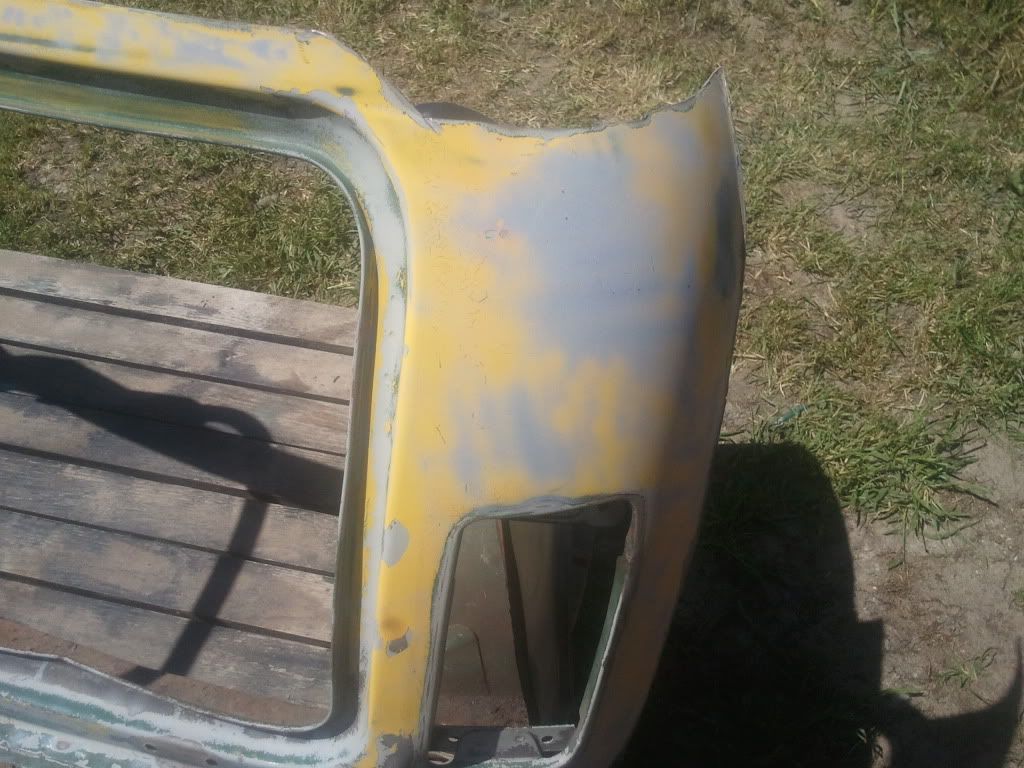
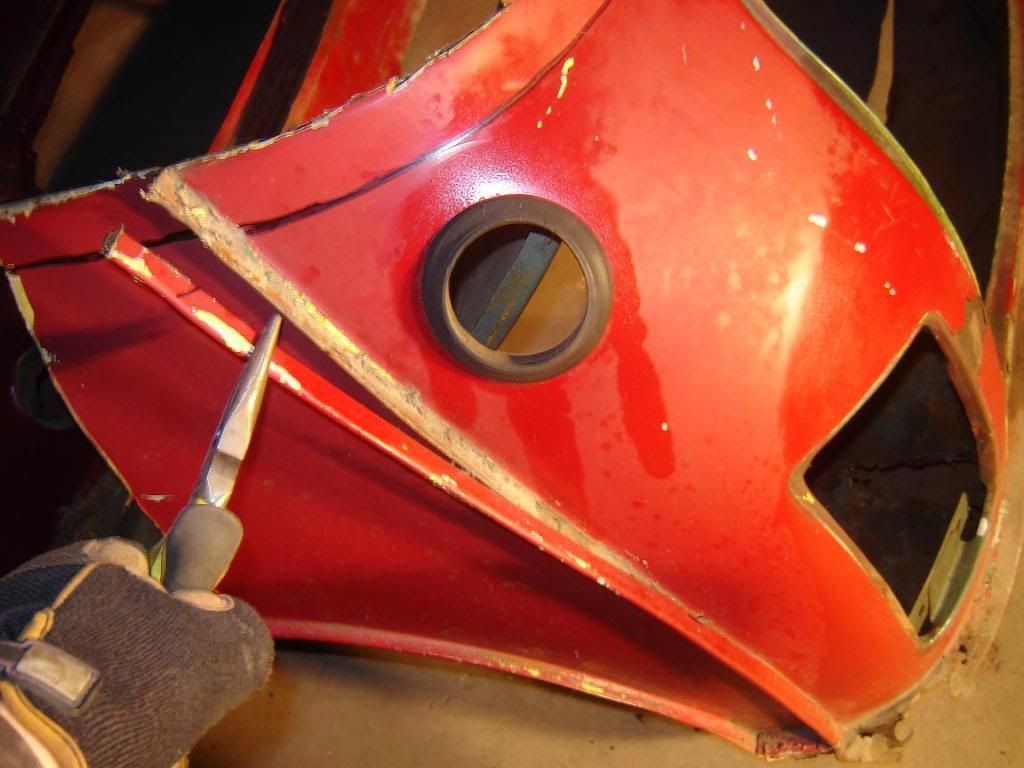
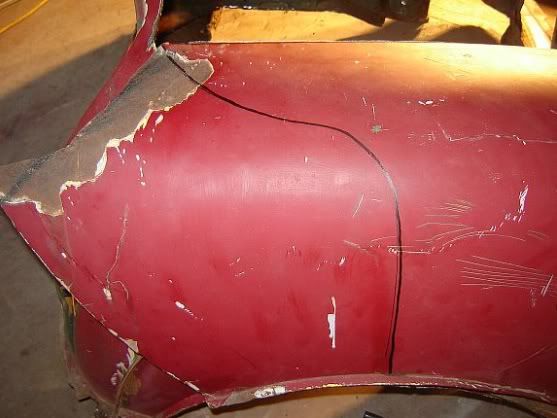
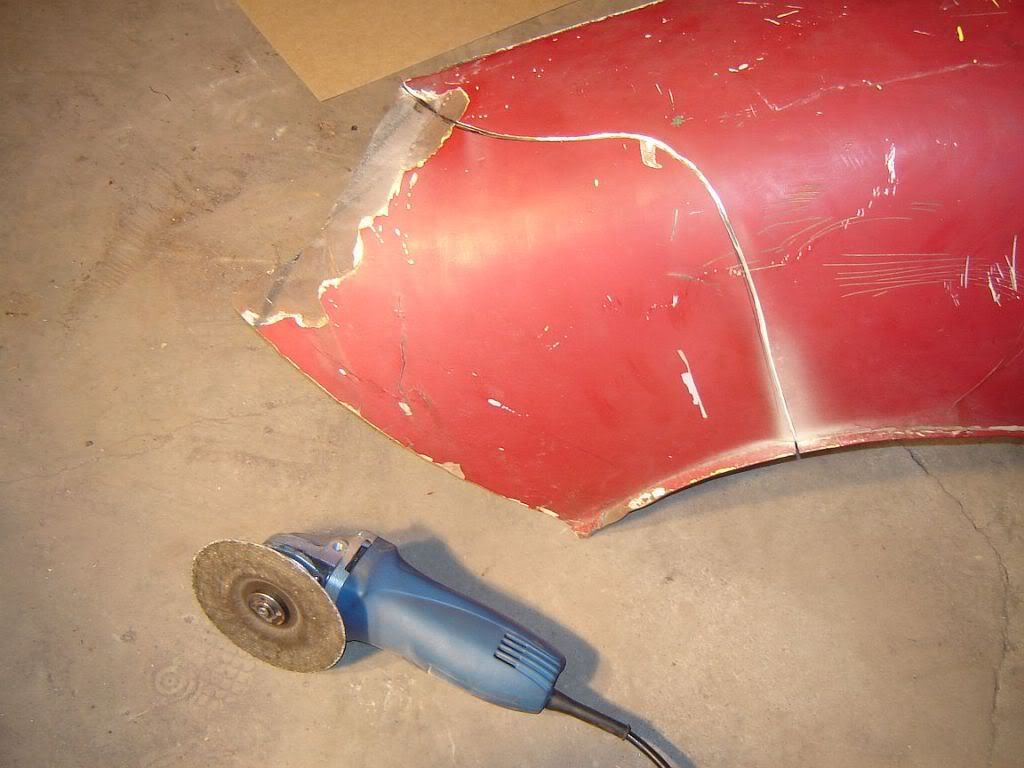
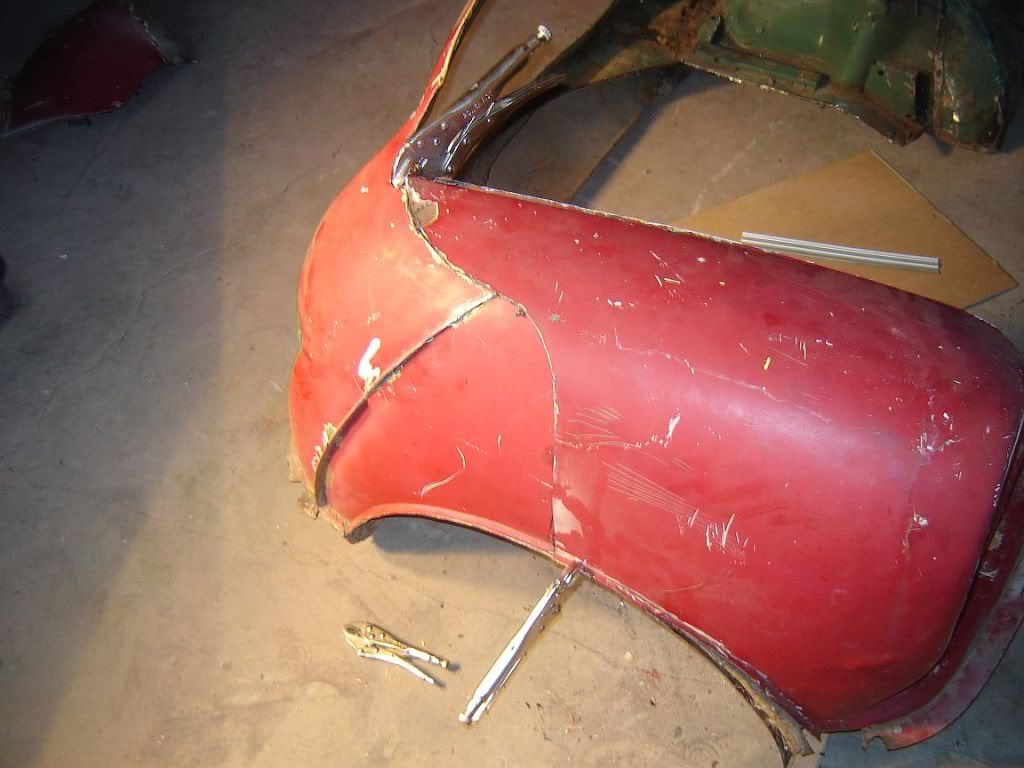
I marked out the first few cut’s, ripped and cut off the rain run-off seams, and clamped the two panels together. Then I marked out where I would be making the cuts.
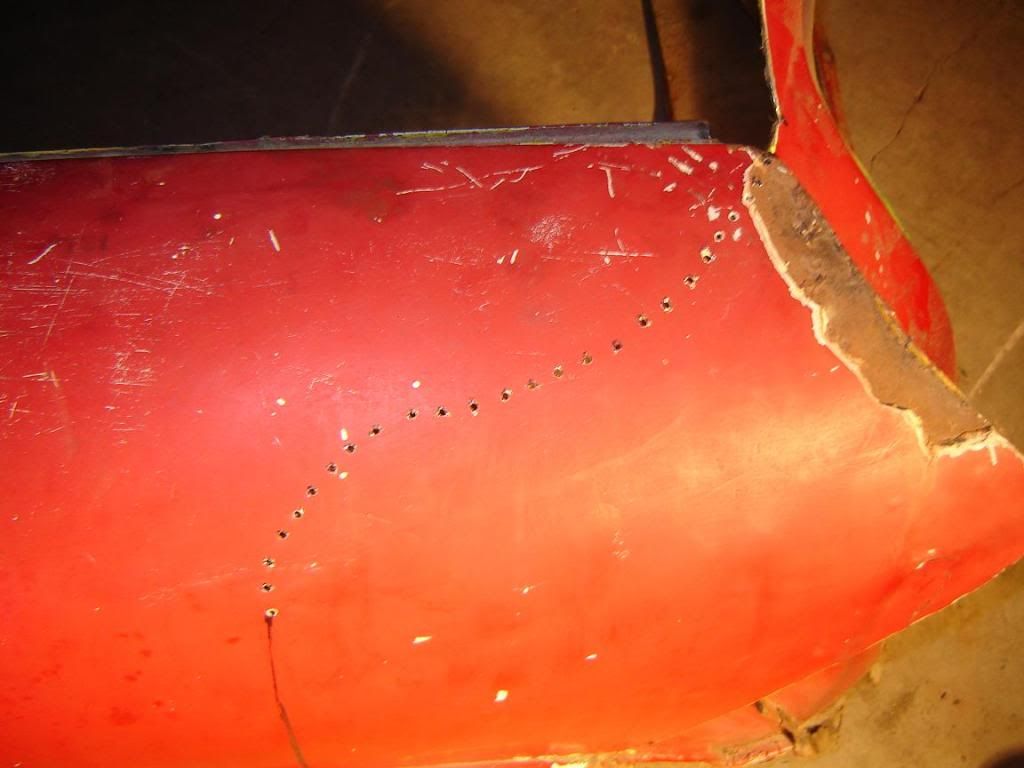
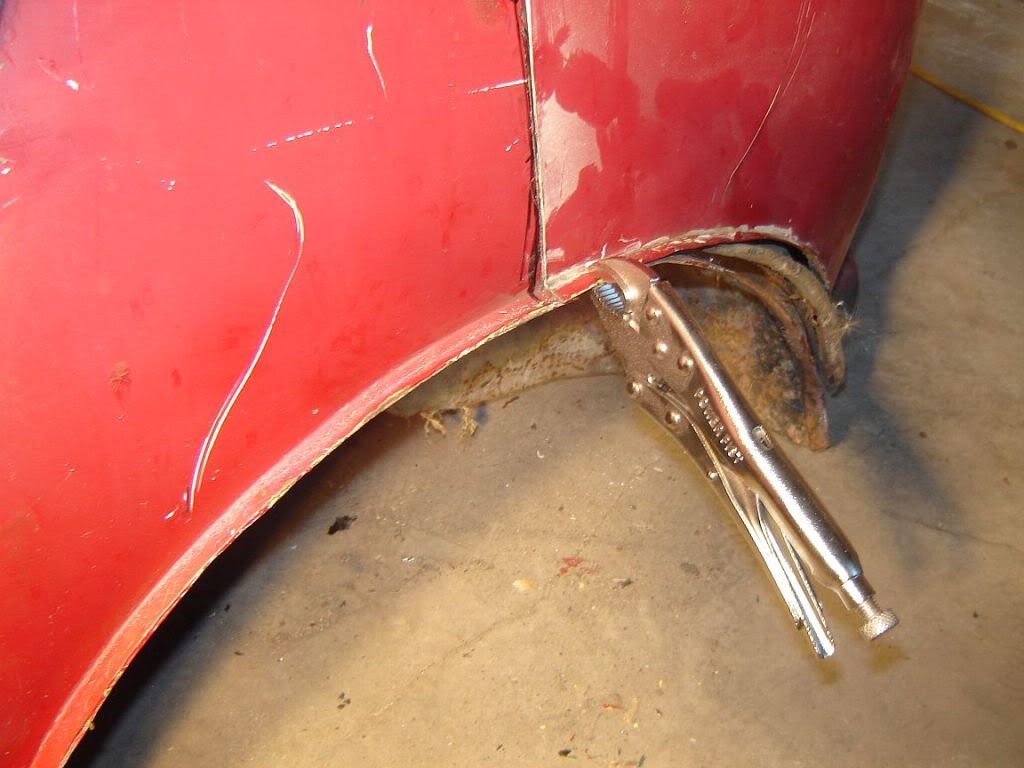
And here’s how,… With the two ends clamped down to each other, from the inside I outlined the rear panel onto the inside of the fenders, this is to get the exact curvature to match the two ends up.
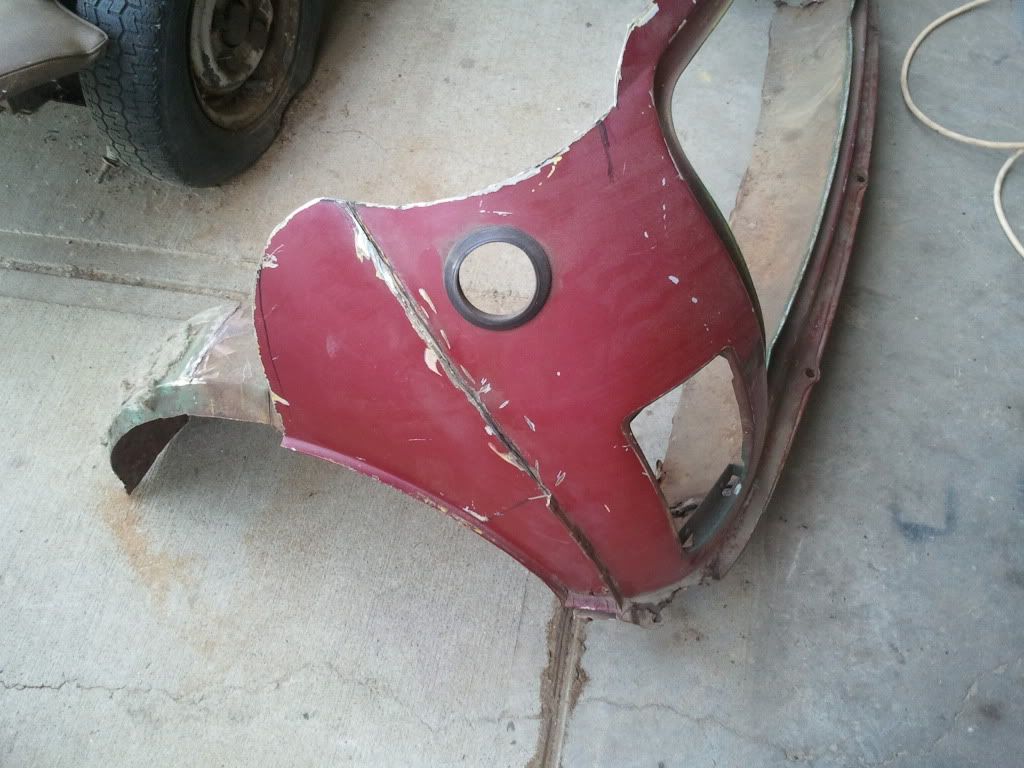
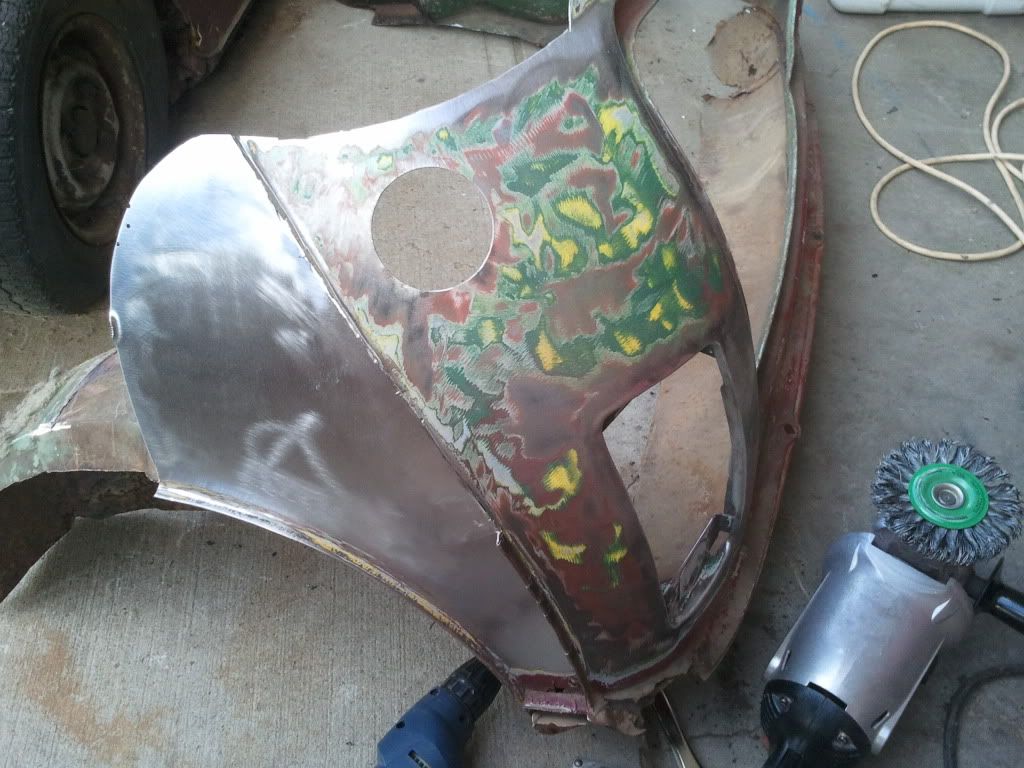
I then used my drill and perforated through the fender along the outline.
*************
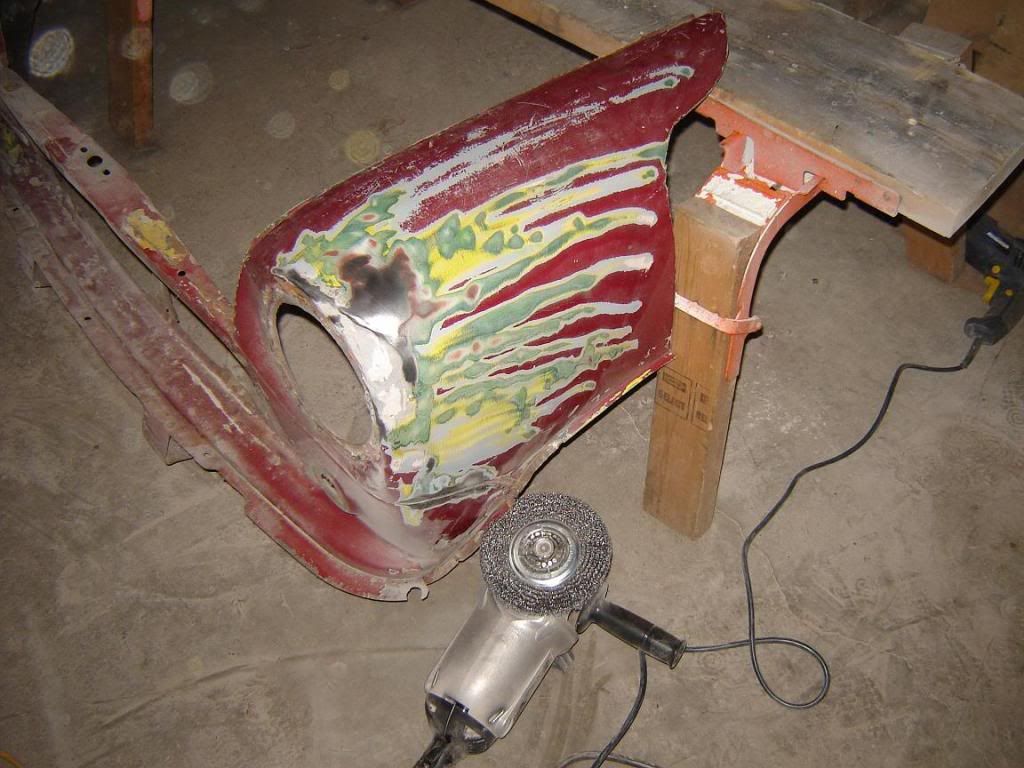
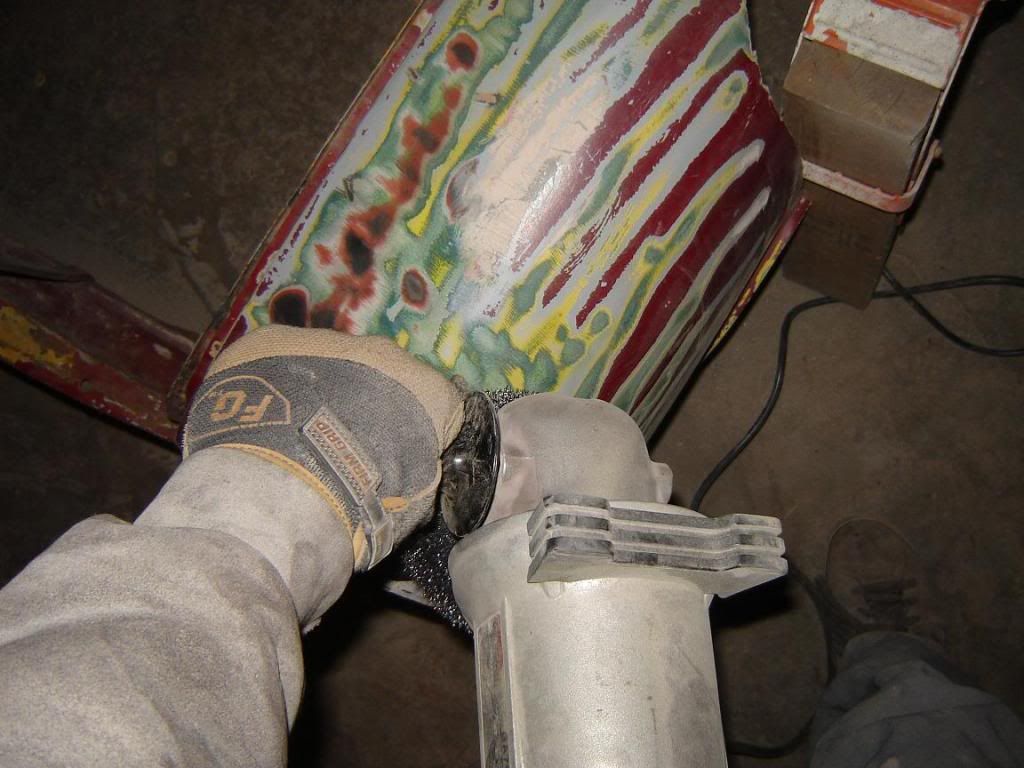
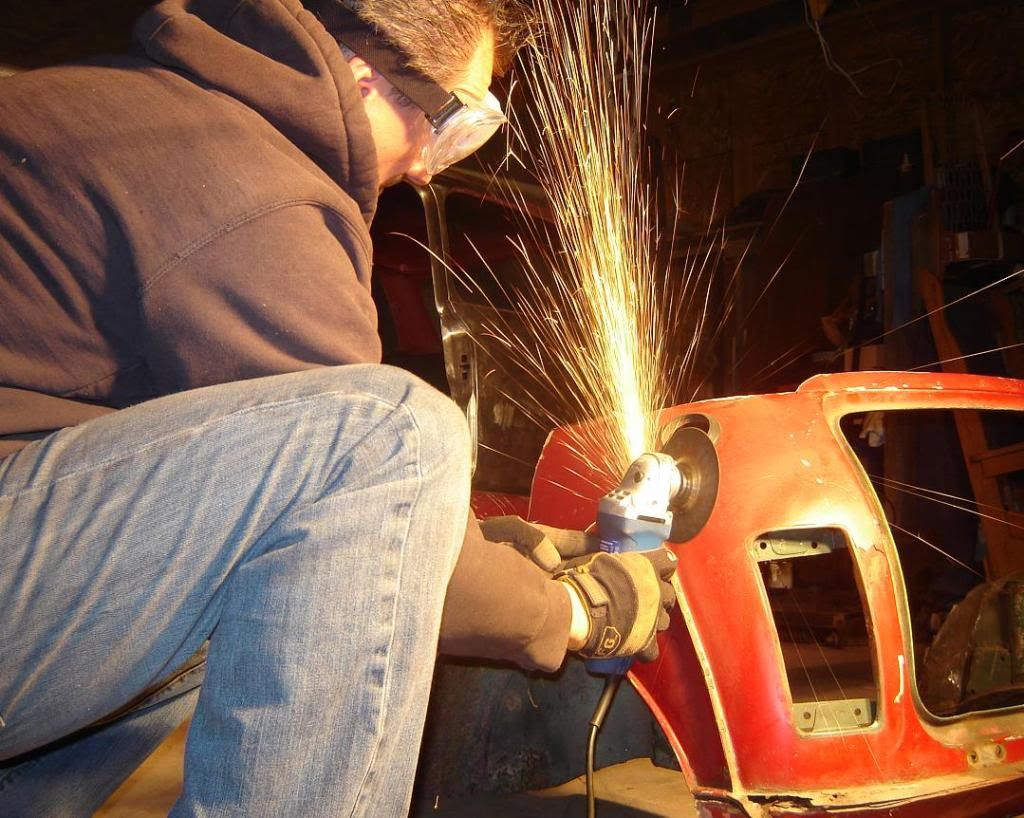
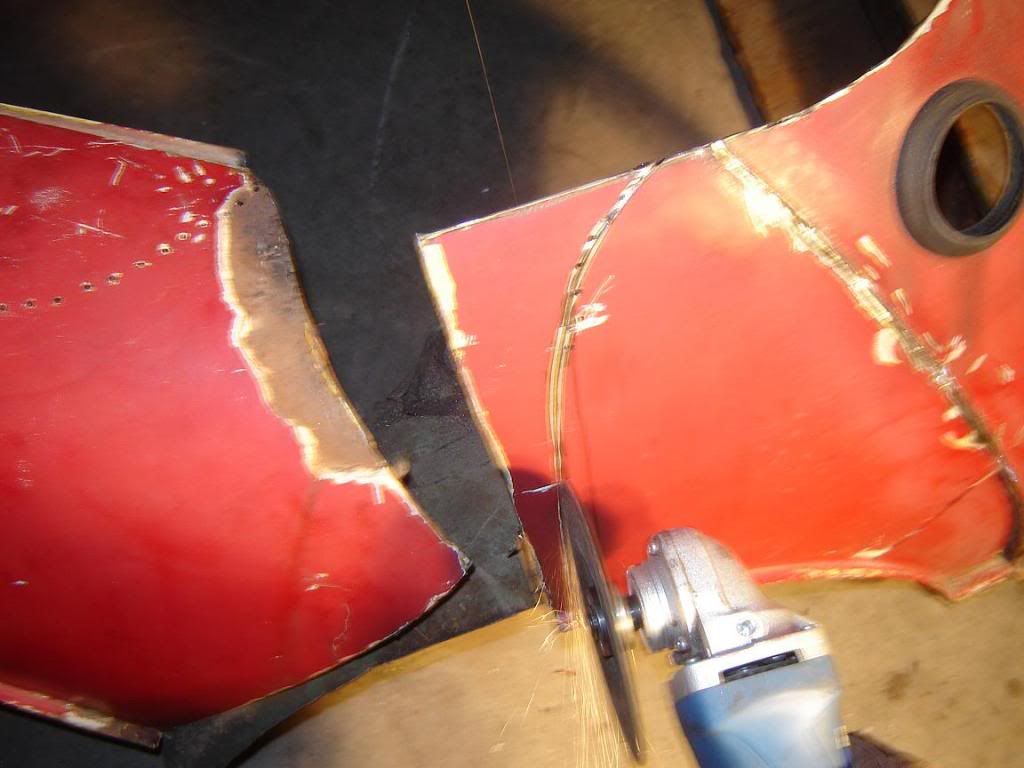
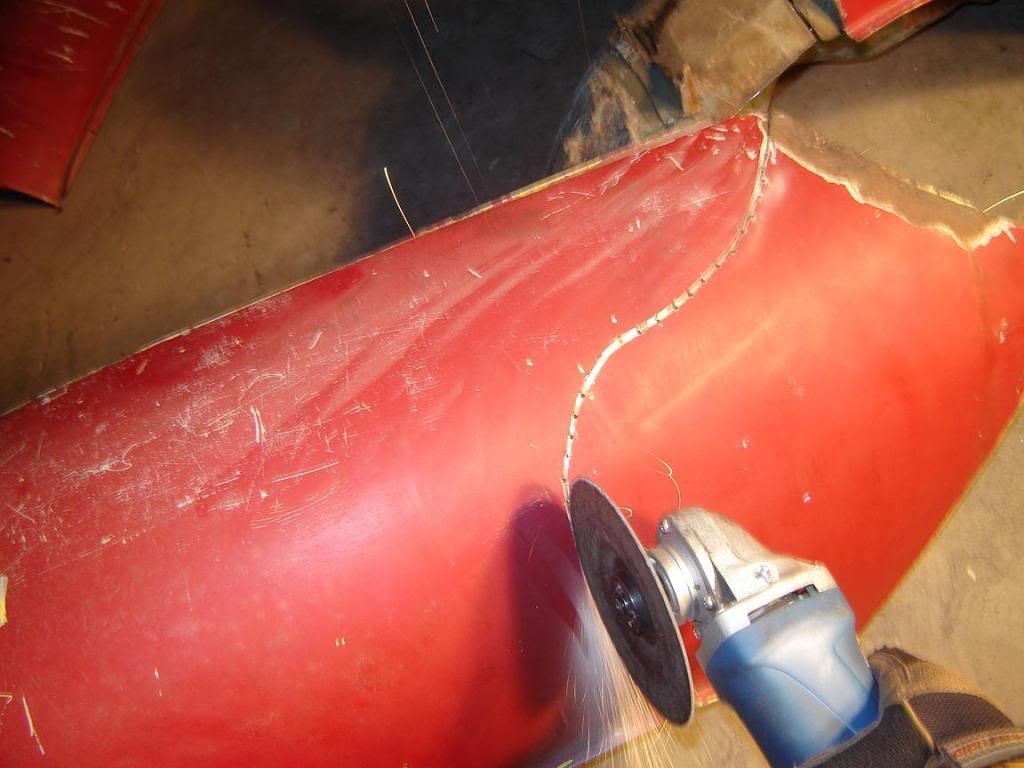
Now for some sparks, and sorry for the shaky pic’s as it is hard to take pic’s and work the grinder simultaneously…
********
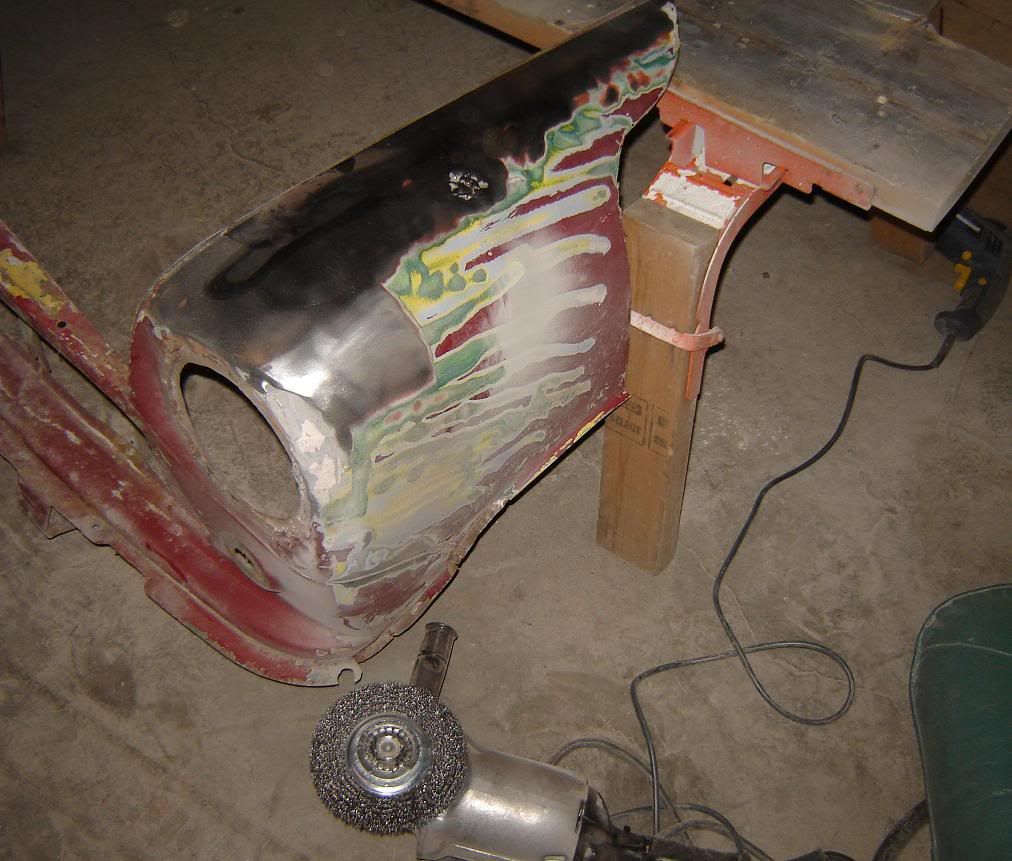
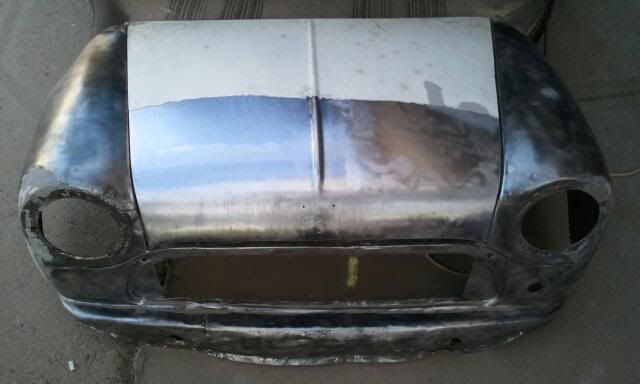
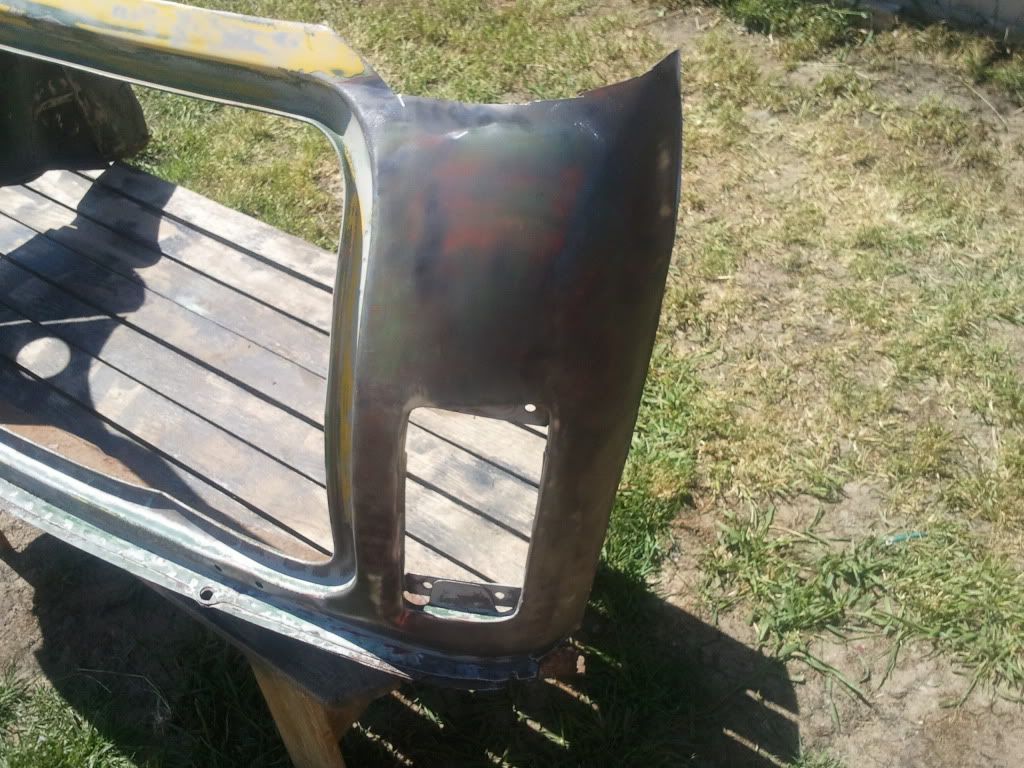
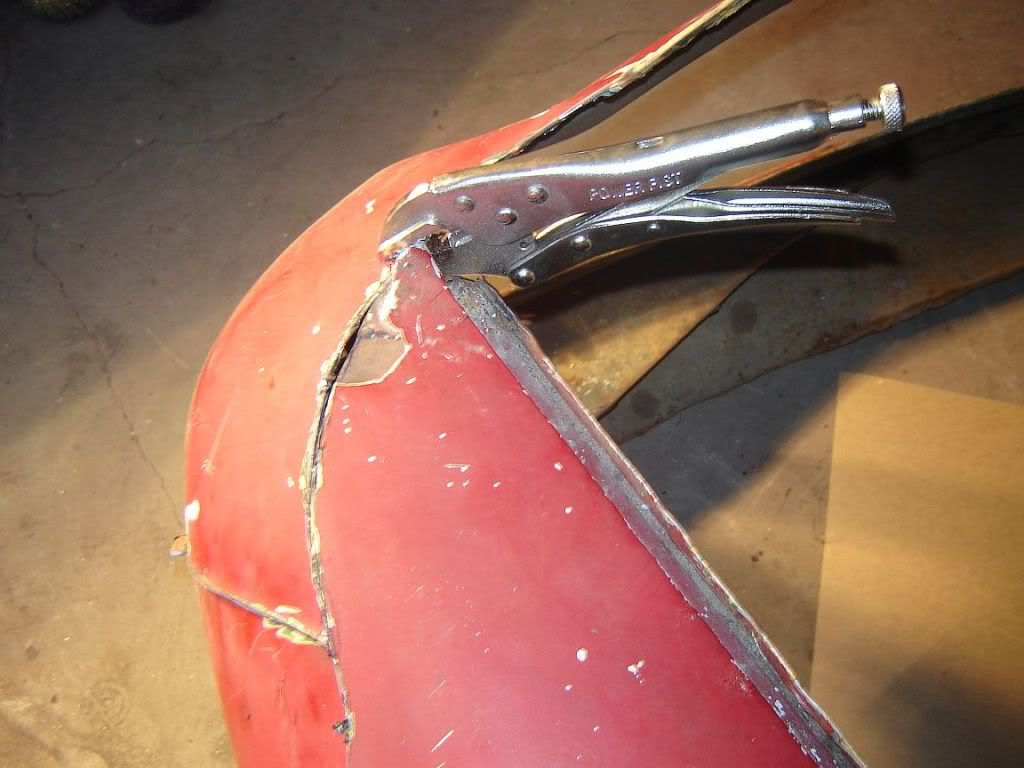
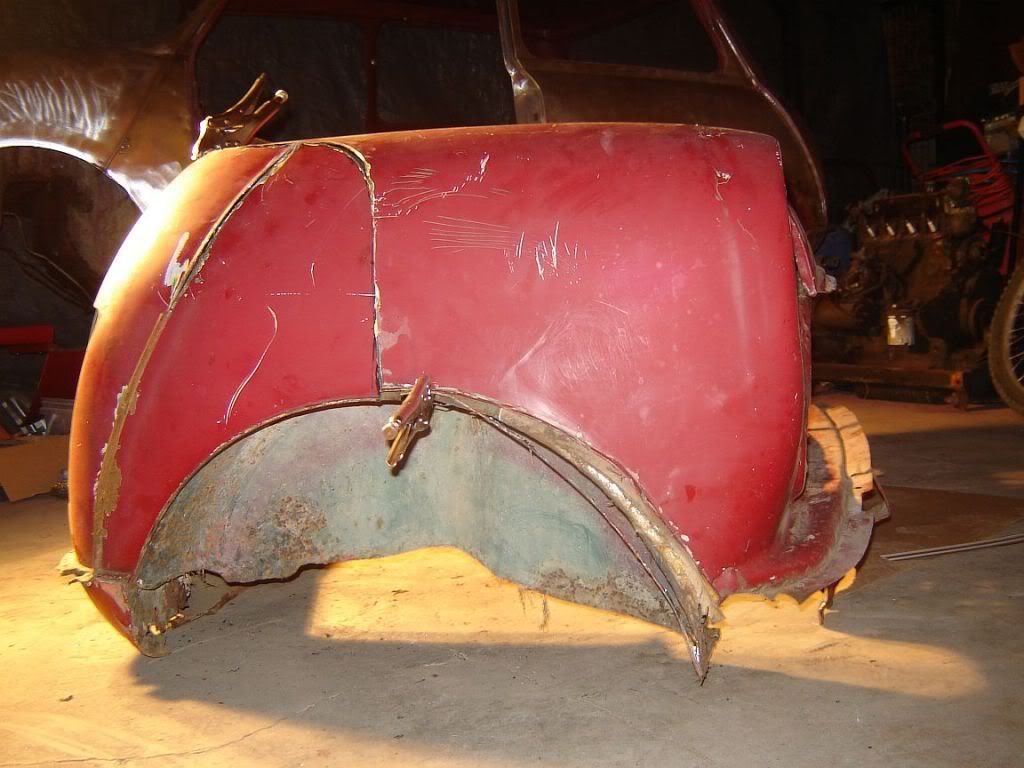
I'll clean the two ends up by grinding the sharp ends down and strip off the paint, then tack and zip them up with the MIG welder.
********
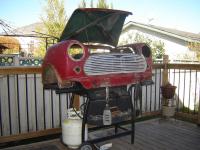
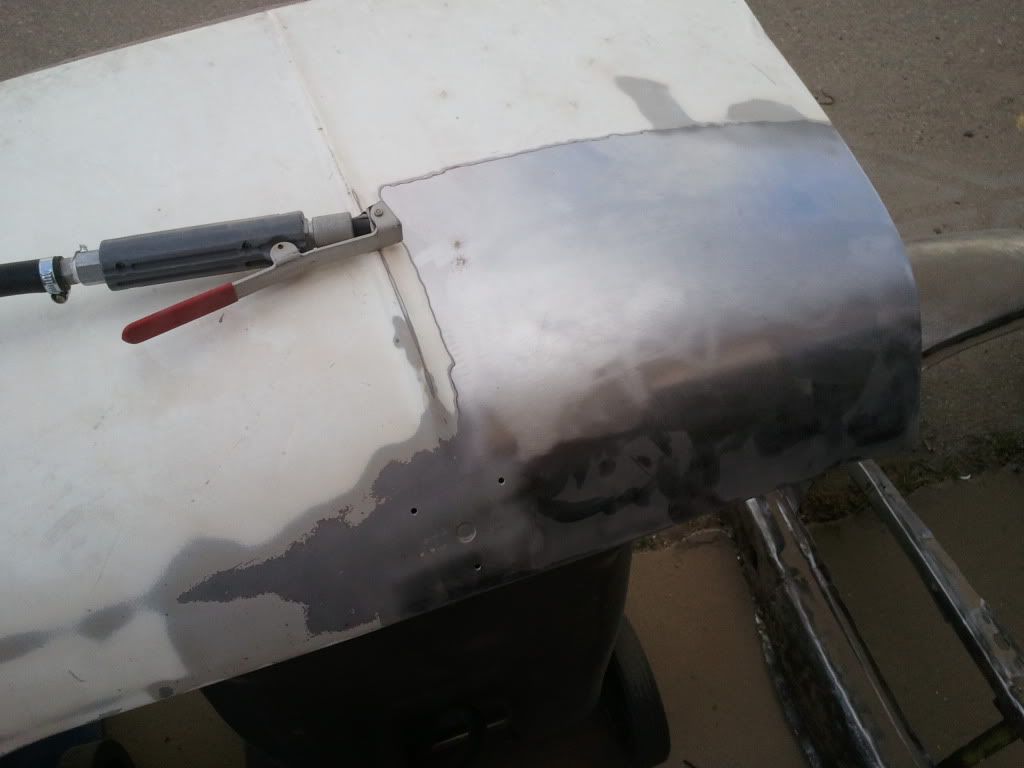
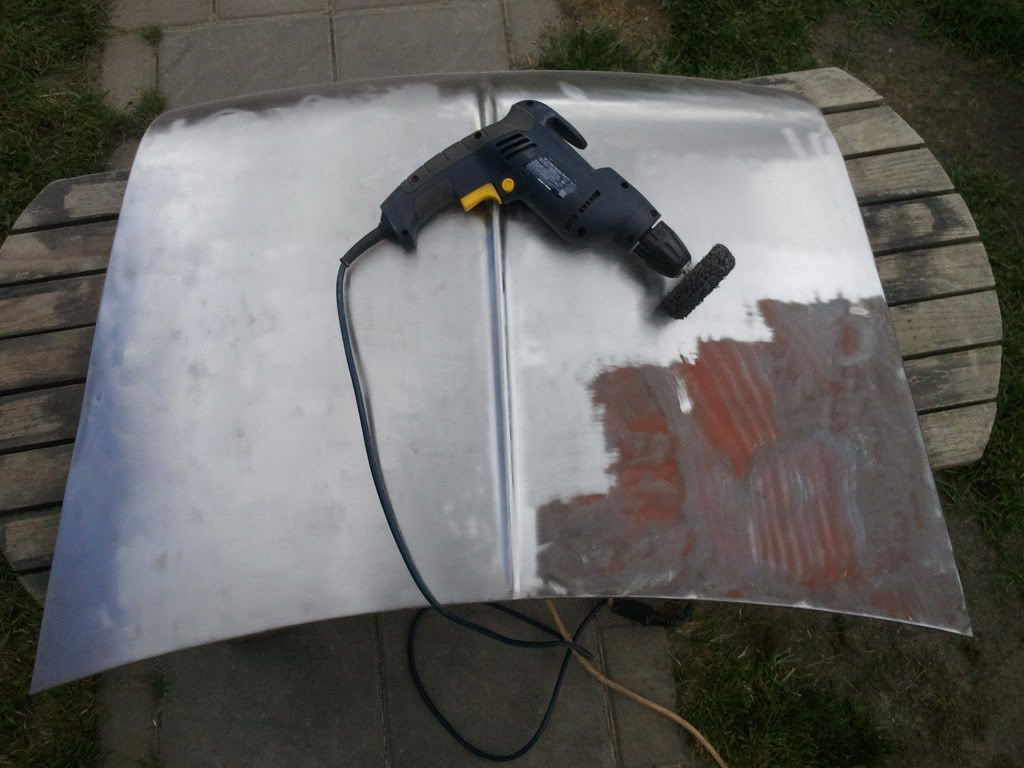
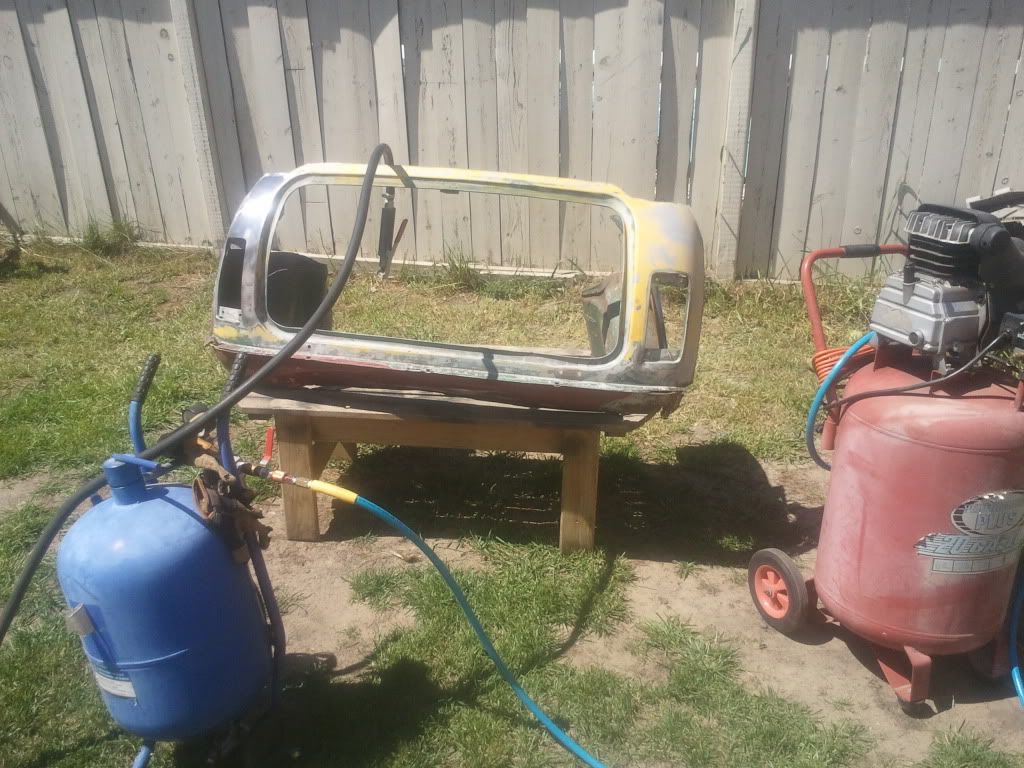
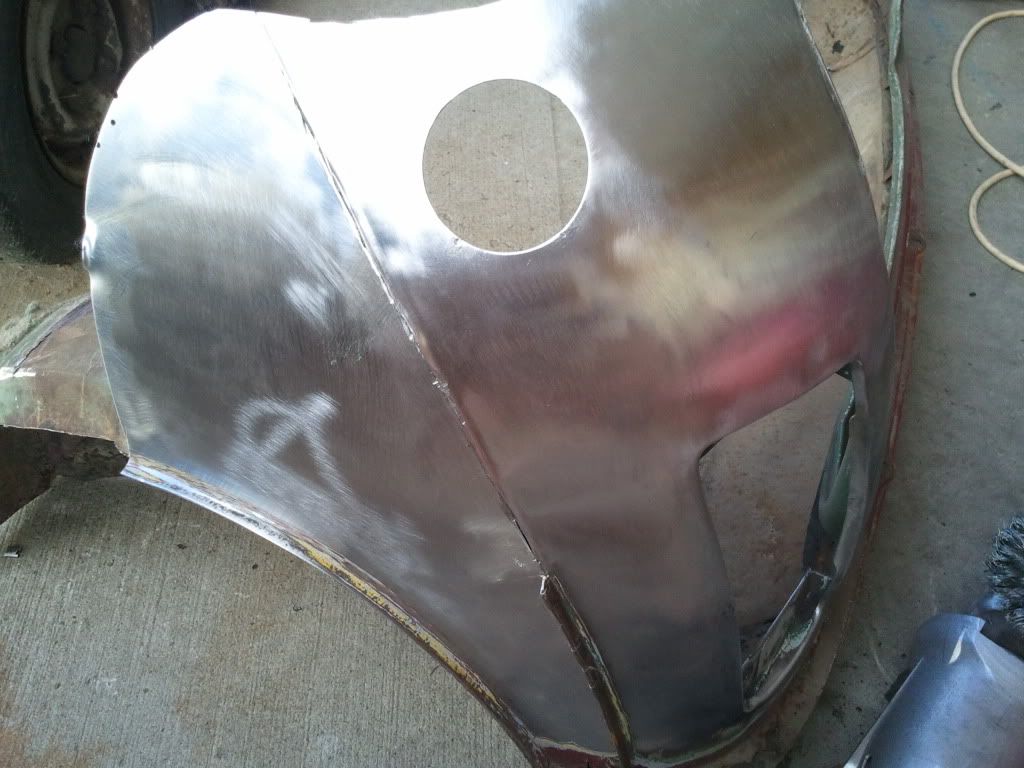
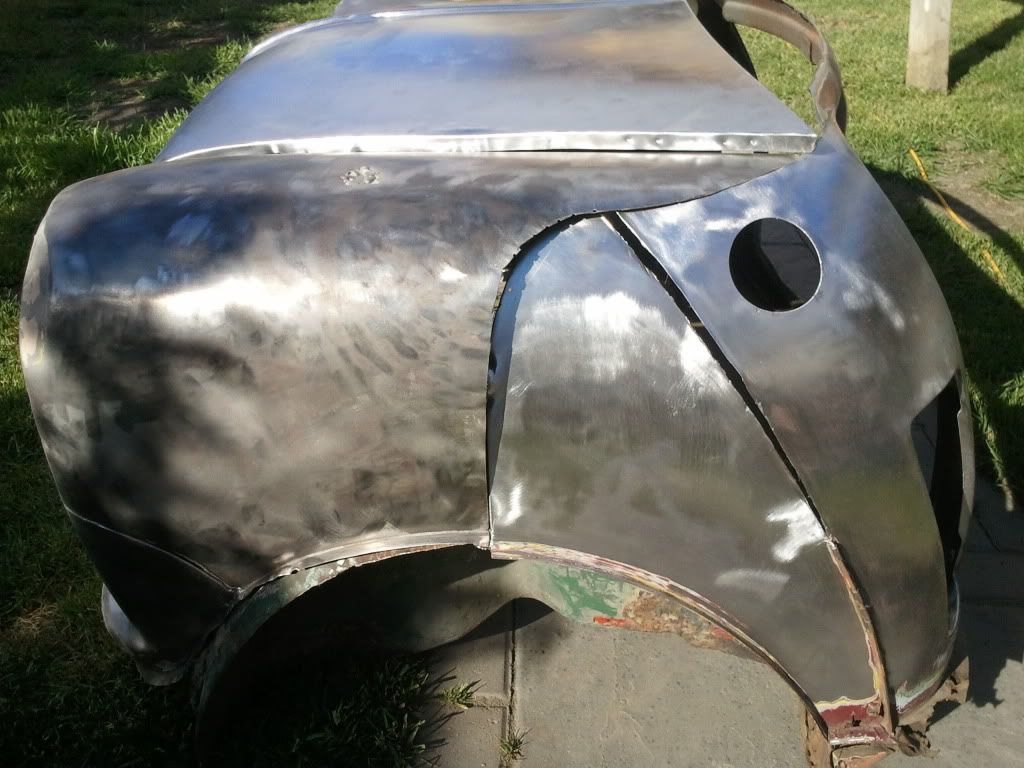
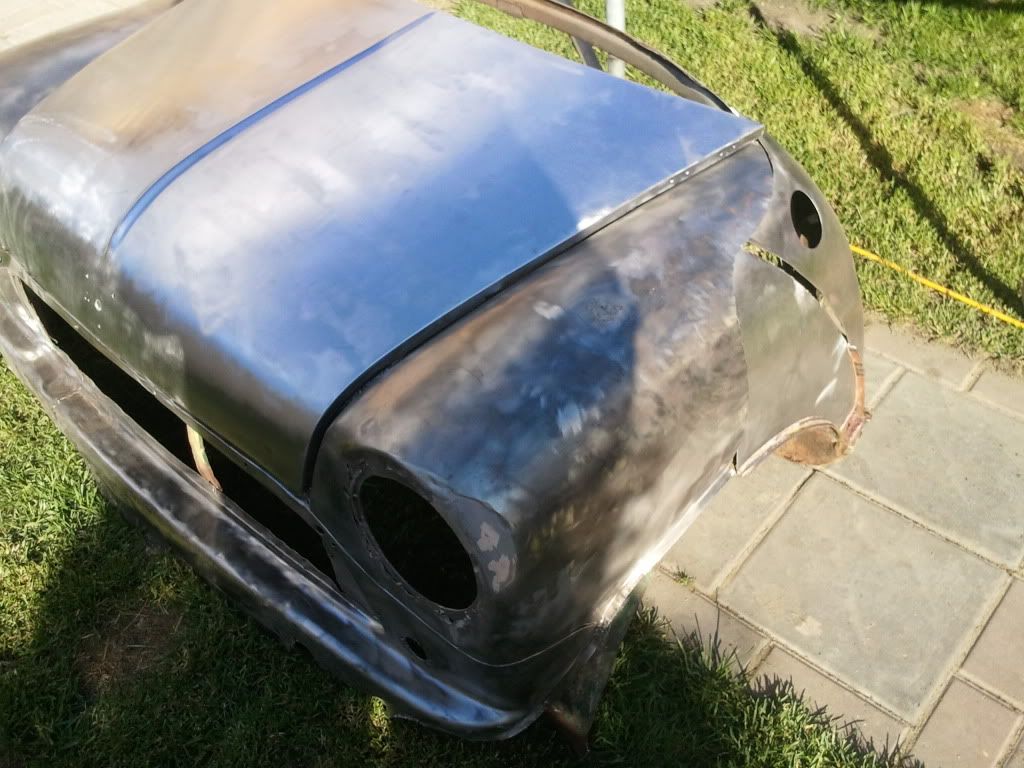
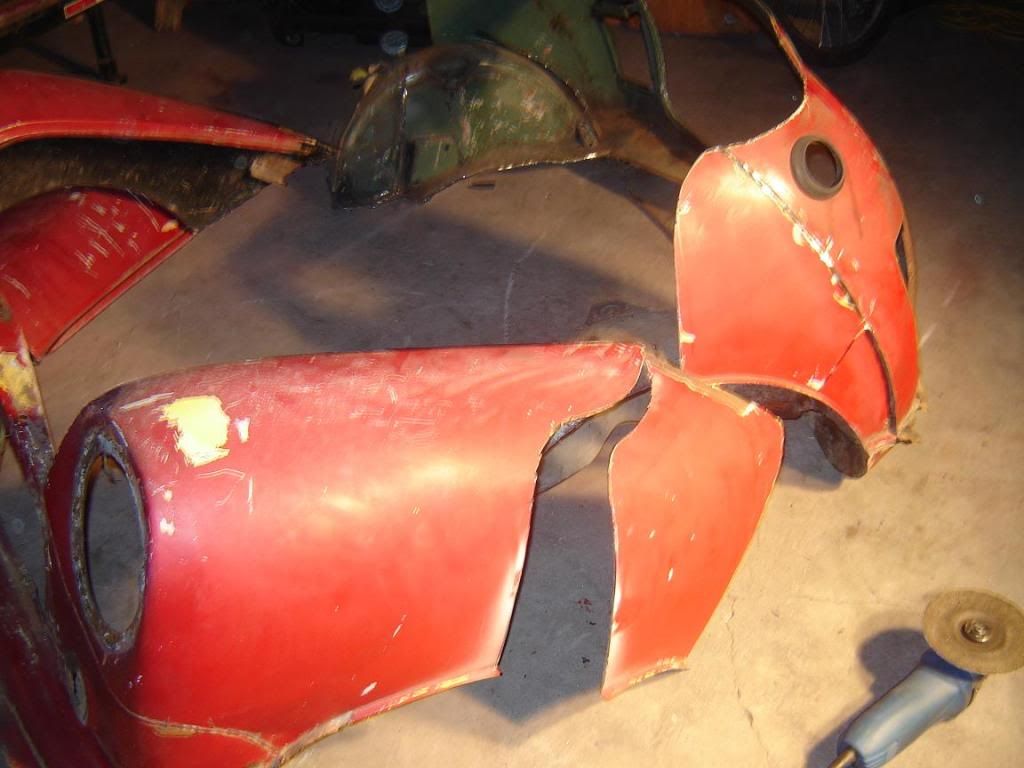
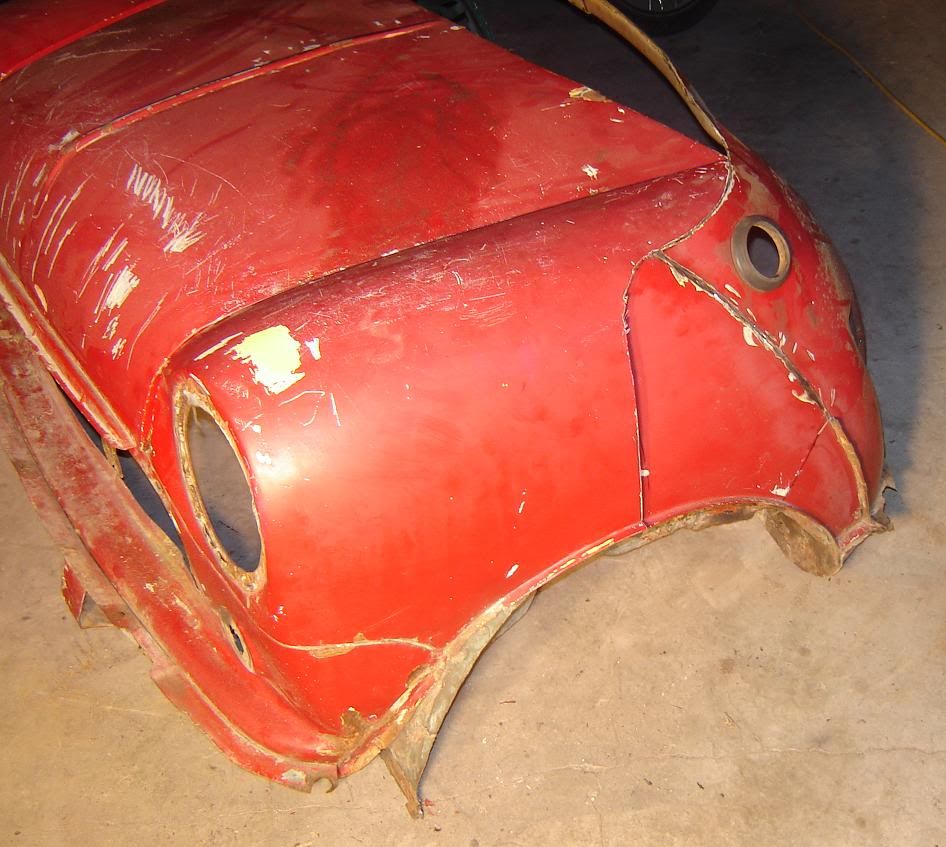
I was nervous when I committed to cutting as I’m not following any plans or directions, I was lucky with the hood also as I marked and cut the panels without looking at where the hood was going to line up.... But it all lined up great, look at the outcome?!?!?
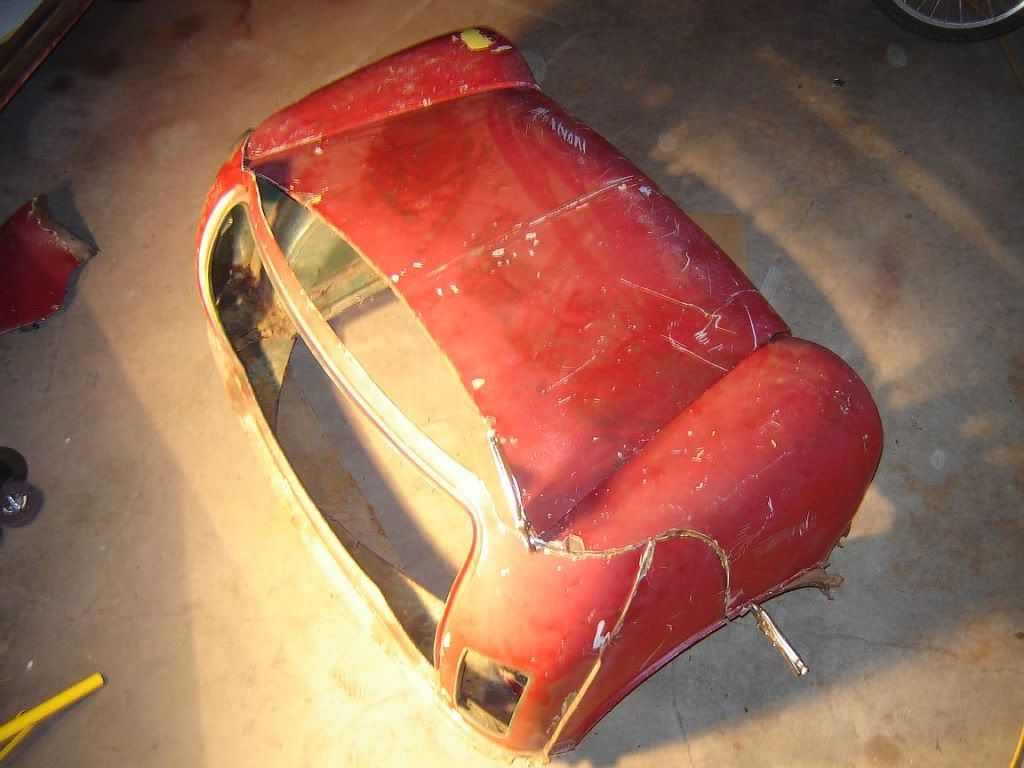
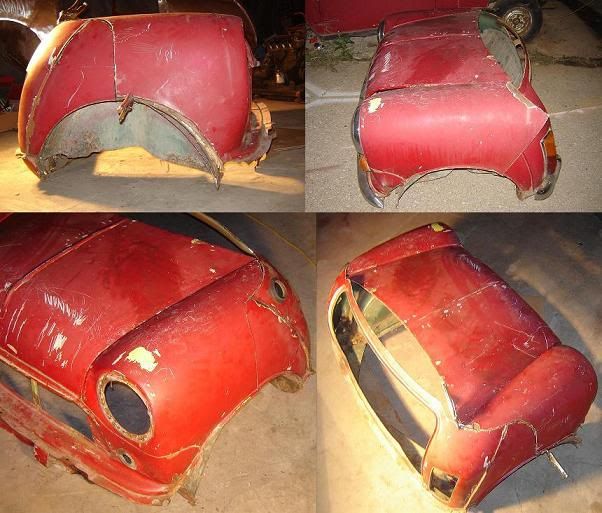
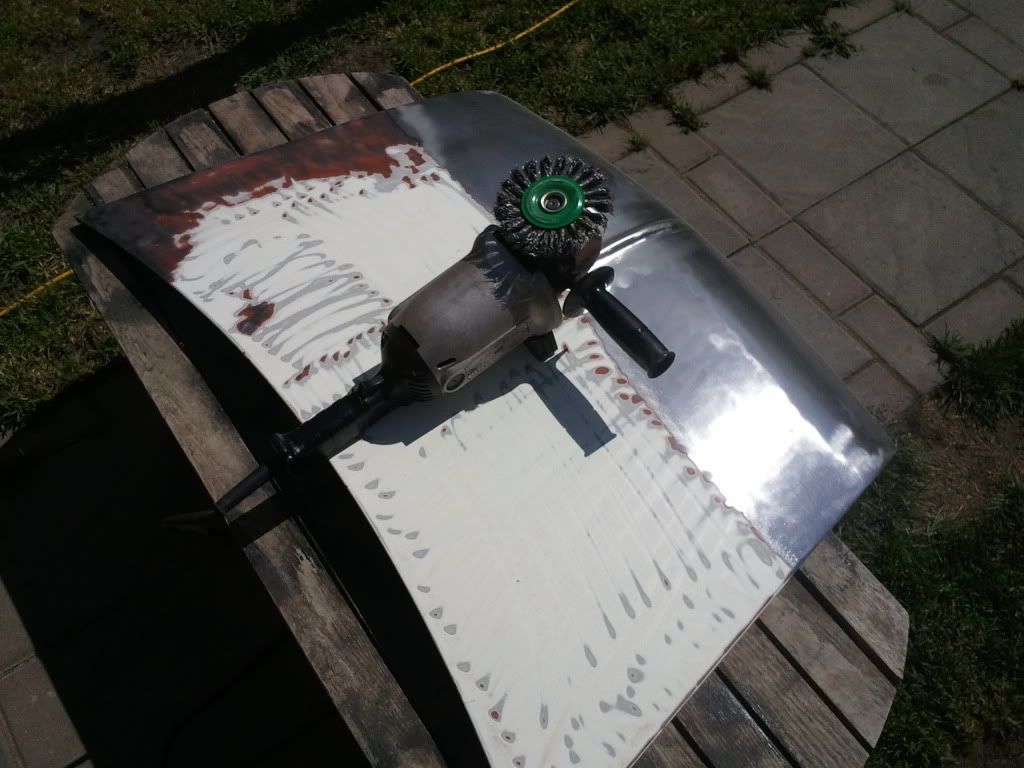
Now for the Paint strip'n.... But that'll be next week...
#17
Posted 11 April 2011 - 05:08 AM
Edited by Brams96, 11 April 2011 - 05:09 AM.
#18
Posted 11 April 2011 - 04:18 PM
Looking good so far, I liked the way you tackled matching up the panels, very clever . Are you going to deseam it so the whole thing is smooth? What about the front lights, indicators & petrol tank hole, are they going to be blanked off too or just have fake cap etc on it?
Clever?? I would say lucky LOL…. No but really I did spend some time sitting there pondering over it…
Regarding the end result “If I ever make it there”??? I’ll be matching it up to my Z-Car Mini so it will have matching paint wheels/rim's and body kit minus the side skirts…
Here in Canada we need to register a trailer and in order to do this I need side markers, break and hazard lights and the trailer needs its own tag’s/papers.. So I’ll have both the front and rear lights and all trim back on and fully operational except the petrol tank and cap will be just for look’s and yes it will be deseamed.
The head lights may be a bit over-kill but they can come in handy when changing a tire or setting up a tent in the dark.
The interior will be finished in automotive carpeting and have a light, AUX plug and storage compartments for tools and miscellaneous trailer stuff.
Well that’s the vision anyways……
Edited by M1n1c00per, 15 April 2011 - 06:55 PM.
#19
Posted 18 April 2011 - 07:04 PM
Attached Files
#21
Posted 23 April 2011 - 10:18 PM
#22
Posted 25 April 2011 - 07:20 PM
Nice idea, although i find it really painfull seeing a mk2 being chopped to bits like that, i hope it wasn't savable. too late now, good luck with it.
Well if you have money everything is salvageable, I agree that it is a crime to do this to a MK2 or any Mini for that matter, but as I got into the chopping of the MK2 I felt more than justified..
The amount of rust, lumped on fiberglass along with the halfassed welding that I found and still finding under the paint was more than convincing that this little car was going to cost more to restore than my pockets were deep…… Even the panels I have for the trailer will require extra time and work than expected in prepping for the paint booth...
On a more positive note, the parts from the MK2 will be sold off to other restoration projects in north America so many other’s can carry on the proud Mini name.
As I know how sensitive the chopping and stripping down of a Mini can be for most Mini owners, I promise to not go on about my 73 Mini Z-Car projects either….
(But yes the un-needed stripped out parts from the 73 Mini are up 4-sale also…)
Edited by M1n1c00per, 01 July 2011 - 04:56 AM.
#23
Posted 24 June 2011 - 05:10 PM
It's been a slow and rainy start to this spring/summer in the chop-shop working and posting on the SLUG, But it’s that time again, so let’s get'r going..
Here are a few Pic's as to what I was up to last week, it’s not much but it’s a start.
I finished stripping the fenders with my wire grinder wheel, and I even hit it with my "pressure lacking” sand blaster for a bit….
(I need a 9HP compressor to do a good job with the sand.)
more to come.......
Edited by M1n1c00per, 06 July 2011 - 07:07 PM.
#24
Posted 01 July 2011 - 04:55 AM
A quick note, I would advise NOT removing the rain-run-off seams until after 99% of the paint is removed and the panels are tac welded together.. I’m finding that with the seams off and the floor cut out the panel has separated and is making for extra work….
Edited by M1n1c00per, 06 July 2011 - 06:57 PM.
#25
Posted 01 July 2011 - 10:11 PM
#26
Posted 02 July 2011 - 04:08 AM
Bram's thanx,.. I feel the filler hole will be filled in and I have to agree with you the smoothed out look is a better way to go here...Looking good. Are you going to get rid of the petrol filler hole? I think the smooth look would look much better. When do you plan on starting to weld it all together?
I should be starting the welding in the next few weeks as I just have a few flakes of paint to strip off, but welding is the next step.
Then I need to fit a new floor and mount a sub frame.....
Edited by M1n1c00per, 06 July 2011 - 07:04 PM.
#27
Posted 01 August 2011 - 07:38 PM
#28
Posted 13 August 2011 - 06:48 PM
#29
Posted 24 August 2011 - 01:24 PM
#30
Posted 30 August 2011 - 09:22 PM
Nooooo! Why has it stopped?! More updates!
Sorry for the lack of progress…
But don’t worry the build is still in the works, I’ve just been busy working on finishing up my Garage build..
And now having bought the cable for the Electrical power last week, I’ve been gearing up to start trenching in the power lines from the house to the Garage.…
Stay tuned as I’ll be posting in the next few weeks.
But on the side I have been play’n around on my AutoCAD system and I came up with this design for the Trailer frame.
Attached Files
0 user(s) are reading this topic
0 members, 0 guests, 0 anonymous users