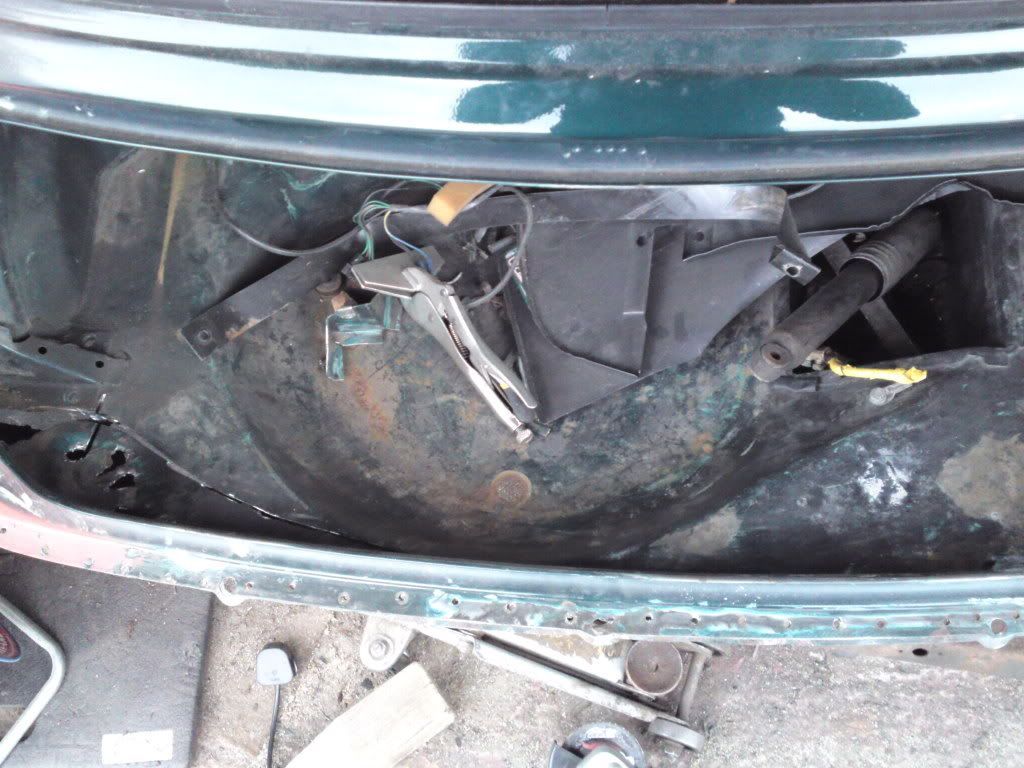
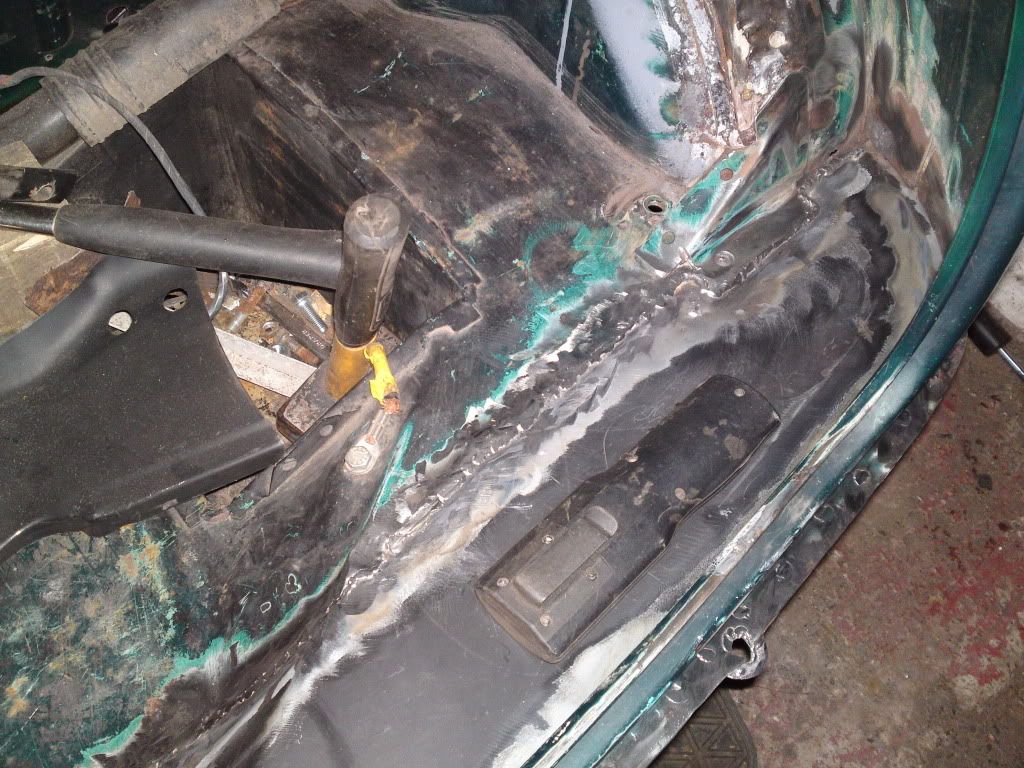
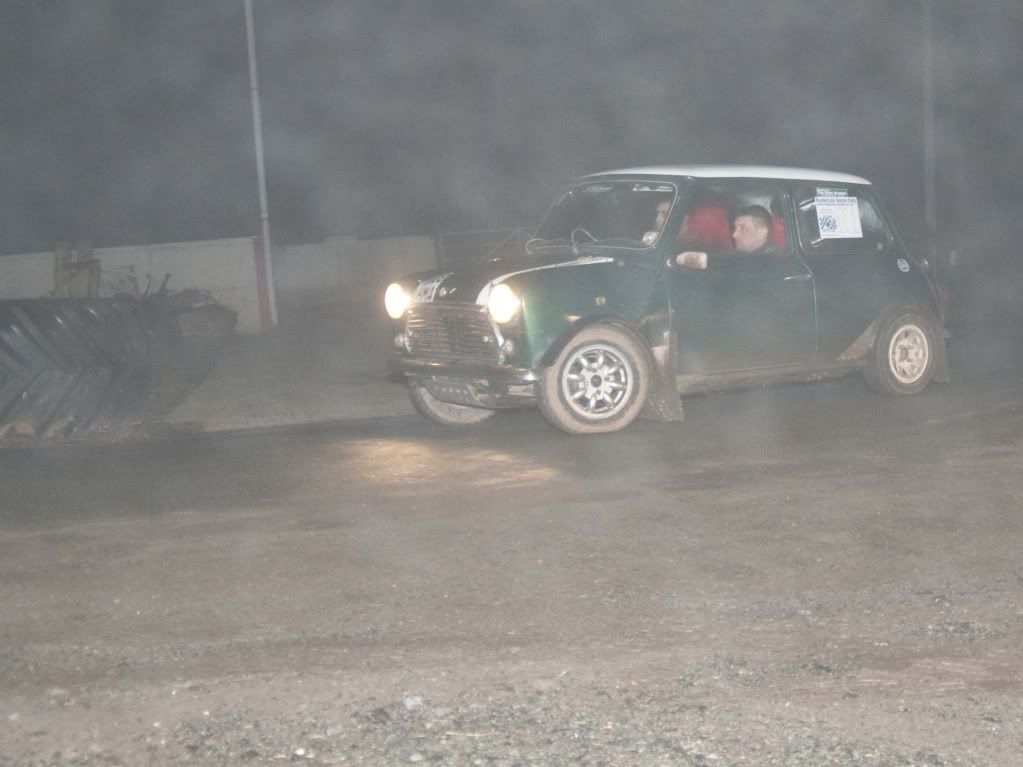
 08092010331_2_.JPG 2.68MB
103 downloads
08092010331_2_.JPG 2.68MB
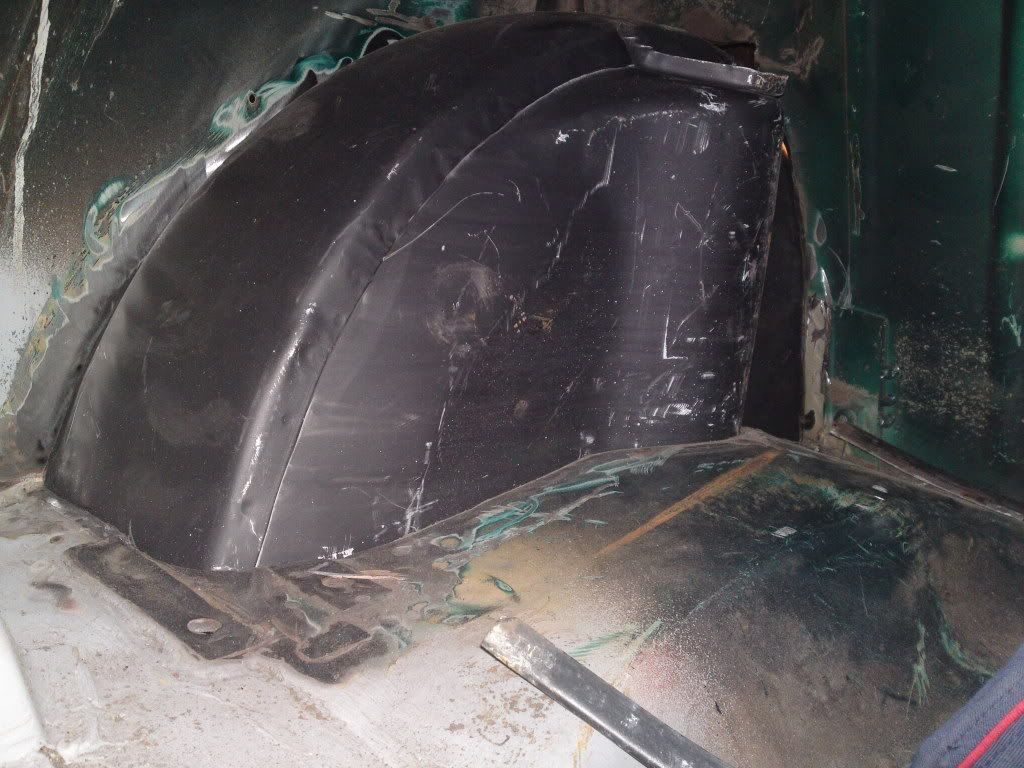
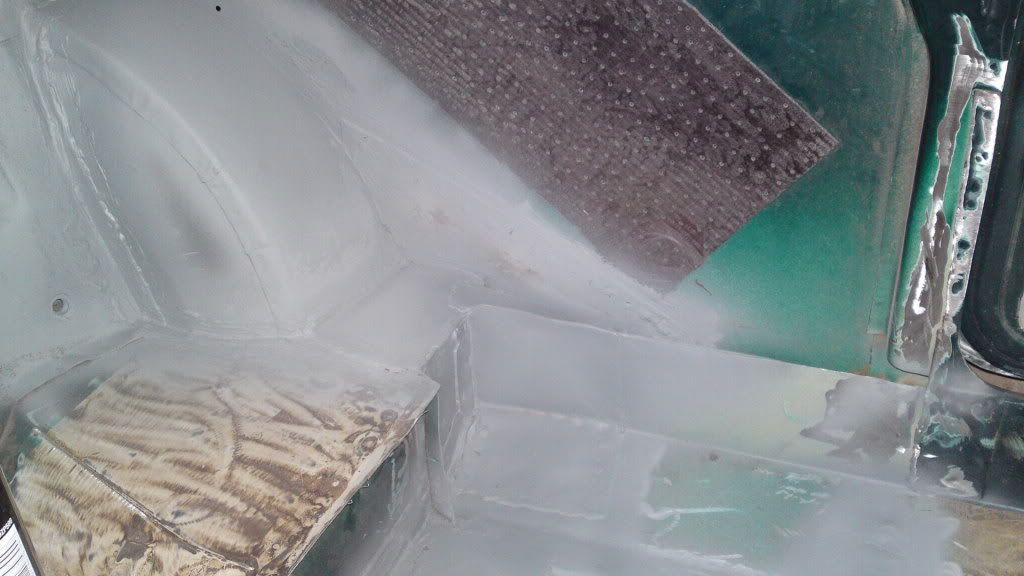
103 downloadsfirst signs of rust
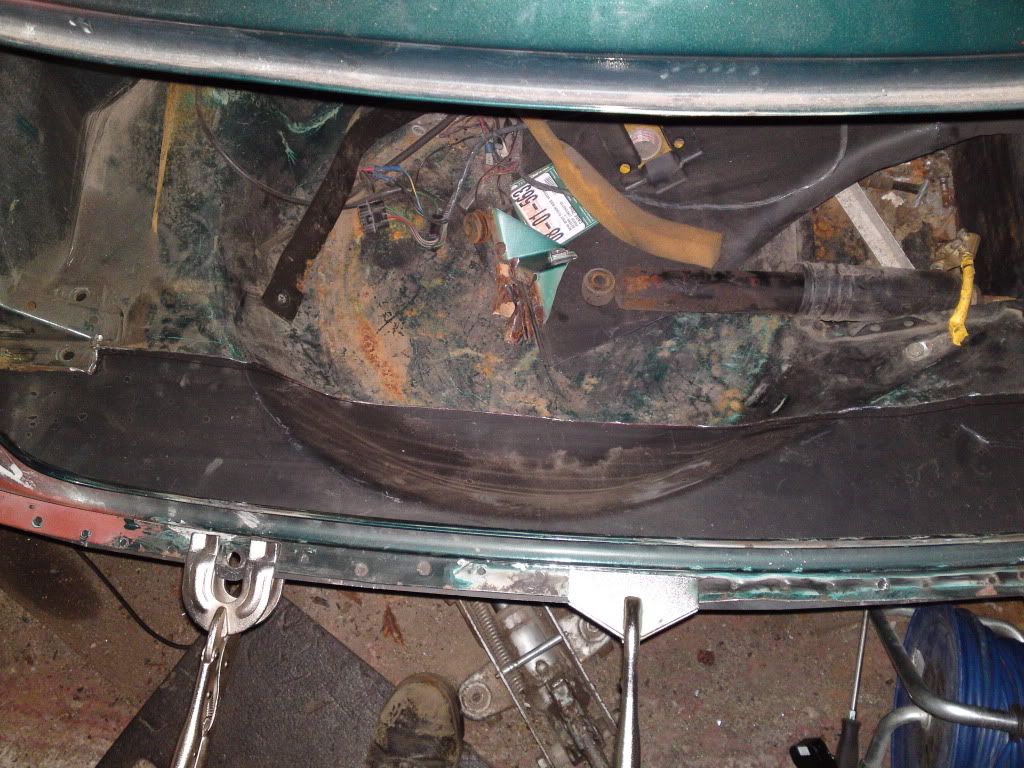
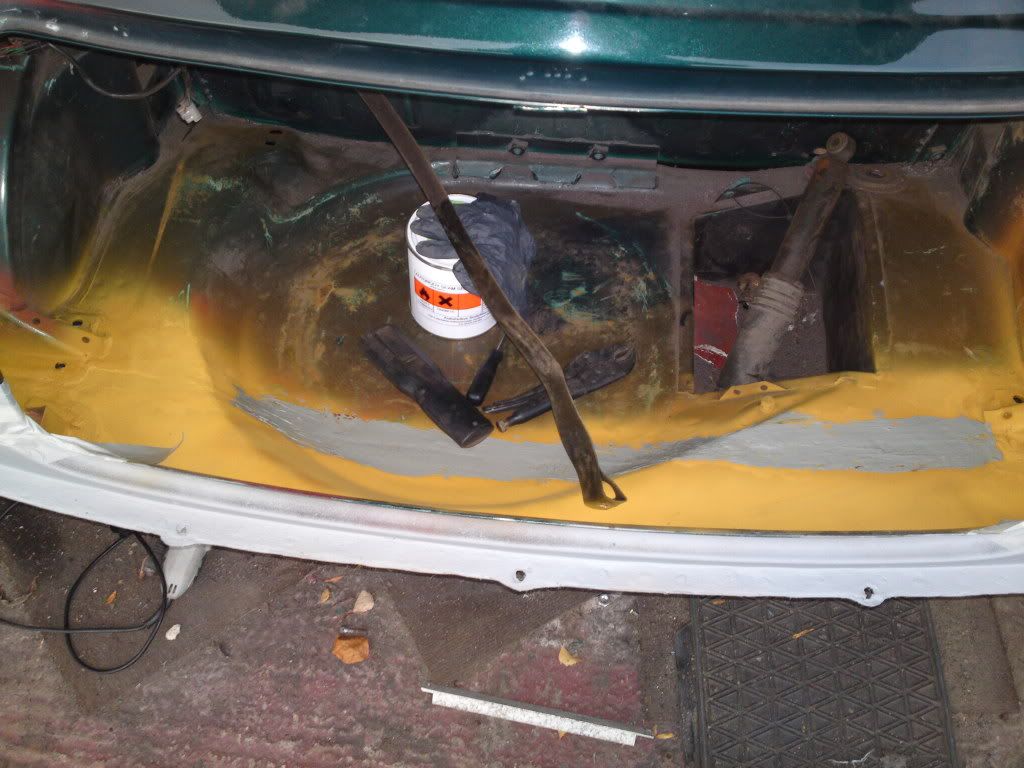
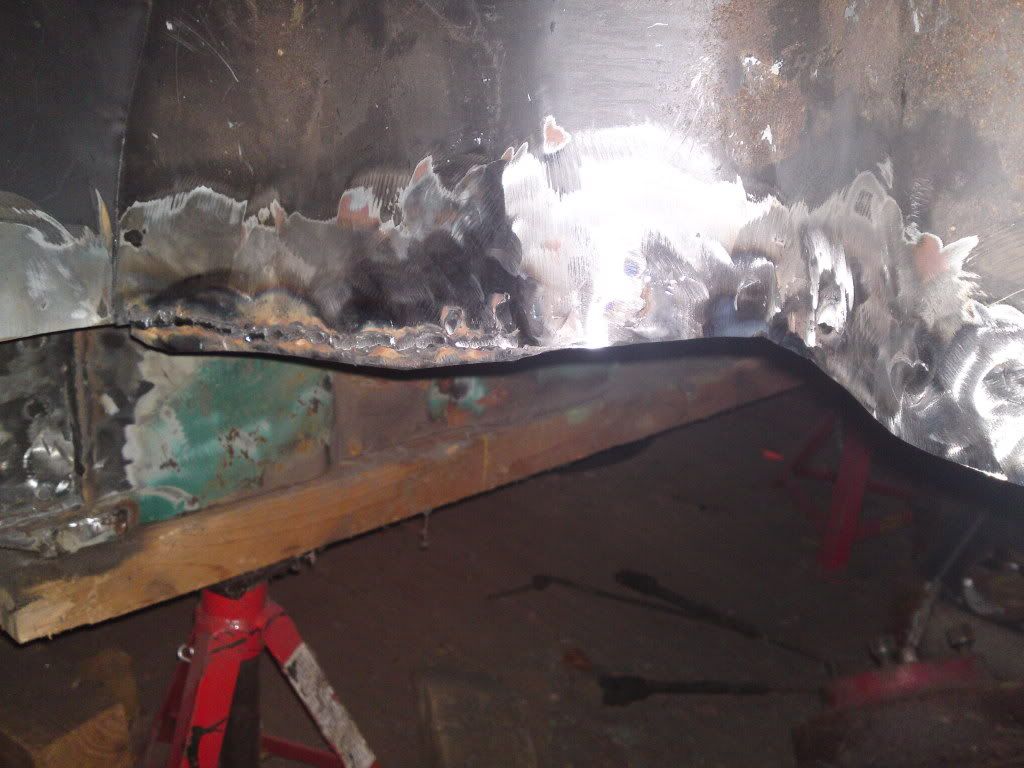
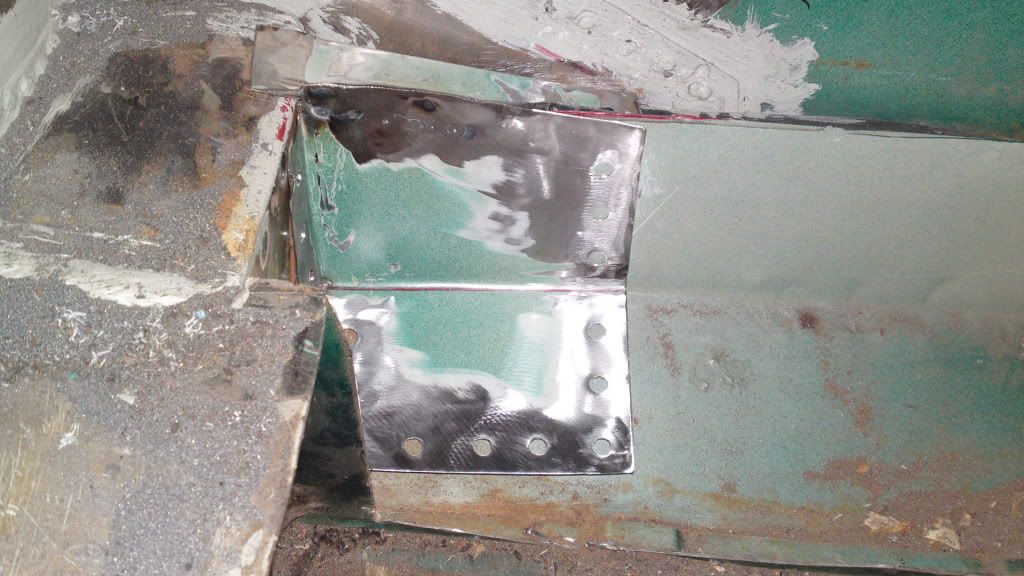
15092010332.JPG 2.9MB
60 downloads


One Carb Or Two?

Posted 11 June 2011 - 03:24 PM
08092010331_2_.JPG 2.68MB
103 downloads
15092010332.JPG 2.9MB
60 downloads
One Carb Or Two?
Posted 11 June 2011 - 03:46 PM
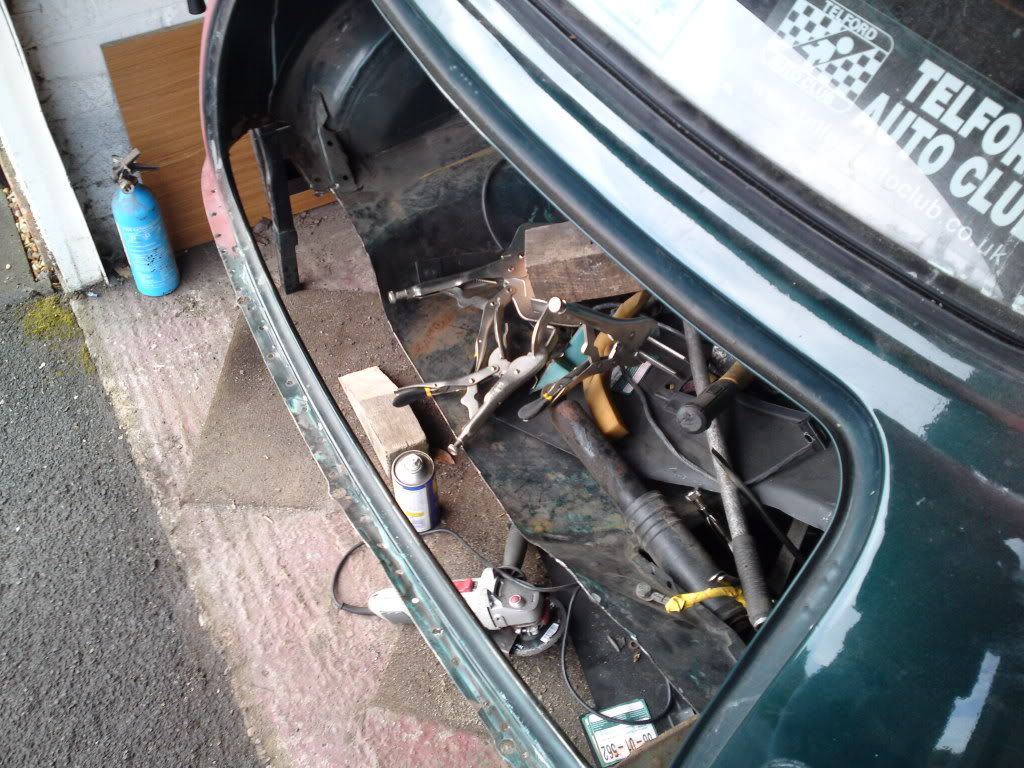
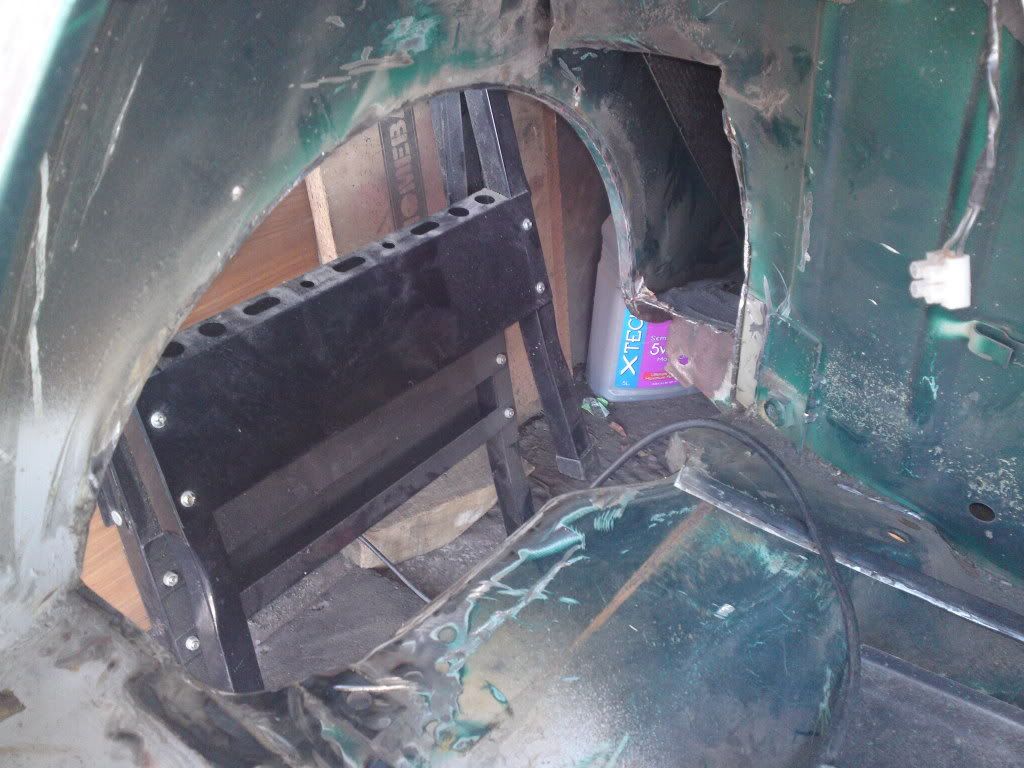
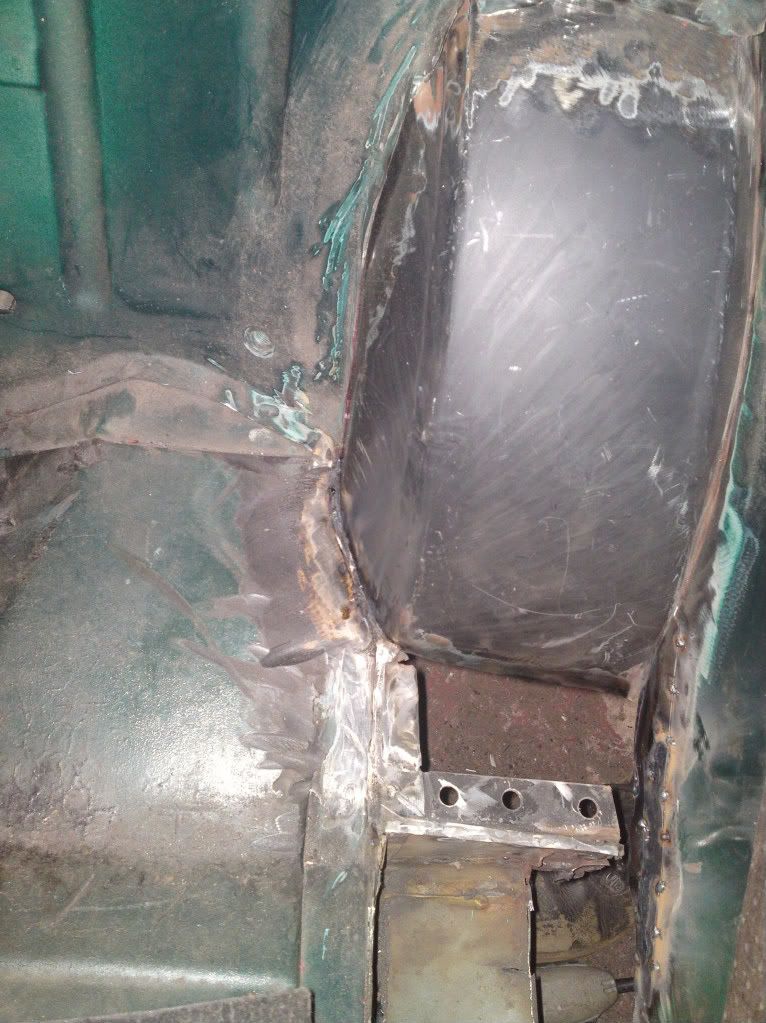
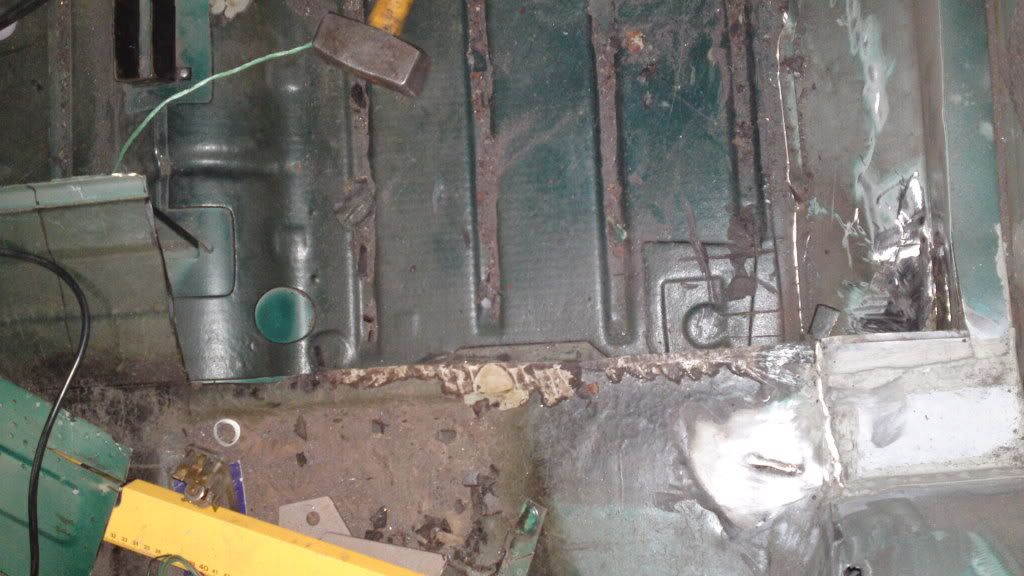
22092010338.JPG 2.21MB
67 downloads
One Carb Or Two?
Posted 13 June 2011 - 09:55 AM
One Carb Or Two?
Posted 13 June 2011 - 09:59 AM
One Carb Or Two?
Posted 14 June 2011 - 08:59 AM
Previously known as C4NN0N.

Posted 14 June 2011 - 09:22 AM
One Carb Or Two?
Posted 14 June 2011 - 11:15 AM
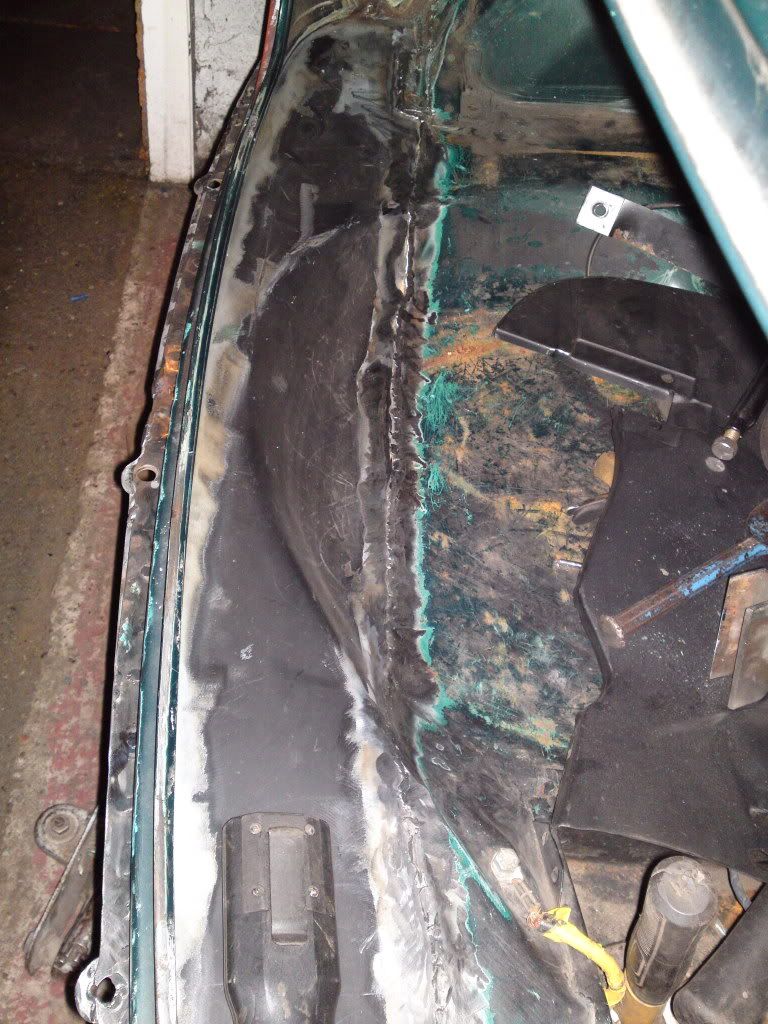
Thanks, as im doing more its getting better, plus buying a really good helmet has made a differenceLooks a lot better than some I have seen!
One Carb Or Two?
Posted 14 June 2011 - 04:11 PM

One Carb Or Two?
Posted 15 June 2011 - 01:25 PM


One Carb Or Two?
Posted 15 June 2011 - 04:12 PM


One Carb Or Two?
Posted 16 June 2011 - 08:16 AM
One Carb Or Two?
Posted 20 June 2011 - 01:49 PM

Previously known as C4NN0N.
Posted 20 June 2011 - 04:21 PM

One Carb Or Two?
Posted 20 June 2011 - 04:22 PM
One Carb Or Two?
Posted 21 June 2011 - 09:48 AM
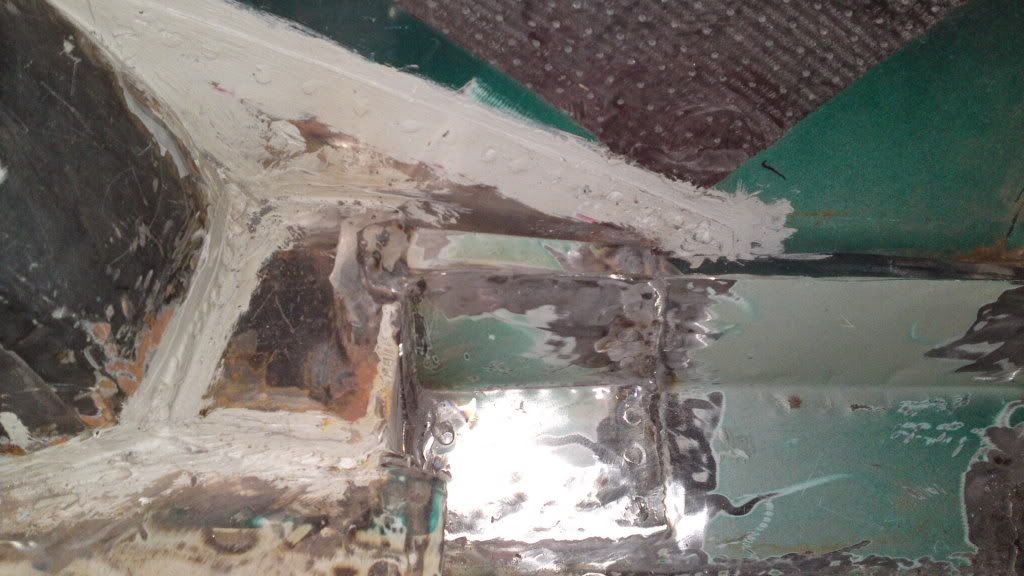
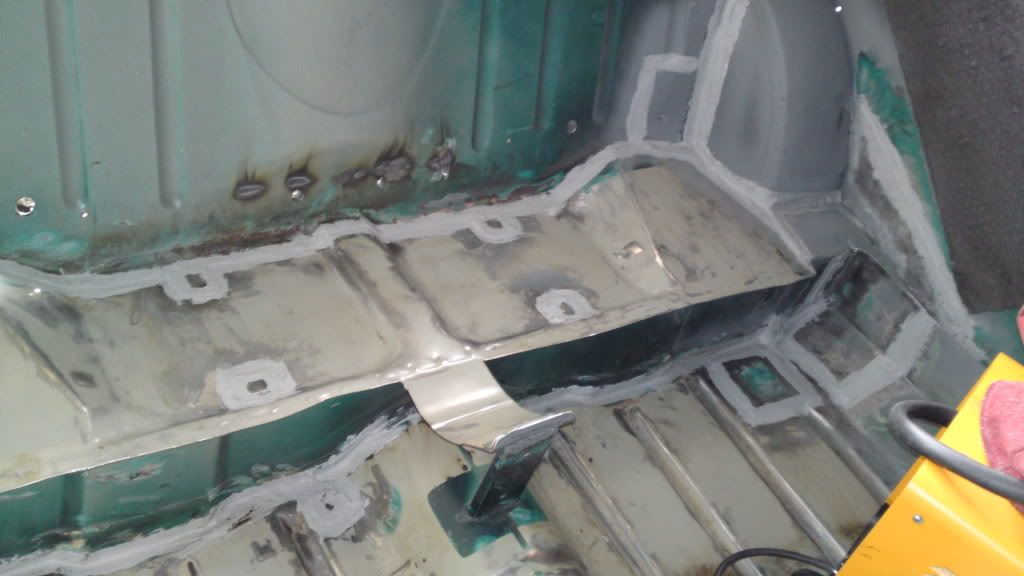
oh im all for recylingOld skool British motor vehicle repairs, using left over parts to patch up! I like it


0 members, 1 guests, 0 anonymous users


