Road Rally Mini Project
#121
Posted 16 January 2012 - 12:08 PM
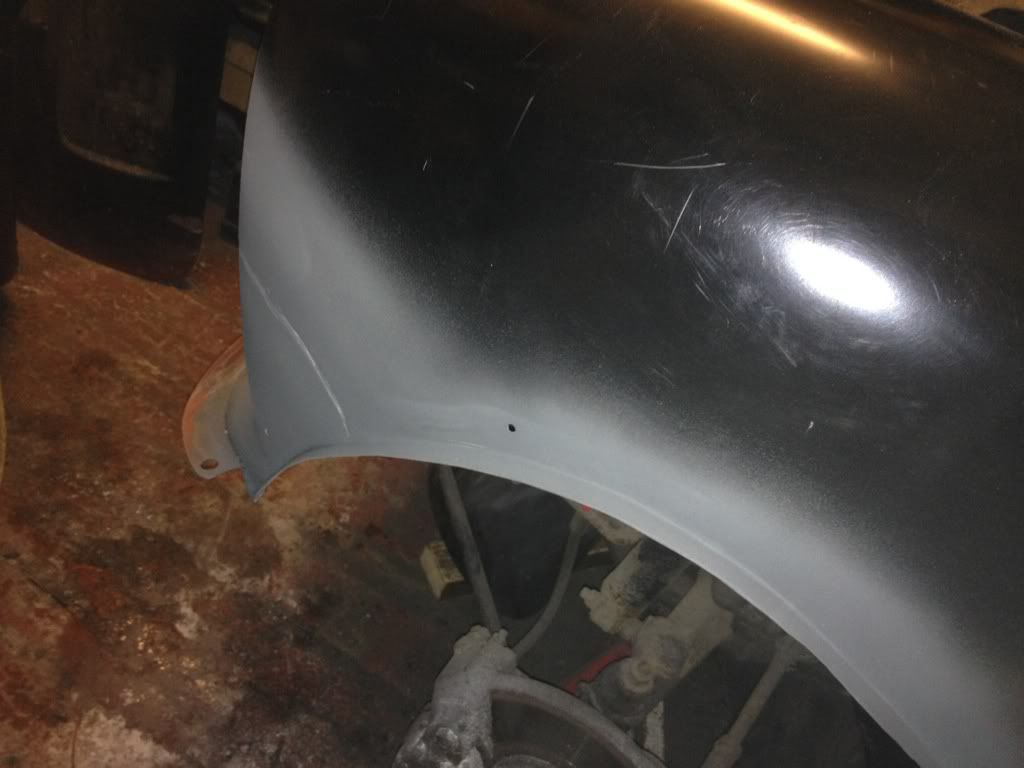
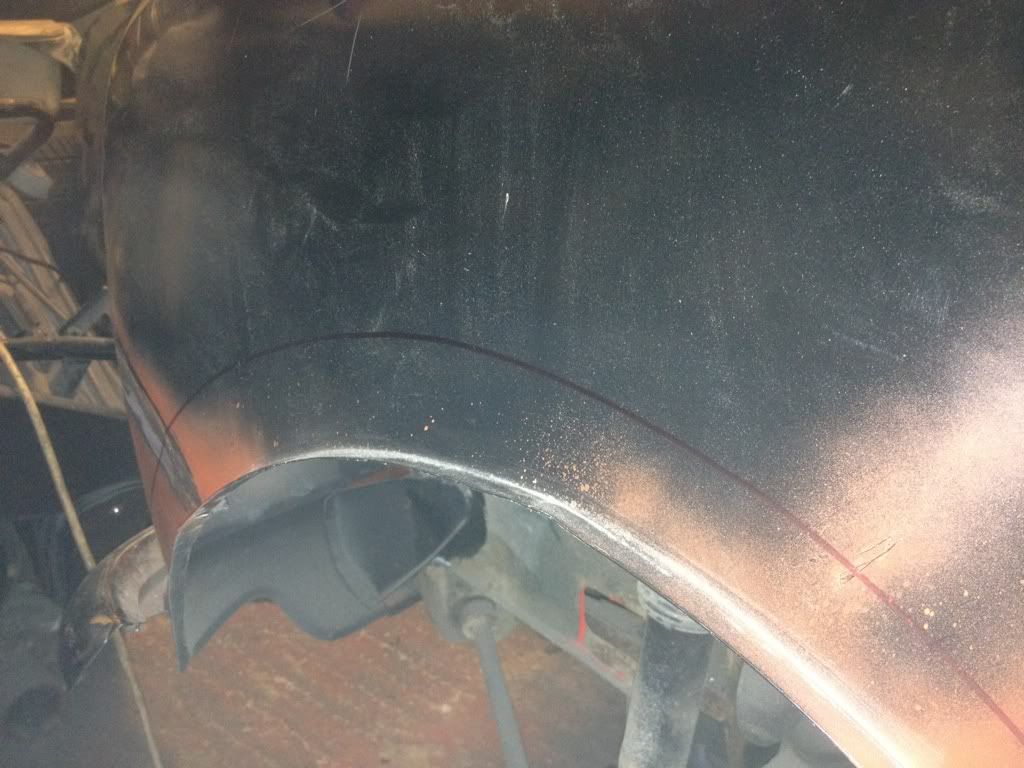
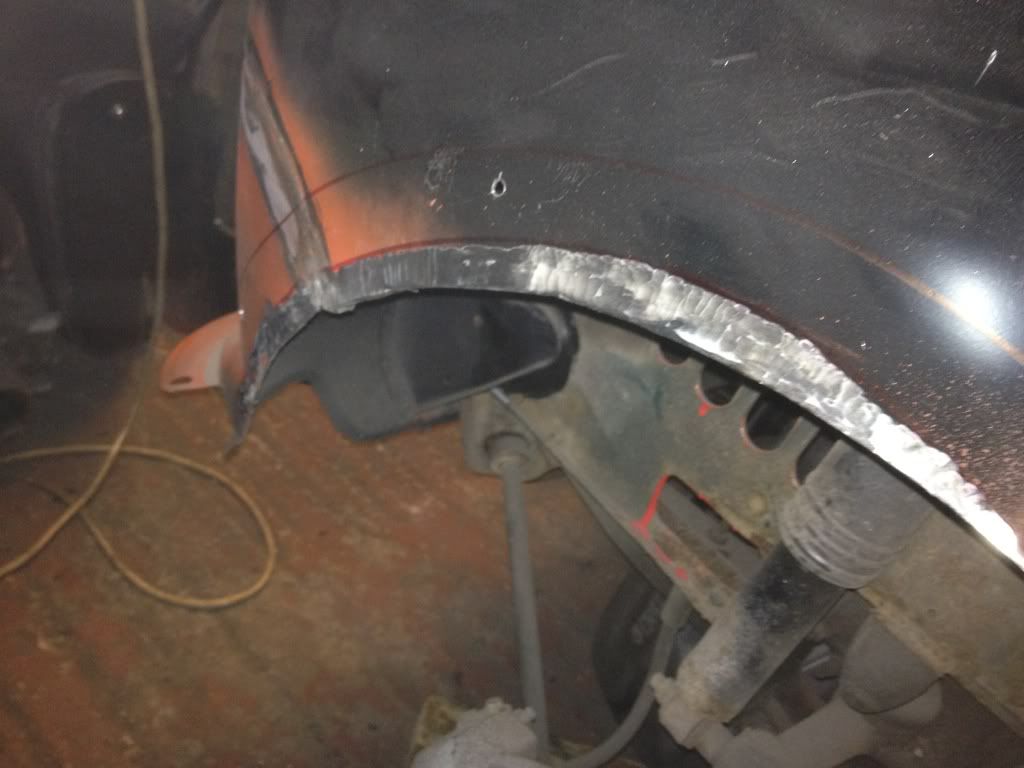
First of all I fitted the arch and marked the outline on the wing
Then using a 15mm piece of steel marked a new arch line out
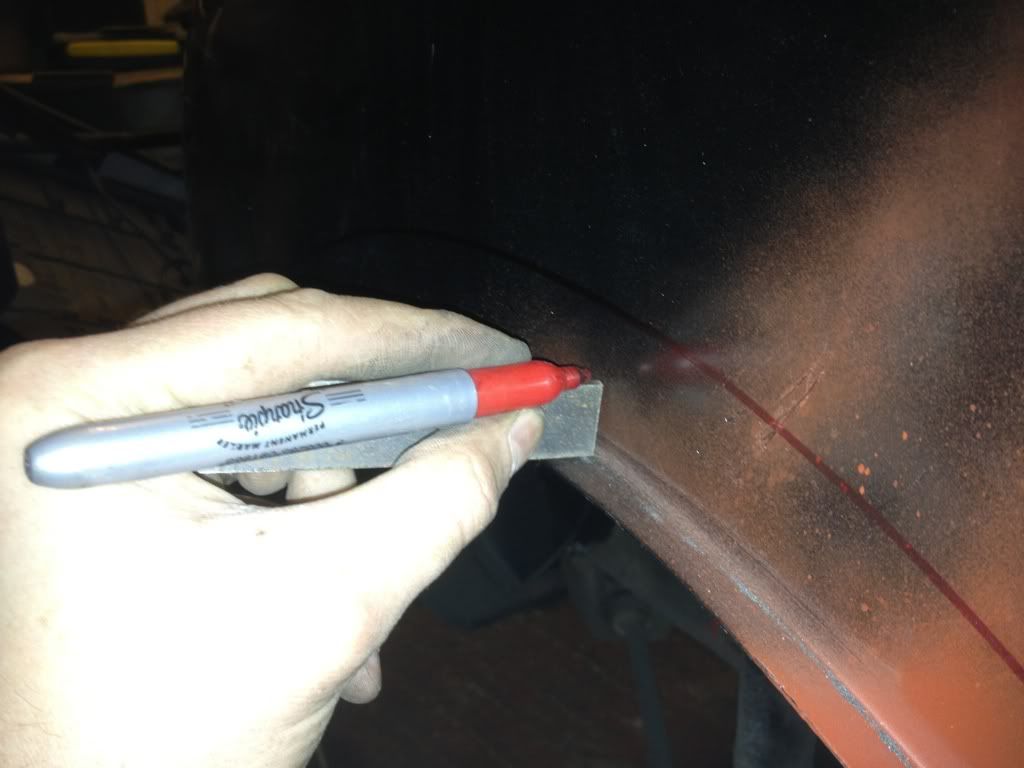
and tapered it towards the back of the arch
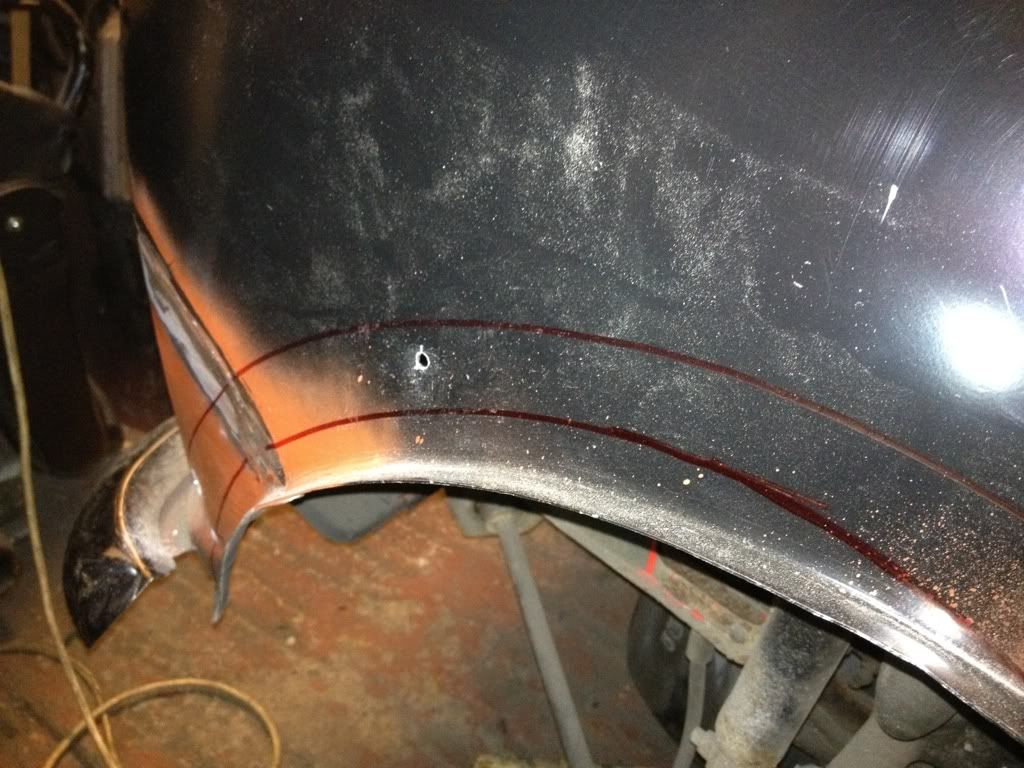
Then cleaned off the paint upto that line
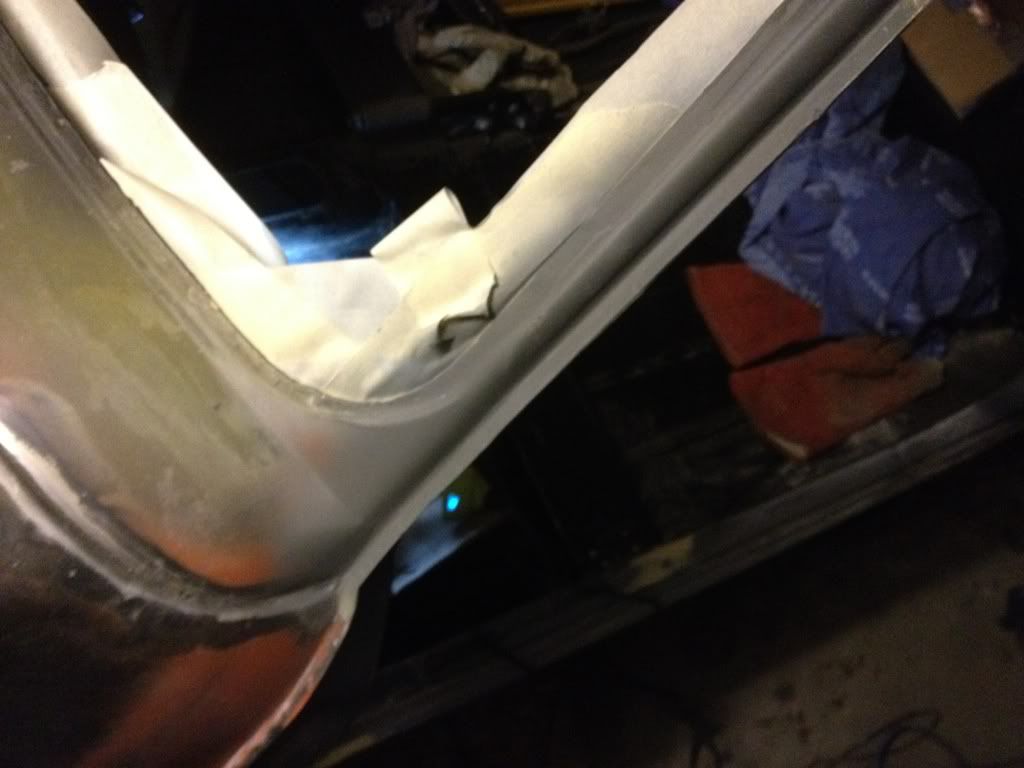
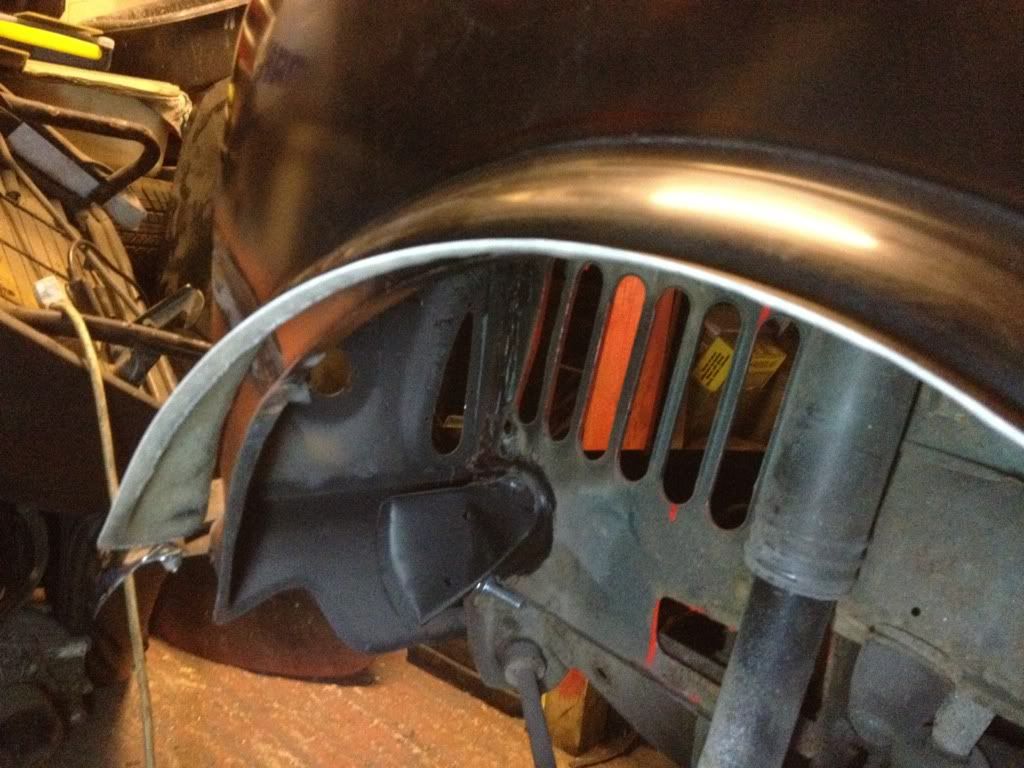
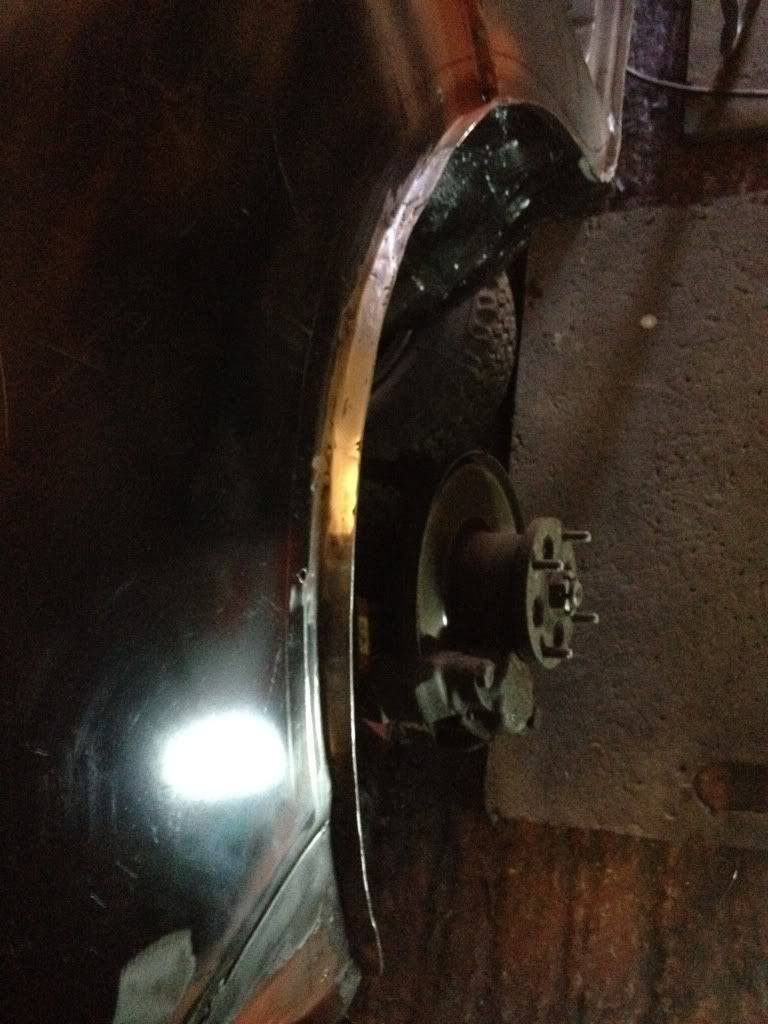
After its all nice and clean I cut slots into the arch upto the marked line evey 10-15mm
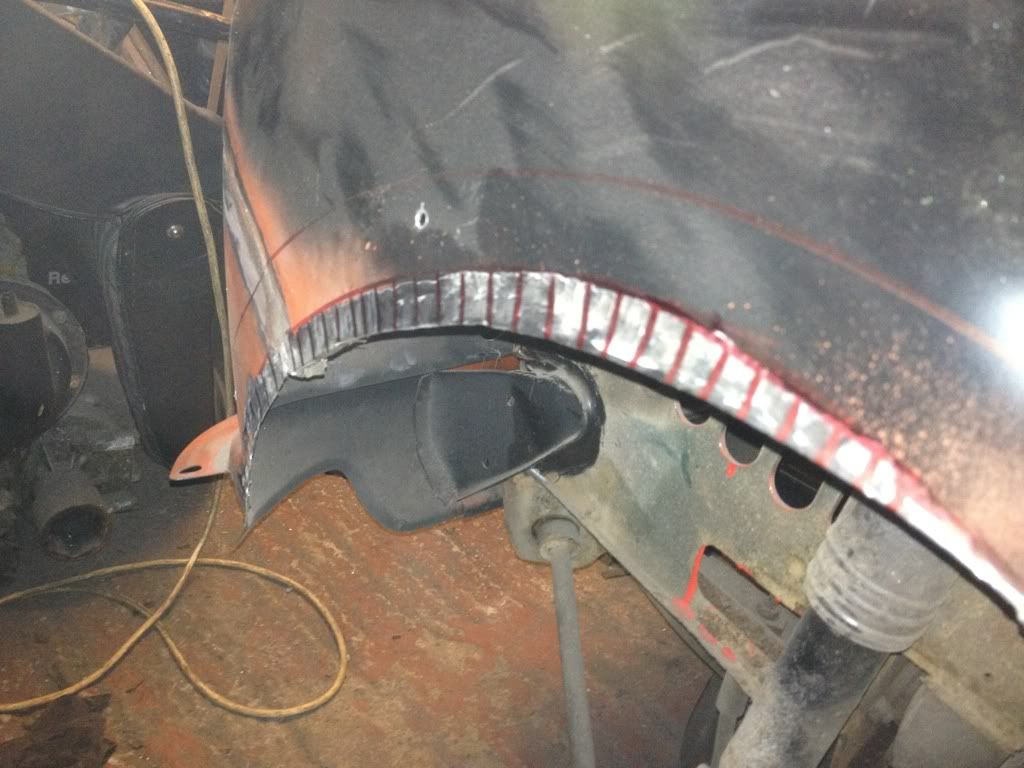
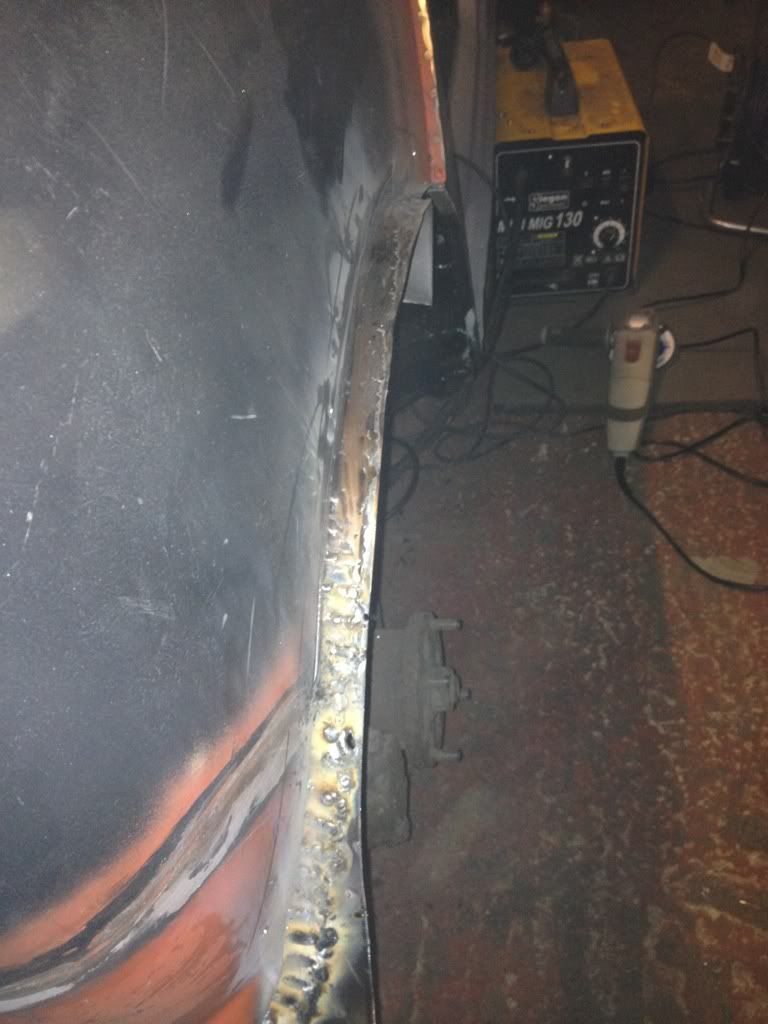
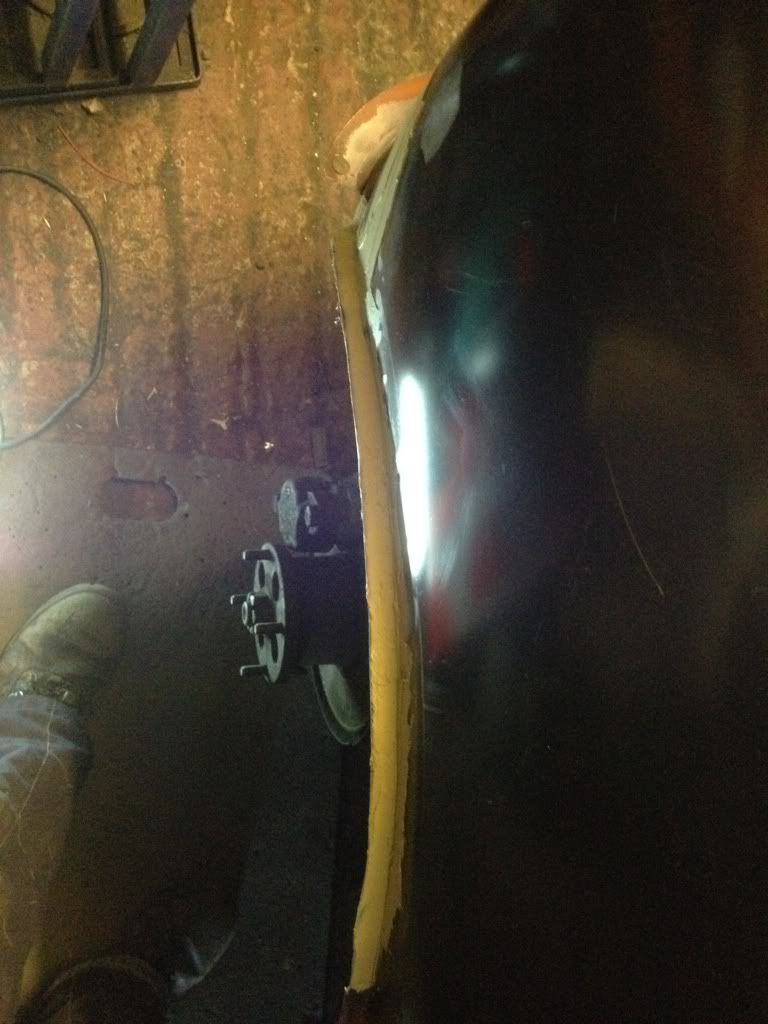
The slots are then bent at right angles to the wing
#122
Posted 16 January 2012 - 12:46 PM
Then trim off the excess , clean up the welds, a skim
#123
Posted 16 January 2012 - 10:03 PM
what paint you using here pal?
Have a look at page 7 brad
haha sorry, totally forgot thanks buddy. your build looks good anyway and those arches you have made look the mutts nu*s. by the way why have you opened up the arches?
#124
Posted 17 January 2012 - 05:19 PM
The "gravel" tyres i use are quite a tall profile and on my other car they used to catch on lock. Plus the selection of good 12 inch tyres isnt great so i can look at using a 13" wheel and tyre as theres more choice
#125
Posted 18 January 2012 - 11:17 AM
#126
Posted 25 January 2012 - 05:23 PM
Sprayed the arch repair to check for any thing that might affect the top coat
bought a new front subframe to seam weld when the cars gone for paint
sorted the windscreen pillar where the new scuttle joined
#127
Posted 25 January 2012 - 05:57 PM
#128
Posted 25 January 2012 - 09:17 PM
Evan.
Edited by 1977 Loud_Mini, 25 January 2012 - 09:17 PM.
#129
Posted 26 January 2012 - 05:06 PM
Thanks, its my first time doing bodywork so im quite pleased with the result. A friend of mine had his arches cut out and they just left the sharp edge( as i found out by cutting my fingers!!) Worth the 2-3 hours workTop work on the arches, seen some right shonky work on here before where they just bend a bit then leave the bear metal exposed and it looks terrible, this is great though. Look forward to completion.
#130
Posted 01 February 2012 - 11:39 AM
First of all I test fitted the cover and got them all lined up and level, then measured 4 inches back from the edge and drilled the hole for the "lift the dot" fastener
Then I cut the buckle off the belt and used the backing of the fastener to mark where the holes needed to be
When that was done it was easy to assemble just need to bend over the legs to secure it all together
Then test fitted and cut to length
#131
Posted 01 February 2012 - 08:41 PM
#132
Posted 01 February 2012 - 09:29 PM
#133
Posted 01 February 2012 - 10:55 PM
I had some really thin stainless steel on the garage, it's the type you use in the kitchens for heat shielding cupboards etc. anyway I made a cardboard template to make the end sections and knocked 4 up
Then it was a case of drilling and attaching the straps to then lenses. The worst bit was drilling them and I made a slight error the first hole that I drilled was too small so I put in a bigger drill bit and started to drill and It created the smallest of cracks. Luckily it's hidden by the straps and using the right size drill bit first time the other holes gave me no trouble..
The finished product
#134
Posted 02 February 2012 - 07:21 PM
#135
Posted 03 February 2012 - 04:35 PM
1 user(s) are reading this topic
0 members, 1 guests, 0 anonymous users