Jump to content


Photo
- - - - -

Leyland Mini 1000 1980 Restoration Project


  • Please log in to reply
393 replies to this topic

#1 minifcd

minifcd

    Mini Mad

  • Members
  • PipPipPipPip
  • 246 posts
  • Location: Stamford

Posted 27 August 2011 - 08:59 PM

Hi all. This project thread has been a long time coming! I have had this mini for coming up to 2 years now and have been meaning to start a project thread on it but just haven't got round to it. I aquired it in October 2009 through work. A customer bought a new car from us and asked if we could scrap his mini as he needed the room in his garage. So I was asked if i wanted it instead for free just having to pay for fuel to collect it!

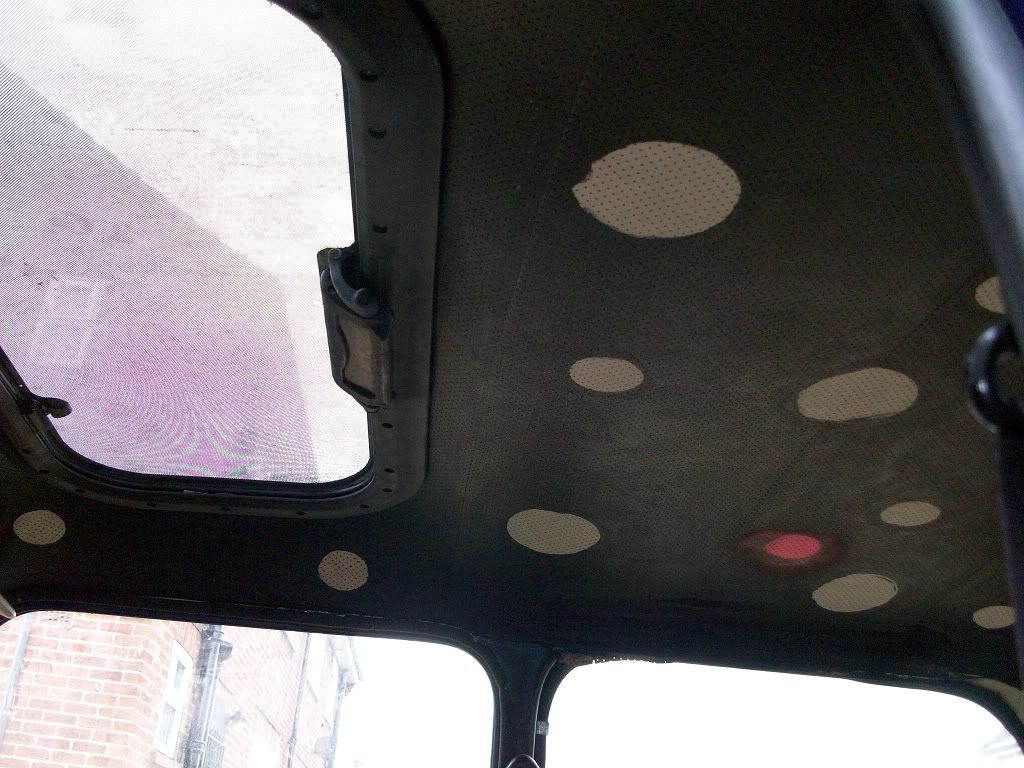
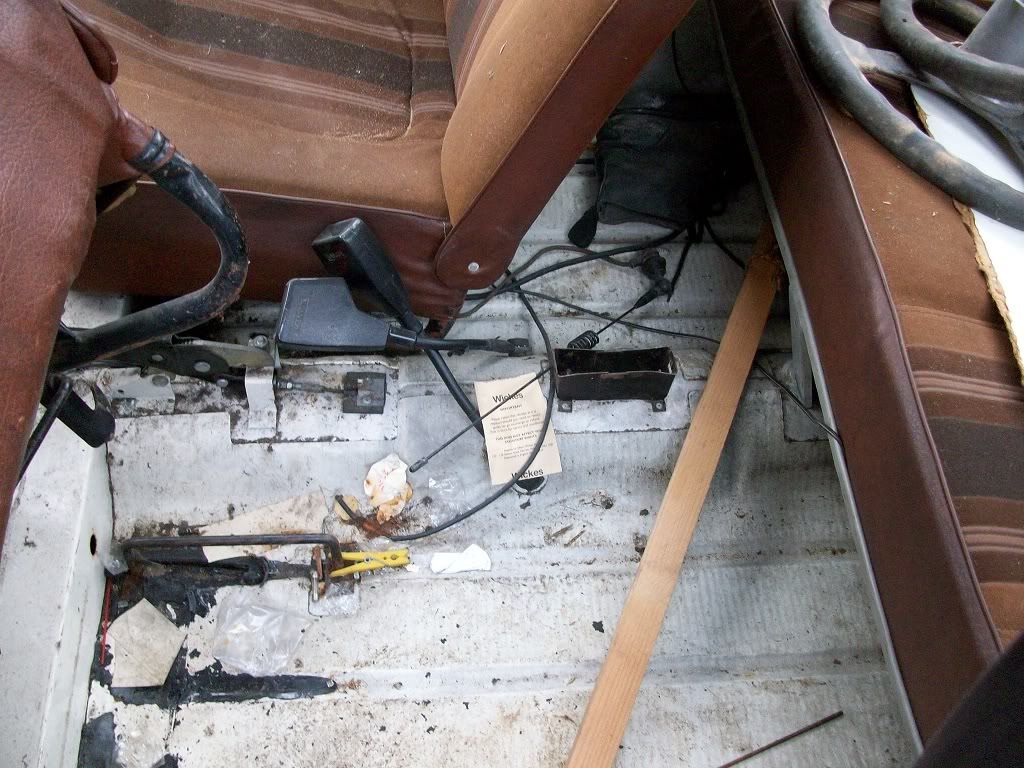
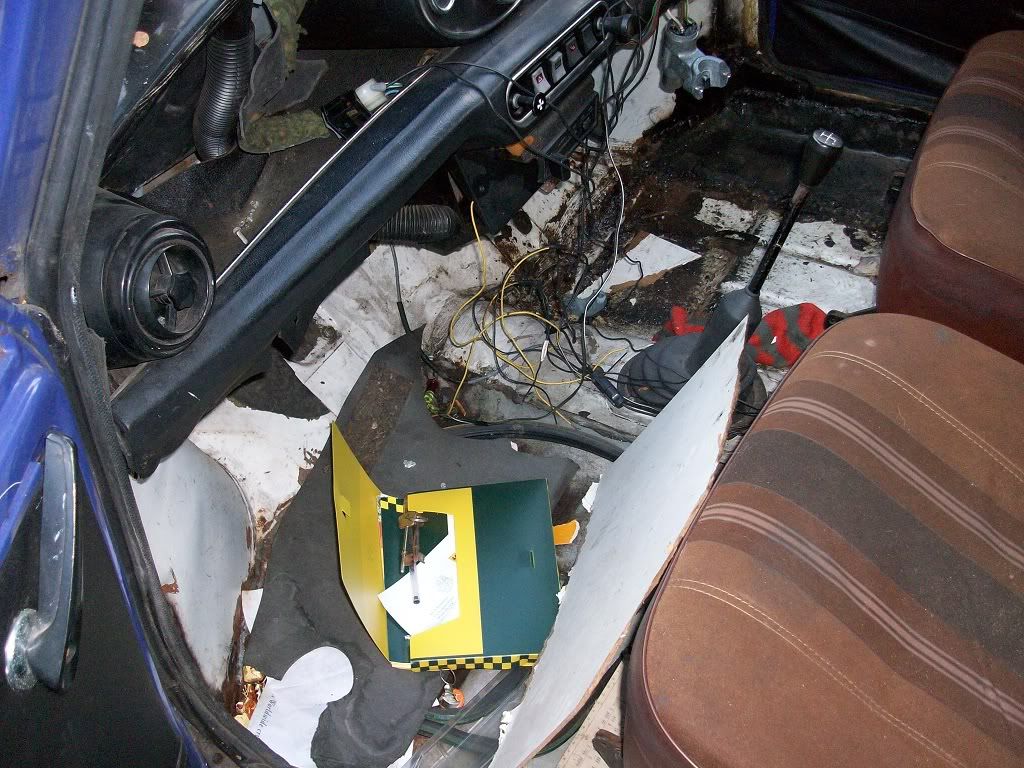
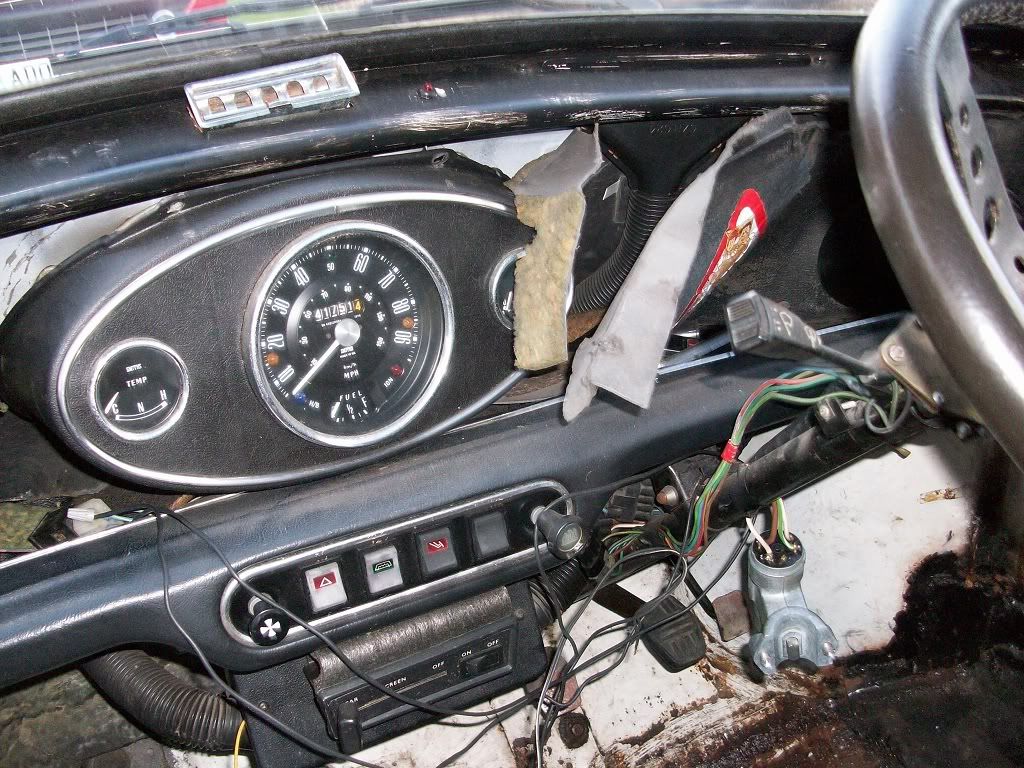
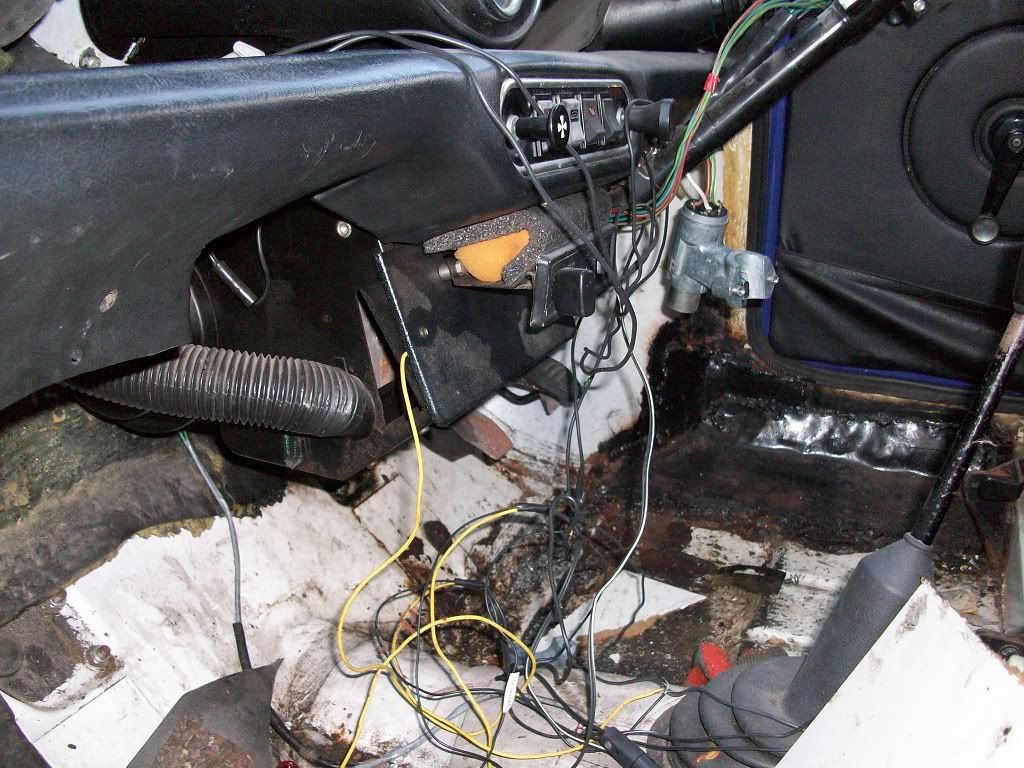
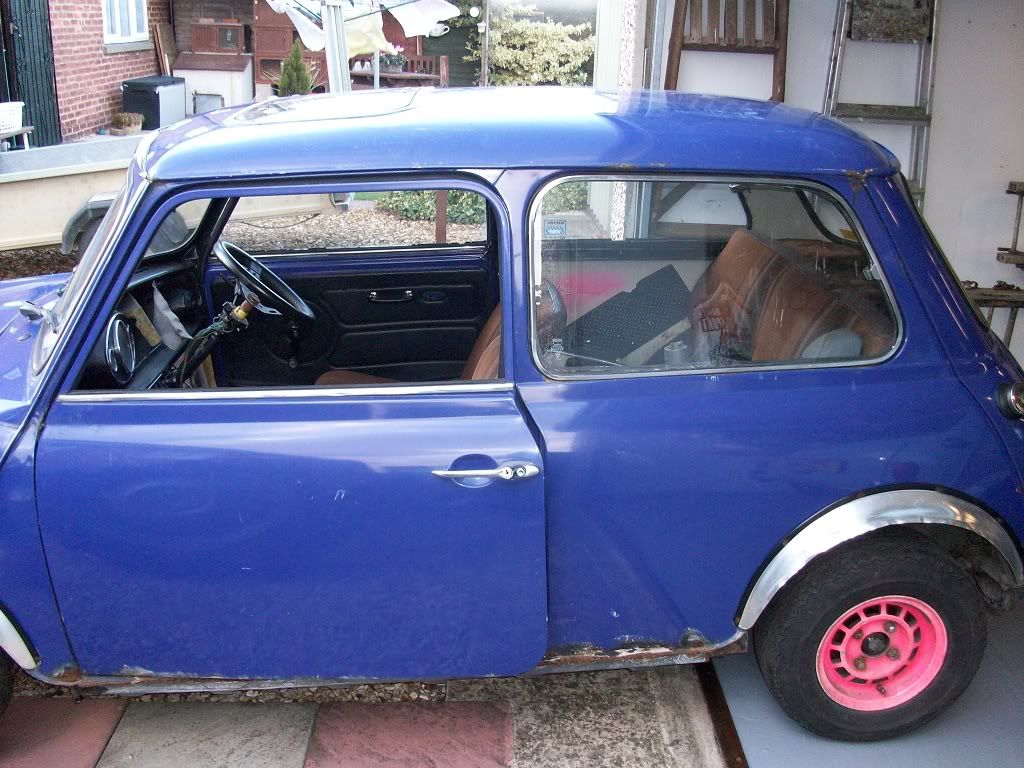
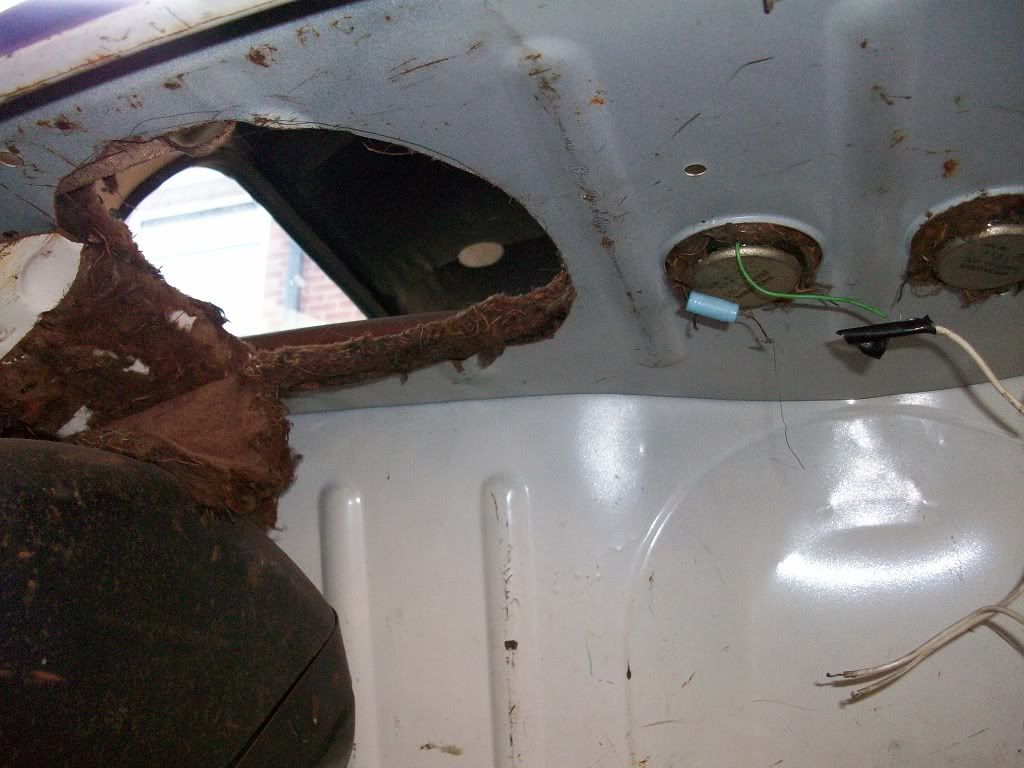
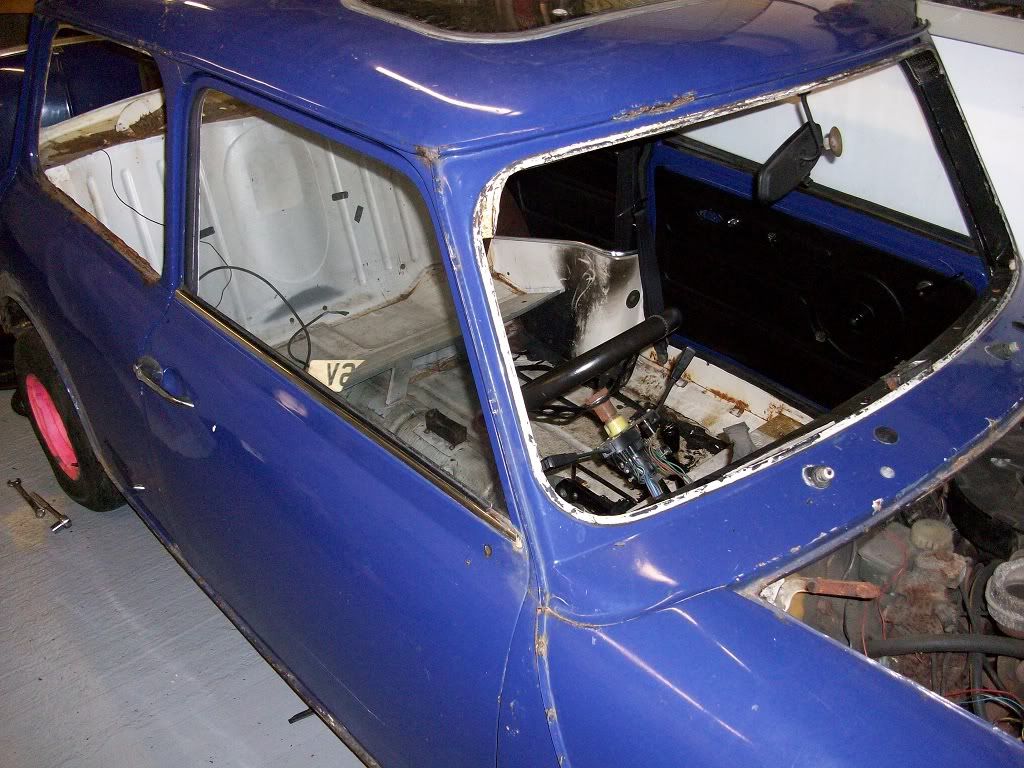
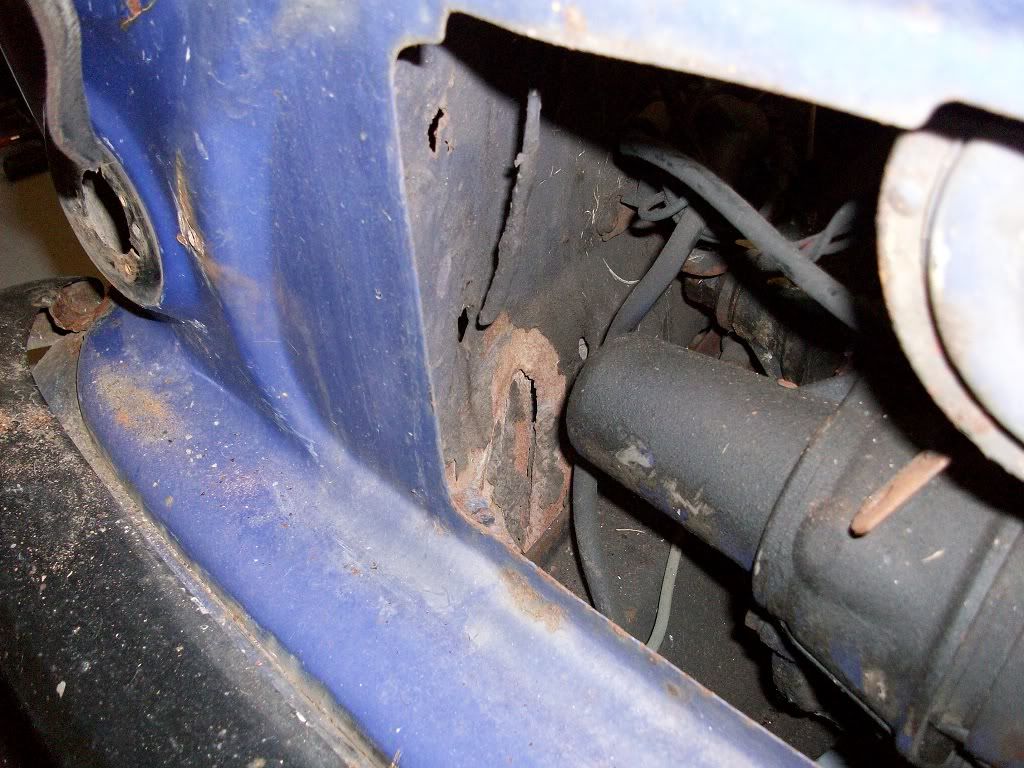
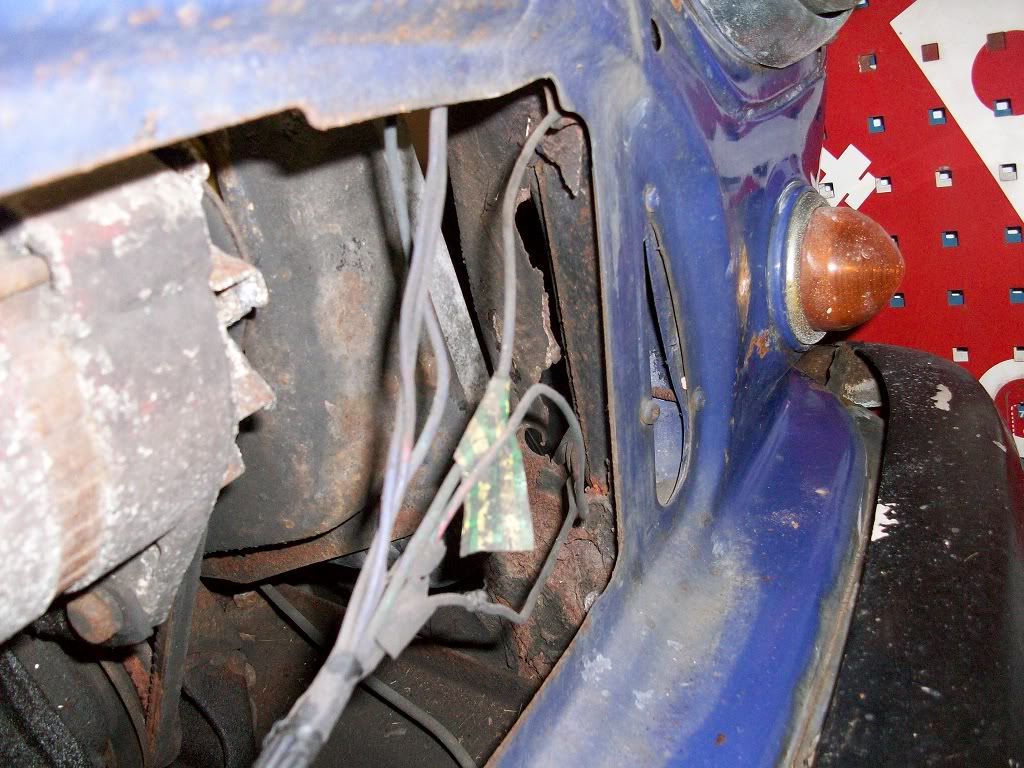
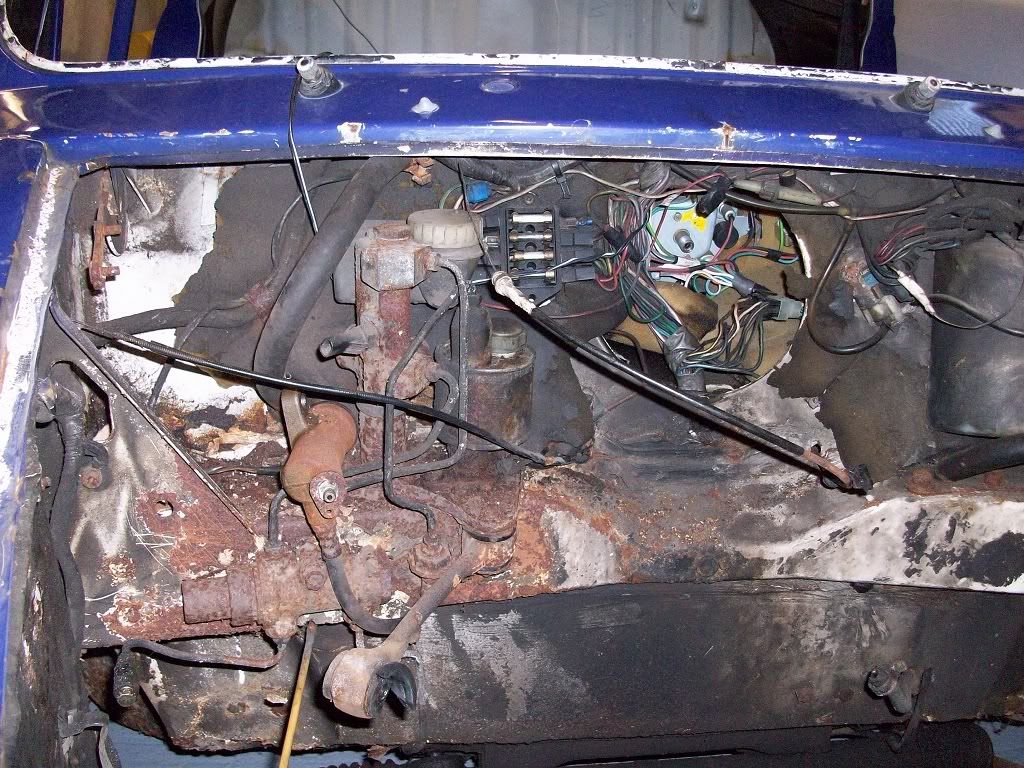
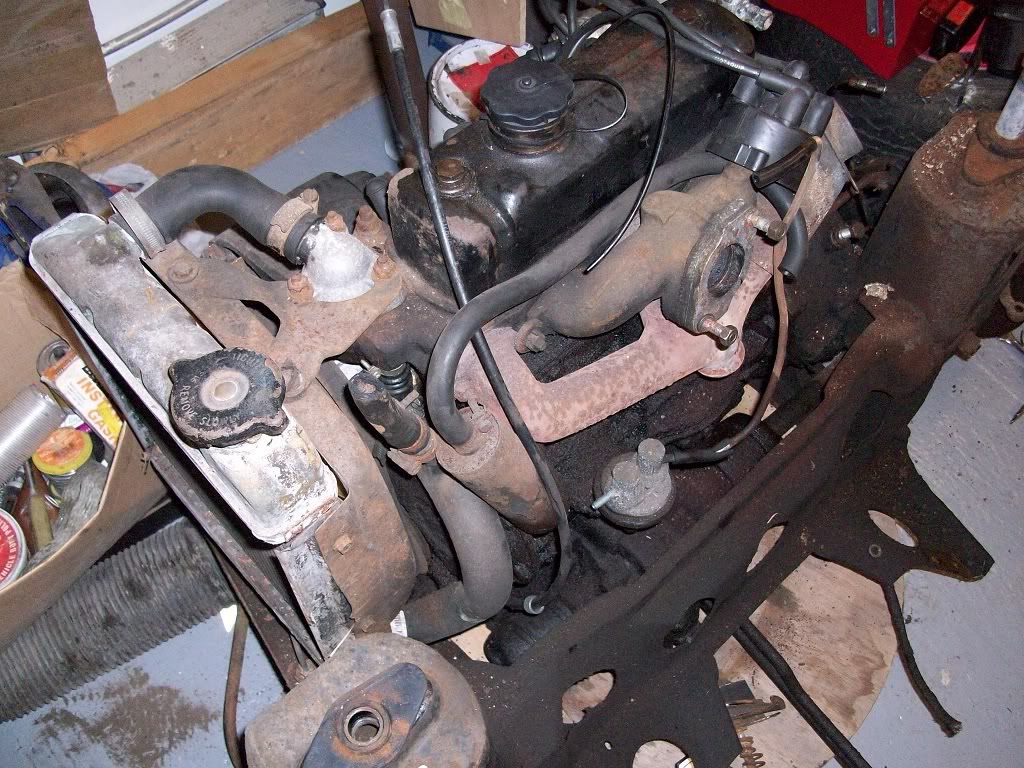
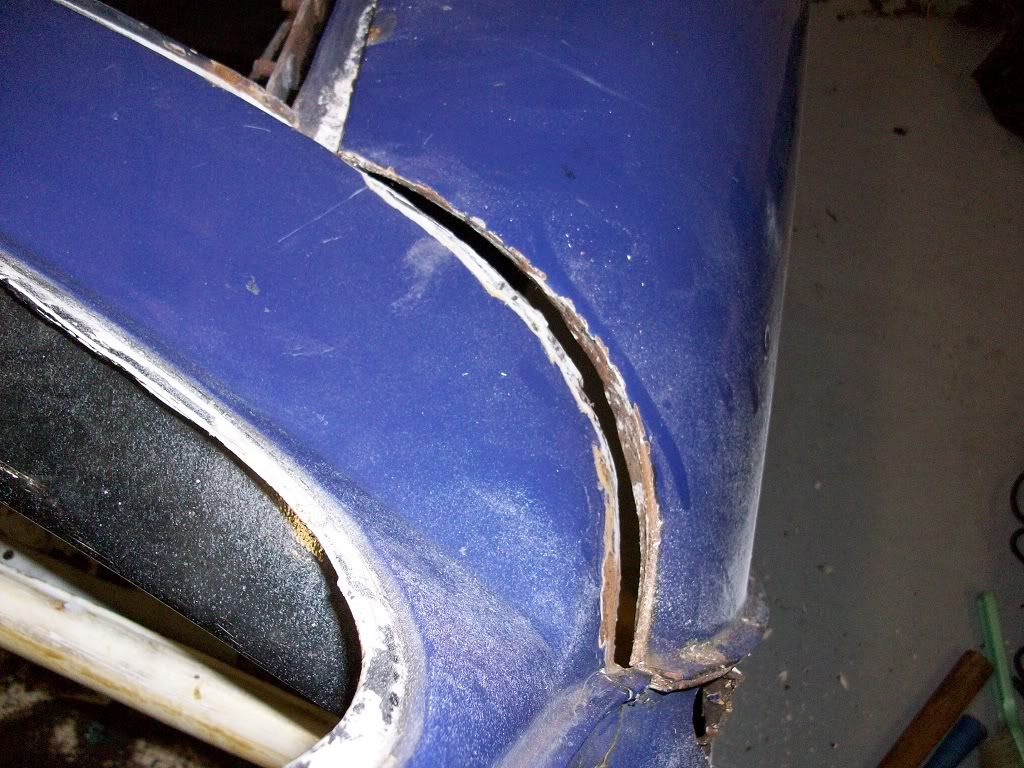
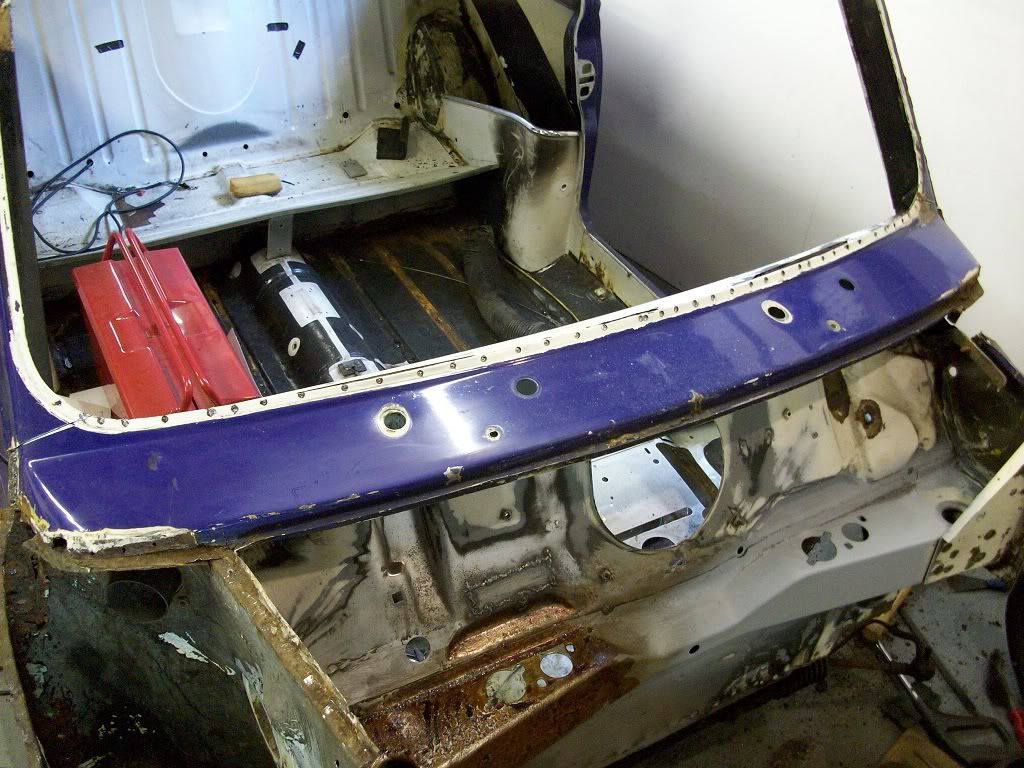
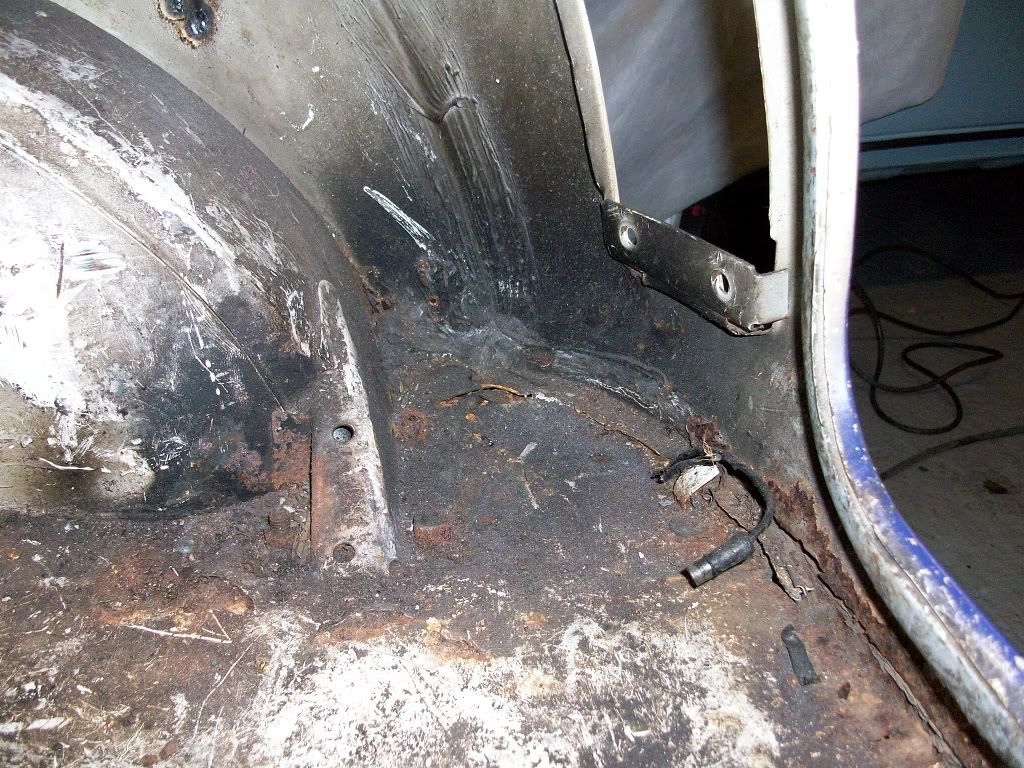
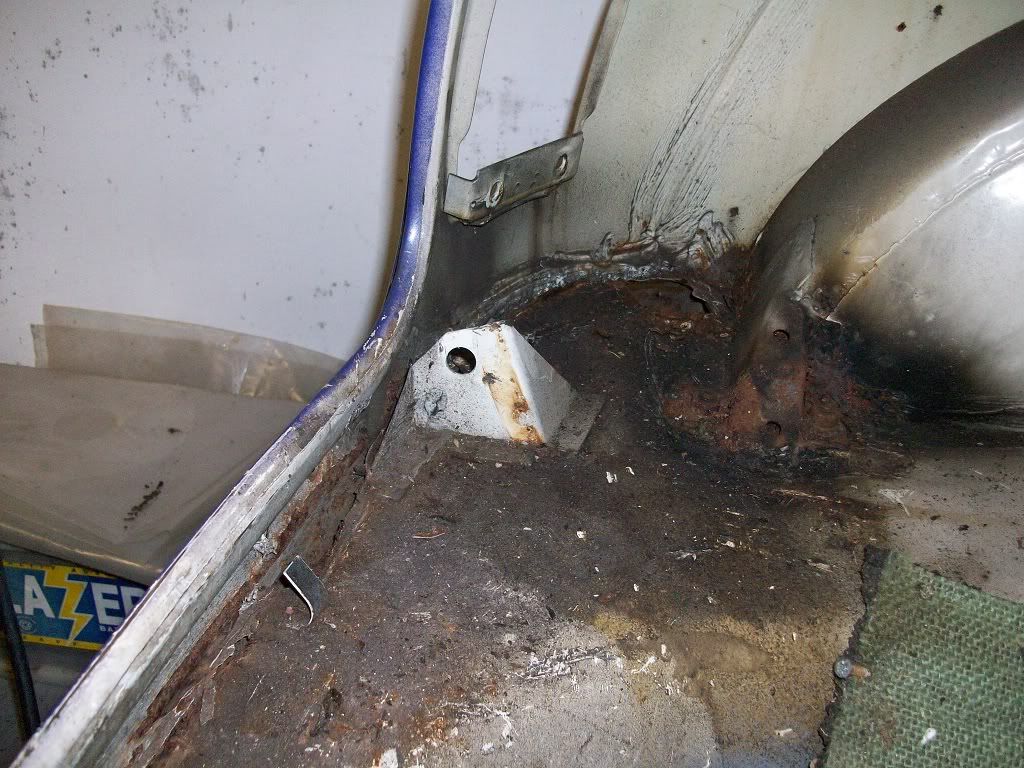
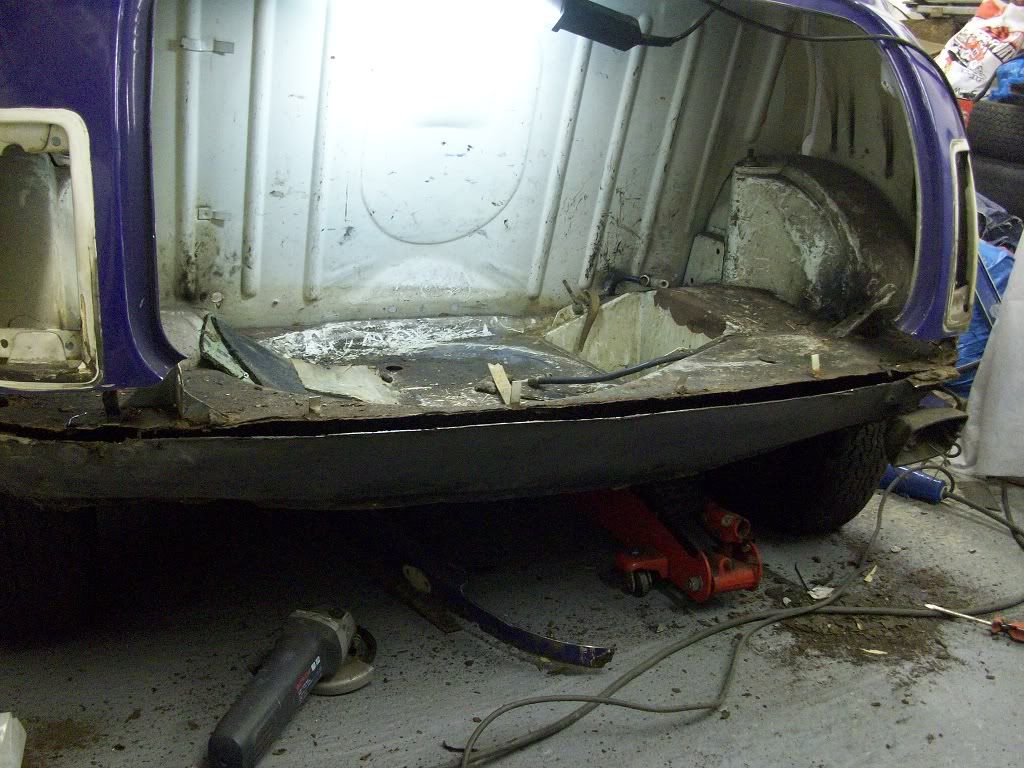
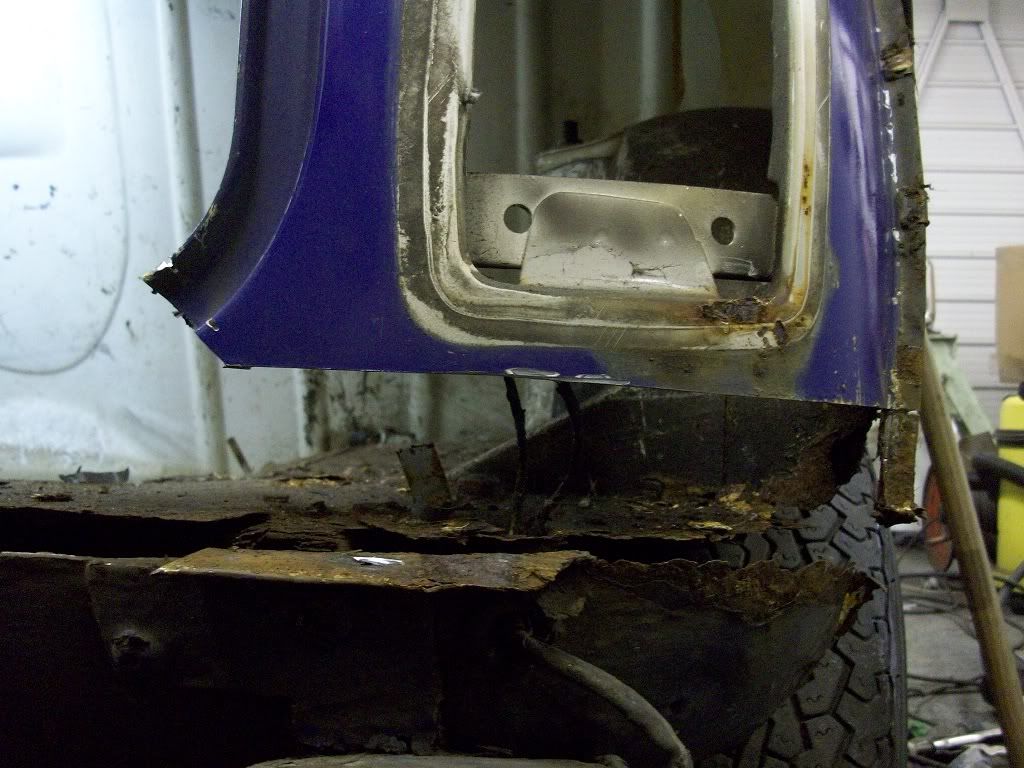
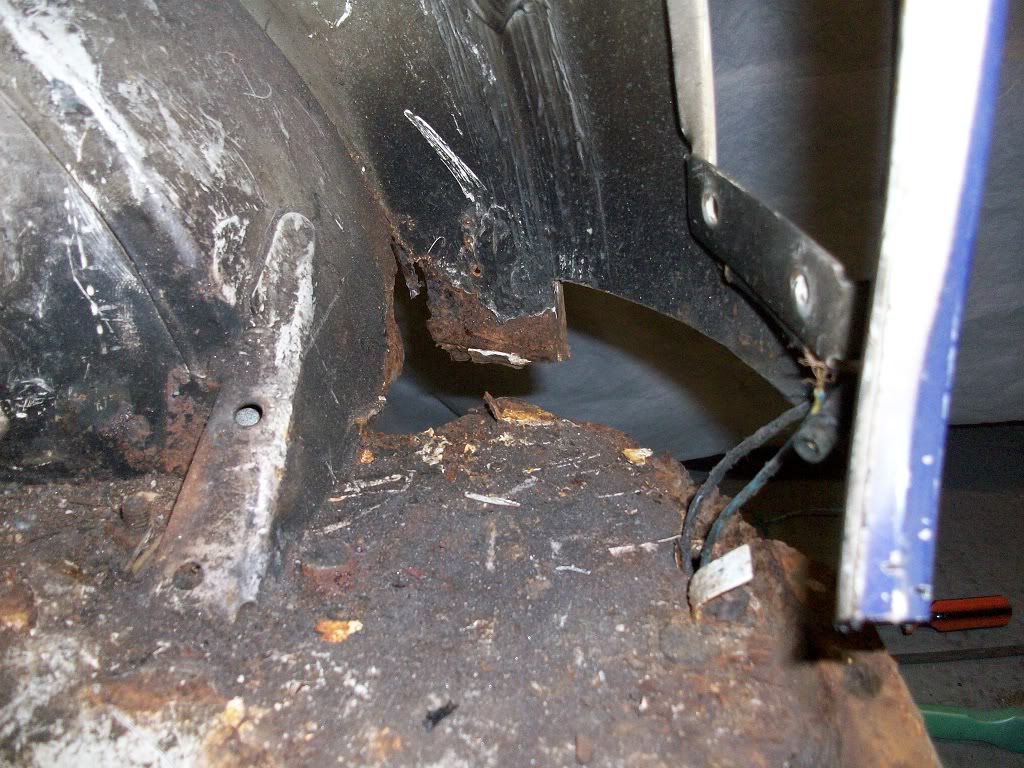
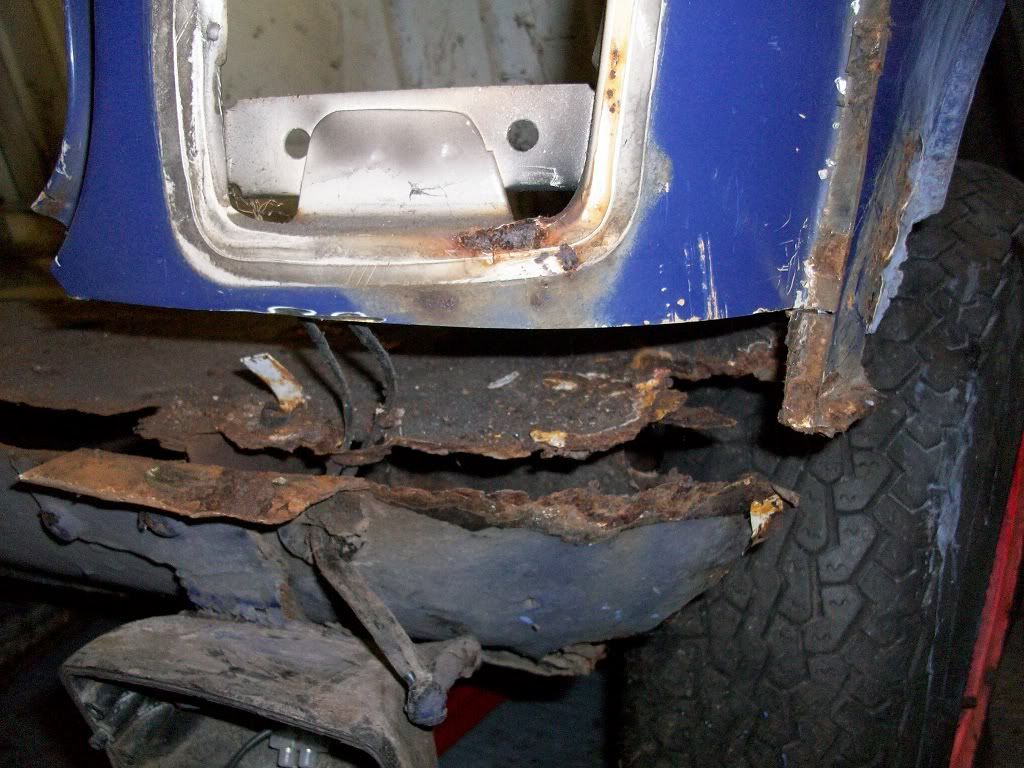
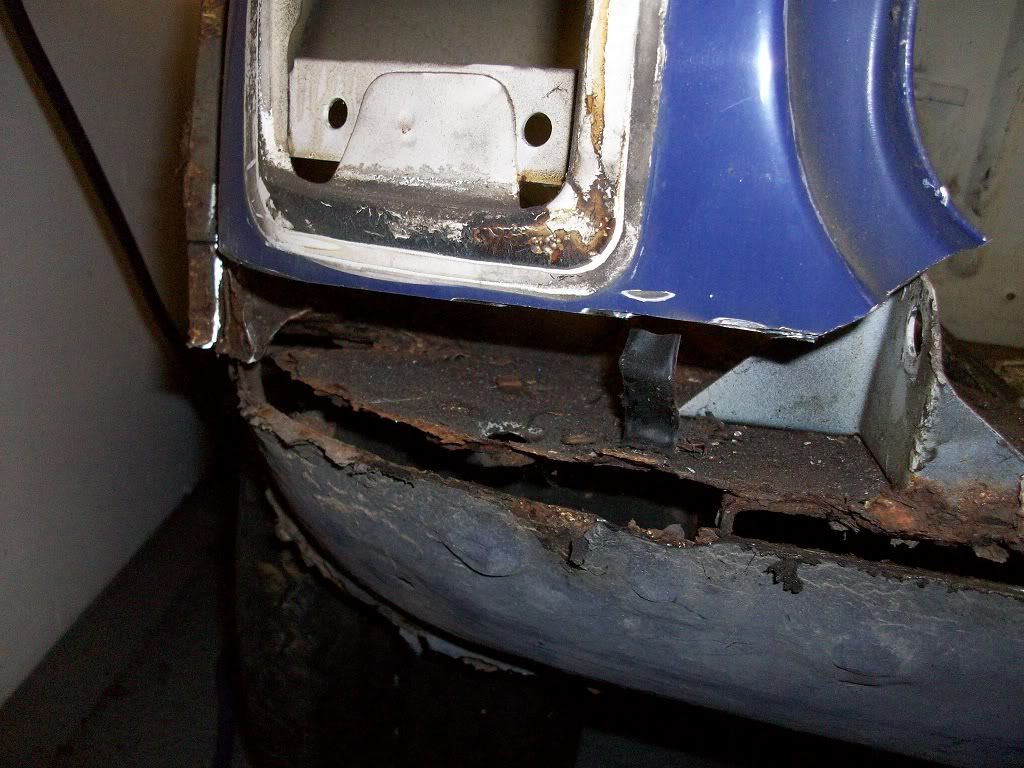
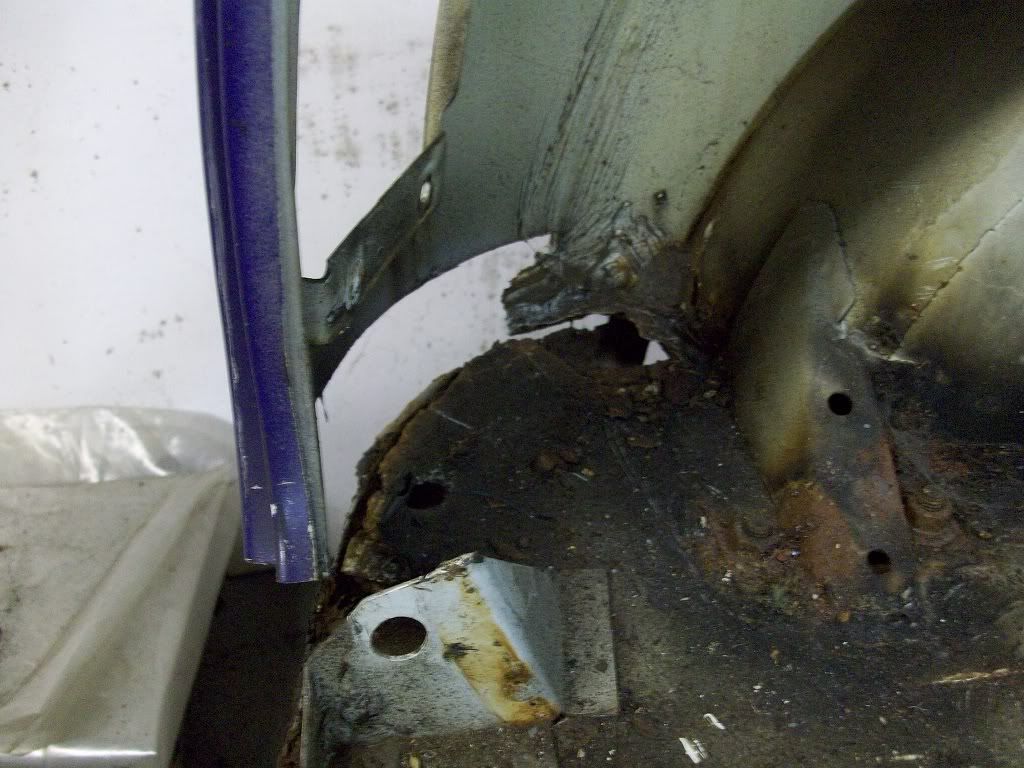
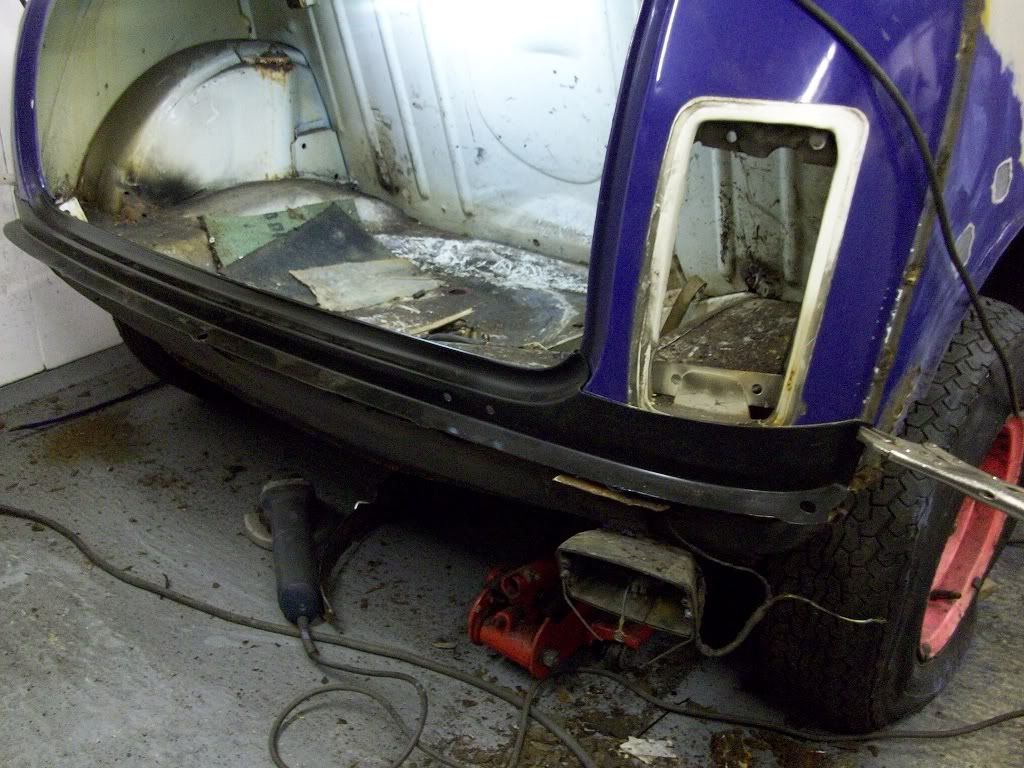
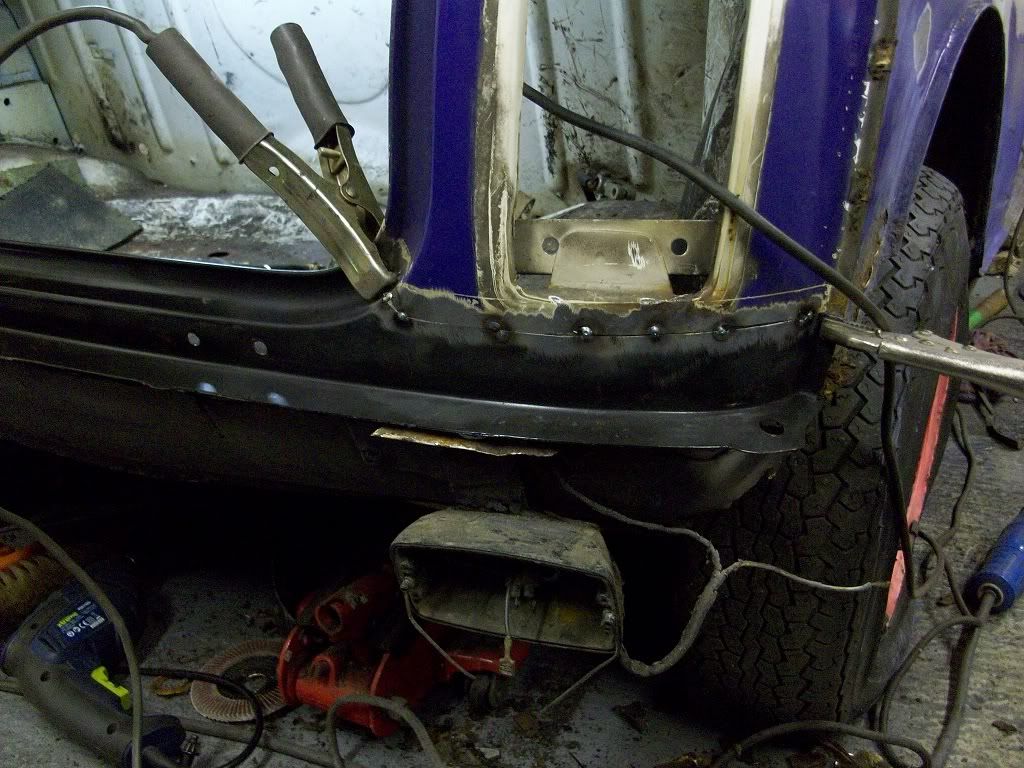
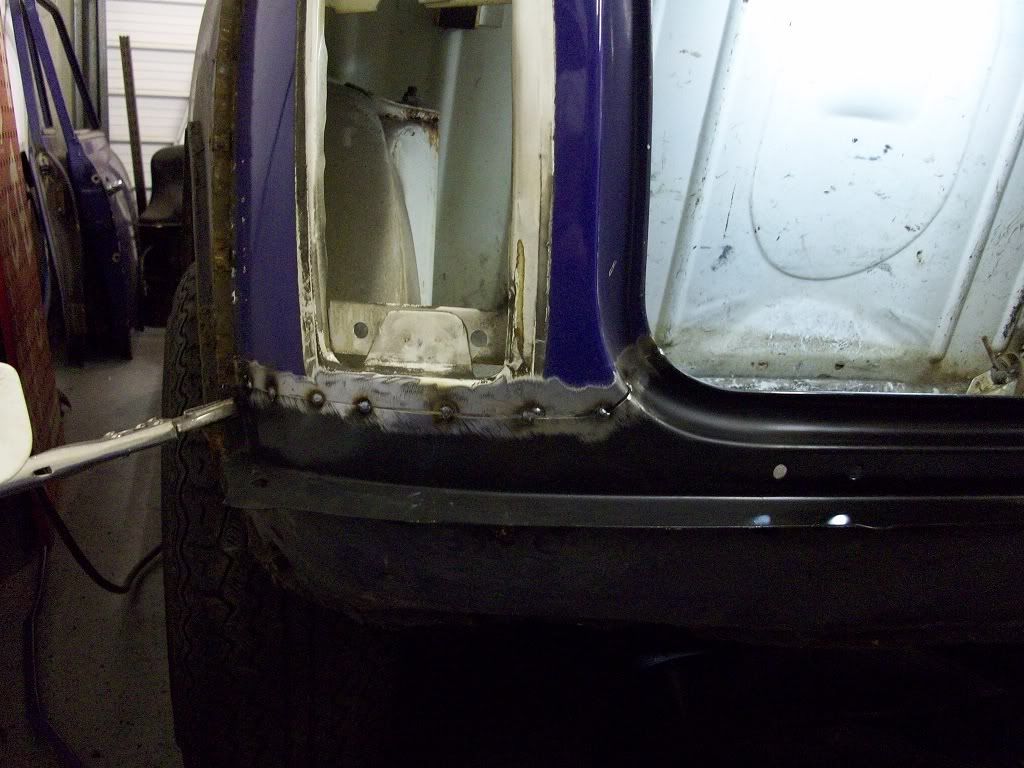
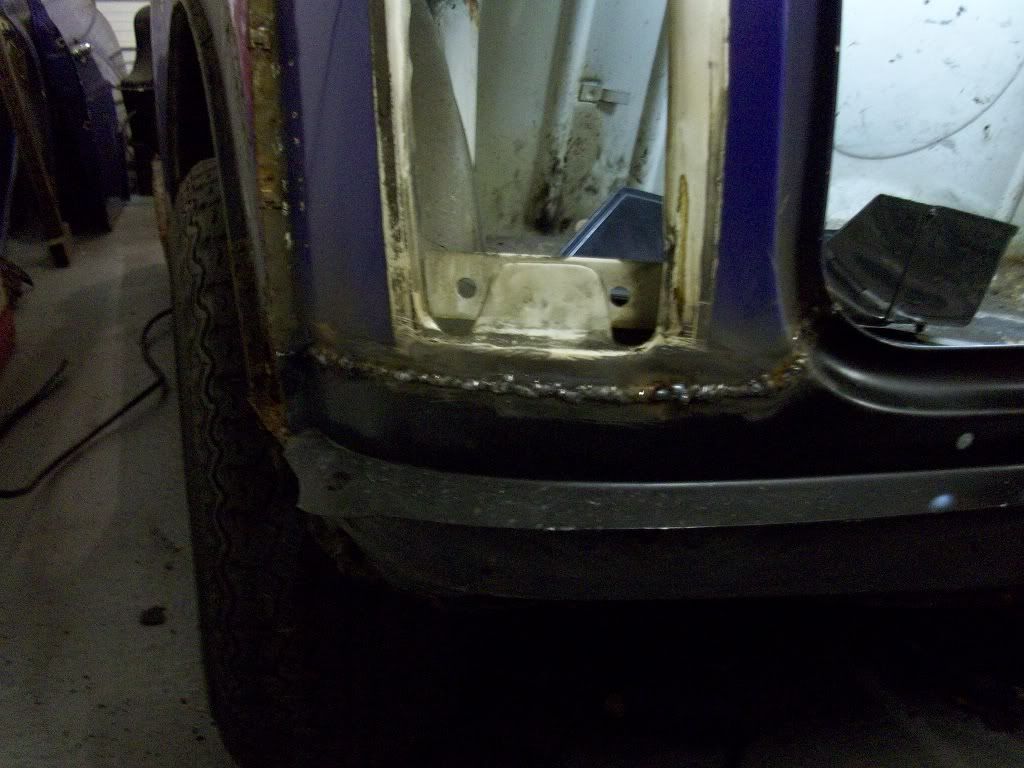
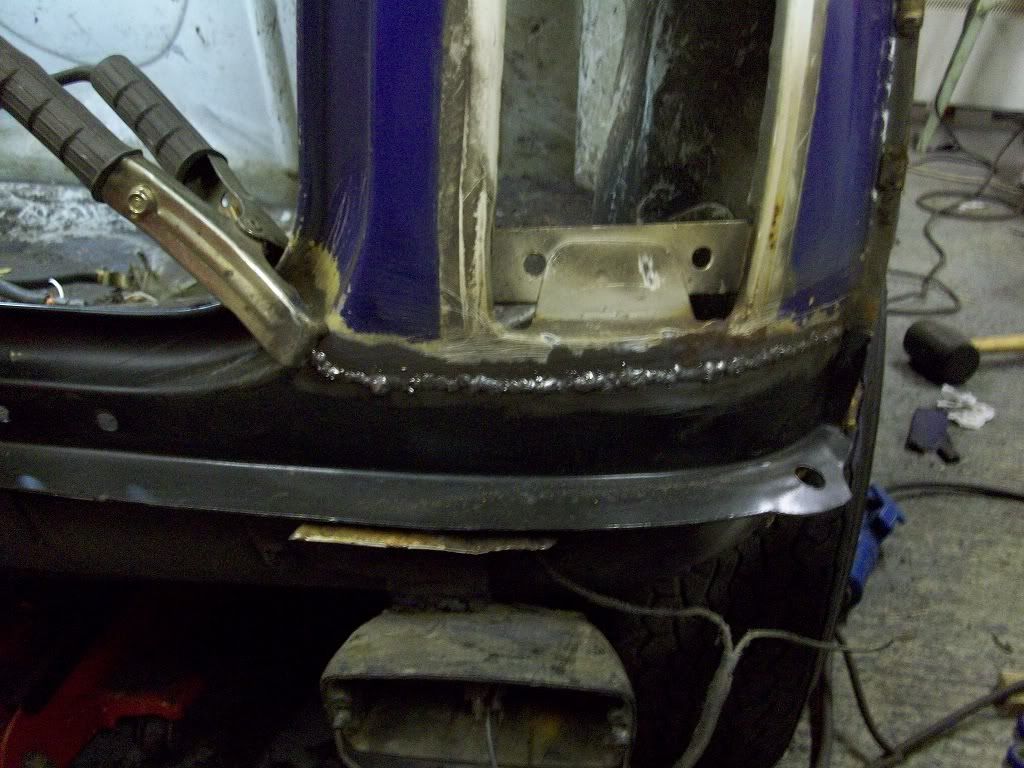
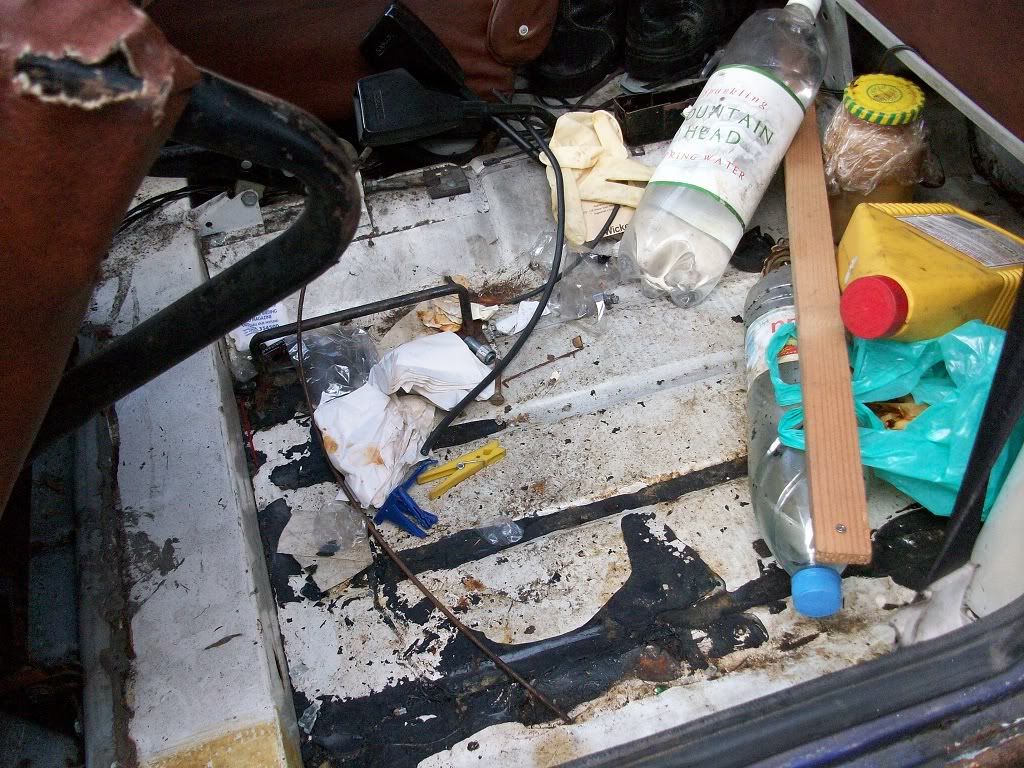
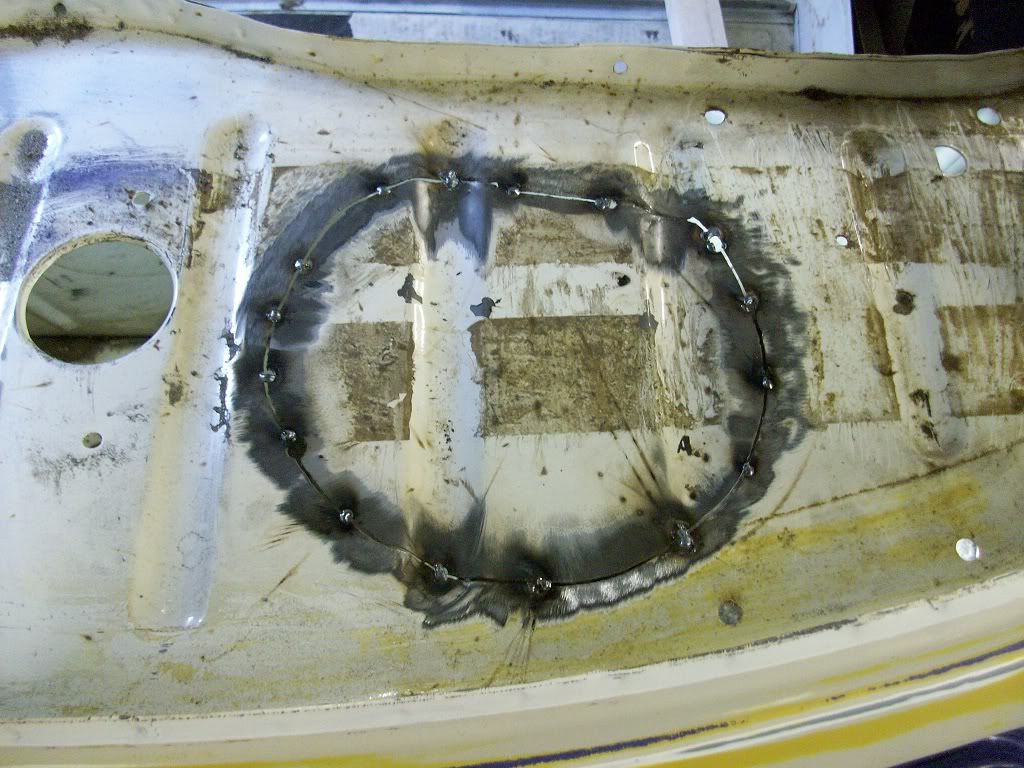
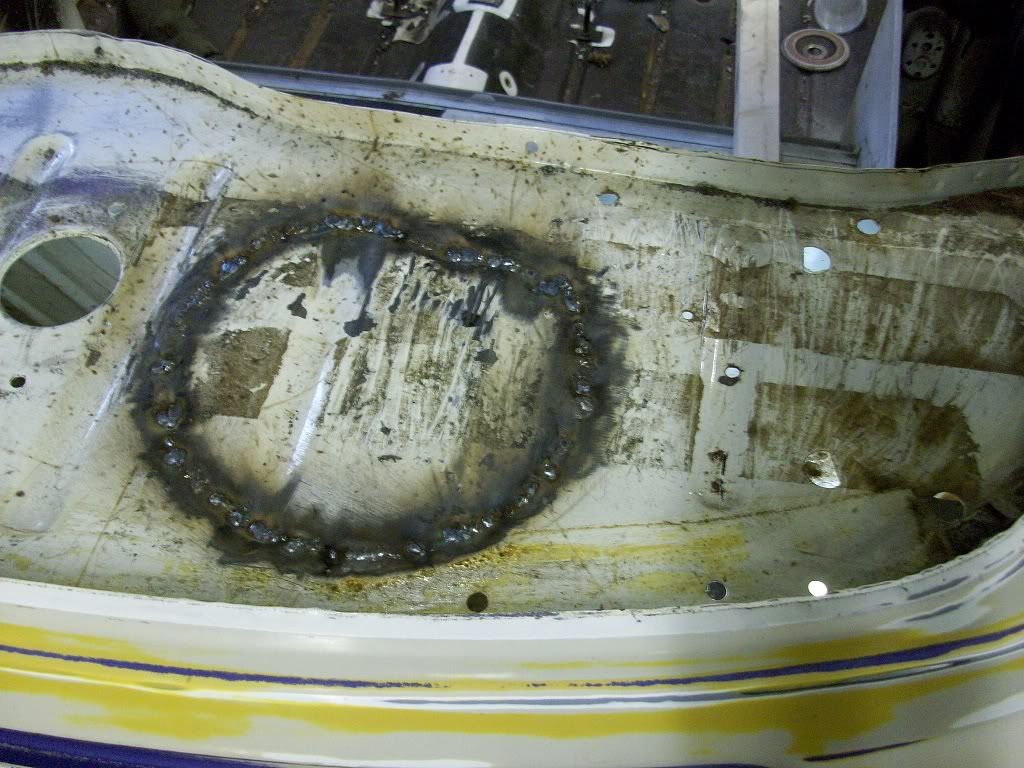
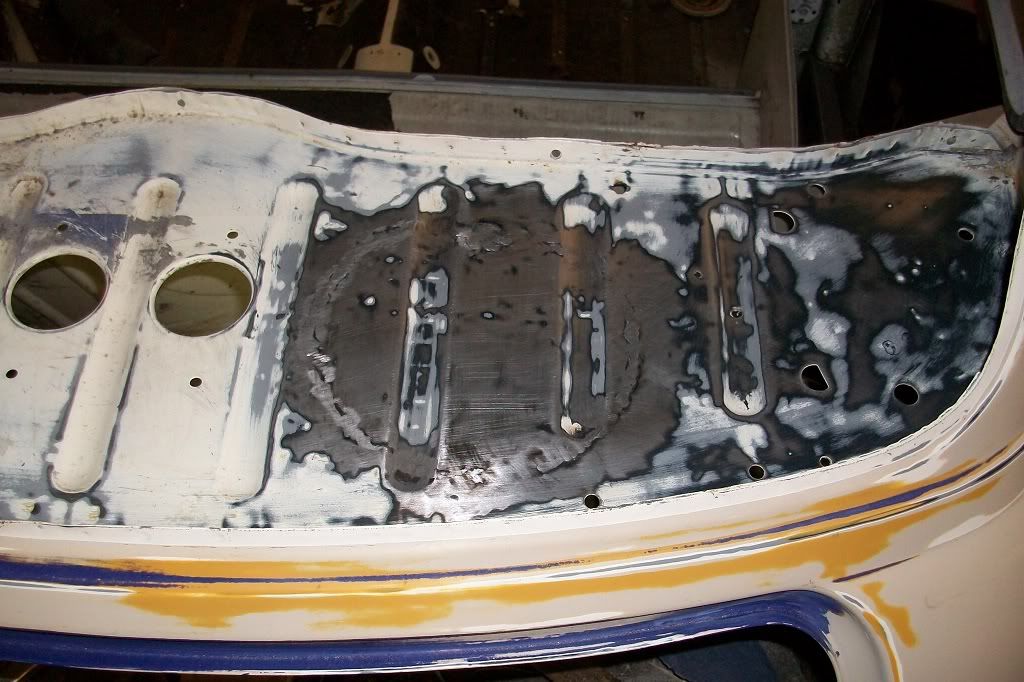
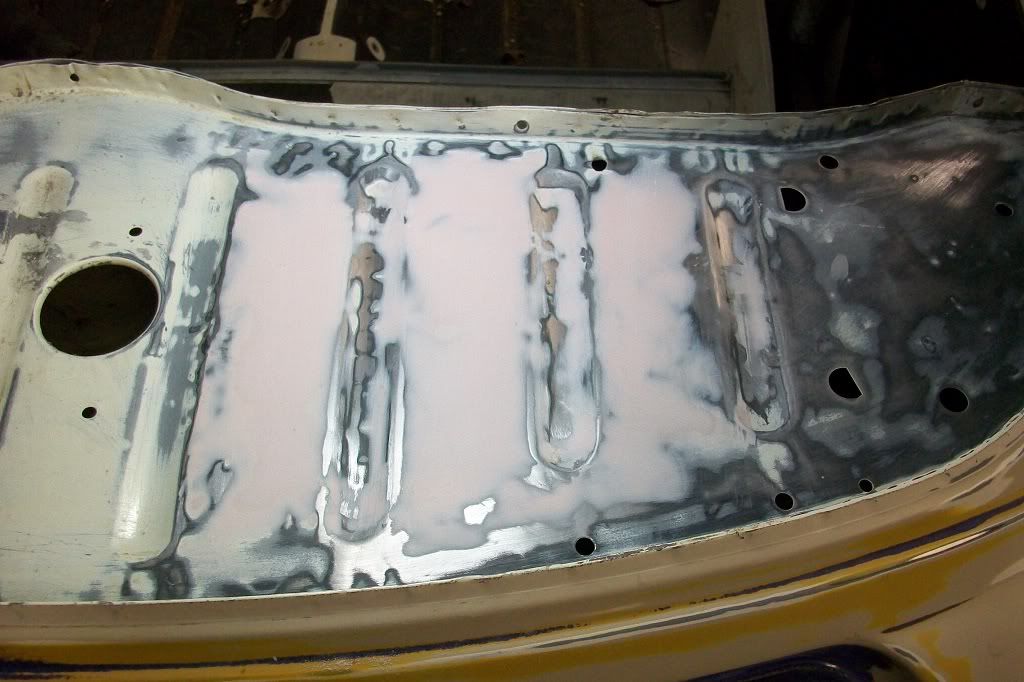
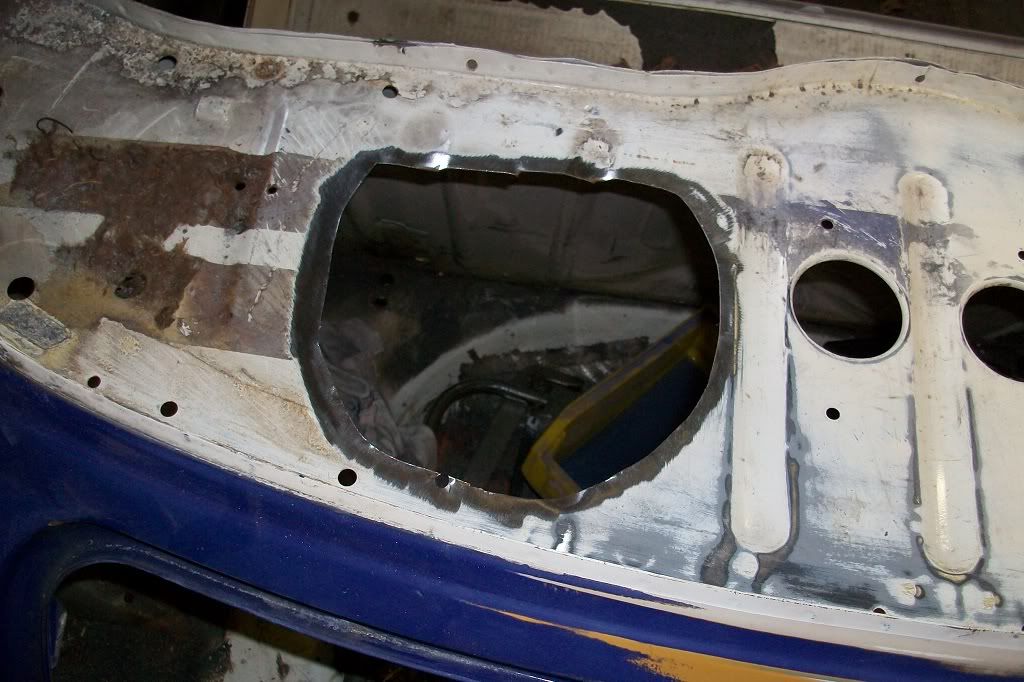
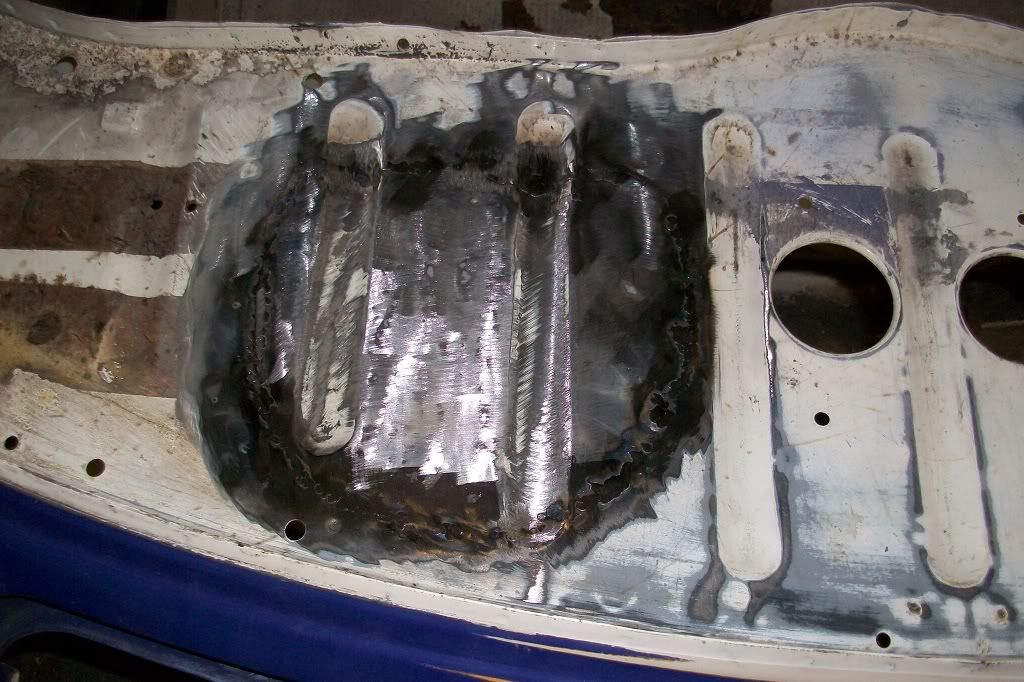
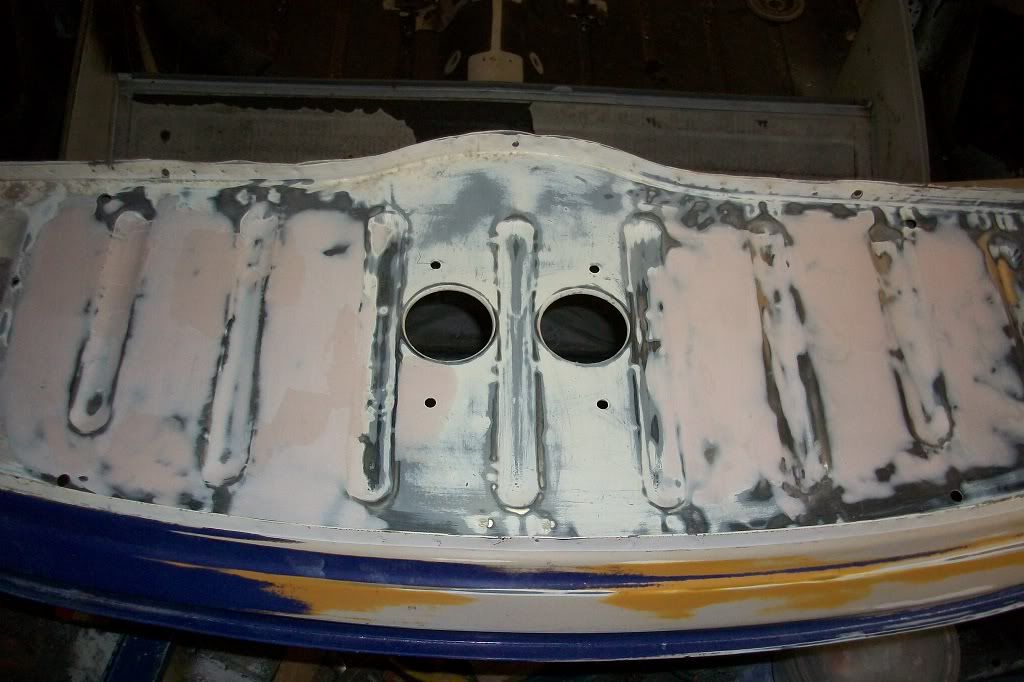
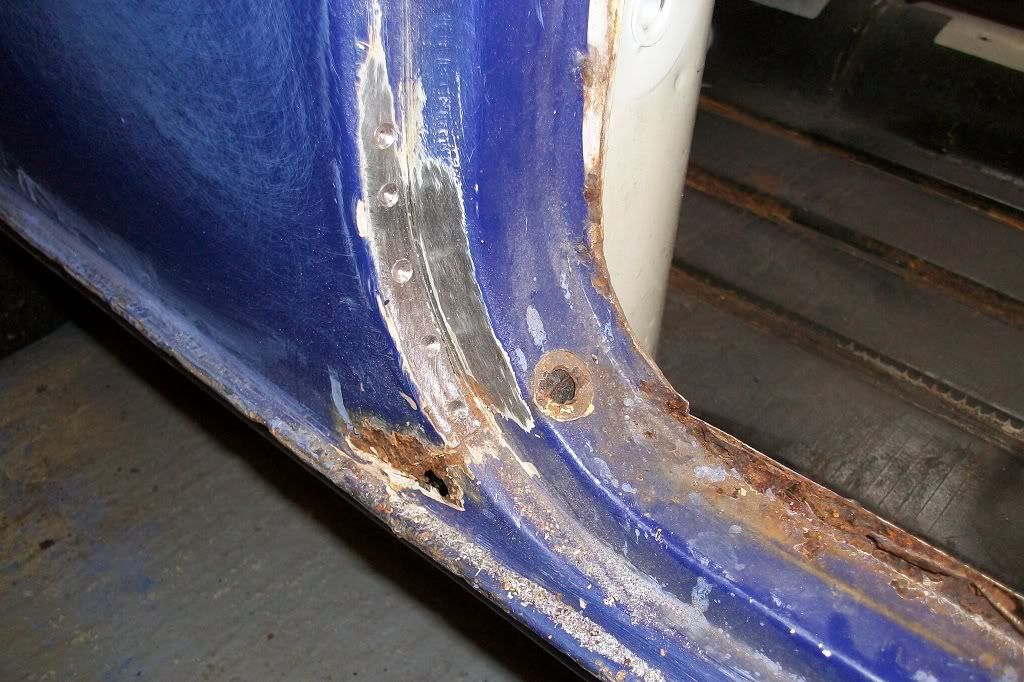
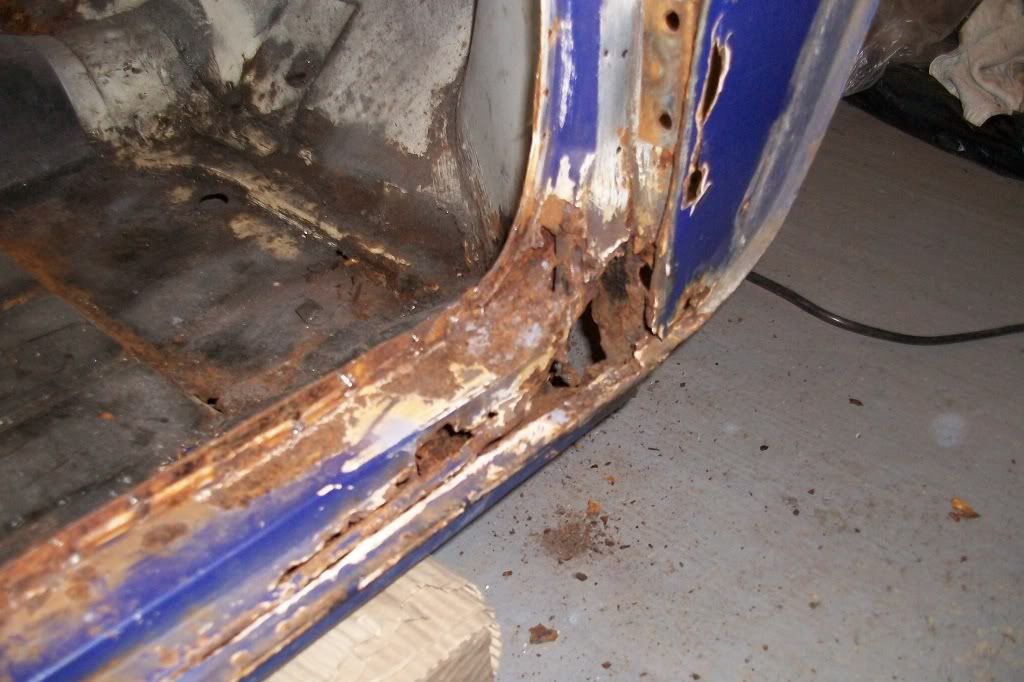
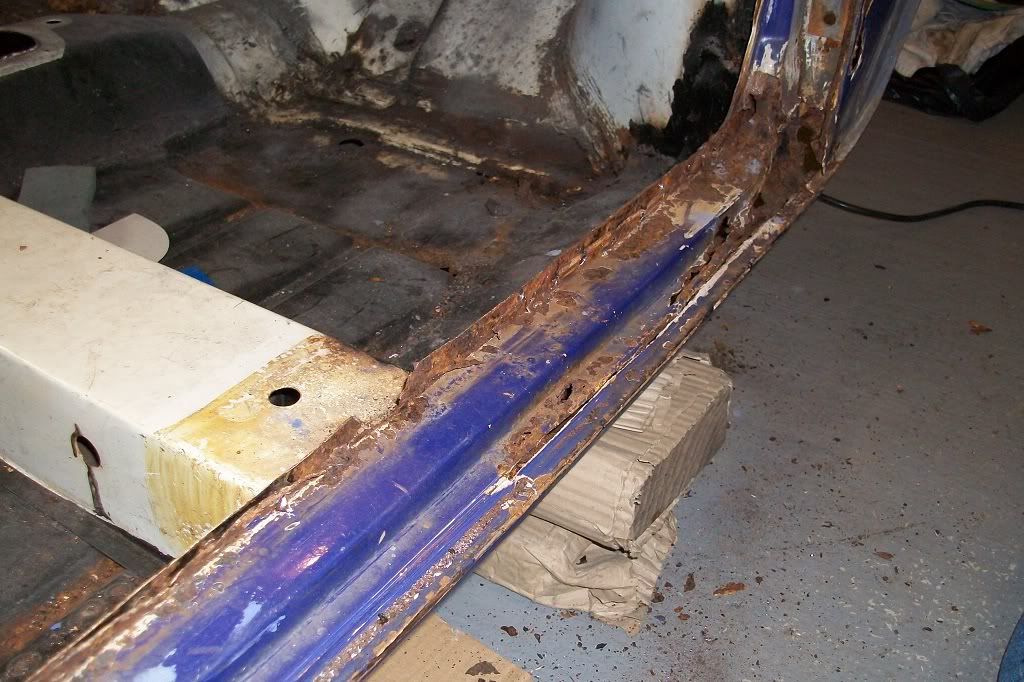
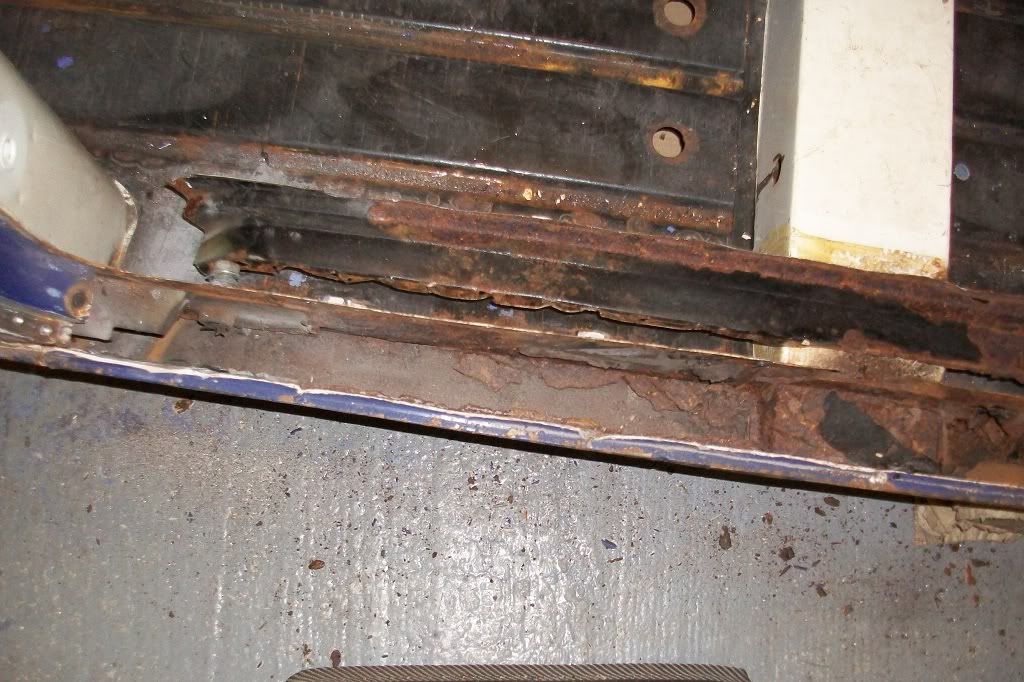
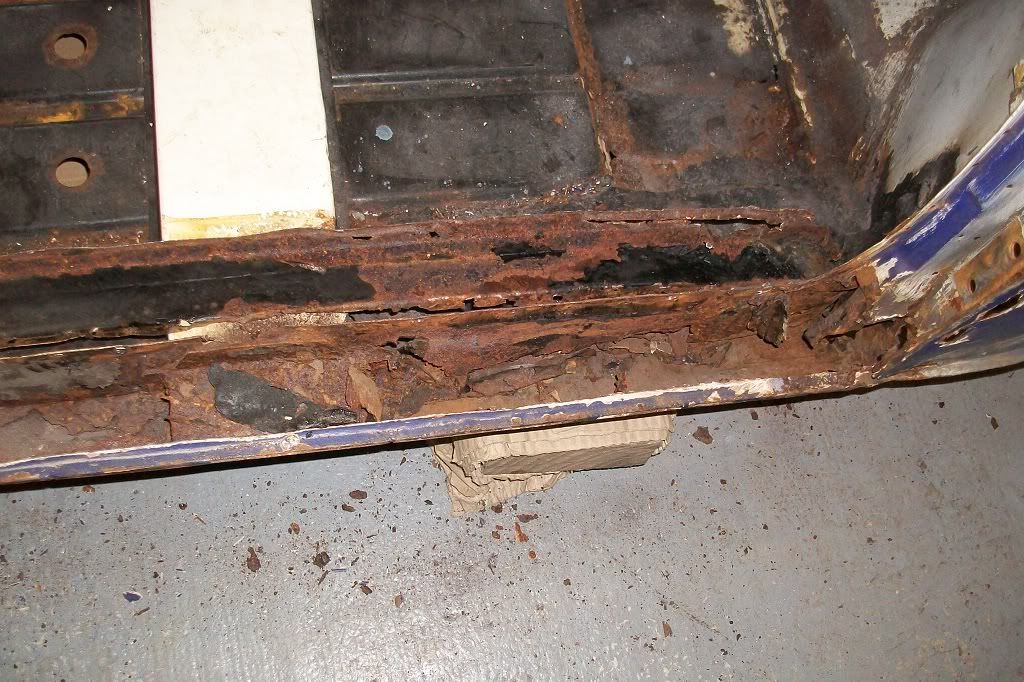
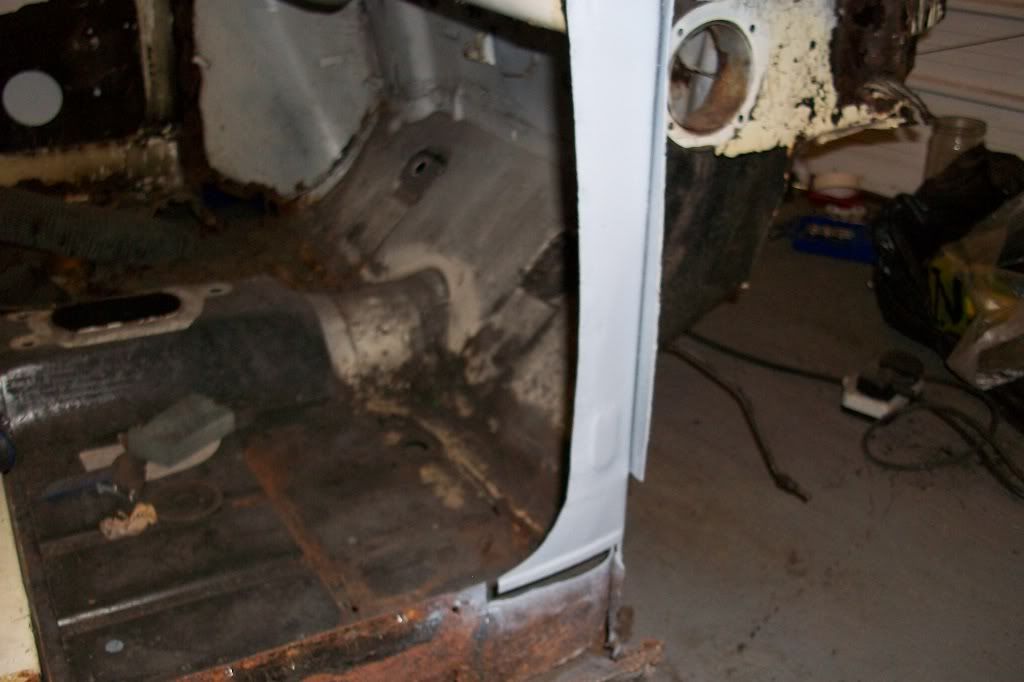
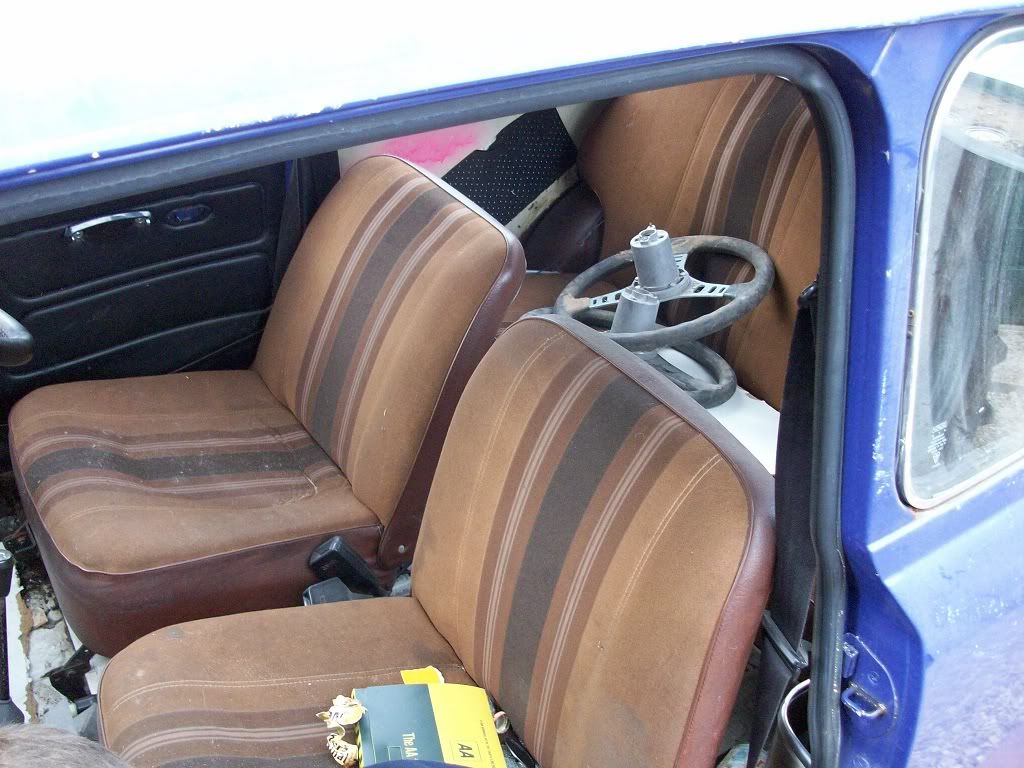
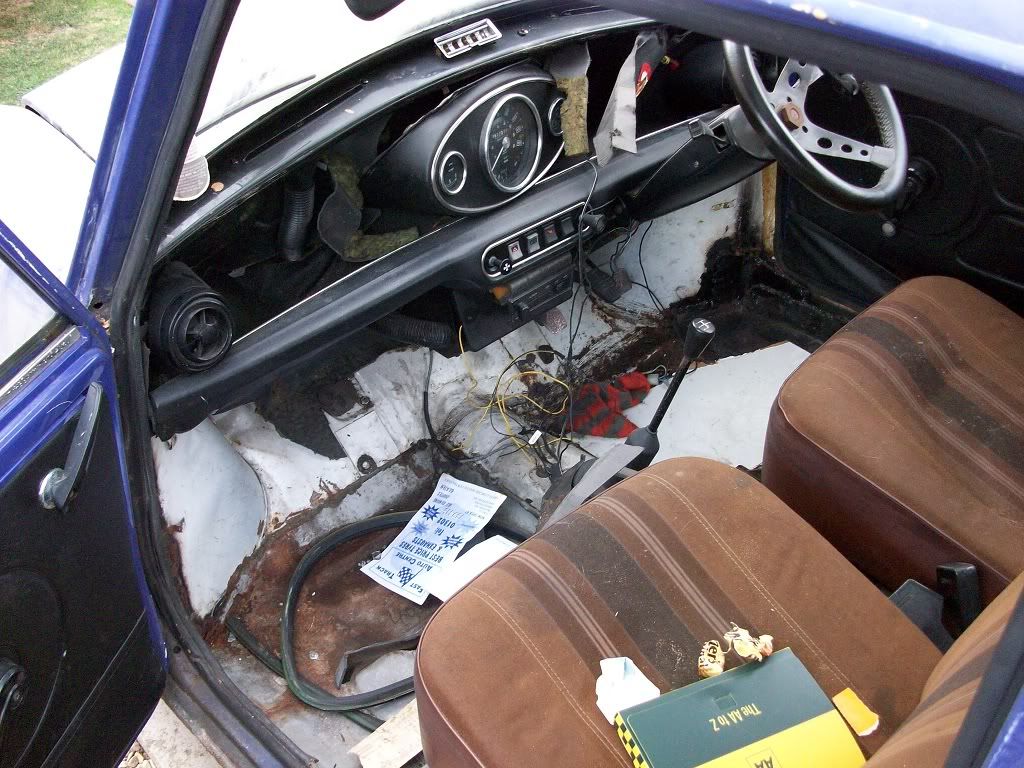
It had been stood for 10 years in a garage in Doncaster, last being taxed in 1999, but was in a partially stripped down state. As you can see from the photos, it may have been a prototype for the then upcoming BMW mini!!!

Posted Image

Posted Image

Posted Image

Posted Image

Posted Image

Posted Image

Posted Image

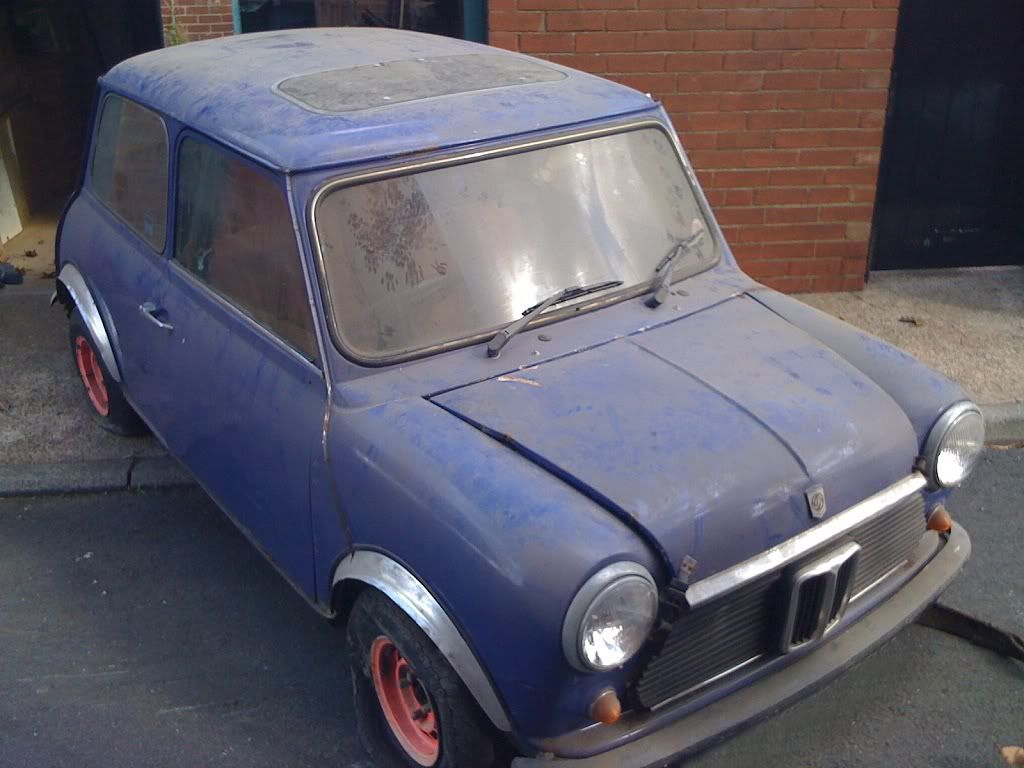
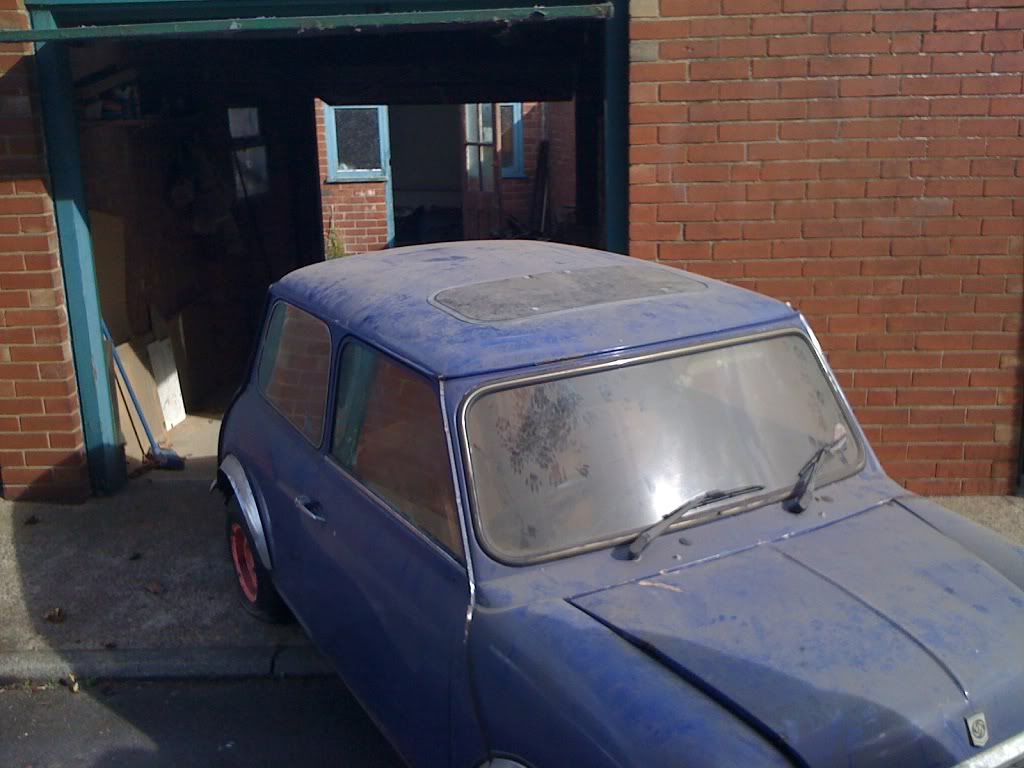
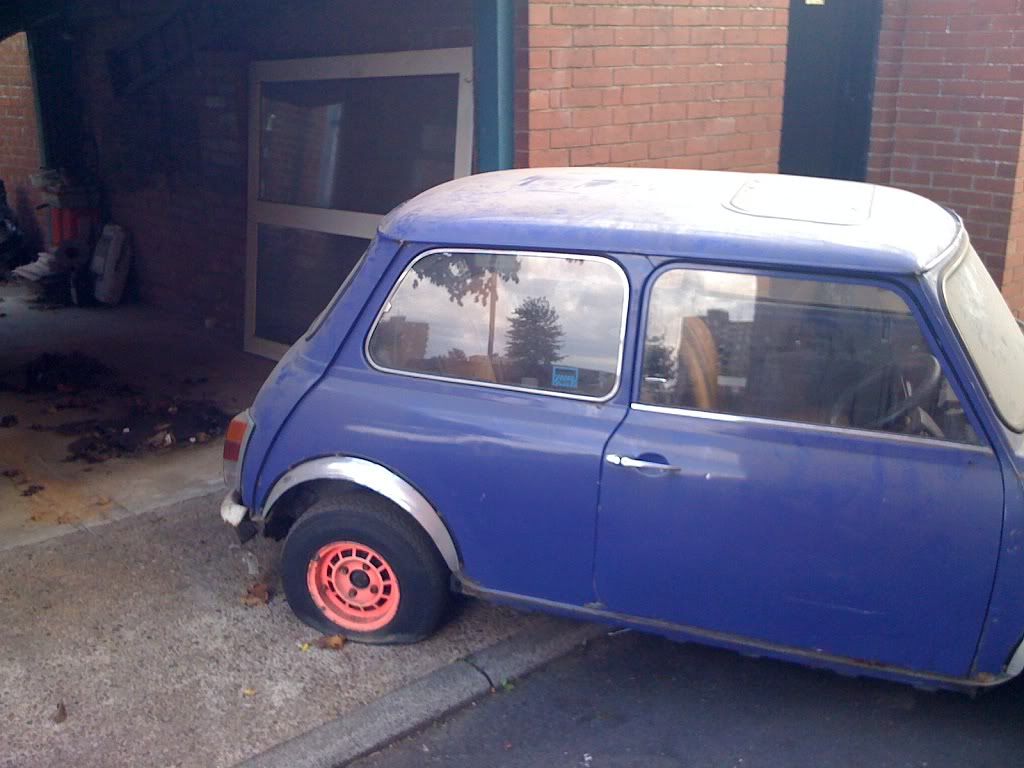
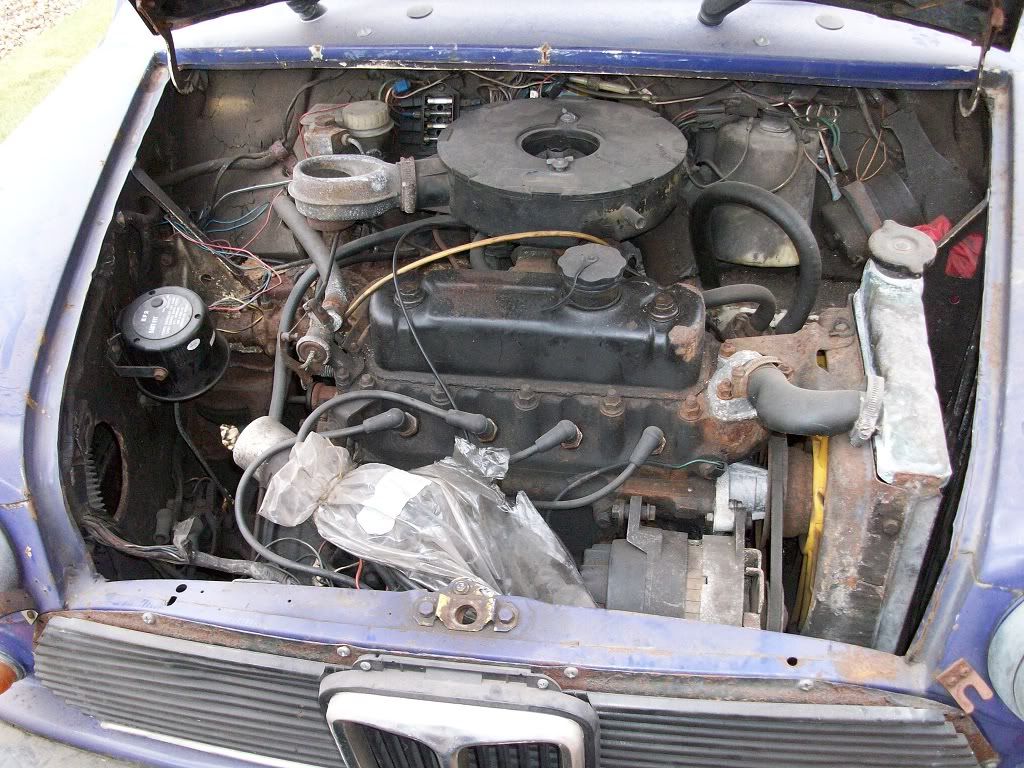
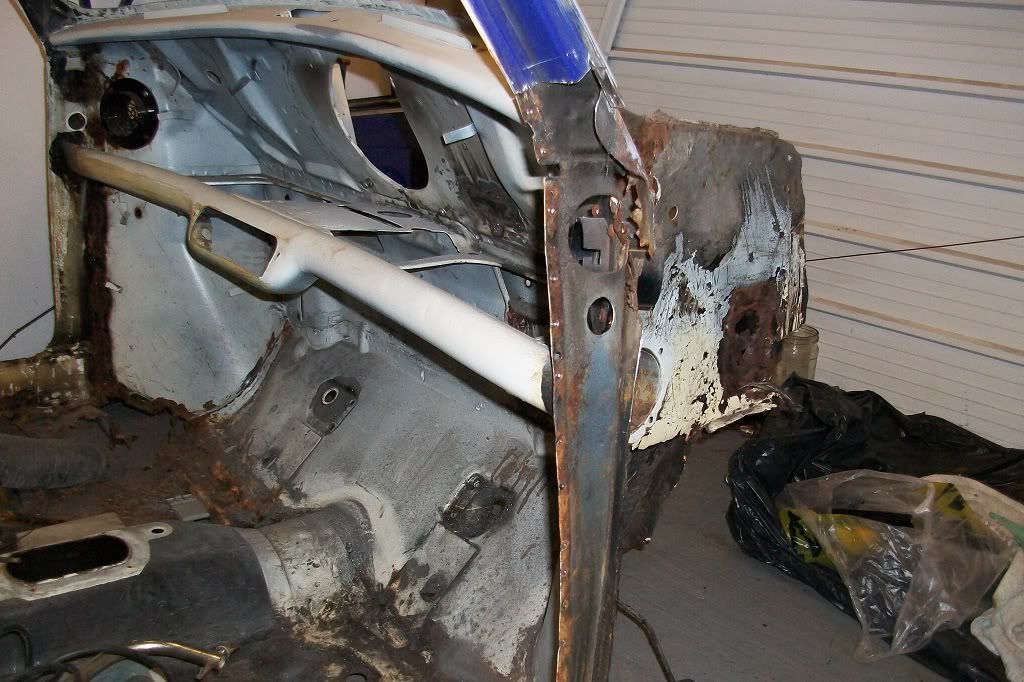
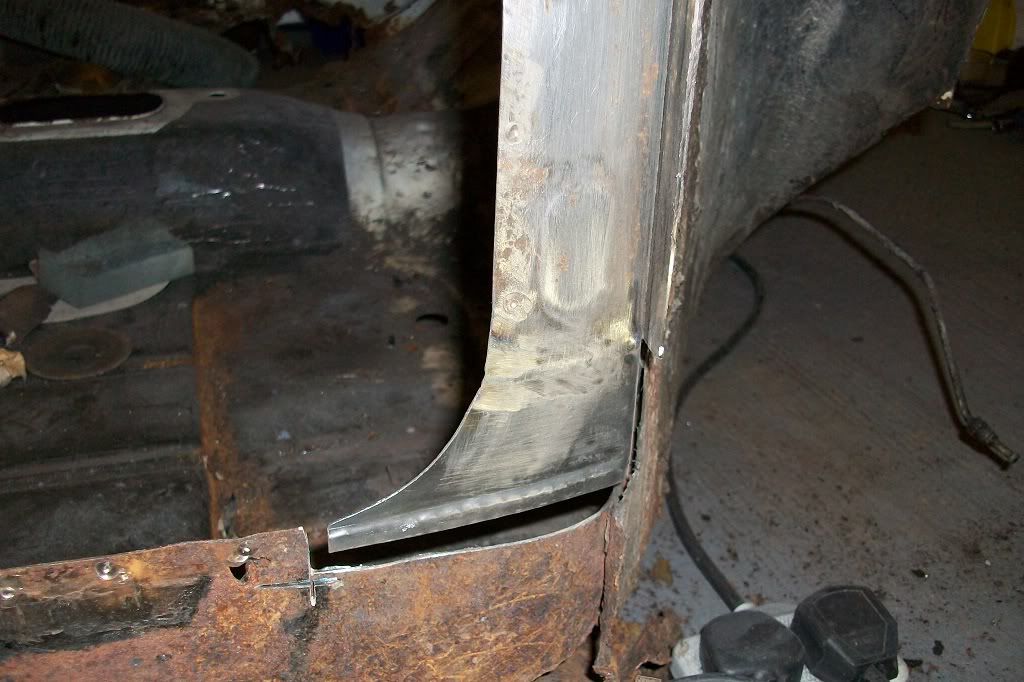
All of the tyres were completely flat and brakes were locked on so we had to drag it out into a narrow alley using the winch on our flatbed lorry and a pulley to get around the corner!! A lot of work has been done on this now so i will add a load more photos soon!

Scott

Edited by minifcd, 27 August 2011 - 09:03 PM.


#2 analogue_radio

analogue_radio

    Up Into Fourth

  • TMF+ Member
  • PipPipPipPipPipPipPipPipPip
  • 4,897 posts
  • Location: Melton Mowbray, UK.

Posted 27 August 2011 - 09:46 PM

Brilliant! get stuck in :D

#3 Down&Out

Down&Out

    The King Of Retro Cool

  • Traders
  • PipPipPipPipPipPipPipPipPip
  • 4,833 posts
  • Location: -

Posted 28 August 2011 - 11:56 AM

Love that!

#4 minifcd

minifcd

    Mini Mad

  • Members
  • PipPipPipPip
  • 246 posts
  • Location: Stamford

Posted 29 August 2011 - 09:26 PM

Hi. A few more pictures of the car as I got it before I start to add those of repairs carried out so far.

Sun roof with black and white spotted head lining.
Posted Image

Posted Image

Posted Image

Posted Image

Note the repair patch in the drivers foot well!
Posted Image

Razor sharp alloy wheel arches!
Posted Image

Posted Image

Posted Image

Posted Image

Lucky for me the pieces cut out for speakers from the parcel shelf were not completely removed. Will straighten them out and weld back in.

#5 Down&Out

Down&Out

    The King Of Retro Cool

  • Traders
  • PipPipPipPipPipPipPipPipPip
  • 4,833 posts
  • Location: -

Posted 30 August 2011 - 12:29 PM

Hey man, did you get my pm?

#6 minifcd

minifcd

    Mini Mad

  • Members
  • PipPipPipPip
  • 246 posts
  • Location: Stamford

Posted 13 September 2011 - 09:19 PM

A few more pictures after removing the interior, the windows and the engine. The front panel and wings had all been replaced at some point and the photos show just how badly! The front panel wasn't attached at the bottom of either of the inner wings, there were only a few tacks holding the entire front end together and after knocking the filler out of the scuttle to wing join you could quite literally get your finger through it! I managed to remove the front with nothing more than a hammer and srew driver to break the tack welds.

Posted Image

Posted Image

Posted Image

Posted Image

Posted Image

Posted Image

Posted Image

#7 Andrew O

Andrew O

    Previously known as Andrewo330.

  • Members
  • PipPipPipPipPipPipPip
  • 1,425 posts

Posted 13 September 2011 - 09:22 PM

Looks like a good project, Keep us updated

#8 minifcd

minifcd

    Mini Mad

  • Members
  • PipPipPipPip
  • 246 posts
  • Location: Stamford

Posted 26 September 2011 - 10:41 PM

Some more photos. The rear panel below the boot lid was very badly rotten. As I did with my previous mini, I took various measurements and then cut out everything below the rear lights. I then used the heritage repair panel HMP441009 as it covers the entire width of the mini and cut and welded it in. The fit of the panel was perfect but I have purposely not ground down the welds yet as I will do that when the boot floor has been removed (makes it easier to grind the inside down first before tidying up the outside).

Posted Image

Posted Image

Posted Image

Posted Image

Posted Image

Posted Image

Posted Image

Posted Image

Posted Image

Posted Image

Posted Image

Posted Image

Posted Image

Edited by minifcd, 26 September 2011 - 10:47 PM.


#9 CLM

CLM

    One Carb Or Two?

  • Members
  • PipPipPipPipPipPipPip
  • 817 posts

Posted 27 September 2011 - 09:31 PM

Posted Image


Great project! Just needs a T-Cut... and look! It came with a t-cut!

Chris

#10 minifcd

minifcd

    Mini Mad

  • Members
  • PipPipPipPip
  • 246 posts
  • Location: Stamford

Posted 28 September 2011 - 10:06 PM

Yes, it came with all sorts of junk! Broken tiles, a pair of boots, electrical wire, off cuts of wood, drain pipe brackets, 2 bottles of mountain head sparkling water (although after 10 years I didn't test how sparkling) and something in a jam jar that looked well past its best!

Posted Image

#11 minifcd

minifcd

    Mini Mad

  • Members
  • PipPipPipPip
  • 246 posts
  • Location: Stamford

Posted 06 October 2011 - 07:14 PM

A few more photos of progress, i'll add photos of how the lower repair panel turned out in future posts. You may have noticed the speaker holes cut in the parcel shelf. Well, whoever cut the holes left the parts cut out, folded back underneath the shelf, as you can see in earlier photos. I cut these out completely, straightened them out and reshaped the impressions, then welded them back in. Not quite perfect but after a bit more reshaping with the body hammers and a skim of filler they'll do the job!

Posted Image

Posted Image

Posted Image

Posted Image

Posted Image

Posted Image

Posted Image

Next time i'll post the door step repairs, getting to the good bits then!

#12 minifcd

minifcd

    Mini Mad

  • Members
  • PipPipPipPip
  • 246 posts
  • Location: Stamford

Posted 18 October 2011 - 08:49 PM

These next photos are of the drivers door step replacement. On my last mini I used pattern door step panels and although they turned out alright, the folds were not quite right and required a lot of tweeking. For this mini I decided to use heritage door steps complete with A posts HMP441012 and HMP441013 and despite being on backorder for 8 weeks, i'm glad I did! The fit was perfect and one of the easiest repairs.

Posted Image

Posted Image

Posted Image

Posted Image

Posted Image

Posted Image

Posted Image

Repair to the lower part of the inner A post.
Posted Image

Posted Image

Posted Image

More to follow.

#13 madboy

madboy

    Mini Mad

  • Members
  • PipPipPipPip
  • 272 posts
  • Location: READING

Posted 18 October 2011 - 09:09 PM

looks like a good project there and off to a flying start too ;D

#14 grahama

grahama

    Up Into Fourth

  • Members
  • PipPipPipPipPipPipPipPipPip
  • 2,442 posts
  • Location: Warrington
  • Local Club: None in my area !!

Posted 19 October 2011 - 06:32 AM

Hi,

I agree, a good start. You have a job on there though, just be aware that you must cut all the rot out and not skimp and try to clean metal up to weld to that is really past it. I only say this as the last pic, nice repair by the way, the inner sill looks like it needs replacing. Is it going??

The best of luck with it, I will be following progress with this one as you look like you're going to do a great job with this one.

Graham

#15 hughJ

hughJ

    Soldiering Along

  • Members
  • PipPipPipPipPipPipPip
  • 727 posts
  • Location: Highlands, Scotland

Posted 19 October 2011 - 08:52 AM

This is looking good. I'd love to know how you made that repair piece - a most impressive bit of fabrication! All the best with this.

Hugh


1 user(s) are reading this topic

0 members, 1 guests, 0 anonymous users