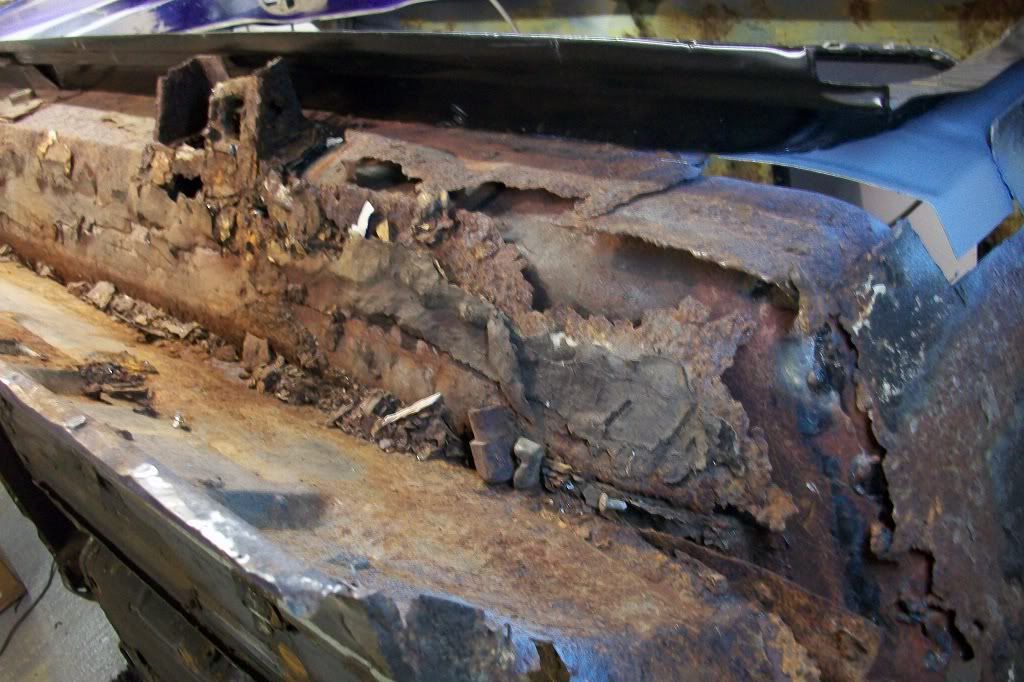
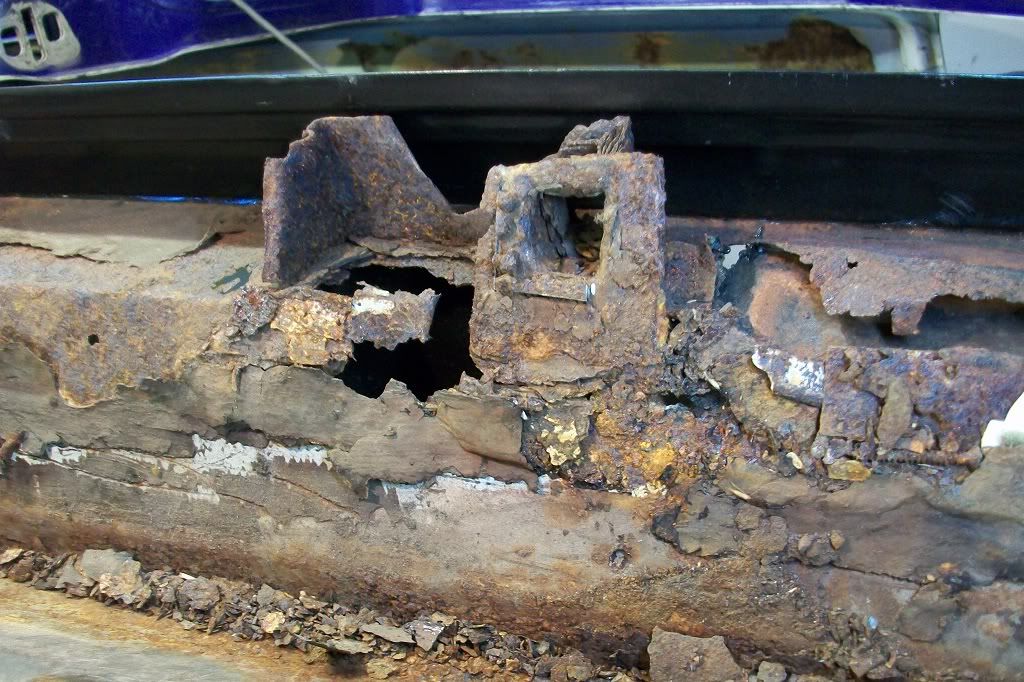
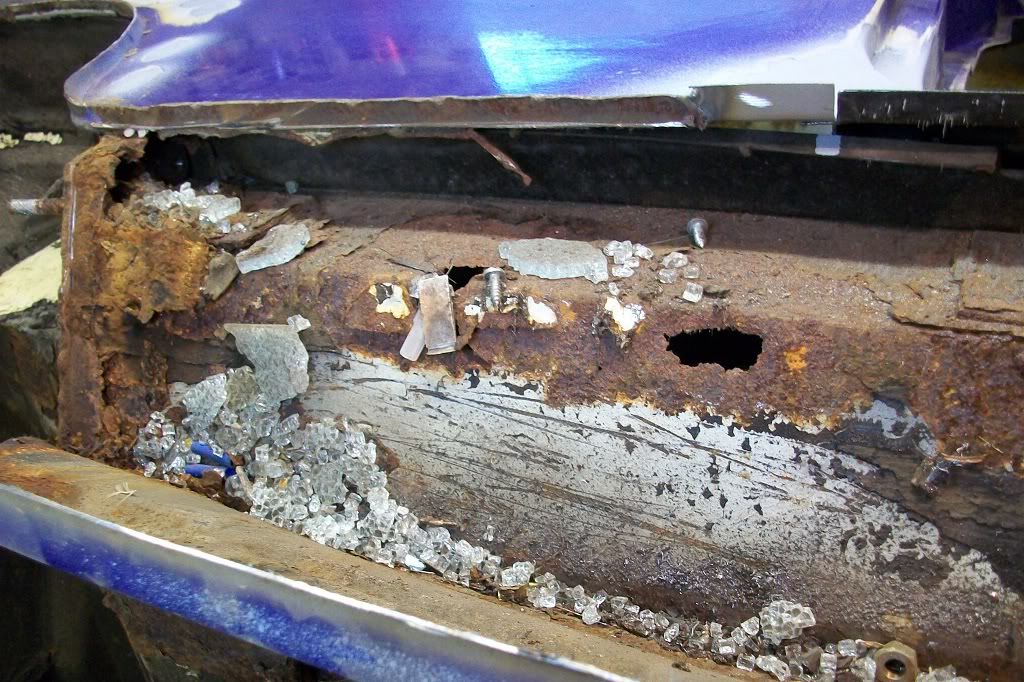
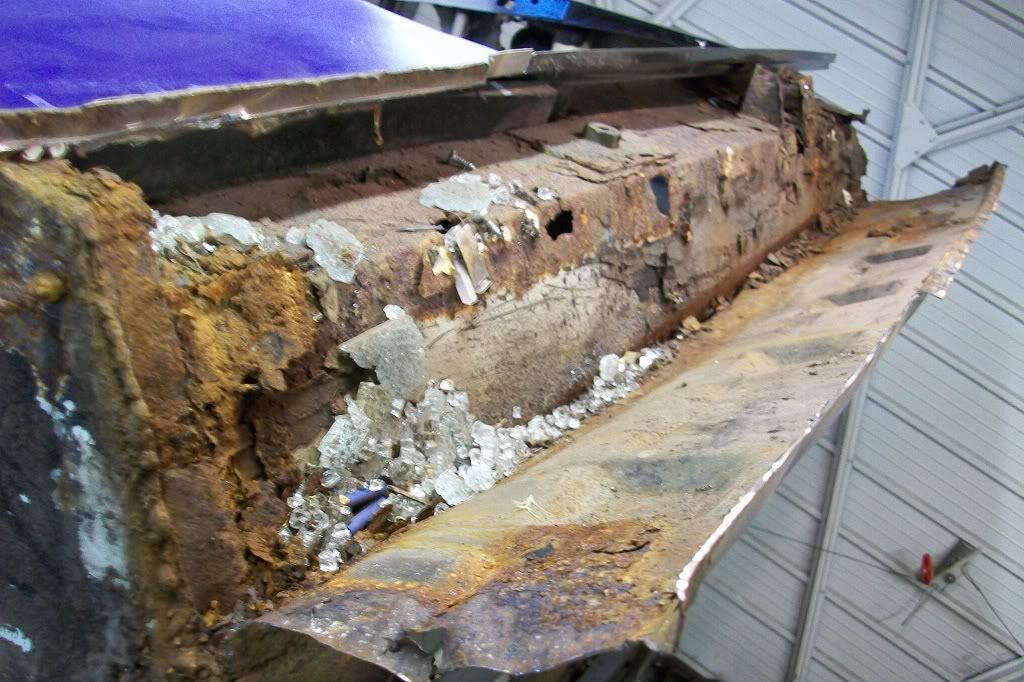
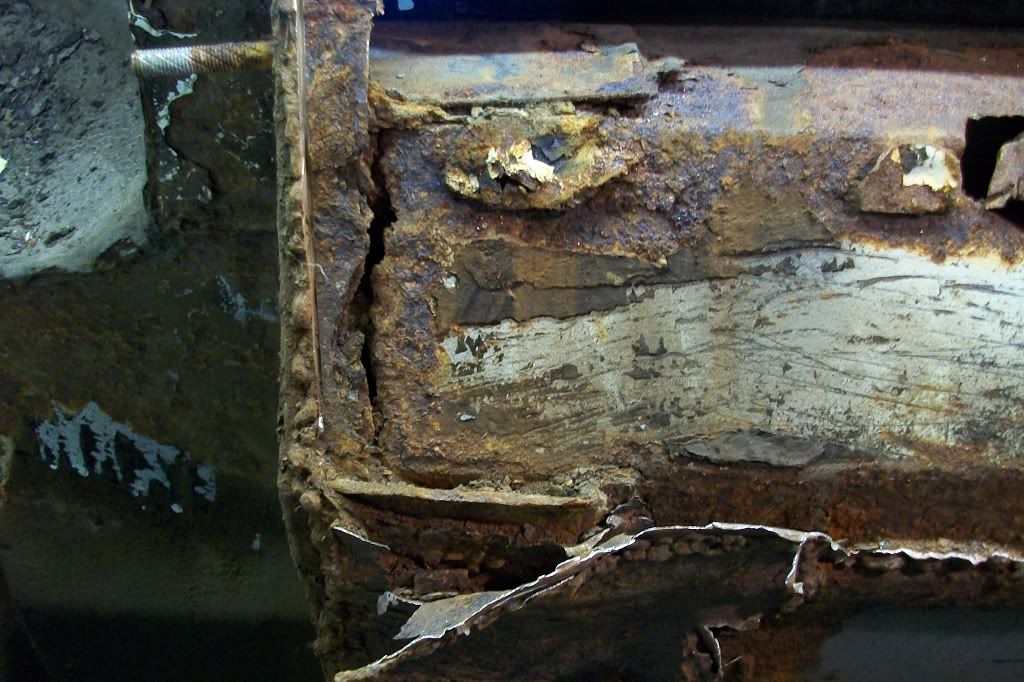
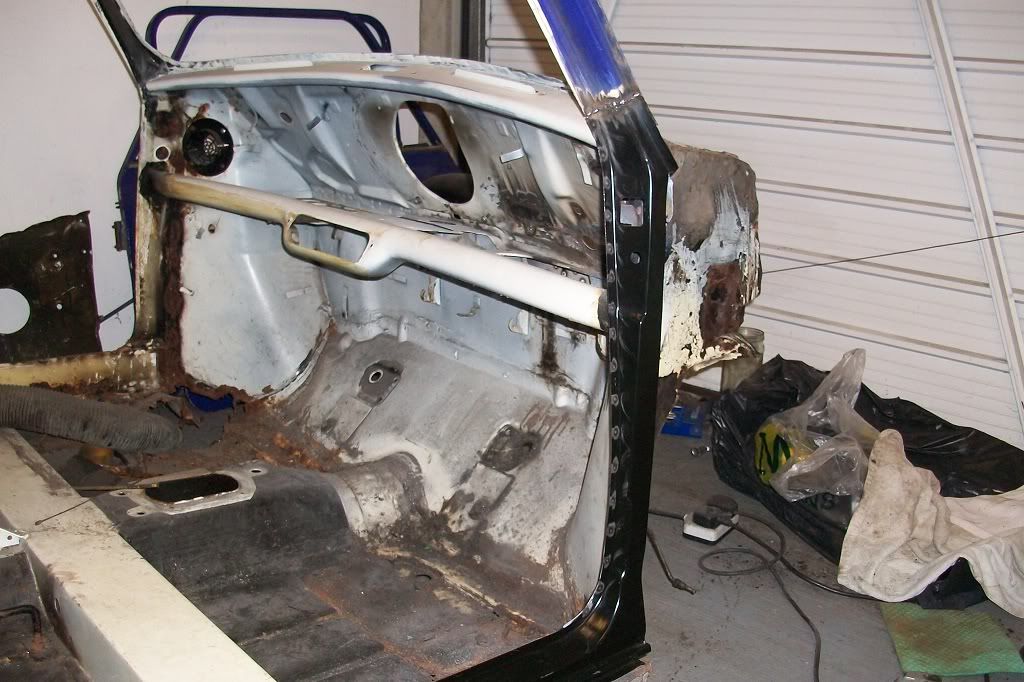
Hi Graham, yes don't worry, any rot if anything worse than just surface rust has been cut out and replaced with new panels or a repair. The inner sills will be, or should I say, have been replaced as these posts are currently a year behind. I should have started this topic earlier but just never got around to it.
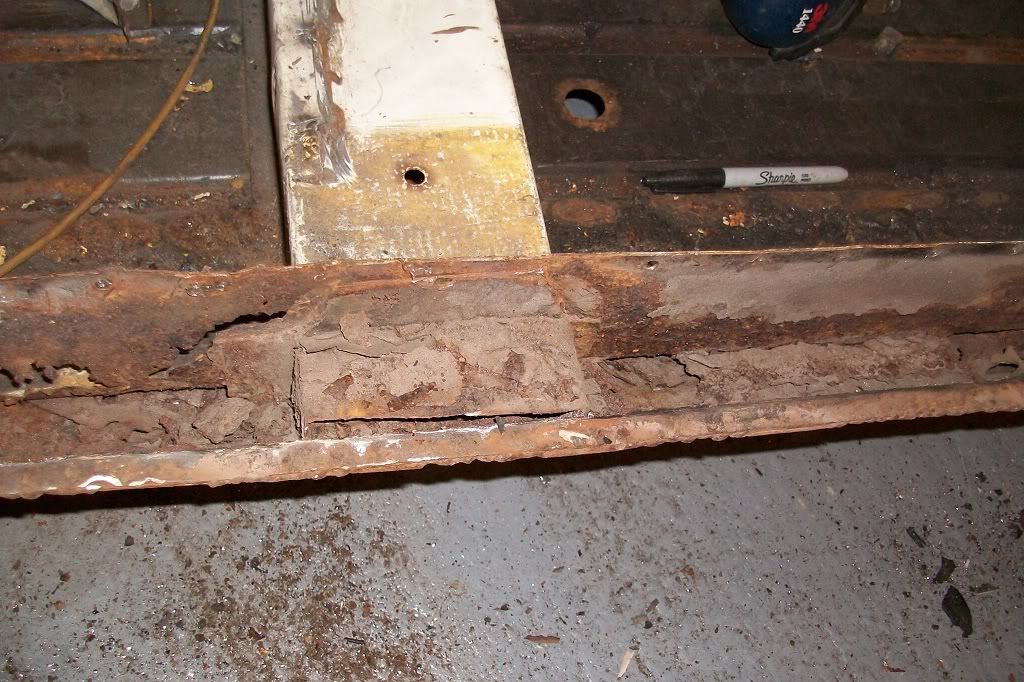
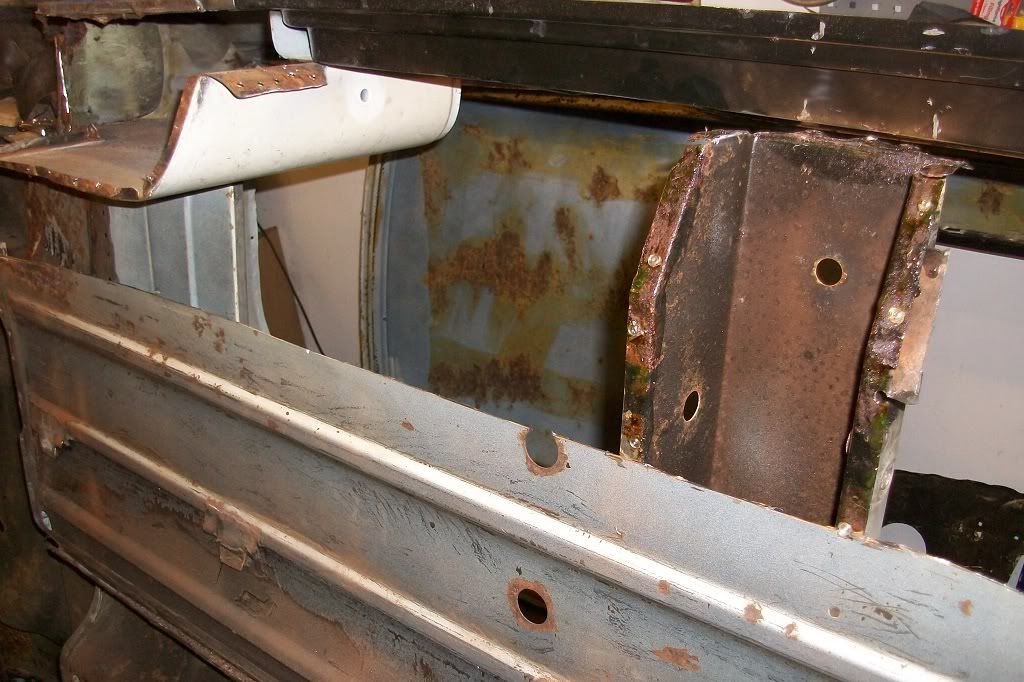
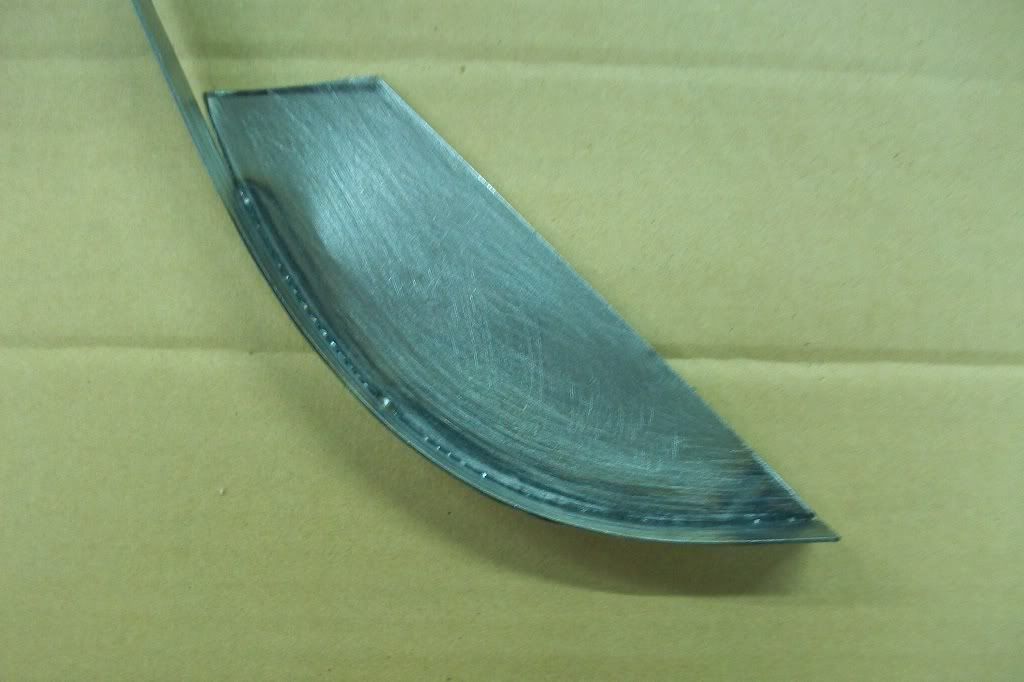
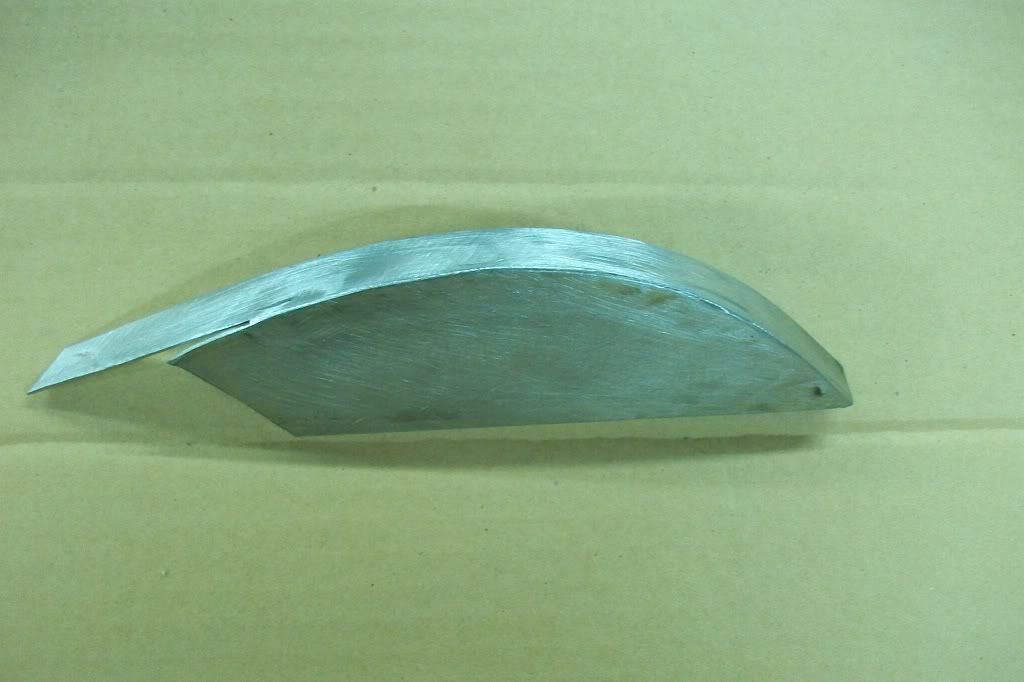
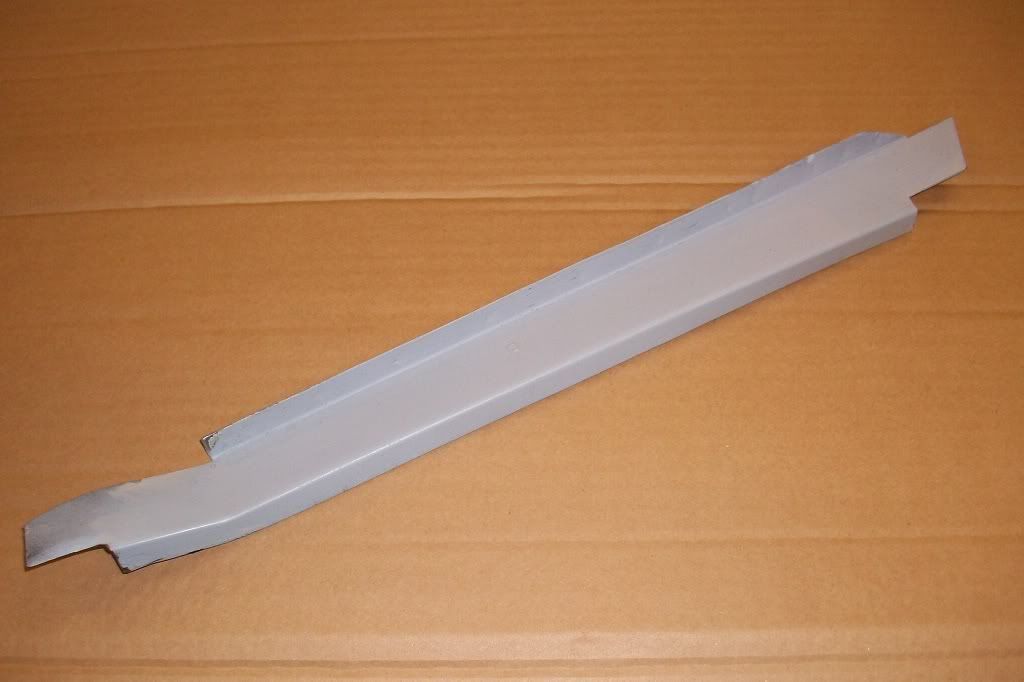
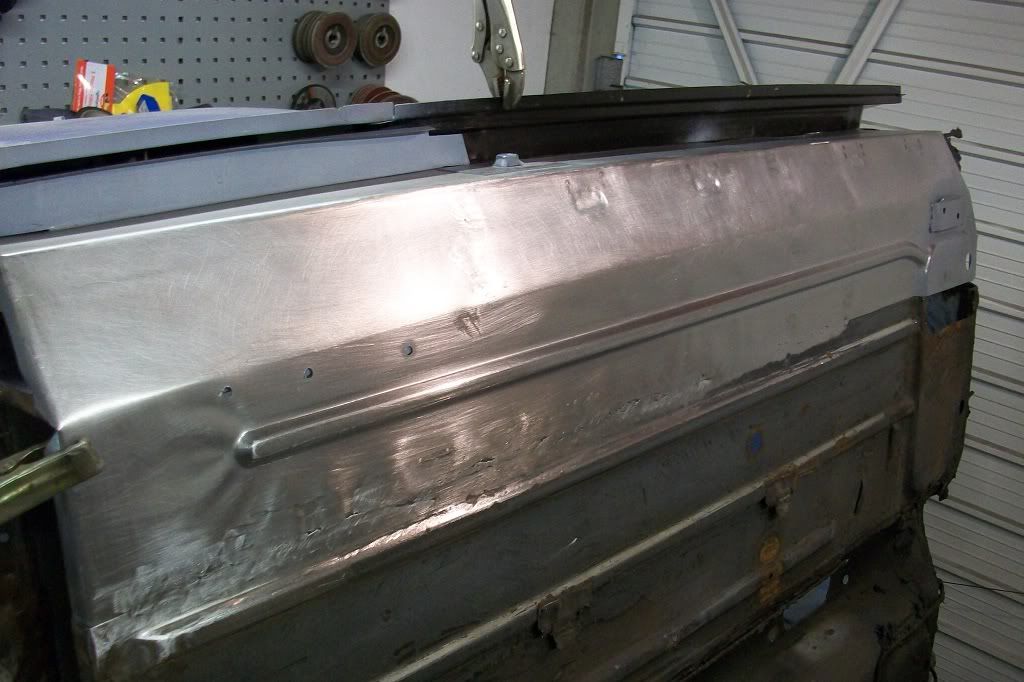
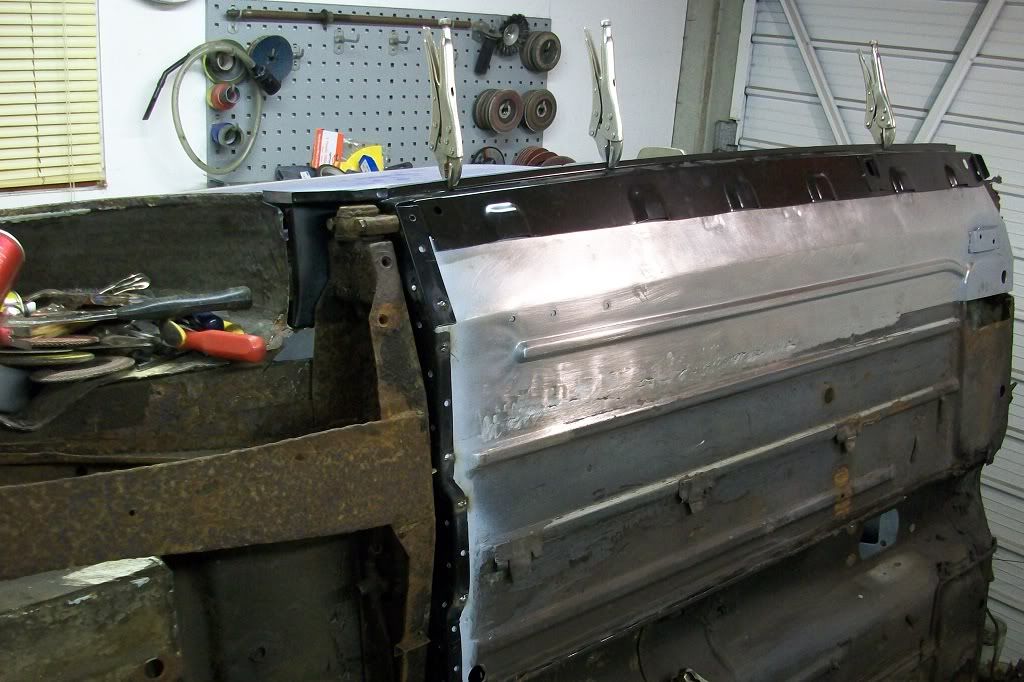
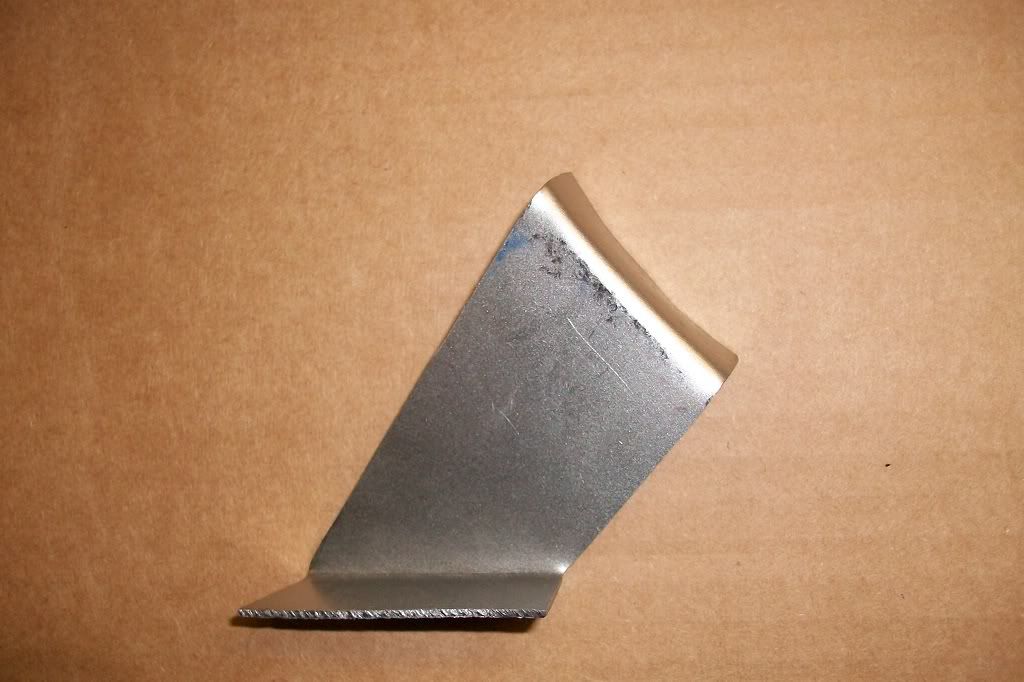
Thanks hugh, that panel was made simply by laying the metal on the stepped edge of a vice, and knocking the edge down into the step. I didn't have a joggler at the time but the vice did the job a treat!
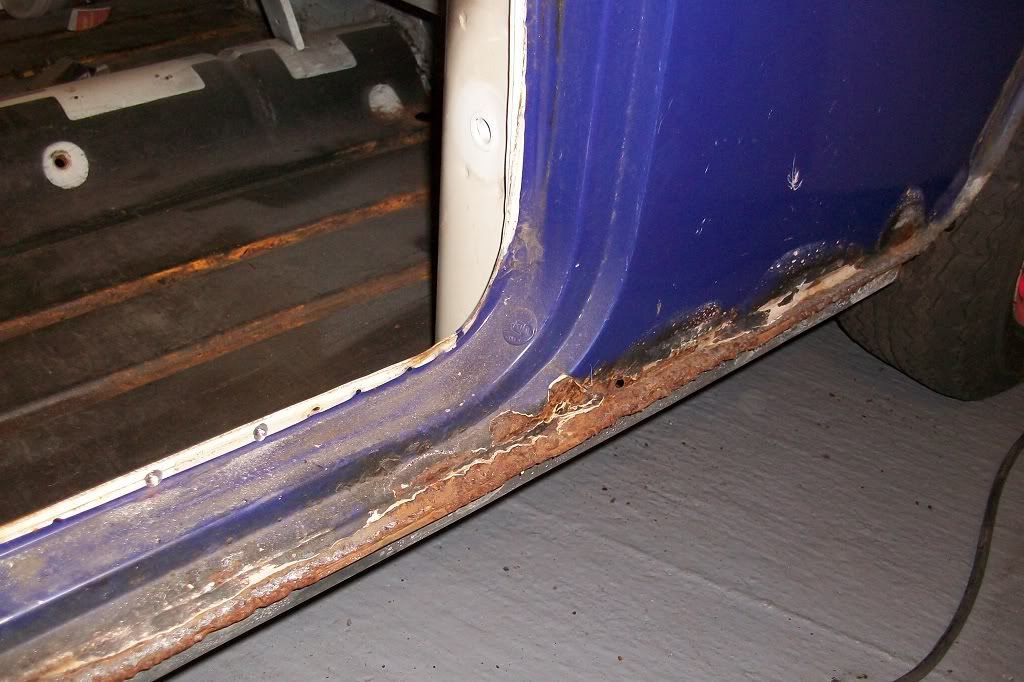
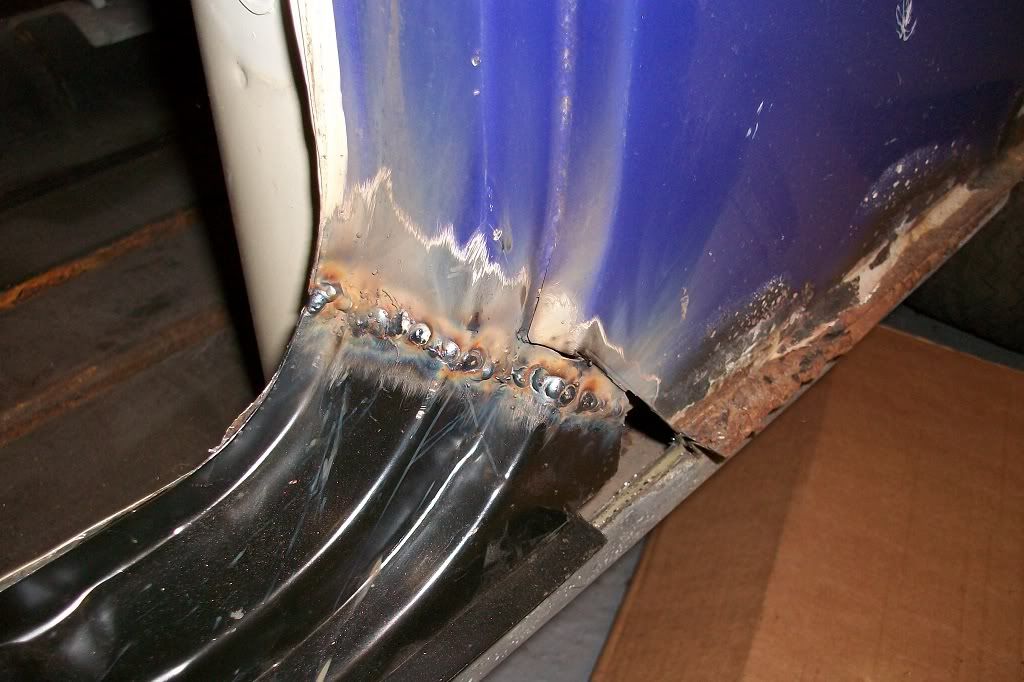
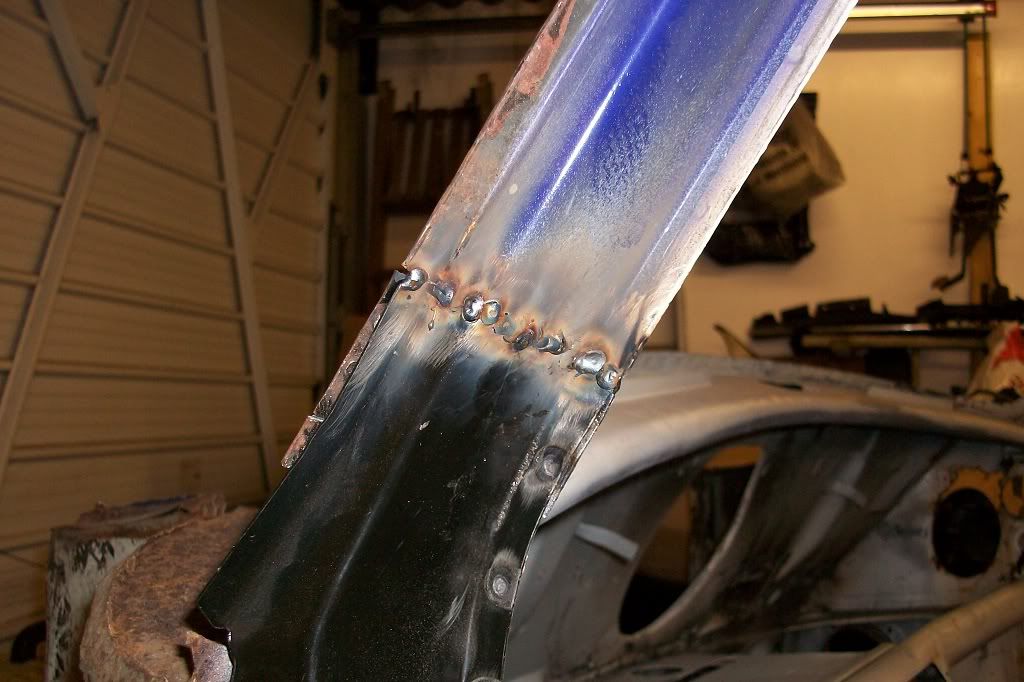
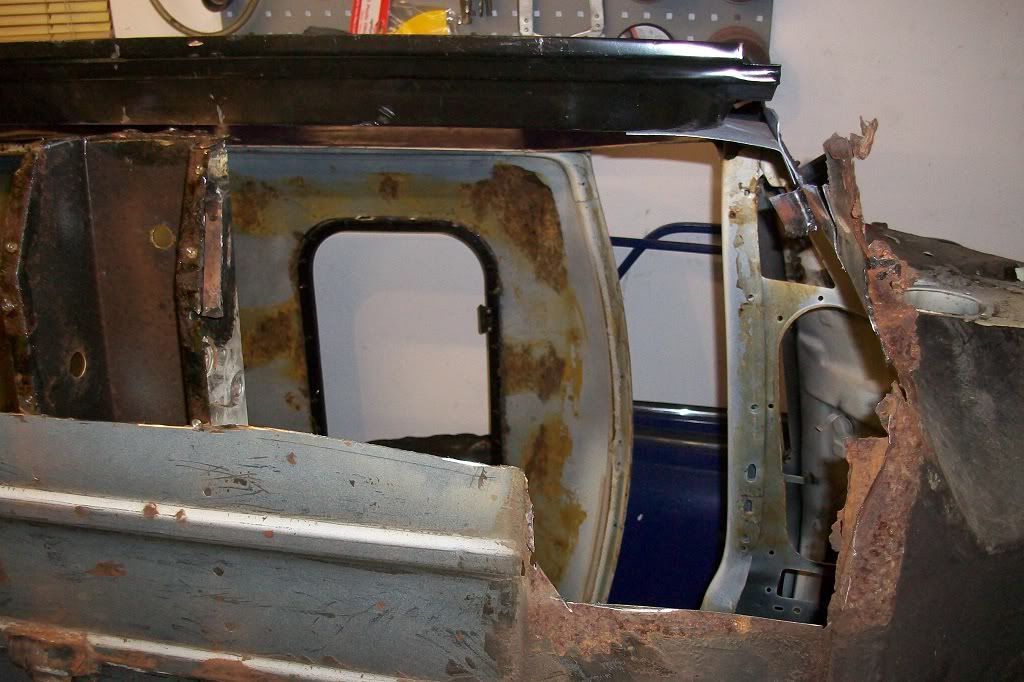
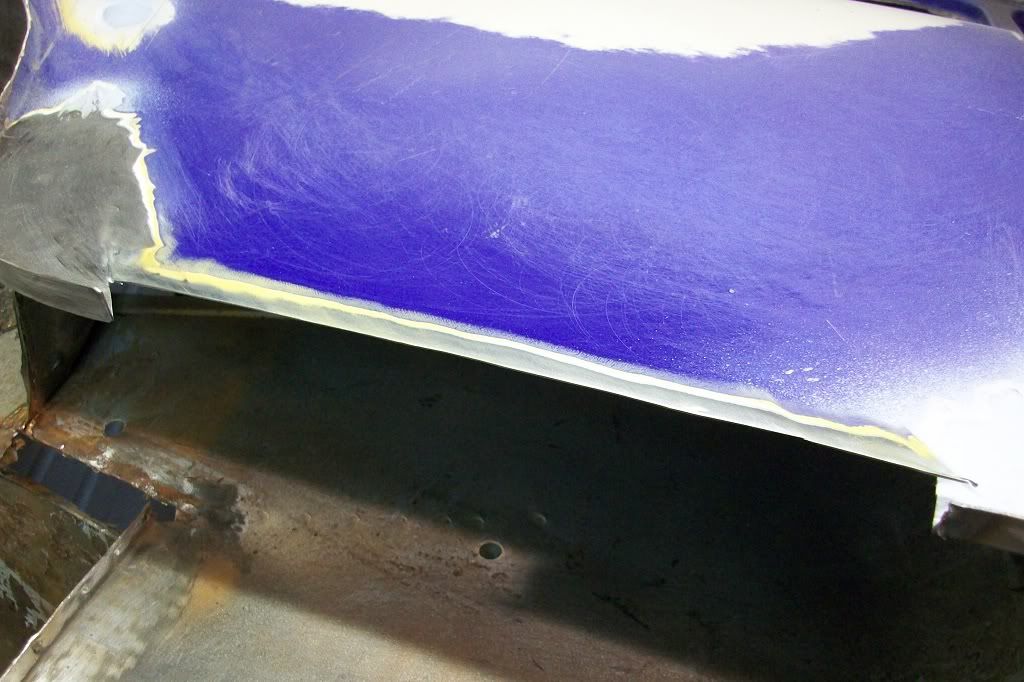
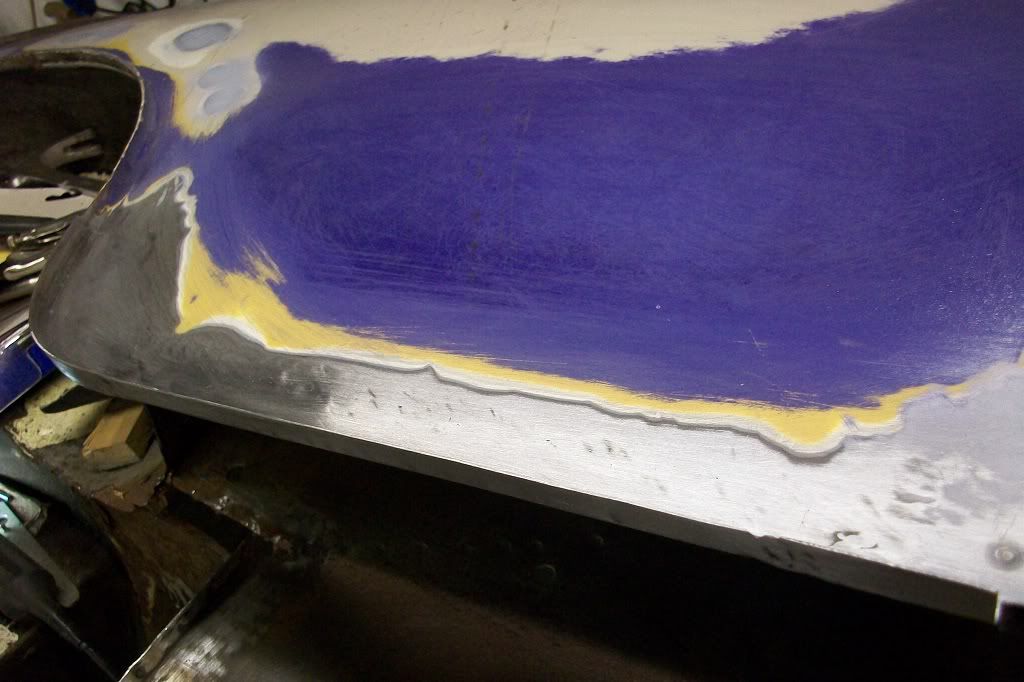
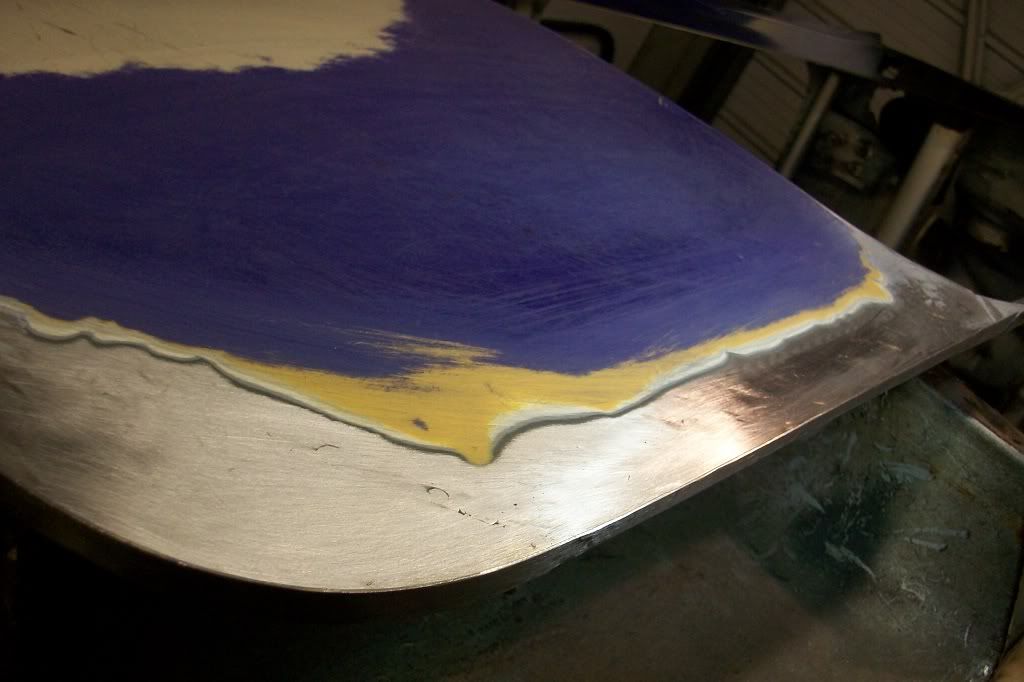
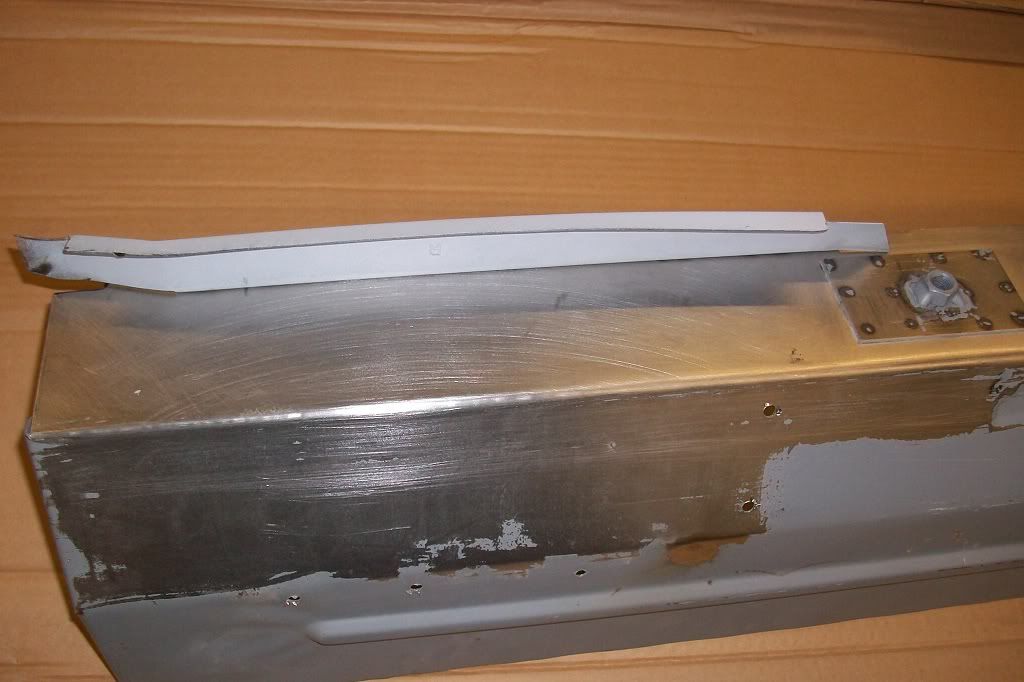
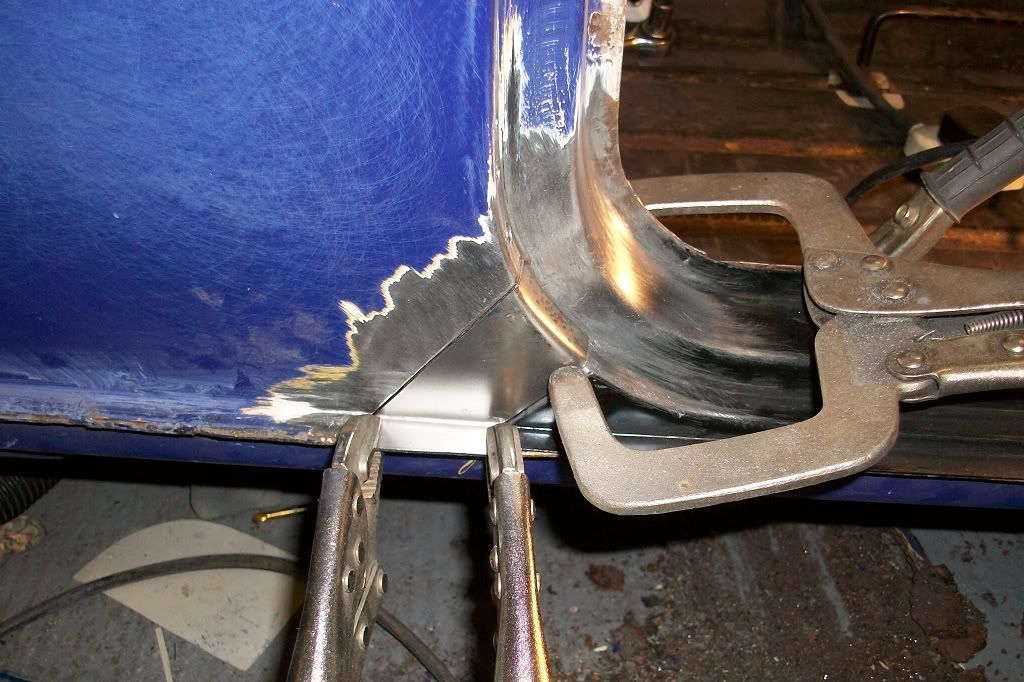
Here are the pictures of the completed door step.
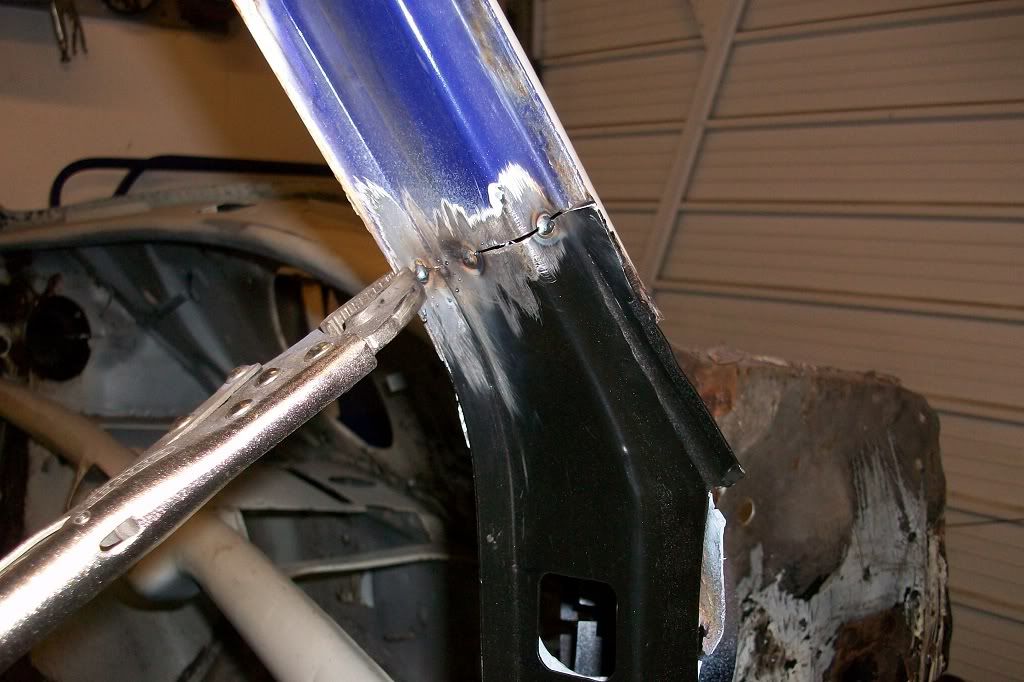
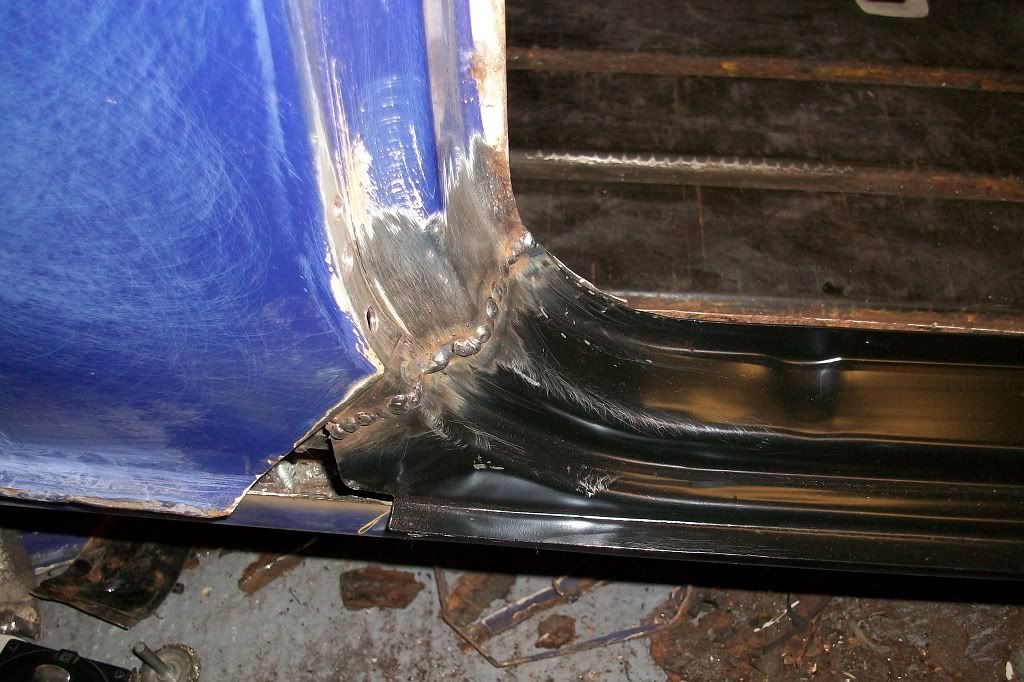
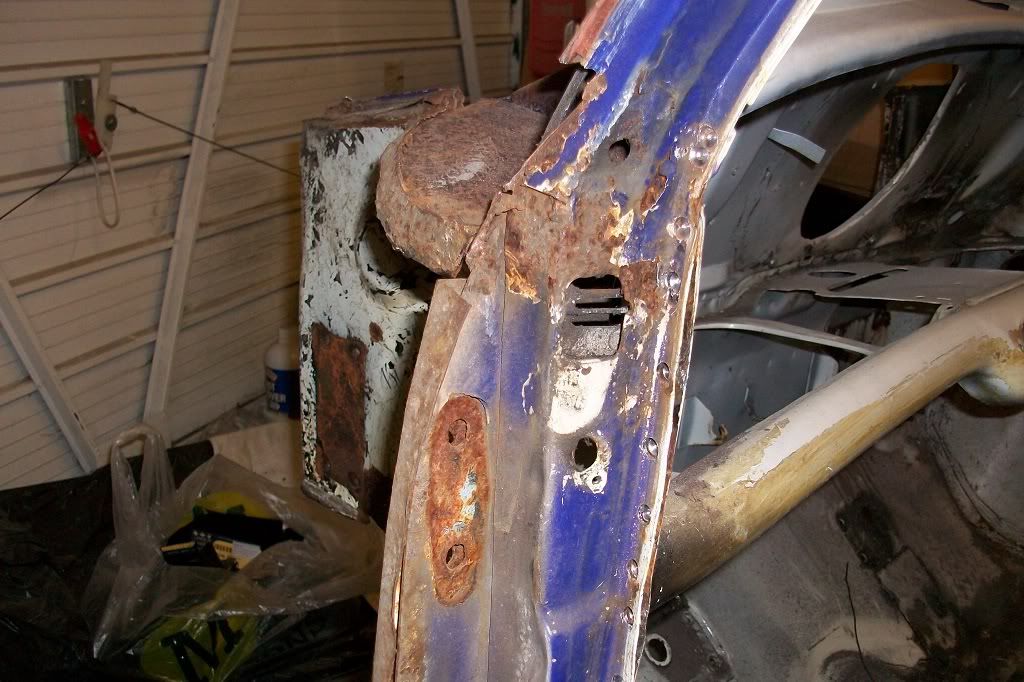
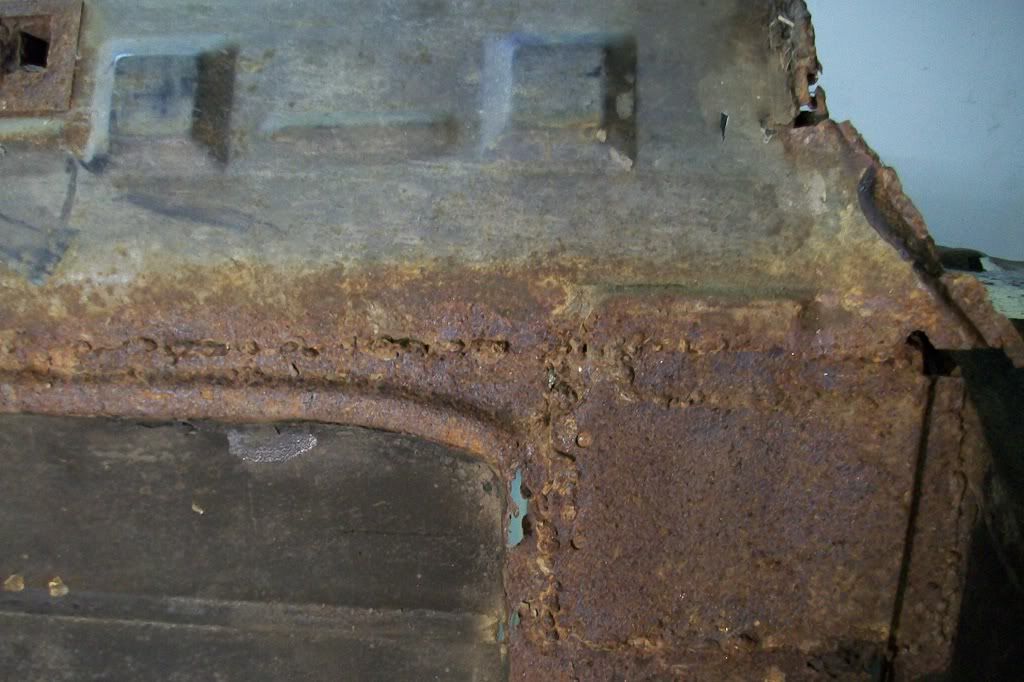
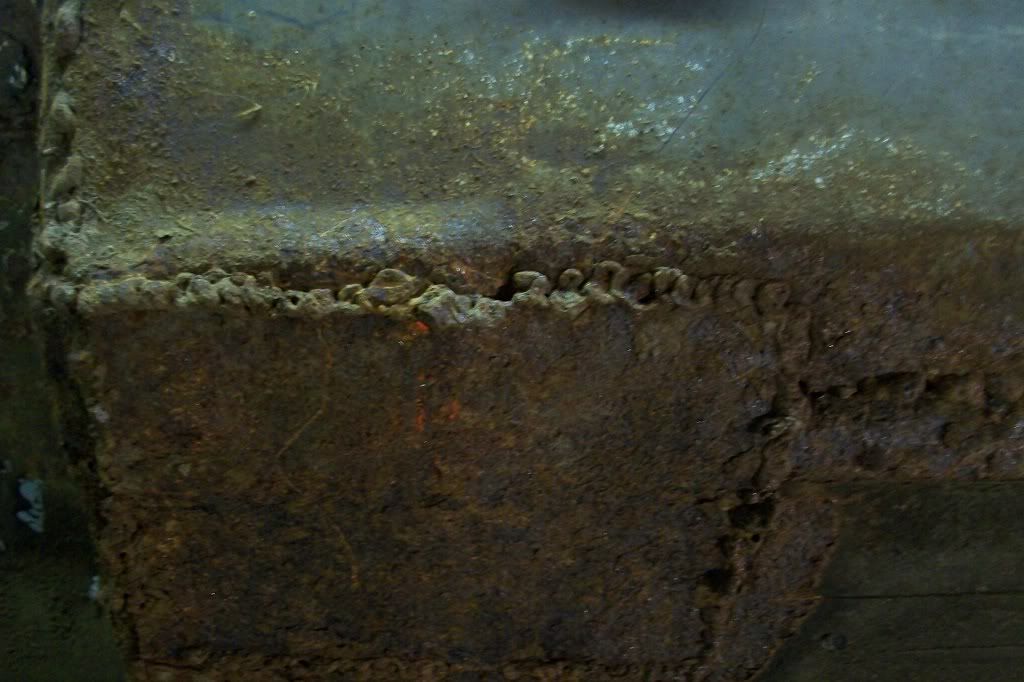
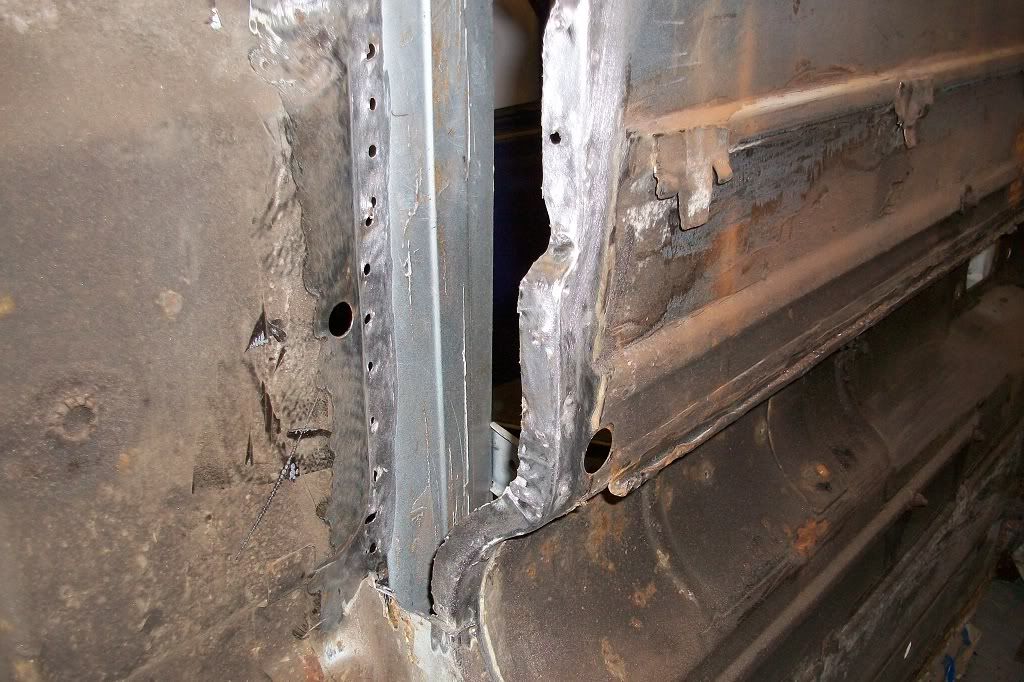
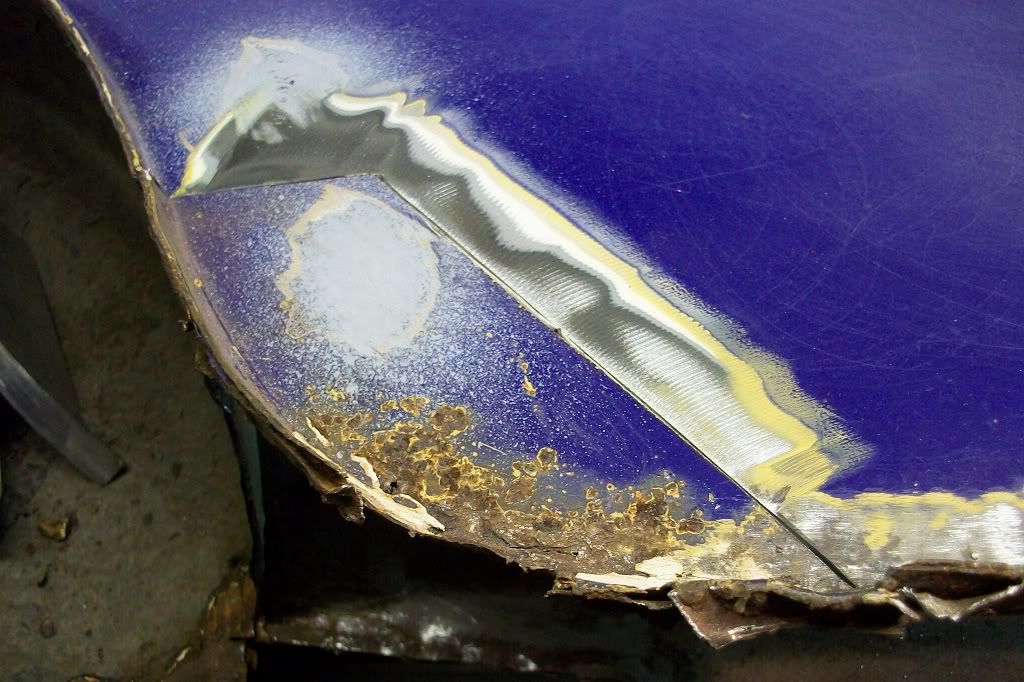
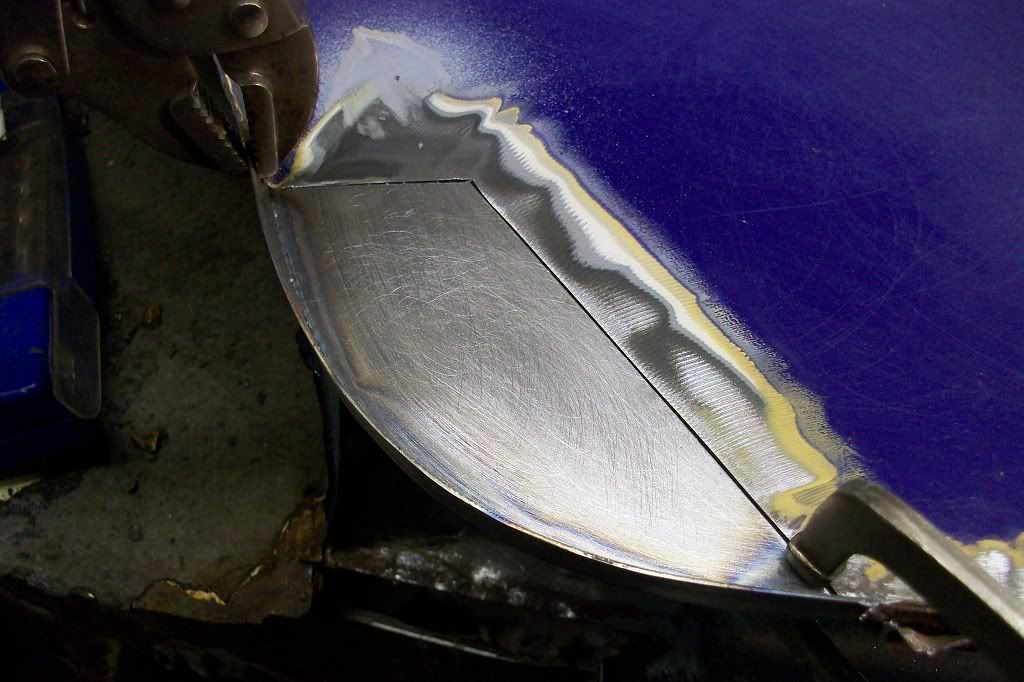
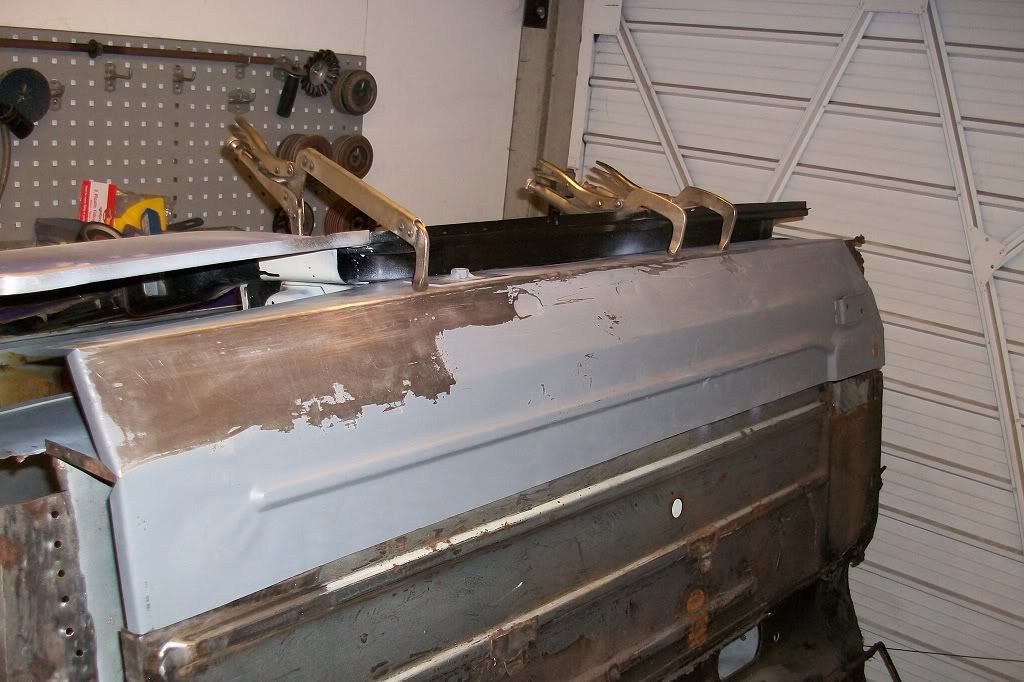
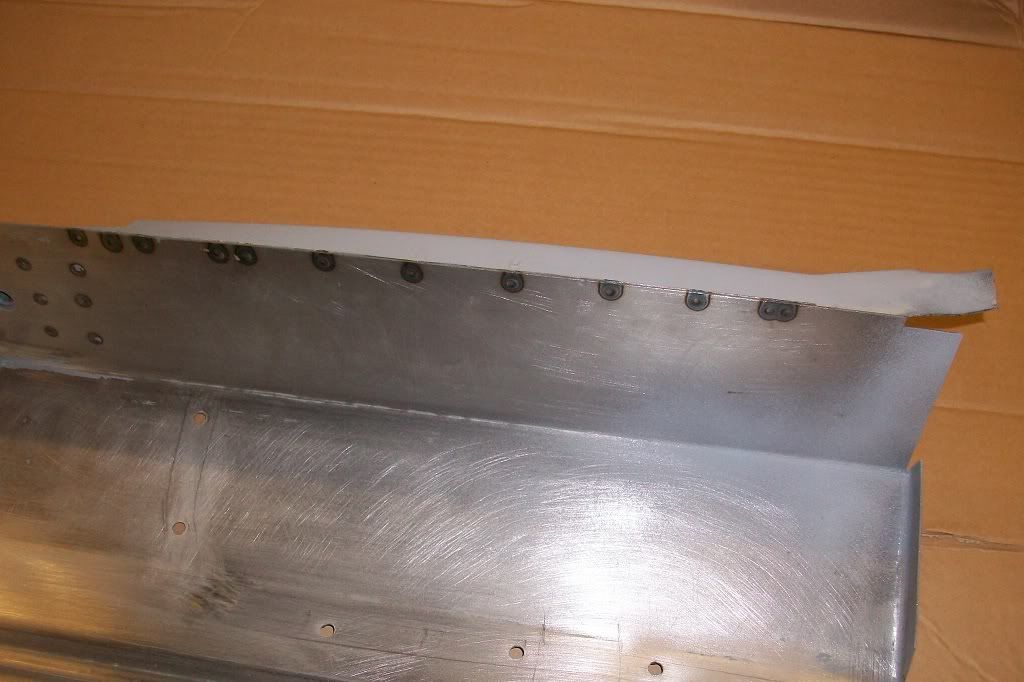
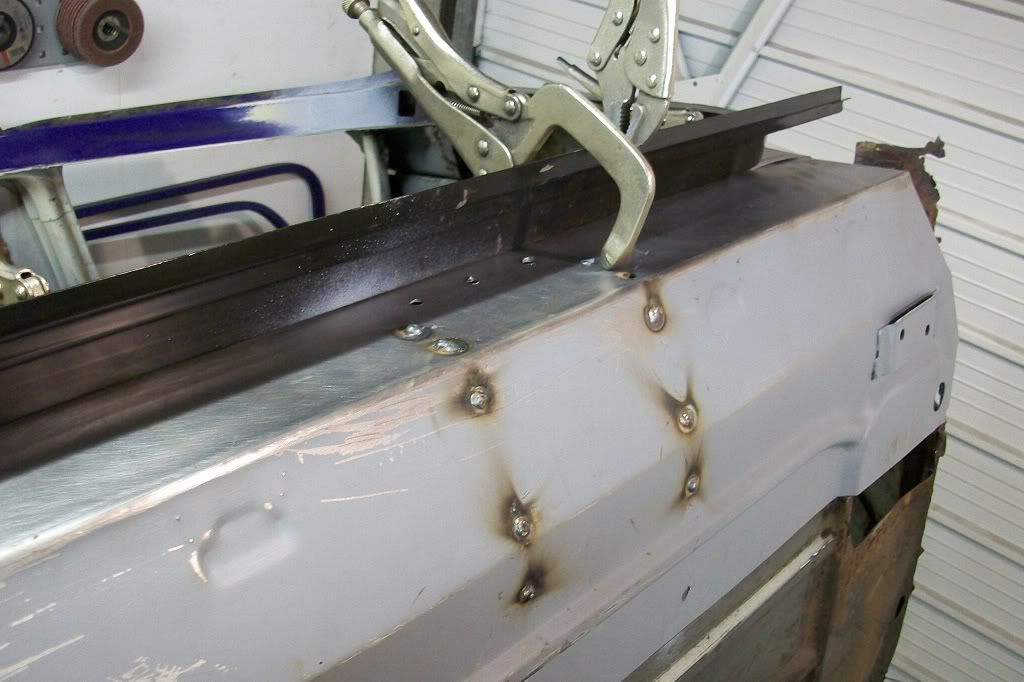
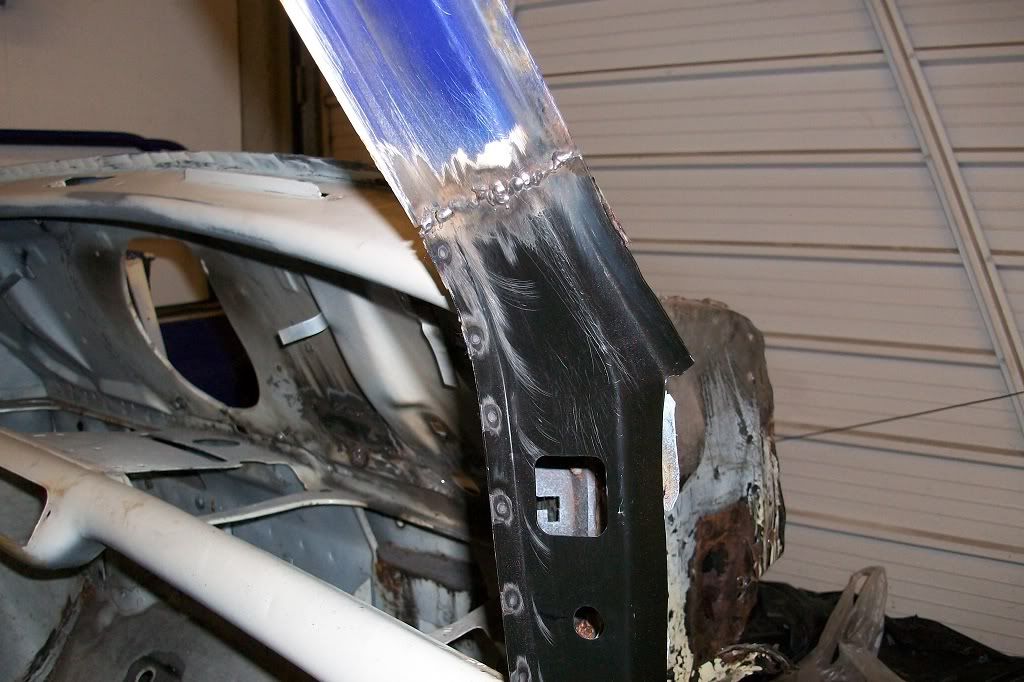
I spot welded the seams of the A post. Much quicker and neater than MIG welding and looks more original. Not that you'll see them when the seals are on!
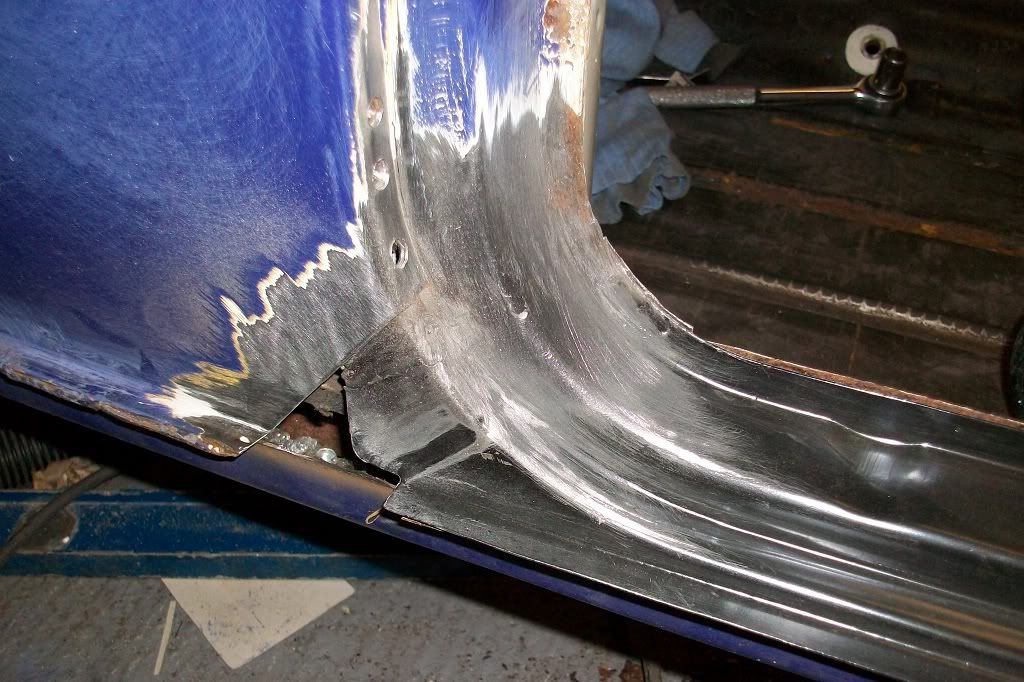
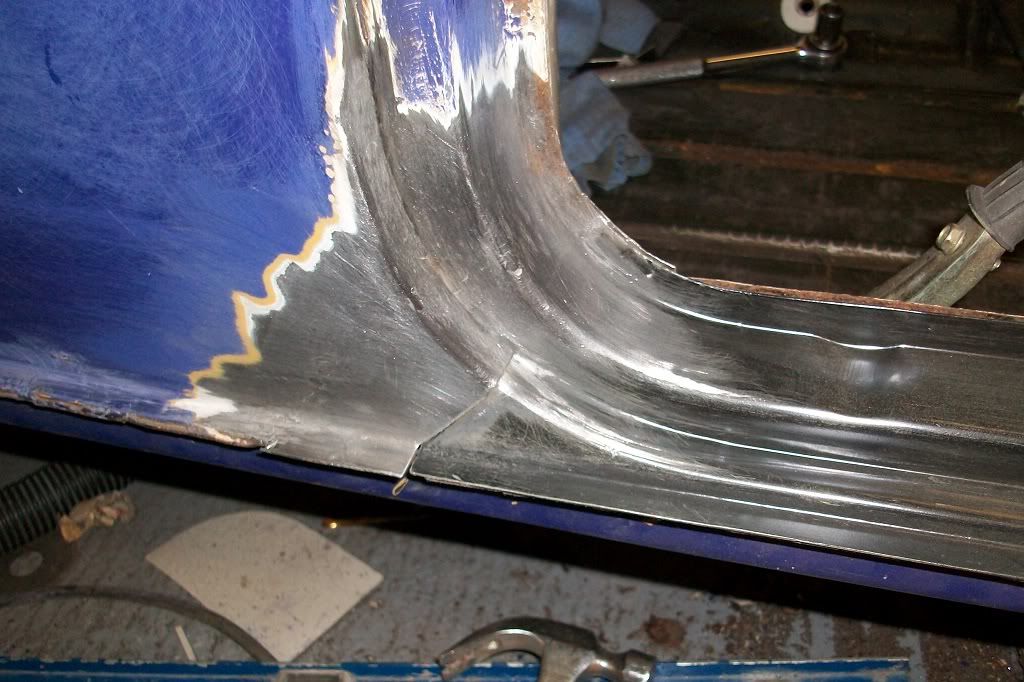
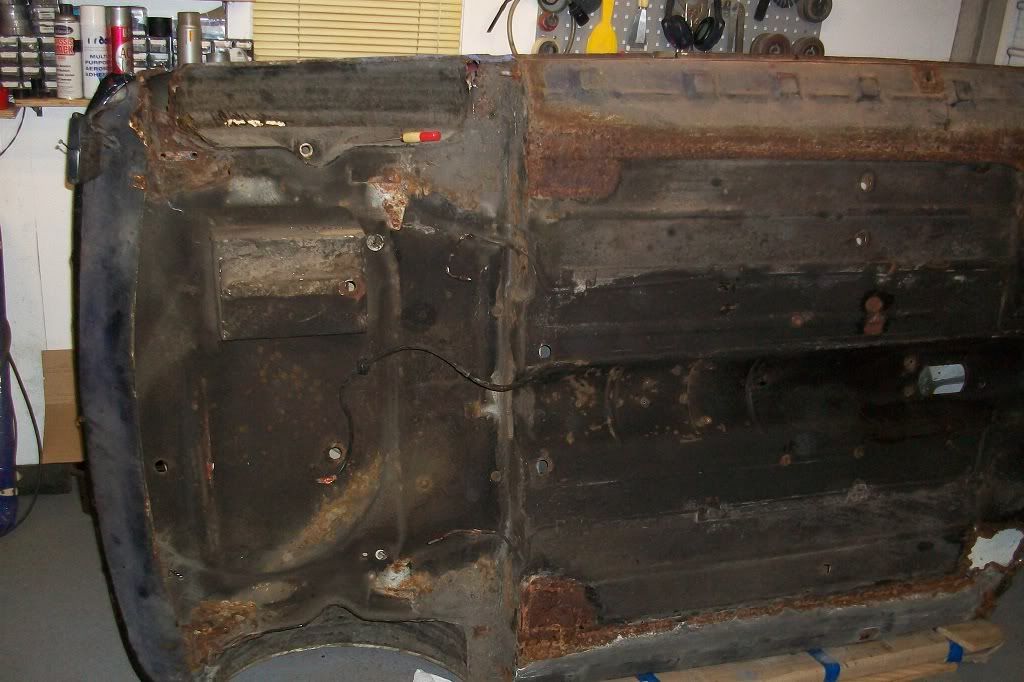
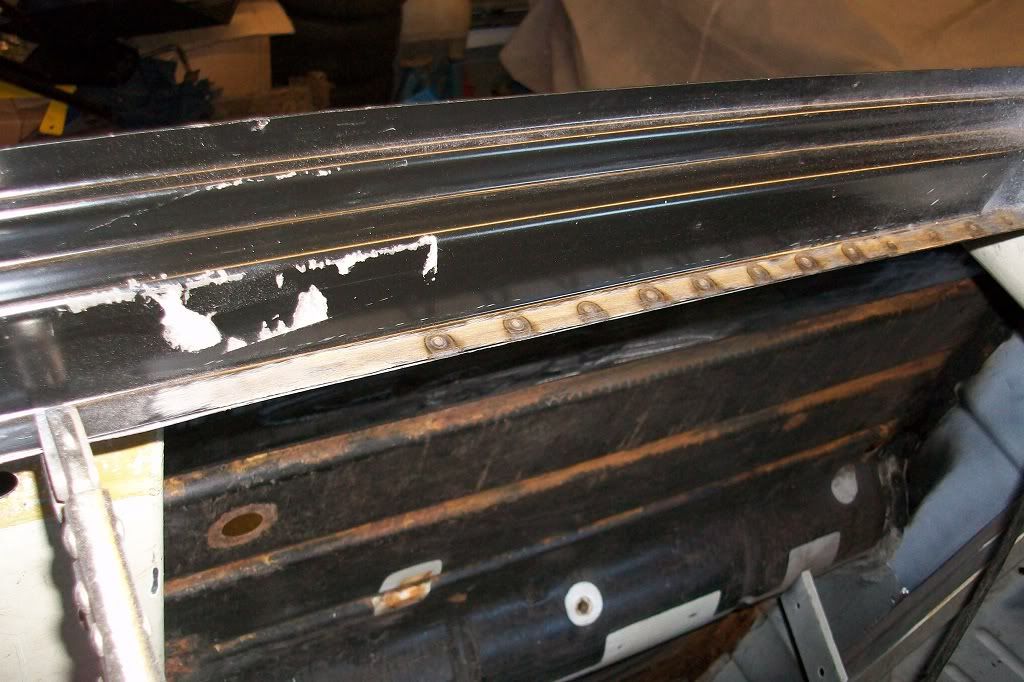
Thats the drivers door step done. Thanks for looking.