Jump to content


Photo

My 75 Mini Pickup Project In Bolivia


  • Please log in to reply
68 replies to this topic

#1 Richard1

Richard1

    Stage One Kit Fitted

  • Noobies
  • PipPipPip
  • 53 posts

Posted 28 August 2011 - 05:49 PM

Here is my pickup as I bought it.
Posted Image

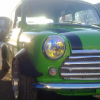
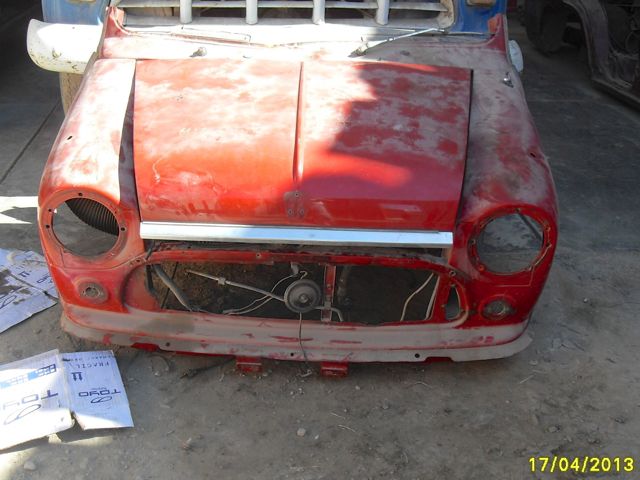
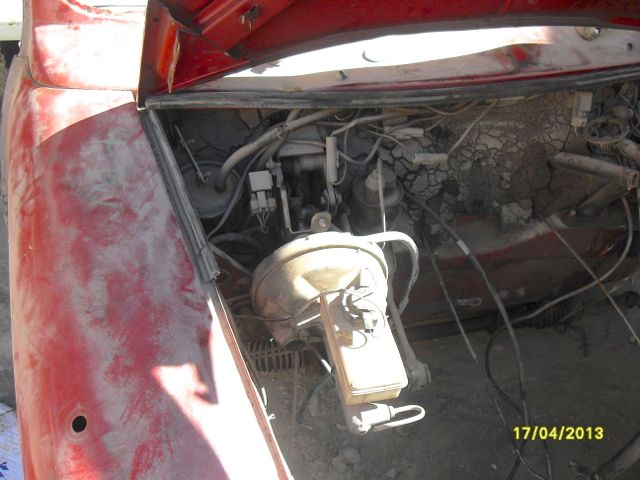
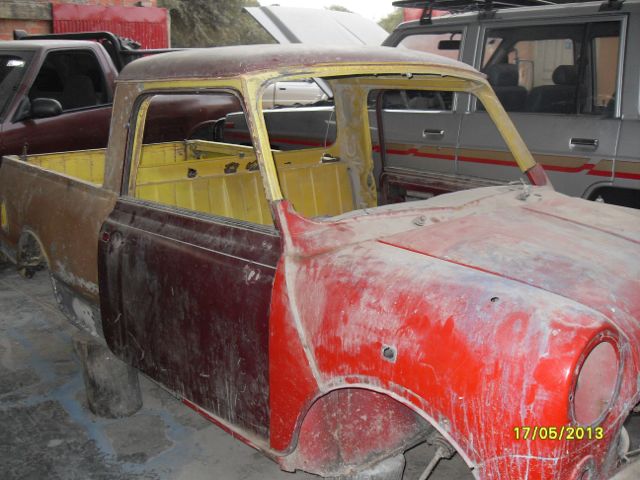
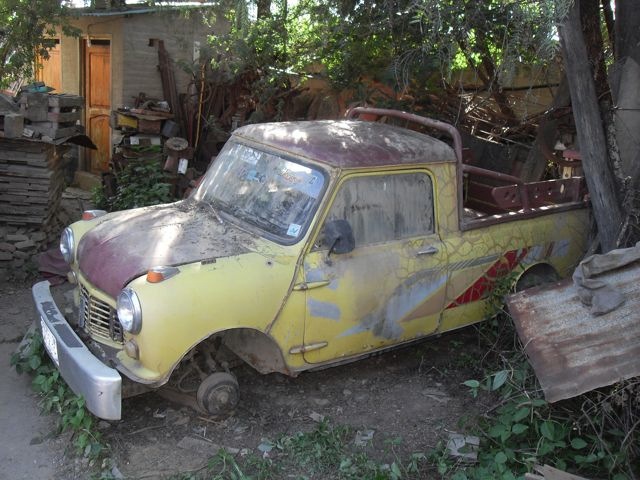
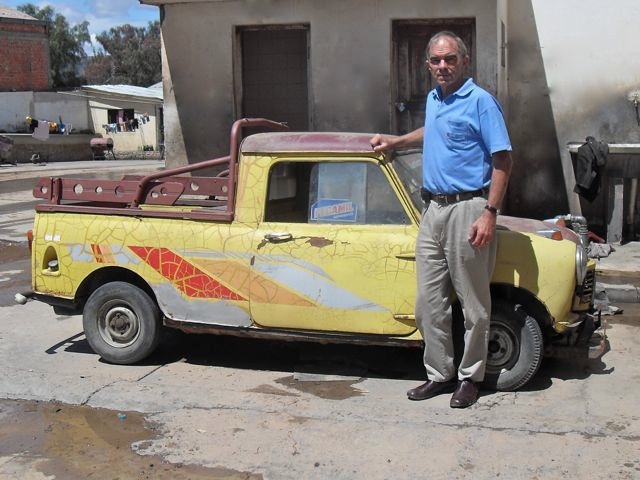
Project is underway. Here is one of the first pictures after I bought it. I let him keep his bumper. I didn't think about selling it as scrap.
I haven't had a lot of time to play with it because of business, and because I also ended up buying a Renault Ondine. Check my site for more details and the things that keep me from making this a top priority.
http://www.widman.biz/cars/
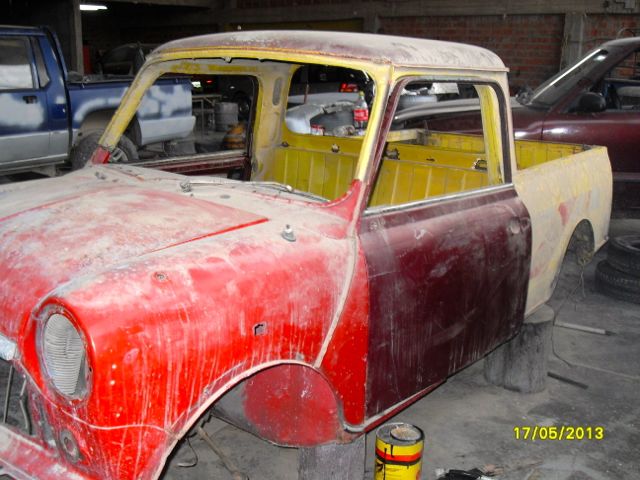
I'll be updating my site with all the progress as it comes, but here are a few shots.
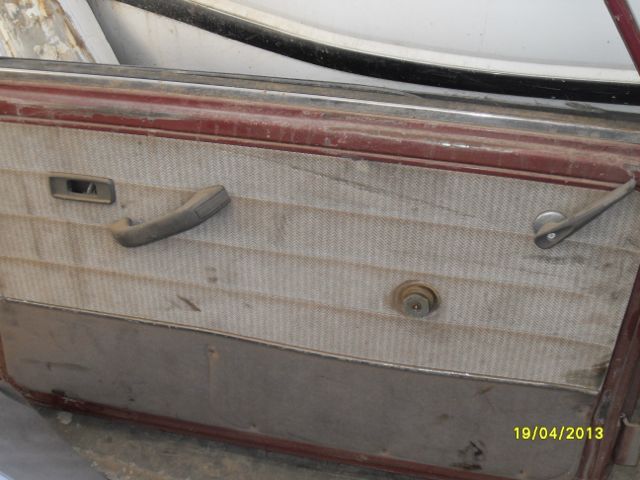
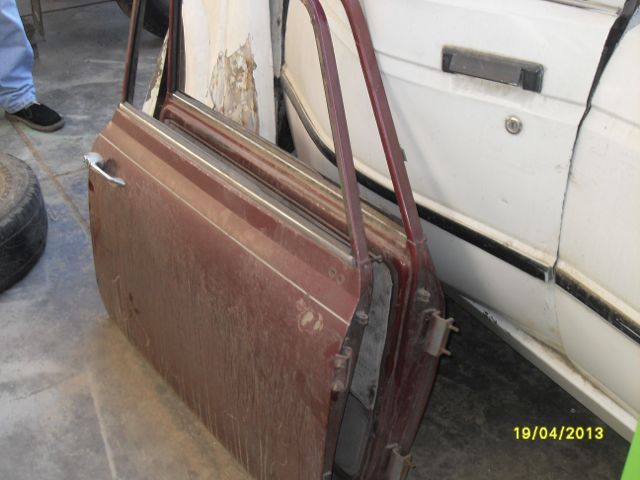
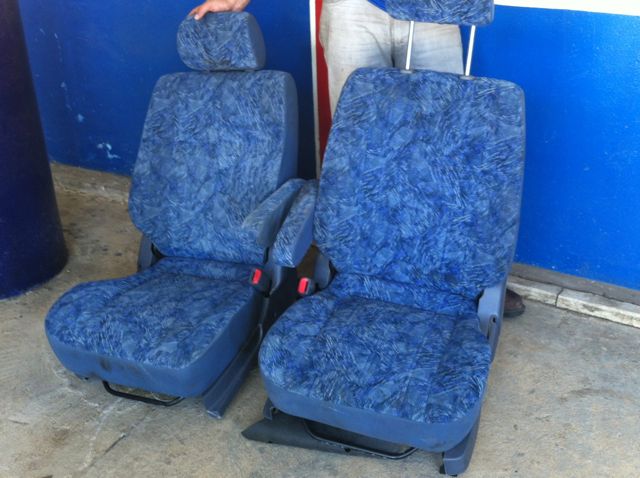
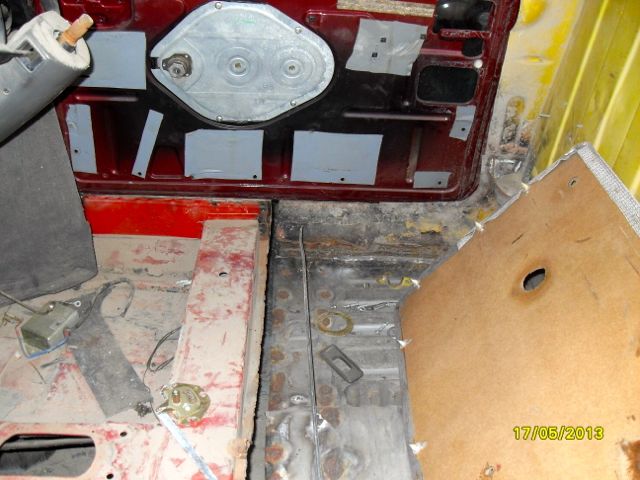
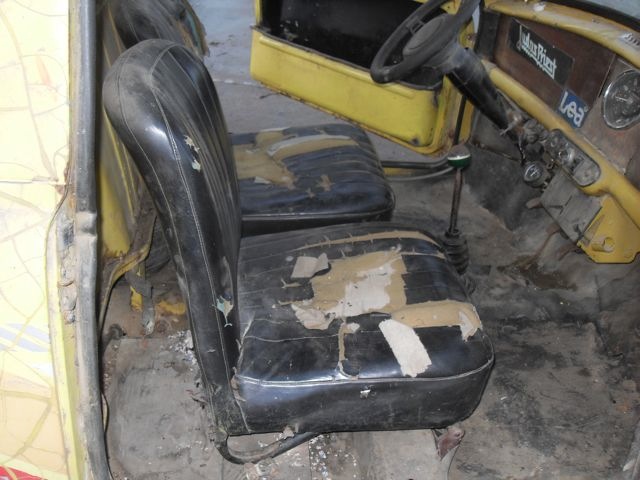
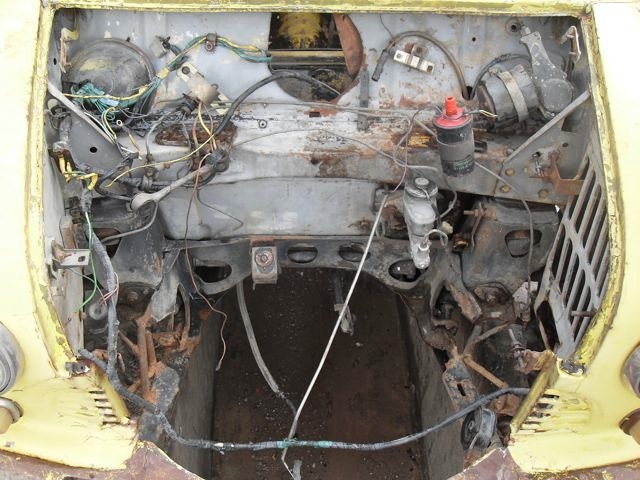
Posted Image
here is the inside
Posted Image
Posted Image

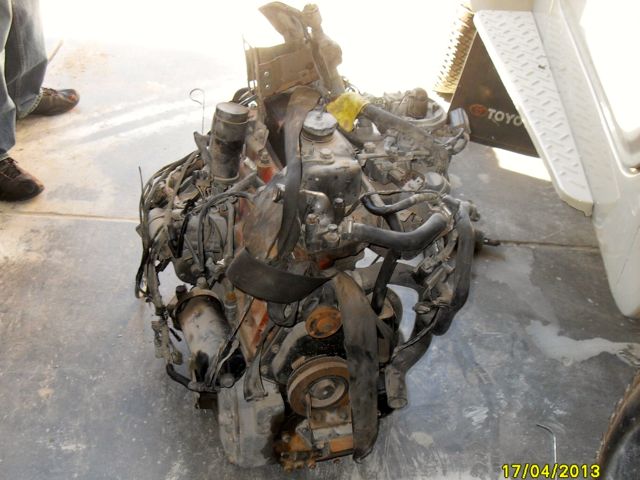
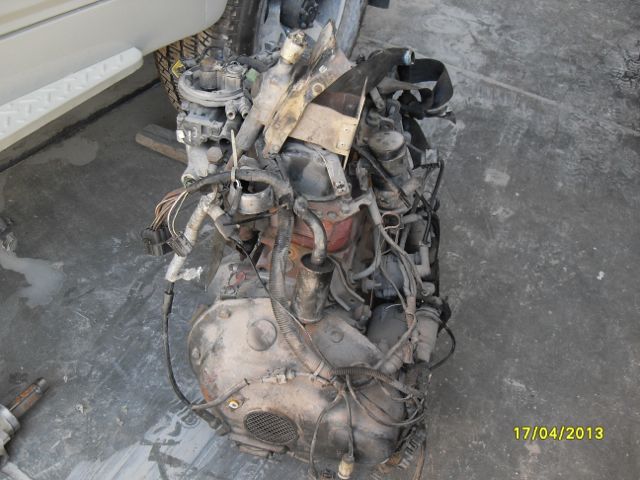
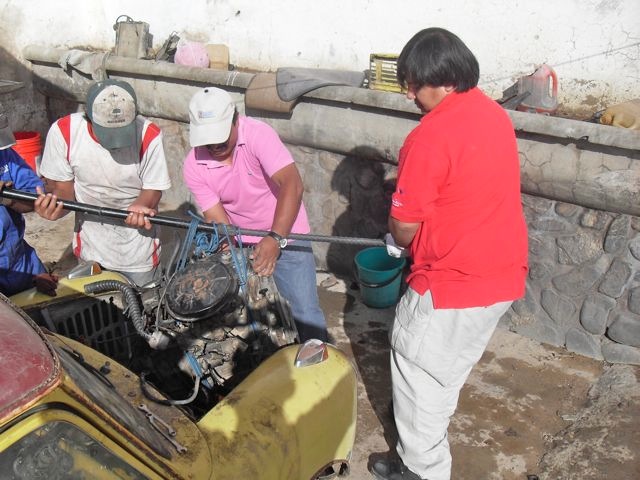
The original engine is pretty much useless. I've ordered a 1275cc from Chile. Just having trouble getting it here.
Posted Image

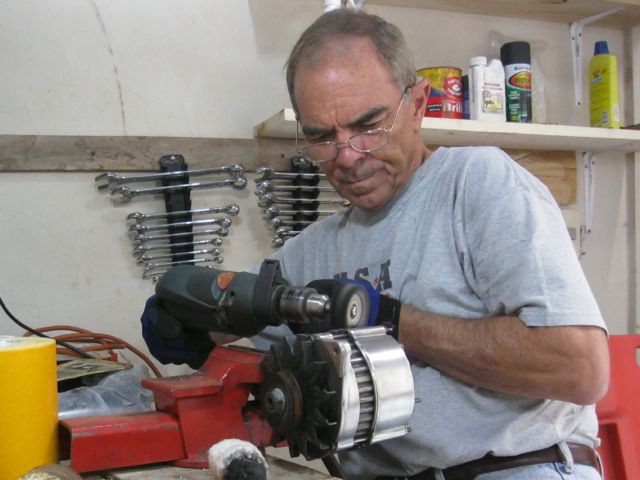
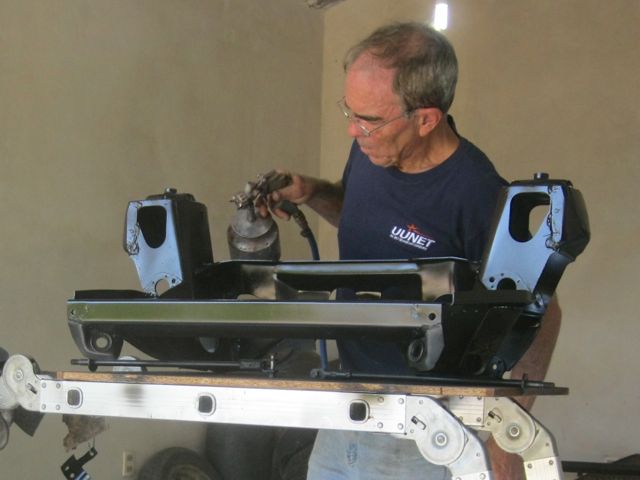
Pulled the Suzuki engine out with my environmentally friendly hoist.
Posted Image

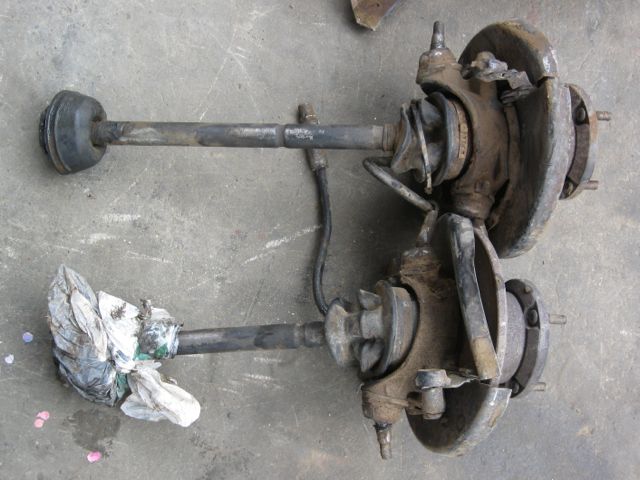
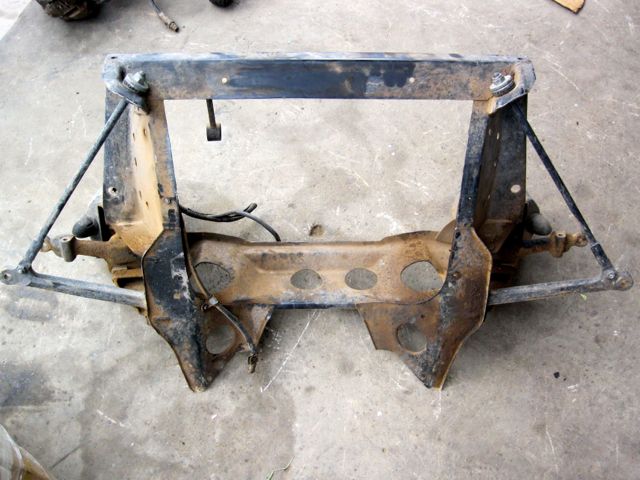
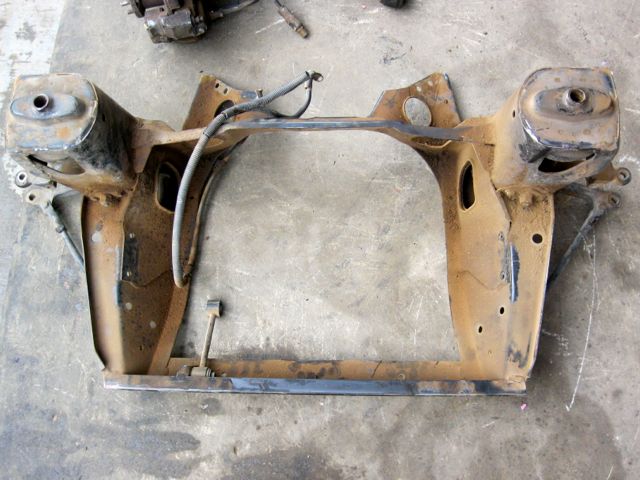
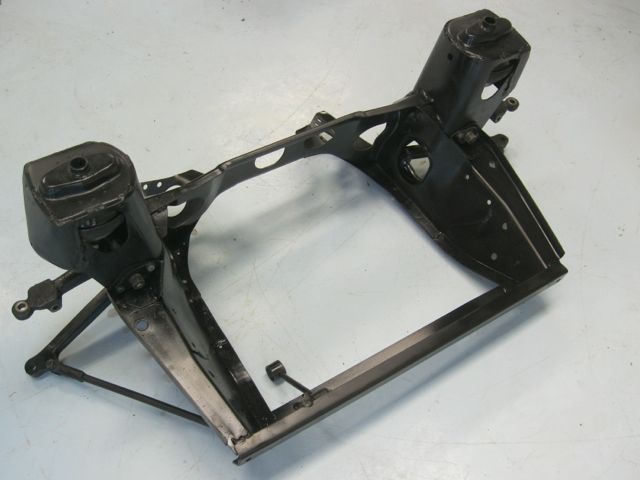
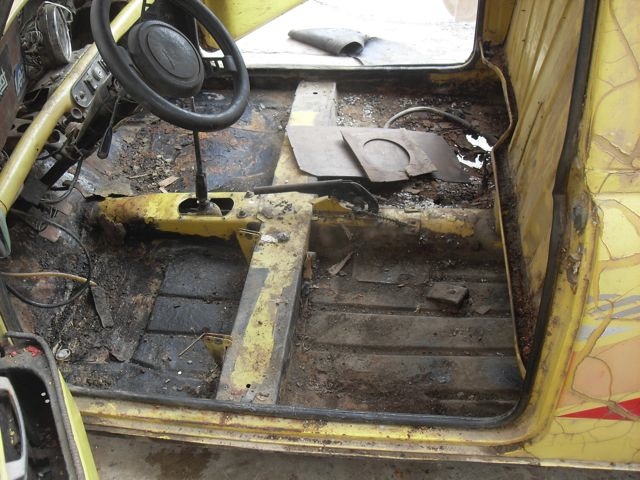
and saw how badly cut up the sub frame is (one is also coming from Chile)
Posted Image

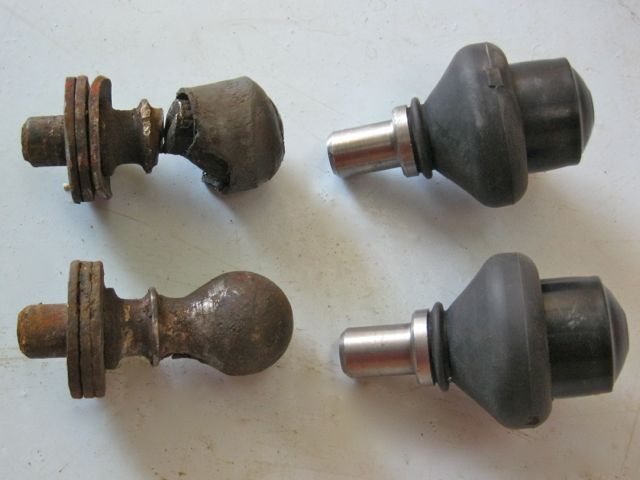
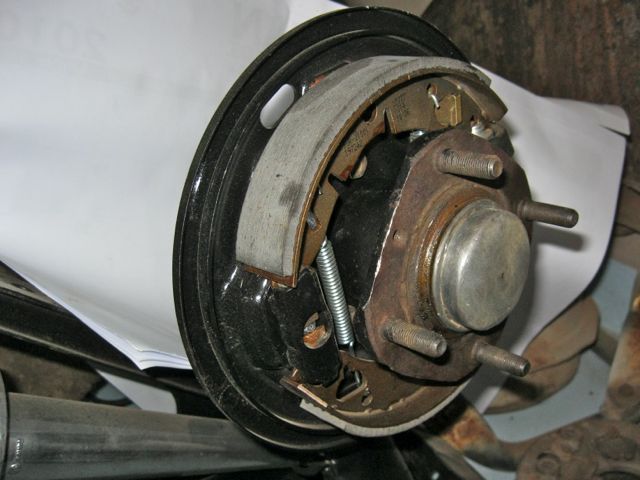
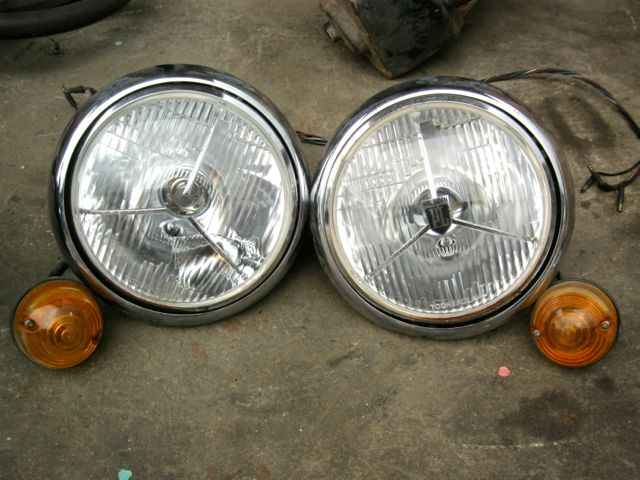
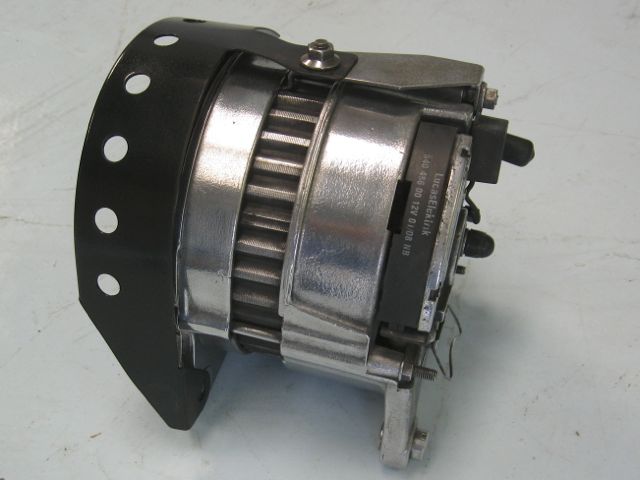
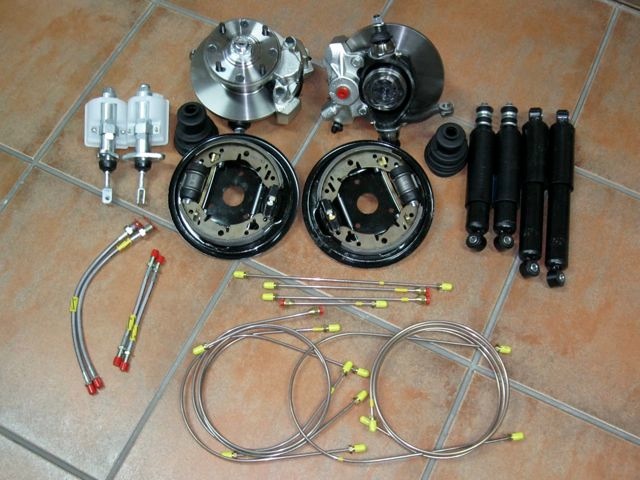
New brakes, wheels, steering, dash and much more has come from the UK
Posted Image

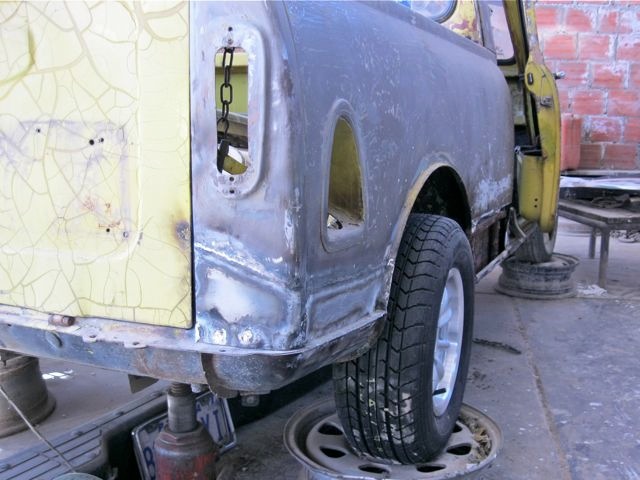
After patching the rear corner, it was time to measure for the fender flares
Posted Image

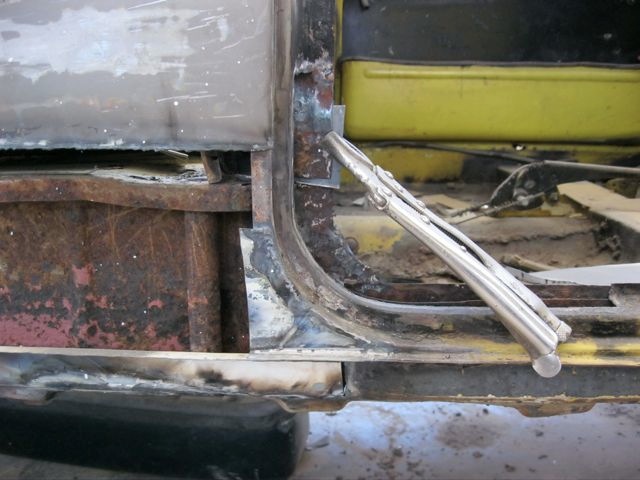
A little more patching
Posted Image

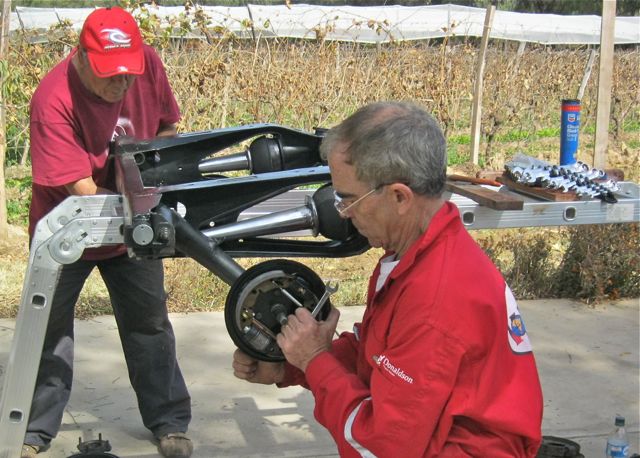
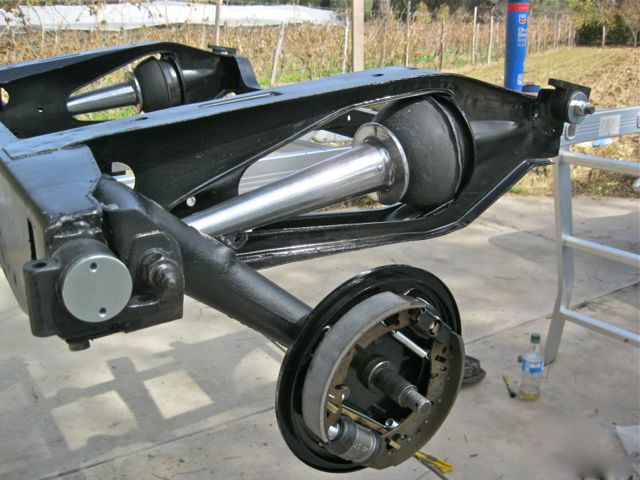
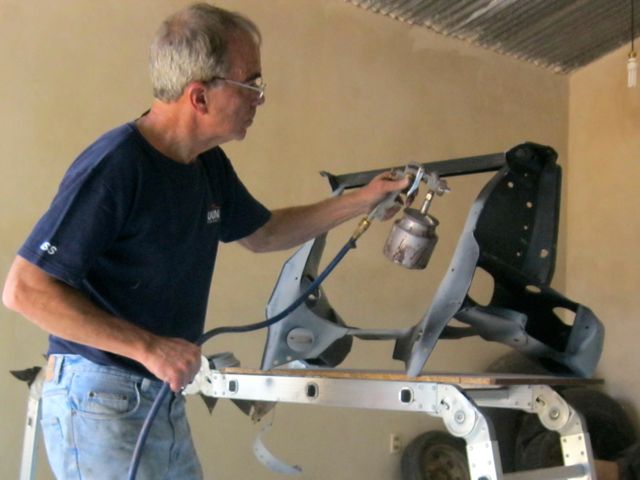
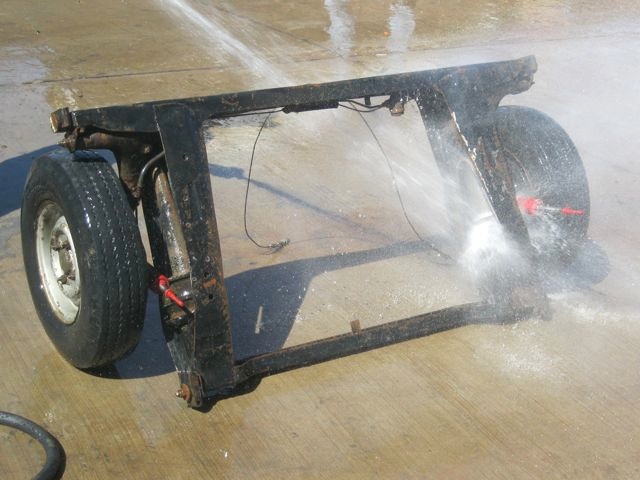
Rolled it over to pull the rear sub-frame to clean and paint, and start replacing the floor with panels from a donor Toyota minivan.
Posted Image

A 15 hp water hose will get it ready to sandblast
Posted Image

Now all I need is time. Hopefully I'll get back next month and not have to spend all my time on the renault (but I have to get it to where it passes inspection)

#2 MaxAndPaddy

MaxAndPaddy

    Spamela Anderson

  • TMF+ Member
  • PipPipPipPipPipPipPipPipPip
  • 4,700 posts
  • Name: Elvis
  • Location: North Yorkshire
  • Local Club: TMF

Posted 28 August 2011 - 05:55 PM

Wow wow wow...love her!

#3 rallycross

rallycross

    Learner Driver

  • Noobies
  • PipPip
  • 12 posts

Posted 06 September 2011 - 08:27 PM

excellent project.

I didnt realise they had mini's i Bolivia, this might explain why our family almost moved out there in about 1980, my dad must have known they had mini's in the country when he was offered that job.

keep us updated with pictures of the resto.

#4 DaveJH

DaveJH

    Speeding Along Now

  • Members
  • PipPipPipPipPip
  • 393 posts

Posted 28 September 2011 - 02:39 PM

Any progress yet? Looking forward to seeing some, I looked at your site and you did a great job on the others :)

#5 MGBailey007

MGBailey007

    One Carb Or Two?

  • Validating
  • PipPipPipPipPipPipPip
  • 725 posts
  • Location: Accrington
  • Local Club: North West Mini Club

Posted 06 January 2012 - 12:57 AM

nice project hope it goes well

#6 Richard1

Richard1

    Stage One Kit Fitted

  • Noobies
  • PipPipPip
  • 53 posts

Posted 23 April 2013 - 12:36 AM

Finally something to report. I ended up waiting two years for the engine I was promised, got a little done in the meantime (posted on my site) but not much.
Now I have a new front clip, picked up in the port in Chile. It is from a 94 Mini that spent its first life in Japan. We will now fuse the front of this one with the back of the pickup.
So I'll have my 1300cc engine, automatic trans, AC, roll-up windows, etc. I'll sell the 8" brakes and put on the Cooper-S discs I bought earlier to keep the 10" wheels I bought.
I also picked up some Toyota seats that are confortable, so I'll upholster them with the door panels.

I cleaned up and painted the subframe and polished the alternator. When I get back in 3 weeks I'll pull the engine apart to see what I need to order and clean it up.

I had polished up the trumpets for the rear, but since the front came with adjusta-rides, I ordered a set for the back. Posted Image Posted Image Posted Image Posted Image Posted Image Posted Image Posted Image Posted Image Posted Image
Posted Image Posted Image Posted Image Posted Image Posted Image Posted Image Posted Image Posted Image Posted Image Posted Image Posted Image Posted Image Posted Image Posted Image Posted Image Posted Image Posted Image Posted Image
Posted Image Posted Image

#7 Ethel

Ethel

    ..is NOT a girl!

  • TMF Team
  • PipPipPipPipPipPipPipPipPipPipPip
  • 25,406 posts
  • Local Club: none

Posted 23 April 2013 - 01:01 AM

I don't know if you've twigged yet that your new subframe has slightly different mountings to your old one, but nothing you can't handle judging by the standard of your work we've seen so far :-).

Hope you're keeping the rear seats, it must've been some spectacle zipping about with a full compliment of passengers onboard!

#8 Richard1

Richard1

    Stage One Kit Fitted

  • Noobies
  • PipPipPip
  • 53 posts

Posted 27 April 2013 - 07:34 PM

The wooden seats are long gone. Trapped a lot of water and caused a lot of rust.


Since that subframe will go into the new front clip (that it came out of), no problem with its mounts. I understand we may have to cut the doors down a bit and change the striker plate area, but we will cross those bridges as we get to them. My body guy has promissed to start grafting Monday.


#9 TheMiniDream

TheMiniDream

    Speeding Along Now

  • Members
  • PipPipPipPipPip
  • 303 posts
  • Location: Hampshire
  • Local Club: Basingstoke Mini Club

Posted 27 April 2013 - 07:42 PM

Very nice what's you thoughts on colours?

#10 CLM

CLM

    One Carb Or Two?

  • Members
  • PipPipPipPipPipPipPip
  • 817 posts

Posted 14 May 2013 - 11:23 PM

It just occurred to me Richard from that subframe question.. that that looks like a manual transmission front subframe which would be narrower then the automatic subframe. The only auto front subframe I have gotten my hands on here in the US had a bend on the front bar for clearance, here is a pic from the web that shows it. Notice the front bar is not straight. And the distance between the engine mounts was wider due to the transmission being wider. I know people can add a spacer to mount a manual in an auto subframe, I don't know about the other way though.


KGB10024.jpg\

Chris


#11 jagman.2003

jagman.2003

    One Carb Or Two?

  • Members
  • PipPipPipPipPipPipPip
  • 1,307 posts
  • Location: In the shed.
  • Local Club: Owner of my own club of Minis

Posted 15 May 2013 - 07:43 AM

Fantastic project, very resourceful. I like the Judas Priest sticker on the dashboard!


#12 Richard1

Richard1

    Stage One Kit Fitted

  • Noobies
  • PipPipPip
  • 53 posts

Posted 17 May 2013 - 11:16 PM

That is the subchasis that came with the front clip, so it should fit fine. Color will be red.


Now we are getting somewhere. No welds yet, but it is aligning nicely.

left_side_aligned.jpg
right_side_aligned.jpg
floor_aligned.jpg


#13 crazirob

crazirob

    Super Mini Mad

  • TMF+ Member
  • PipPipPipPipPipPip
  • 650 posts

Posted 18 May 2013 - 07:18 AM

Awesome build !

#14 mini danny

mini danny

    I am a mini daddy.

  • Members
  • PipPipPipPipPipPipPipPipPipPip
  • 5,229 posts
  • Local Club: british mini club

Posted 18 May 2013 - 07:46 AM

Nice project but reckon you should have kept original front to it and repaired it


Danny

#15 olds_kool_lews

olds_kool_lews

    Up Into Fourth

  • Traders
  • PipPipPipPipPipPipPipPipPip
  • 3,601 posts

Posted 18 May 2013 - 07:49 AM

Here in the uk that would be classed as a "cut 'n' shut" lol but excellent work so far!


1 user(s) are reading this topic

0 members, 1 guests, 0 anonymous users