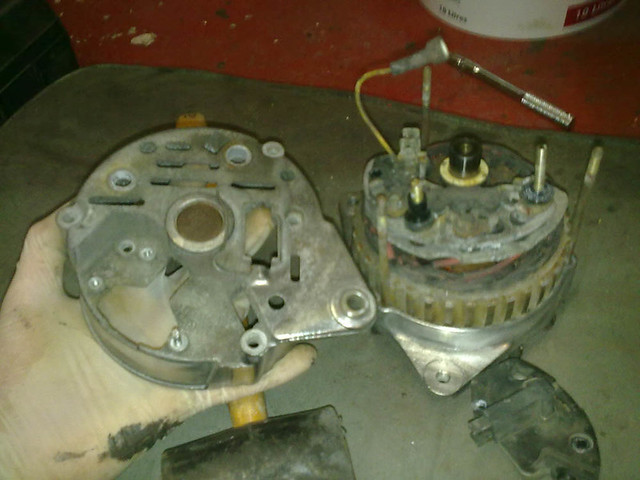
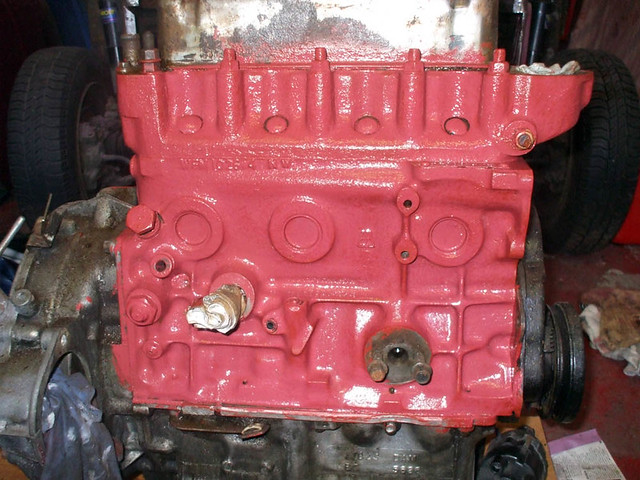
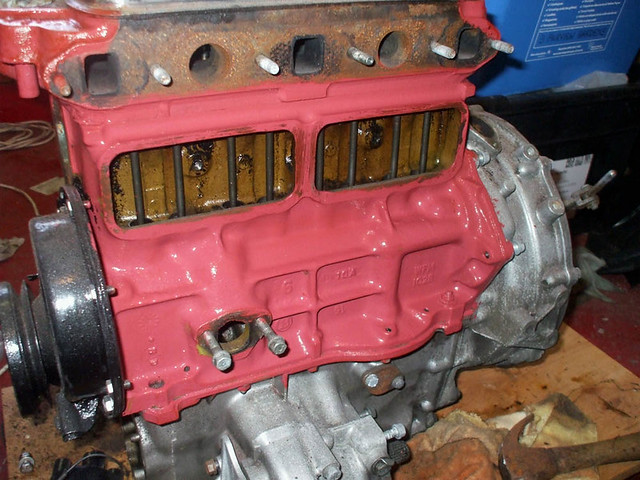
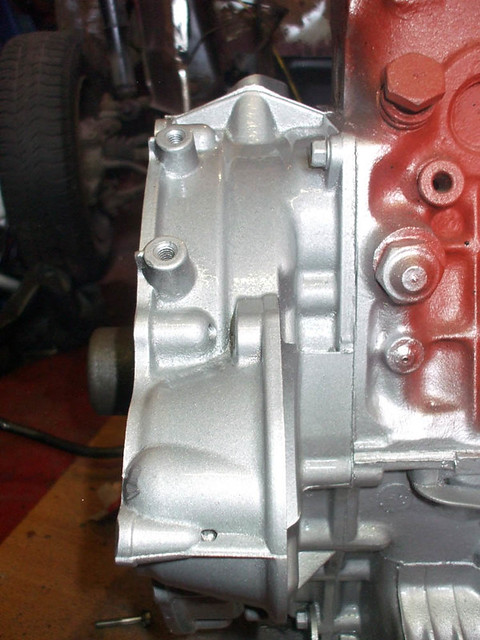
then back to the engine to finish off the back...
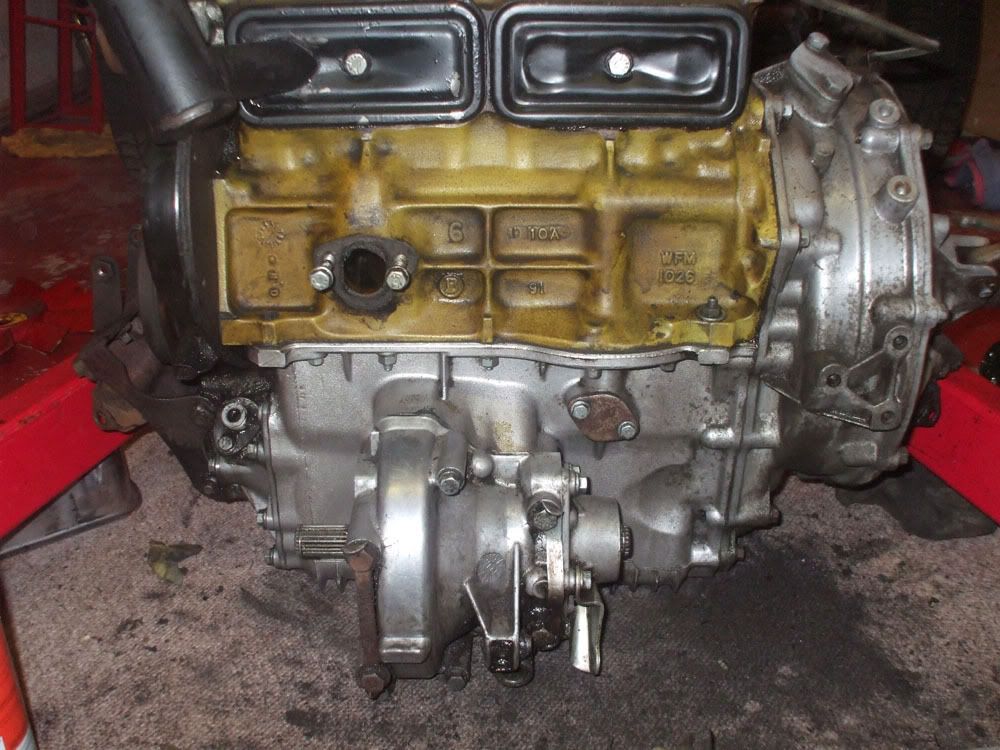
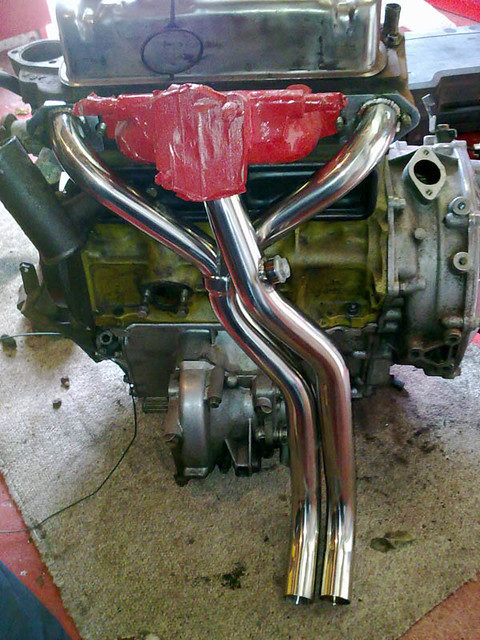
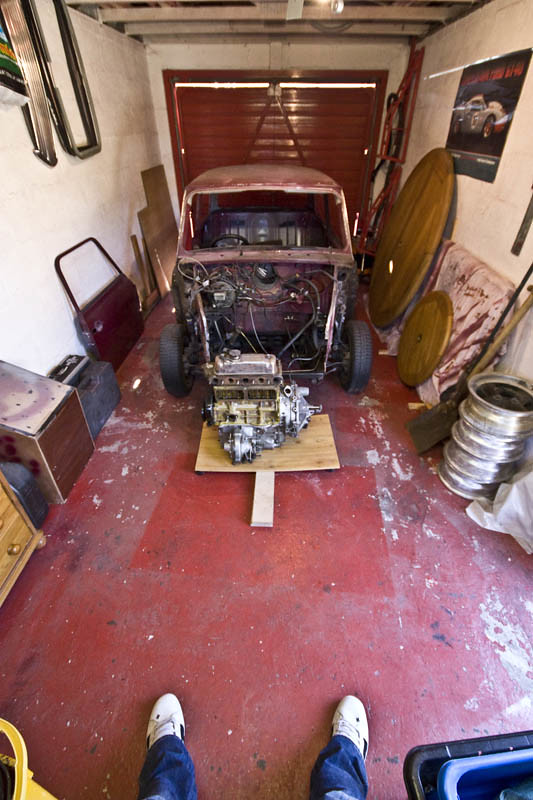
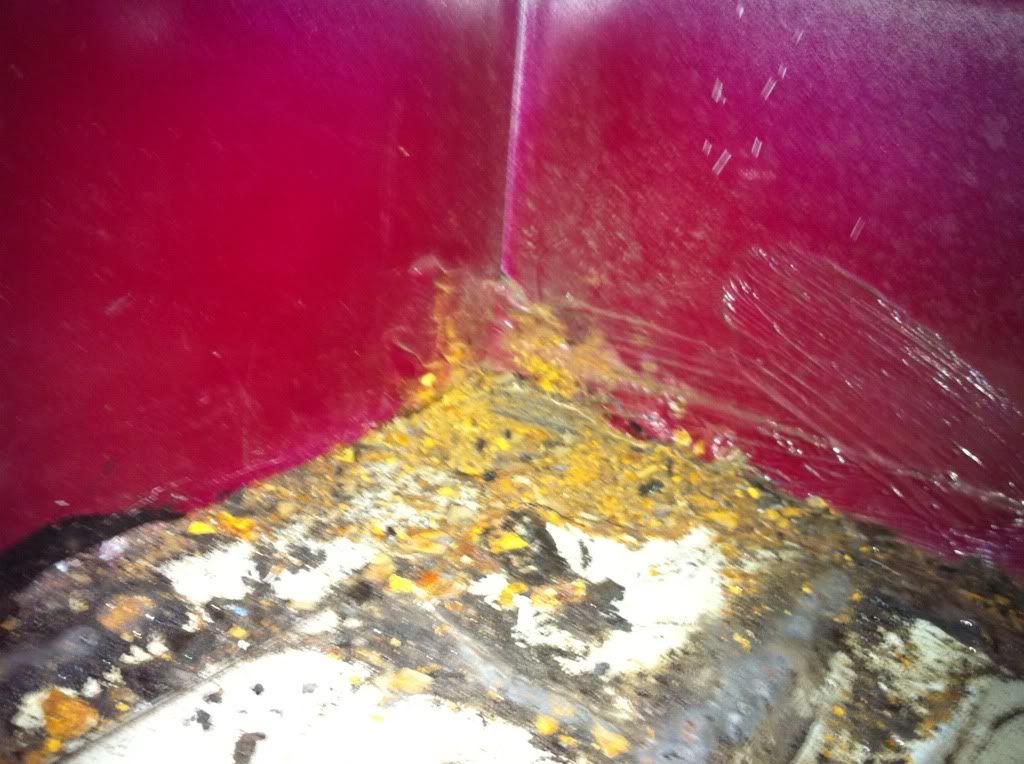
Progress indeed! Garage floor is a mess but cleaning up the engine is really satisfying as theres such a clear difference between before and after. More of the same tomorrow!


Up Into Fourth

Posted 06 September 2011 - 07:45 PM
Up Into Fourth
Posted 06 September 2011 - 07:46 PM


Up Into Fourth
Posted 06 September 2011 - 07:47 PM

Up Into Fourth
Posted 06 September 2011 - 07:48 PM
Up Into Fourth
Posted 06 September 2011 - 07:48 PM

 )
)
Up Into Fourth
Posted 06 September 2011 - 07:49 PM
Well I came home from Uni today and we need transparent things for creating images like these....photograms...
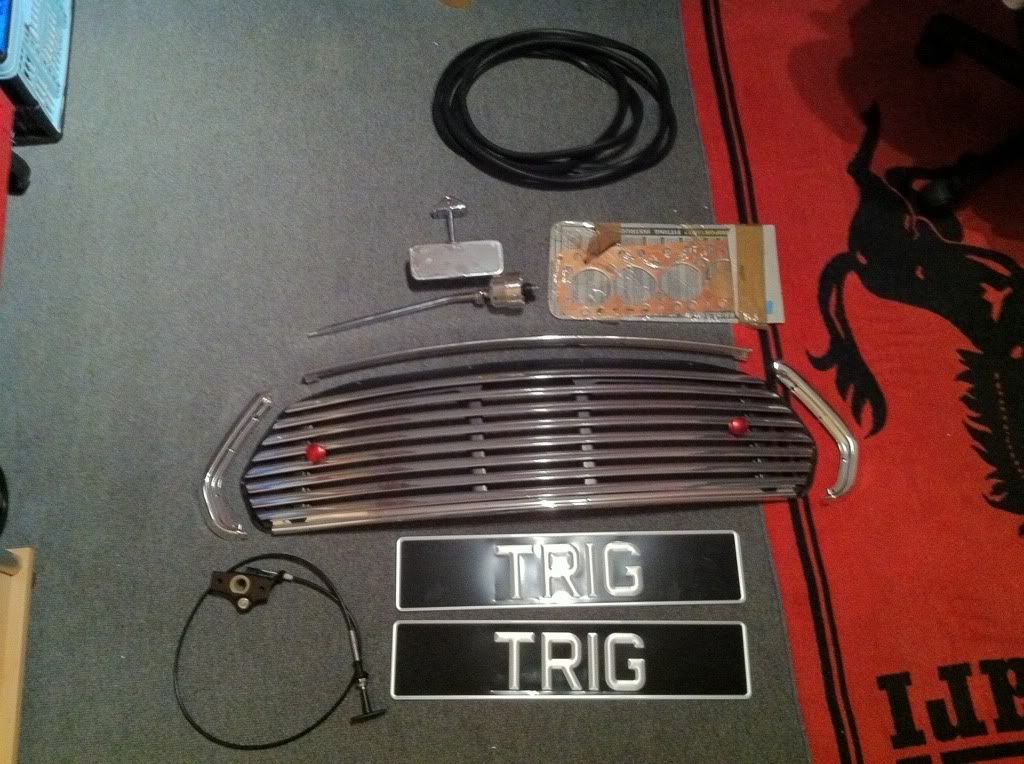
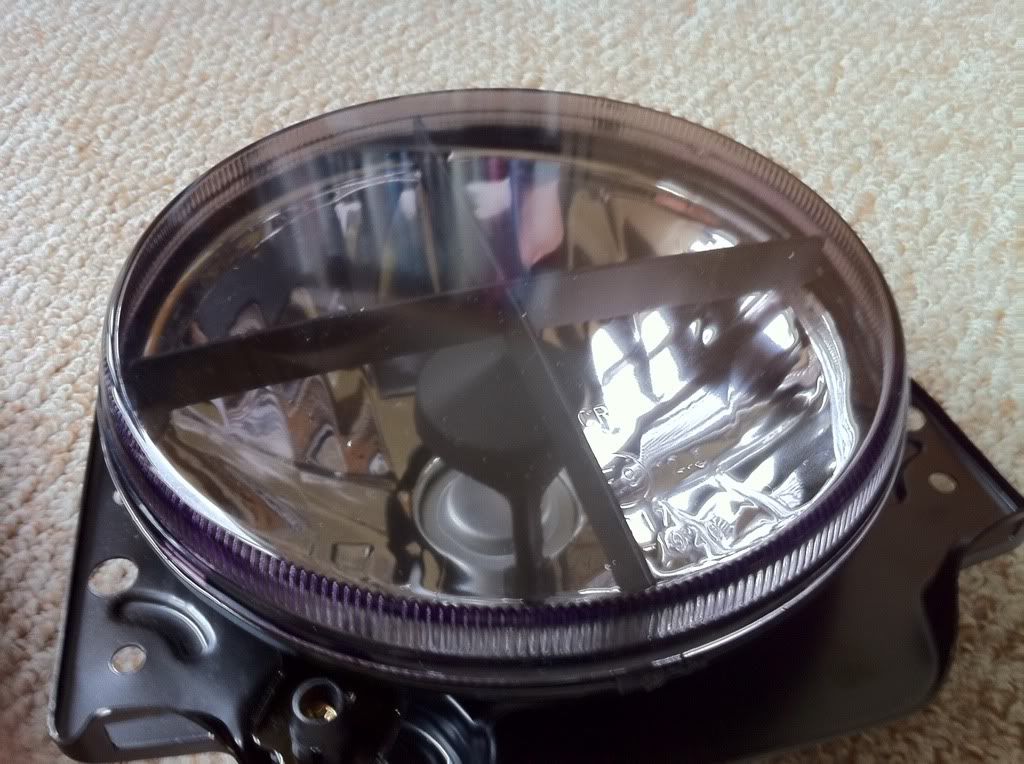
So I didnt have a clue what to use but I did have spare headlights kicking around. They have surface rusted rims so arent going back on the car....unless my plans work out....
To get the glass off for this project thing I took my mums hairdryer on max heat setting and melted the sealer that bonds the front piece to the back piece. Revealing just the glass on its own!
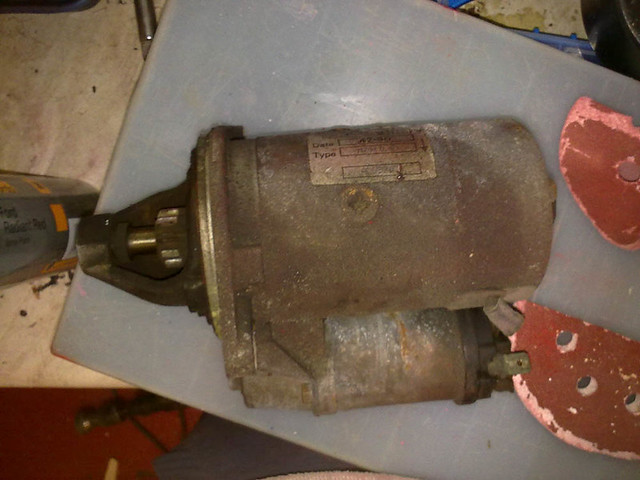
Before...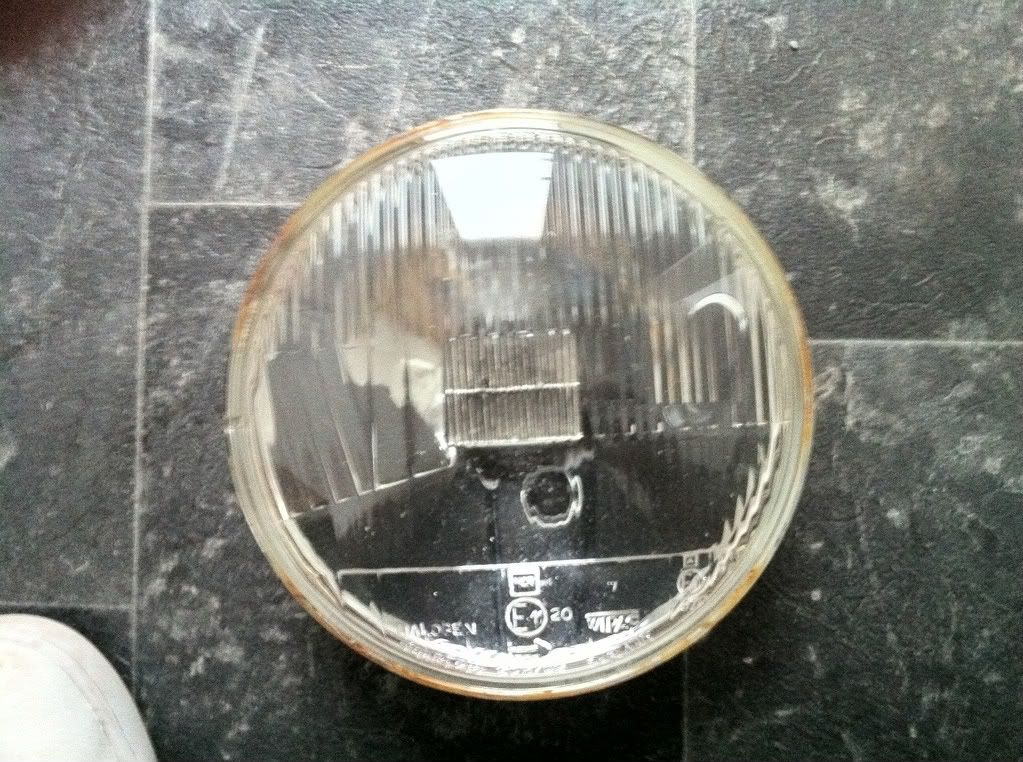
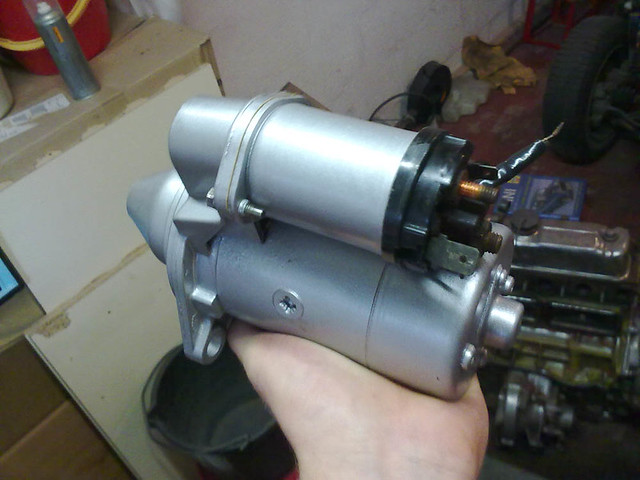
After!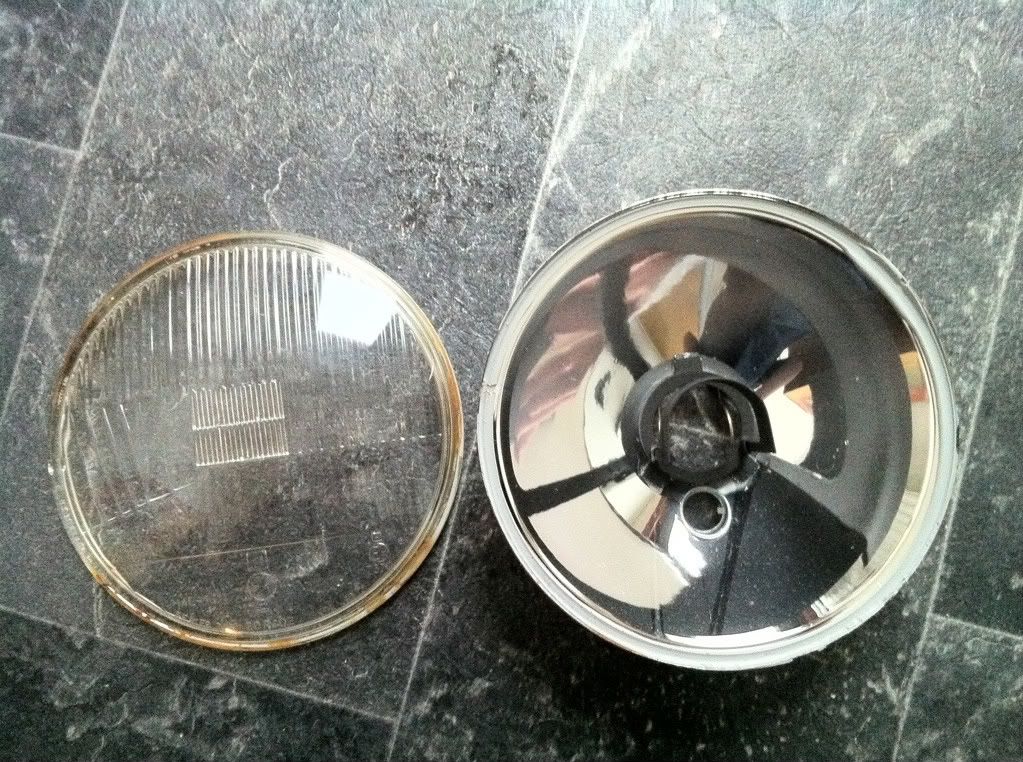
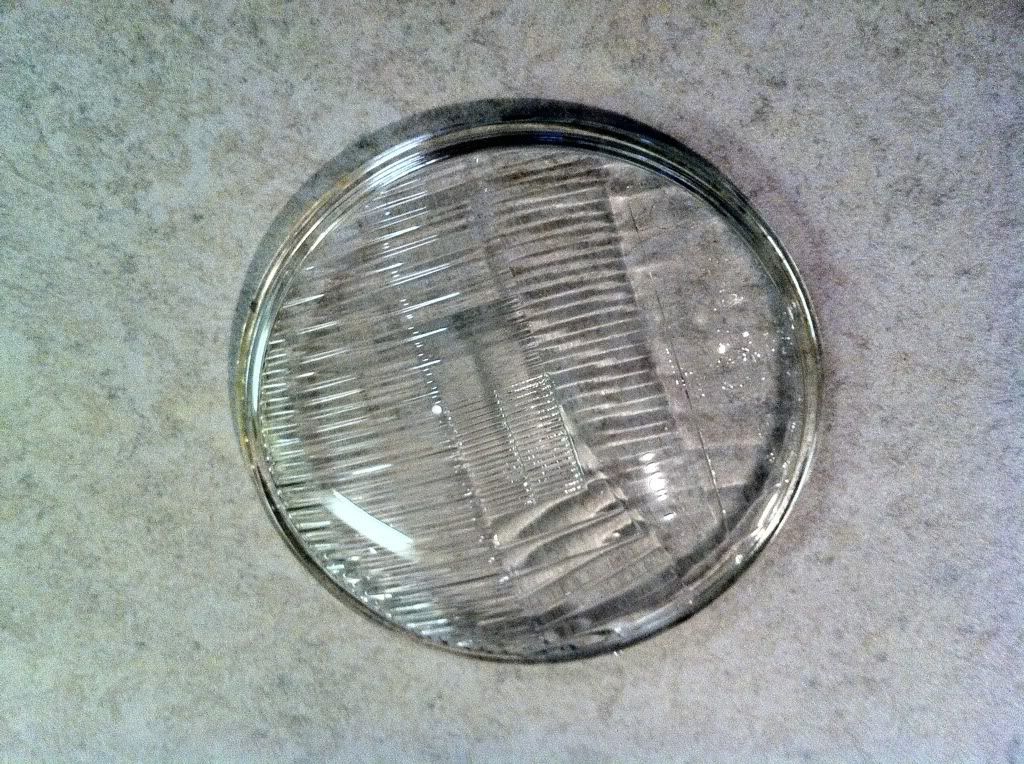
Now my plan is to do this......
Image removed by Deathrow.
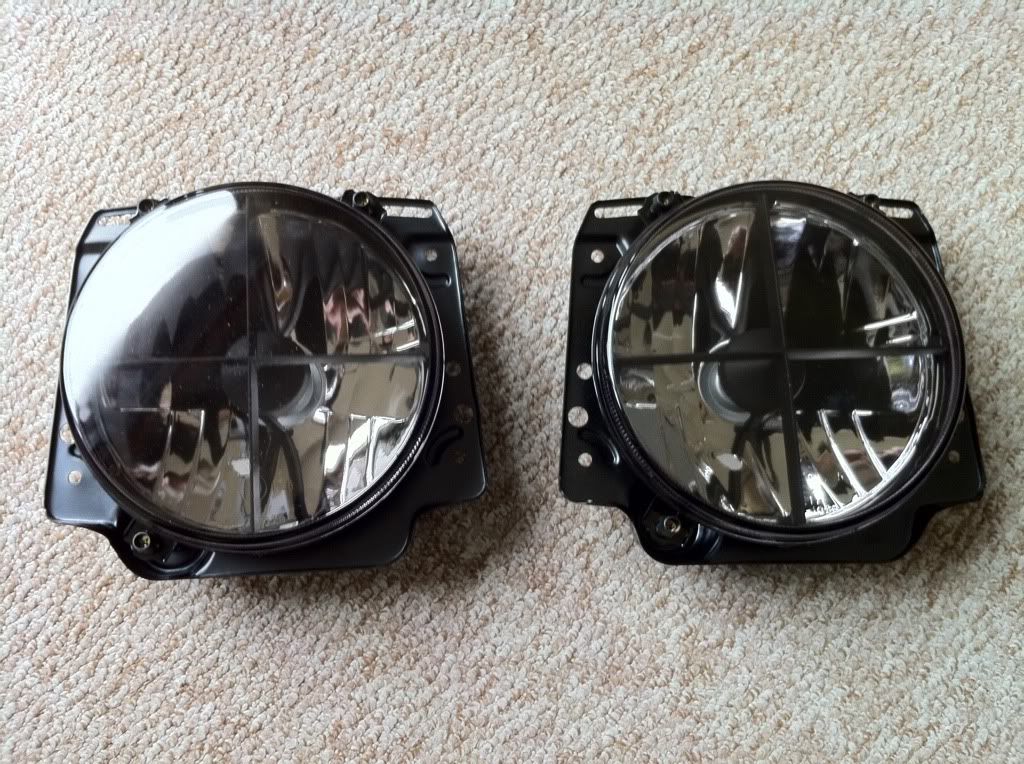
Crosshair headlights Will see how it goes though....using these lamps as test beds before I ruin a brand new set
So final should look like these...
Marmite Im sure but I love it! These ones are actually MK2 Golf aftermarket ones with some modifications done to make them fit. I cant be bothered paying over £100 for them so going to make my own!
Edited by Deathrow, 20 May 2014 - 08:50 PM.
Removed image which has been replaced by hotlink advertising.
Up Into Fourth
Posted 06 September 2011 - 07:50 PM
 )
) Fel really good to have some ME time for a change and to have progress on the Mini felt awesome too.
Up Into Fourth
Posted 06 September 2011 - 07:50 PM
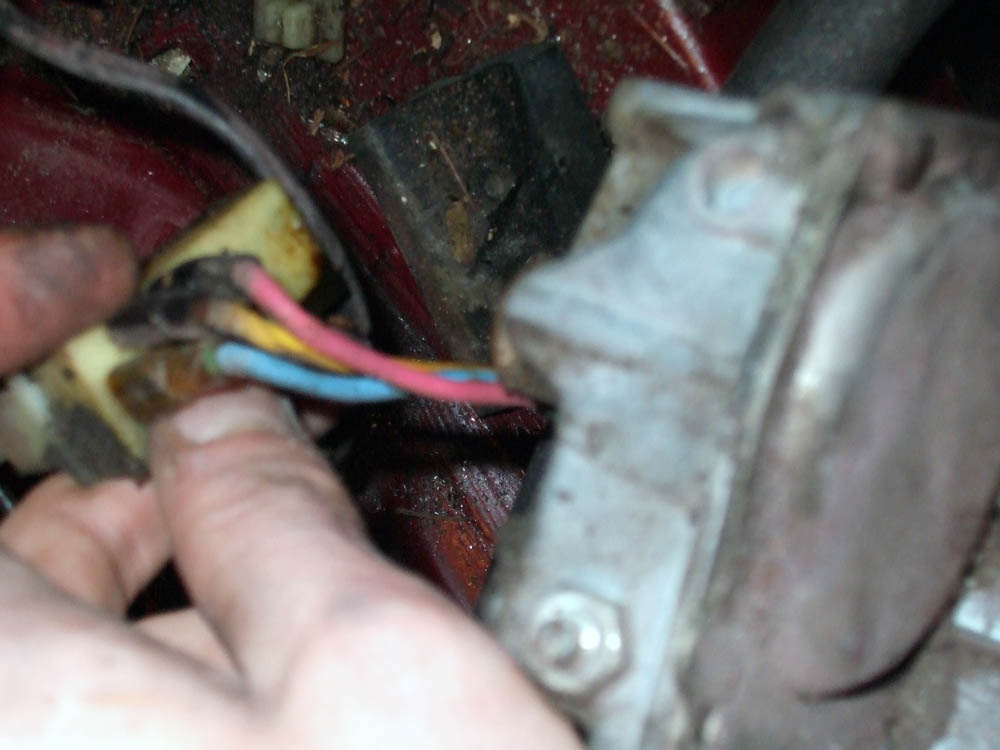
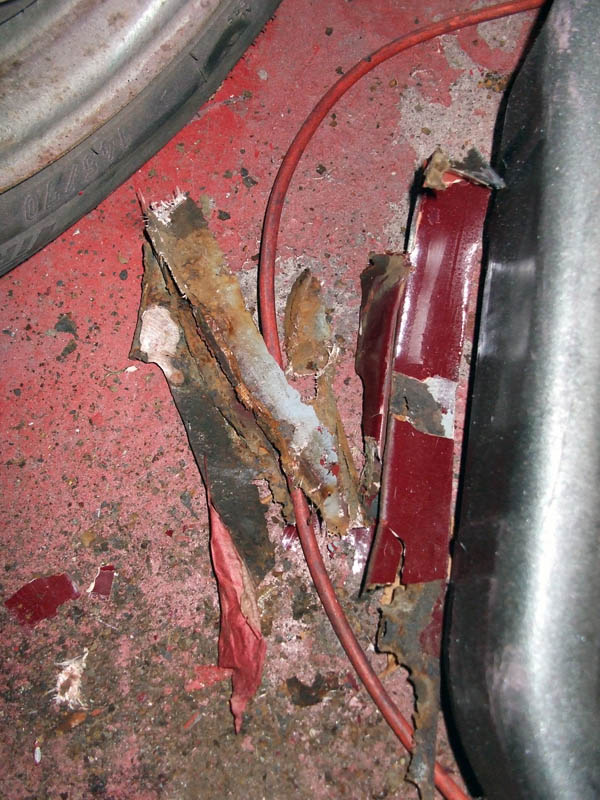
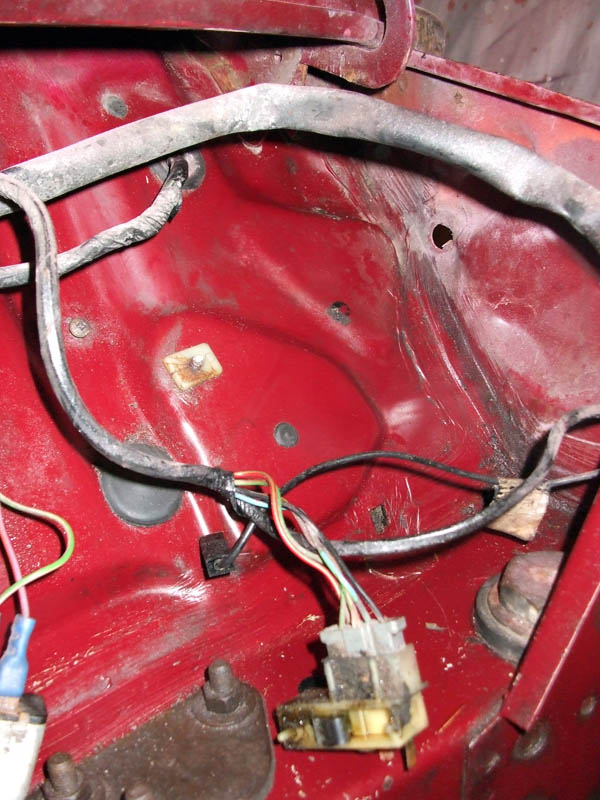
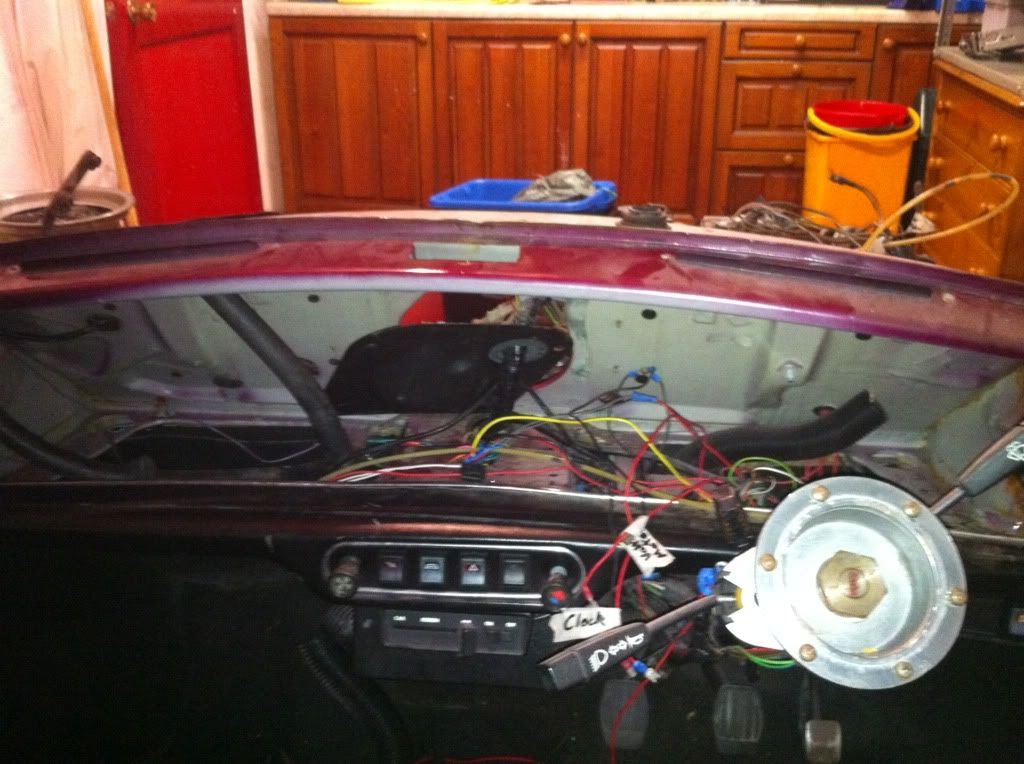
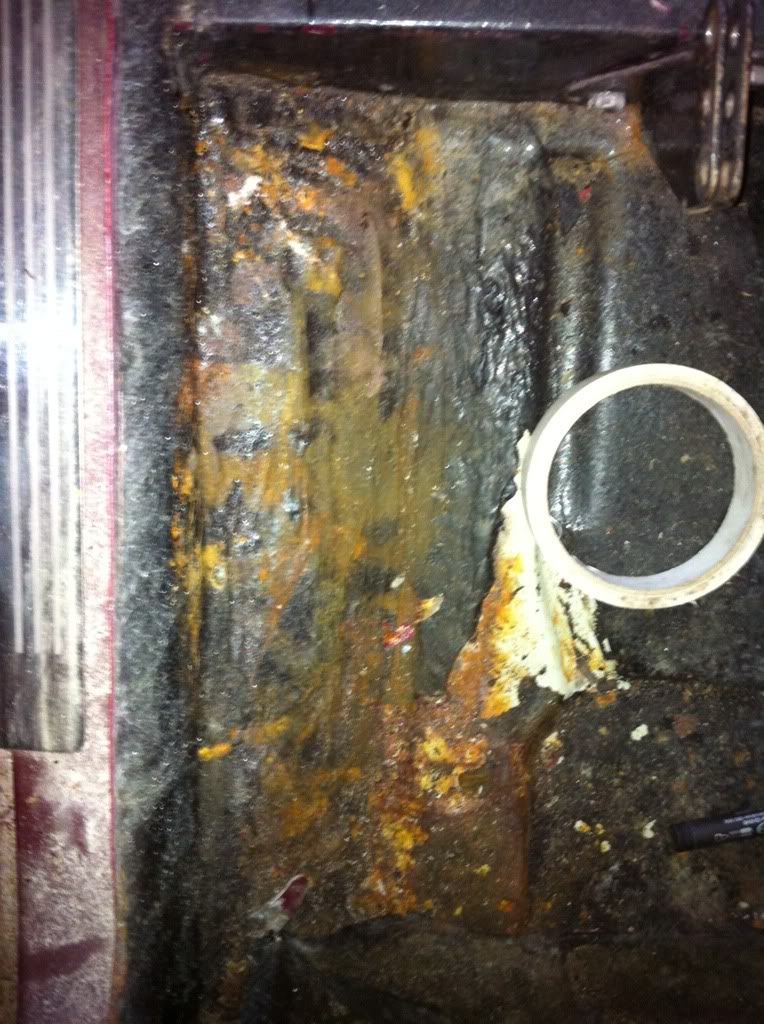
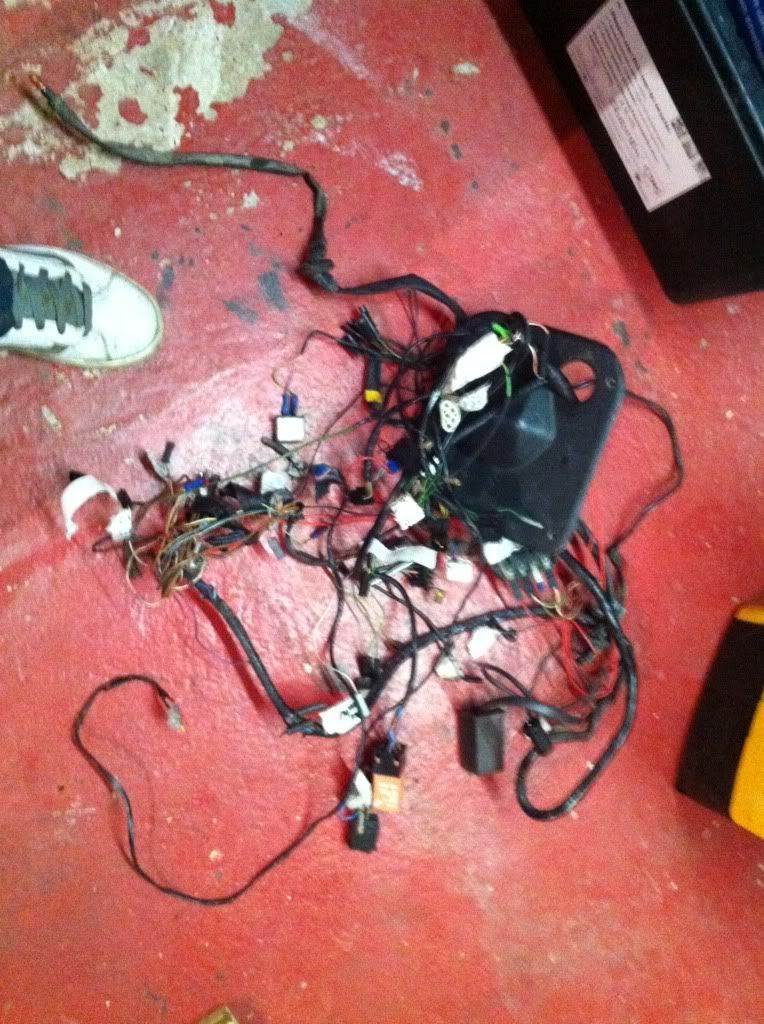
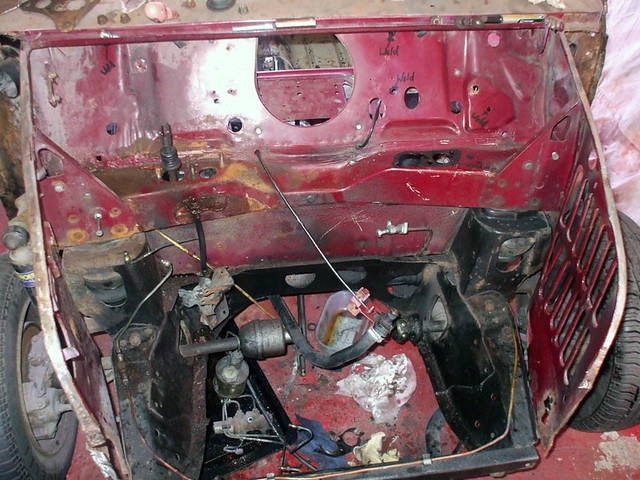
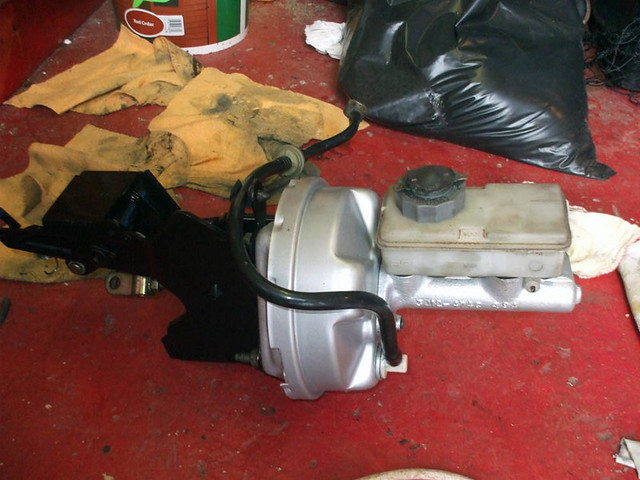
So Im pretty glad I decided to go down the new loom route! Dont want my hard work goin up in flames!!!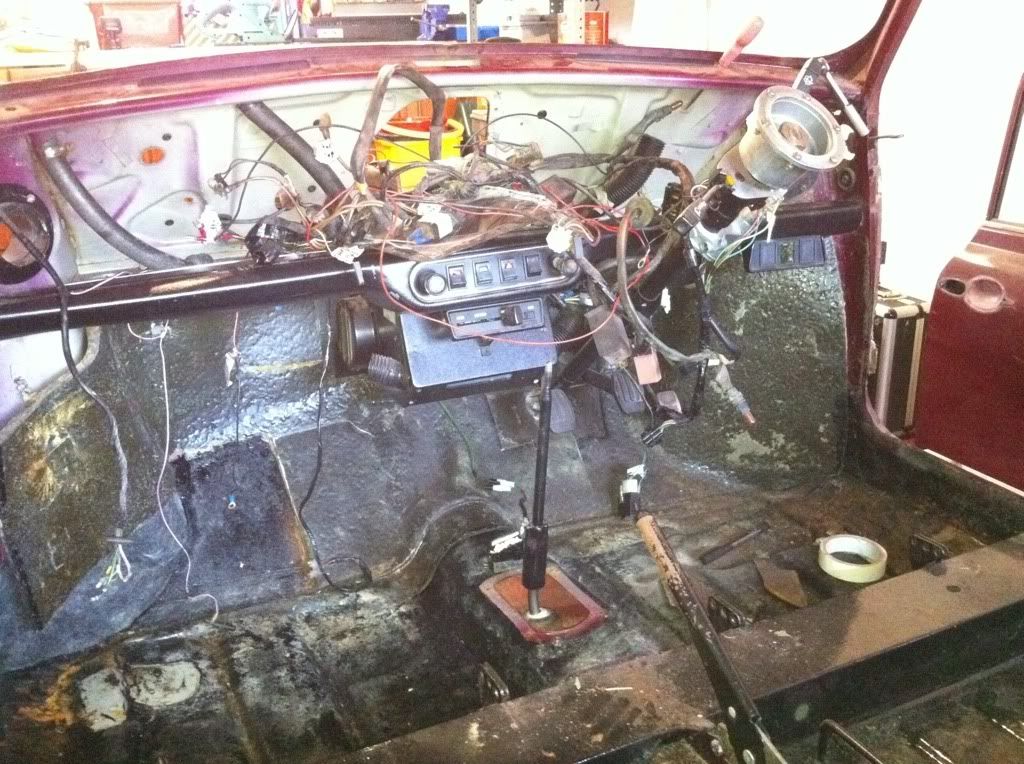
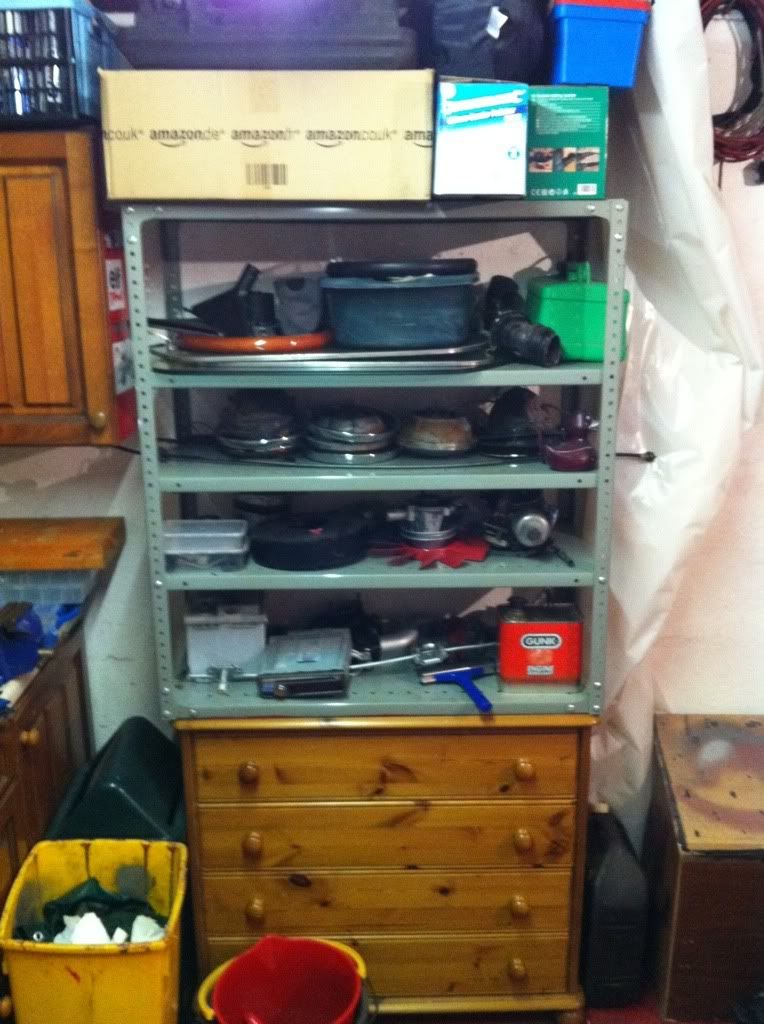
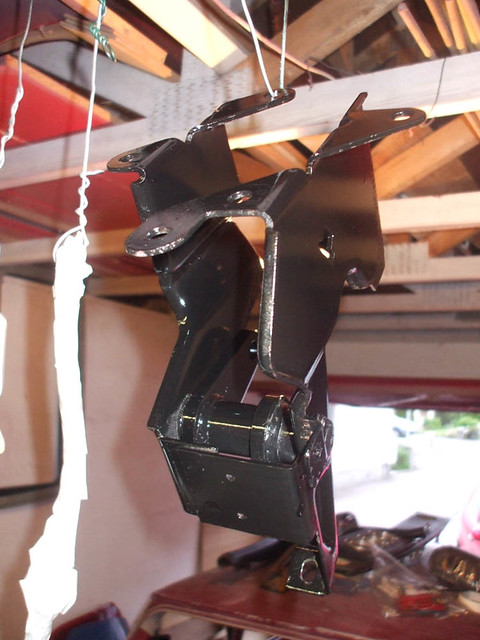
 Just the right size to get at all the little bits. So its getting there!
Up Into Fourth
Posted 06 September 2011 - 07:51 PM
Been too long!
Up Into Fourth
Posted 06 September 2011 - 07:51 PM
Up Into Fourth
Posted 06 September 2011 - 07:52 PM
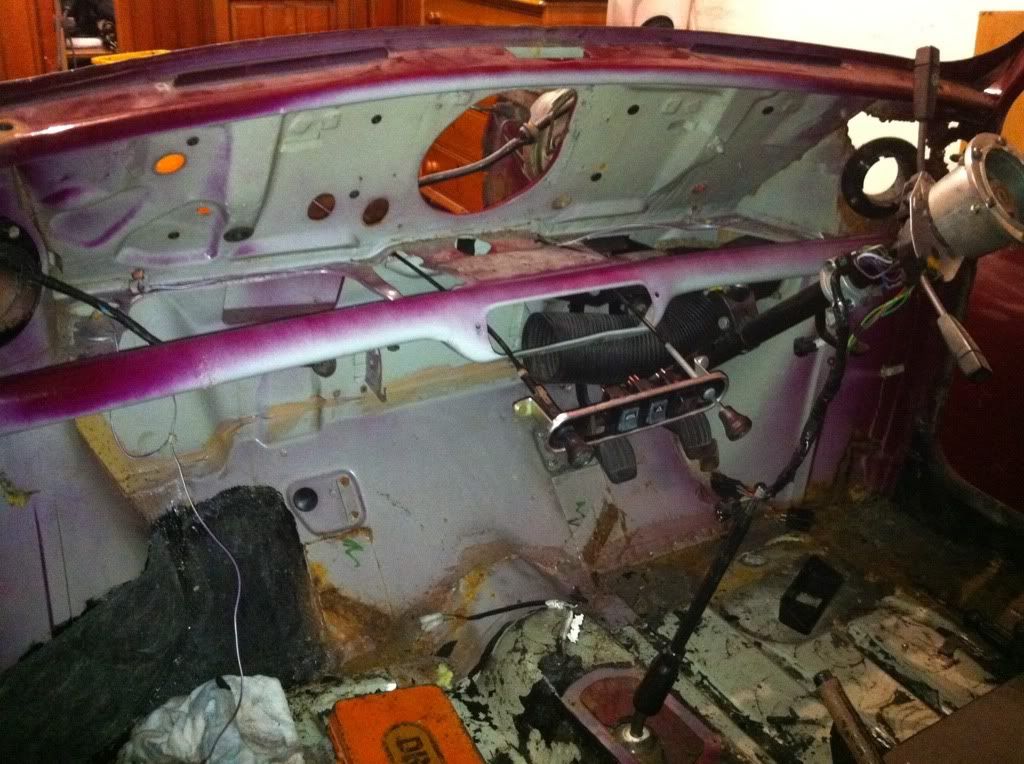
 Loving having some time to work on the car again!
Up Into Fourth
Posted 06 September 2011 - 07:53 PM
Up Into Fourth
Posted 06 September 2011 - 07:53 PM
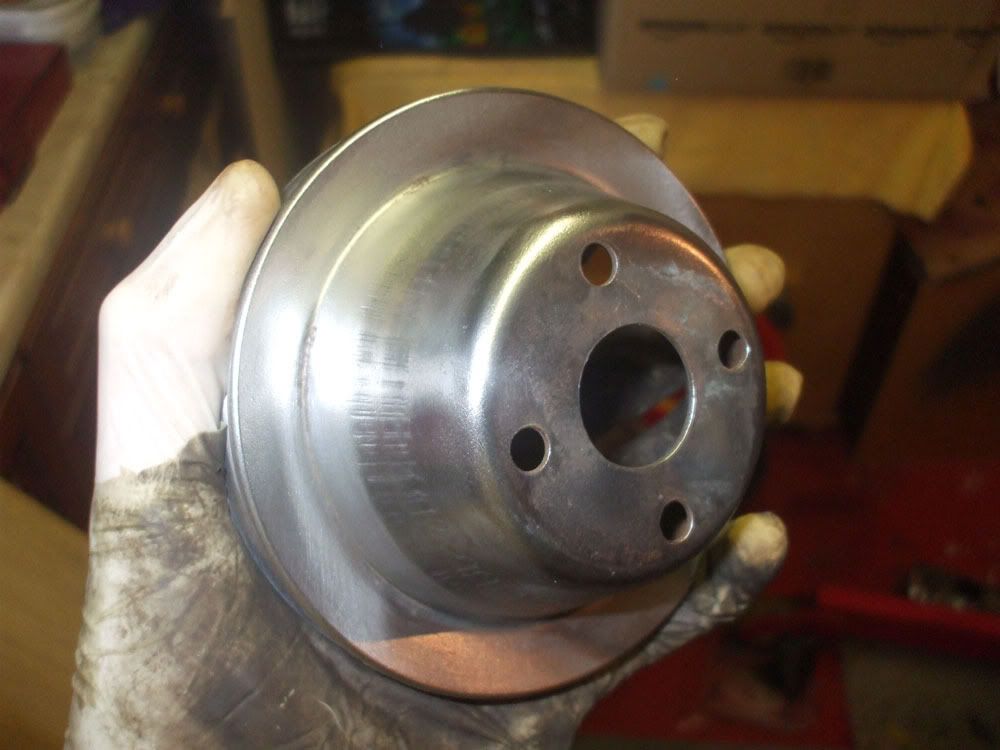
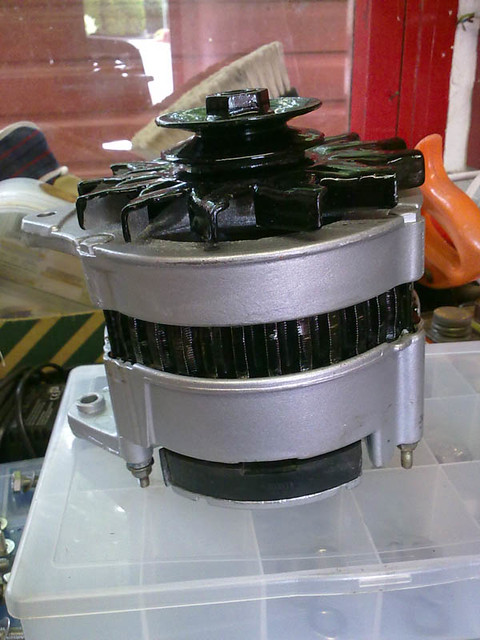
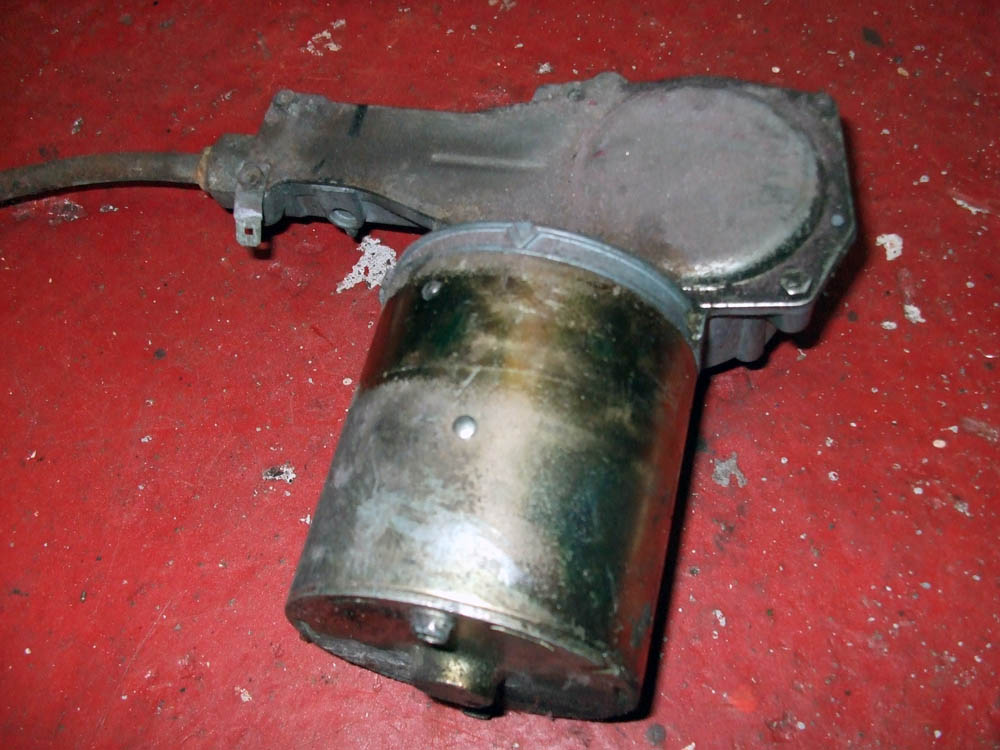
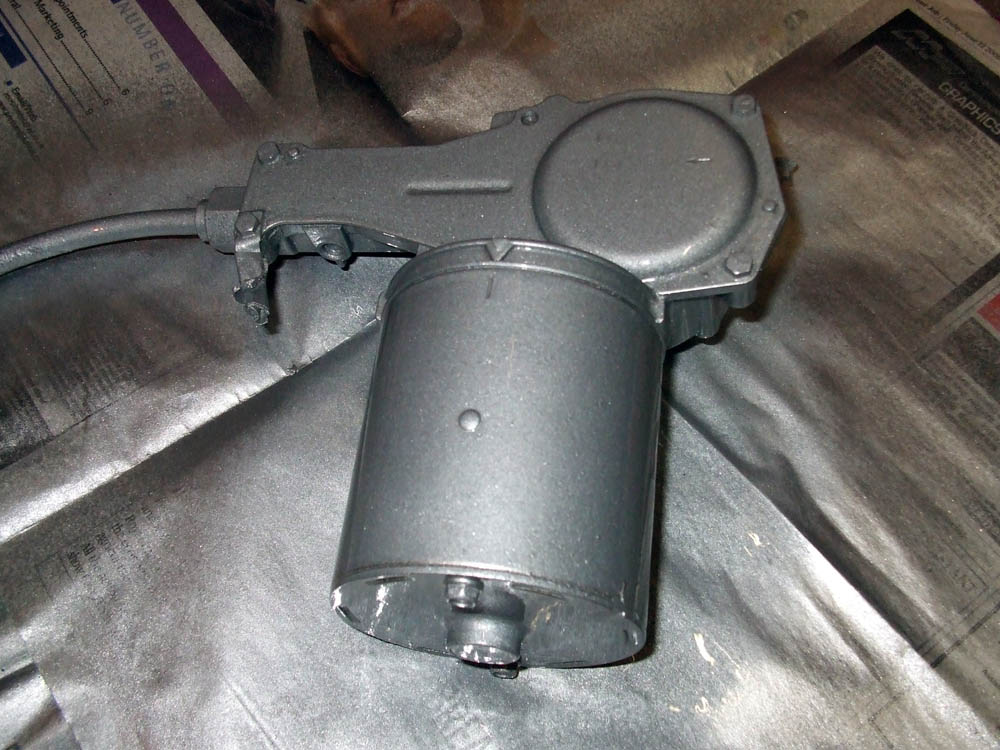
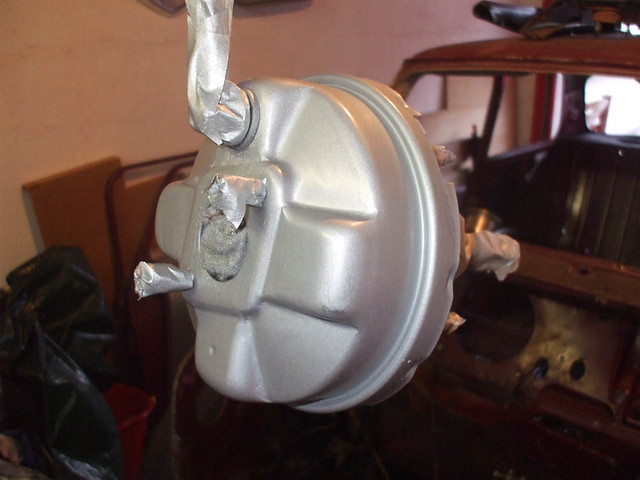
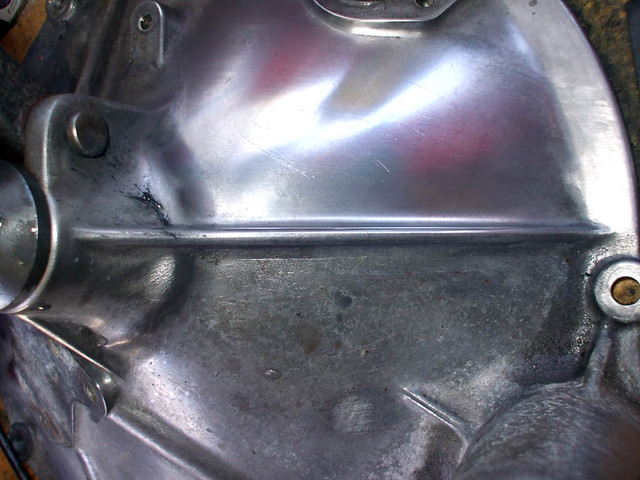
Probably a good idea really as once its back in the car it will be near impossible to clean properly so it would ruin the look in no time. Could laquer it but it flakes too easy.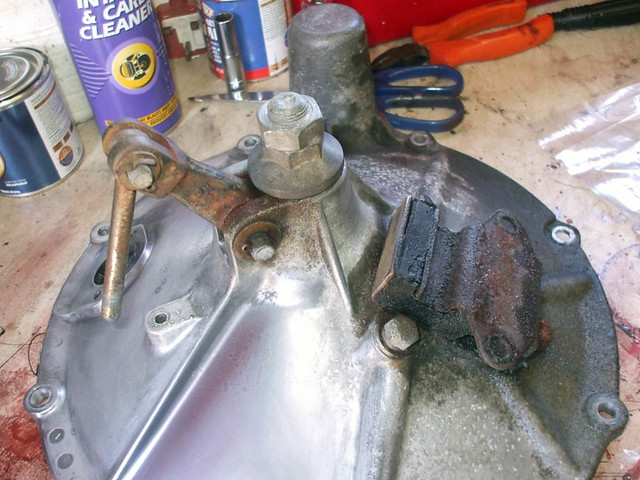

Up Into Fourth
Posted 06 September 2011 - 07:54 PM


Up Into Fourth
Posted 06 September 2011 - 07:55 PM


0 members, 0 guests, 0 anonymous users


