Hey, Alex! Great job on the car so far, was just wondering did you weld in a MK1 tail-light conversion panel? If so where did you find both it and the lights themselves.
Cheers, Todd.


Alex's 1982 Hle Rebuild
Started by
alex-95
, Oct 02 2011 08:59 PM
780 replies to this topic
#62

alex-95
-
- TMF+ Member
-

- 6,017 posts
I am THE CLAMP MAKER
- Location: l
Posted 03 April 2012 - 05:18 PM
Thanks todd, I bought the lights and conversion panels off of Ebay I have tacked in one of the conversion panels. There are some measurements here to get them the correct distance appart.http://www.theminifo...__fromsearch__1
Alex
Alex
#63
alex-95
-
- TMF+ Member
-
- 6,017 posts
I am THE CLAMP MAKER
- Location: l
Posted 03 April 2012 - 07:37 PM
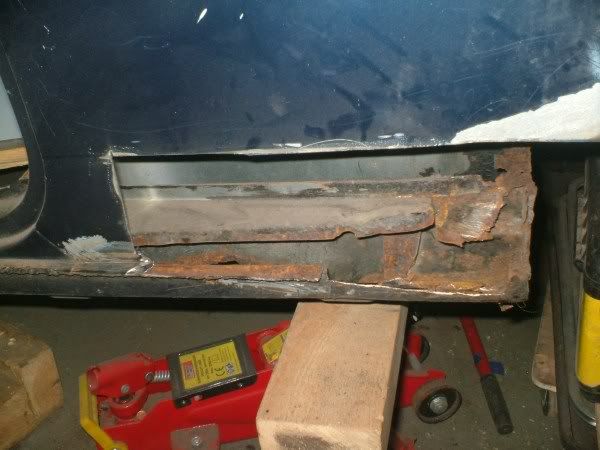
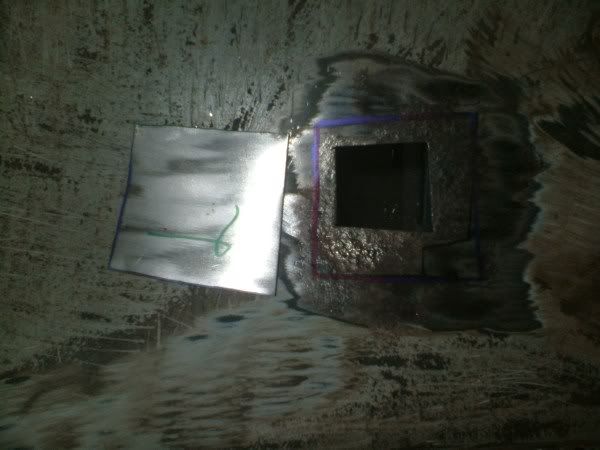
I did a bit of work today, I made a panel which I welded in and also welded in an other panel.
I also started cutting around the sill, I seperated the seams and pulled out the rusty metal inside the sill. I will hopefully finish cutting tomorrow and make a repair panel.
Alex
I also started cutting around the sill, I seperated the seams and pulled out the rusty metal inside the sill. I will hopefully finish cutting tomorrow and make a repair panel.
Alex
#64
ToddM
-
- Noobies
-
- 55 posts
Stage One Kit Fitted
- Location: Wirral
Posted 03 April 2012 - 09:30 PM
Excellent work today as well, mate! Thanks for the info by the way, much appreciated! 
#65
alex-95
-
- TMF+ Member
-
- 6,017 posts
I am THE CLAMP MAKER
- Location: l
Posted 07 April 2012 - 06:46 PM
I did a bit more during the week and today,
I cut out the rust on the rear seat which got a bit bigger and ended up in the boot.
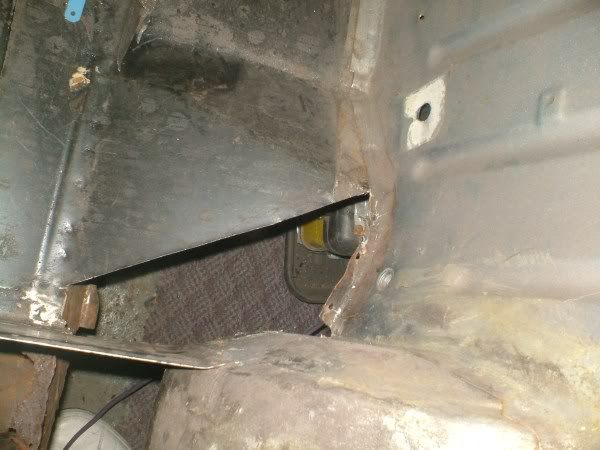
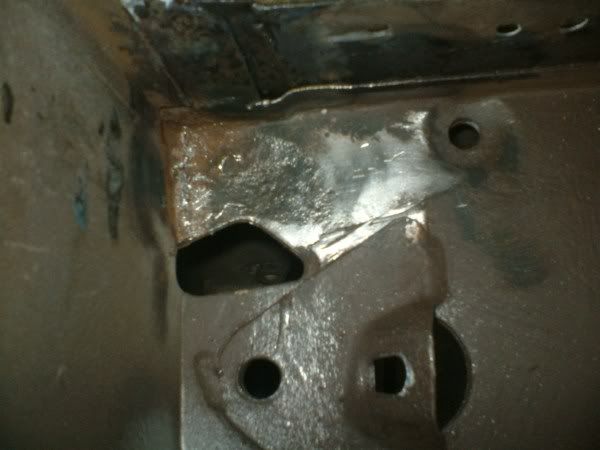
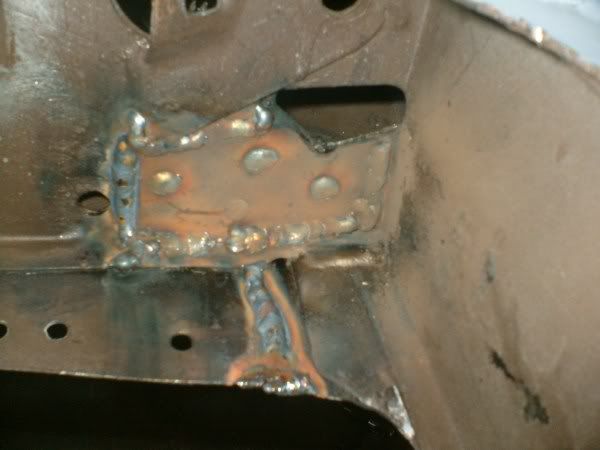
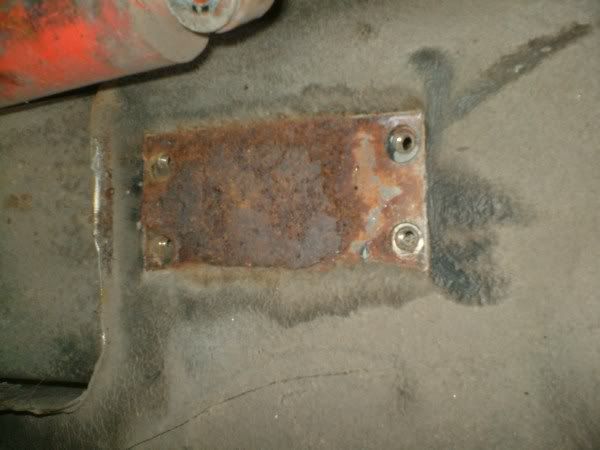
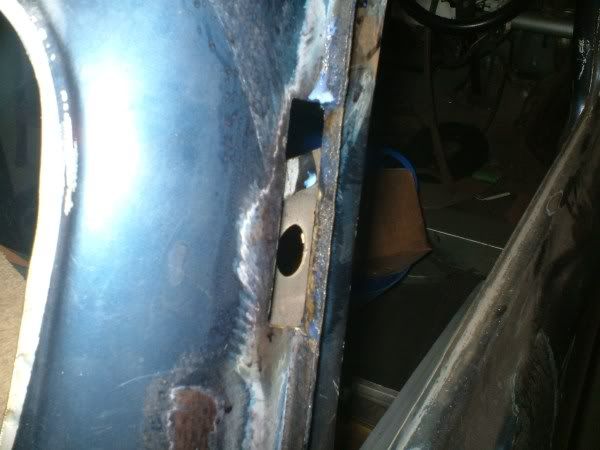
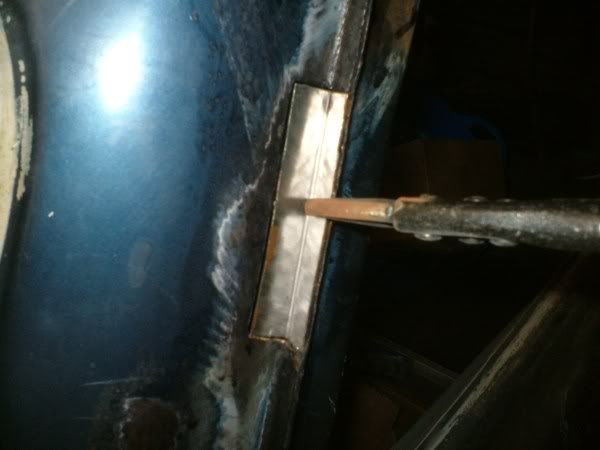
Then I took off the a panel
where I found a repair
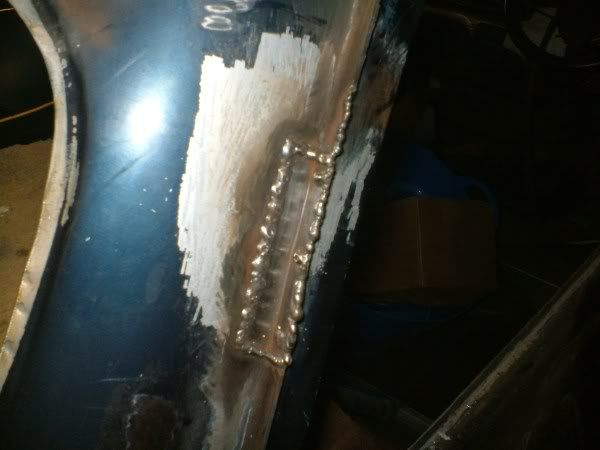
the door mounting plate was welded on
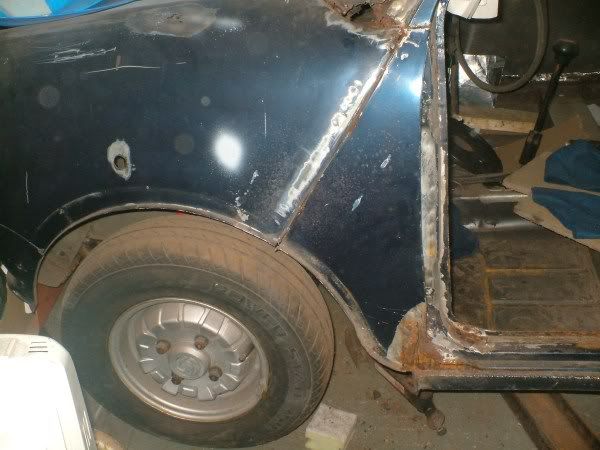
I also cut out rust in the wing which i will be taken off and repairing during the week.
Alex
I cut out the rust on the rear seat which got a bit bigger and ended up in the boot.
Then I took off the a panel
where I found a repair
the door mounting plate was welded on
I also cut out rust in the wing which i will be taken off and repairing during the week.
Alex
#66
minimuk
-

- Members
-
- 1,946 posts
Camshaft & Stage Two Head
- Location: Midlands
Posted 07 April 2012 - 10:29 PM
keep going Alex yr doing good, tackle one job at the time though, and keep your eye on the ball,.... 
#67
alex-95
-
- TMF+ Member
-
- 6,017 posts
I am THE CLAMP MAKER
- Location: l
Posted 08 April 2012 - 06:57 PM
Cheer's minimuk, I'm taking off the wing and repairing so that it is all ready to go when we're nearer the front. , I should also be making a repair panel for the seat/ boot hole during the week. 
, I should also be making a repair panel for the seat/ boot hole during the week.
#68
alex-95
-
- TMF+ Member
-
- 6,017 posts
I am THE CLAMP MAKER
- Location: l
Posted 12 April 2012 - 08:34 PM
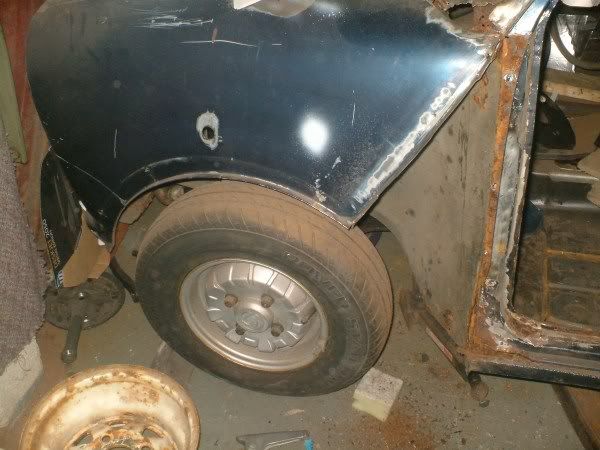
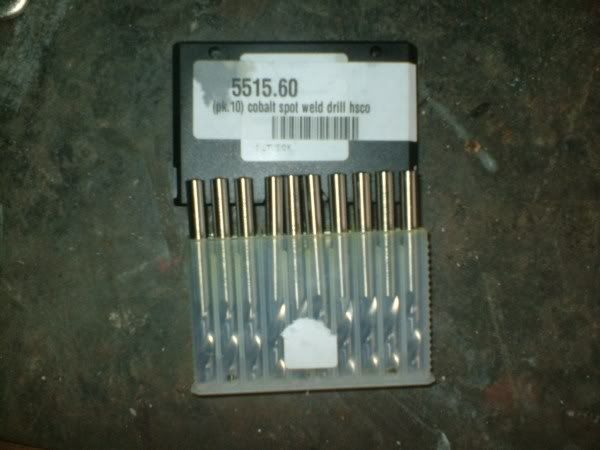
My spot weld drills arrived yesterday so I did a bit more today. I took off the wing.
Wing off
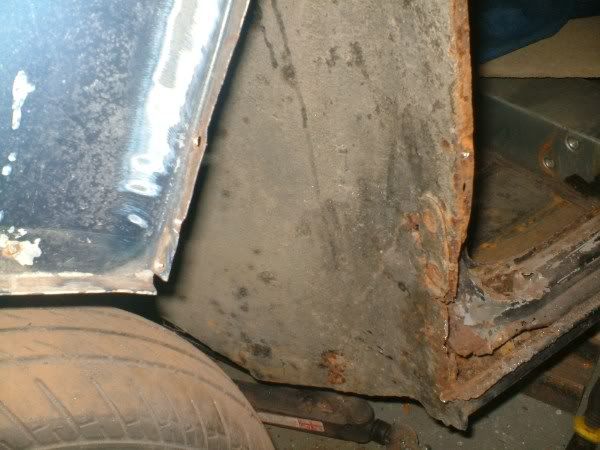
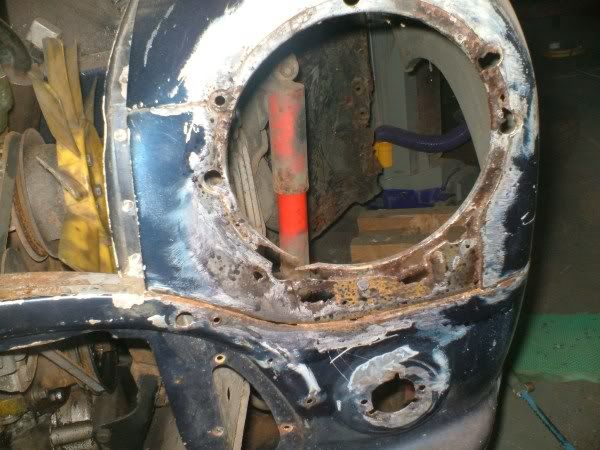
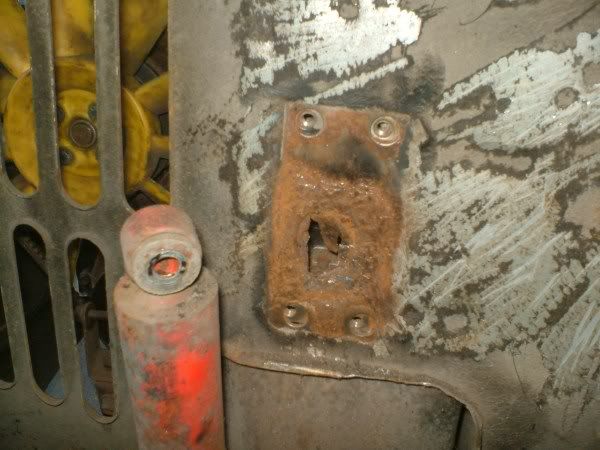
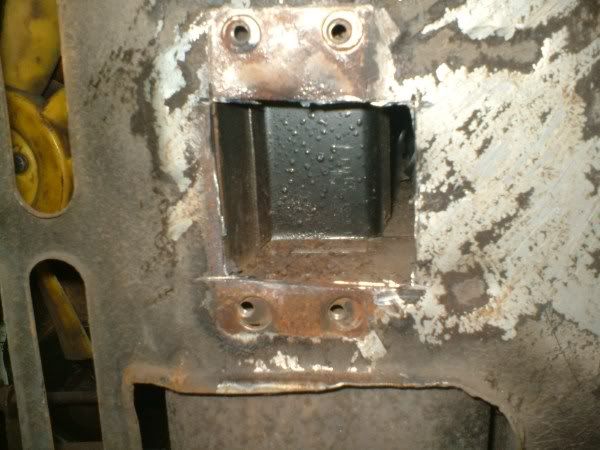
So then I took a look at the inner wing.

I knew that under the shock mount would be rusty so i took it off and was I surprised
No

Tomorrow i will hopefully make a start on repairing the wing and shock mount.
Comments Welcome.
Alex
Wing off
So then I took a look at the inner wing.
I knew that under the shock mount would be rusty so i took it off and was I surprised
No
Tomorrow i will hopefully make a start on repairing the wing and shock mount.
Comments Welcome.
Alex
Edited by alex-95, 12 April 2012 - 08:38 PM.
#69
alex-95
-
- TMF+ Member
-
- 6,017 posts
I am THE CLAMP MAKER
- Location: l
Posted 13 April 2012 - 07:04 PM
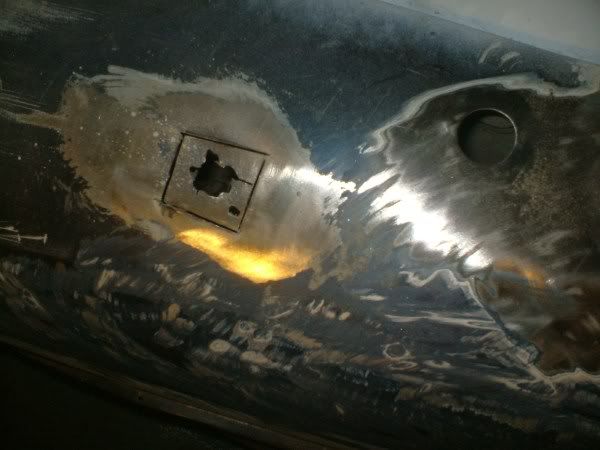
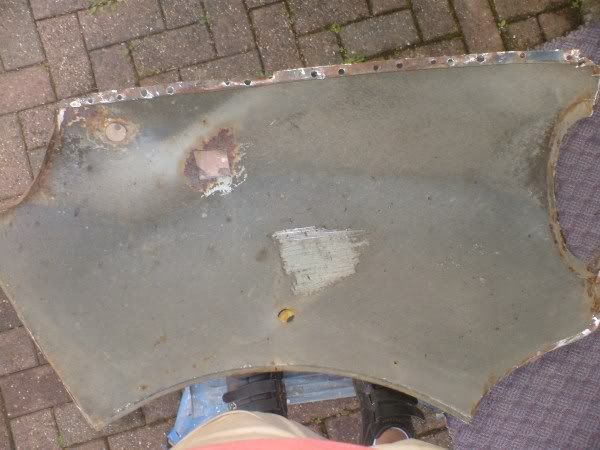
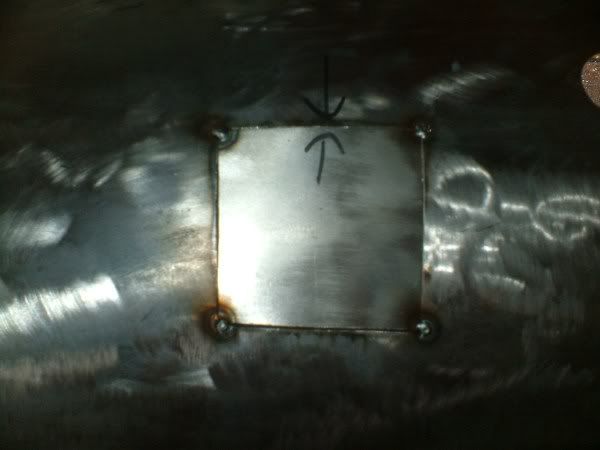
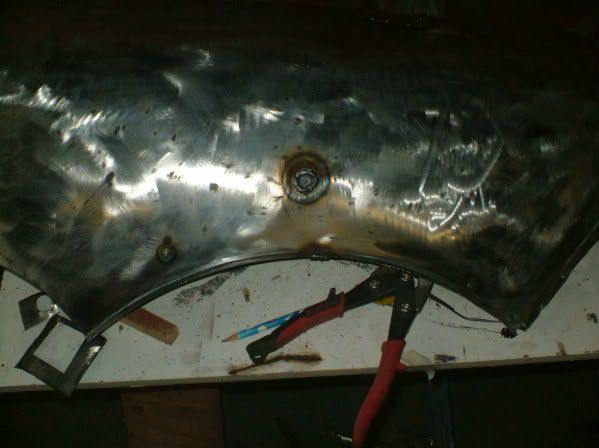
Today I stripped the paint off of the wing, and welded in a few patchs
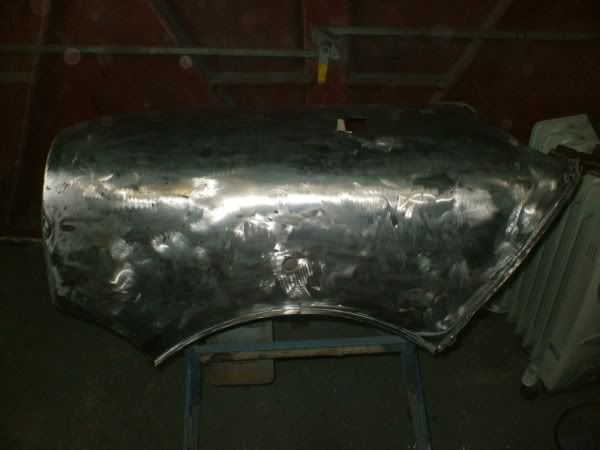
I cut out more metal as underneath it was quite pitted.
Tacked in
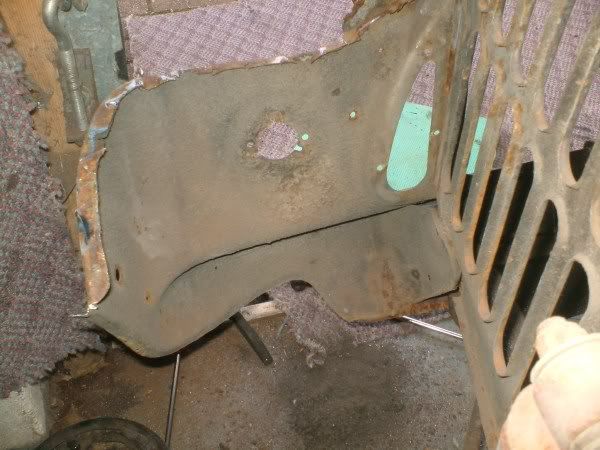
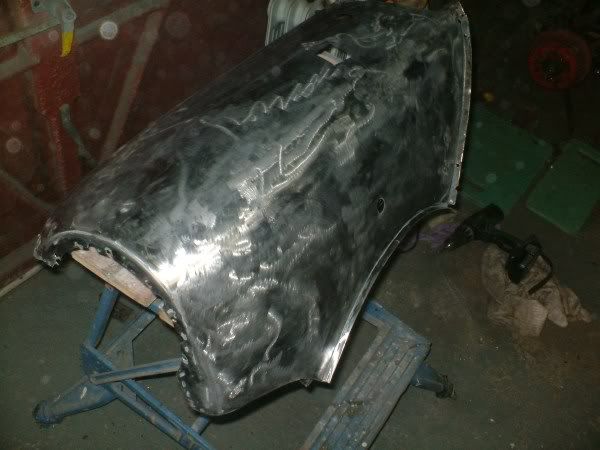
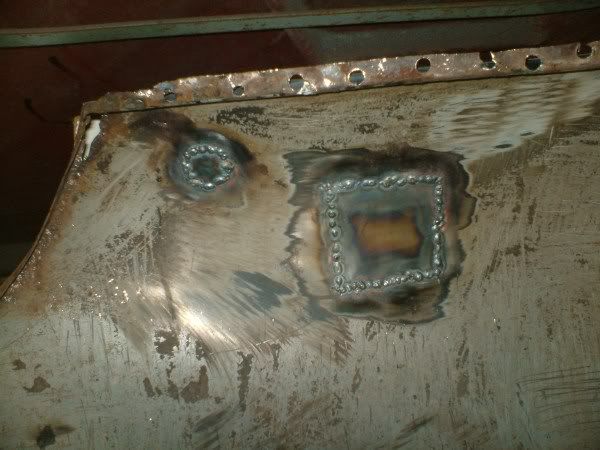
I then cut out two circles one for the ariel hole and the other for the indicater and welded them in.
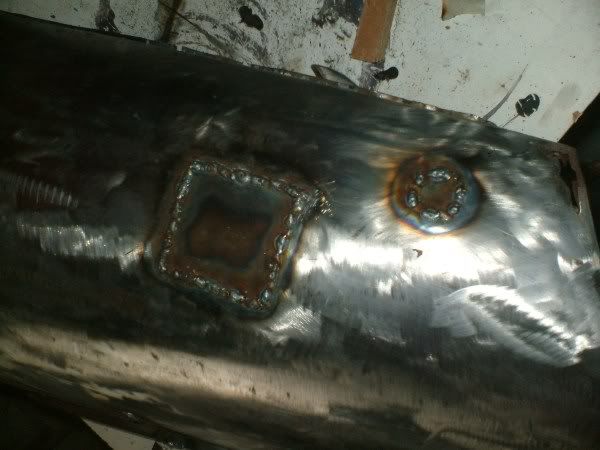
I also welded up the holes for where the arch fitted.
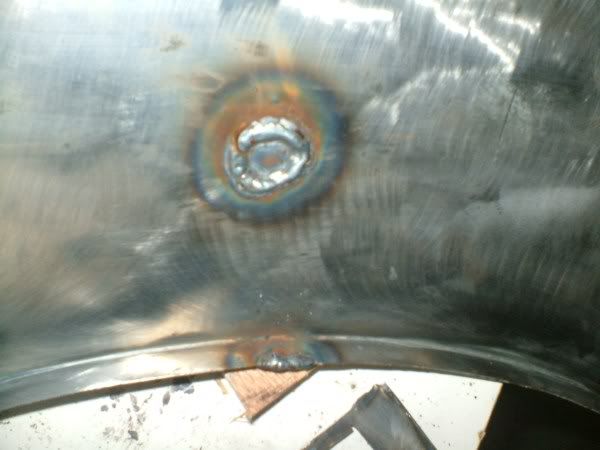
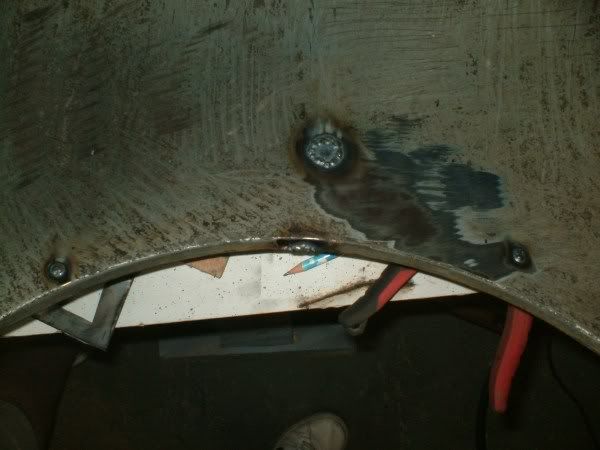
Inside
Any comments welcome
Alex
I cut out more metal as underneath it was quite pitted.
Tacked in
I then cut out two circles one for the ariel hole and the other for the indicater and welded them in.
I also welded up the holes for where the arch fitted.
Inside
Any comments welcome
Alex
#70
minimuk
-
- Members
-
- 1,946 posts
Camshaft & Stage Two Head
- Location: Midlands
Posted 13 April 2012 - 09:48 PM
nice job on the wing there Alex, make sure you rust treat that earlyer rather then later, because if rust starts again it will do that where those welds are first, when you cut out the rust behind the shock mounts you will see inside the bulkhead, clean it out rust treat it and drenche it with wax oil befor you weld a nice thick repair piece in it. you probably can clean the shock-mounts and use them again Por15 would be great to use on both the mount and innerwing before joining them again. Other then that love the pictures of the innerwings, they are in a good nick, just a good clean up and scuttle repair's.
#71
alex-95
-
- TMF+ Member
-
- 6,017 posts
I am THE CLAMP MAKER
- Location: l
Posted 19 April 2012 - 03:16 PM
15-16TH APRIL
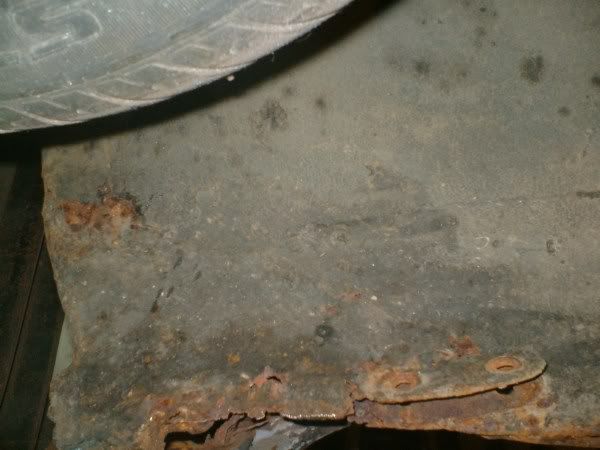
We did manage to cut out the rust where the shock mount Go's and hoovered it out.
Alex
We did manage to cut out the rust where the shock mount Go's and hoovered it out.
Alex
Edited by alex-95, 15 November 2012 - 06:51 PM.
#72
alex-95
-
- TMF+ Member
-
- 6,017 posts
I am THE CLAMP MAKER
- Location: l
Posted 24 April 2012 - 03:16 PM
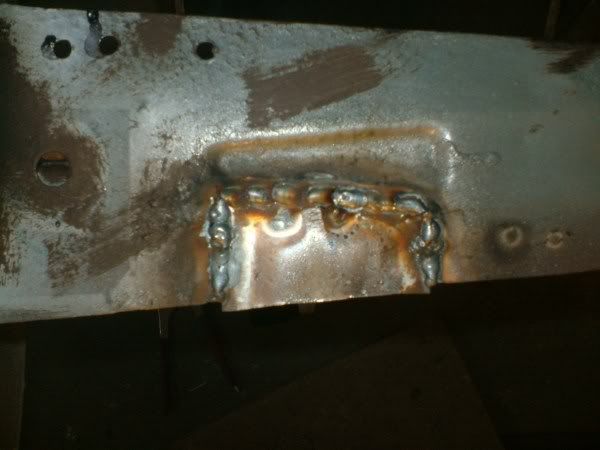
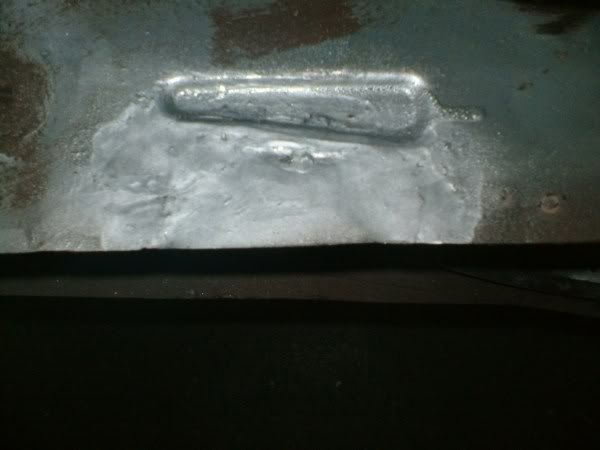
I didn't do much over the weekend , I did manage to cut out a pitted area of the seam, made a repair and welded it in, It still need's to be ground down.
Alex
Alex
#73
minimuk
-
- Members
-
- 1,946 posts
Camshaft & Stage Two Head
- Location: Midlands
Posted 24 April 2012 - 09:06 PM
you are getting good at it, I must say, nice repair job, seamed it on the inside too?
#74
alex-95
-
- TMF+ Member
-
- 6,017 posts
I am THE CLAMP MAKER
- Location: l
Posted 24 April 2012 - 09:44 PM
Cheers, no I couldn't do that there is an extra surport in the way, I would just be able to do the top of the repair inside.
#75
minimuk
-
- Members
-
- 1,946 posts
Camshaft & Stage Two Head
- Location: Midlands
Posted 24 April 2012 - 10:18 PM
Cheers, no I couldn't do that there is an extra surport in the way, I would just be able to do the top of the repair inside.
got ya, that is the rear seatbelt supprt to, spray plenty of kinda primer/paint beind it if you can when dry wax oil a few coats, damp/condensation might penitrate after a while outwards.you understand that I am sure....


1 user(s) are reading this topic
0 members, 1 guests, 0 anonymous users


