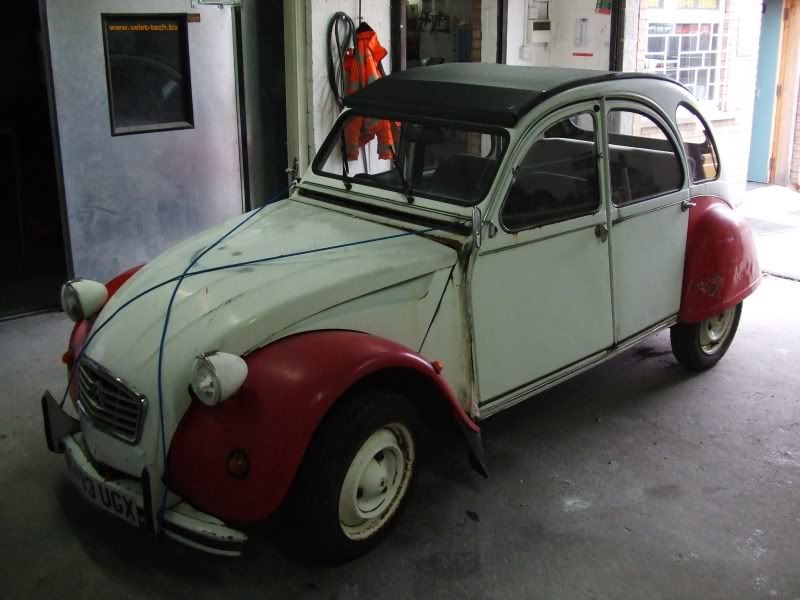
Paid £300 for it, and then another £240 to get it to me

I love these things, learnt to drive in a Dyane when I was 10 and have wanted one ever since!
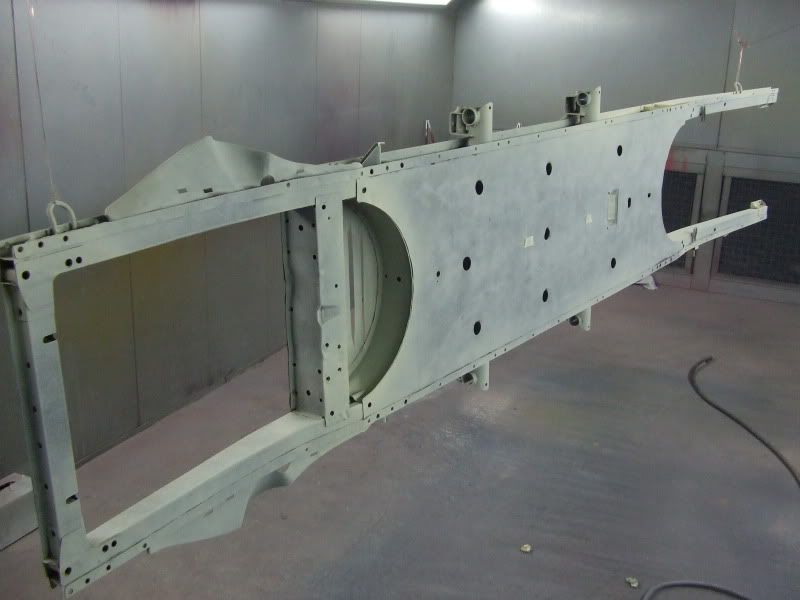
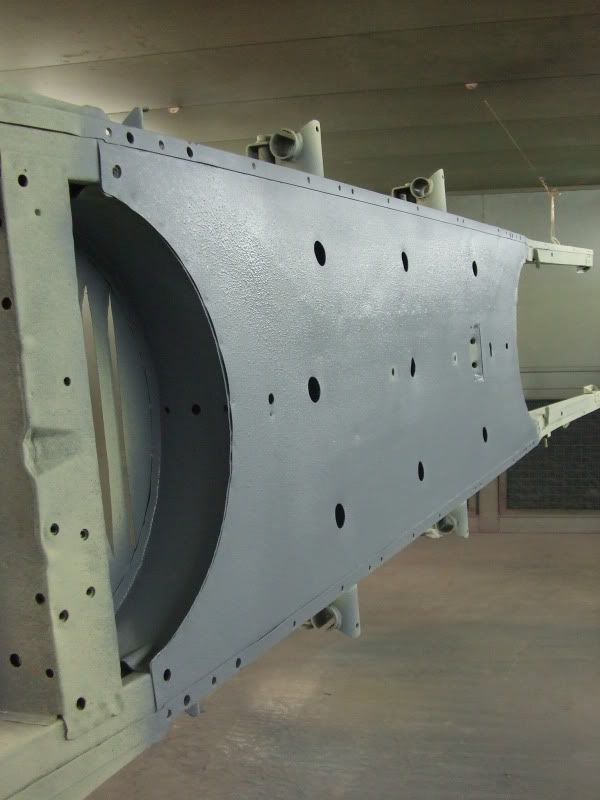
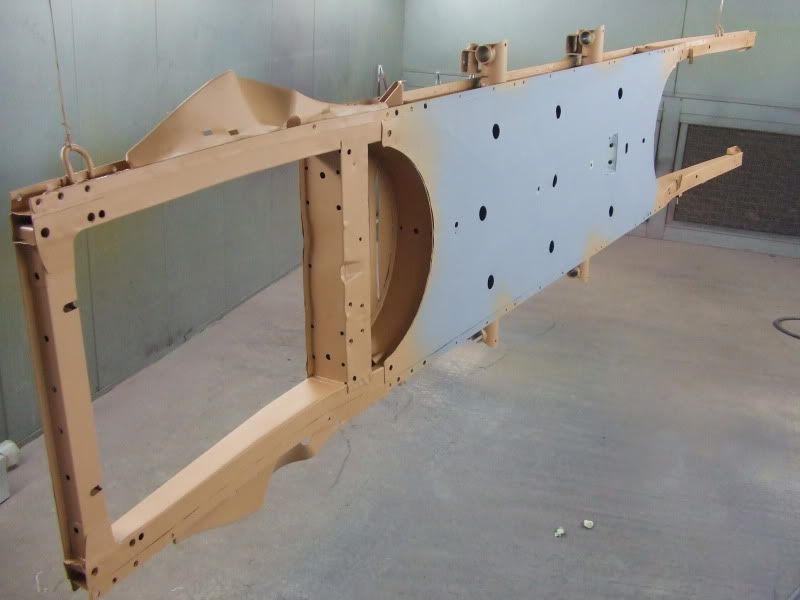
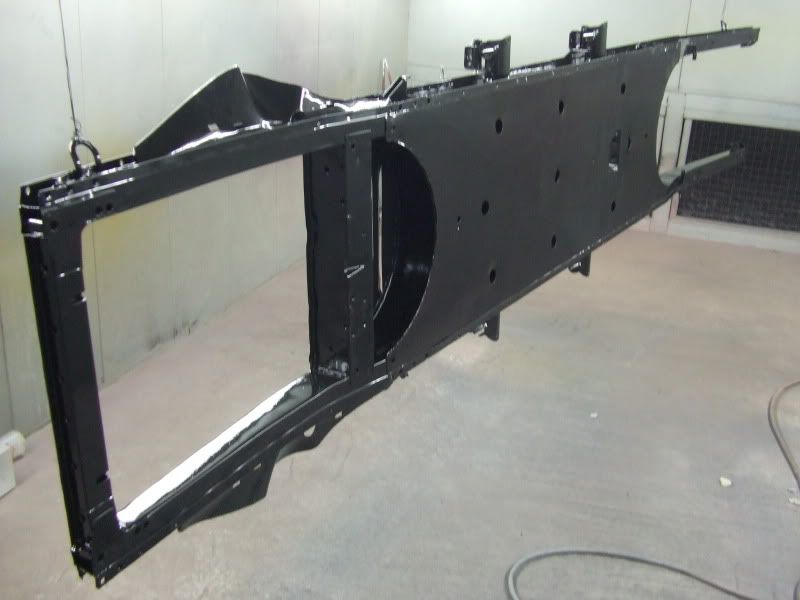
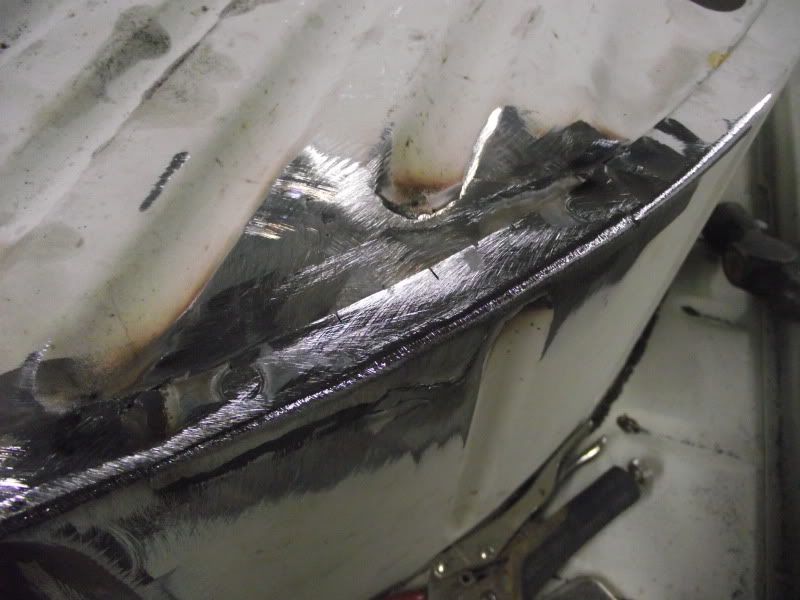
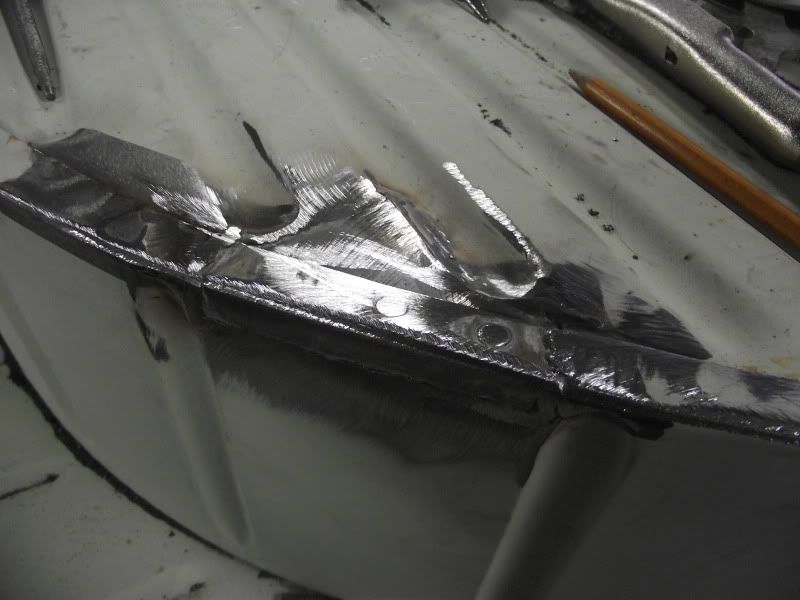
The plan is to restore it for when my girlfriend passes her test, inititally I'm going to get it running and carry out the welding so I can MOT it, then make sure it's sound and mechanically good before going nuts on the cosmetic side. I run a body shop so it should be easy enough, the exact plan for the body shall remain a secret for now..

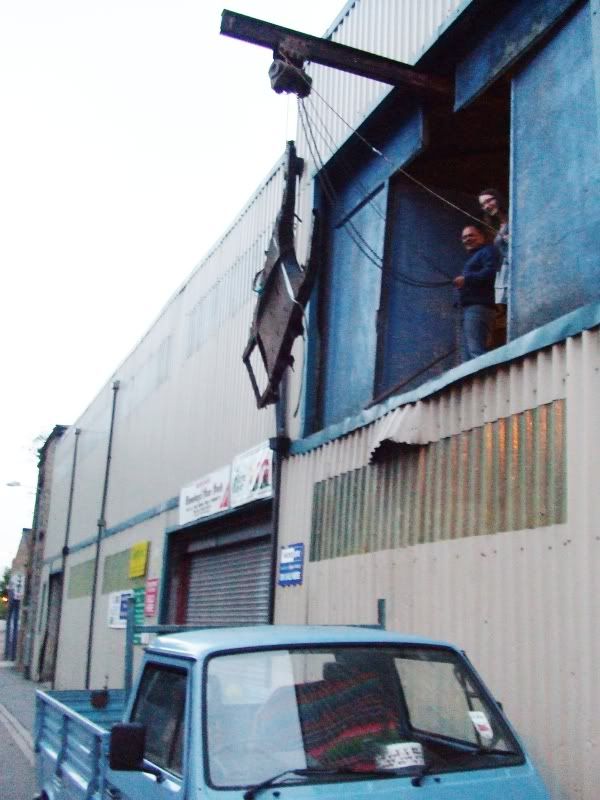
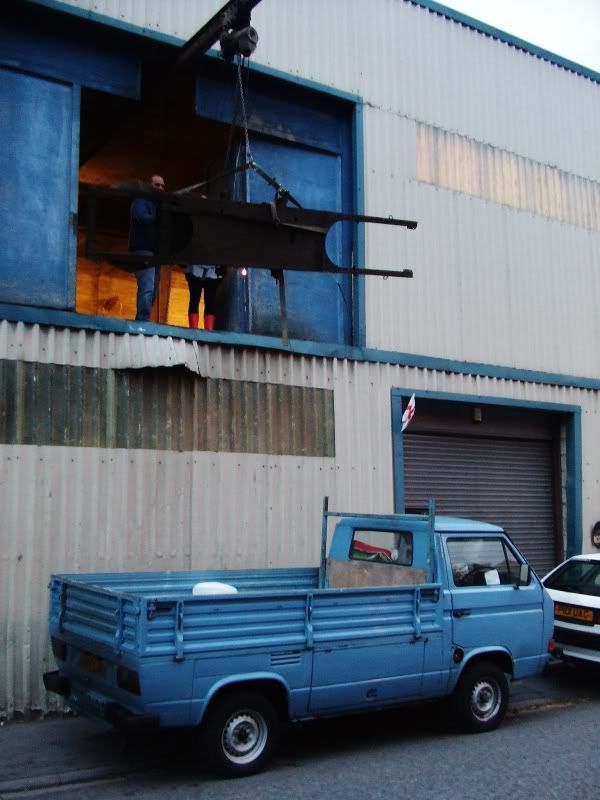
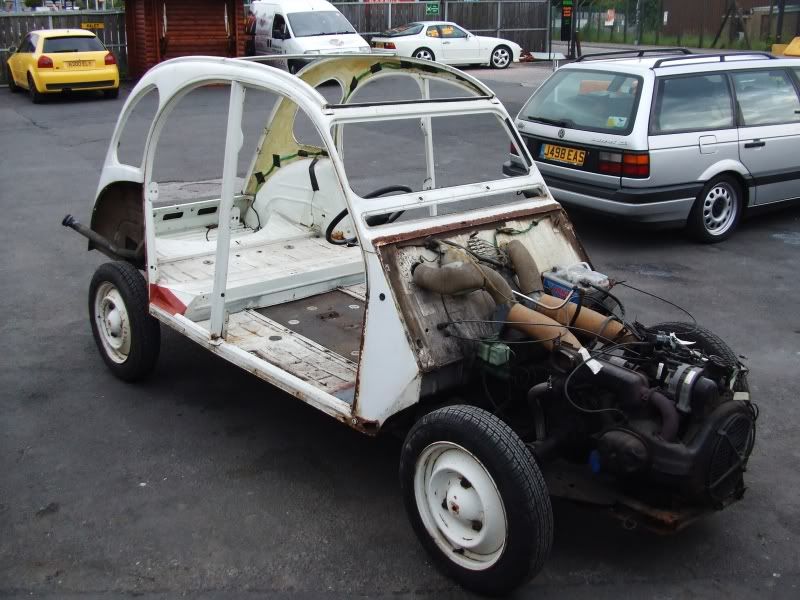
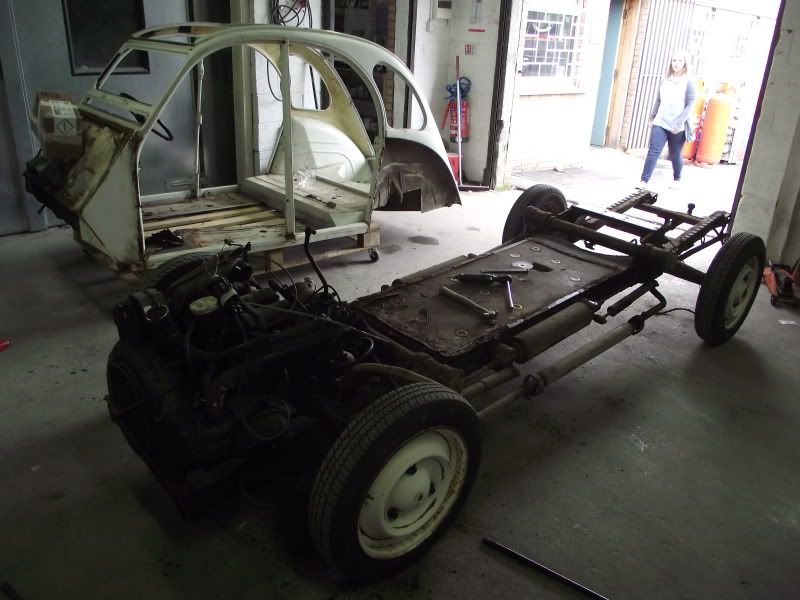
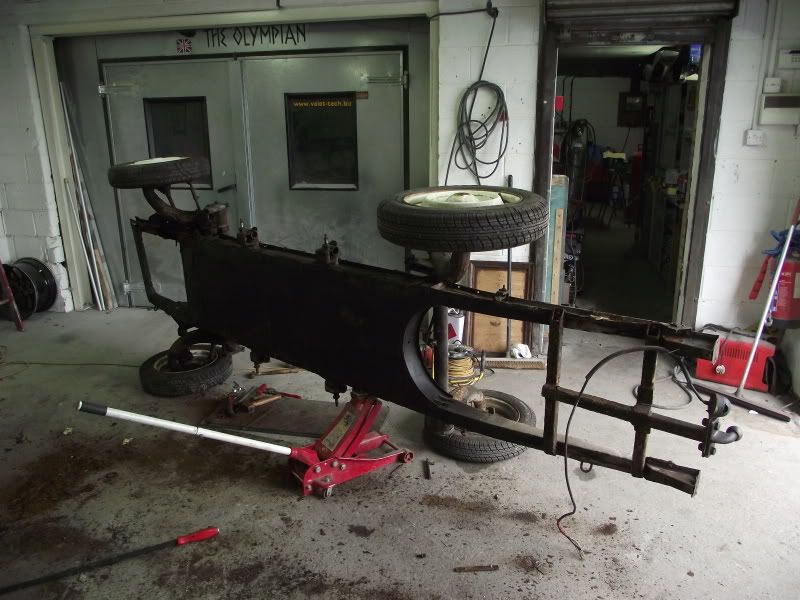
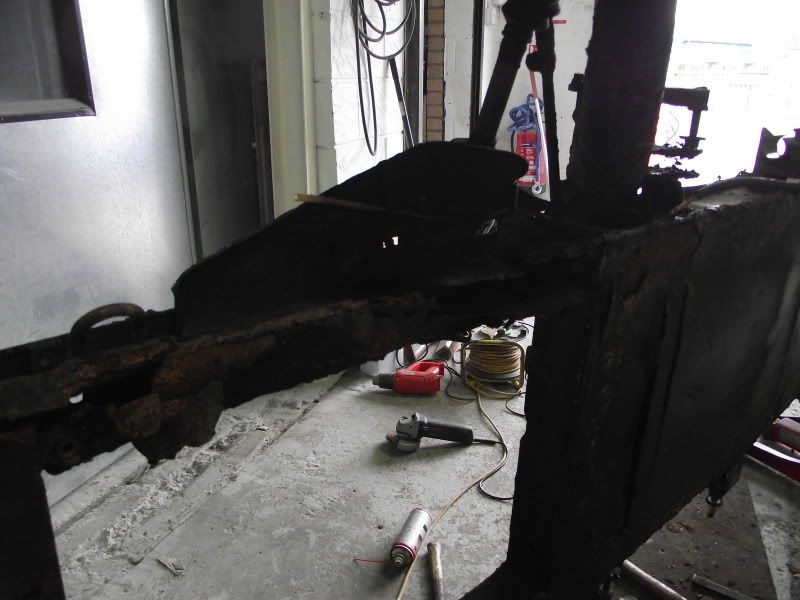
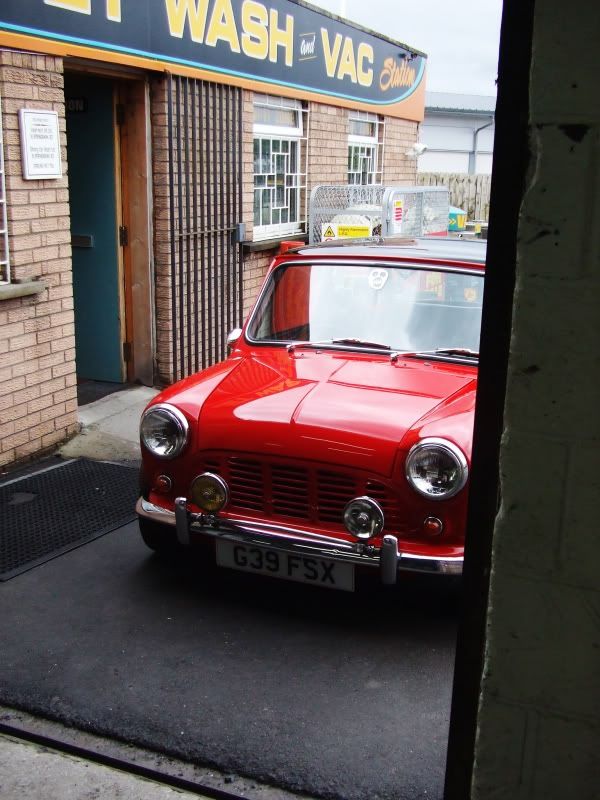
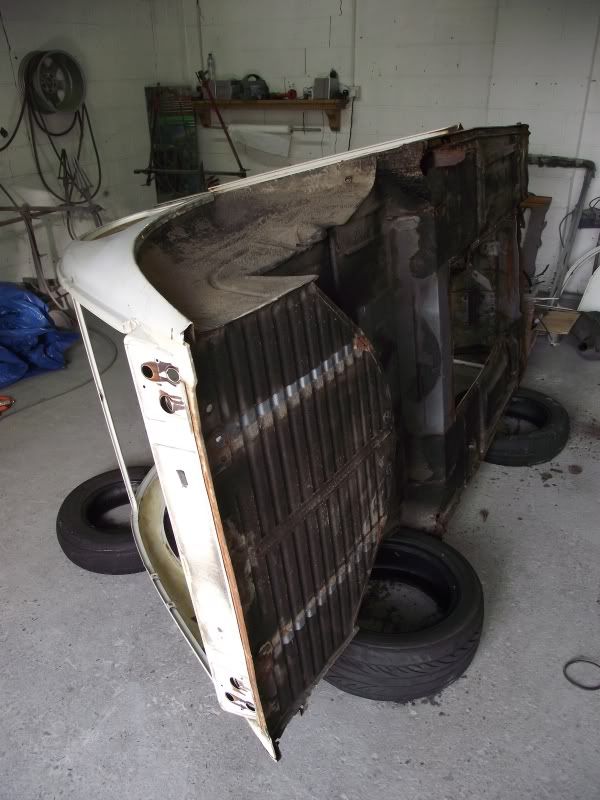
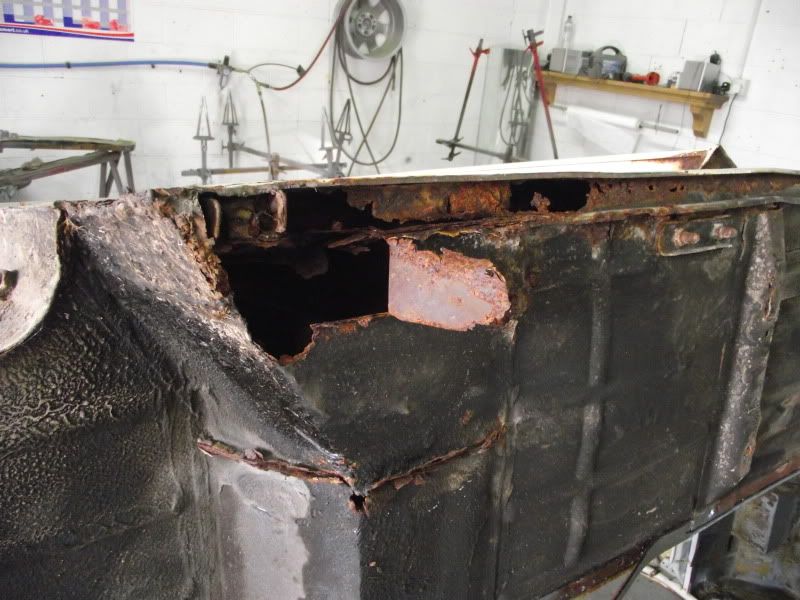
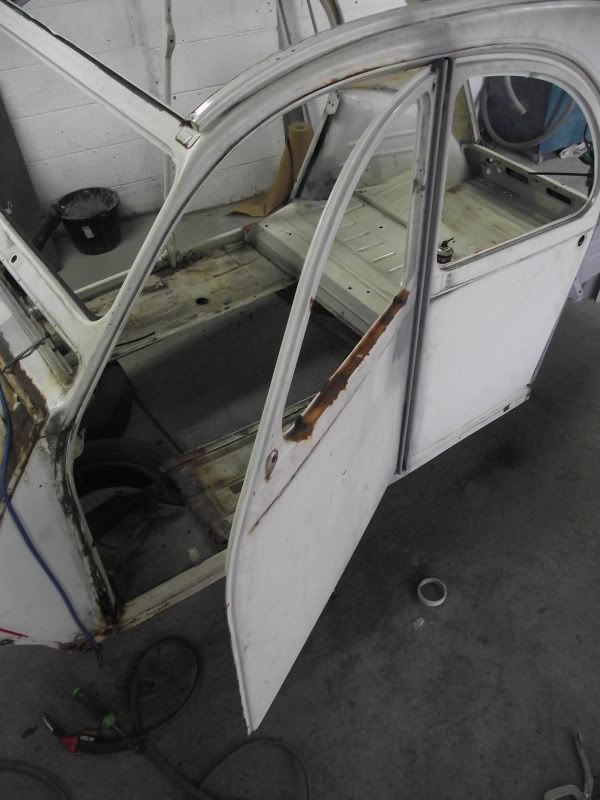
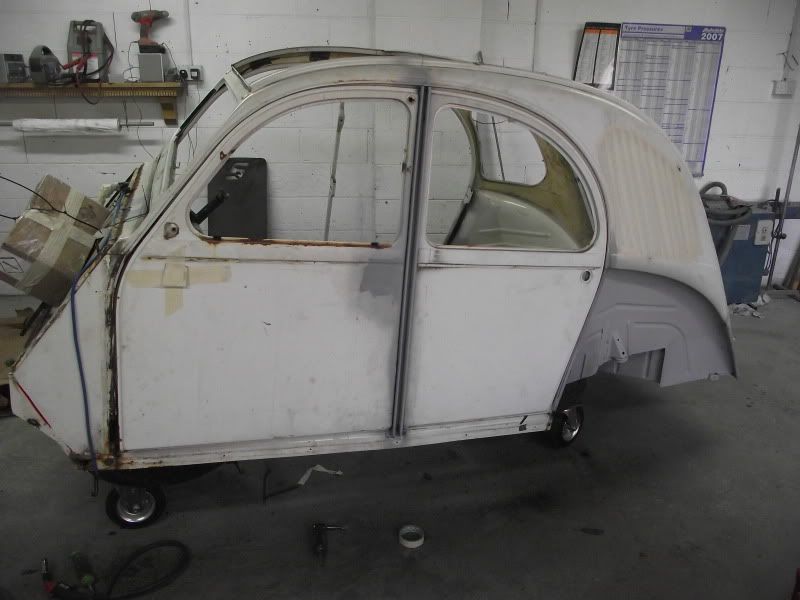
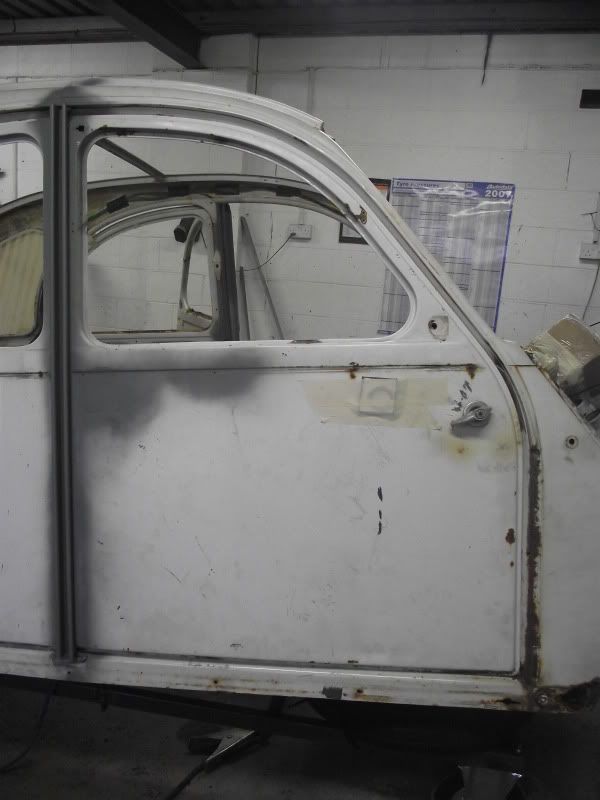
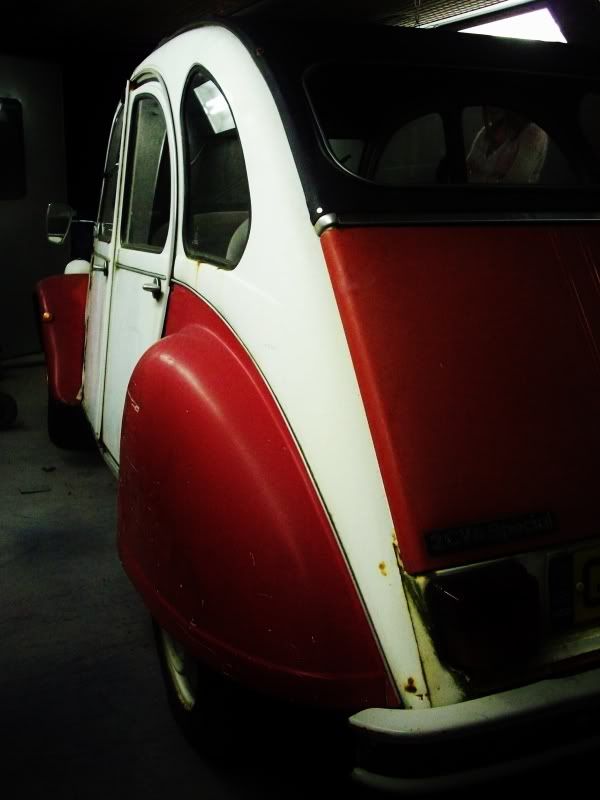
This was my first sighting of the car on Friday Morning
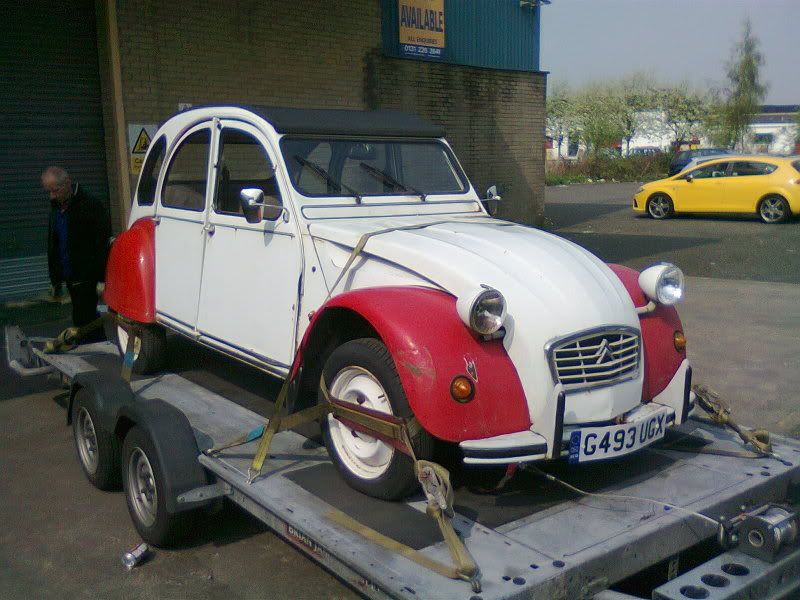

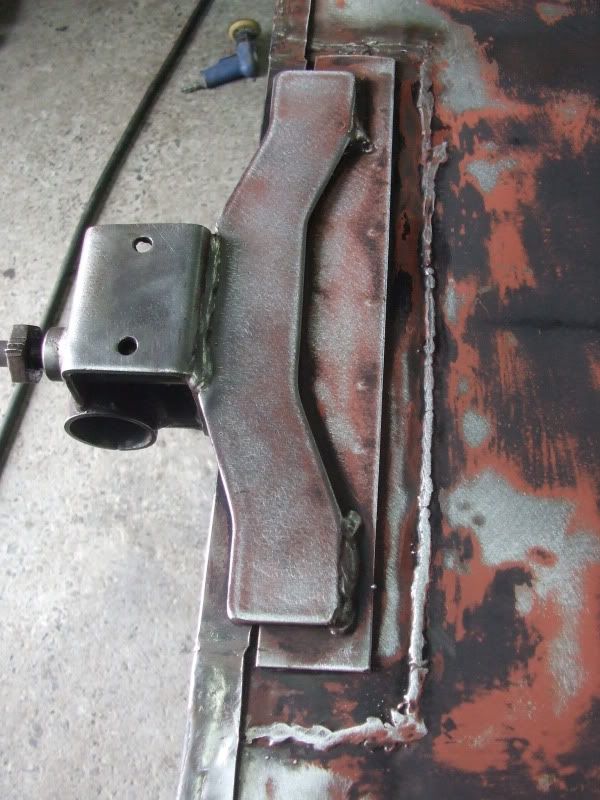
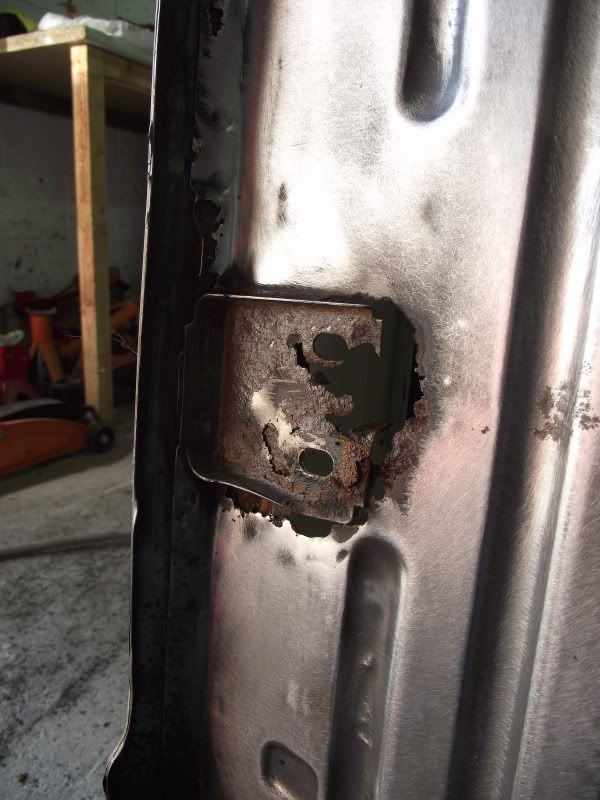
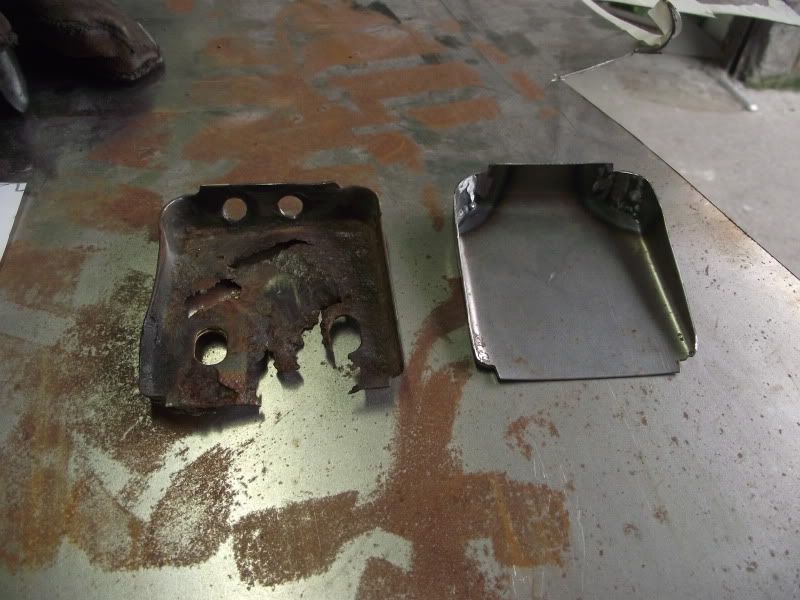
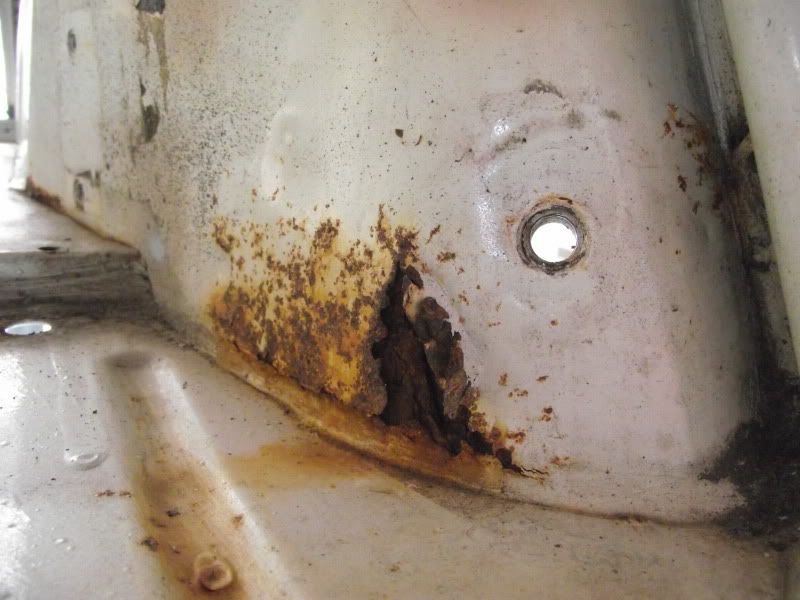
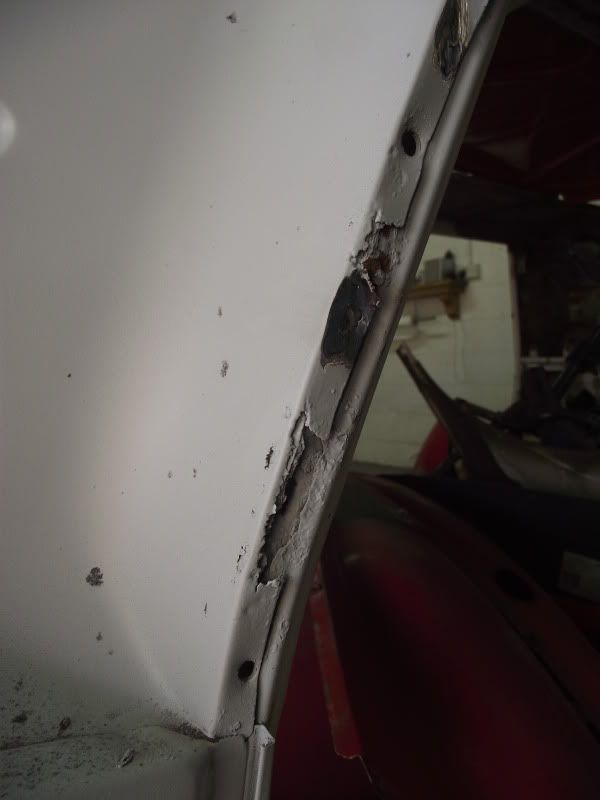
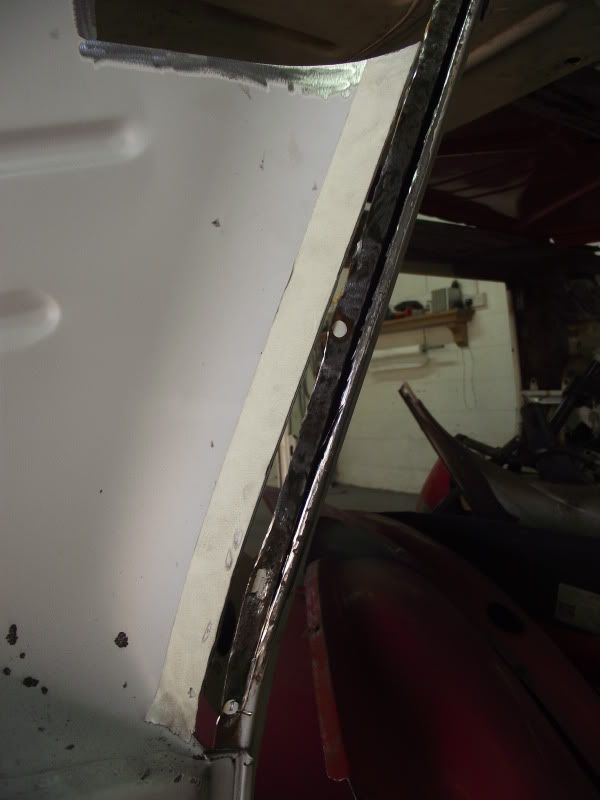
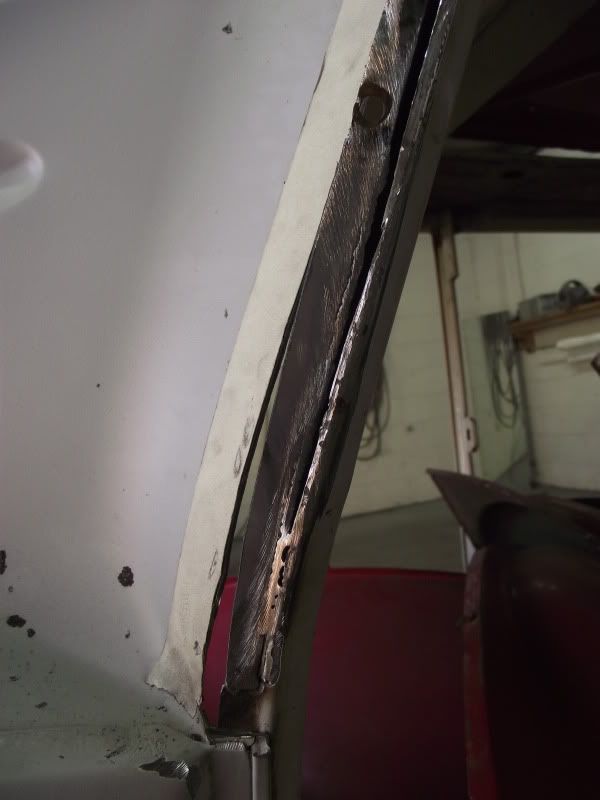
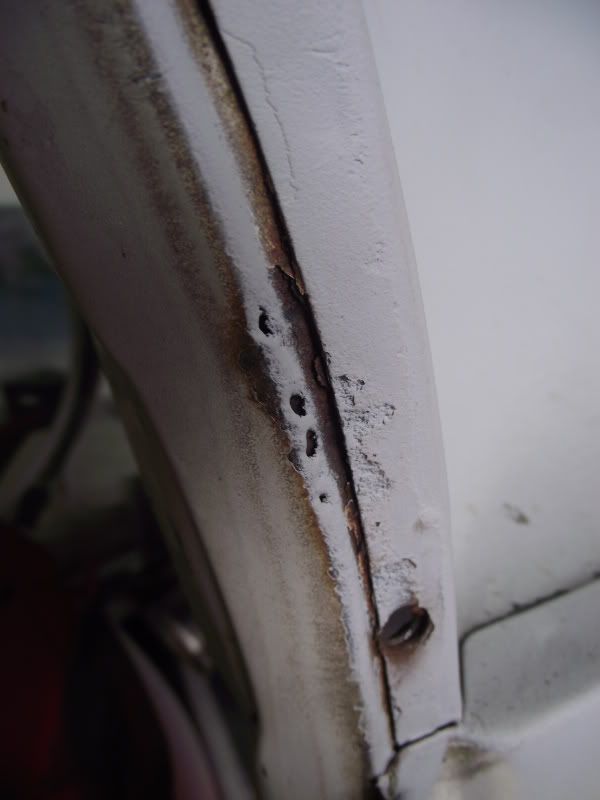
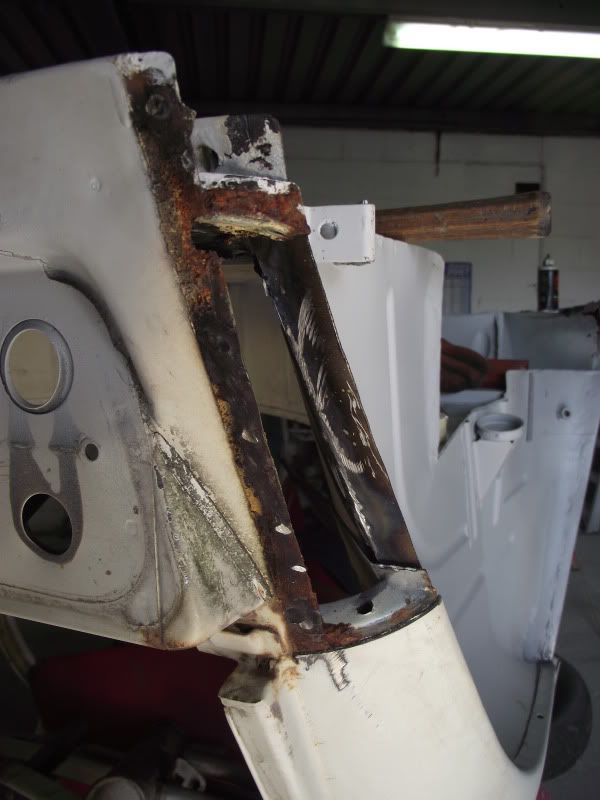
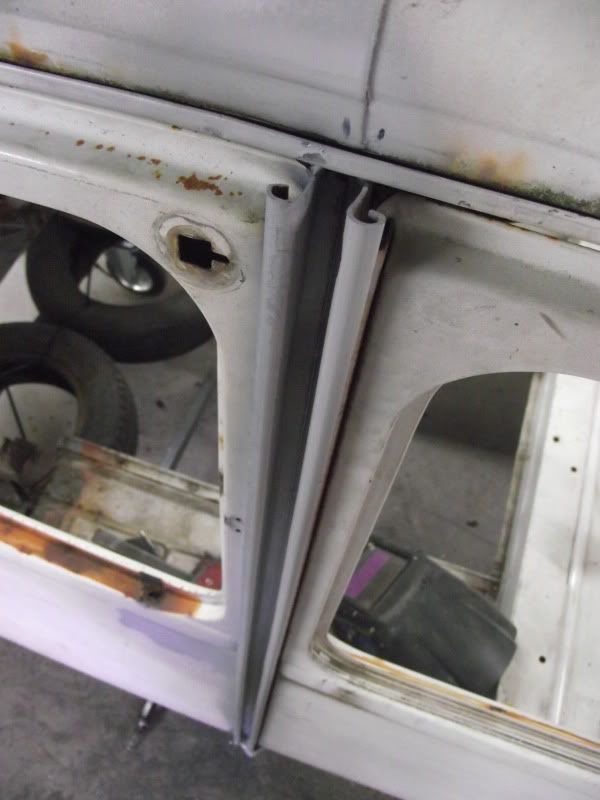
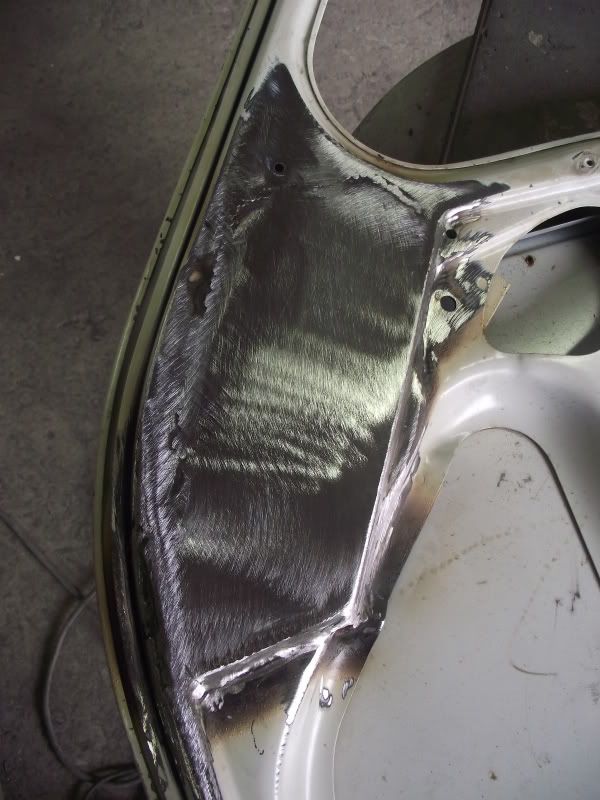
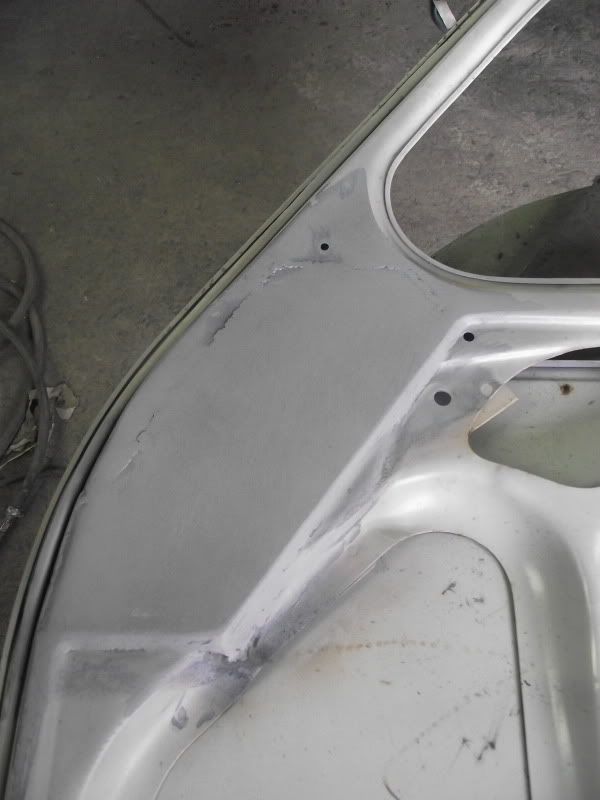
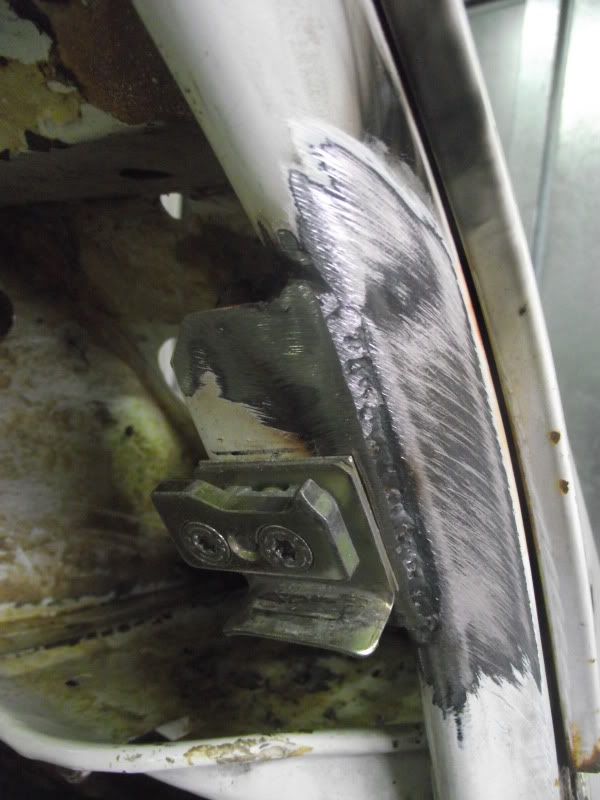
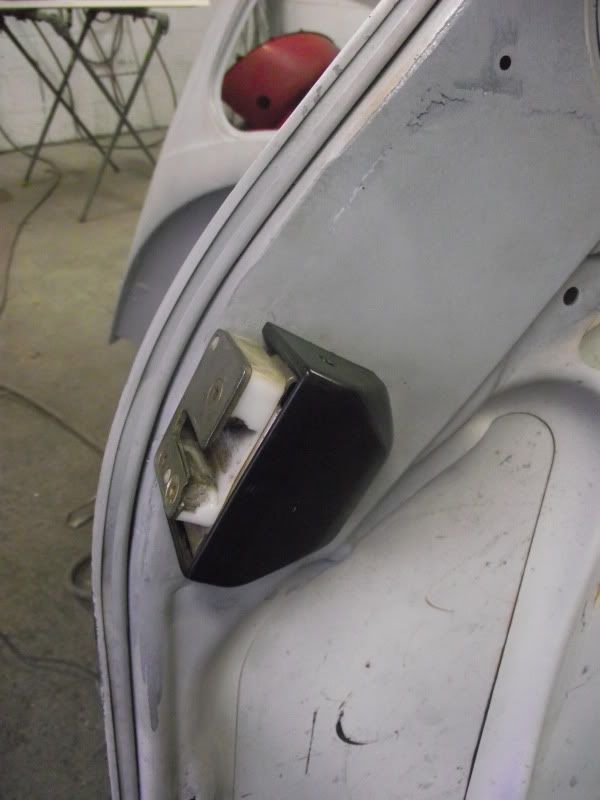
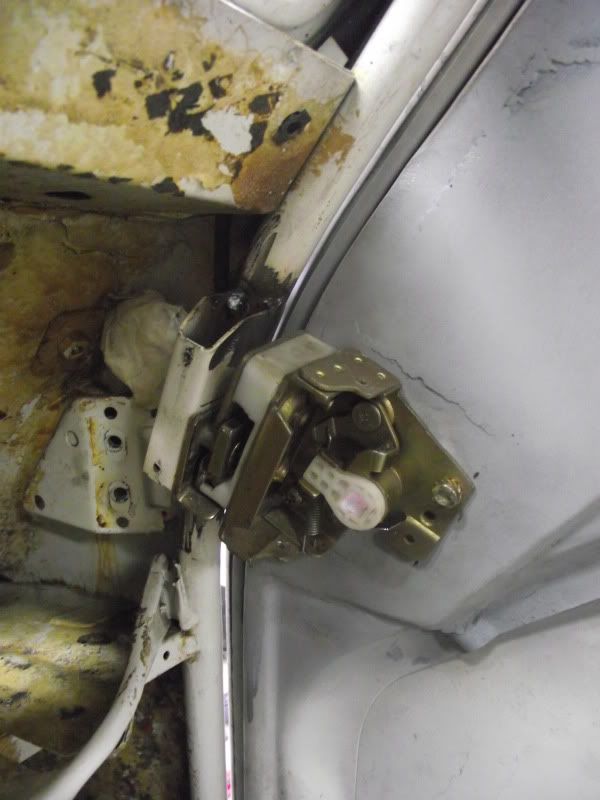
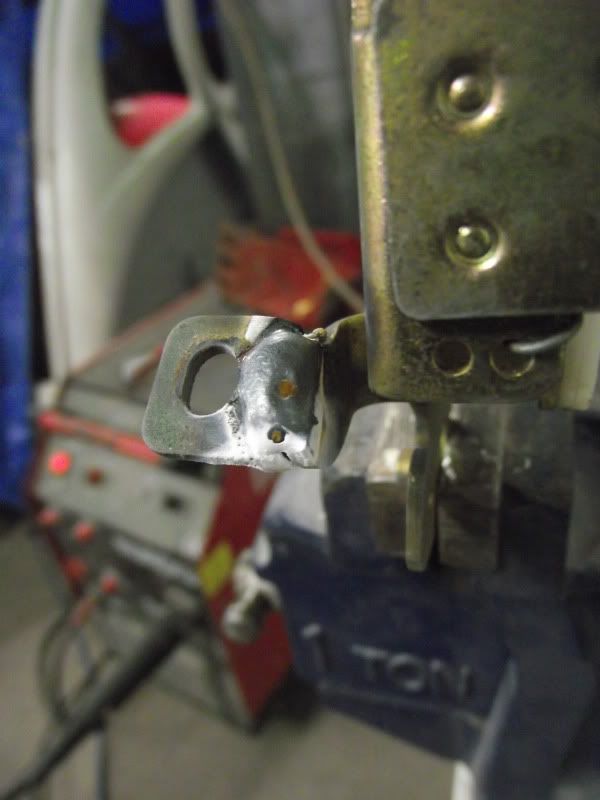
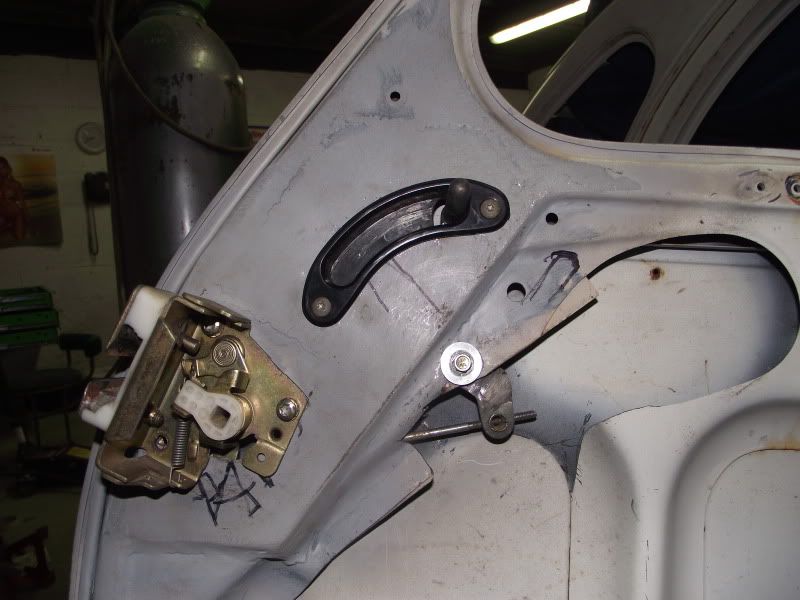
I hate buying cars without seeing them first, but this wasn't too bad! Had a poke about, areas needing attention are the bonnet hinge, (as usual on these)
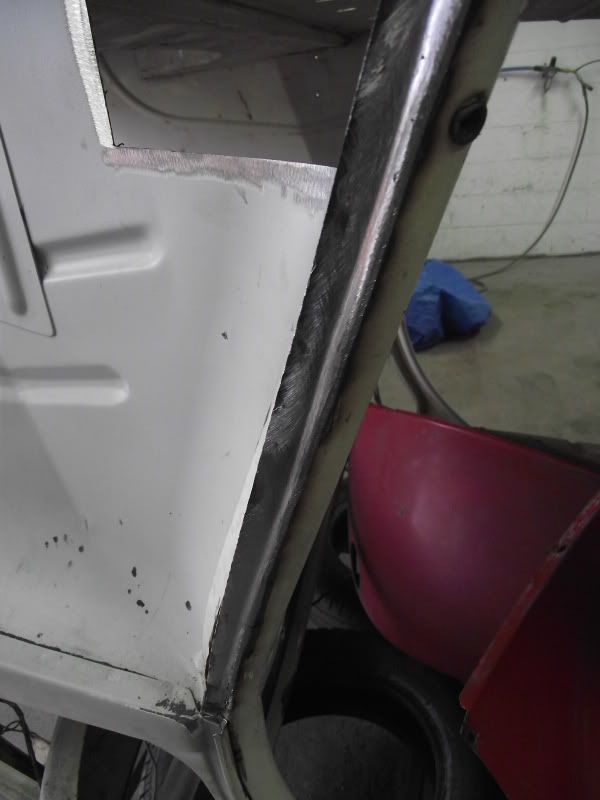
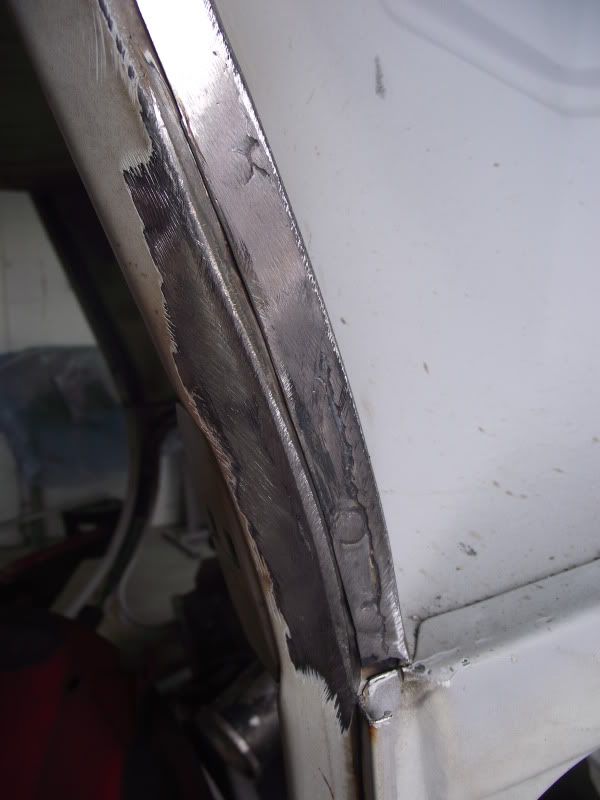
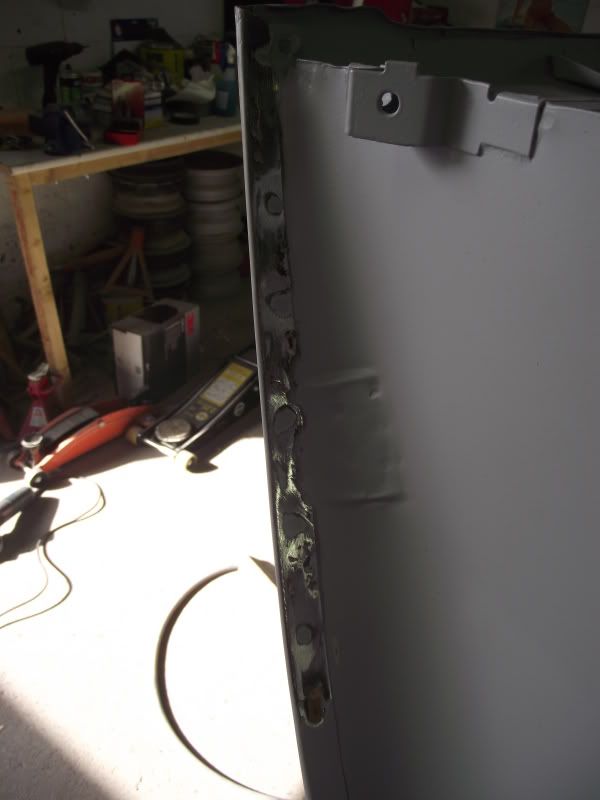
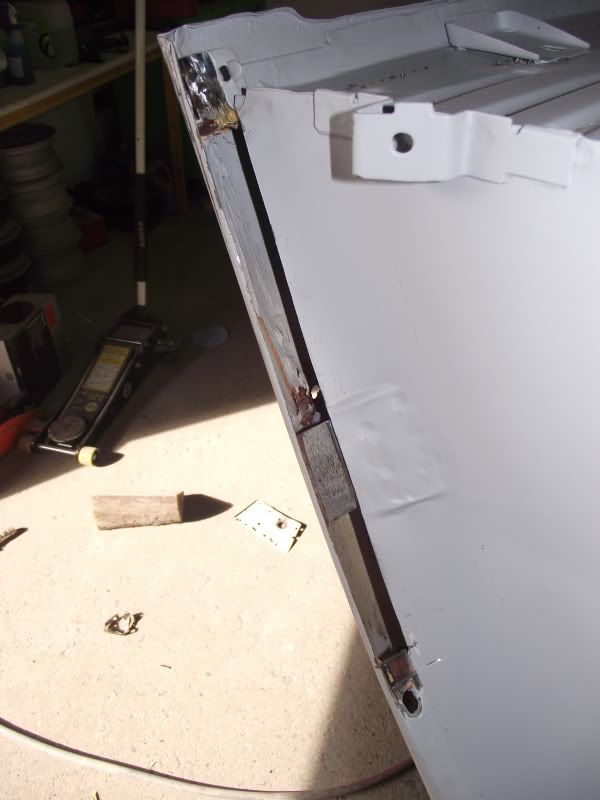
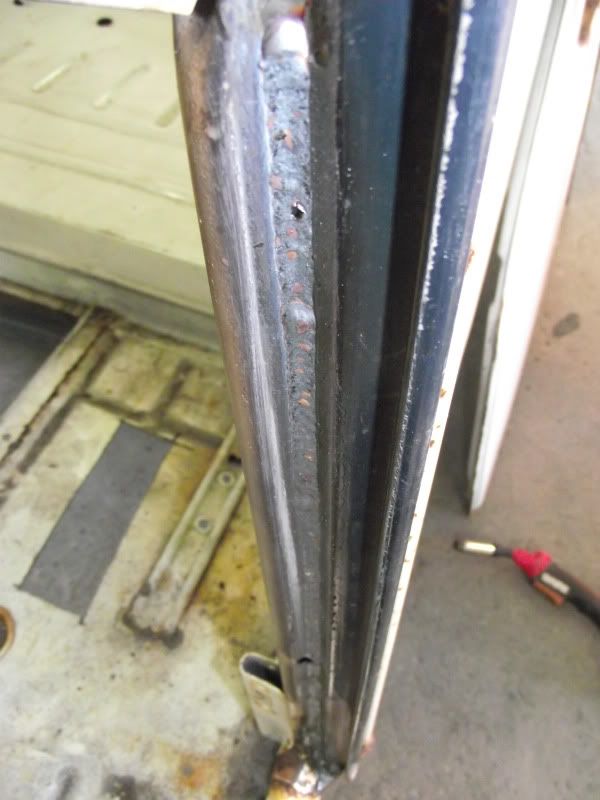
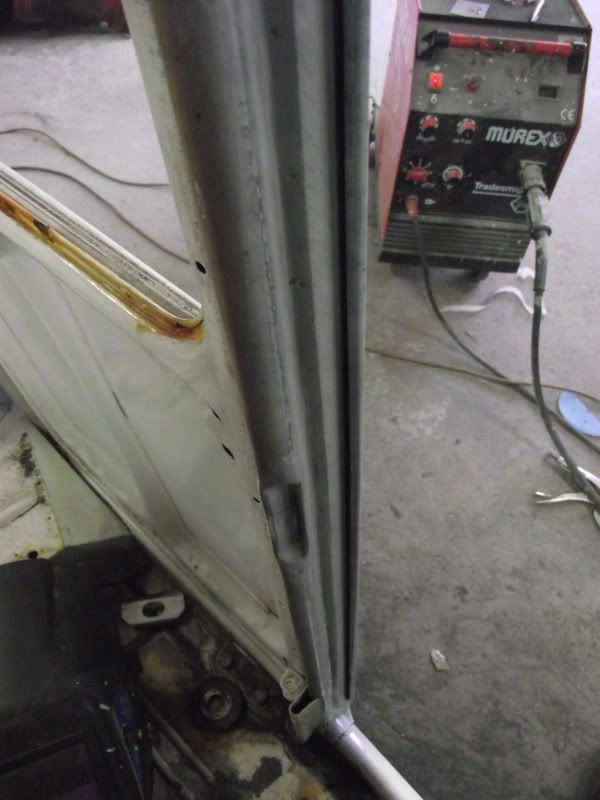
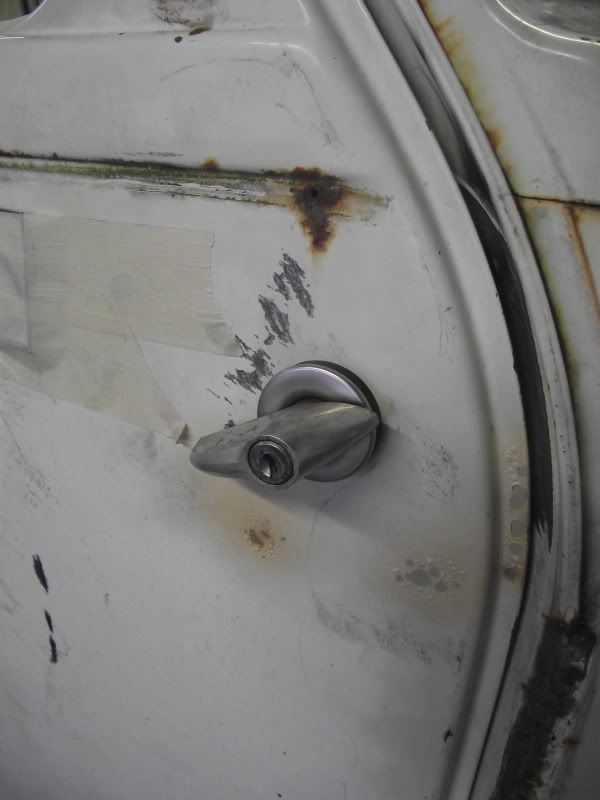
A panels
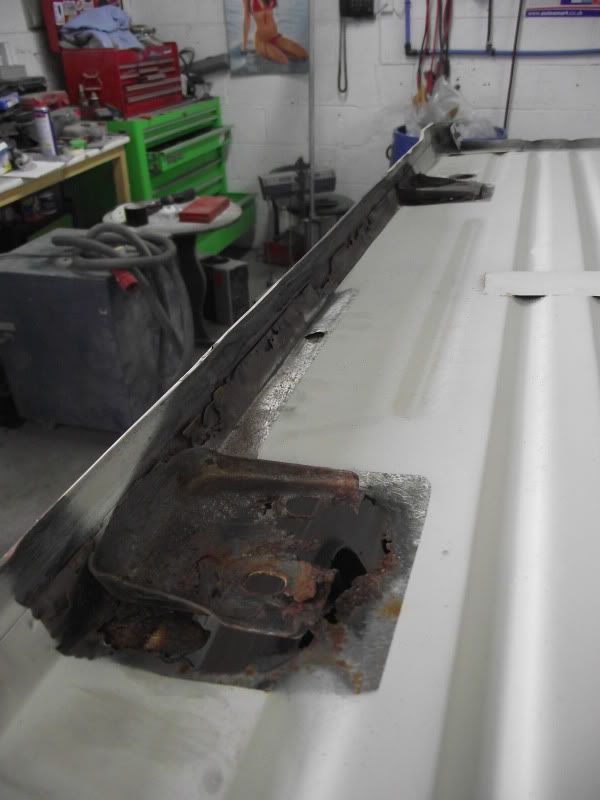
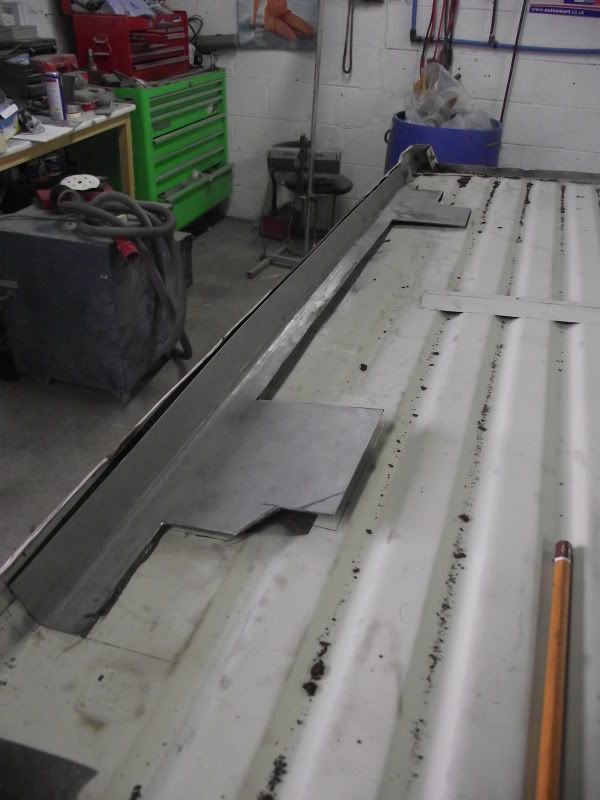
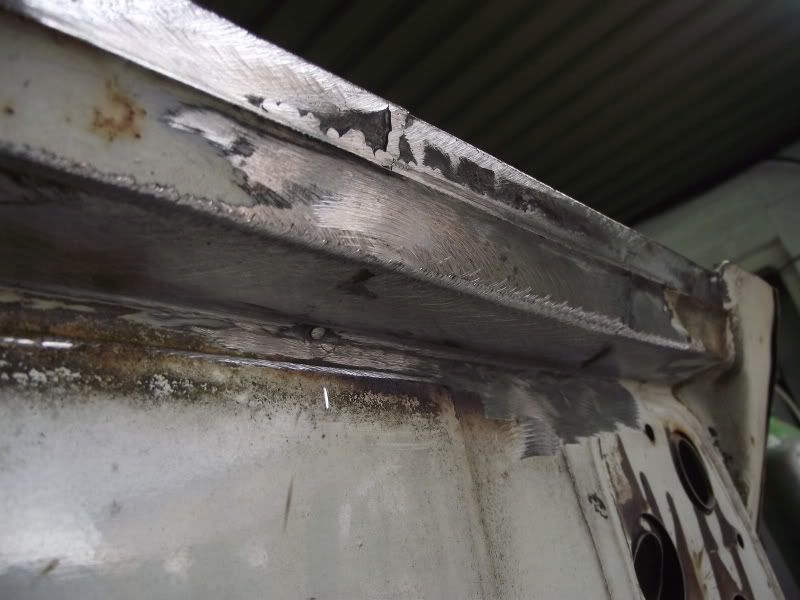
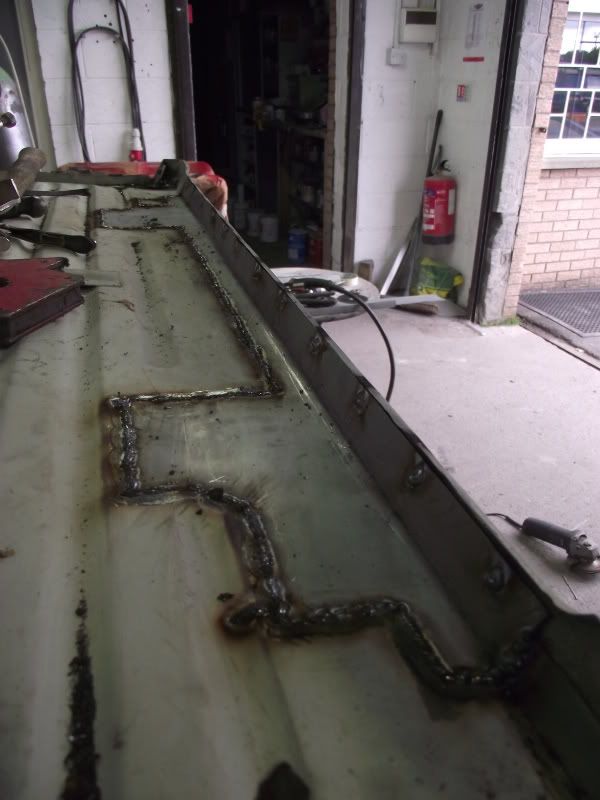
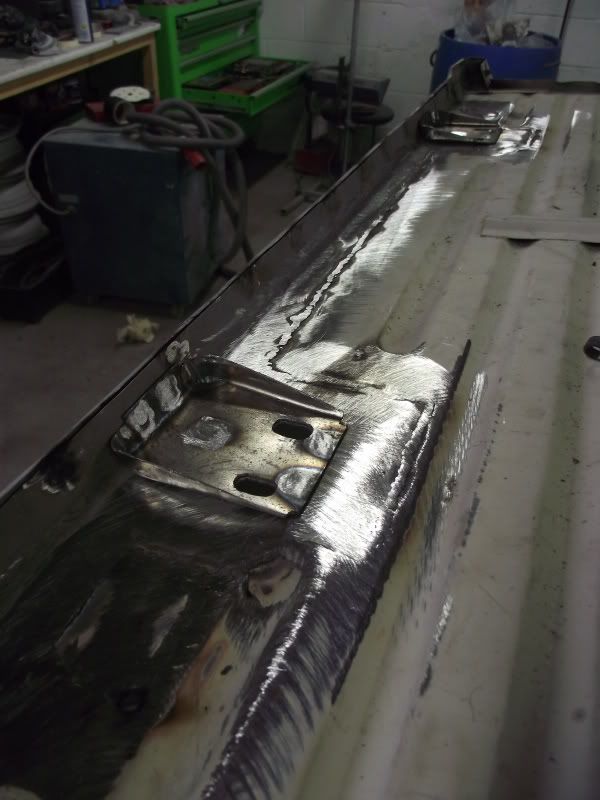
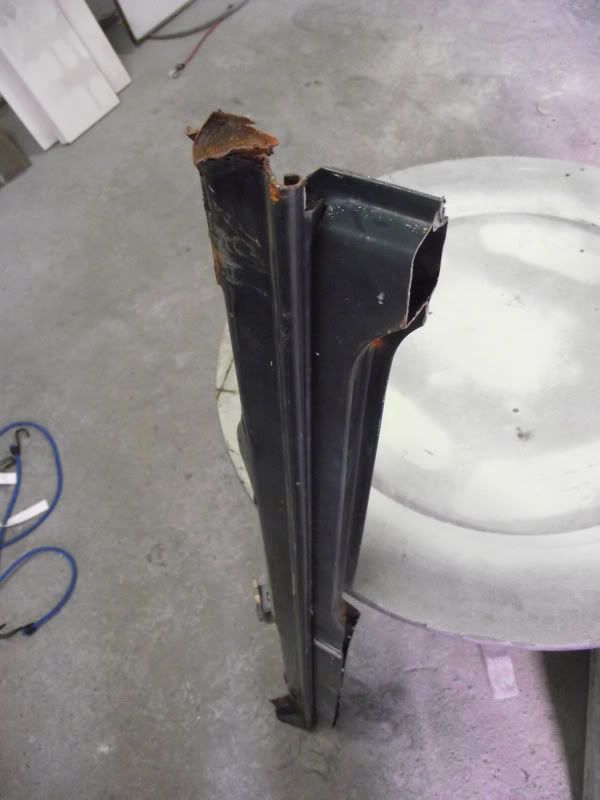
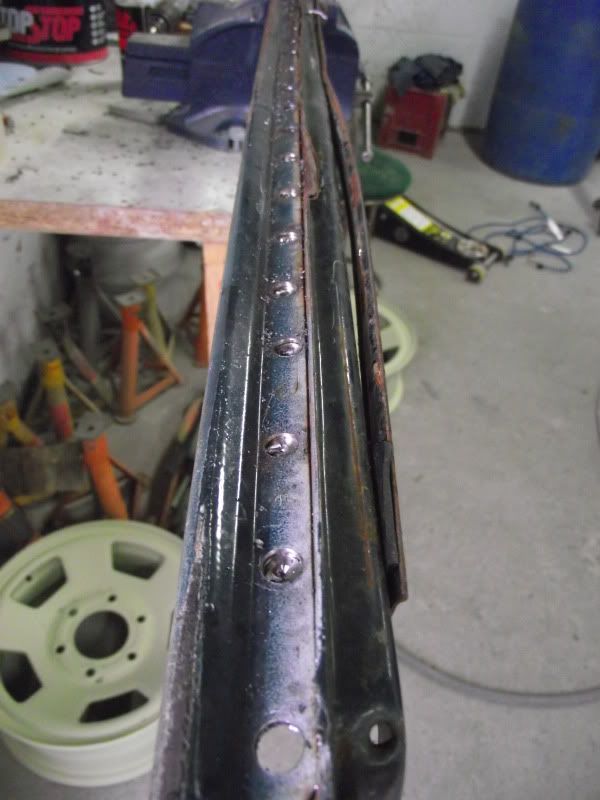
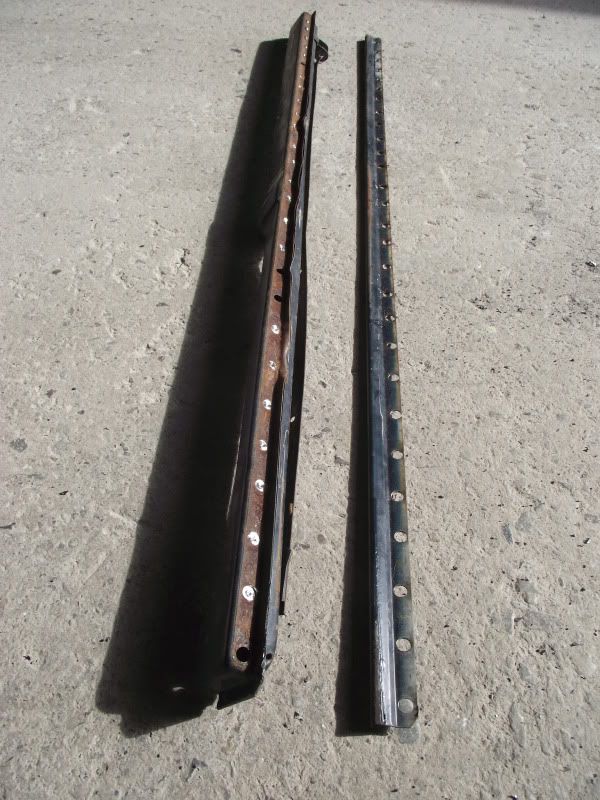
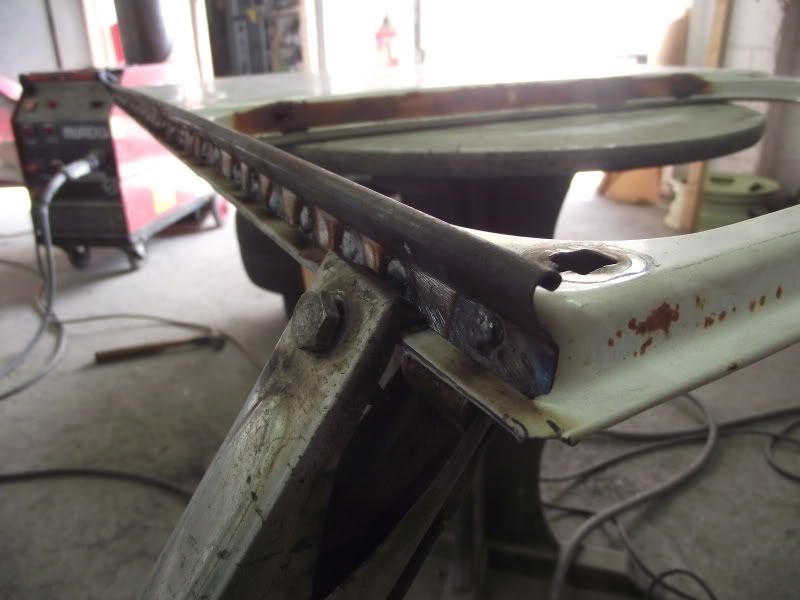
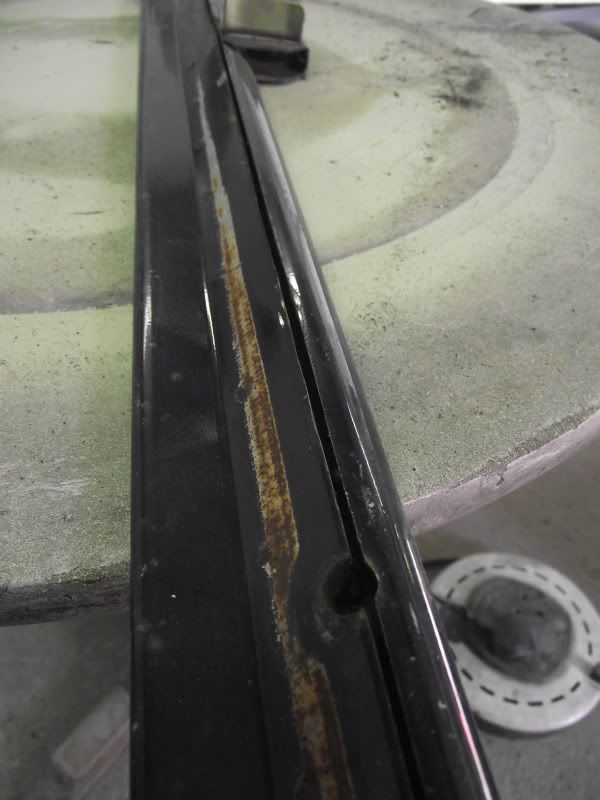
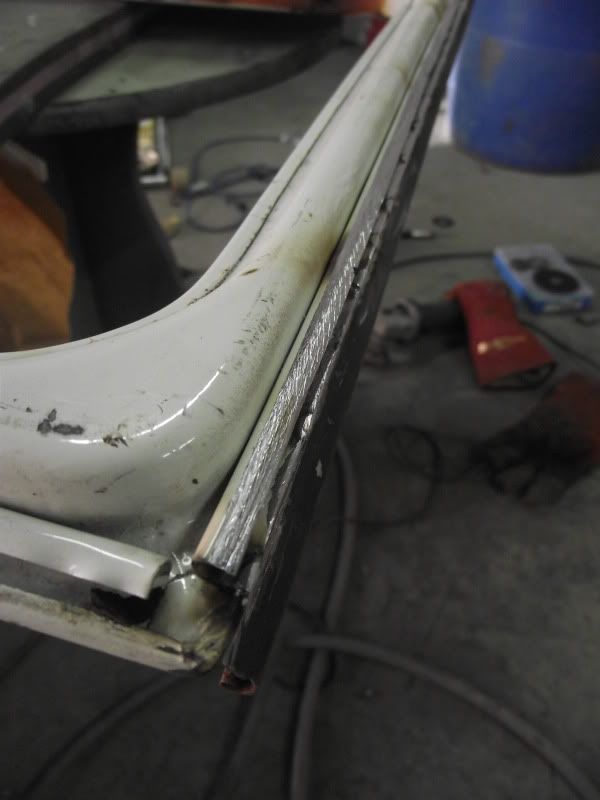
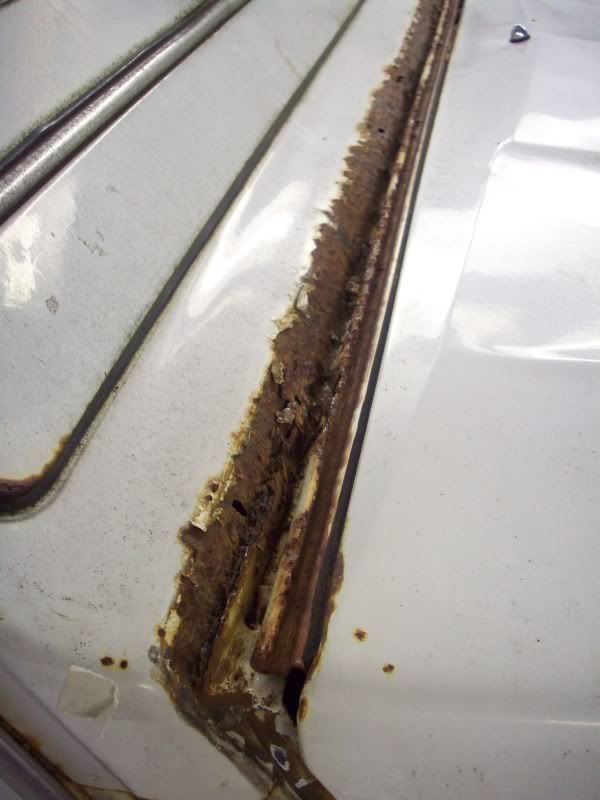
Rear sills
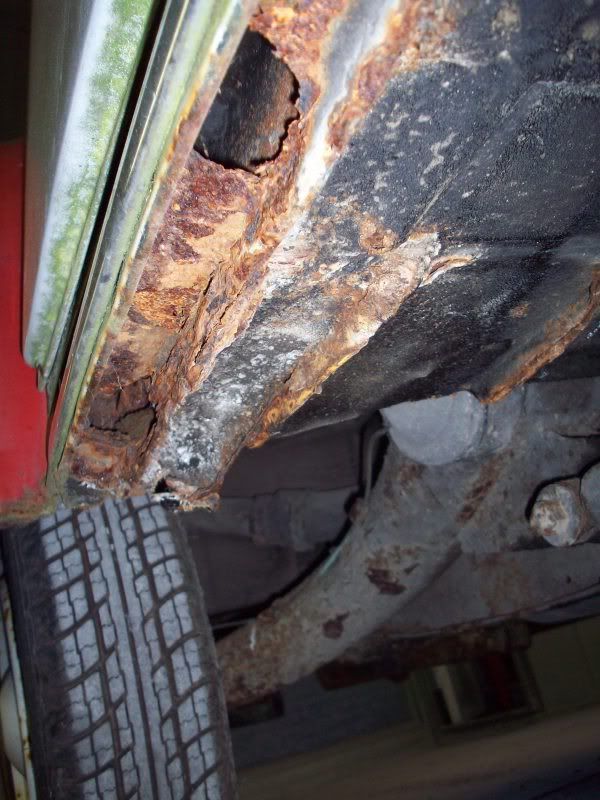
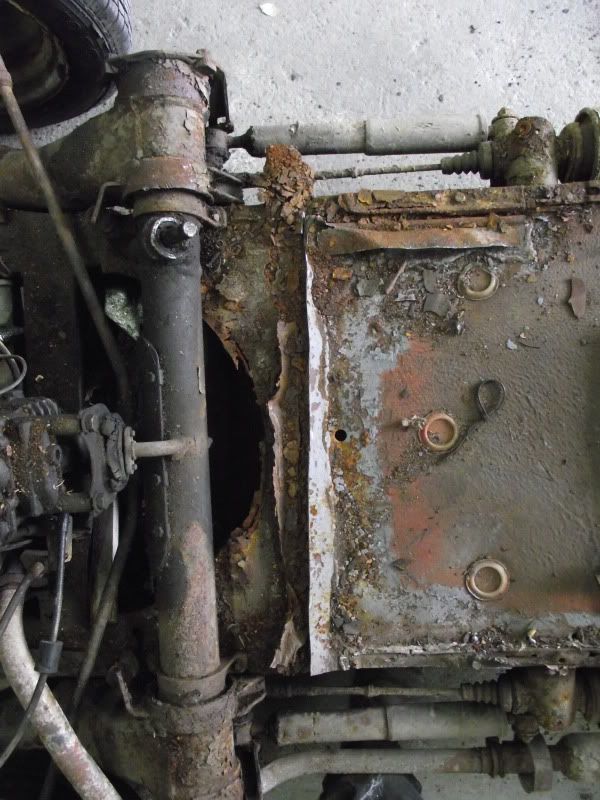
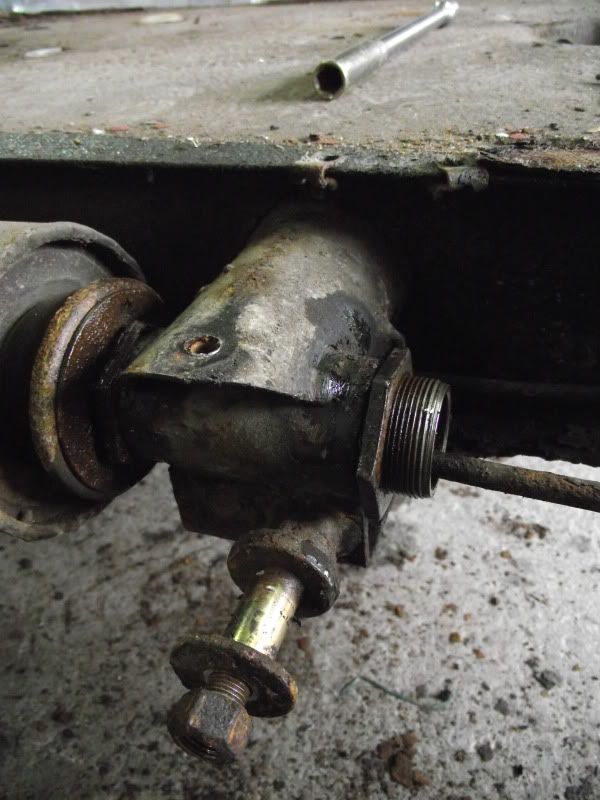
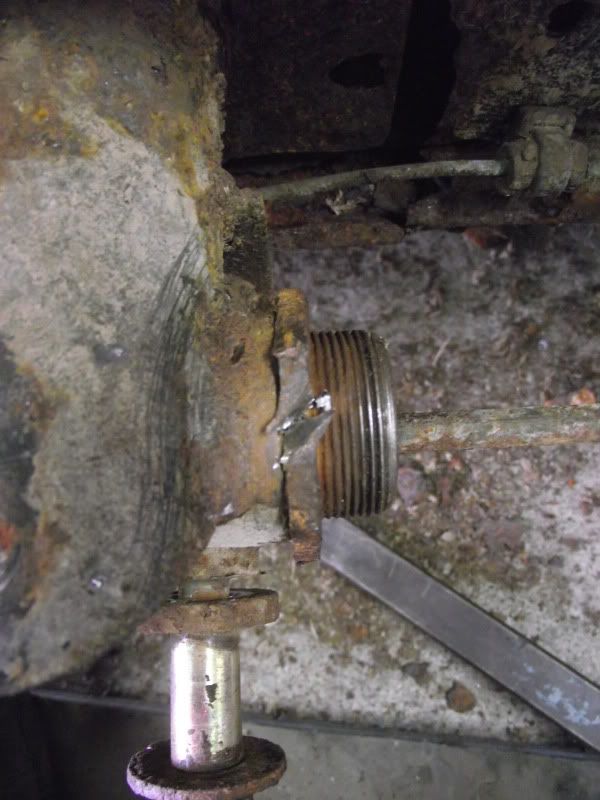
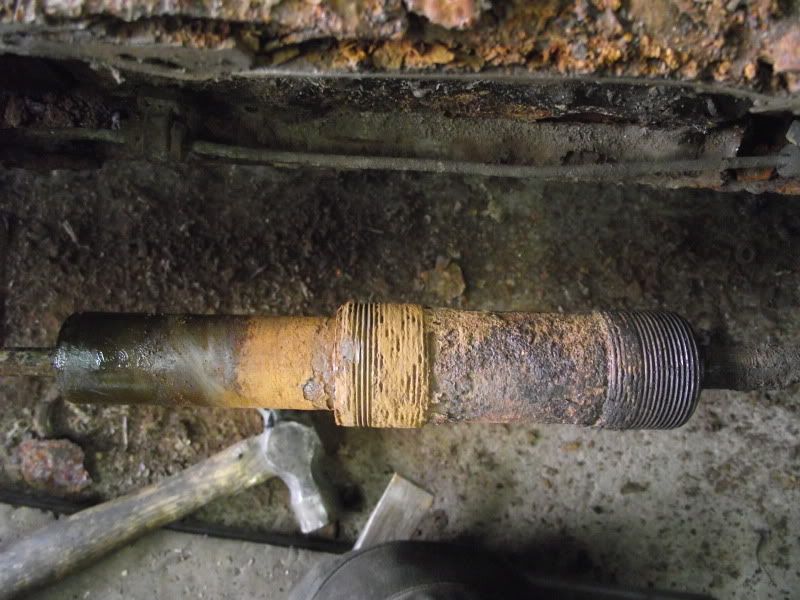
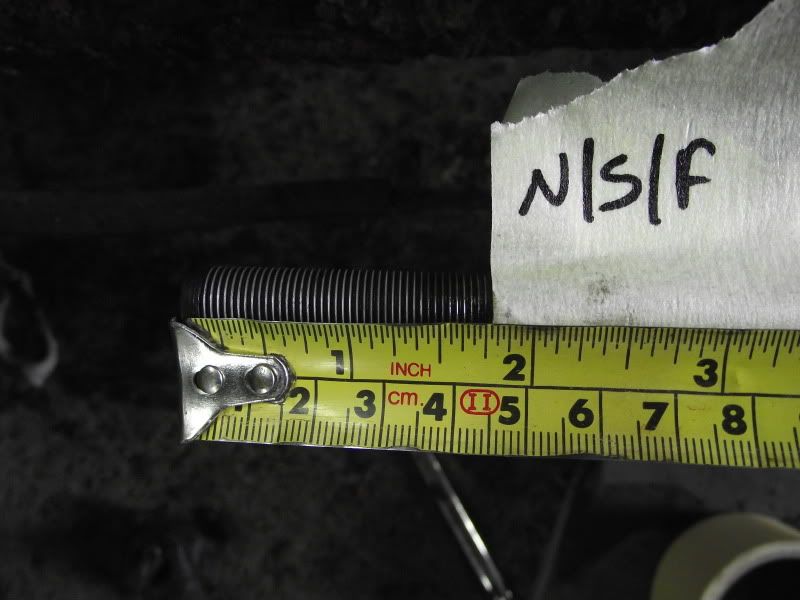
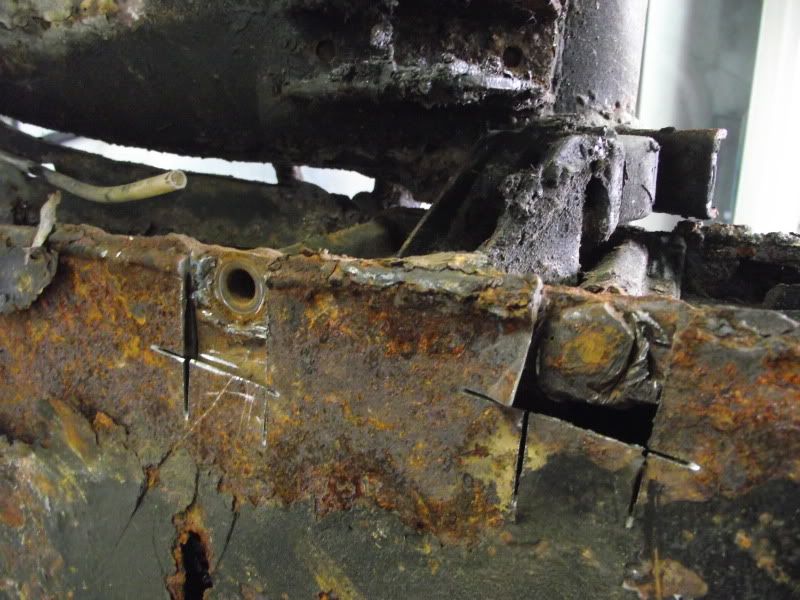
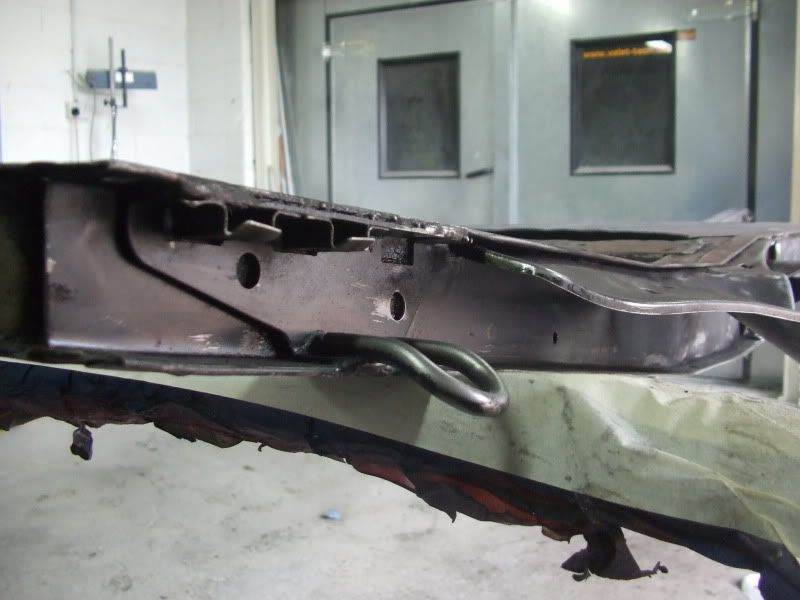
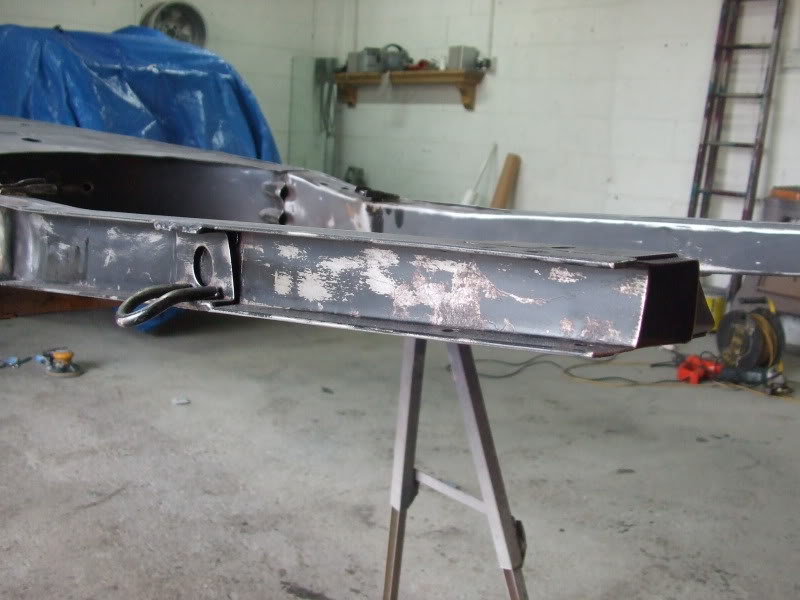
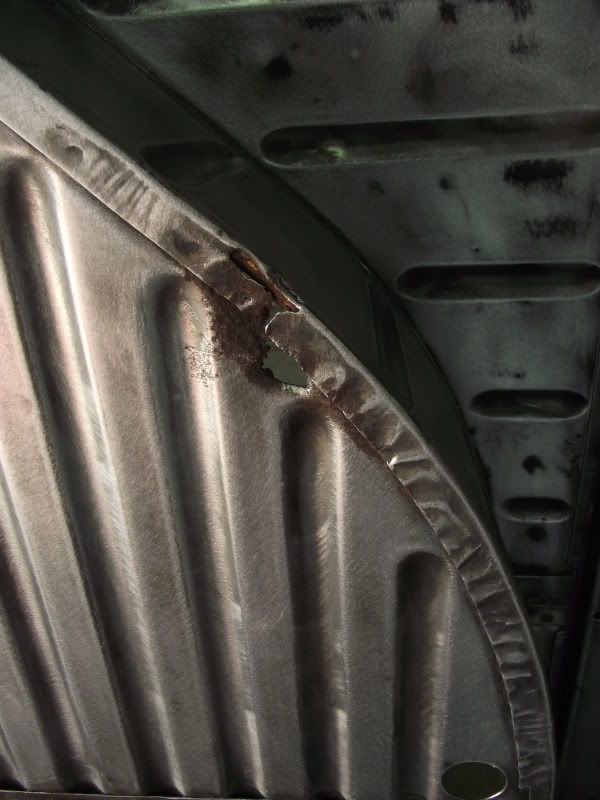
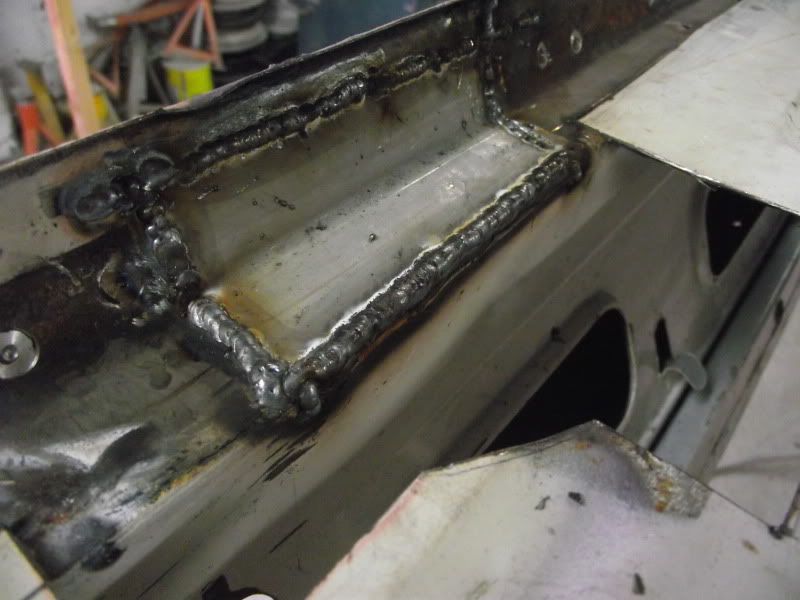
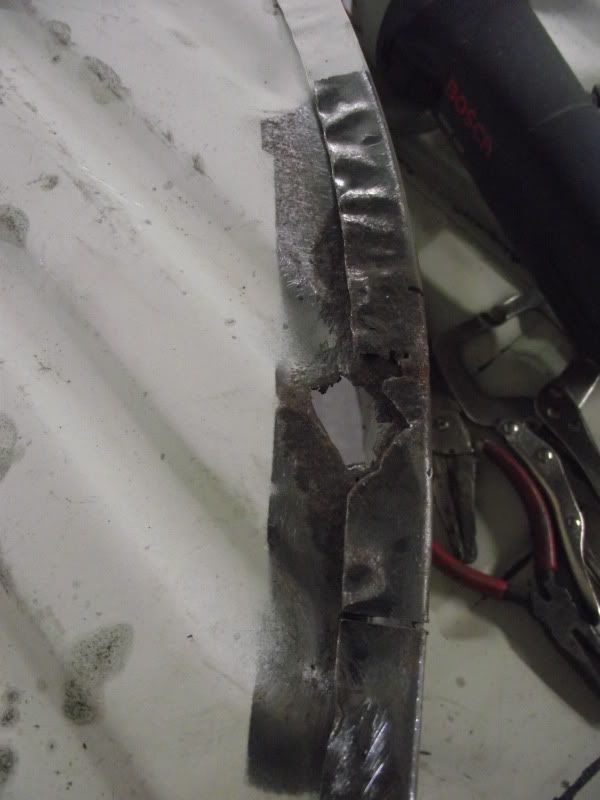
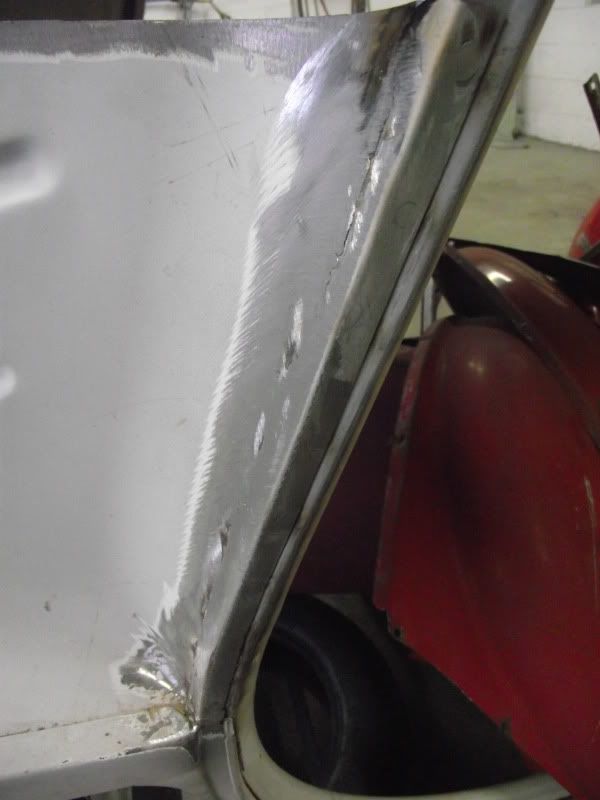
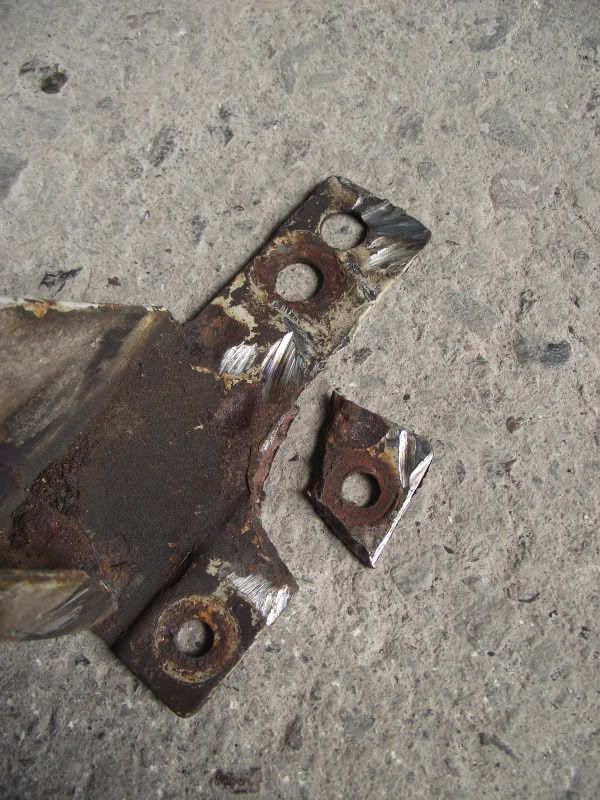
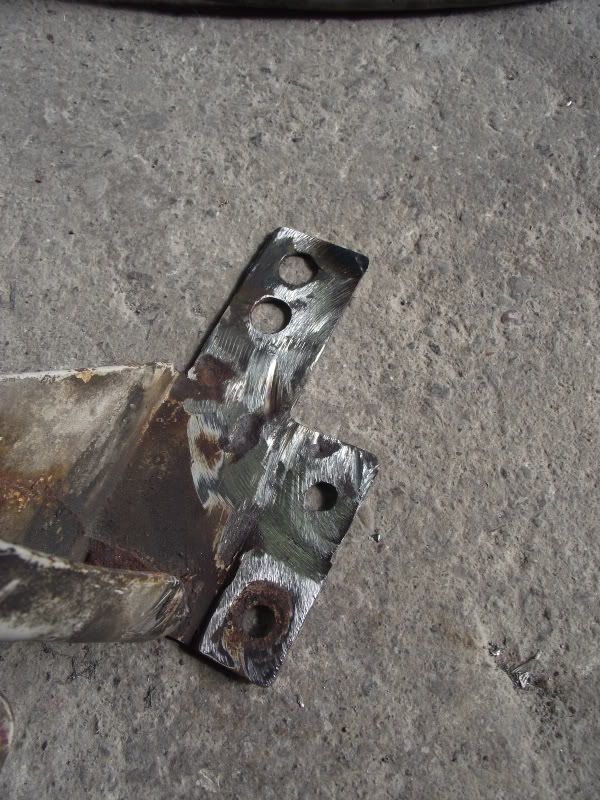
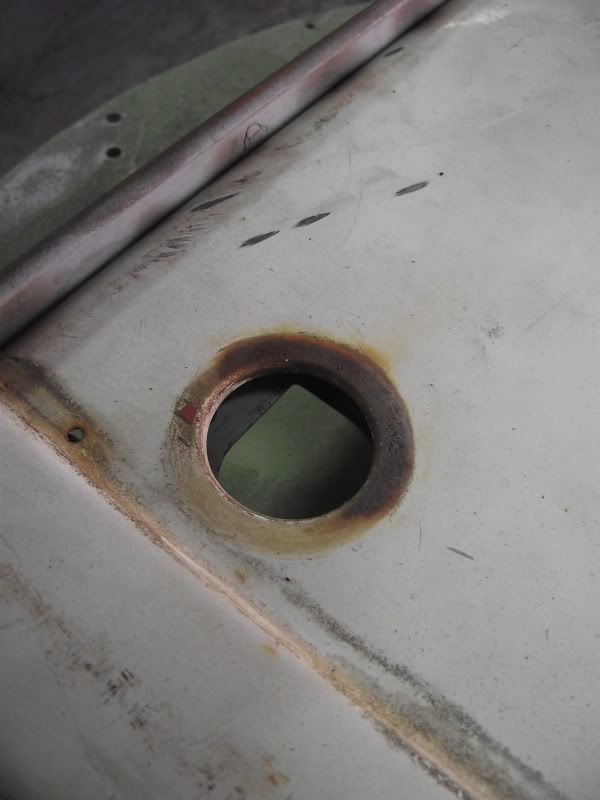
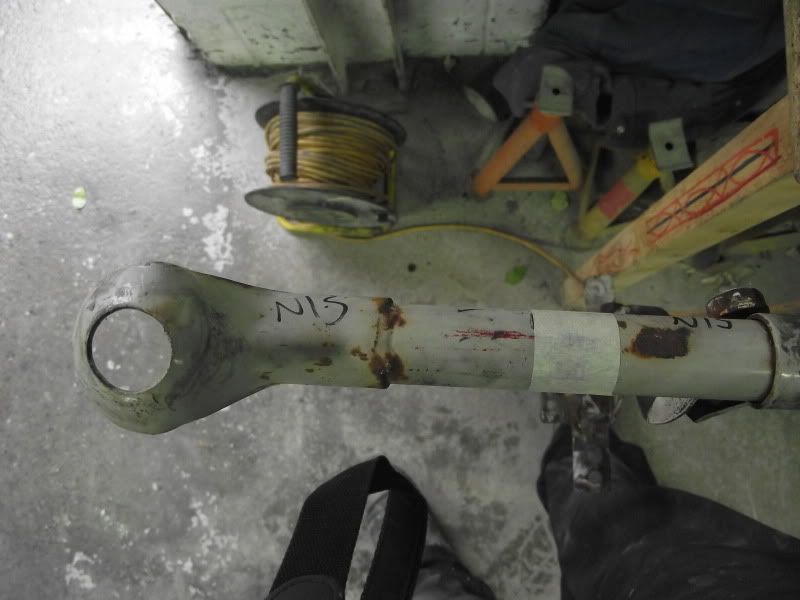
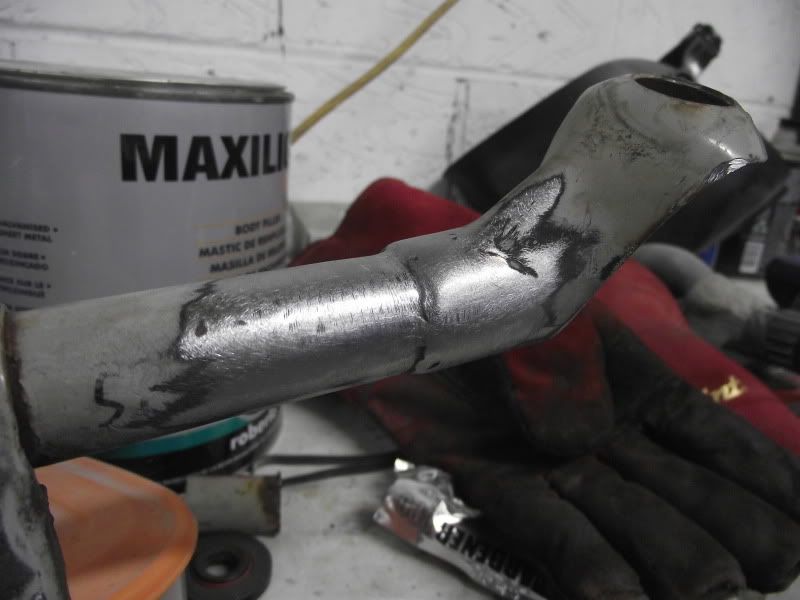
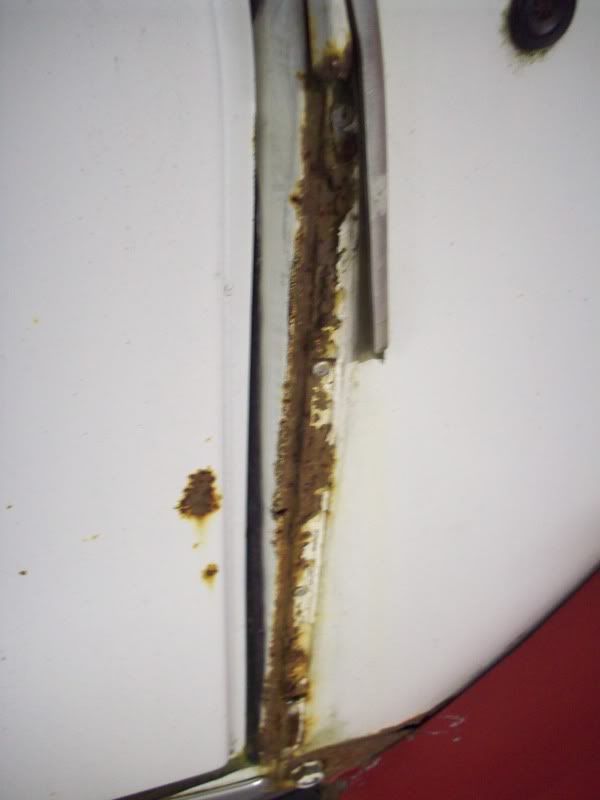
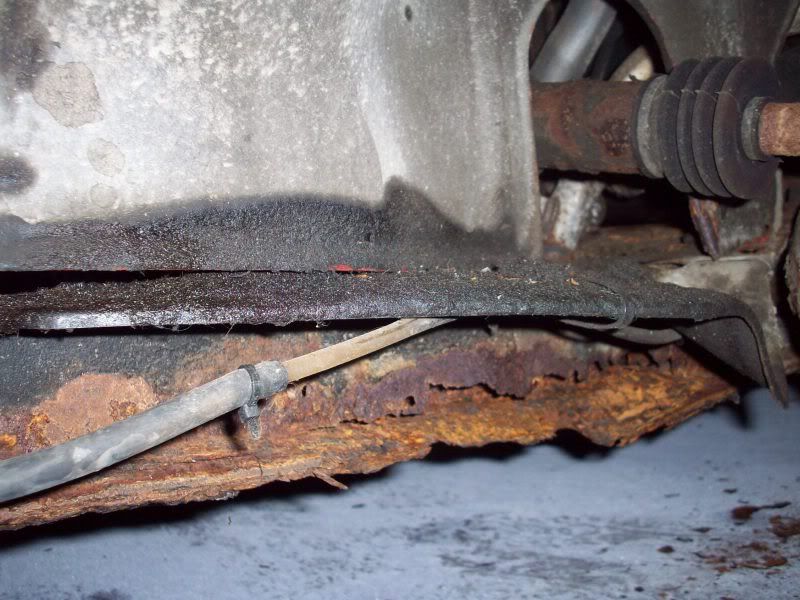
Front N/S chassis leg
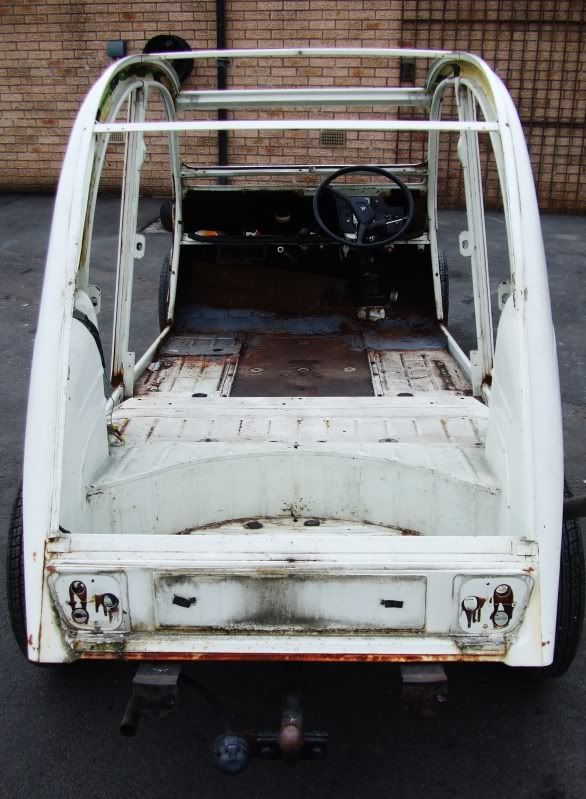
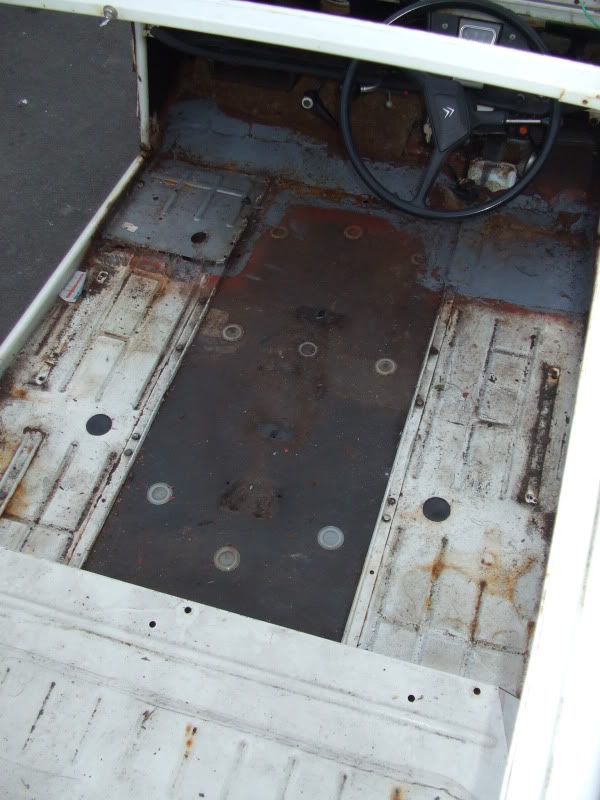
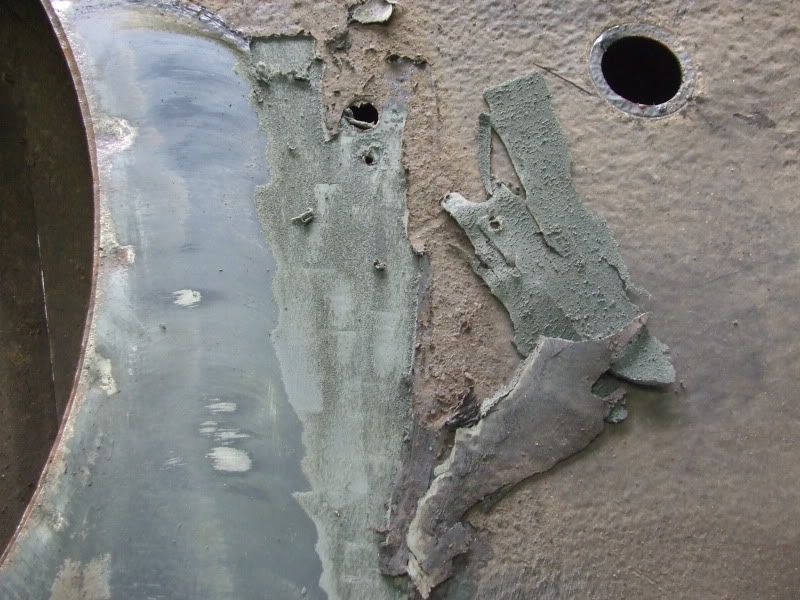
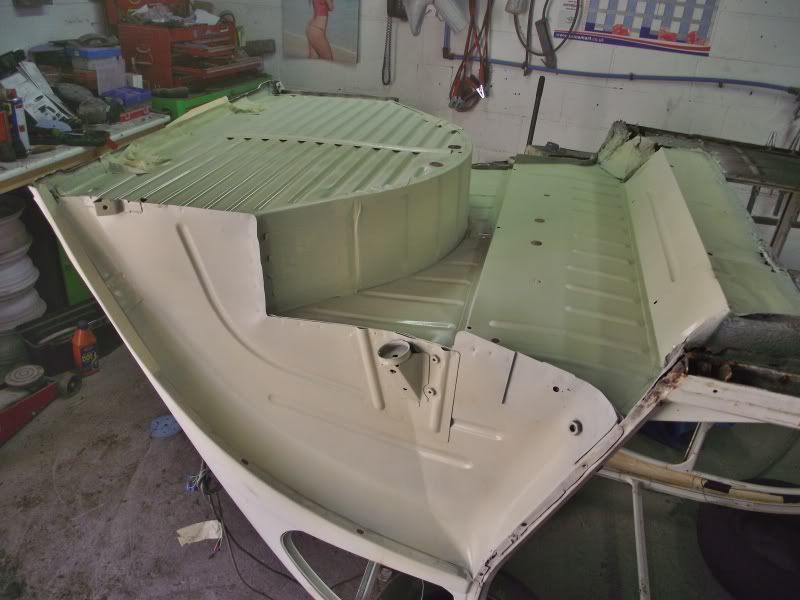
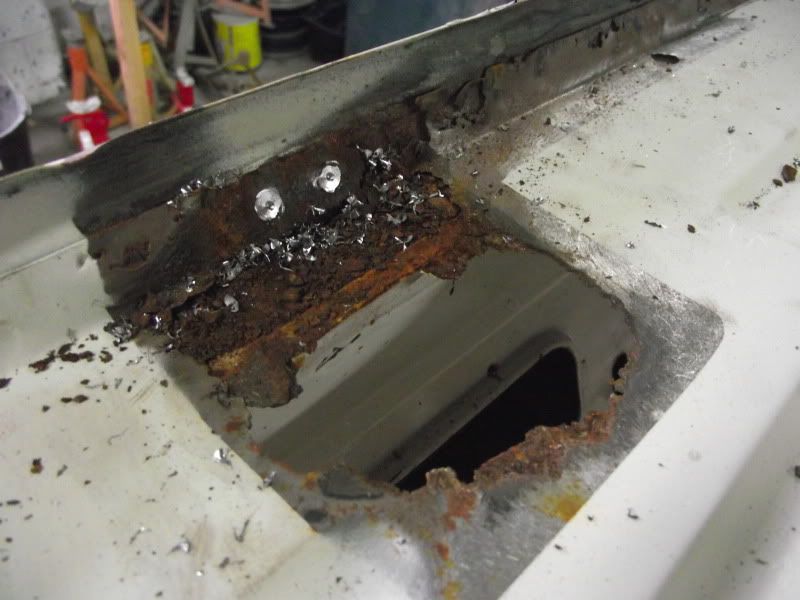
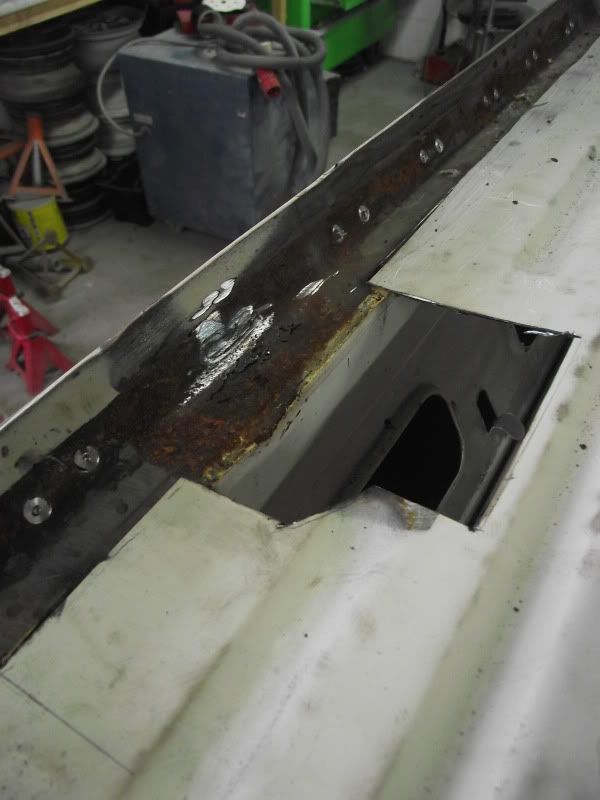
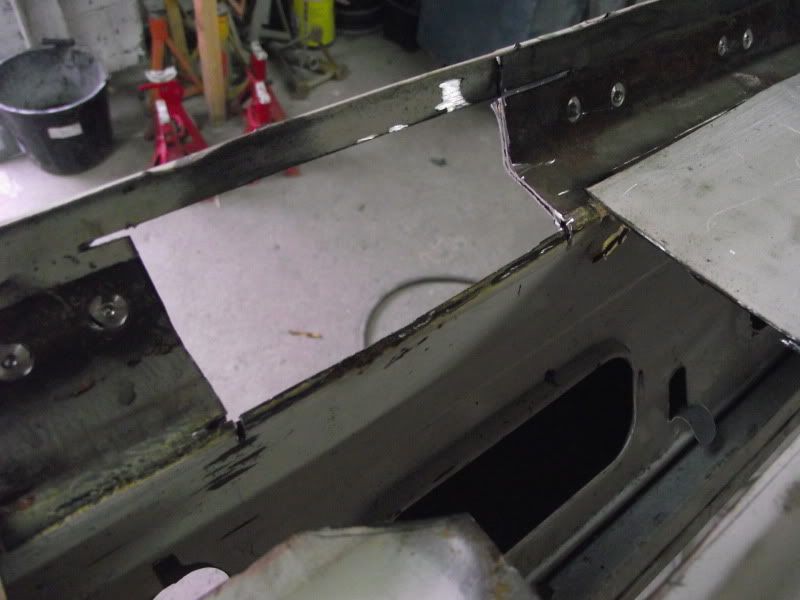
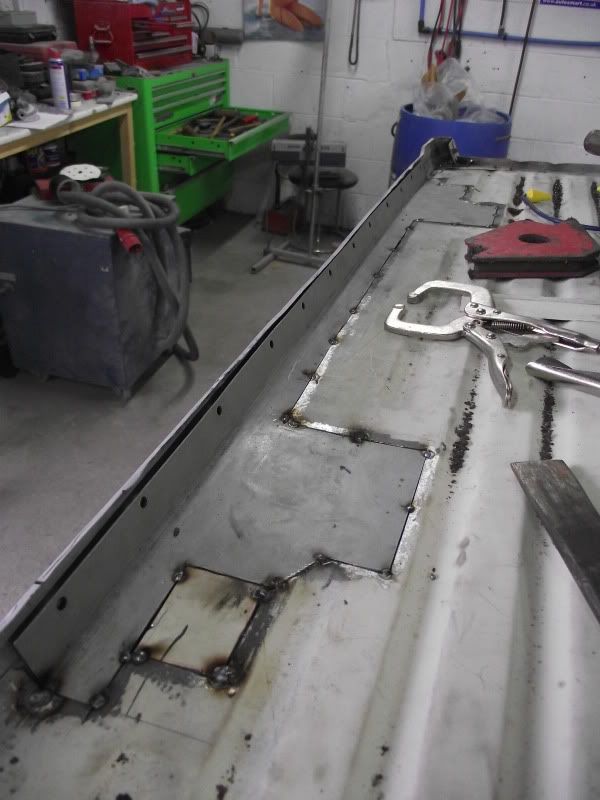
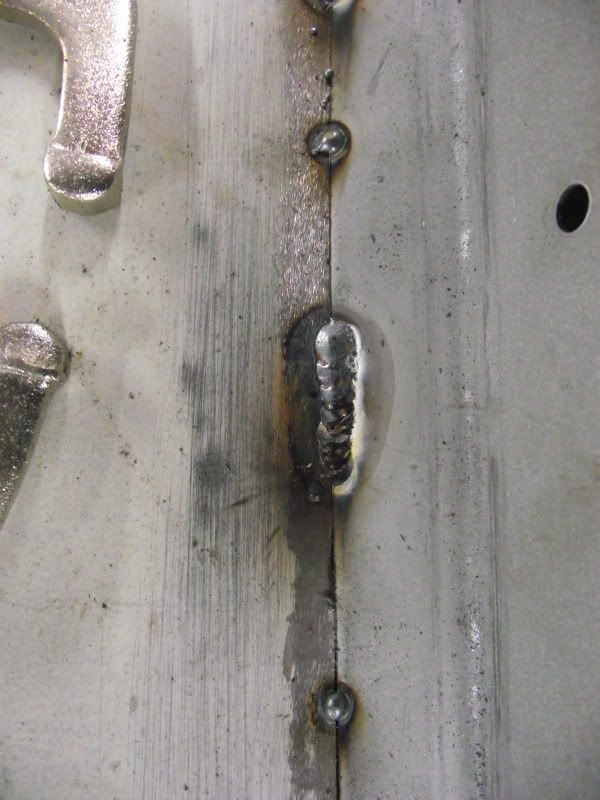
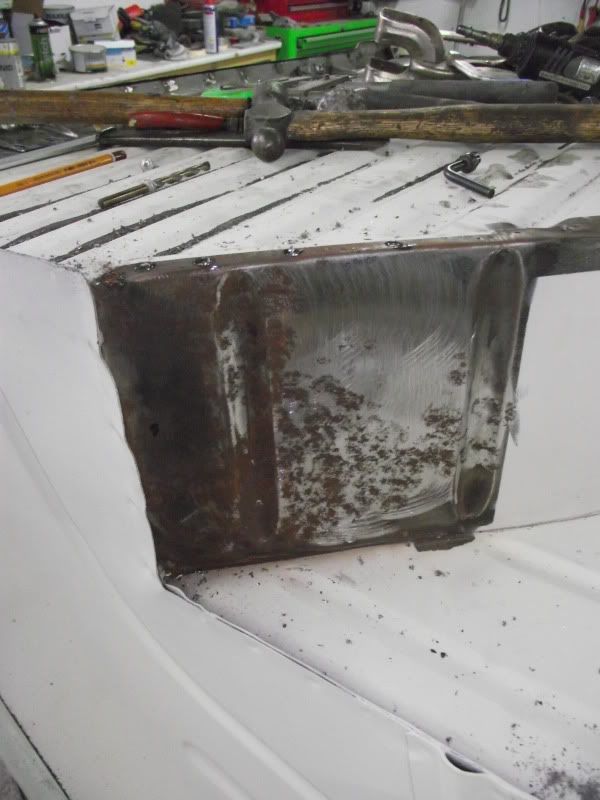
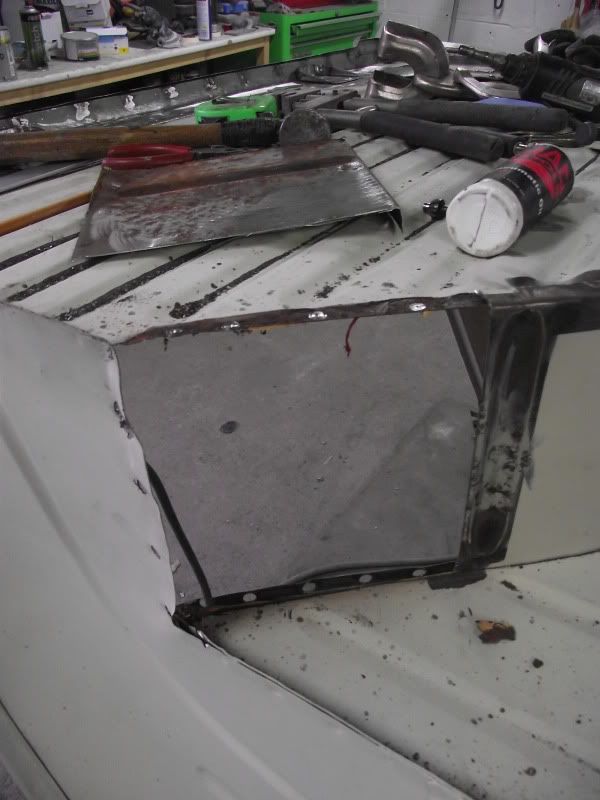
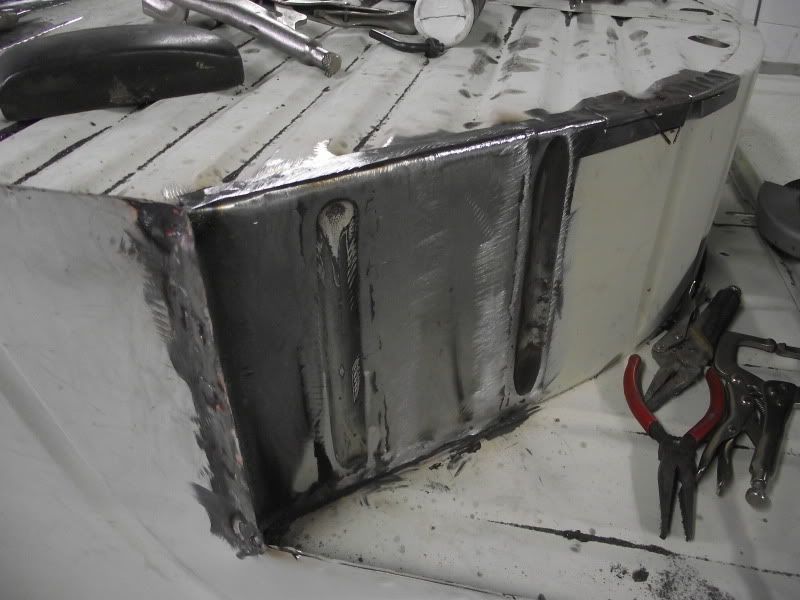
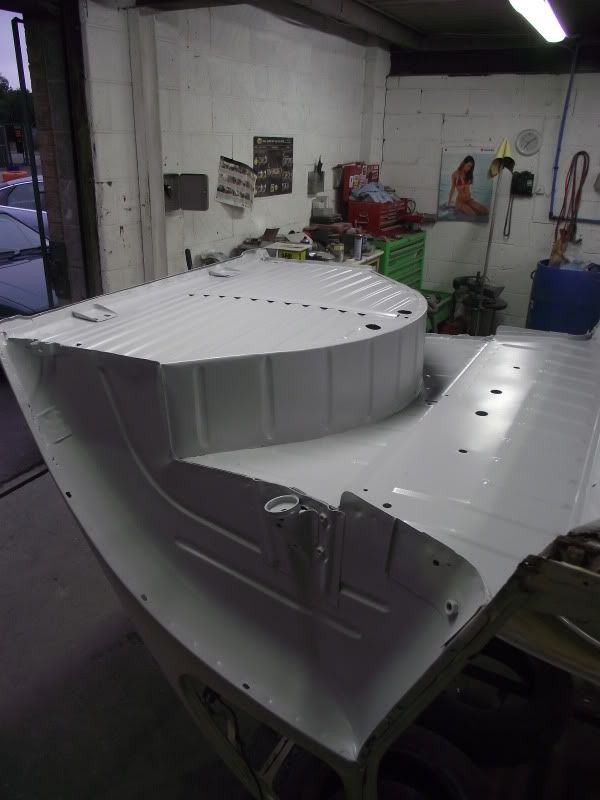
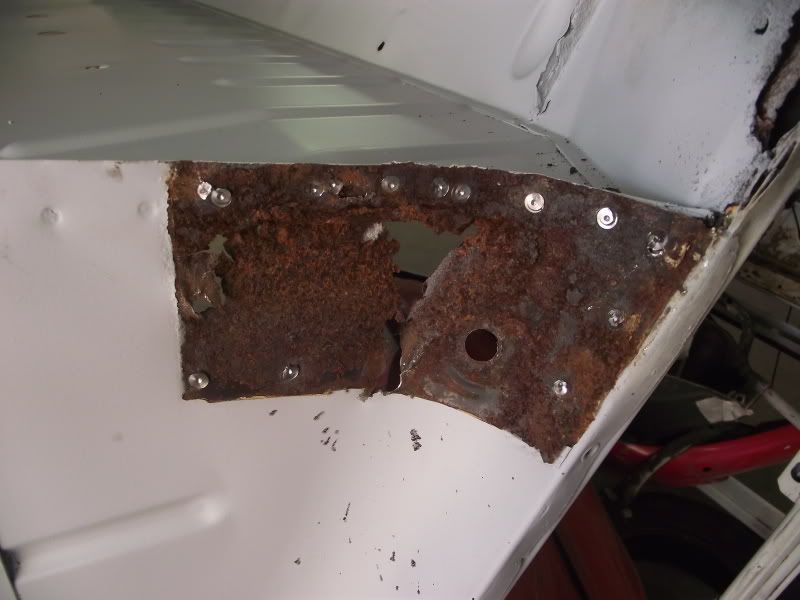
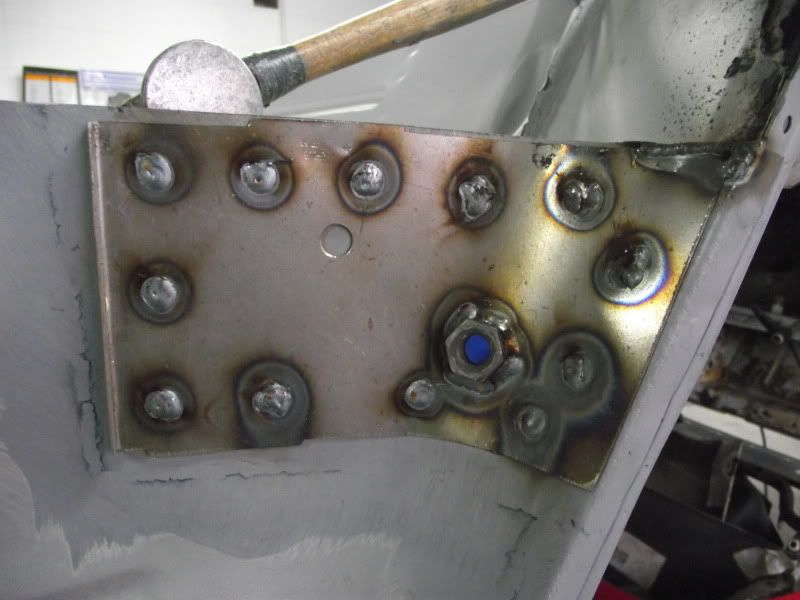
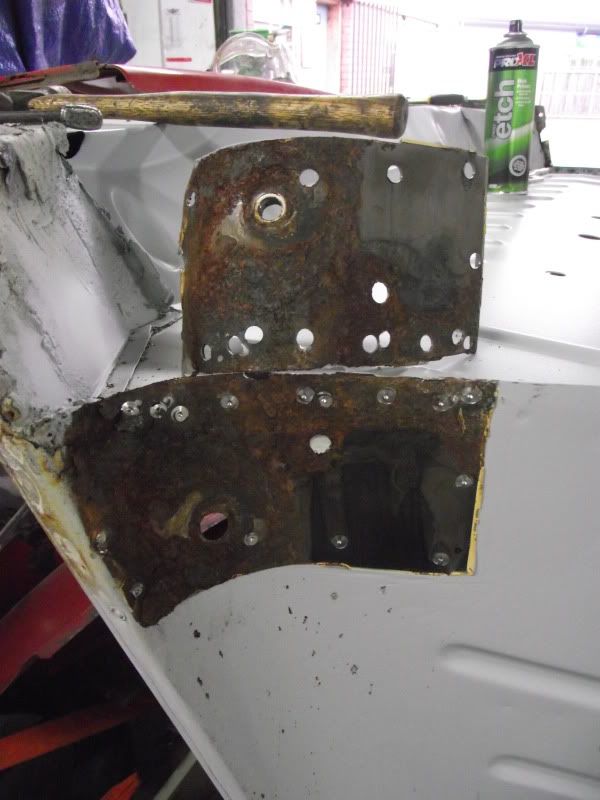
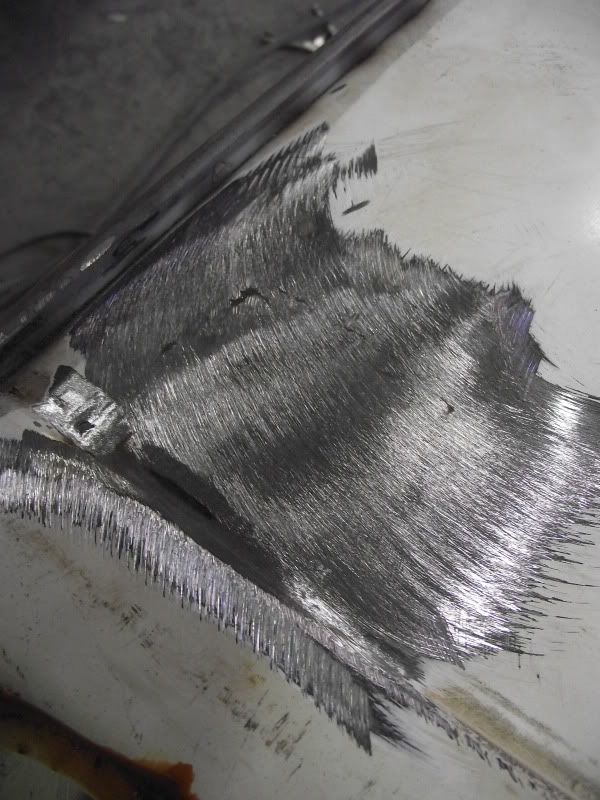
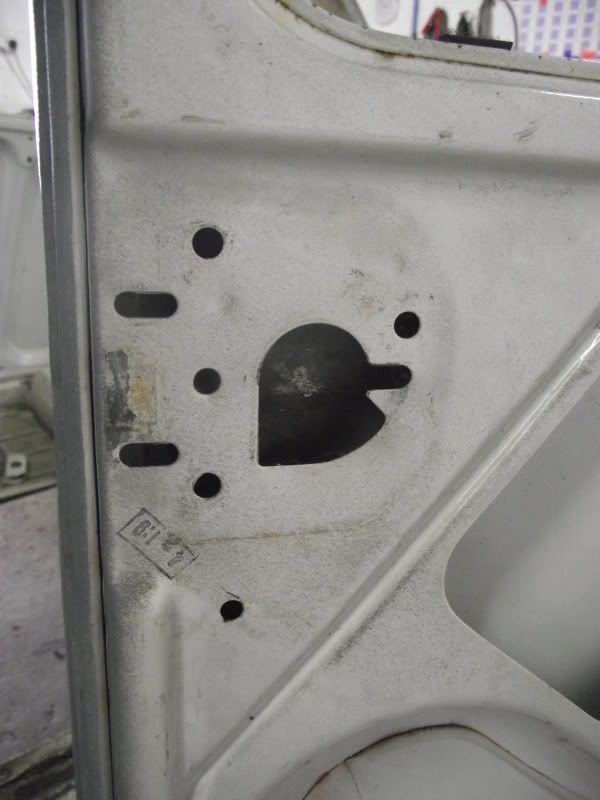
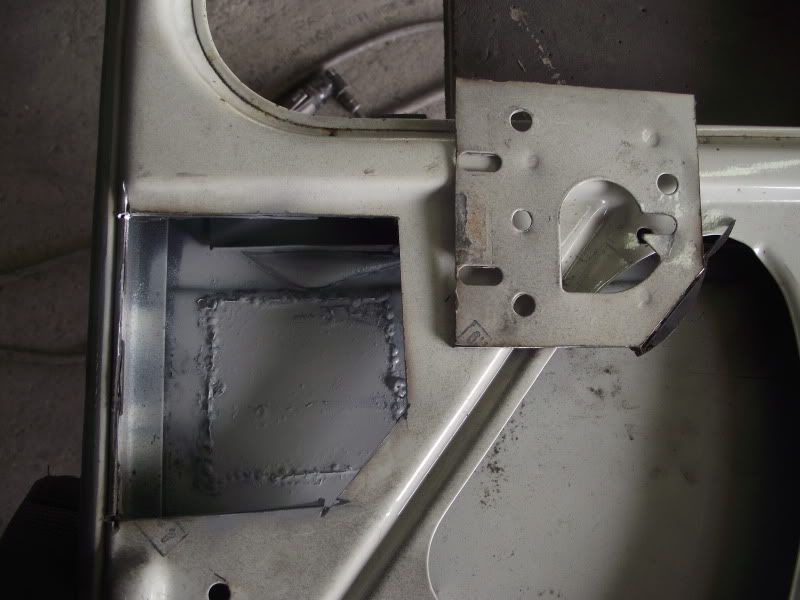
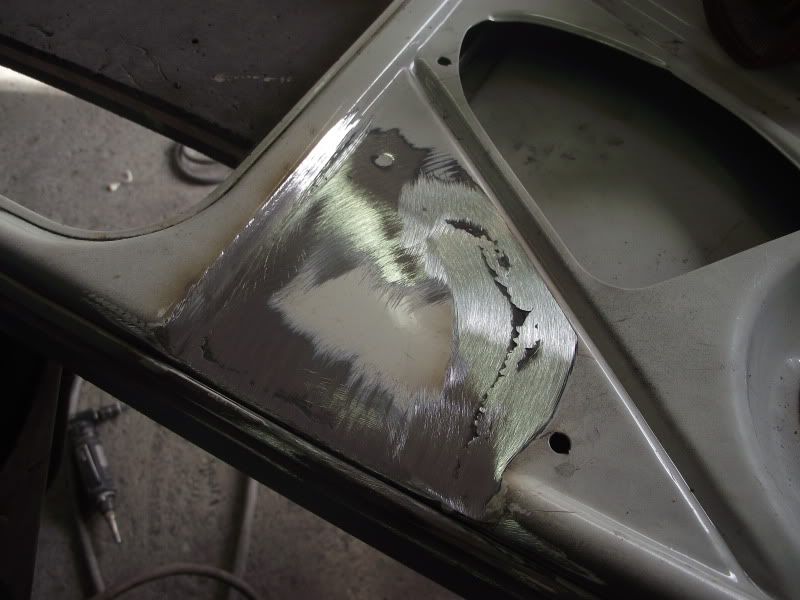
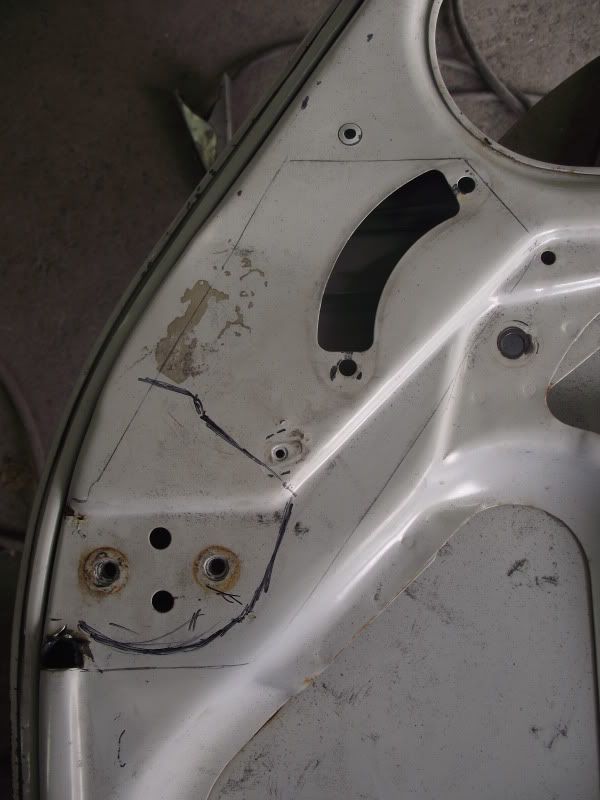
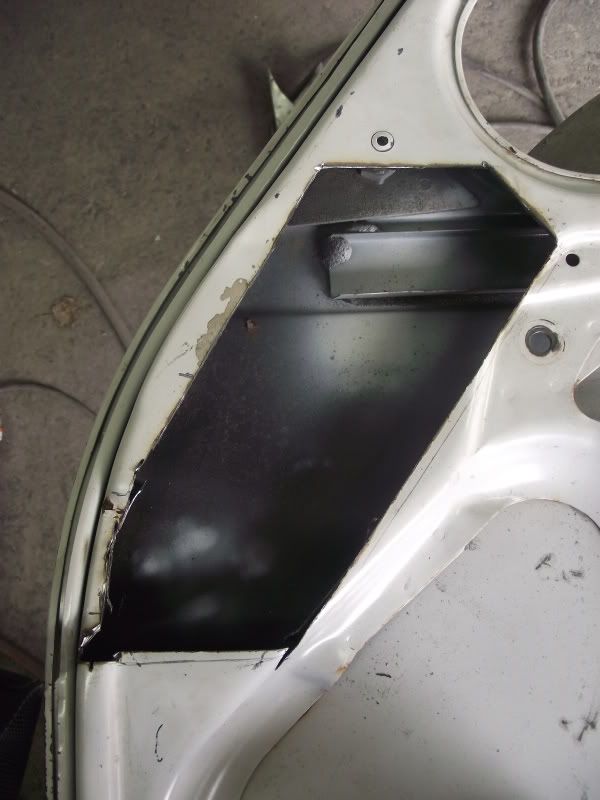
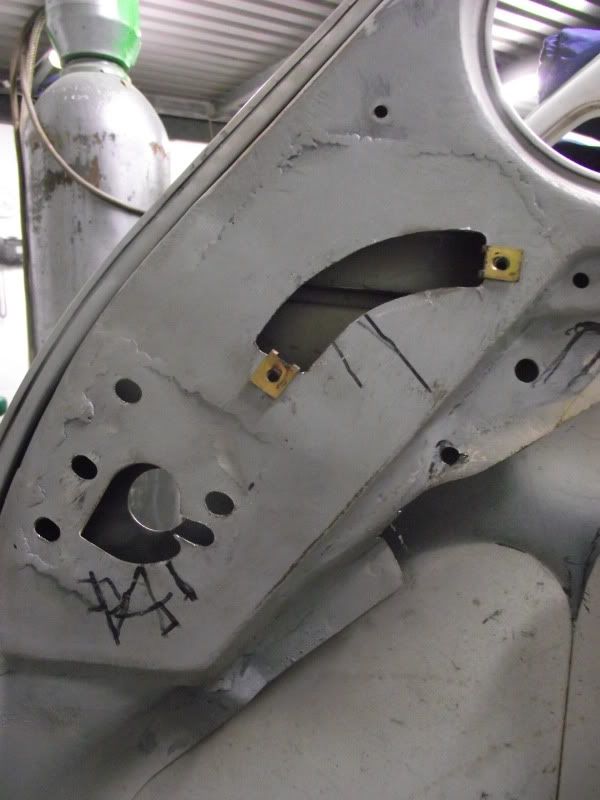
Someone has badly fitted an upside down (
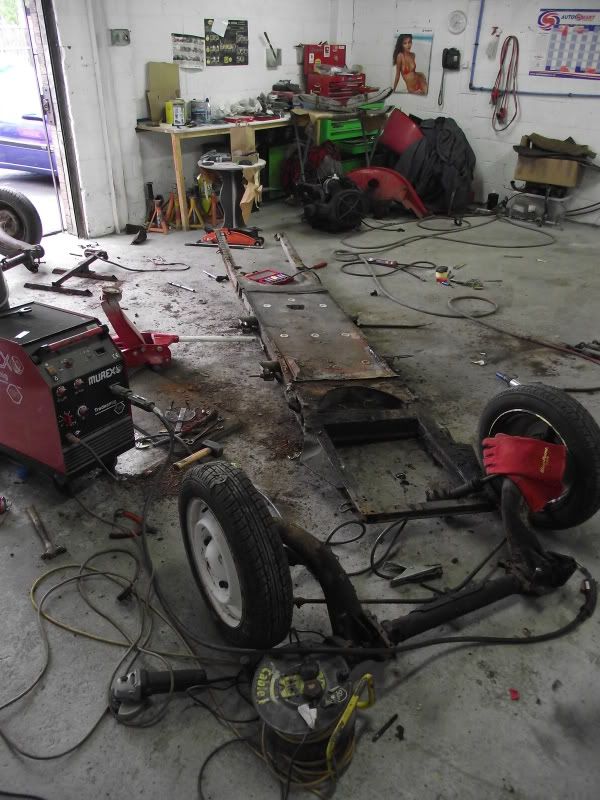
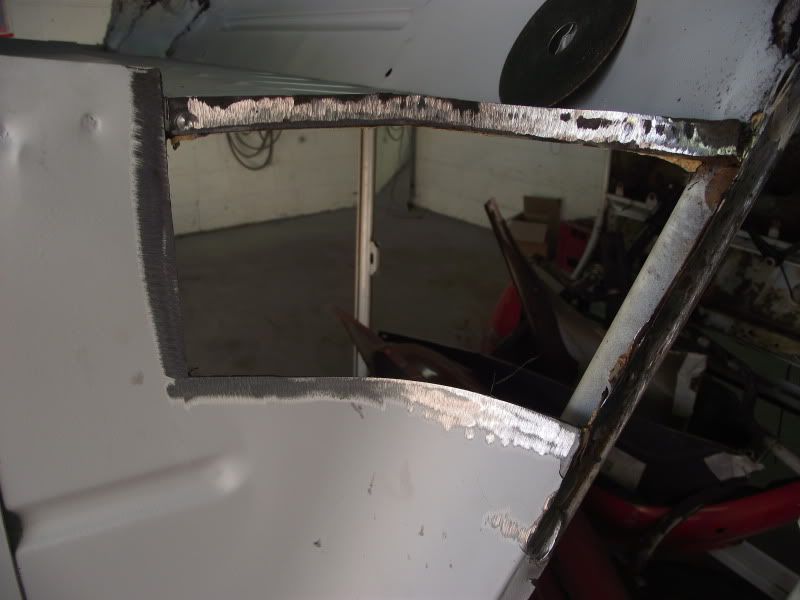
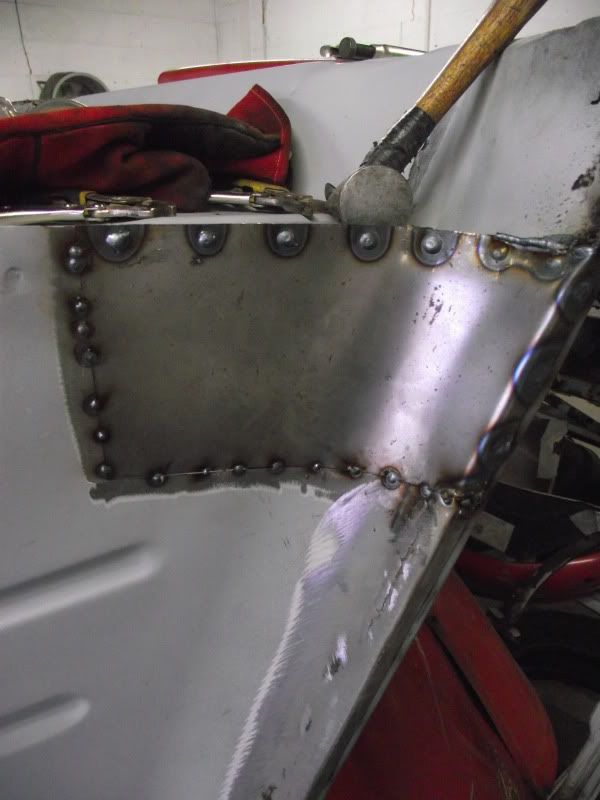
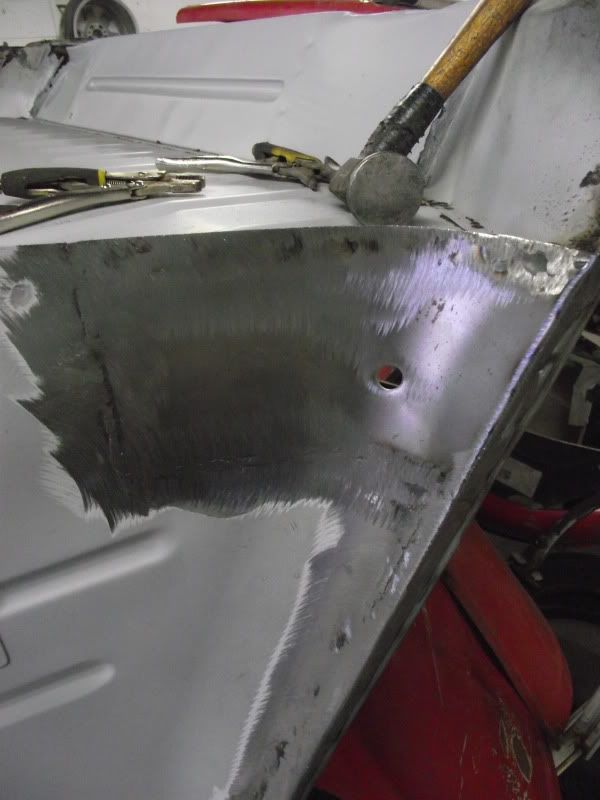
 ) floor pan straight over the holed floor on the N/S front, the O/S has had a similar treatment at some point, both will be replaced and repaired properly.
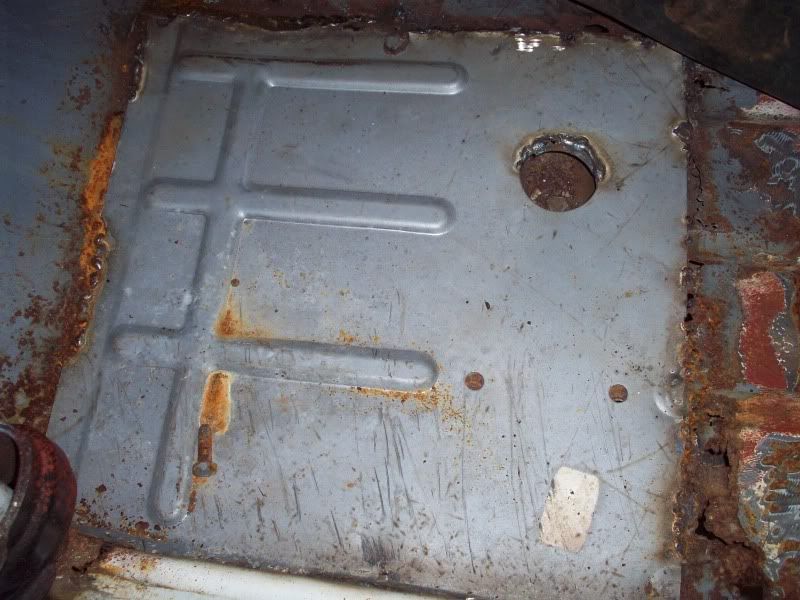
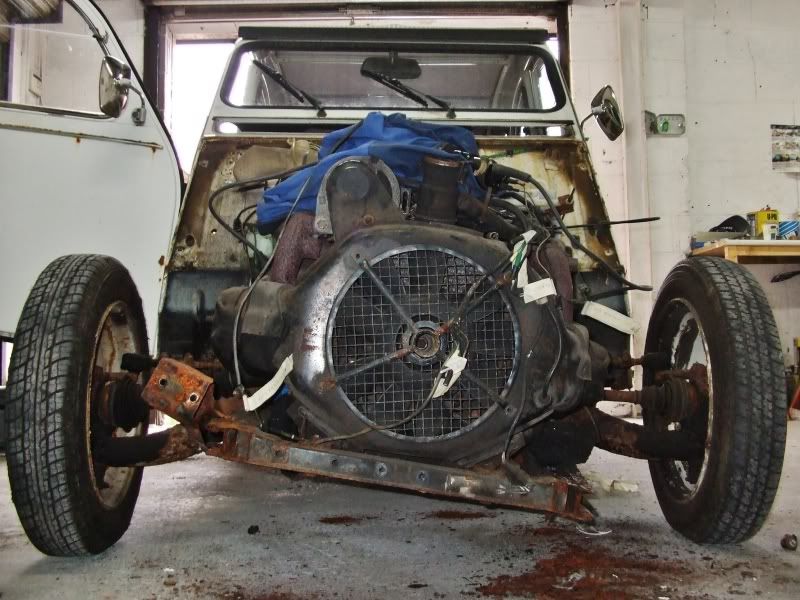
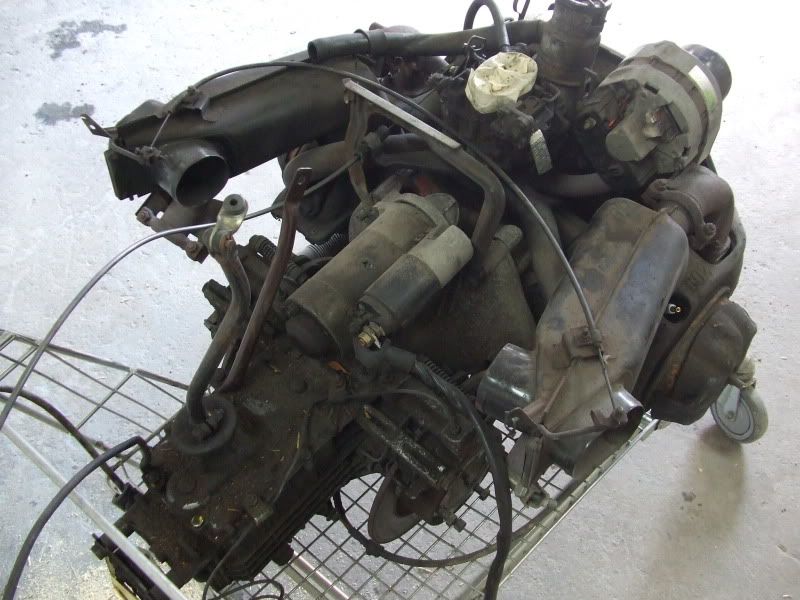
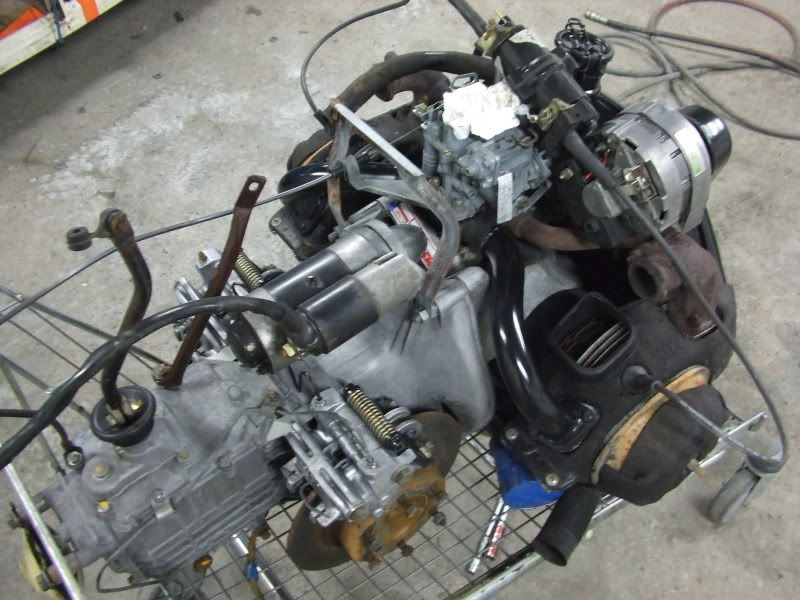
I tried to get it started, put a fivers worth of fuel in it and charged the battery, turned over promisingly but didn't fire. A bit of poking about and I figured the fuel pump wasn't working. Also the fuel line was leaking, so I clamped it off and a new pump and new lines have been ordered up. It fired with a bit of Easystart sprayed into the carb, which was promising.
Should get it running next week, will post updates when anything interesting happens

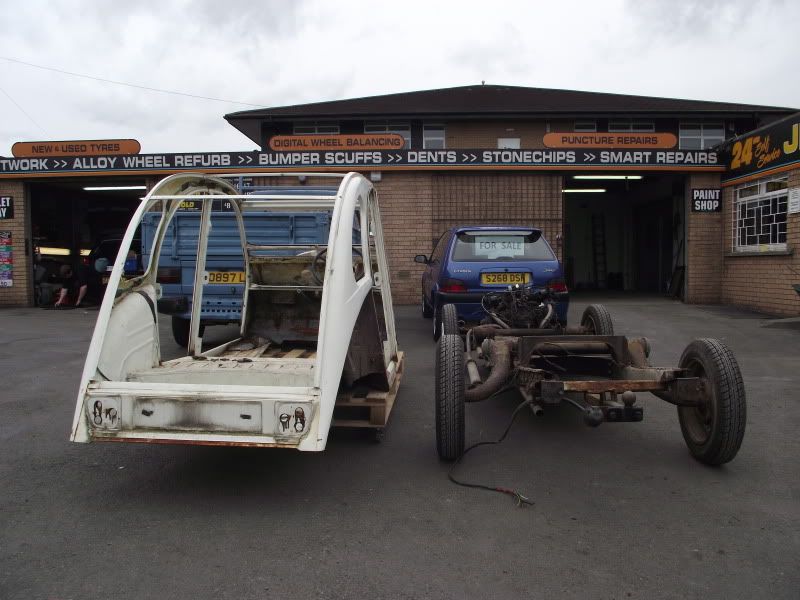
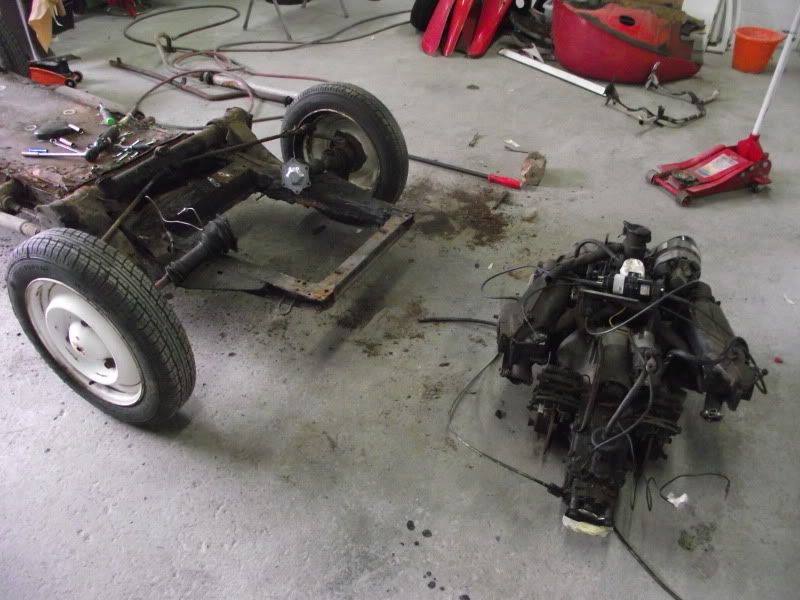
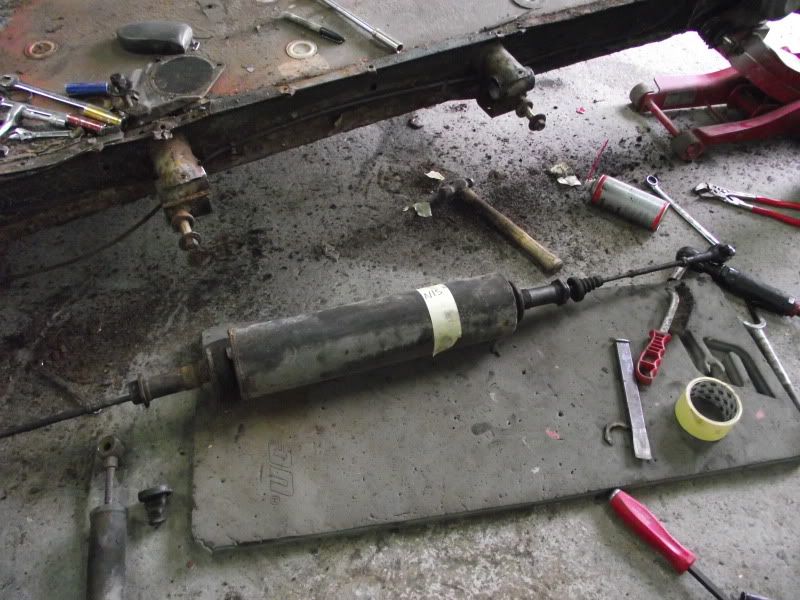
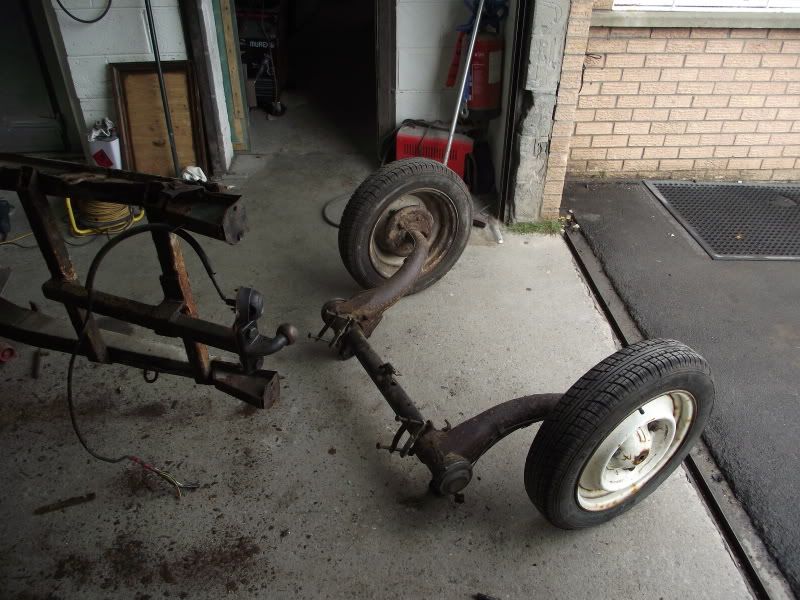
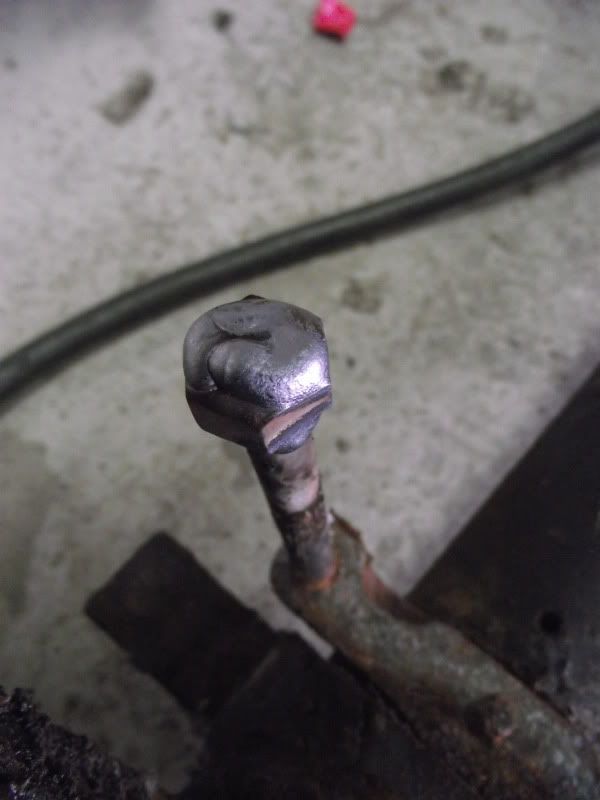
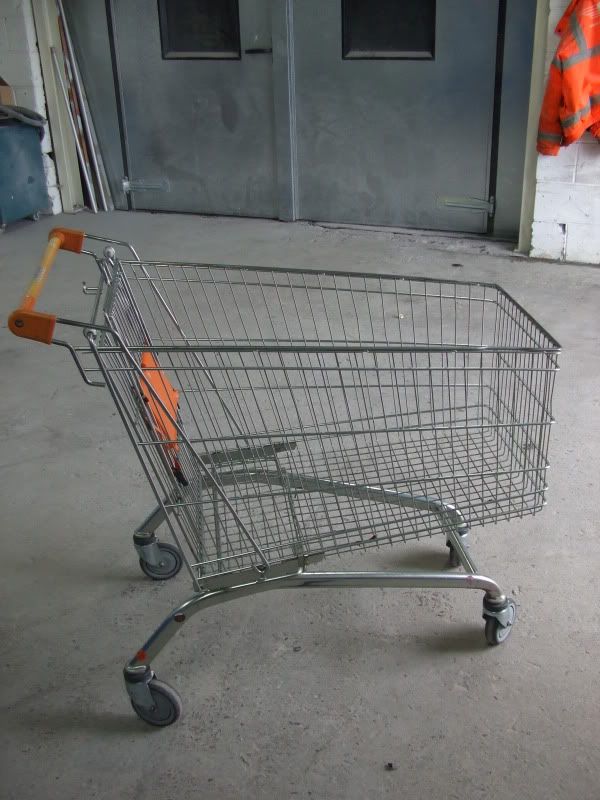
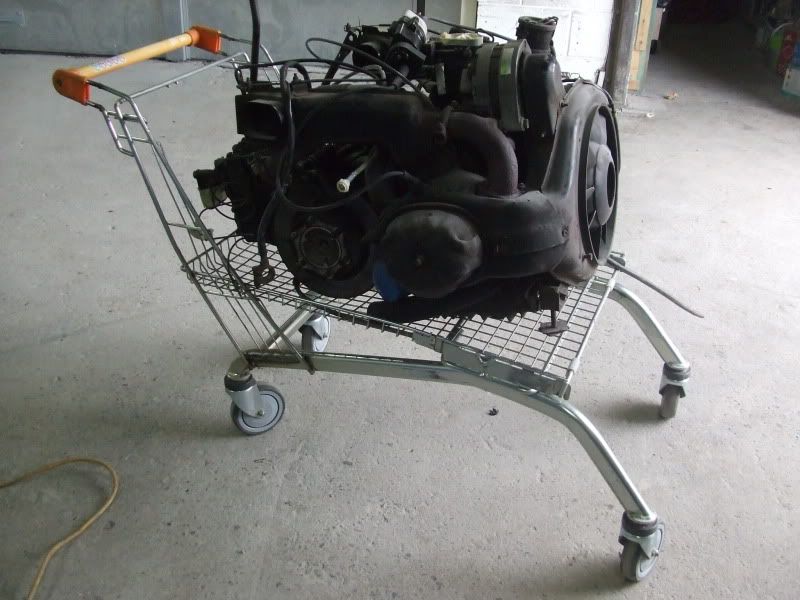
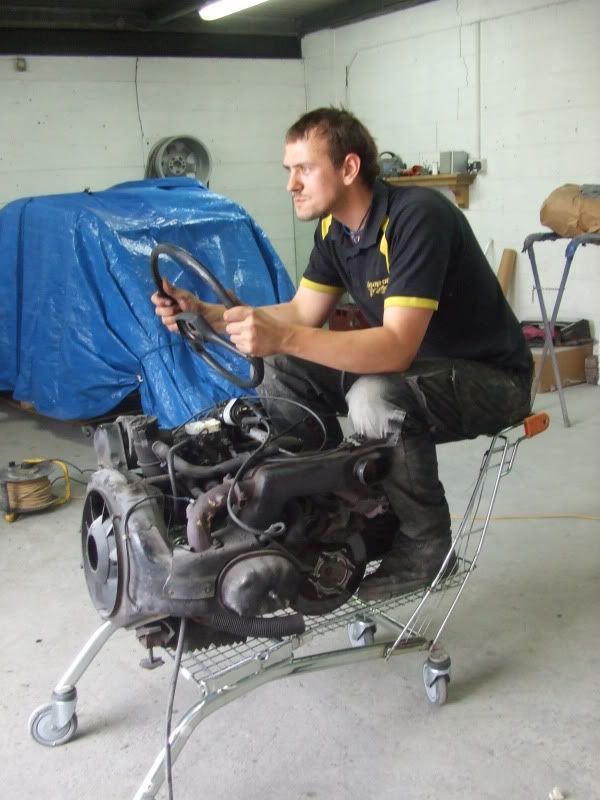
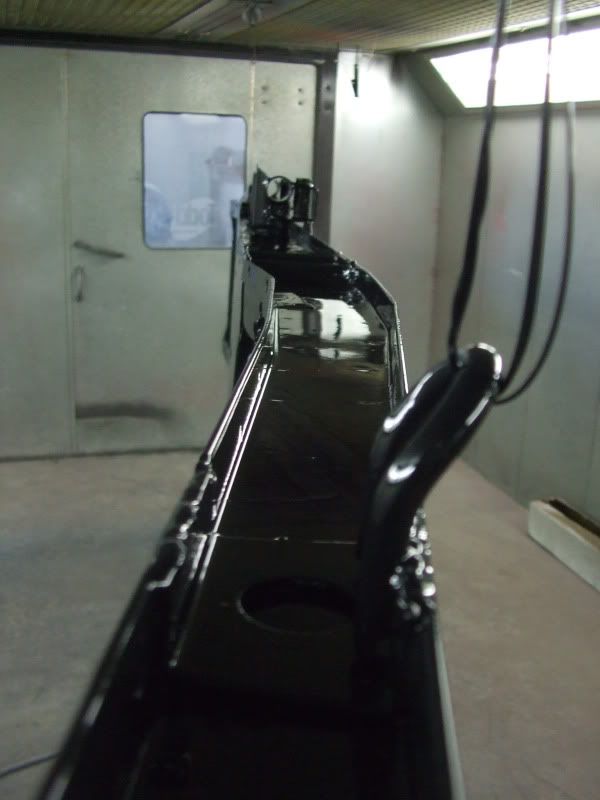
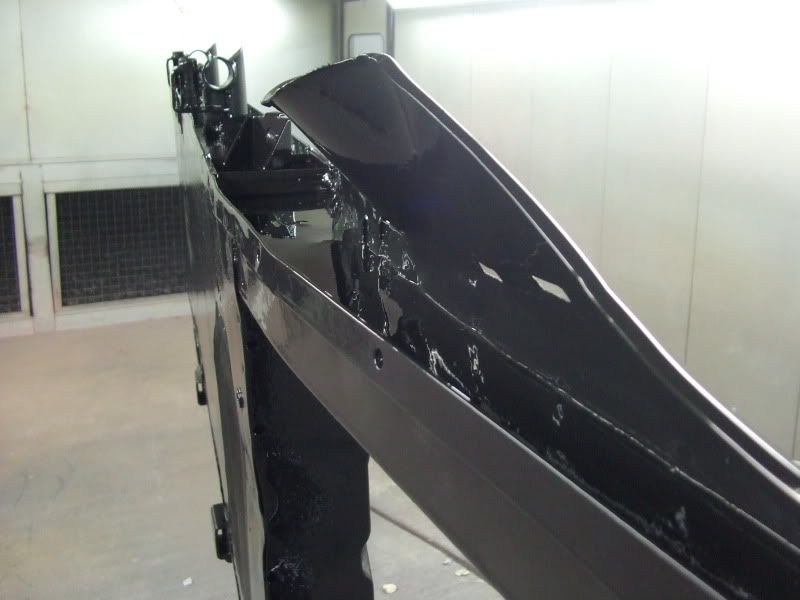
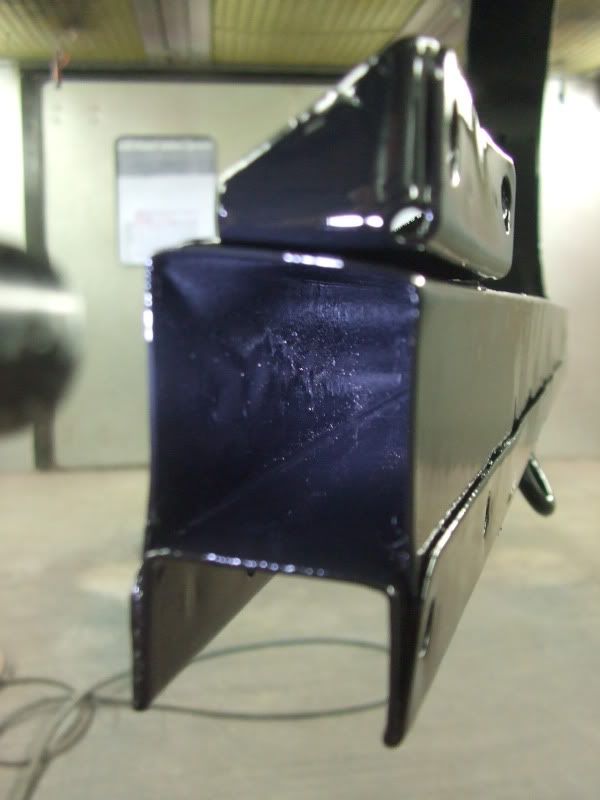
Have some random pics for now..
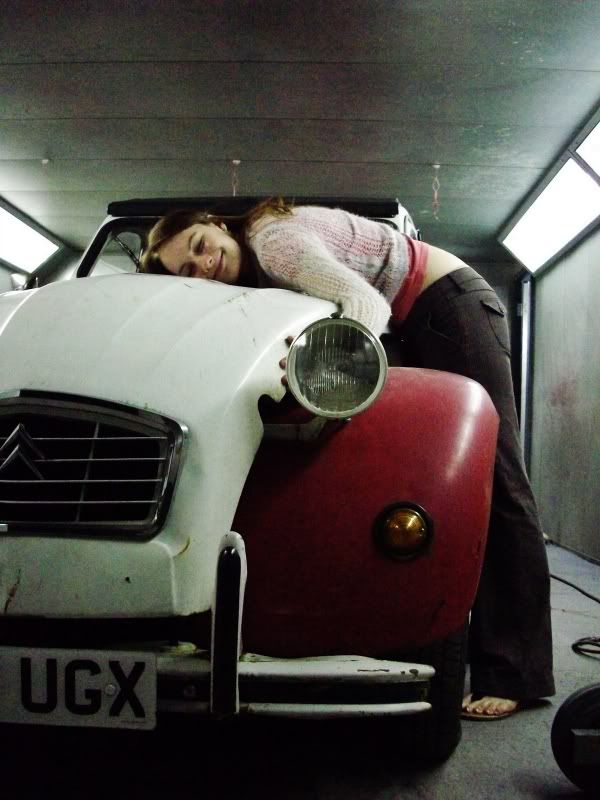
I think she likes it?


Edited by panelbeaterpeter, 23 October 2011 - 05:40 PM.