Jump to content


Photo

Mini Pickup Restoration Project No.2! Finally Underway!


  • Please log in to reply
126 replies to this topic

#31 pickupmad87

pickupmad87

    Previously adampadmore

  • Members
  • PipPipPipPip
  • 273 posts
  • Location: woking

Posted 26 January 2013 - 08:41 PM

Got up to somerfords this morning to pickup the rest of the pannels i needed to get properly started on the rear floor.
Posted Image

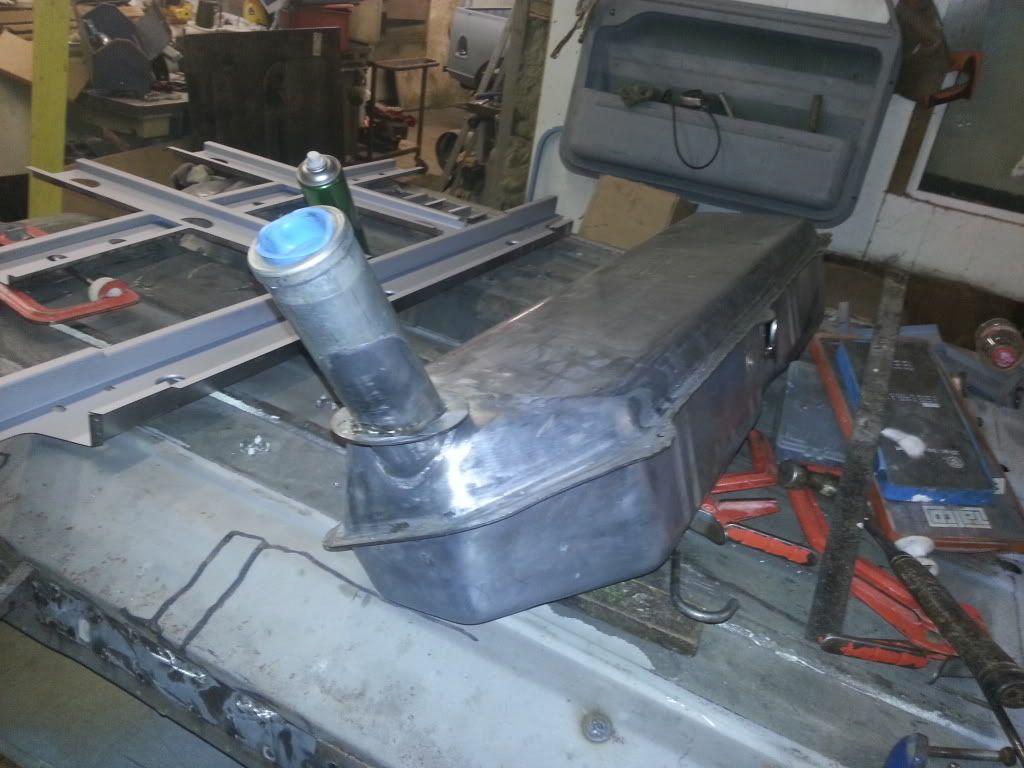
when i walked through the door i spotted a fuel tank in the corner brand new badged up at half price i asked what was wrong with it and the said a customer tried altering the angle to the filler neck by de soldering it couldnt get it to fit and tried returning it as faulty! BARGIN for me!!
Posted Image

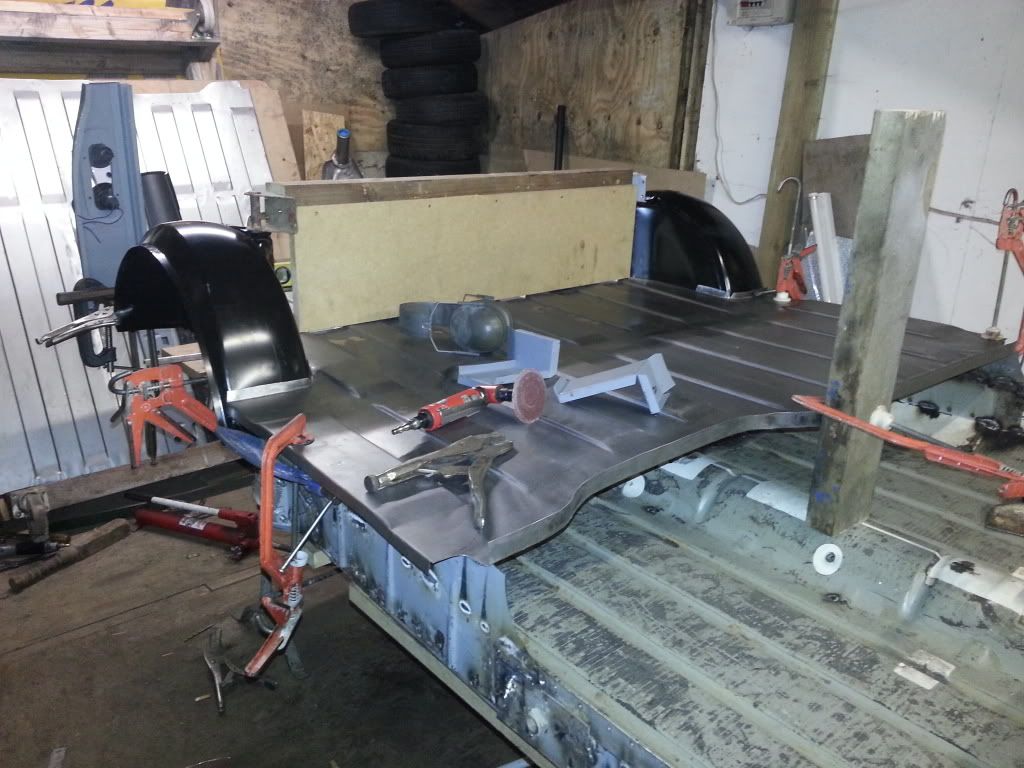
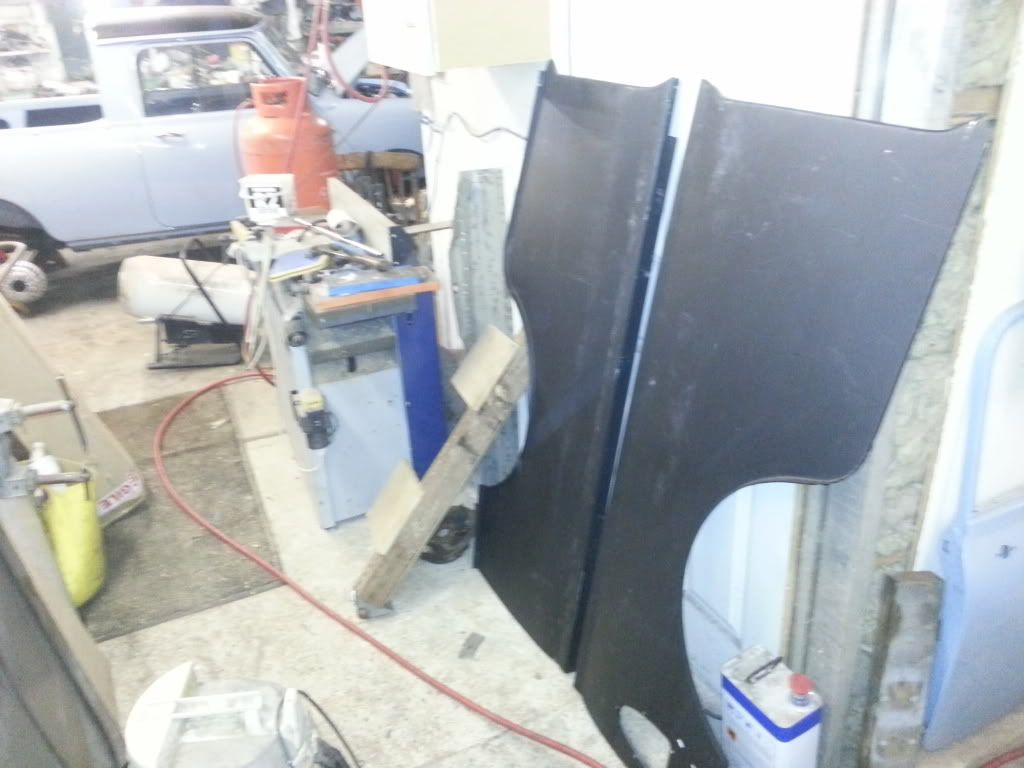
when i was down at somerfords i decided to buy some heritage wheels arches as the pattern ones i bought didnt fit too well
tried them in and they fit a helluva lot better!!
Posted Image

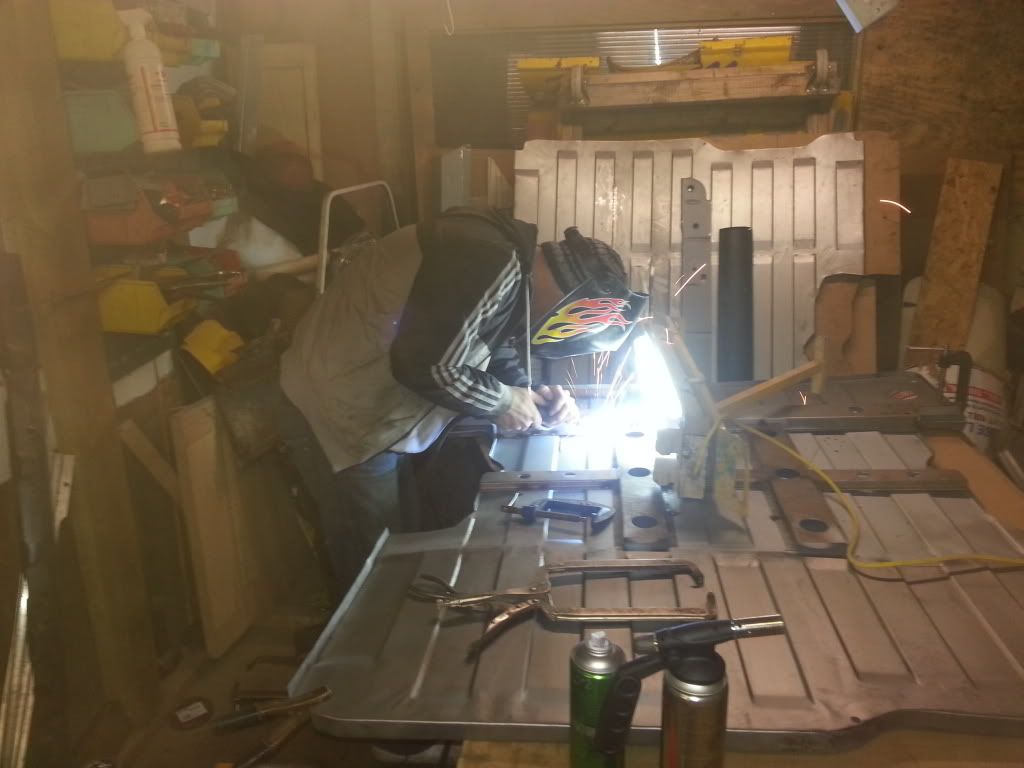
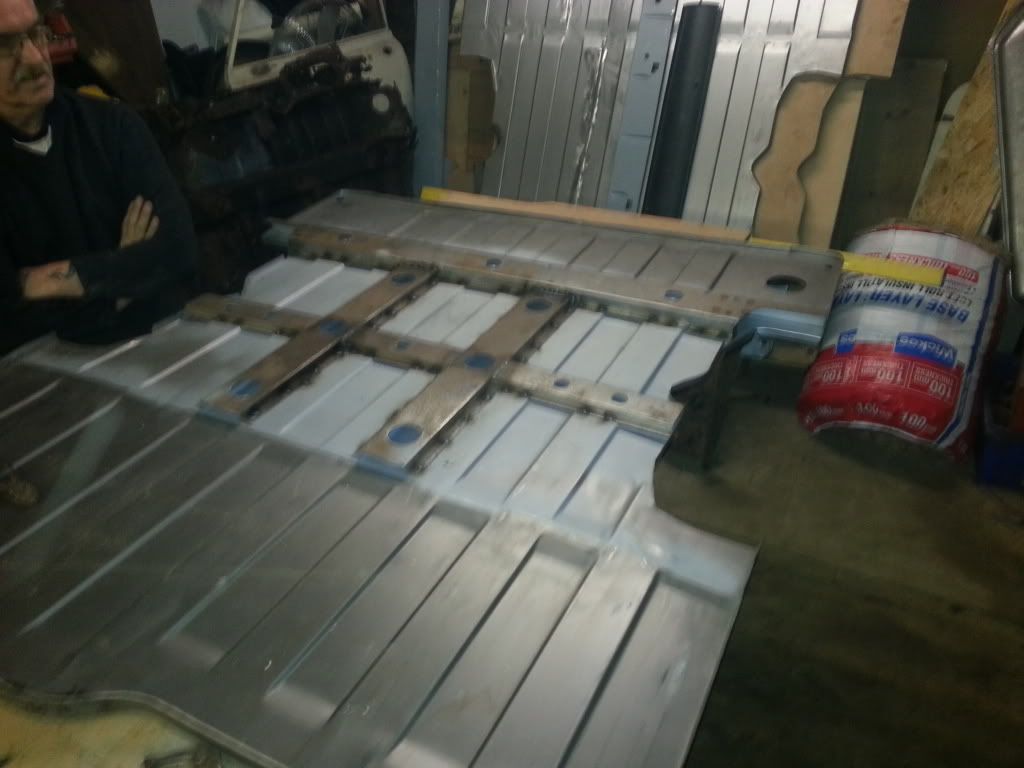
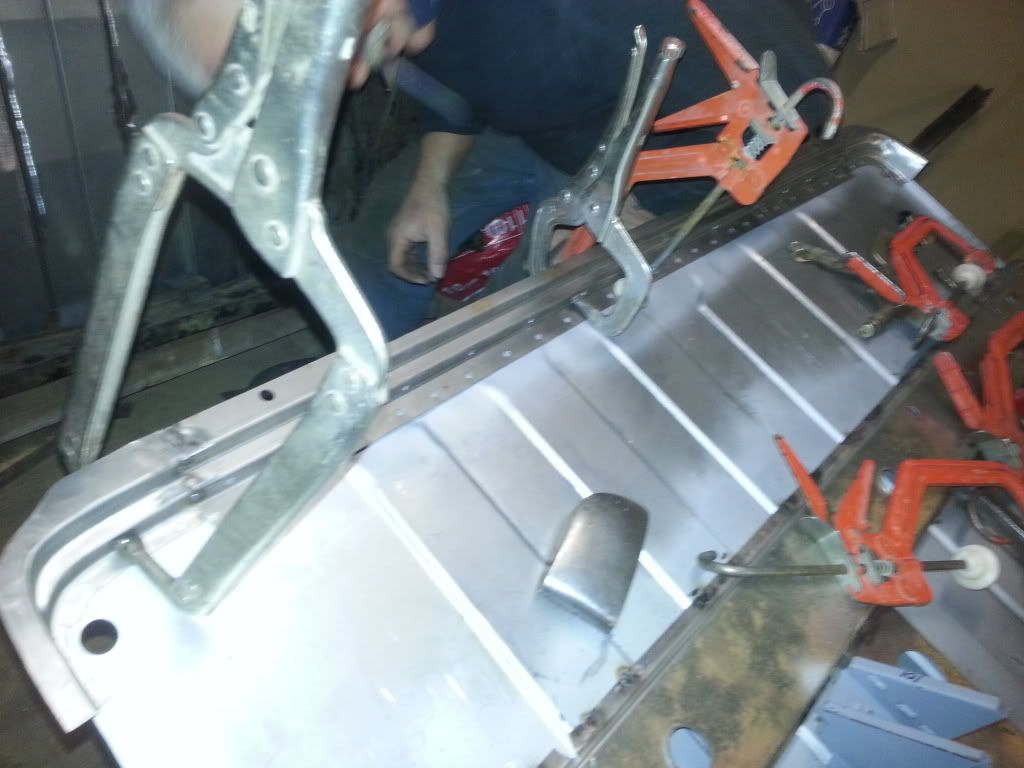
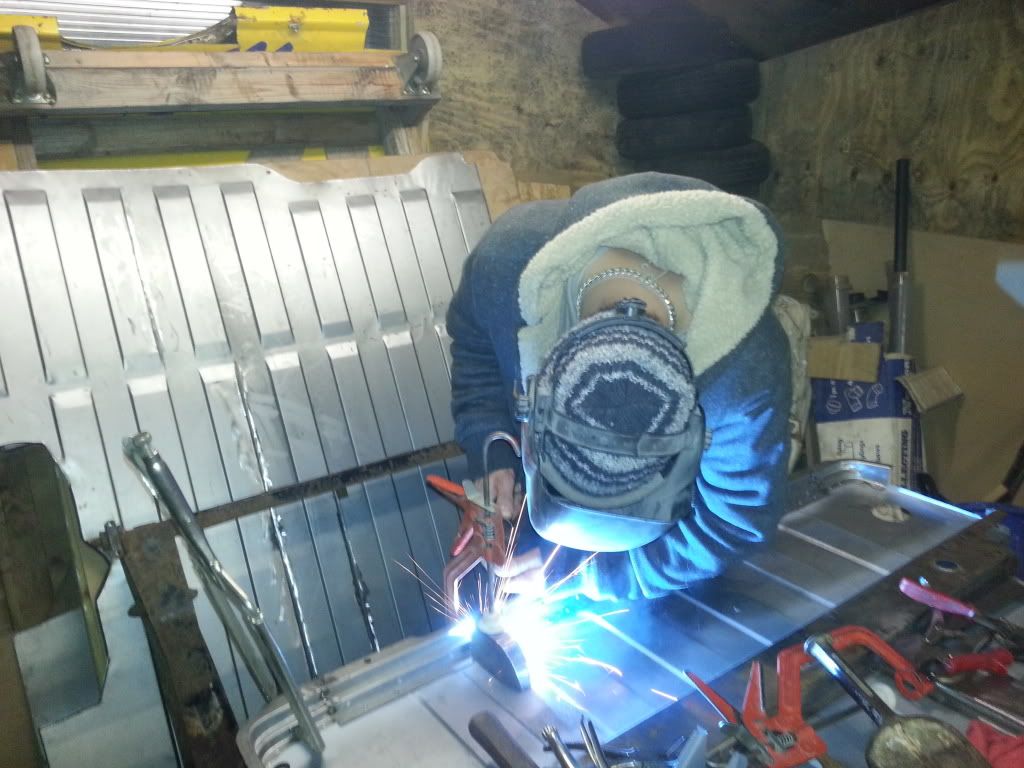
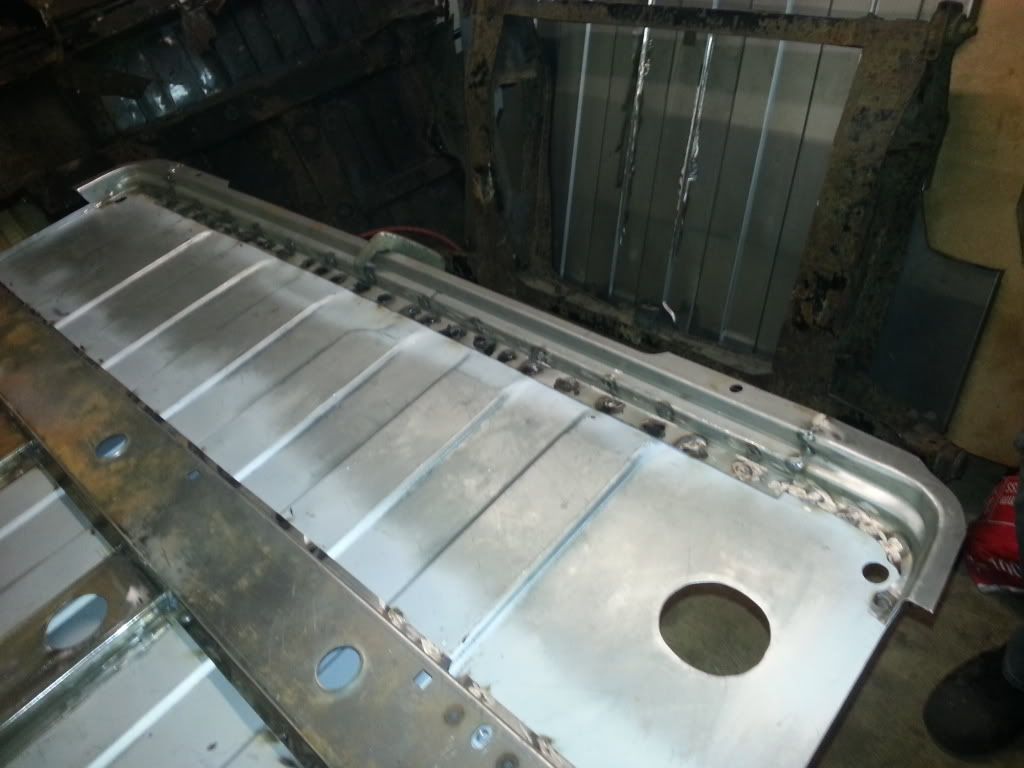
probally going to make a start on screwing panels in place and possibly welding them tommorow so i keyed up the inside of the h frame setup and gave the a couple of coats of weld through primer.
Posted Image

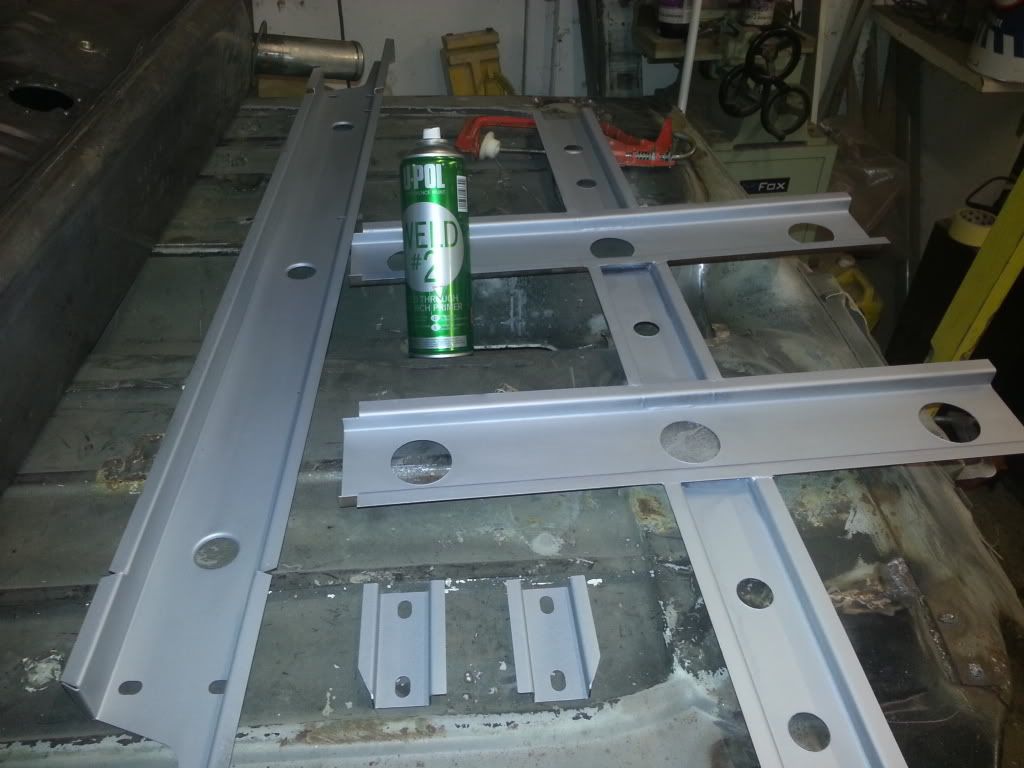
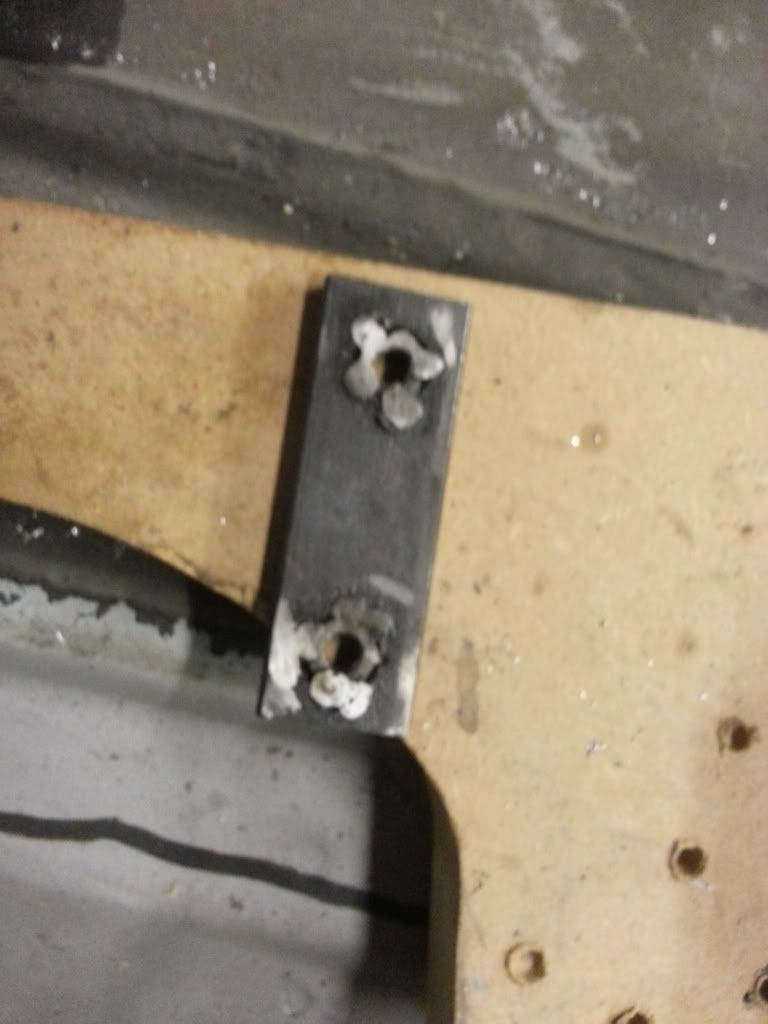
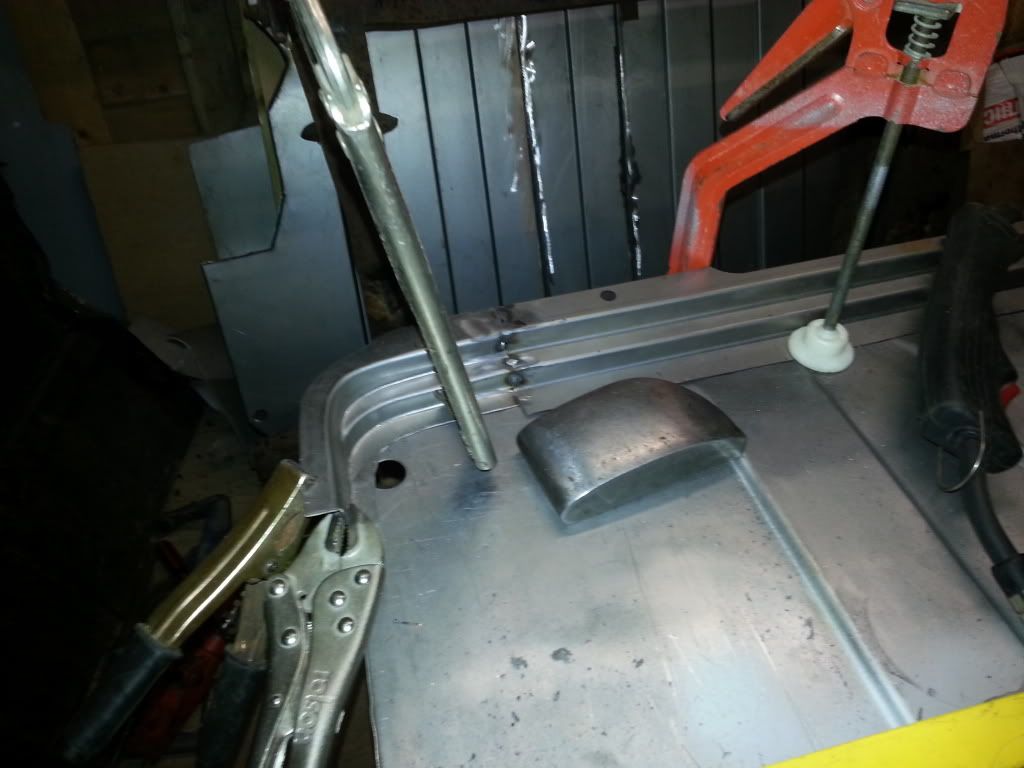
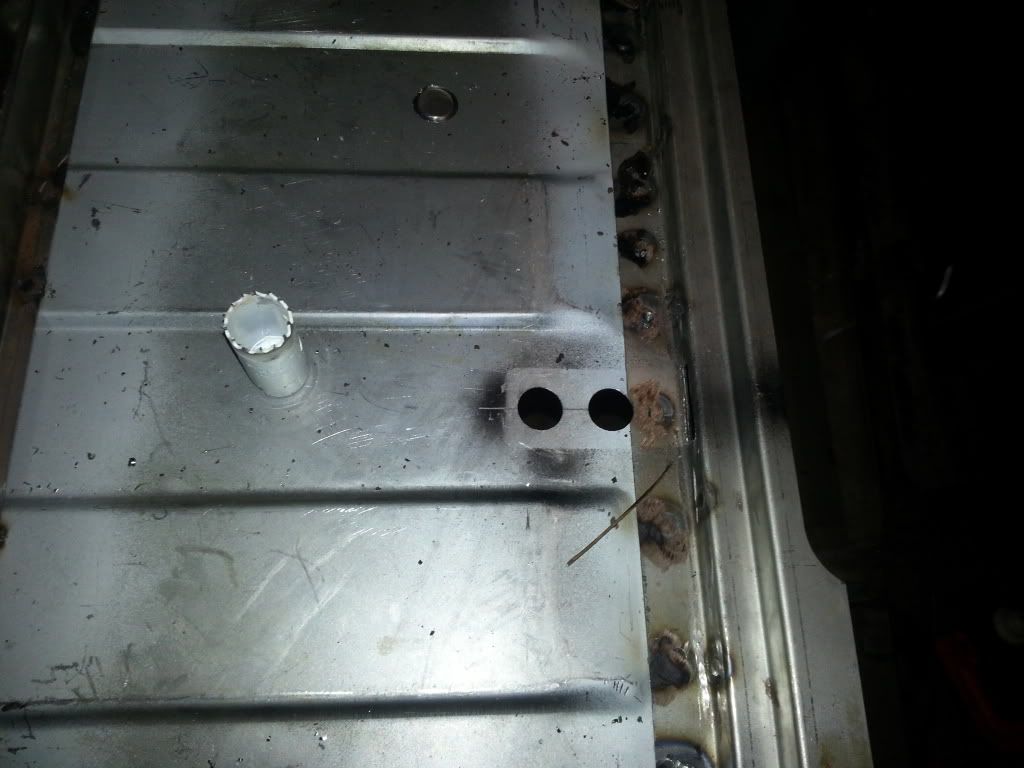
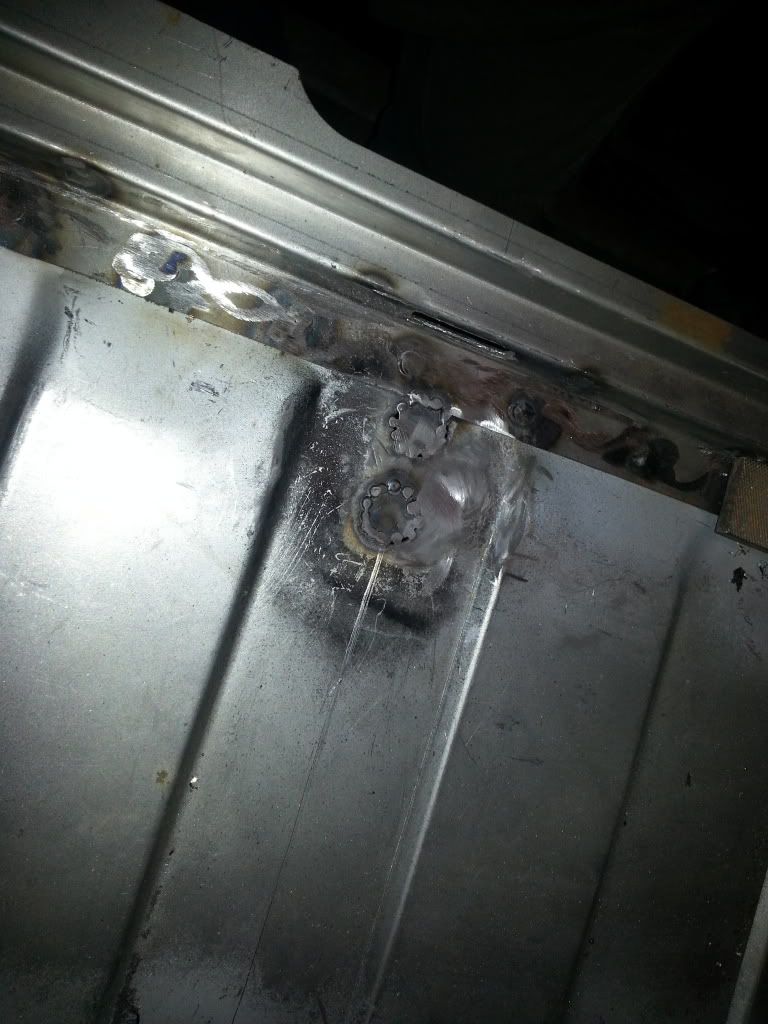
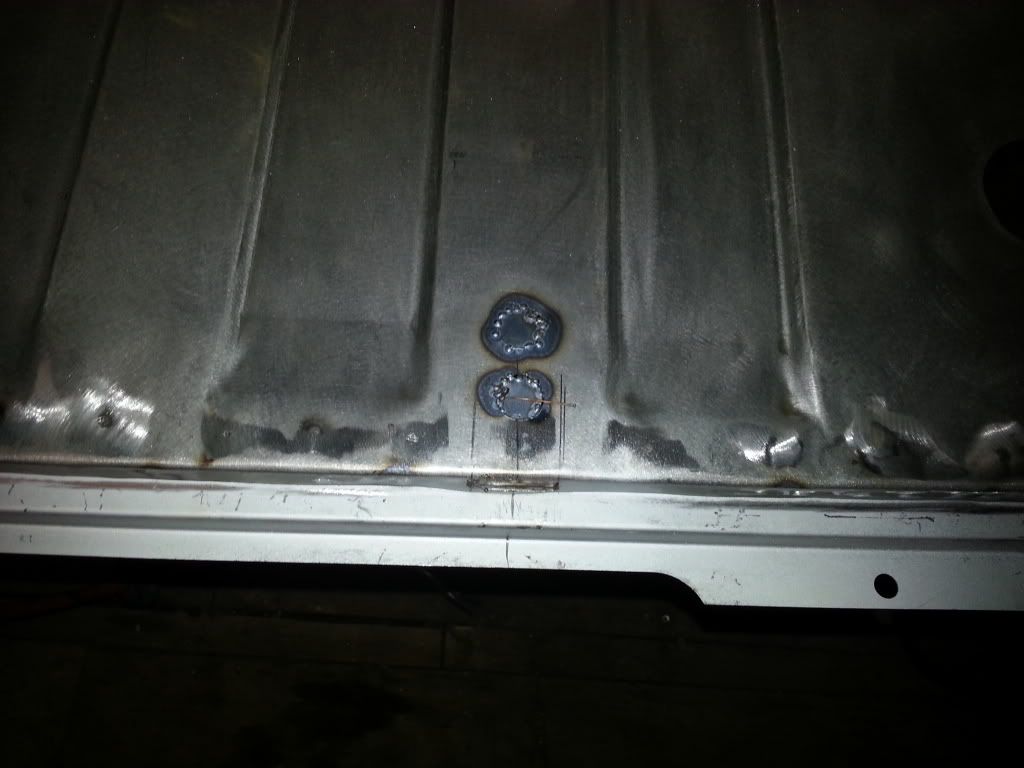
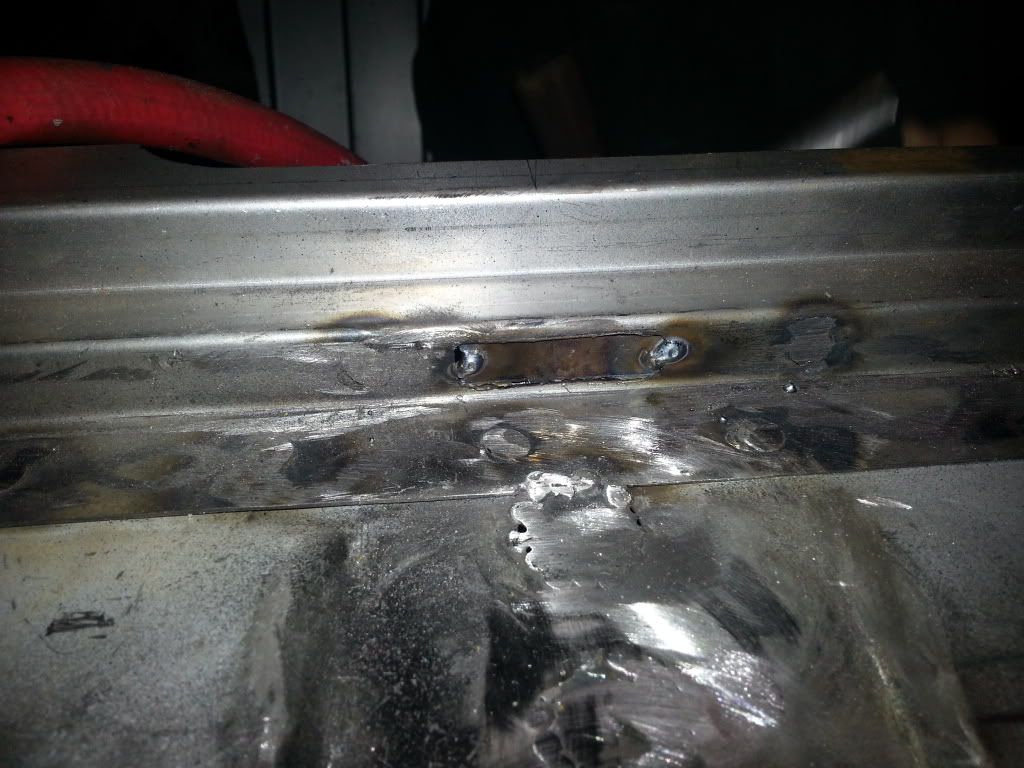
to be able to weld part of the h frame setup to the floor i need to put in the subframe bolt blocks that get hidden in side and welded in, i had to make these up as my ones on my pickup were non existent and i totally forgot to get them at somerfords!
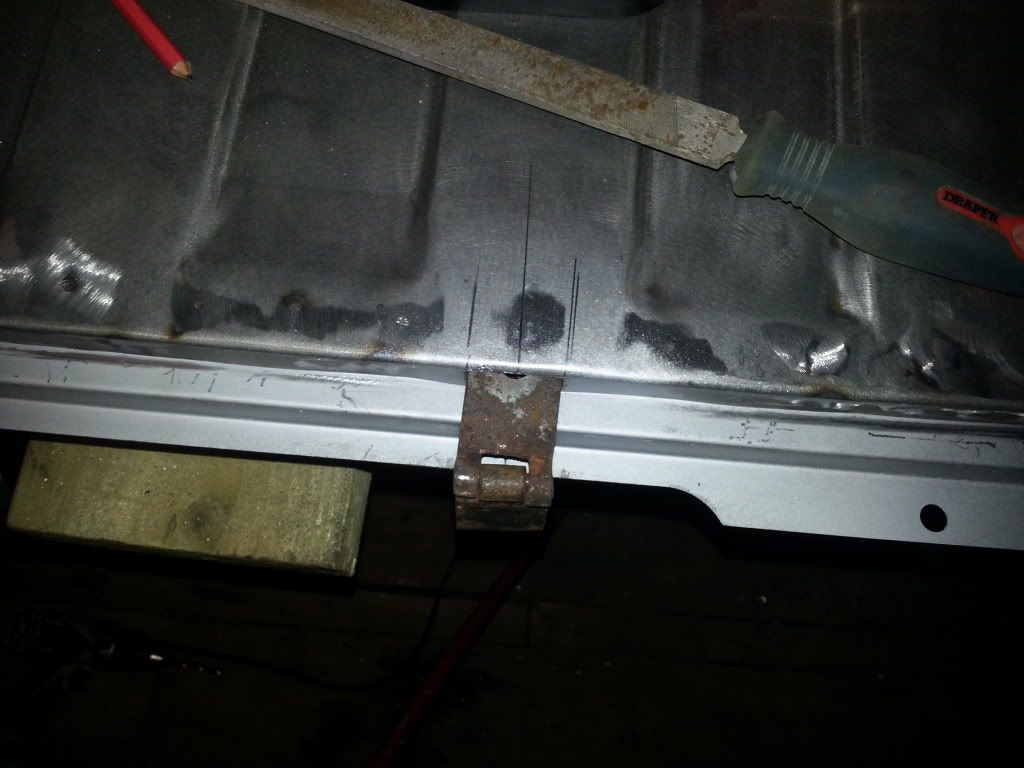
also i couldnt find the right size tap anywhere at home by the time i realised it everywhere was shut so couldnt buy a tap so i done this....
Posted Image

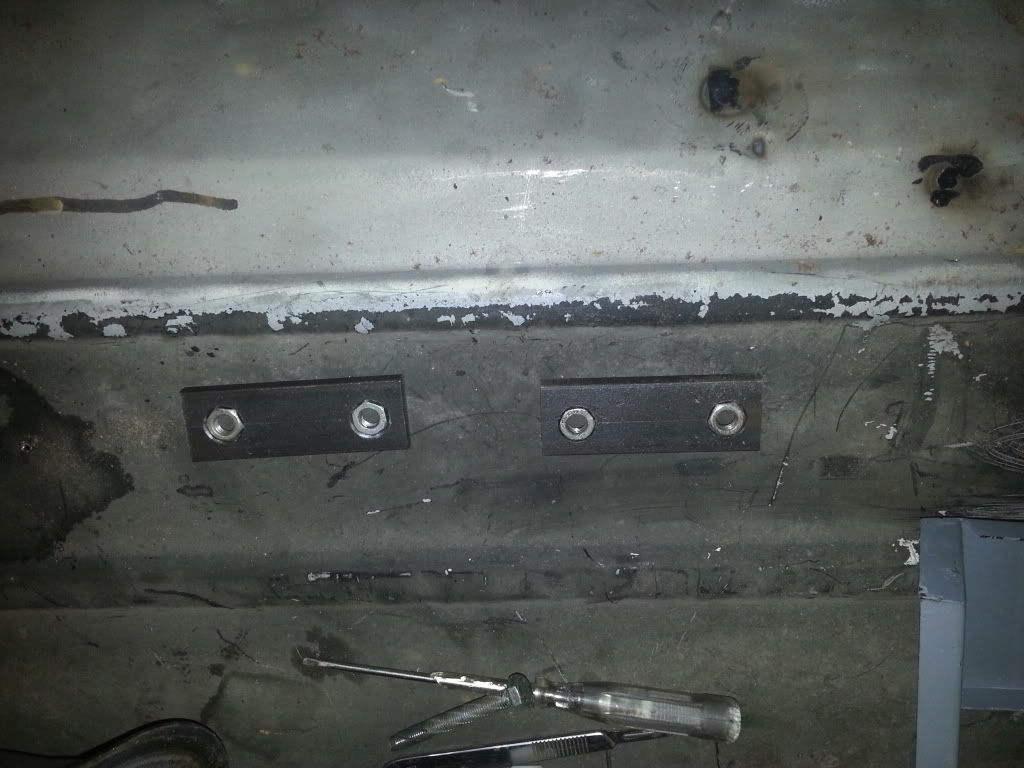
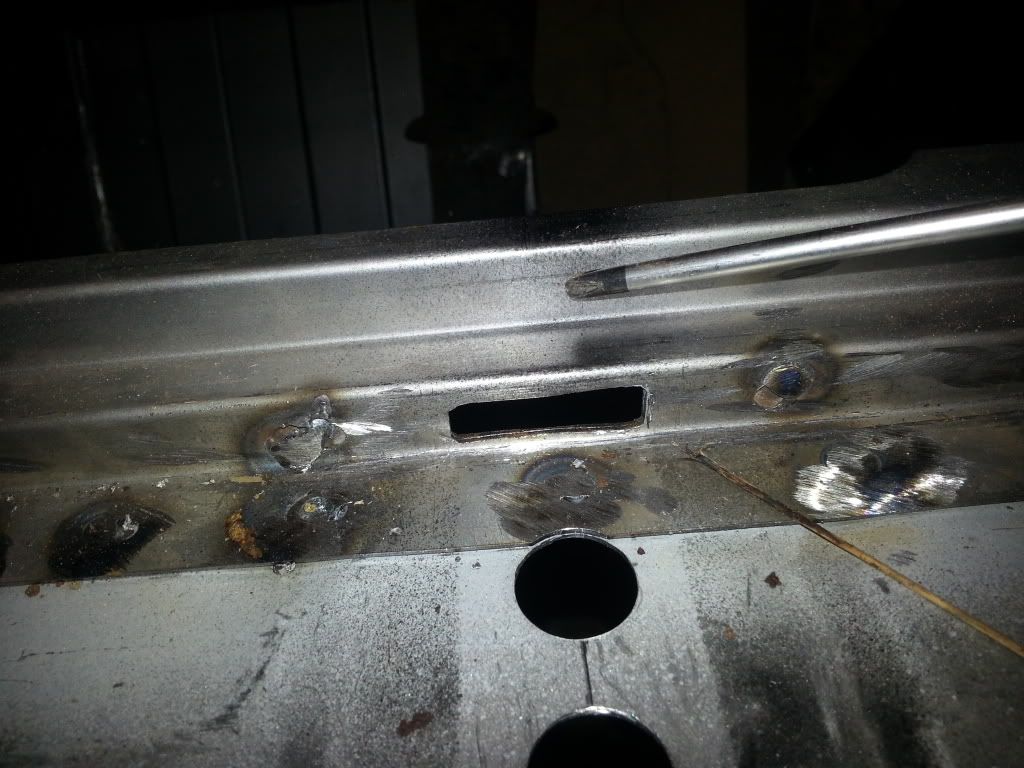
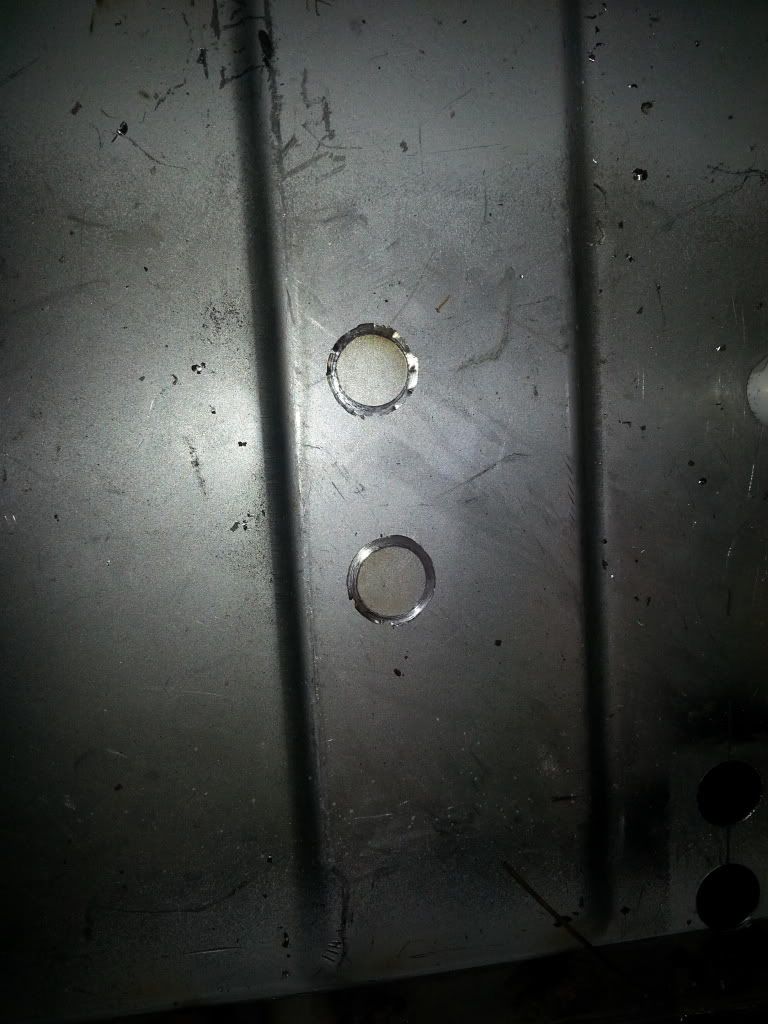
they are countersunk into the metal and pressed in with a vice, tommorow i will drill some hole at each point of the nut bout half thinkness to get some better weld in there.

only thing left to get for the rear is a tail gate, and rear arches which im hopefully ordering on monday from old skool. if anyone here has a spare pickup tailgate hanging around i would defo be interested!!

#32 Chriss

Chriss

    Mini Mad

  • Noobies
  • PipPipPipPip
  • 107 posts
  • Location: Kent

Posted 26 January 2013 - 08:58 PM

Will be following this, i love pickups!

Hopefully one day i'll have one to restore :D

#33 pickupmad87

pickupmad87

    Previously adampadmore

  • Members
  • PipPipPipPip
  • 273 posts
  • Location: woking

Posted 26 January 2013 - 09:16 PM

yeh were mad about them thats why weve got two!!

#34 mk1leg

mk1leg

    Crazy About Mini's

  • Members
  • PipPipPipPipPipPipPipPipPipPip
  • 9,341 posts
  • Location: Jersey
  • Local Club: Mini Club Jersey, MCR

Posted 26 January 2013 - 10:14 PM

Nice work.....keep the pics comming................. :proud:

#35 pickupmad87

pickupmad87

    Previously adampadmore

  • Members
  • PipPipPipPip
  • 273 posts
  • Location: woking

Posted 28 January 2013 - 08:52 PM

finally got another bottle of welding gas today, ran out saturday so we finished welding the nuts into the bar for the rear subframe mounts
Posted Image

then did some carefull measuring and lining up and started to weld the h frame and rear subframe assembley to the load bay skin.
Posted Image
Posted Image

thats it for tonight hopefully do a bit more tomorow when i get back from work.

#36 L. Brown

L. Brown

    Learner Driver

  • Noobies
  • PipPip
  • 22 posts

Posted 29 January 2013 - 05:11 AM

Nice work!!

#37 SAL 821X

SAL 821X

    Camshaft & Stage Two Head

  • Members
  • PipPipPipPipPipPipPipPip
  • 1,890 posts
  • Location: Hinckley
  • Local Club: Leicester Mini Owners Club

Posted 29 January 2013 - 08:51 AM

Cracking stuff Adam.

Following.

#38 BensonJ

BensonJ

    Mini Mad

  • Noobies
  • PipPipPipPip
  • 142 posts
  • Location: York
  • Local Club: Geeks N Freaks Mini Club

Posted 29 January 2013 - 01:25 PM

I have a pick up to start after my mayfair build,

Not really looking forward to it... following your thread to get inspiration.

Lovely job....

#39 pickupmad87

pickupmad87

    Previously adampadmore

  • Members
  • PipPipPipPip
  • 273 posts
  • Location: woking

Posted 29 January 2013 - 03:13 PM

They're not for the faint hearted!!!

#40 pickupmad87

pickupmad87

    Previously adampadmore

  • Members
  • PipPipPipPip
  • 273 posts
  • Location: woking

Posted 29 January 2013 - 03:14 PM

They're not for the faint hearted!!!

#41 BensonJ

BensonJ

    Mini Mad

  • Noobies
  • PipPipPipPip
  • 142 posts
  • Location: York
  • Local Club: Geeks N Freaks Mini Club

Posted 30 January 2013 - 01:16 PM

But well worth it............ :highfive:

#42 pickupmad87

pickupmad87

    Previously adampadmore

  • Members
  • PipPipPipPip
  • 273 posts
  • Location: woking

Posted 31 January 2013 - 08:16 PM

hi all
wanted to get the feel for the look the other night so mocked the rear end up again!!
Posted Image

makes it look like there isnt too much more work to be done on it when its up that way round looking at it!!

got a bit done this evening started to weld the rear corner pieces to the staright part of the rear step.
Posted Image

then drilled a ******* load of holes!! and gave it a couple of coats of weld through primer.
Posted Image

once we checked that it lined up properly we started to we;d it to the loadbed skin

Posted Image
Posted Image

then all that was left to do was grind the welds down

Posted Image
Posted Image

hoping to do a bit more tomorrow evening! I know how sad am i working on my mini on a friday evening!! also these little beauties got delivered this morning.

Posted Image

thats all for tonight!!

#43 DugganC17

DugganC17

    Speeding Along Now

  • Members
  • PipPipPipPipPip
  • 359 posts

Posted 01 February 2013 - 08:43 PM

i noticed the spare load bed in the back ground is that for a third project or for sale

#44 pickupmad87

pickupmad87

    Previously adampadmore

  • Members
  • PipPipPipPip
  • 273 posts
  • Location: woking

Posted 01 February 2013 - 09:13 PM

pm

#45 pickupmad87

pickupmad87

    Previously adampadmore

  • Members
  • PipPipPipPip
  • 273 posts
  • Location: woking

Posted 01 February 2013 - 11:15 PM

got a bit done tonight, got on with cutting the slots for mounting the hinges in the rear loadbed
Posted Image
Posted Image
Posted Image
then drilled the holes fot the bolts to pass through the hinges.
Posted Image

got both sides cut out and drilled then........

we tried putting the hinge mounting brackets ot the floor pan then the rear valence and it wasnt ligning up properley...
after about an hour of head scracthing an looking at my dads pickup we had a big realisation
Posted Image
if you look where the screwdriver is pointing towards thats where the slots should have been cut!! we cut them out of the wrong lip! this was what was throwing everything out, so after a few oh f**ks we set about putting it right

to sort the holes ou i found a hole saw and after removing the drill bit was able to cut four round discs that fitted the hole perfectley.
Posted Image

then welded them in
Posted Image
Posted Image

then cut pieces to fill the slots then welded them in
Posted Image

so after tonights efforts we are back to square one!!! fresh to start in the morning!!!


0 user(s) are reading this topic

0 members, 0 guests, 0 anonymous users