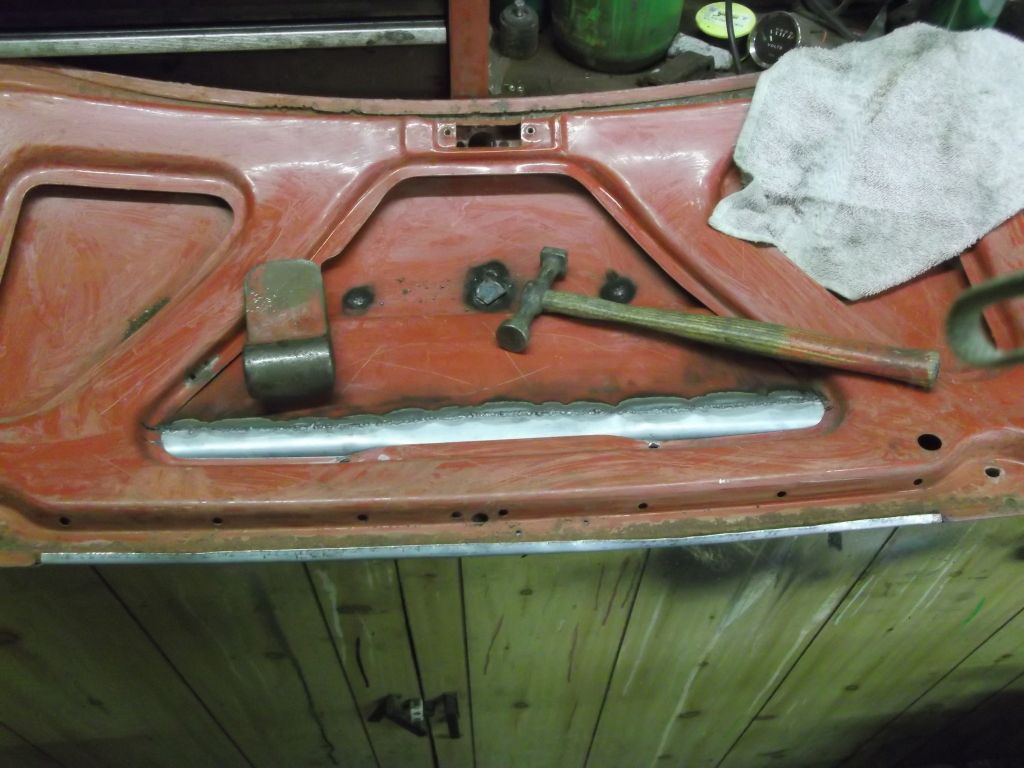
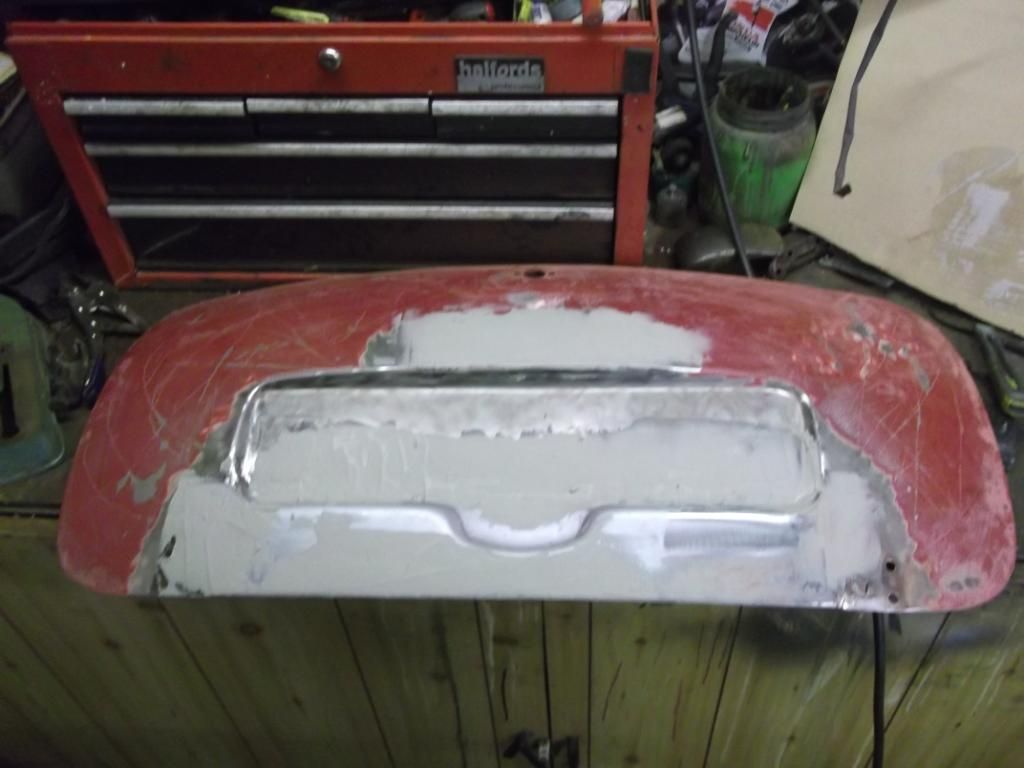
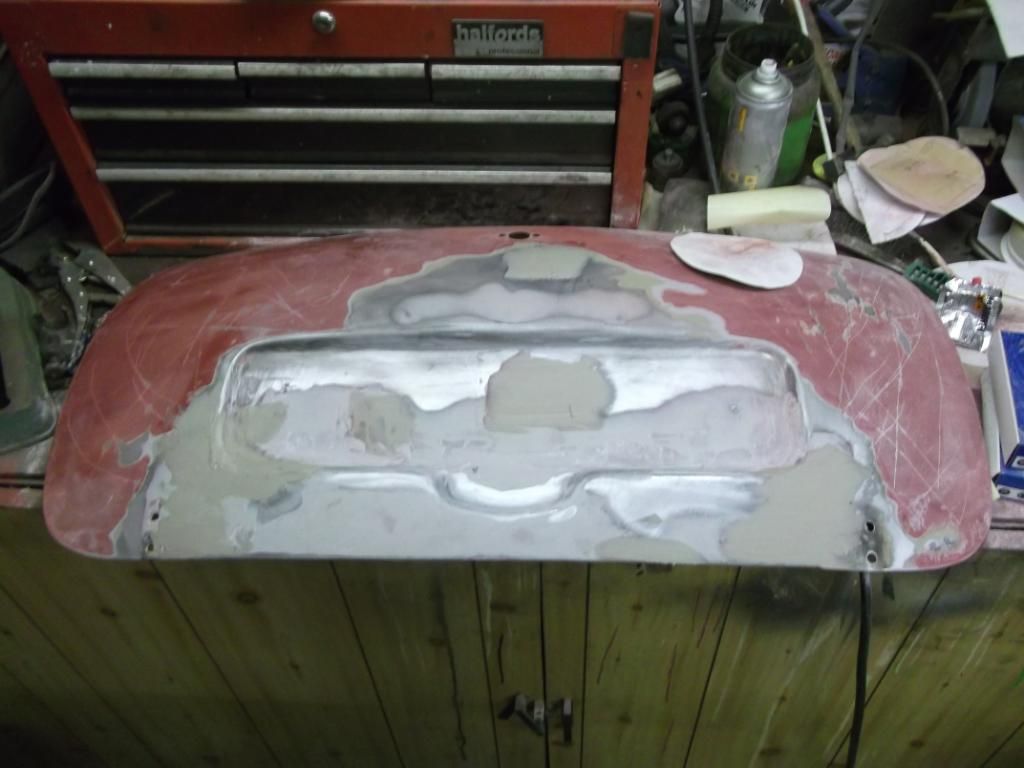
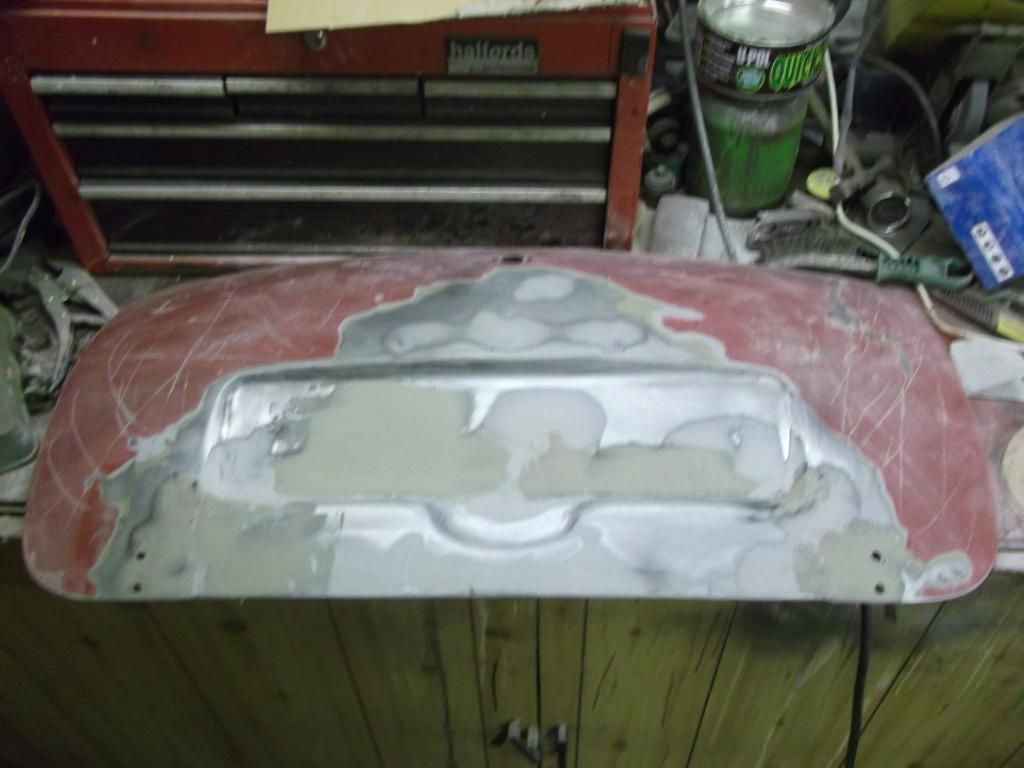
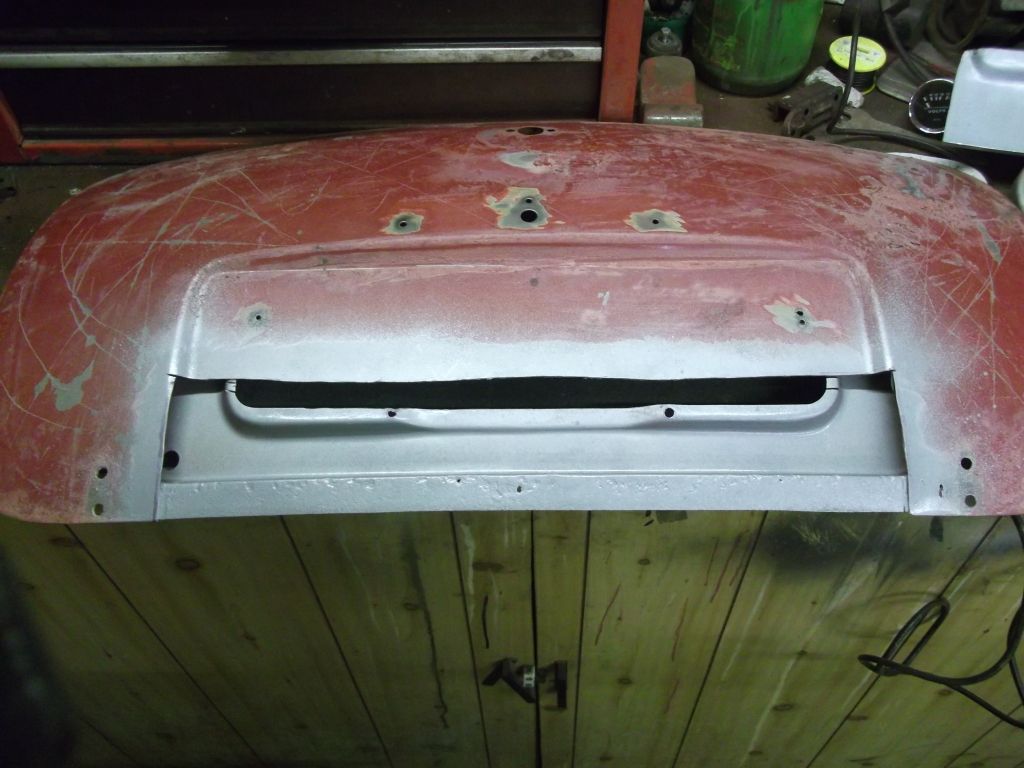
Right so i started off with my grubby half paint stripped mk3 bootlid

I offered up the panel to see what needed adjusting/ tweaking. The panel is pretty well pressed but the only issue is the corners not being the correct curve. Solved this using a slitting disc on a grinder, a punch(couldn't find the chisel) and the panel hammer.

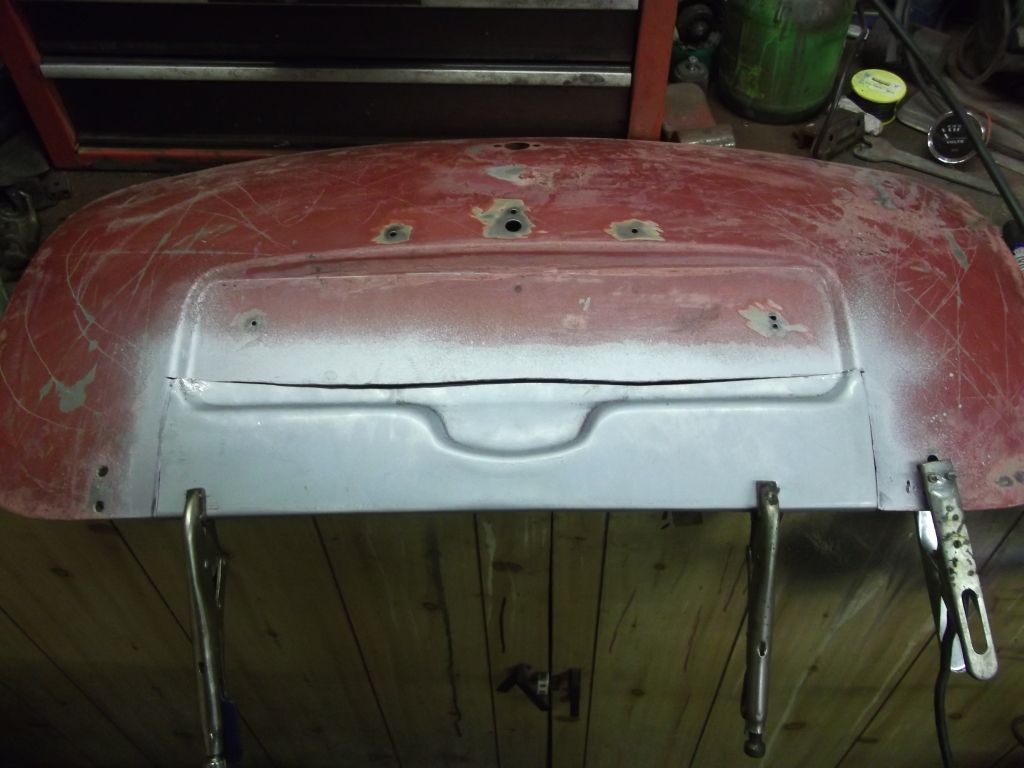
I cleaned up the area that i would be welding using a wire wheel on the grinder
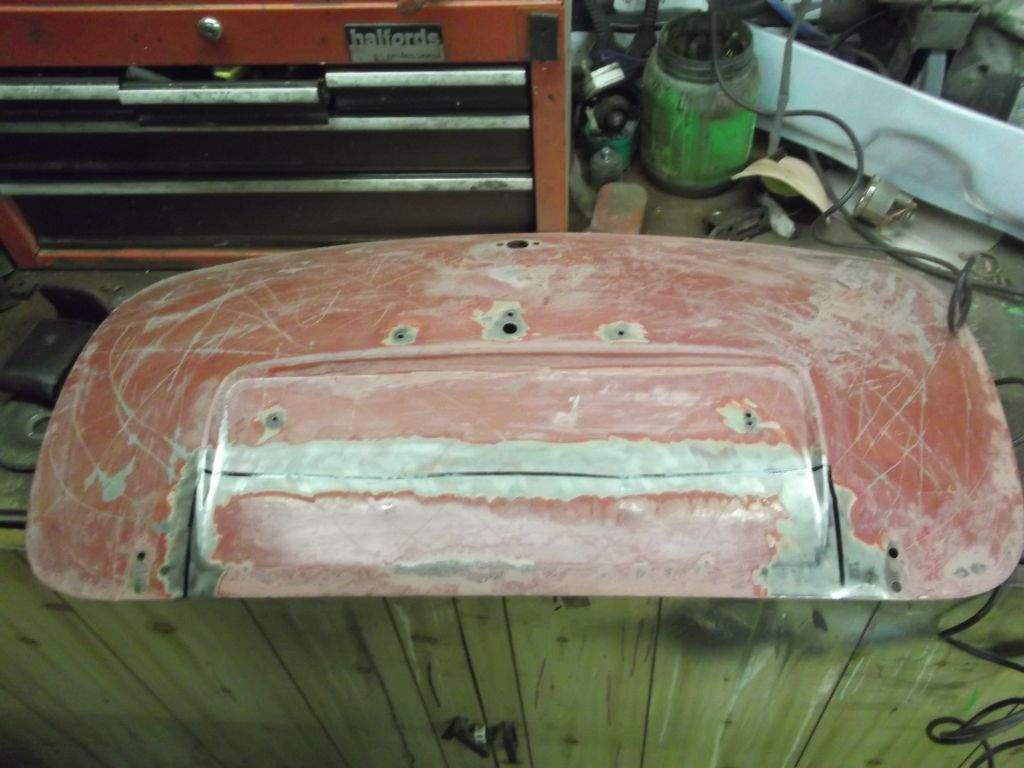
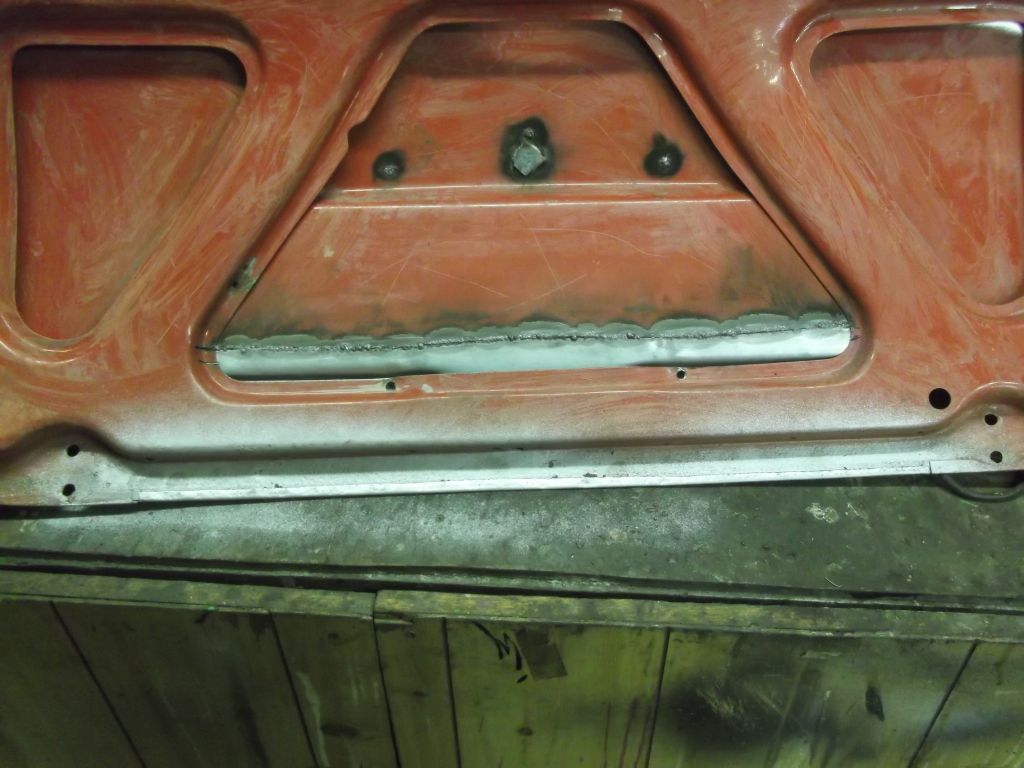
I then removed the bulk of the area now not needed using a slitting disc on the grinder after drawing around the new panel and splitting the layers of metal on the edge of the lid. I also drilled out the 2 spot welds holding the piece on from the back.
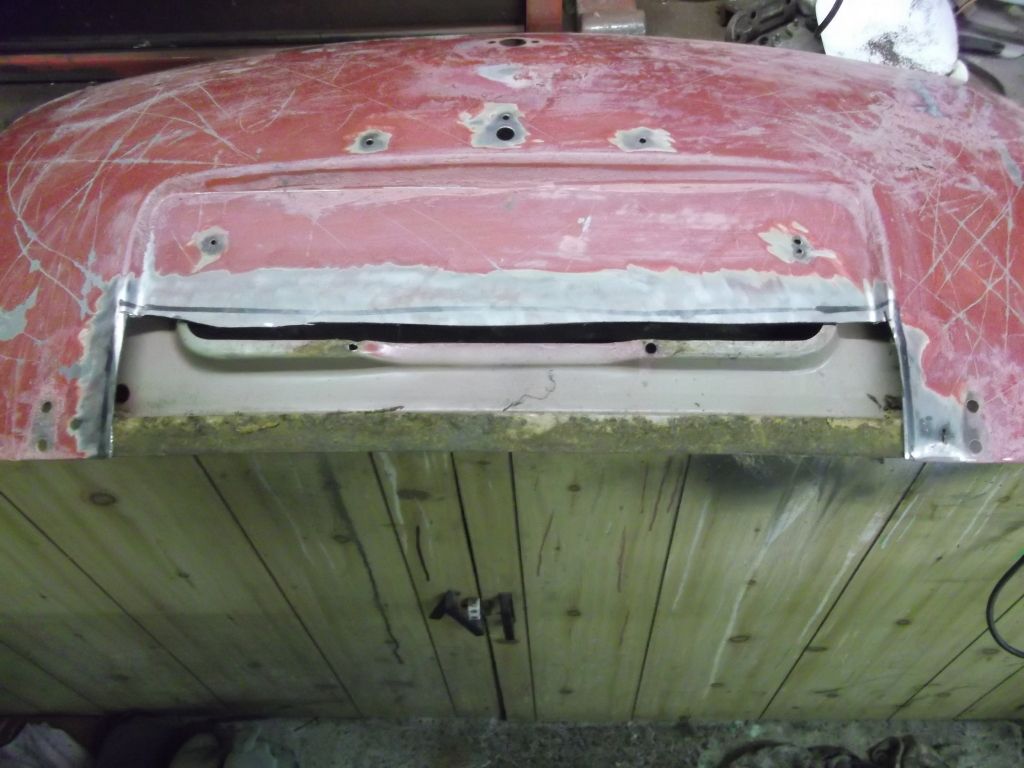
I then needed to remove the rest of the metal to make the panel fit in perfect with a small gap to allow for distortion when welding. Also i applied weld through primer to the inside of the lid after cleaning it off as there was slight rust issues along the bottom edge of the panel
Once i was happy with the gaps i clamped the panel in palace and began to tack it in.
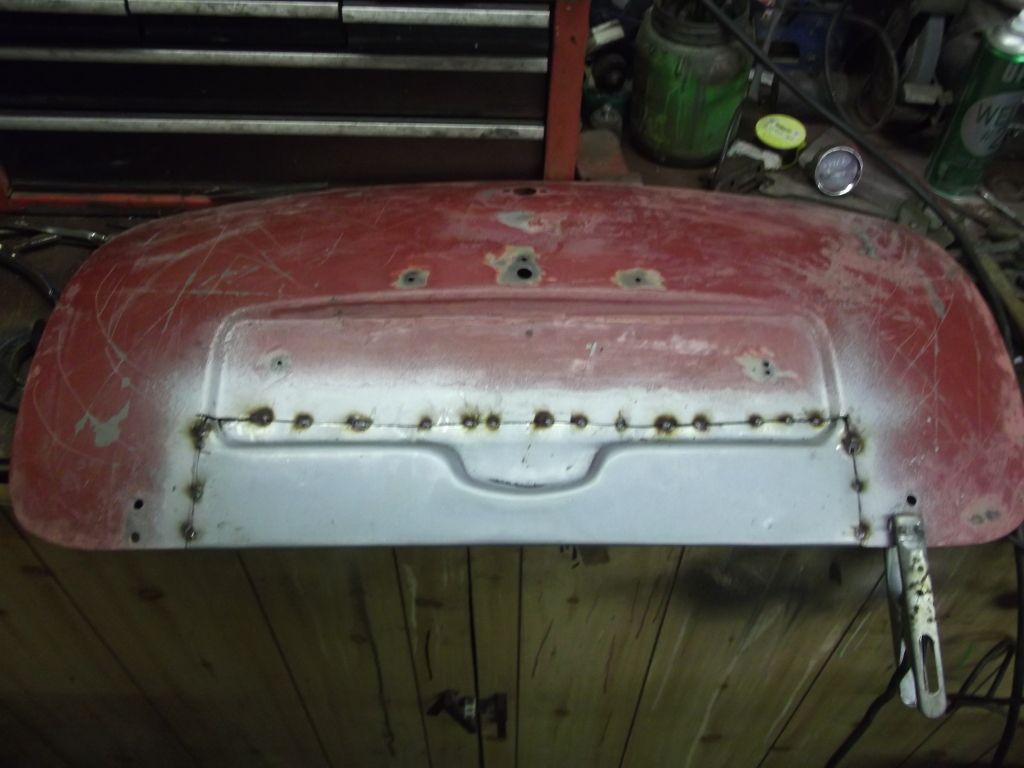
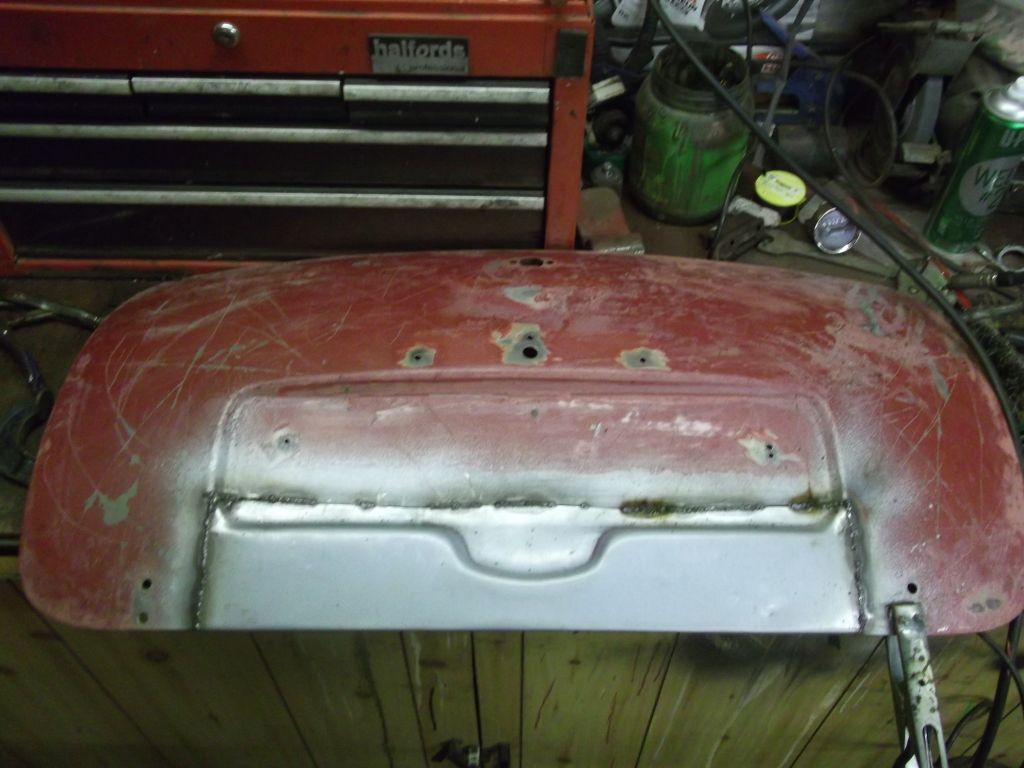
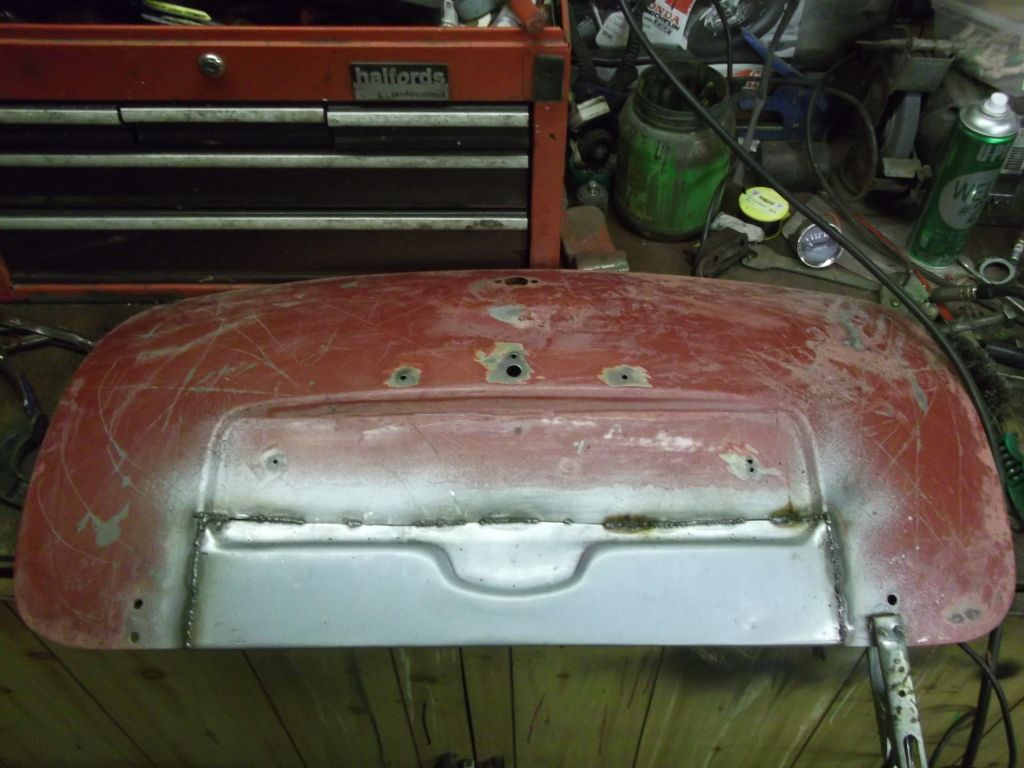
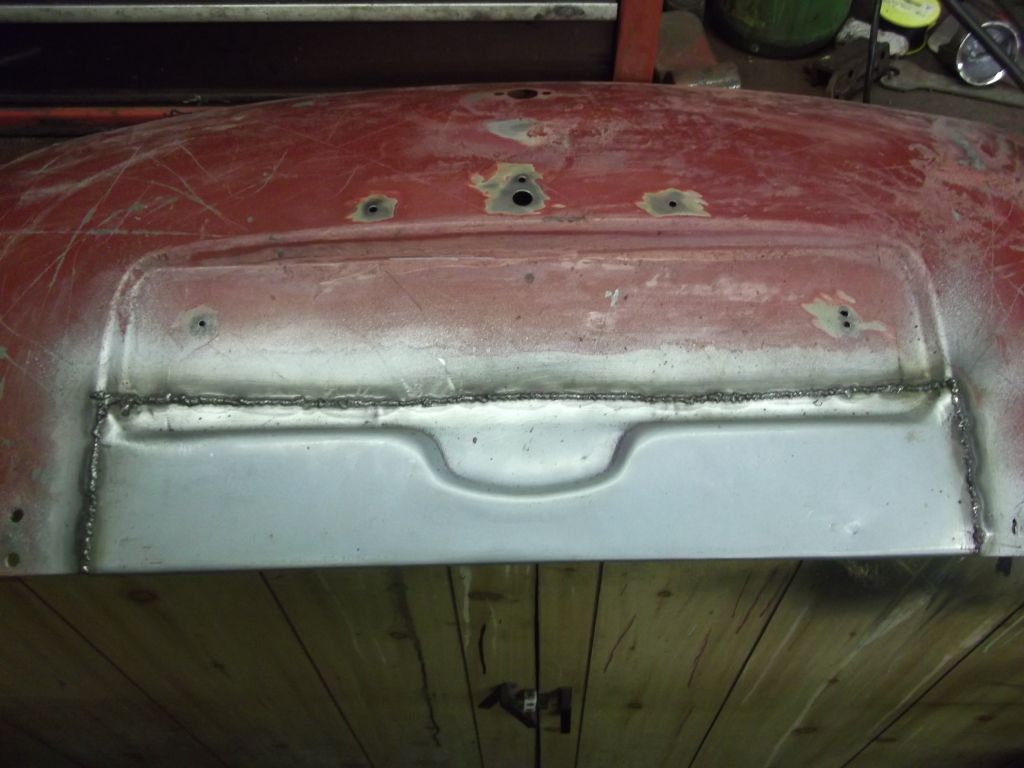
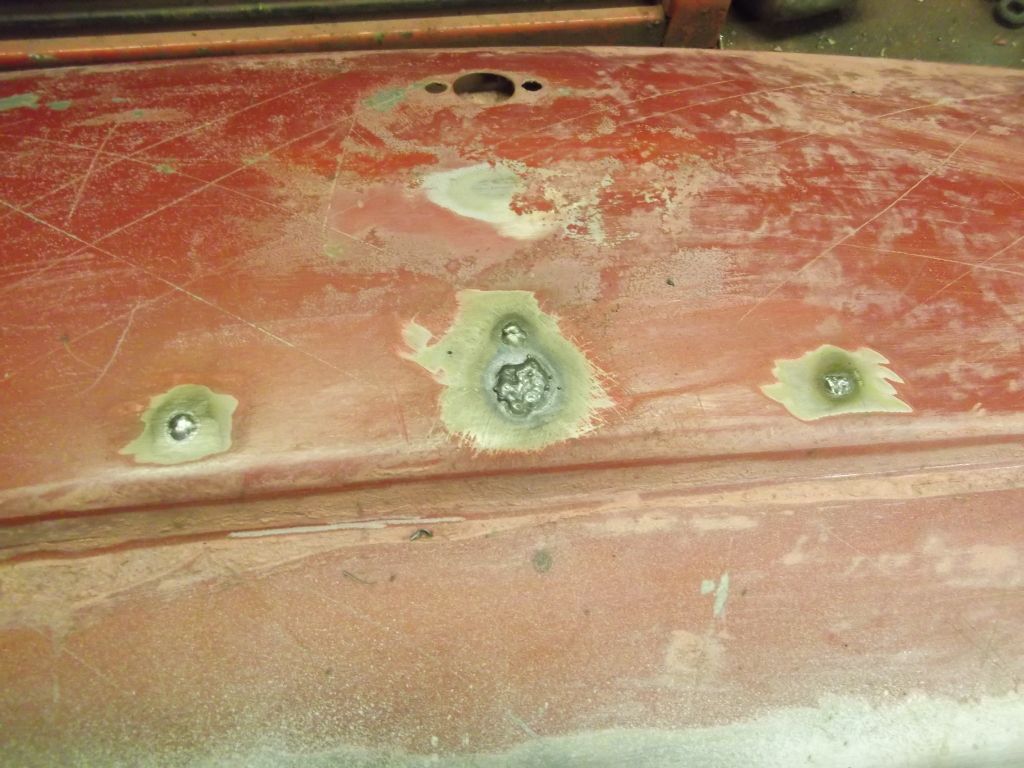
After tacking all around i began to fill in the areas between the tacks at different areas each time to avoid heavy heat in one area leading to panel distortion. I also shaped the corners correctly once it was tacked in using the punch and panel hammer. Once this was done i welded up all of the old number plate light holes and slarted to grind it all down.
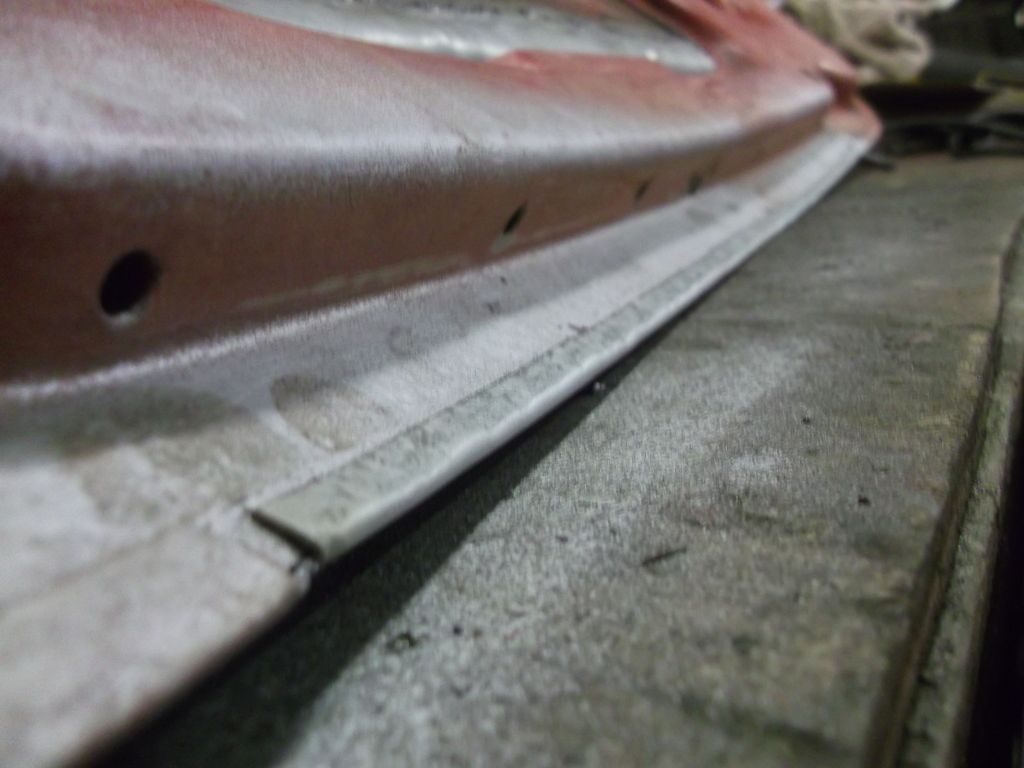
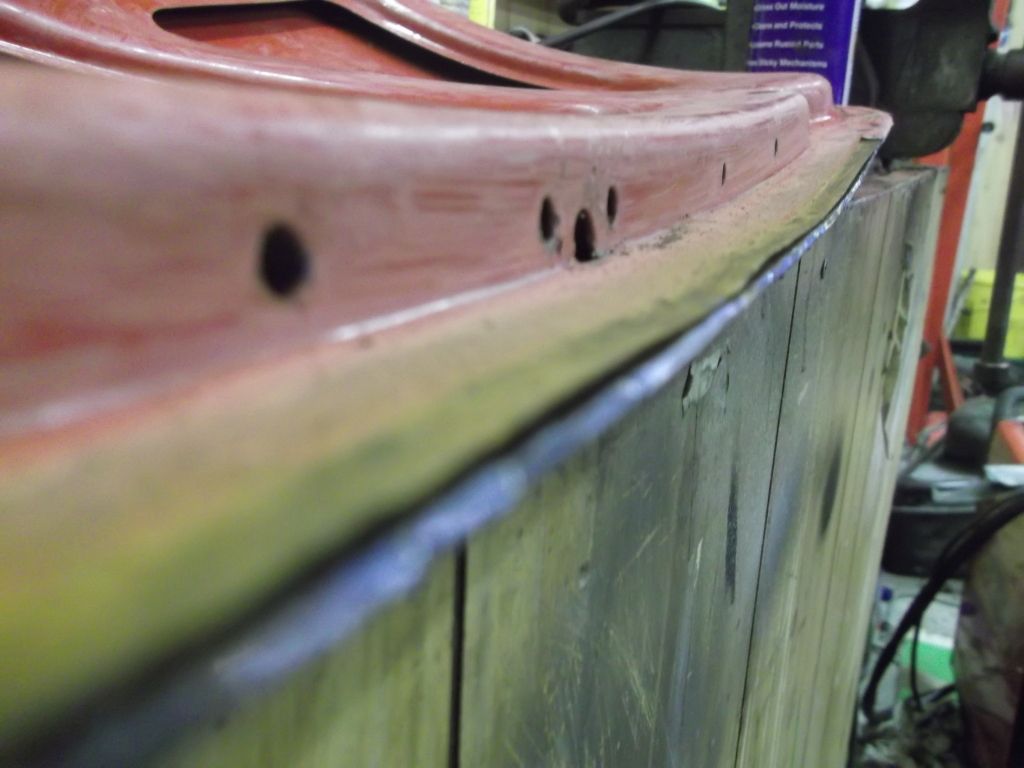
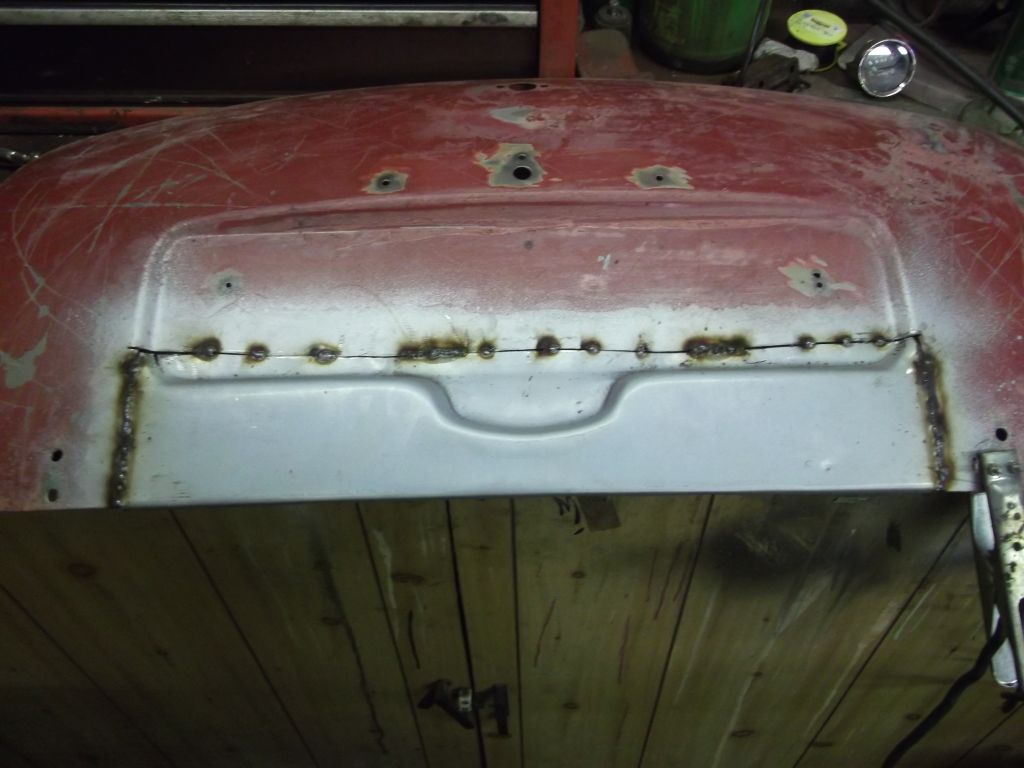
I also needed to fold the edge over using the dolly and hammer but had the wrong dolly so had to use the edge of the vice