Project 'malika' An Ocd Chefs Project *warning New Parts Galore*
#16
Posted 15 April 2013 - 11:19 PM
i started with the cleaning again and the oil stripped off with the special de-greaser.
Sadly i did find this on the 2nd piston. not sure if its serious enough to matter but it doesnt look great so probably best to just buy another one???
After a good old bit of de-greaser and elbow grease it came up a treat but then i decided to strip it so got oily again ha :/
#17
Posted 16 April 2013 - 06:33 PM
I see you have a new dash board with 3 clocks, does that mean your center clocks are for sale?
#18
Posted 16 April 2013 - 09:37 PM
im a little bit worried about the burn on the edge of the bore but hopefully a fine skim should be ok :/.
i already sold the little clocks and the surround but i do have the speedo all packaged up ready to be put up for sale. just not got round to it.
se :)
#19
Posted 18 April 2013 - 09:58 PM
Very tidy engine accept the burn on the piston and between the bore.... anyone know how serious the damage to my wallet will be to sort that?????
For some reason my engine wont run!!!!??????
You can see the burn on the edge of the centre of the block on the sencond bore from the left.
#20
Posted 12 August 2013 - 02:33 PM
So today we moved malika back into my garage. She will be staying for some time as im moving away to work on cruise ships. As it Gives me more of an opertuinity to see the world and alot more money for my carbon parts I need to get her looking sexy.
Nearly all the welding has been done but still need to cut back the arches for my grp5s. All the spare holes such as drain holes, extras for the wipers etc have all been filled as they just cause rust later on. And I made her look like a ladybug because in bloody cooool!!!
#21
Posted 12 August 2013 - 02:39 PM
#22
Posted 06 September 2014 - 11:50 PM
Malika is moving on now. she has recently been taken to the body shop for a few more bits of welding, prep and spray paint.
I am still toying on the roll cage (more for the looks than anything)
Part that need to be done at the body shop:
- Re shaping the mk1 rear light panels.
- Checking door, boot, bonnet alignments etc.
- Drilling any holes for new modern add- ons (central locking, alarm etc etc)
- Prep for the spray job
- finally the spray job.
all told i was quoted just over £2100 for the lot......................
that was until i asked for the paint to be the same orange colour as EDGE speakers.... £600 a ltr..... hmmmm just get it as close as you can hahahaha
Here is it at the body shop. not much change really.
#23
Posted 07 September 2014 - 10:40 AM
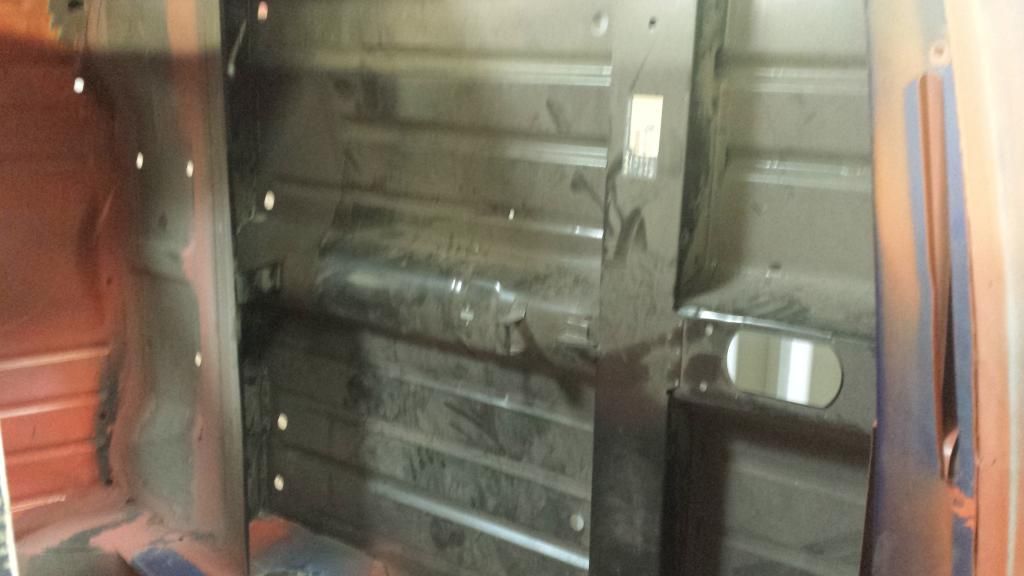
the lovely new complete floor and boot/rear seat pan went it well.
I would like to just confirm that my first post of this project sort of went out the window. My estimate of what she was going to cost was £7000-£8000. That budget has gone... same with 3 of the budgets after that one haha. This is the reason why.
As a pastry chef i have a habit of being a little bit OCD . Like with the floor pan which could have been cleaned up it just didn't look perfect so i had to get it replaced. I know it cant be seen just the marks the old surface rust left would have played on my mind.
So now i am in a new job and i live just 5 miles from my garage i could get back to working on the little bits myself.
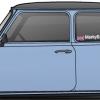
I am terrible and i do hope people on this forum don't frown on me because i'm not really following the usual restoration laws but i work 90hrs a week so restoring parts just takes to much time for me to do witht he job i do so most of the stuff you see on this forum thread will pretty much be brand new (i know it works and i know it looks perfect)
First job to tackle was the subframes buuuut......
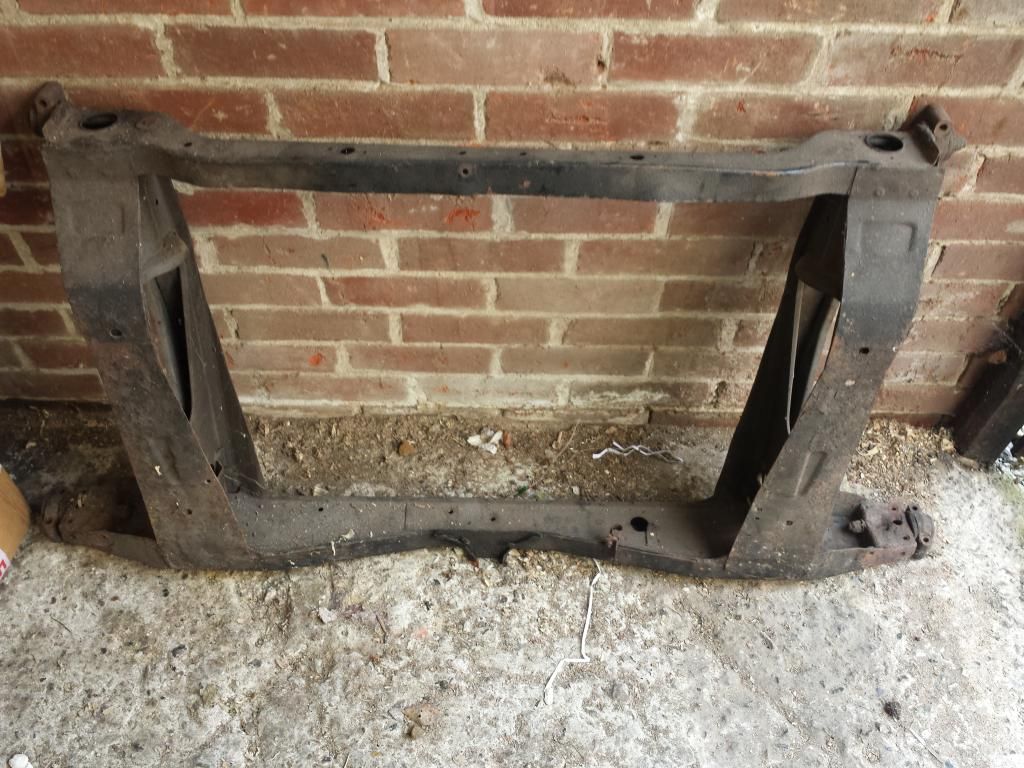
They also had pitting etc from the Surface rust sooooo.......
New ones where purchased (both front a rear). I know its terrible im not really doing the project like most but this is my first car i ever drove so i want it perfect.
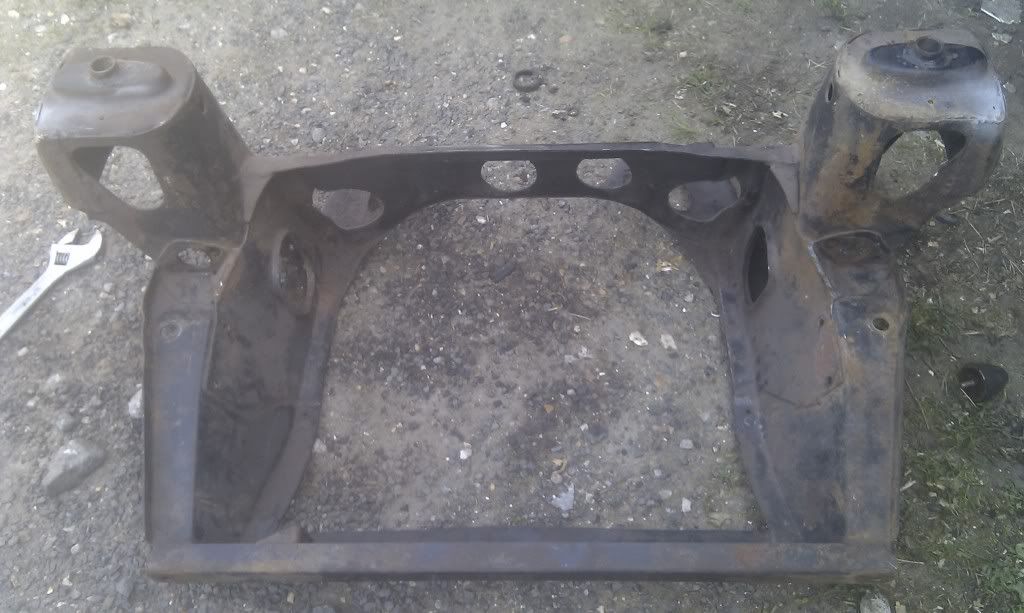
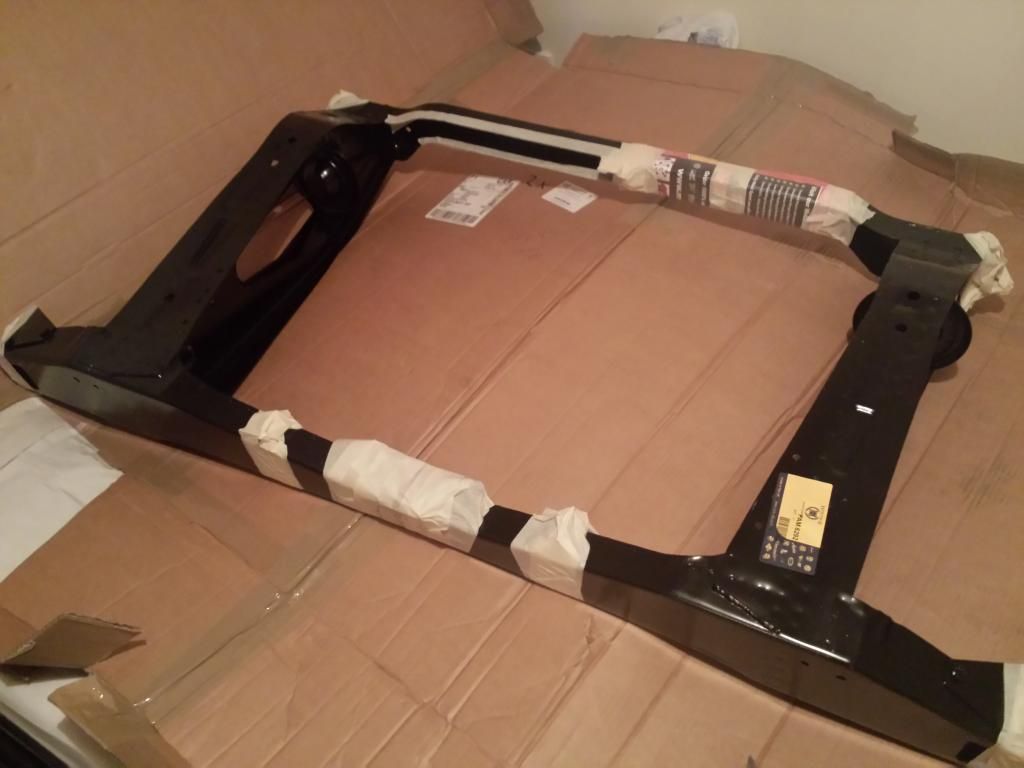
After alot of pondering on powder coating/hammerite i decided galvanizing and powder coating would be a great idea, thus getting rid of the NEED TO BUY NEW ONES!!!!!! but hey ho i know these are as perfect as can be. WELL THEY WHERE TILL......
The brackets where galvanized to the rear frame HAHAHAHAHA .
All told i spent.. TOO MUCH on the subframes but they are all done and now it is time to get to work on the building up of everything before she is sprayed.....
Edited by se_juggles, 07 September 2014 - 10:43 AM.
#24
Posted 08 September 2014 - 06:58 PM
had these babies turn up.... cant wait for them to go on after the spray job is done!!!!!
Has anyone done the little conversion where they switch the large light pod on the boot for the little led lights that shine on the reg plate??? and if so how do you do it and what do i need???
Edited by se_juggles, 08 September 2014 - 06:59 PM.
#25
Posted 08 September 2014 - 09:38 PM
The new floor looks so great and fits like a dream!!!
Back to the work in hand right now.
I got down the garage and began work on the suspension parts.....
Packed the wheel bearings and fitted them inside the hubs...
Then i treated the radius and top arms and hammerited them.
Annnnnnd now!!!!!! *TWIT TWOOO!!!!* lol
ONTO THE FUN PART!!!!
I then got 5 minutes into the build and noticed i was missing nuts, bolts and washers haha.... might need them!!!
#26
Posted 11 September 2014 - 10:57 AM
Back with more updates.
So i finally got a day off work and started my sub-frame work.
Looking through pictures and trying to find out where to start i thought the shoes where on the wrong radius arms so i swapped them. then when i looked again i was correct the first time so that wasted a whole load OF MY TIME!!!
This is my first rebuild so please go easy on my stupidness lol. i then bolted the radius arm on. I finally got to the brackets and radius arms, they went on fine with no problems (didnt see that coming world!!!) buuuut then i noticed that the sub-frame mount had to go on first!!!! duuuuh . After lots and lots of hammering and sanding because i have galvanized sub-frames the mounts went on 
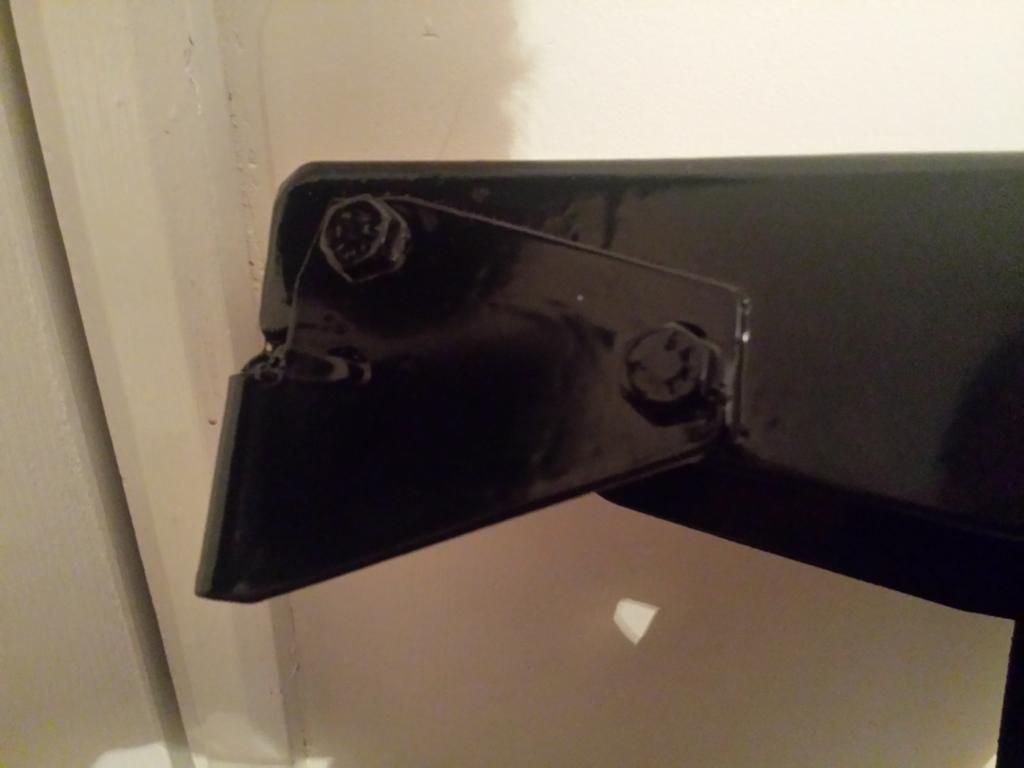
i bolted everything on and it looked beautiful. Turned it over to the other side to keep it flat on the surface and found out i had SCRATCHED that powdercoating!!!! ('hammerite!! WRERE ARE YOUUUU')
This is the sub-frame how it is now.
*** I have a few questions hopefully people can help with?
◘ What the hell are the point in the springs on the bottom part of the handbrake cable.
◘ Am i missing something they connect to?
◘ Is there meant to be 6 parts of the rear and front goodridge braded hoses as i only have 4 parts for the full car and i cant work out how it goes together lol.
#27
Posted 11 September 2014 - 11:16 AM
Great build !
You are missing a bracket that bolts to the back of the brake back plate/radius arm. this is what the spring on the handbrake cable locates into , also from memory there is 4 flexi hoses the rear ones fix to a tab on the radius arm at one end and through a hole in the subframe at the other end .
Hope this helps
#29
Posted 11 September 2014 - 12:19 PM
#30
Posted 11 September 2014 - 12:28 PM
omfg that means taking them damn shoes off again i take it????!!!
0 user(s) are reading this topic
0 members, 0 guests, 0 anonymous users