
looks a real nice project mate.... heelboard and sills look familiar.... lol
good luck, im looking forward to seeing this progress
dave

Round Nose Estate Project
Started by
toadstool
, Apr 05 2012 03:16 PM
21 replies to this topic
#17

toadstool
-
- Noobies
-

- 50 posts
Stage One Kit Fitted
Posted 30 August 2012 - 03:18 PM
back to working in the garage again as the weather is sh*te
Last night i MK 1'd my bonnet, its a realy simple job which you could do to your car without damaging any of your paint work, Top Tip, if you are going to do it but a decent spot weld drill, i had a sealey one before which was pony so i have now bought Guhring ones and they seem to be much better
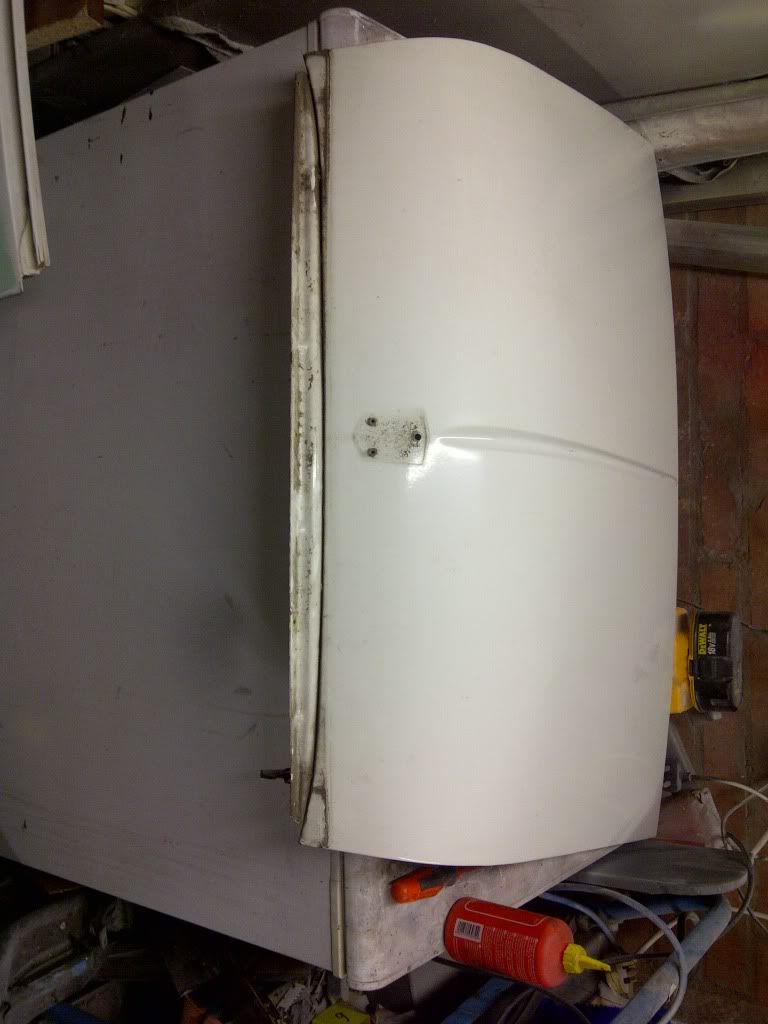
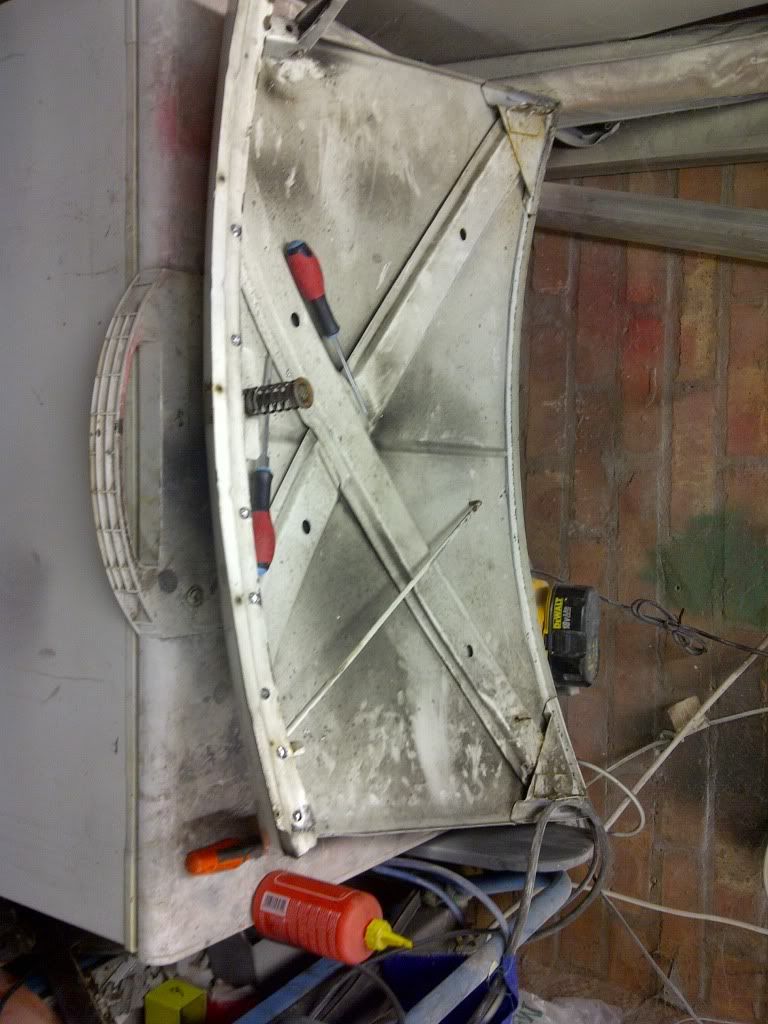
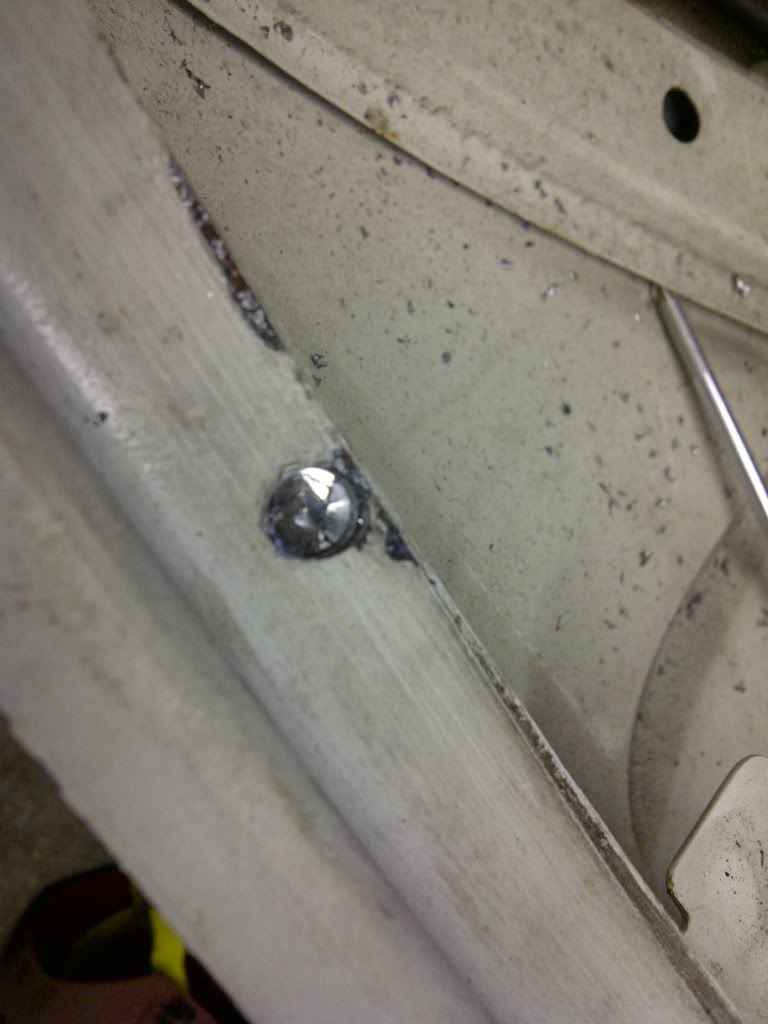

Last night i MK 1'd my bonnet, its a realy simple job which you could do to your car without damaging any of your paint work, Top Tip, if you are going to do it but a decent spot weld drill, i had a sealey one before which was pony so i have now bought Guhring ones and they seem to be much better
#18
toadstool
-
- Noobies
-
- 50 posts
Stage One Kit Fitted
Posted 27 November 2012 - 02:48 PM
Hi Guys
sorry i havnt posted for a while, had too many other things on the go, it looks like the floor is totaly shot so im in the process of building a spit so i can get her upside down, i will post some pics at the w/e
sorry i havnt posted for a while, had too many other things on the go, it looks like the floor is totaly shot so im in the process of building a spit so i can get her upside down, i will post some pics at the w/e
#19
rally515
-

- Members
-
- 3,848 posts
Up Into Fourth
- Location: ask!
Posted 27 November 2012 - 05:00 PM
Hi Guys
sorry i havnt posted for a while, had too many other things on the go, it looks like the floor is totaly shot so im in the process of building a spit so i can get her upside down, i will post some pics at the w/e
Nice door bottom repair, I built my own spit to ,15 quids worth of 40x40mm box section jobs a gudd'n
#20
toadstool
-
- Noobies
-
- 50 posts
Stage One Kit Fitted
Posted 30 January 2013 - 02:44 PM
Mmmmm shiny bits
weather is still too crap to be working outside so i have been rebuilding my front subframe, i had shot blasted the did a bit of seam welding around the front tie bar mounts and various other places then had it powder coated black, im now in the process of fitting nice new shiny bits, i have treated it to new adjustable tie bars, adjustable bottom arms with offset bushes, new cones, hi-lo's, new top arms with new shafts and bearings, new ball joints, new wheel bearings, infact the only old parts going back on are the hubs, i am just waiting for the delivery of my 7.5" disk conversion and adjustable GAZ shocks, I will post some more pics when the subframe is complete
 IMG-20130120-00252.jpg 58.47K
2 downloads
IMG-20130120-00252.jpg 58.47K
2 downloads
IMG-20130120-00255.jpg 31.46K
1 downloads
IMG-20130124-00257.jpg 73.37K
6 downloads
IMG-20130124-00258.jpg 61.7K
4 downloads
IMG-20130124-00261.jpg 38.23K
4 downloads
spot the difference
IMG-20130124-00264.jpg 53.26K
4 downloads
weather is still too crap to be working outside so i have been rebuilding my front subframe, i had shot blasted the did a bit of seam welding around the front tie bar mounts and various other places then had it powder coated black, im now in the process of fitting nice new shiny bits, i have treated it to new adjustable tie bars, adjustable bottom arms with offset bushes, new cones, hi-lo's, new top arms with new shafts and bearings, new ball joints, new wheel bearings, infact the only old parts going back on are the hubs, i am just waiting for the delivery of my 7.5" disk conversion and adjustable GAZ shocks, I will post some more pics when the subframe is complete
IMG-20130120-00252.jpg 58.47K
2 downloads
IMG-20130120-00255.jpg 31.46K
1 downloads
IMG-20130124-00257.jpg 73.37K
6 downloads
IMG-20130124-00258.jpg 61.7K
4 downloads
IMG-20130124-00261.jpg 38.23K
4 downloadsspot the difference
IMG-20130124-00264.jpg 53.26K
4 downloads
#21
toadstool
-
- Noobies
-
- 50 posts
Stage One Kit Fitted
Posted 07 March 2013 - 10:34 AM
Front subby now complete, hoping to fit the engine to it next week while the rear subby is away being shot blasted
WP_20130306_001.jpg 109.03K
10 downloads
WP_20130306_002.jpg 113.57K
5 downloads
WP_20130306_003.jpg 34.55K
2 downloads
WP_20130306_004.jpg 113.09K
6 downloads
WP_20130306_001.jpg 109.03K
10 downloads
WP_20130306_002.jpg 113.57K
5 downloads
WP_20130306_003.jpg 34.55K
2 downloads
WP_20130306_004.jpg 113.09K
6 downloads
#22
theclassicminishop
-

- Noobies
-
- 19 posts
Learner Driver
- Location: Pretoria
- Local Club: MOCSA
Posted 20 February 2020 - 04:04 AM
Excellent project. I have the exact same mini.


0 user(s) are reading this topic
0 members, 0 guests, 0 anonymous users


