Jump to content


Photo
- - - - -

Dutch Rwd Mini-Vtec (B16A Jdm)


  • Please log in to reply
41 replies to this topic

#1 rene-mini

rene-mini

    Passed Test

  • Noobies
  • PipPip
  • 25 posts
  • Location: Eindhoven

Posted 01 May 2013 - 07:53 PM

Hello,
 
I'm René, I'm a student (mechanical engineering) living in a smal village near Eindhoven in the Netherlands.
 
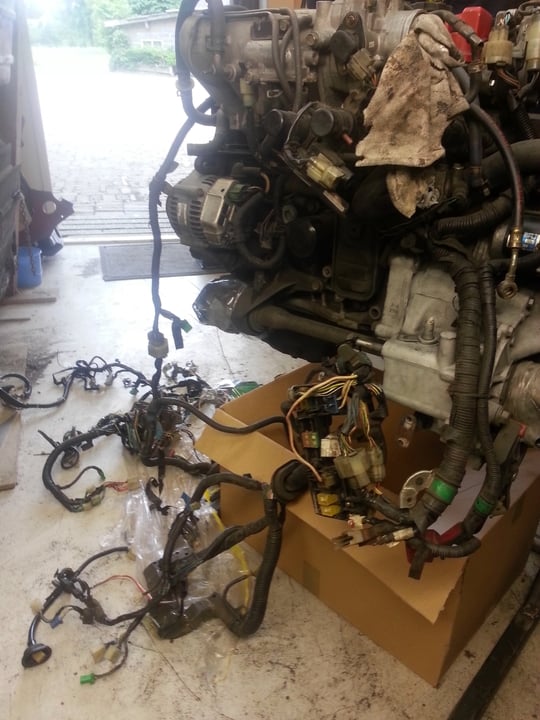
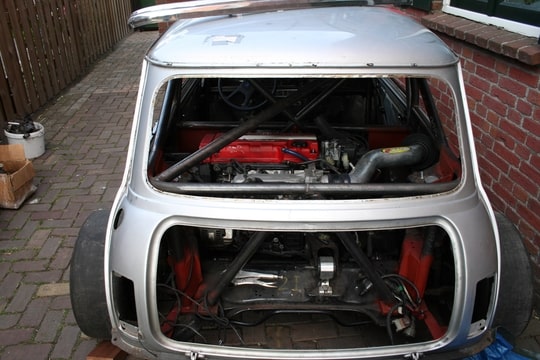
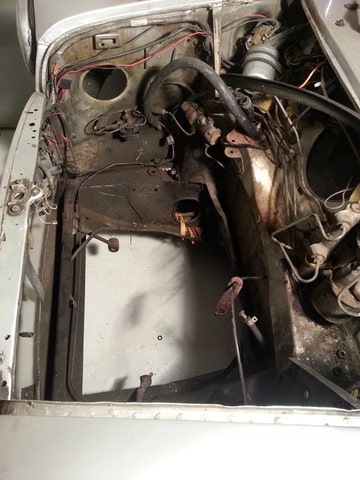
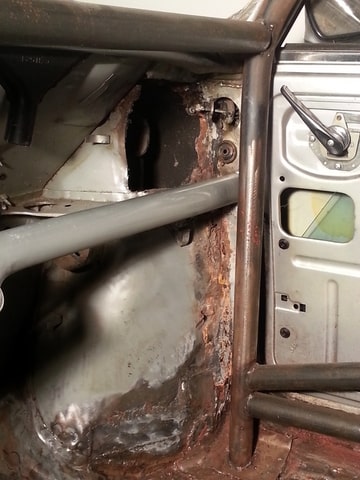
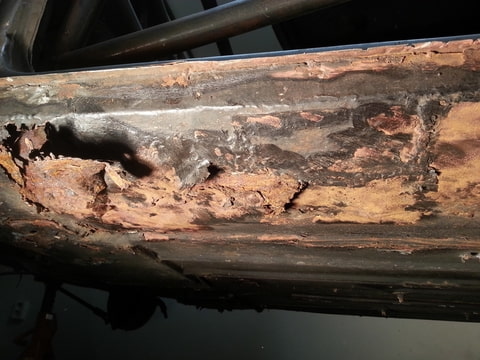
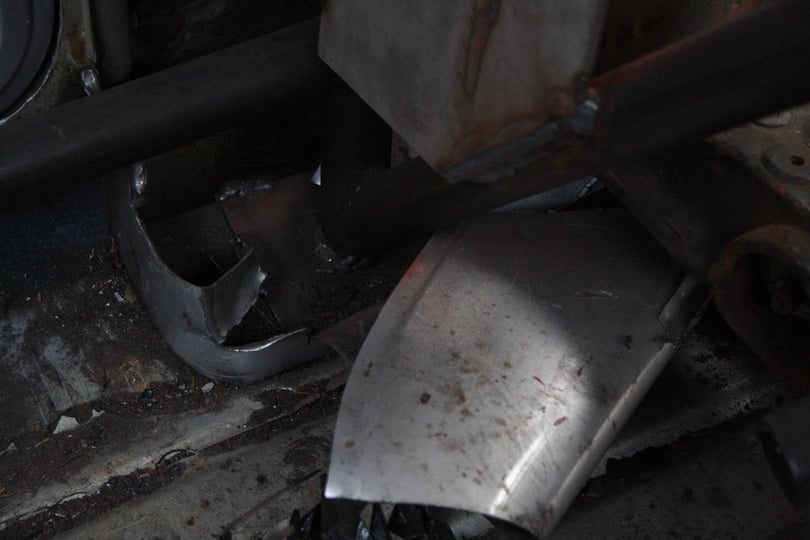
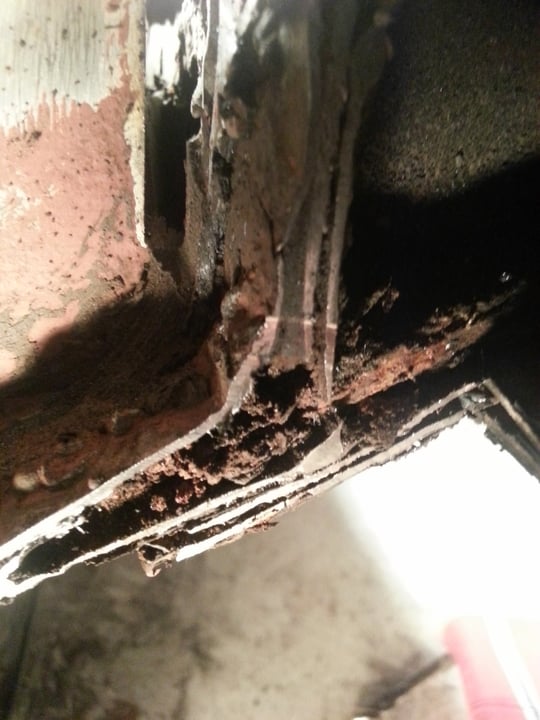
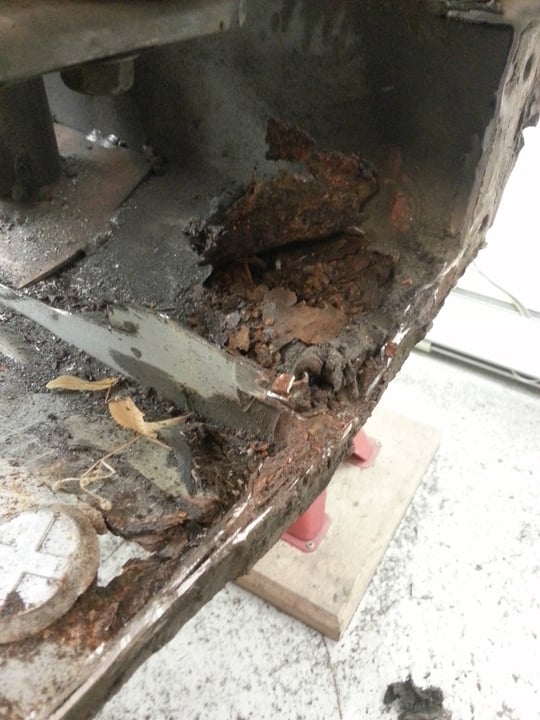
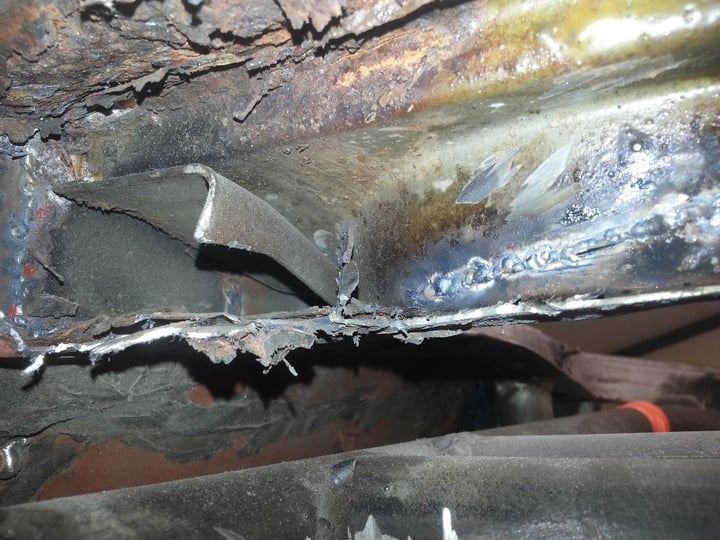
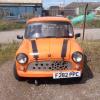
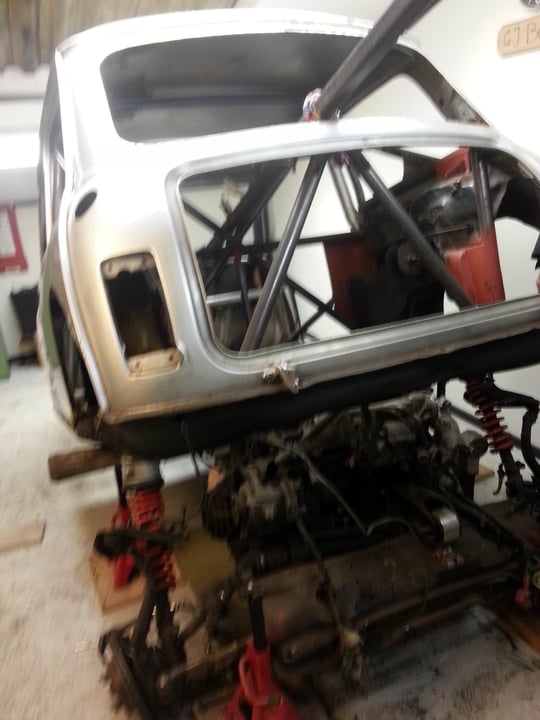
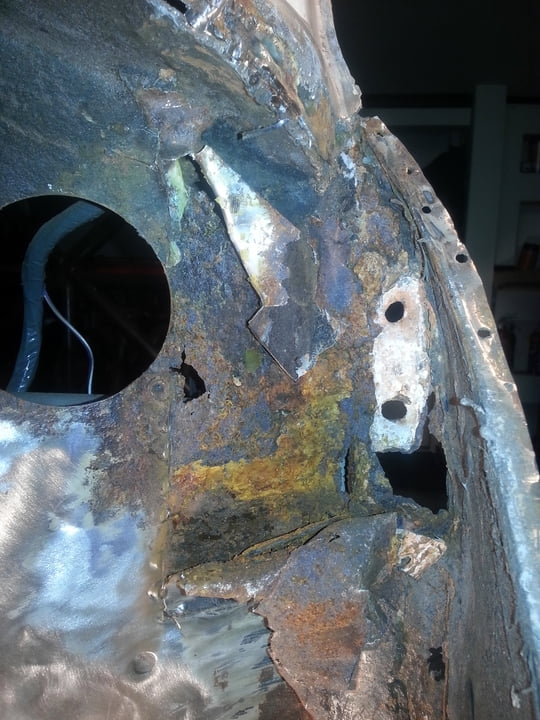
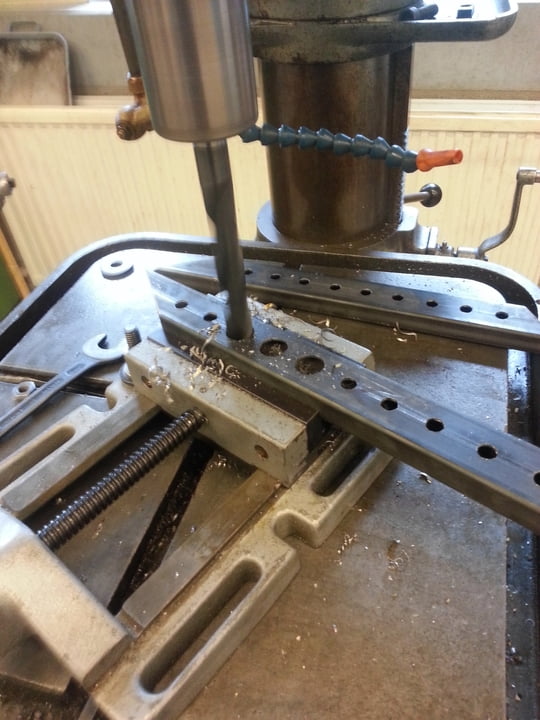
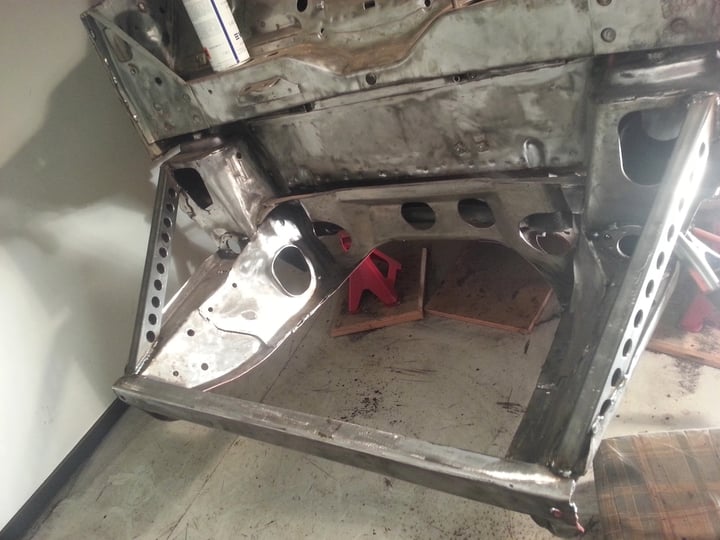
About 8 months ago I started a mini-vtec conversion, Somebody else started this circuit project, but after he installed the rollcage (before restoring the mini first!?!?) he dicided to sell it... So I was the lucky one :D
.
 
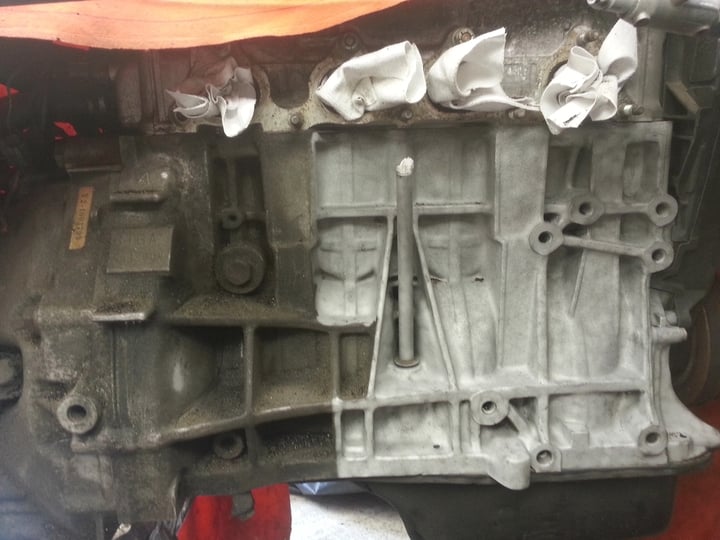
The engine is a B16A JDM (japanese domestic market), and is good for aprox 170 HP @7900rpm:vtec:. My plan is to make it a rwd mini for legal road use, but because the're much more rules here in the Netherlands it will be a hell of a challange.
 
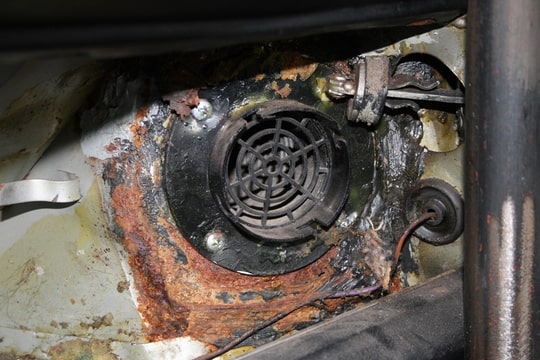
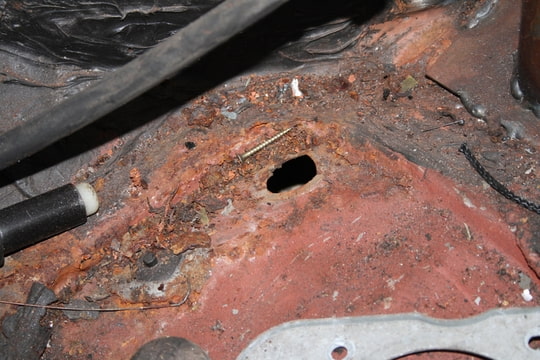
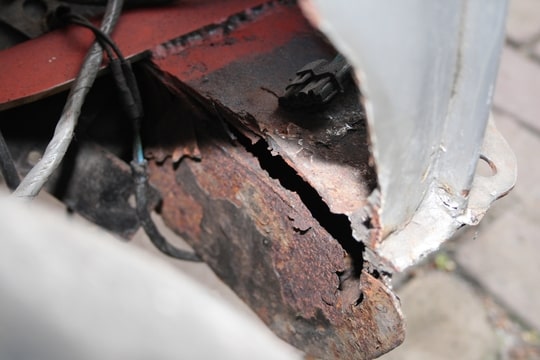
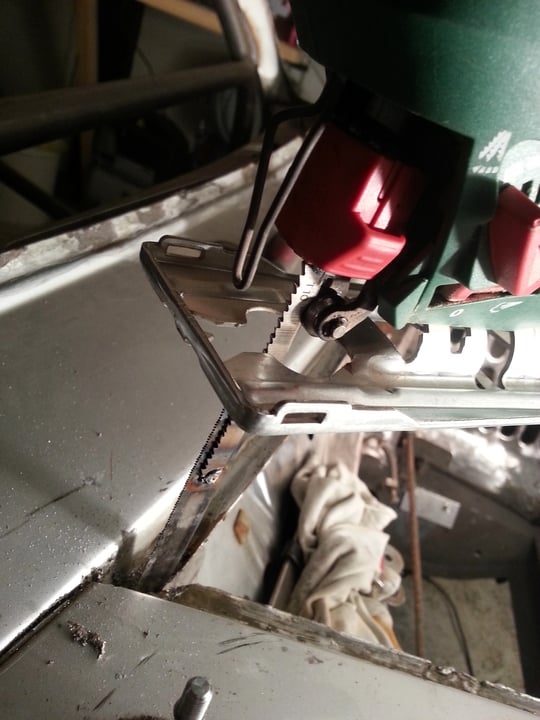
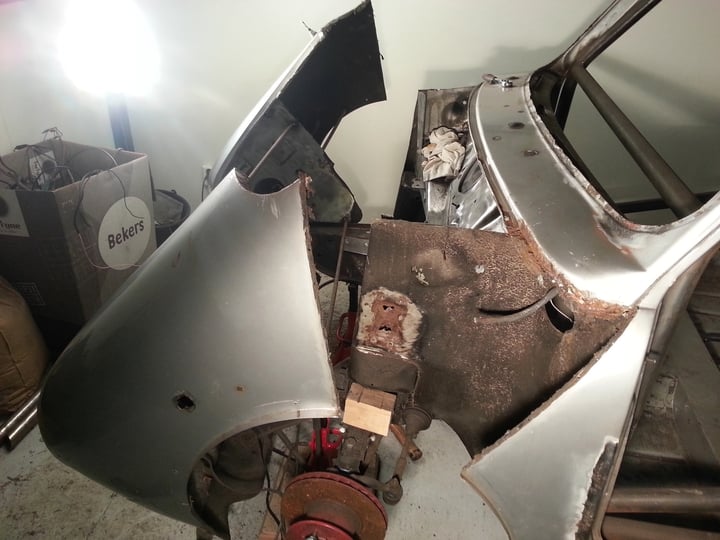
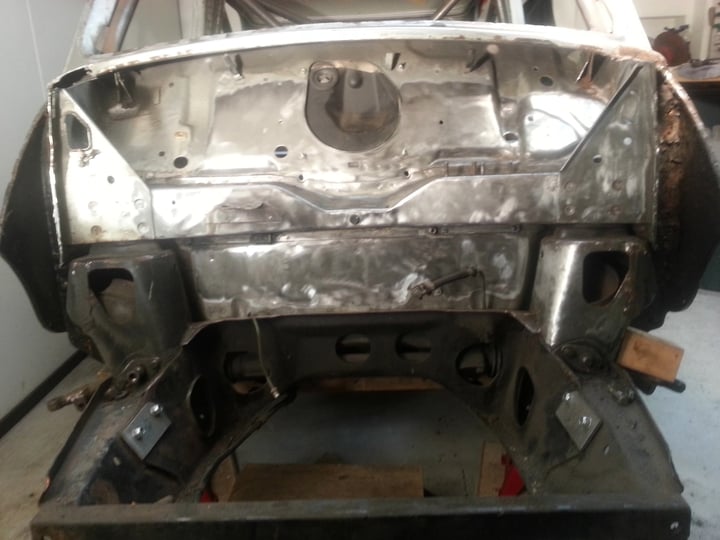
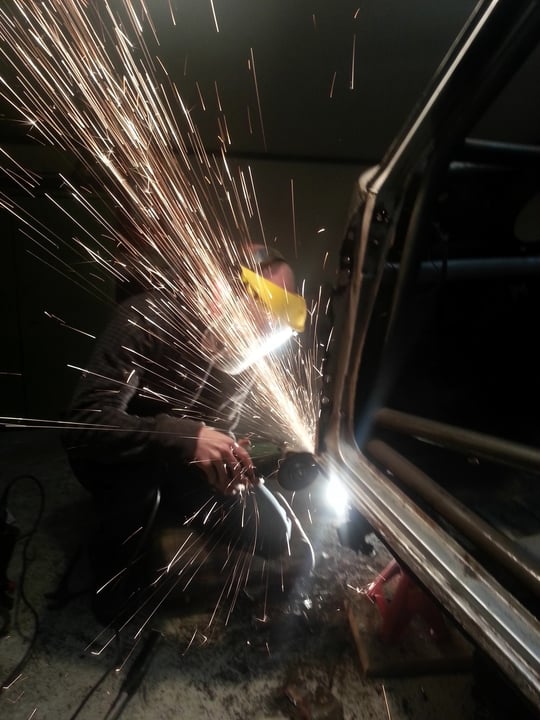
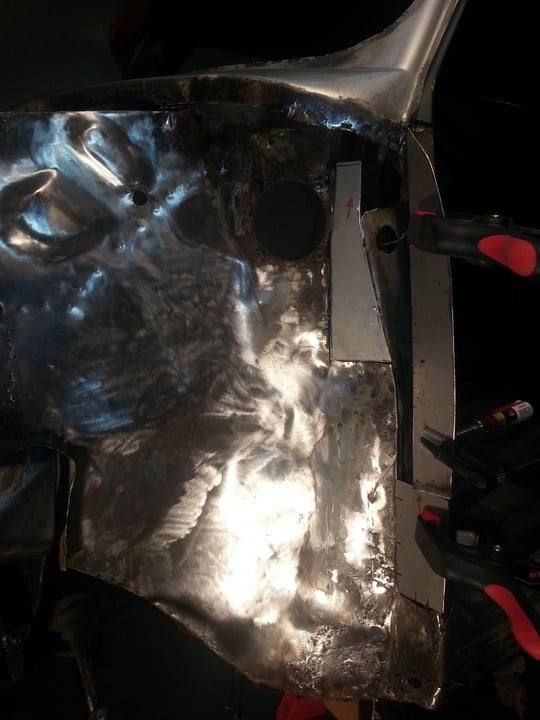
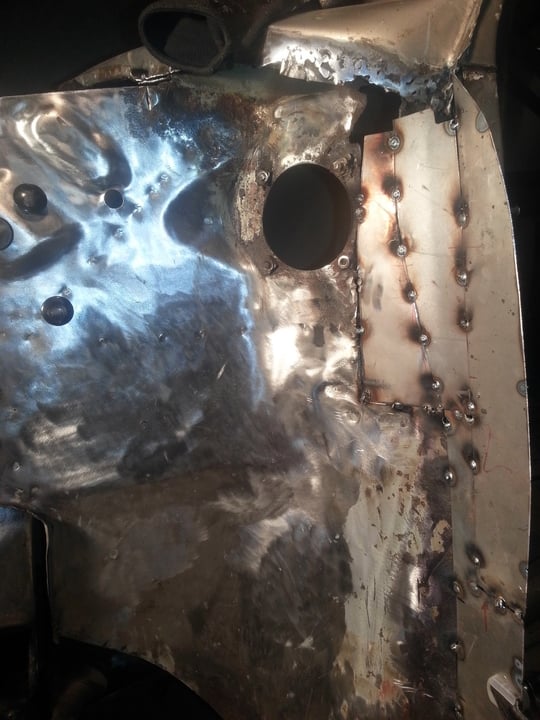
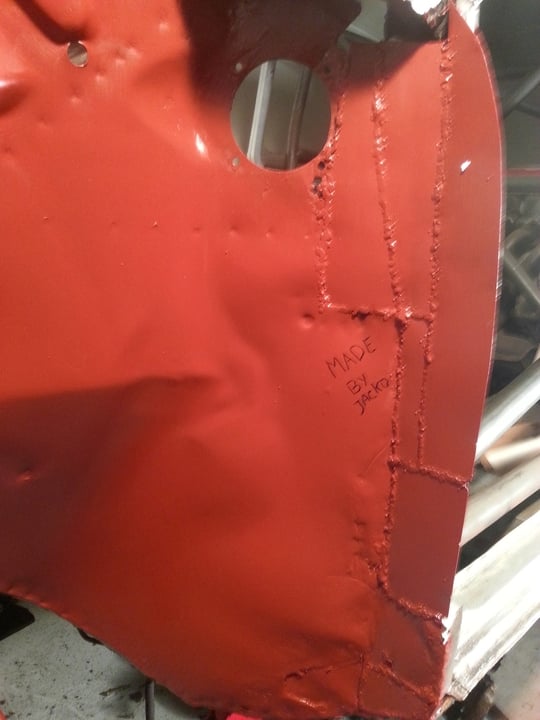
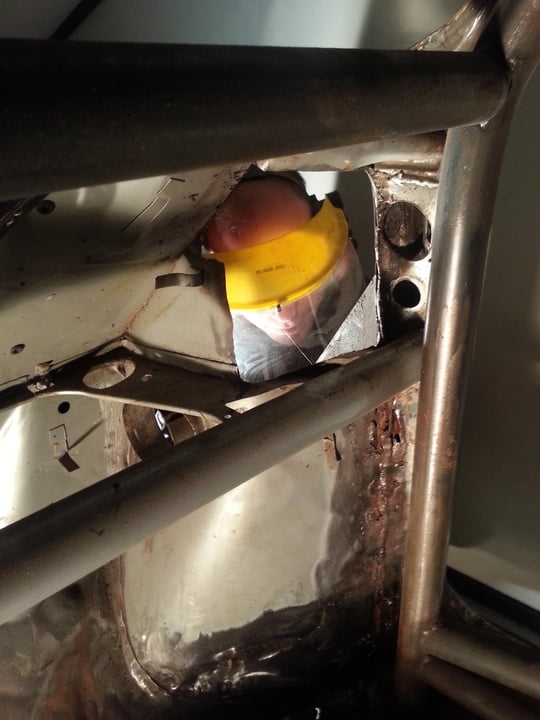
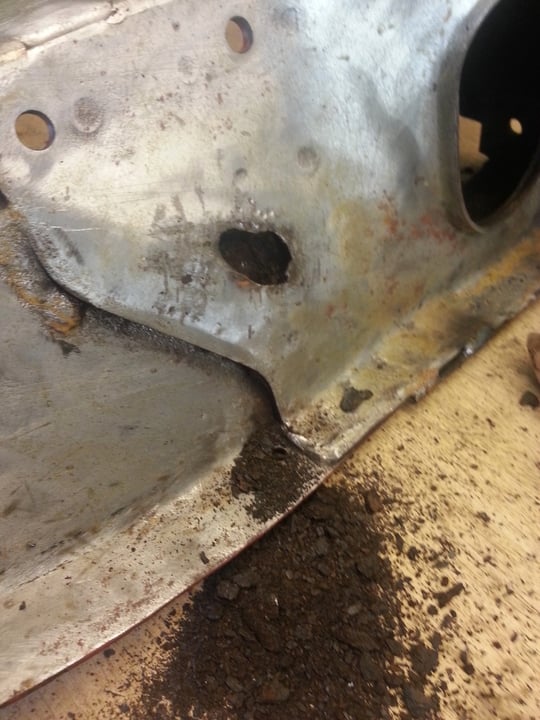
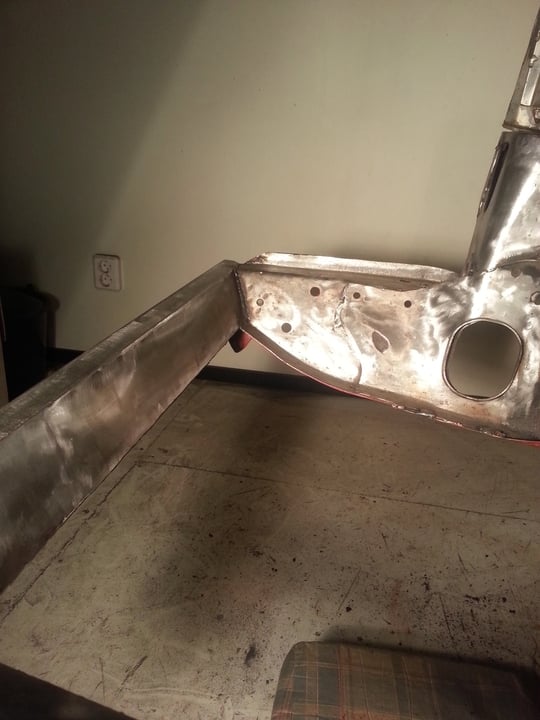
some foto's of the mini I made few months ago, I will upload more pictures later.
 
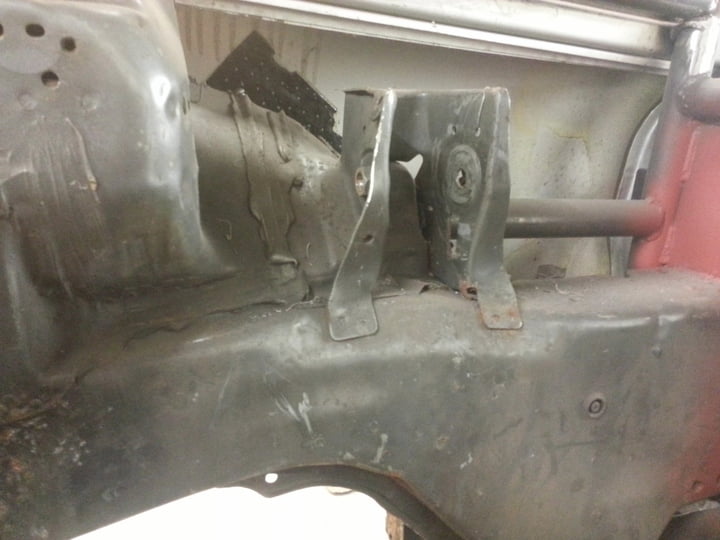
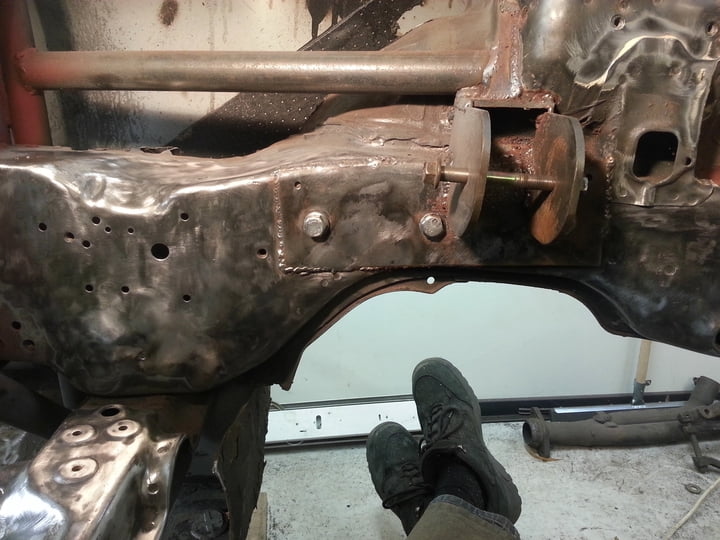
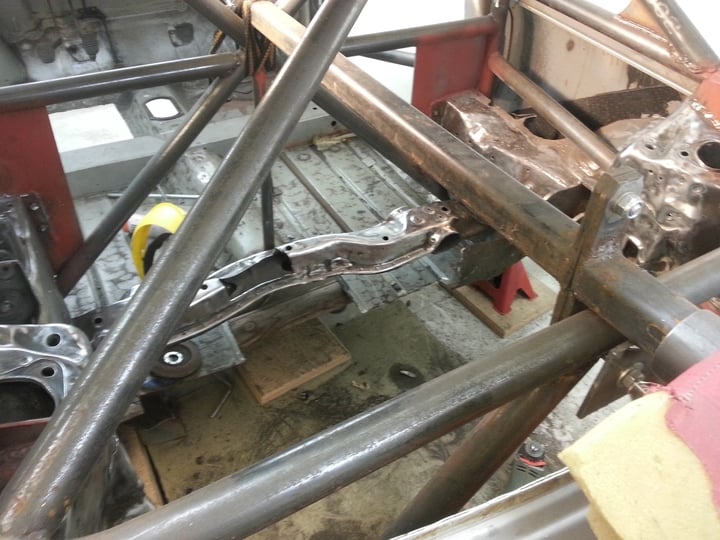
The engine is mounted in the original crx frame, so all the original engine mounts,suspension, driveshafs and even steering is in the back of this conversion
 
Foto-XJXX6PBD.jpg


I hope I learn allot by looking at other vtec conversions, and from feedback I'm hopefully getting here. 
 
ooh, mechanics are good with math, not with spelling/grammar (sorry) ;-)

Edited by rene-mini, 20 October 2013 - 07:16 PM.


#2 F1L8EY

F1L8EY

    Super Mini Mad

  • Members
  • PipPipPipPipPipPip
  • 600 posts
  • Location: Cornwall

Posted 01 May 2013 - 08:09 PM

looking good so far... plenty of pictures ill follow :D


#3 rene-mini

rene-mini

    Passed Test

  • Noobies
  • PipPip
  • 25 posts
  • Location: Eindhoven

Posted 02 May 2013 - 08:52 AM

item.JPG?rot=1


The frame engine is the original CRX frame, never seen it before, but maybe there is a good reason for that :withstupid:

item.JPG?rot=1


Edited by rene-mini, 20 October 2013 - 06:27 PM.


#4 skags2

skags2

    Passed Test

  • Noobies
  • PipPip
  • 27 posts

Posted 04 May 2013 - 05:53 AM

looking forward to this build thread, about to start something similar myself ! lots of photos please :)


#5 rene-mini

rene-mini

    Passed Test

  • Noobies
  • PipPip
  • 25 posts
  • Location: Eindhoven

Posted 04 May 2013 - 04:44 PM

Some pic's of the condition the mini, the person that sold me this mini was making a circuit racer. So he took his mini and started cutting the rear, quickly welds a rollcage in it and fitted the engine. He said the mini was in good condition, but when i removed the all textiles.... (NOT!), but that's the risk I took when I bought it.  it's not a disaster, I am learing alot and I can make 100%  the way I want.

:proud: 

 
Foto-Z4OCCKII.jpg
 
Foto-O8ETHRZH.jpg
 
Foto-66VTUDZV.jpg
 
Foto-AUJLBDX8.jpg
 
Foto-KQBXB6RX.jpg
 
Foto-8E33MGP4.jpg
 
Foto550-OT4BMAII.jpg
 
Foto550-7HDALTBM.jpg
 
Foto550-D3ZP6FAT.jpg
 
(engine is out, took from ''rear seat'')
Foto550-6PUHLY44.jpg
 
Foto550-Y6L6LHHP.jpg
 
greetz René

Edited by rene-mini, 20 October 2013 - 06:07 PM.


#6 rene-mini

rene-mini

    Passed Test

  • Noobies
  • PipPip
  • 25 posts
  • Location: Eindhoven

Posted 09 May 2013 - 05:37 PM

Cutting the front end to replace all bad sections...Made a flexible saw, made it a lot easier!


Foto550-CSEMTFDR.jpg


Foto550-8HI4SG88.jpg


Foto550-TJ7H8LR4.jpg


Edited by rene-mini, 20 October 2013 - 05:55 PM.


#7 Gremlin

Gremlin

    Up Into Fourth

  • Members
  • PipPipPipPipPipPipPipPipPip
  • 2,142 posts
  • Location: Mere, Wiltshire

Posted 09 May 2013 - 06:12 PM

Looks brilliant, hope it goes to plan


#8 skags2

skags2

    Passed Test

  • Noobies
  • PipPip
  • 27 posts

Posted 04 June 2013 - 10:33 AM

any update ? could you send more photos of axel/wheel alignment area + engine mounts thanks !


#9 rene-mini

rene-mini

    Passed Test

  • Noobies
  • PipPip
  • 25 posts
  • Location: Eindhoven

Posted 07 June 2013 - 07:02 AM

unfortunally I have no more updates, I am very busy with school at the moment. The engine is currently not in the mini, I'm trying to make the vtec engine work.


I will make some pics for you asap.


rene


#10 rene-mini

rene-mini

    Passed Test

  • Noobies
  • PipPip
  • 25 posts
  • Location: Eindhoven

Posted 08 October 2013 - 06:34 PM

Hello, 


Allot is done since the last time I posted something, I started by looking at the ''restored'' floor (thats what the previous owner told me)

how can you make something worse like this and call it restauration  :mmkay:


First took the engine out

Foto550-XFLAPHTI.jpg


both sides were almost in the same condition


item.JPG?rot=1


item.JPG?rot=1


item.JPG?rot=1


item.JPG?rot=1


bunch off crap ''restauration'' :mmkay:

Foto550-G6BI6JXE.jpg


;D


Foto550-J8EG3SGC.jpg


Edited by rene-mini, 20 October 2013 - 06:26 PM.


#11 rene-mini

rene-mini

    Passed Test

  • Noobies
  • PipPip
  • 25 posts
  • Location: Eindhoven

Posted 08 October 2013 - 06:38 PM

After removing the front I replaced some bad parts... on first eye it looked pretty sollid, when I removed the tectyl (special black ''paint'') there was a surprise


Foto550-QDAQNLLN.jpg


It was pretty late and we had no large pieces of sheet metal, so we made some smaller pieces.


Foto550-K4INPUT4.jpg


Foto550-XFDJBCFM.jpg


Foto550-SSG4TXBJ.jpg


After welding we painted the section to with anti rust paint.


Foto550-IOJNYHJE.jpg


Other side, same sh*t. My buddy Jacko is cutting the bad sections

Foto550-XPXOE8VB.jpg


Edited by rene-mini, 20 October 2013 - 06:24 PM.


#12 rene-mini

rene-mini

    Passed Test

  • Noobies
  • PipPip
  • 25 posts
  • Location: Eindhoven

Posted 20 October 2013 - 06:09 PM

I changed some foto's, now they are in a chronological order. :shy: 


#13 rene-mini

rene-mini

    Passed Test

  • Noobies
  • PipPip
  • 25 posts
  • Location: Eindhoven

Posted 20 October 2013 - 06:15 PM

Cleaned the frame and reinforced it, now it has a beam structure and it is much stronger!


It had some bad spots (welded them later on)

Foto550-ROXDCXCZ.jpg


Foto550-DE3MHKOB.jpg


Another reinforcement made on school


Foto550-RZJVCOMU.jpg


The result  :lol:


Foto550-FLPGBRBM.jpg


Will look pretty bad ass when opening the flipfront if you ask me! :shades:


Edited by rene-mini, 20 October 2013 - 06:44 PM.


#14 rene-mini

rene-mini

    Passed Test

  • Noobies
  • PipPip
  • 25 posts
  • Location: Eindhoven

Posted 20 October 2013 - 06:36 PM

Now the engine is out I can started cutting the bad parts in the rear


Foto550-TUXK8M4X.jpg


Cleaned the enginebay, I dont want a piece of metal on top of the VTEC to cover it, so the enginebay must be in perfect condition

Its a pretty dirty job you can say!

Foto550-LEB76AHT.jpg


Foto550-EQBI6VPN.jpg


Almost removed all the old paint and oil. As you can see the old owner did some cuts in the beam in front of the engine, he had not enough patient when placing the manifold...

Foto550-XUOGMIXQ.jpg


Made some pieces to bring it back as it was original 

Foto550-PSJHRJHV.jpg


Edited by rene-mini, 20 October 2013 - 06:41 PM.


#15 rene-mini

rene-mini

    Passed Test

  • Noobies
  • PipPip
  • 25 posts
  • Location: Eindhoven

Posted 20 October 2013 - 06:50 PM

Made a frame for the engine so wiring/cleaning is much easier. and as a mechanical it will be a hell of a challange to do the wiring.

I'm looking on the Dutch miniforum/hondaforum for an expert.. (students and money... :ohno: )


Foto550-4K3SCUOX.jpg

Foto550-3E6CTLRT.jpg


Cleaned a part of the engine (sandblasting)

Foto550-FRH4VZMF.jpg


Edited by rene-mini, 20 October 2013 - 06:52 PM.


0 user(s) are reading this topic

0 members, 0 guests, 0 anonymous users