Jump to content


Photo
- - - - -

My Studio 2 - This May Take A While...

roundnose

  • Please log in to reply
128 replies to this topic

#61 MrElliott

MrElliott

    Speeding Along Now

  • Members
  • PipPipPipPipPip
  • 419 posts
  • Location: Surrey
  • Local Club: Box Hill Mini Club

Posted 12 July 2014 - 09:29 PM

some pics of yesterdays progress

IMAG0092_zpsfpl4yy0z.jpg

me adjusting the last brake drum. check out my lovely clean subframe :D

IMAG0093_zps73wx1cfe.jpg

then i dropped the shock out and lowered the radius arm so i could take the inner arch back to bare metal

IMAG0094_zpsf0icnlhu.jpg

then finished off the plug welds and filled some holes that were put in for the old arches

IMAG0095_zpsdfzibkvd.jpg

then cleaned off the surface and applied the seam sealer

IMAG0097_zps5ancq0n1.jpg

IMAG0100_zpsmckkxzn1.jpg

i took off the seam covers and inspected and cleaned up underneath. i was surprised how little rust there was under this!!

IMAG0107_zpsecbodal4.jpg

after the usual paint process and damper put back into place.


cheers

Elliott


#62 MrElliott

MrElliott

    Speeding Along Now

  • Members
  • PipPipPipPipPip
  • 419 posts
  • Location: Surrey
  • Local Club: Box Hill Mini Club

Posted 24 July 2014 - 07:45 PM

so the project was to big for me to take on by myself so i have let the professionals finish off the bodywork. but before the car got picked up i did this...

IMAG0144_zpswcprdyxl.jpg

ground off the old boot lid skin

IMAG0145_zpsxaby9m8i.jpg

took back the rust and painted the inside parts of the skins

IMAG0146_zps7zwc56ip.jpg

then hammered over the edges and plug welded 

IMAG0147_zpsvrbs874j.jpg

IMAG0153_zpsl2mybyp1.jpg

then the strip down! cant believe how many bits make up the dash of a mini! god knows how i am supposed to piece it all back together

some pics of the rust before it got taken away

IMAG0154_zpsqkdb7mdy.jpg

IMAG0155_zpsb1v3peq0.jpgIMAG0156_zpspmdpmmuc.jpg

IMAG0159_zpsttt6ty9o.jpg

IMAG0160_zpswzfwialn.jpg

IMAG0161_zpsmsrs8bmh.jpg

then off he went to Northampton :(

IMAG0162_zpsannnd7lh.jpg

IMAG0166_zps1ytaavgi.jpg


#63 Ben_O

Ben_O

    Mill Road Garage

  • Paint Doctor
  • PipPipPipPipPipPipPipPipPipPip
  • 9,781 posts
  • Location: Isle of Wight

Posted 25 July 2014 - 12:04 PM

BOO!


You mean you managed to do a fantastic job on that boot floor and those door skins and now you are giving it up for someone else to do.  :bah:


If you can do those jobs, you can do the rest.


Not being funny but you have showed alot of skill for a beginner and i have seen pro's make more fuss than you have..


So are they finishing it off just the panel work or they painting it too?


Ben


#64 MrElliott

MrElliott

    Speeding Along Now

  • Members
  • PipPipPipPipPip
  • 419 posts
  • Location: Surrey
  • Local Club: Box Hill Mini Club

Posted 25 July 2014 - 03:08 PM

cheers Ben. i have learnt alot doing the work to be honest


they are doing the front end, bulkhead and sill replacement and then the respray. i really wanted to carry on doing it myself but the quote i got was cheaper than i could do it and with the amount of space i had in the garage it would have been so difficult to replace the sills! and now i have loads of free time i can work on the peices that i removed from the car to do a more complete restoration and do more shifts at work to buy some parts which will make the build up more impressive.

heres what i did yesterday.


IMAG0168_zps7xwk9a1s.jpg

IMAG0169_zps9tpmtn1m.jpg

dismantled, cleanned up and painted the heater components

IMAG0170_zps6pmccc1y.jpg

think i might need a new matrix :/ lets see what Mini in the park has to offer


cheers

Elliott


#65 MrElliott

MrElliott

    Speeding Along Now

  • Members
  • PipPipPipPipPip
  • 419 posts
  • Location: Surrey
  • Local Club: Box Hill Mini Club

Posted 12 August 2014 - 07:23 PM

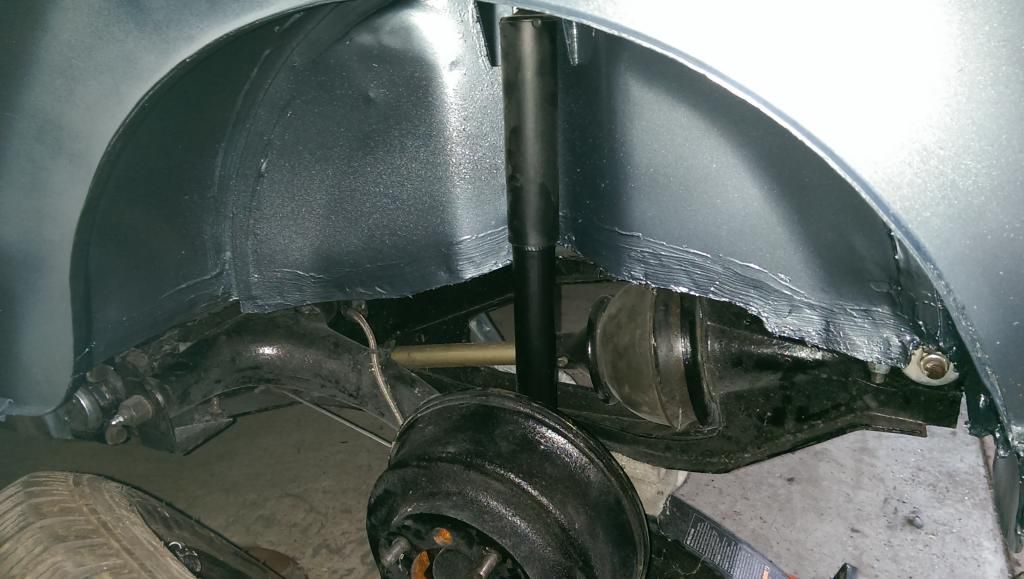
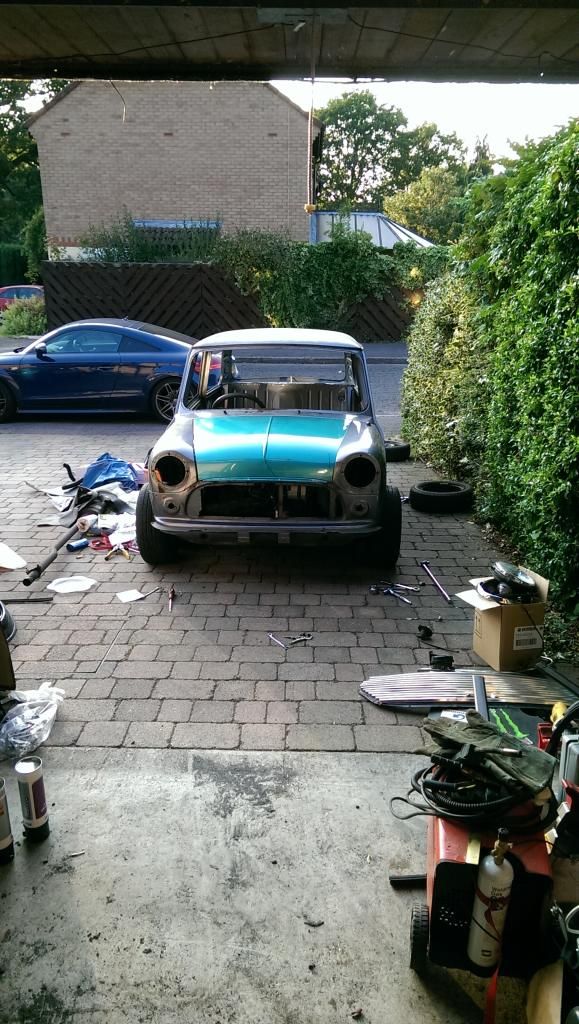
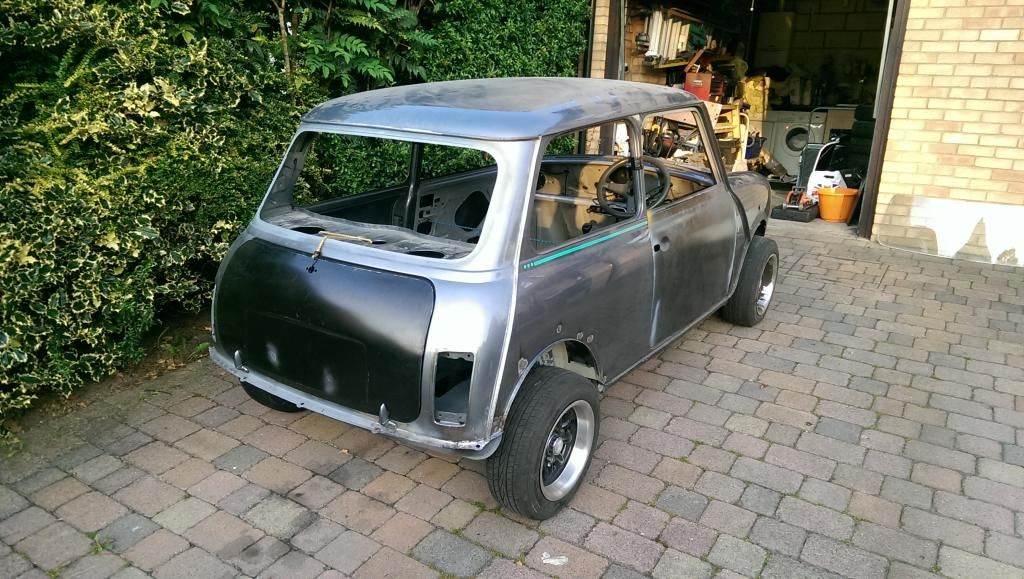
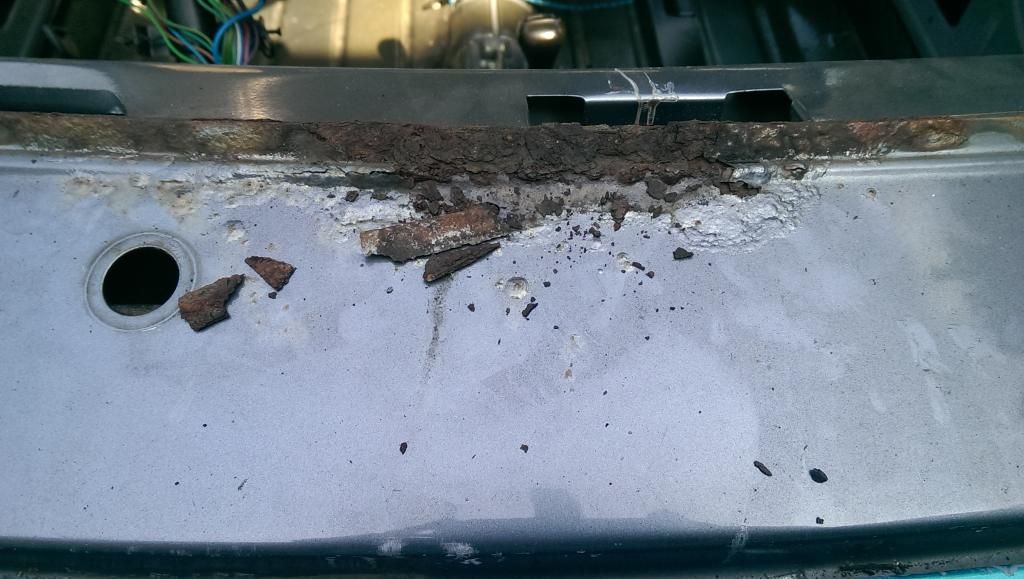
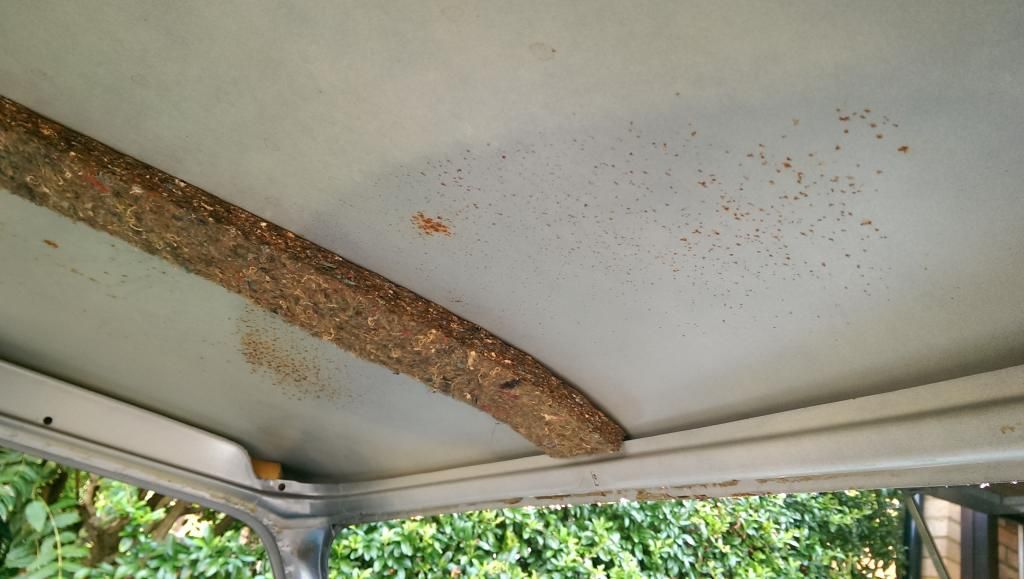
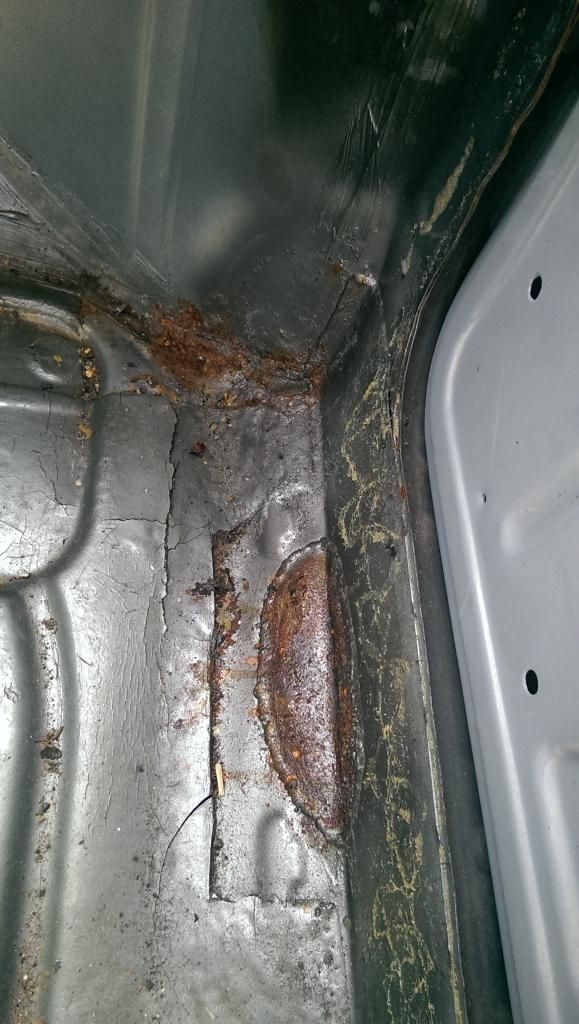
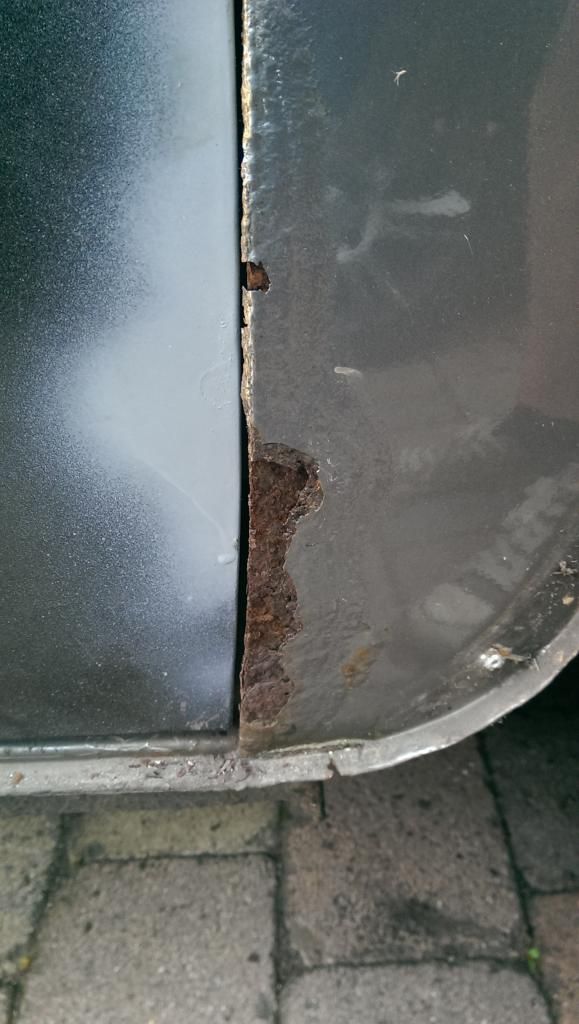
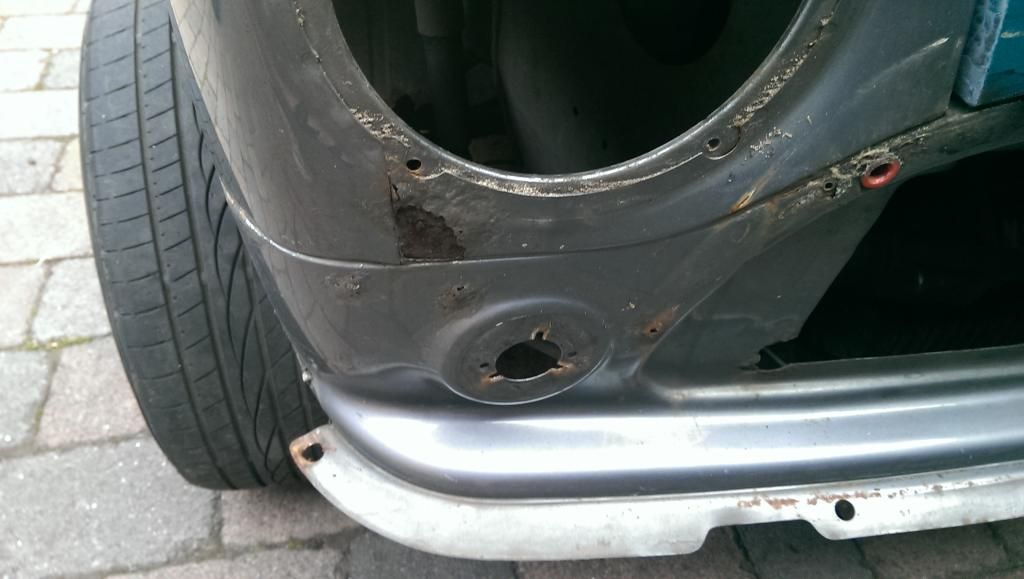
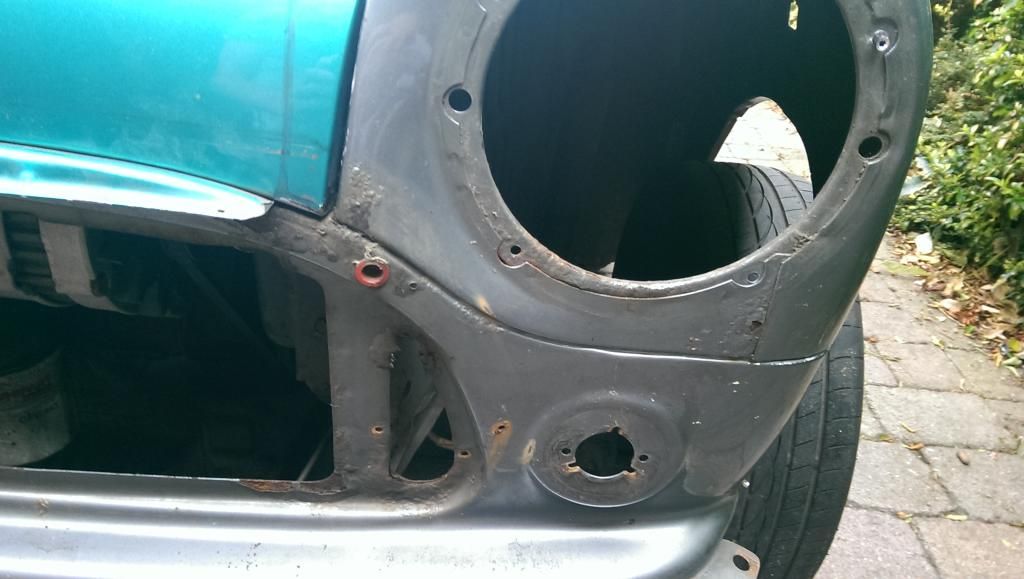
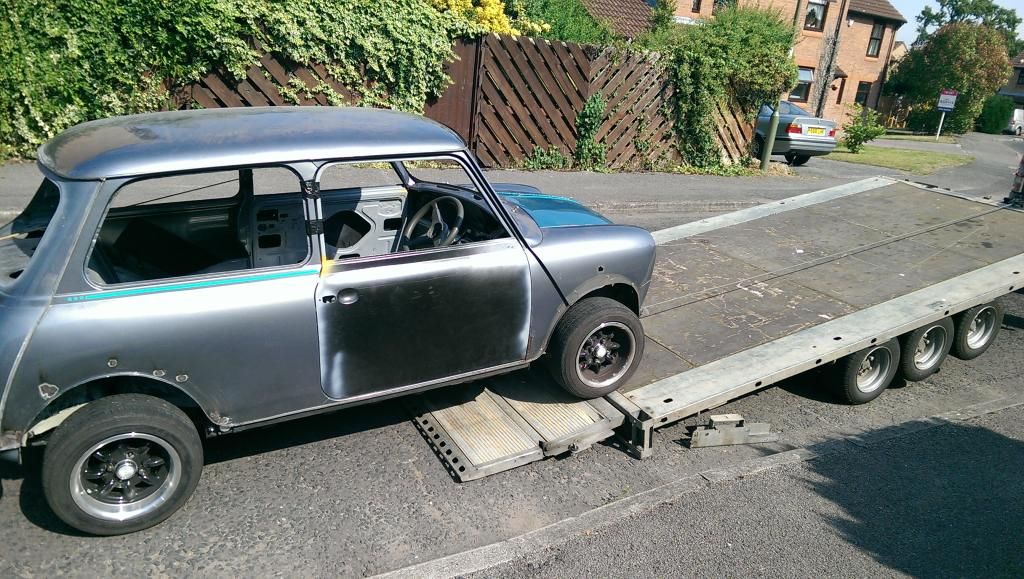
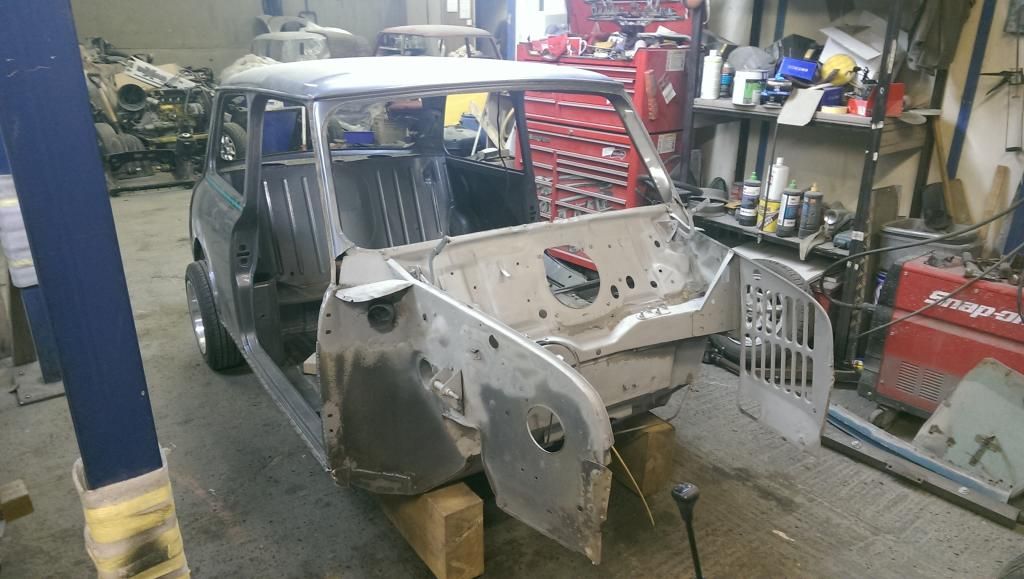
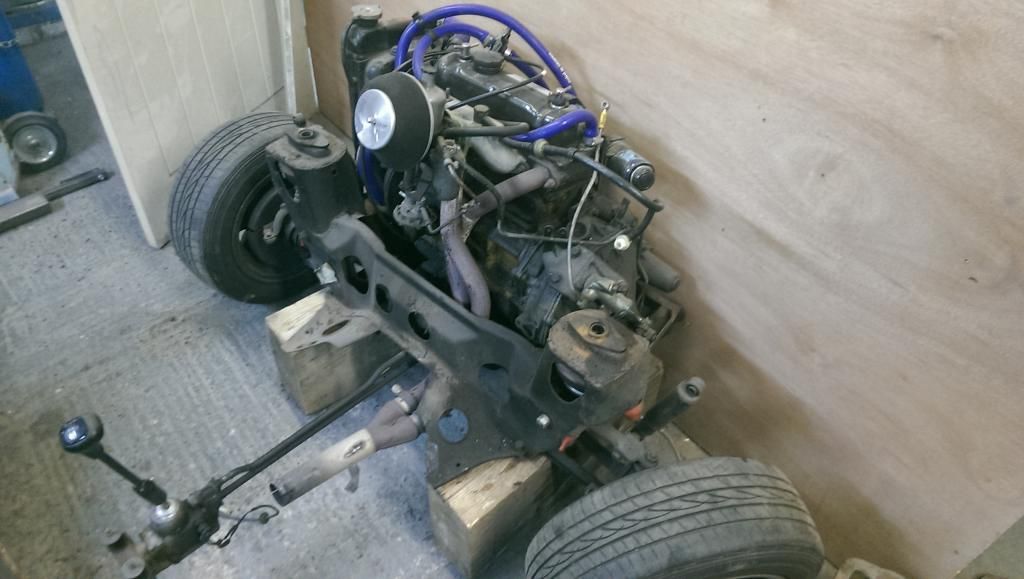
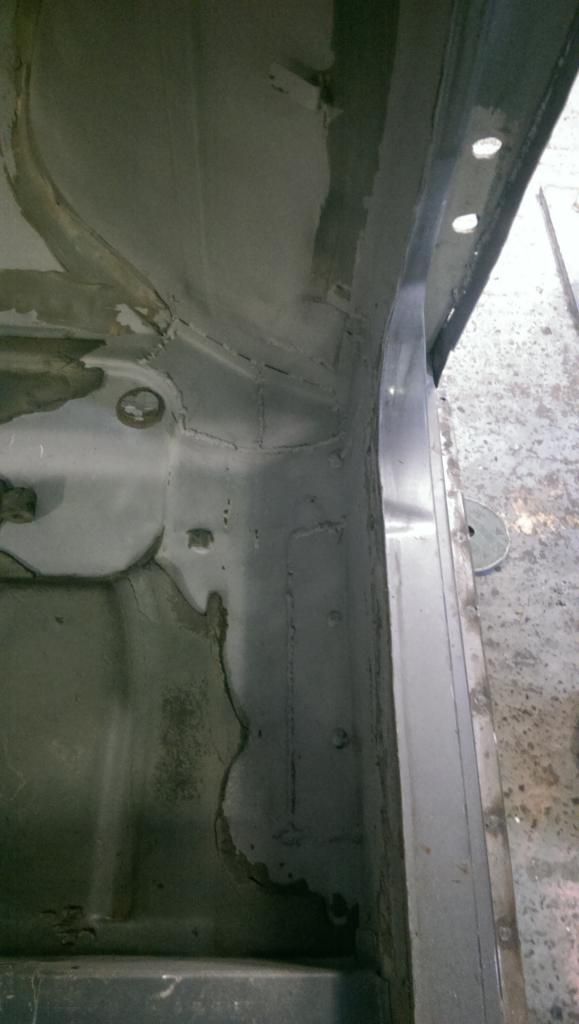
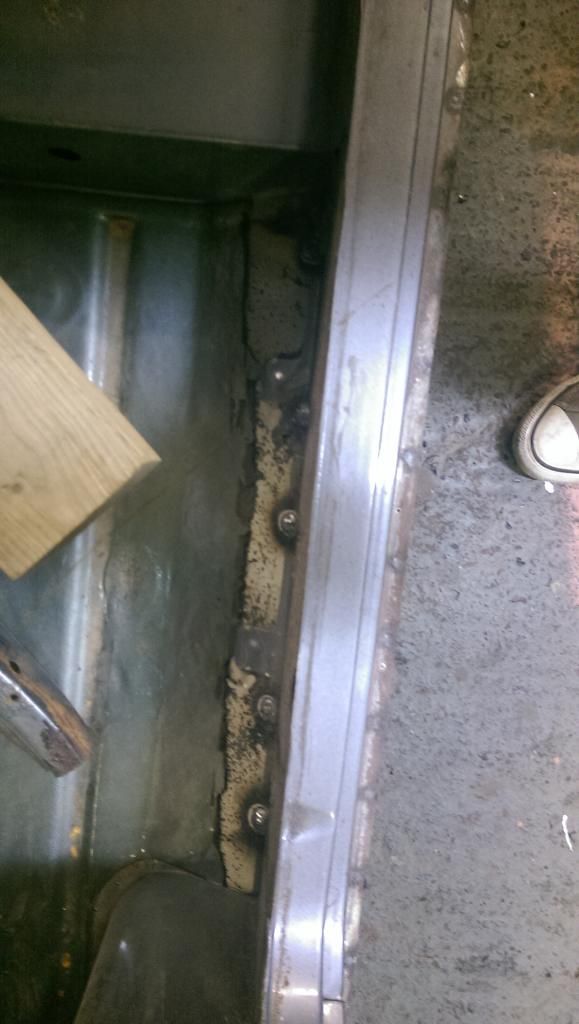
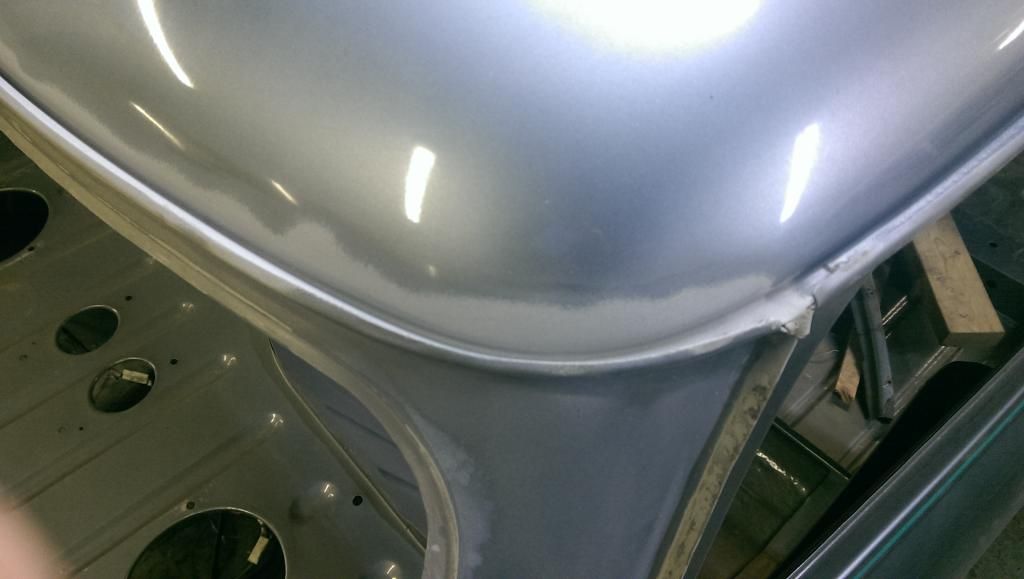
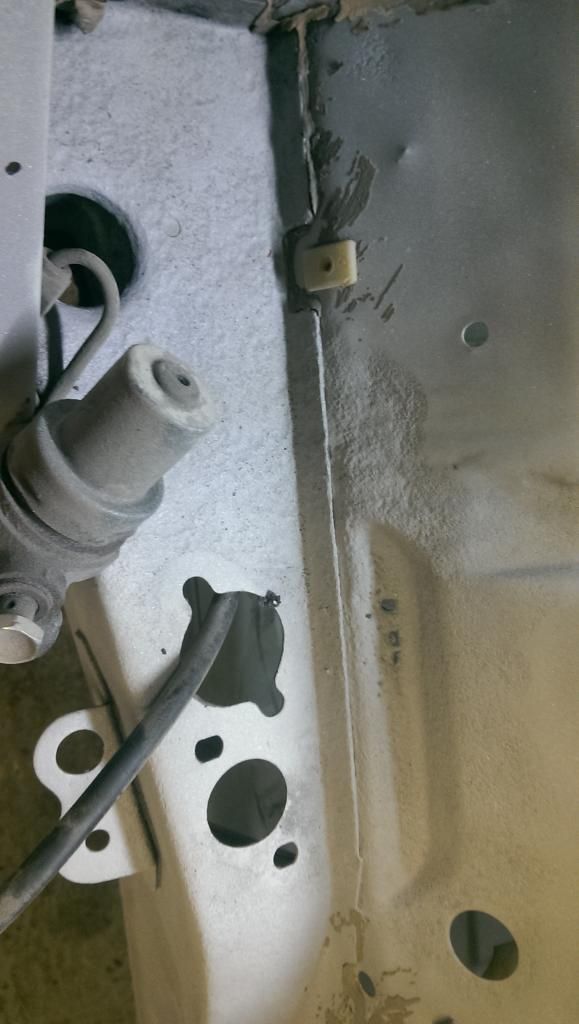
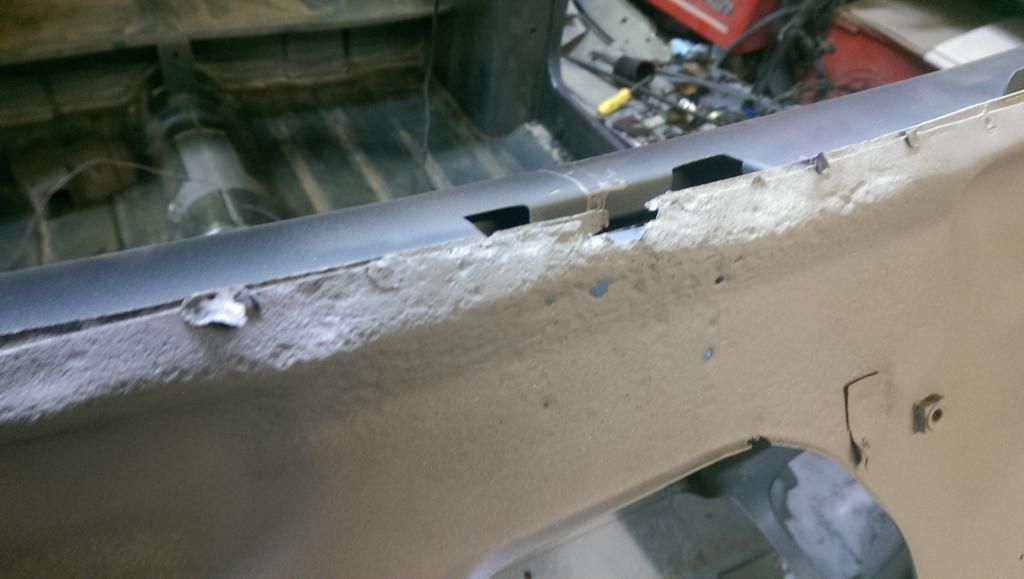
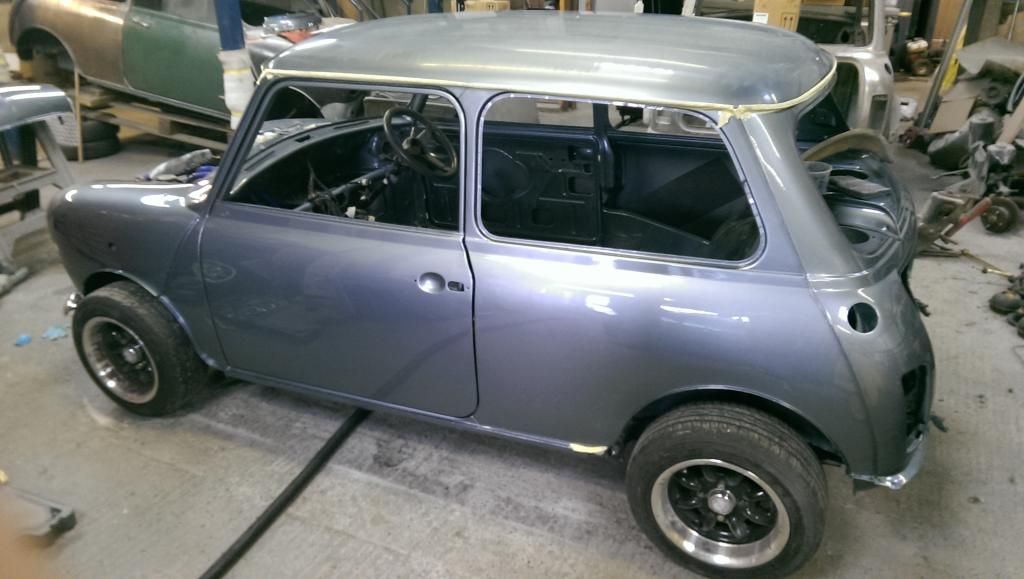
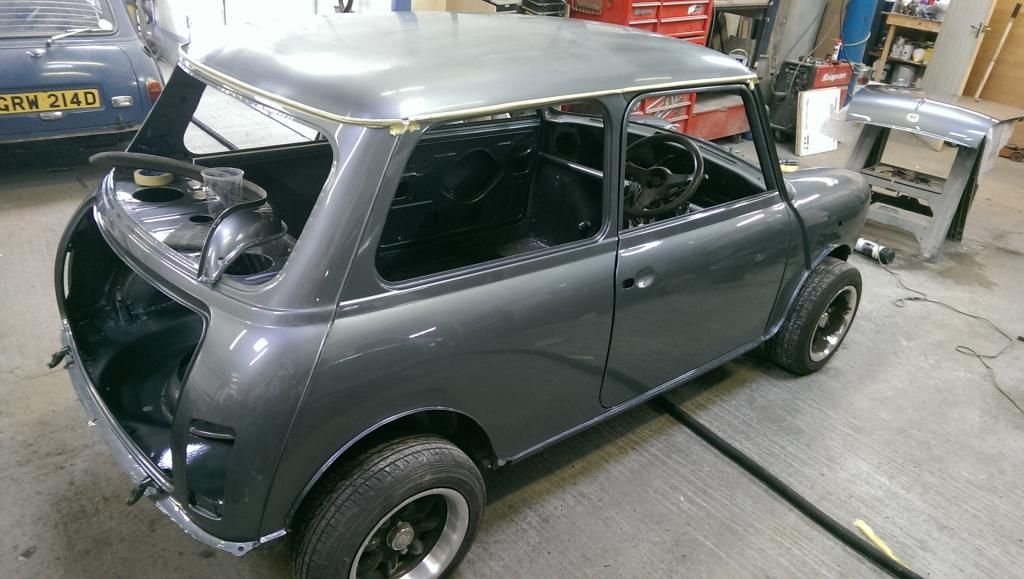
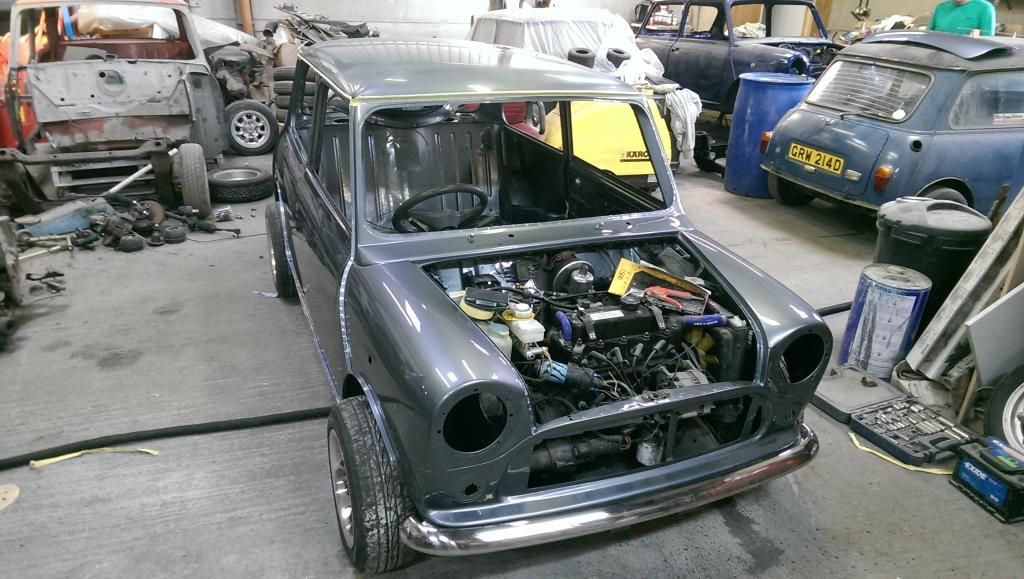
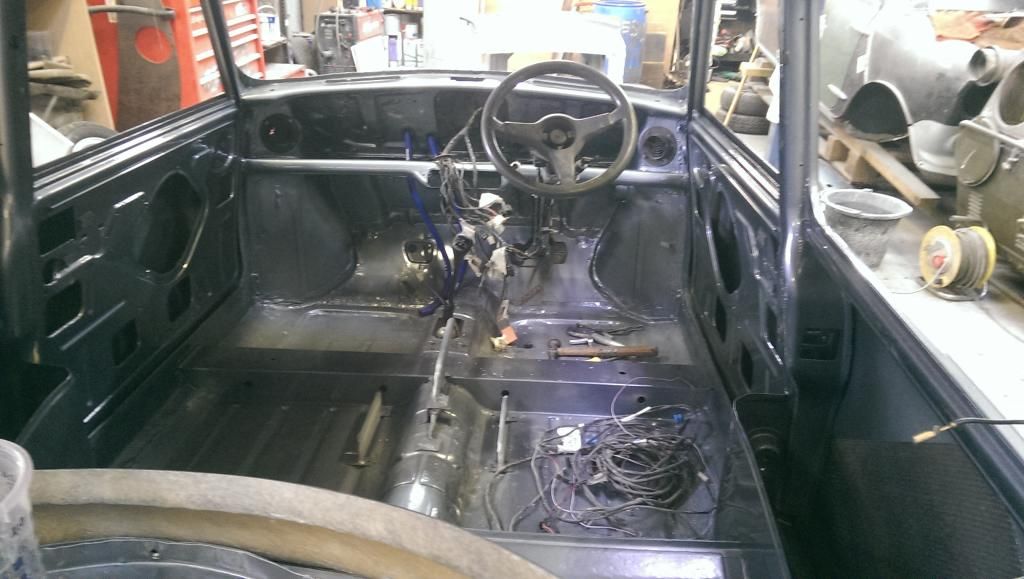
so no news on how the shell is progressing other than the bulkhead needs replacing. 

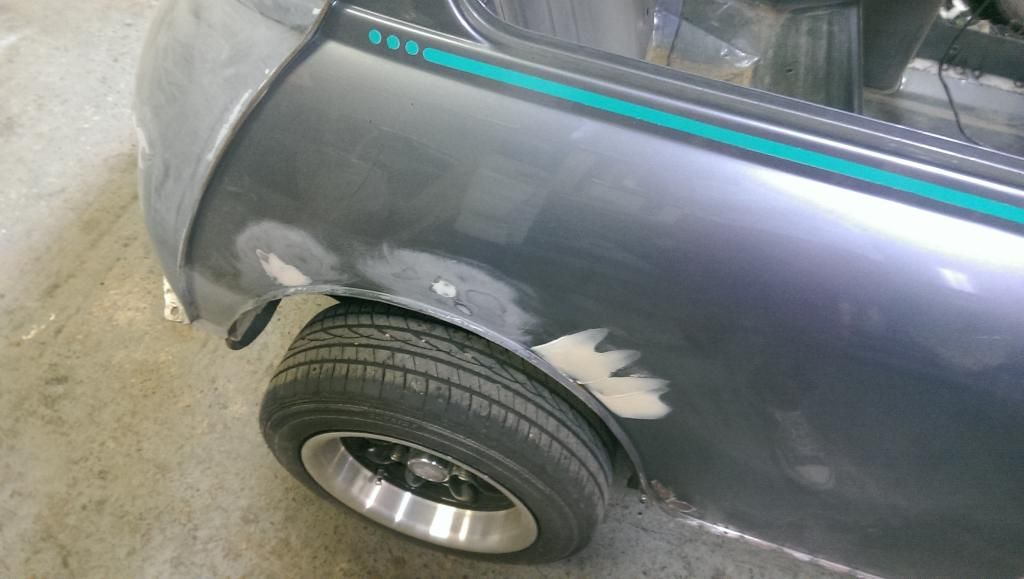
 other than that ive been refurbishing bits and bobs.


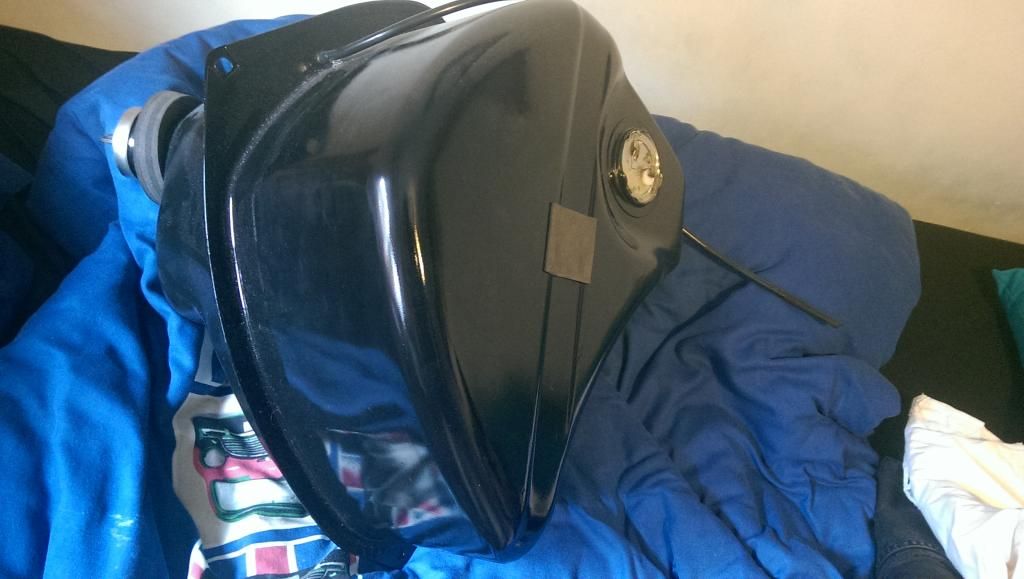
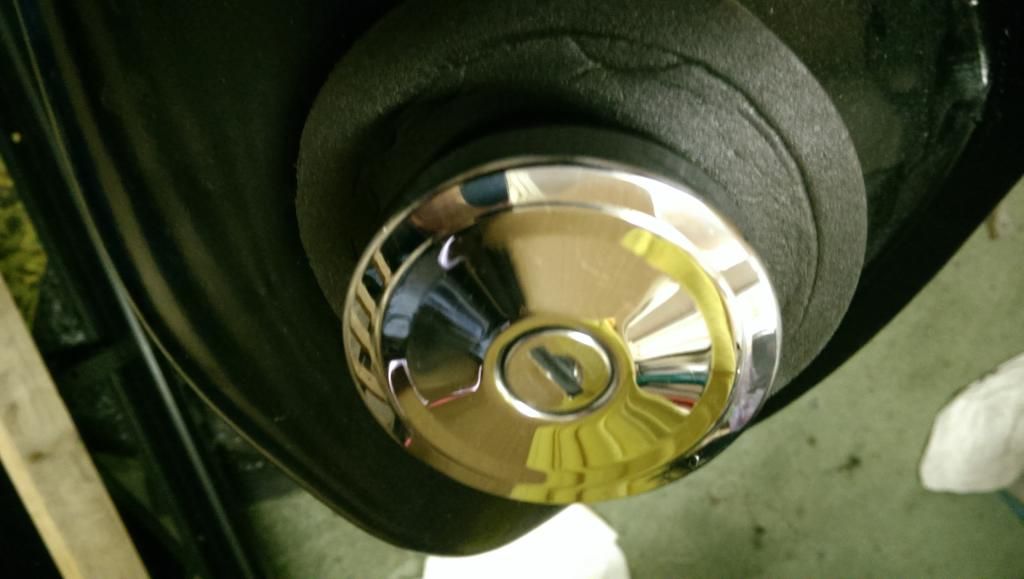
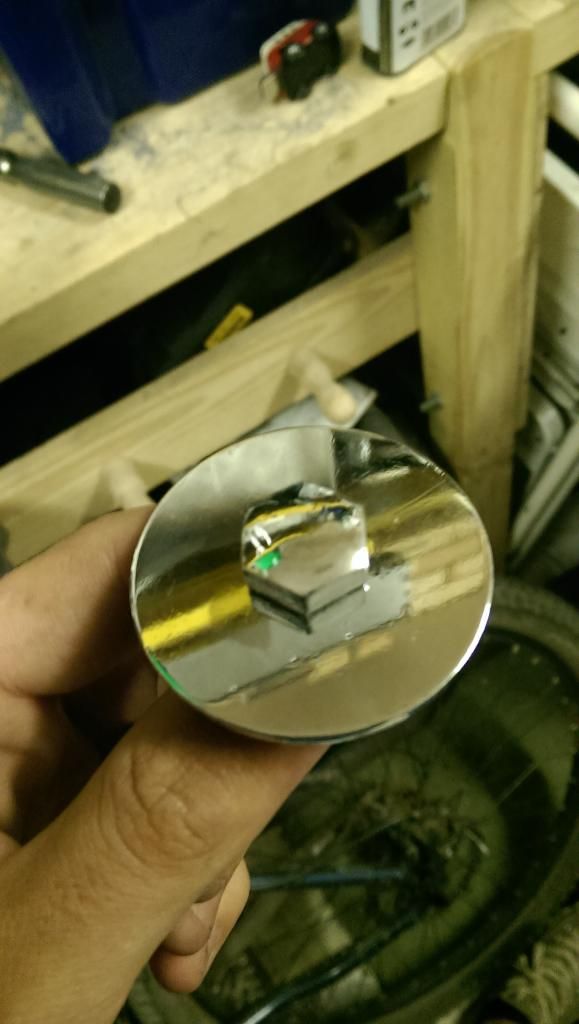
i have painted the fuel tank and polished the cap which came up really well on my new bench polisher

IMAG0178_zpsglv86bje.jpg

IMAG0180_zpsp3bqjgqj.jpg

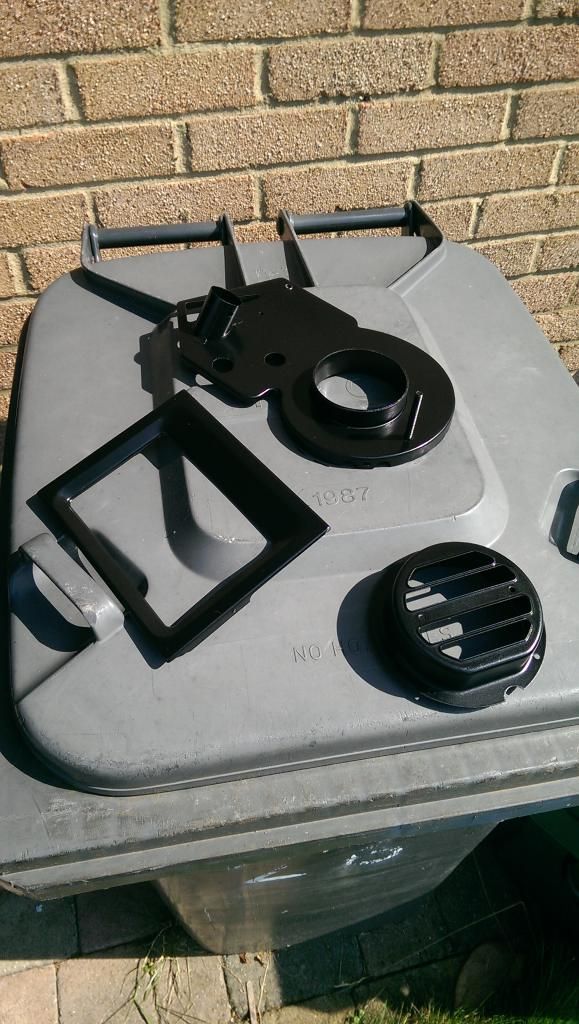
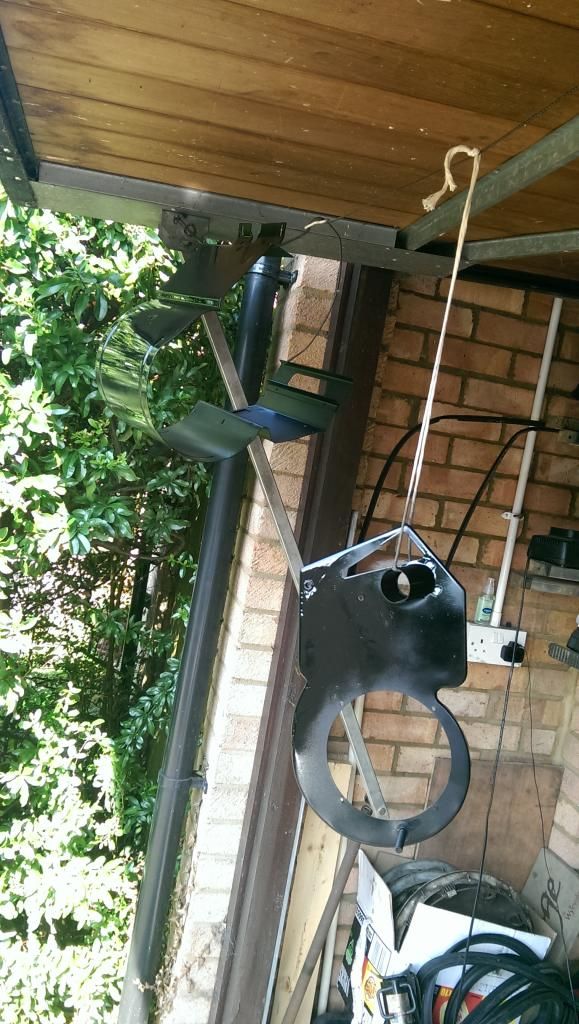
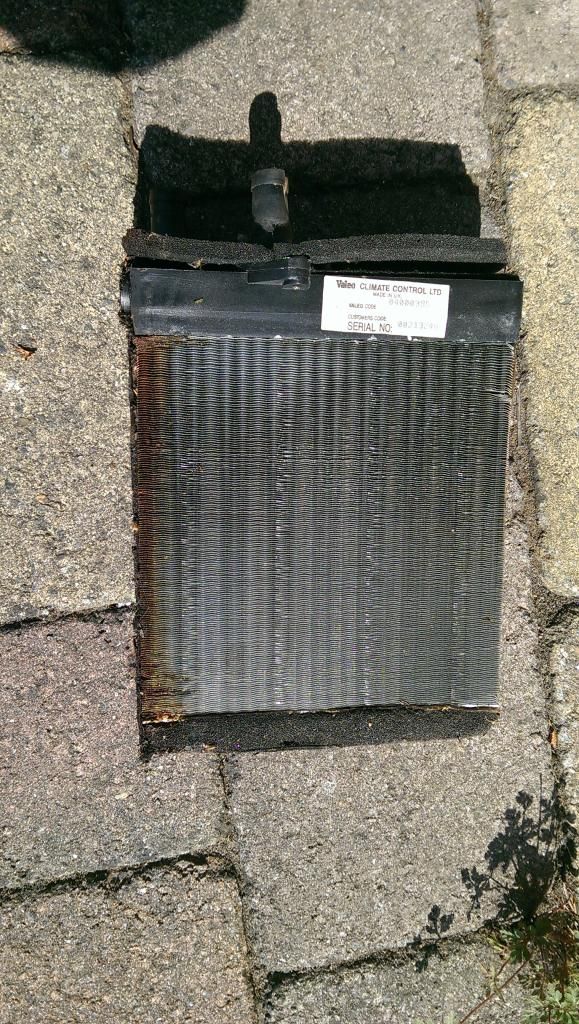
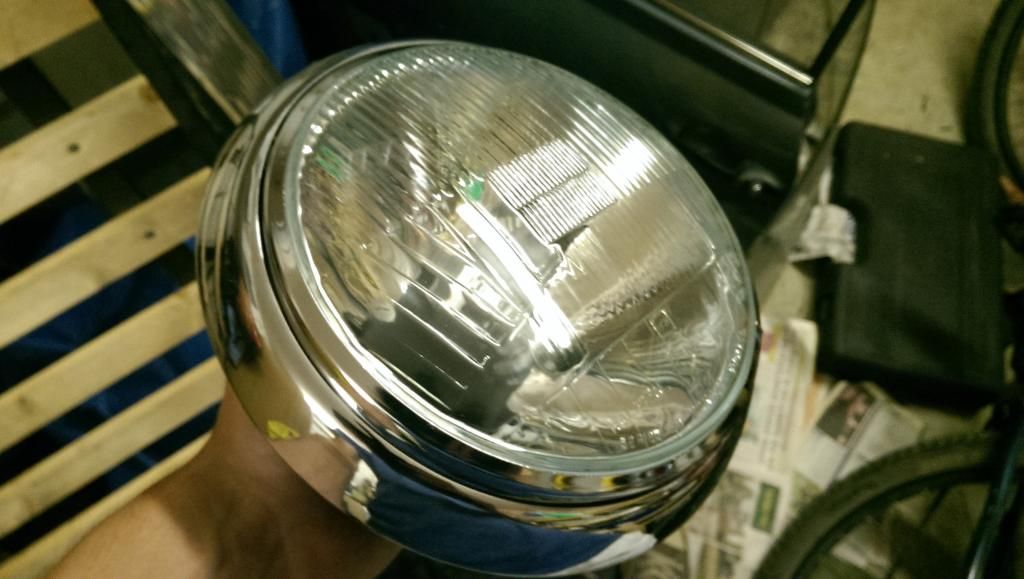
then polished a few other bits to make them look great and rebuilt the head lights and heater after buying a new matrix

IMAG0182_zpsyb6dx7i5.jpg

IMAG0188_zpslfx0cuws.jpg


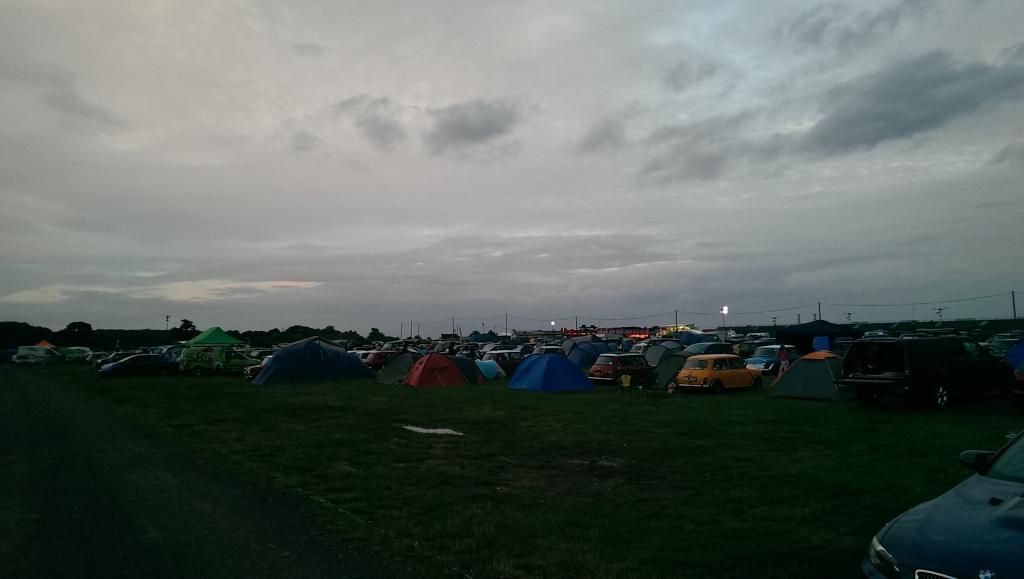
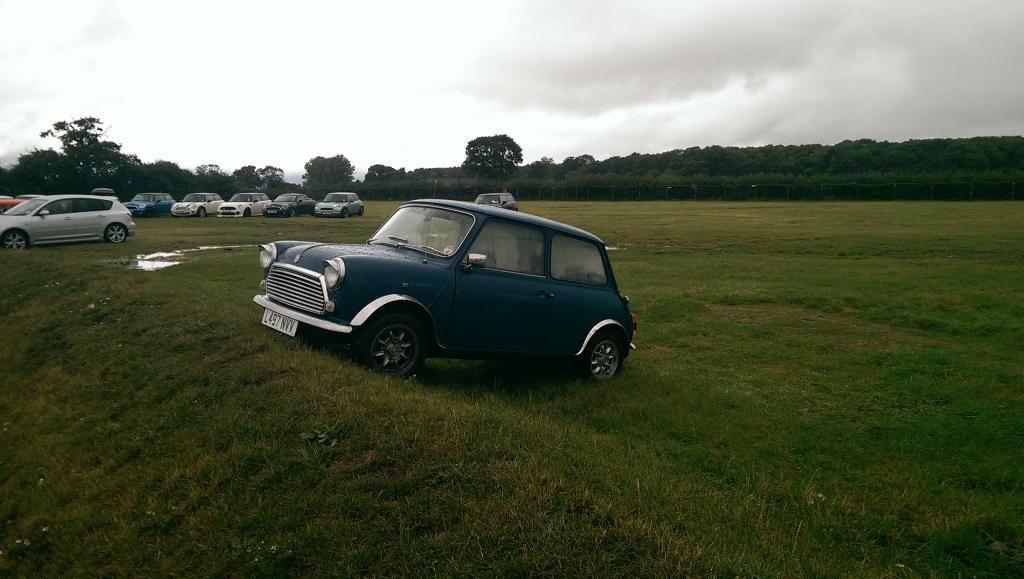
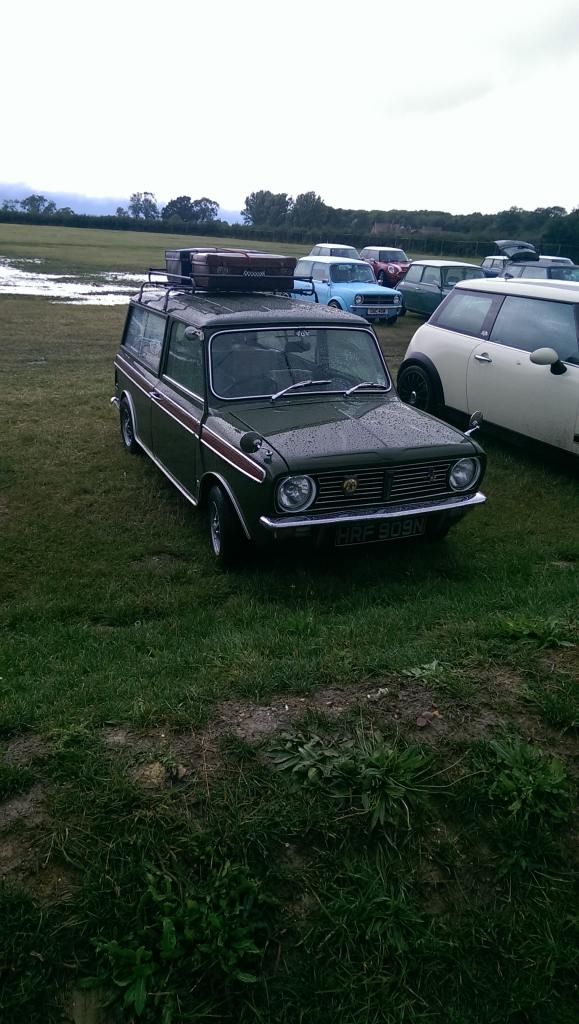
mini in the park which turned into fiesta in the park for me was very damp but still a great show

IMAG0202_zpsmtdcitdi.jpgIMAG0205_zpsar6gsrc6.jpg

IMAG0206_zpslgytgjbo.jpg


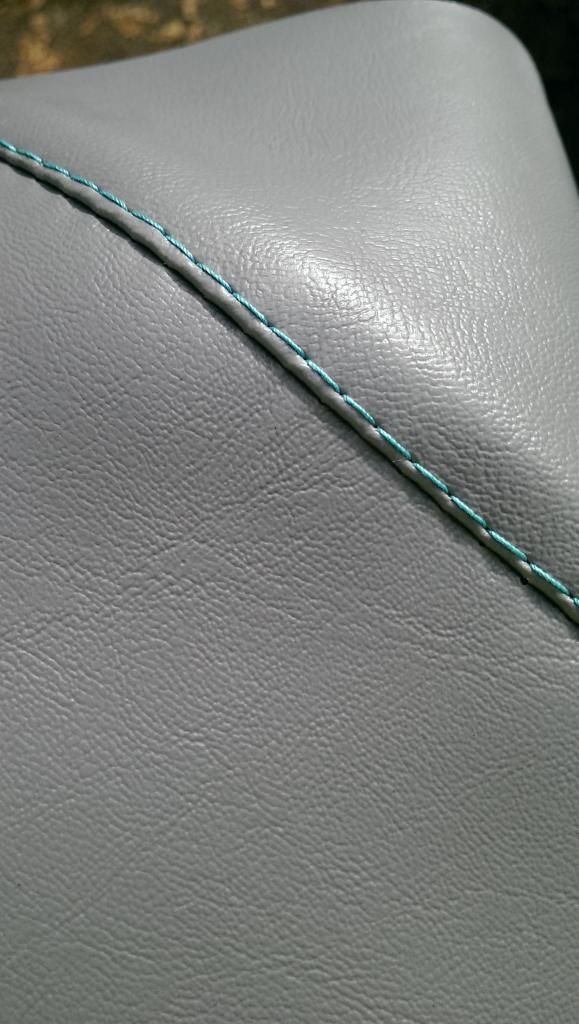
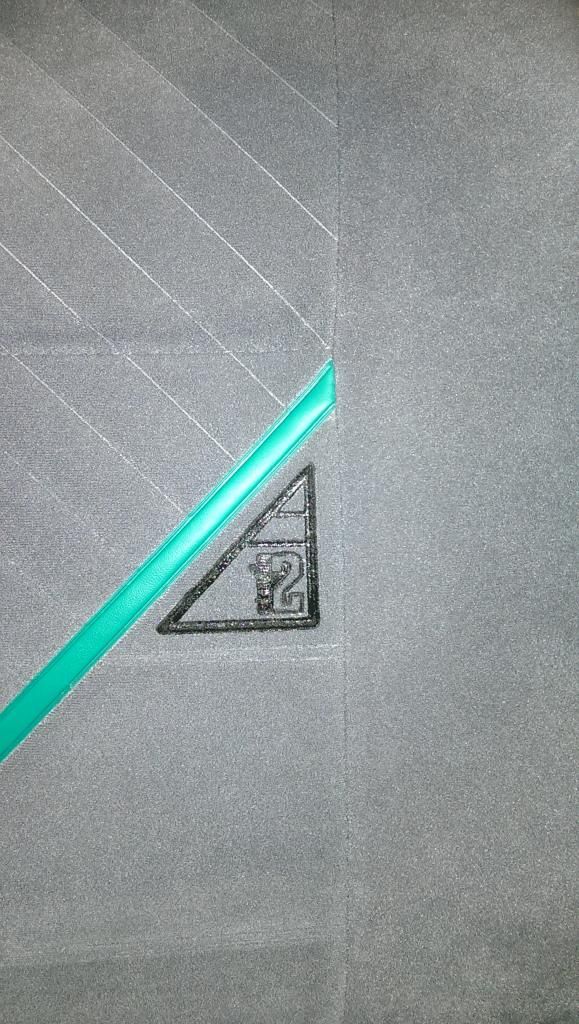
the driver seat was ripped slightly so i took it to a local dry cleaners and the guys stitched it up for me whilst i painted the seat frame black. then put the seat covers in the washing machine and put back together

IMAG0211_zpseucfhn78.jpg

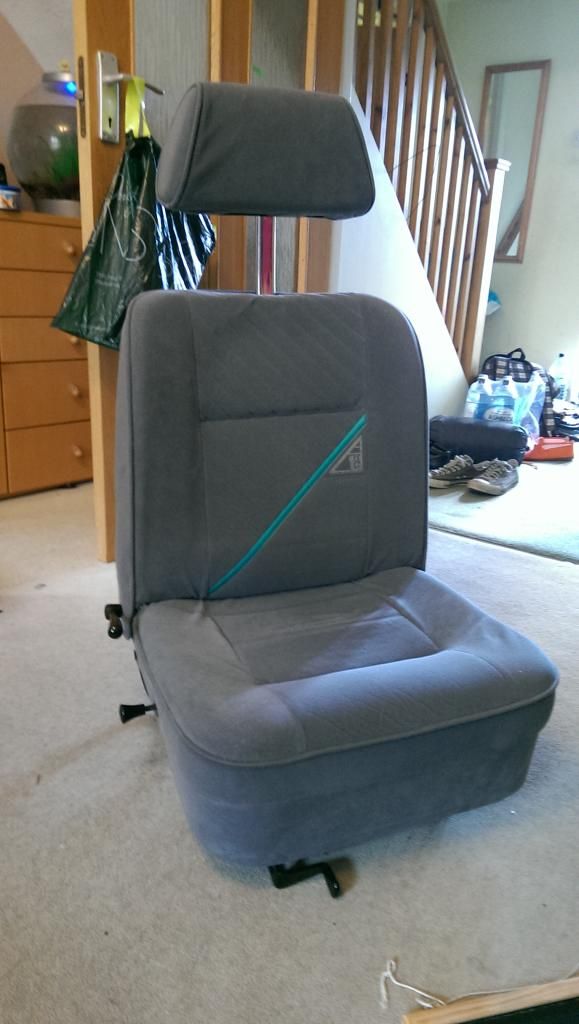
then i used rubber paint to hand paint the studio 2 logo back on

IMAG0222_zpsjkg41zfd.jpg


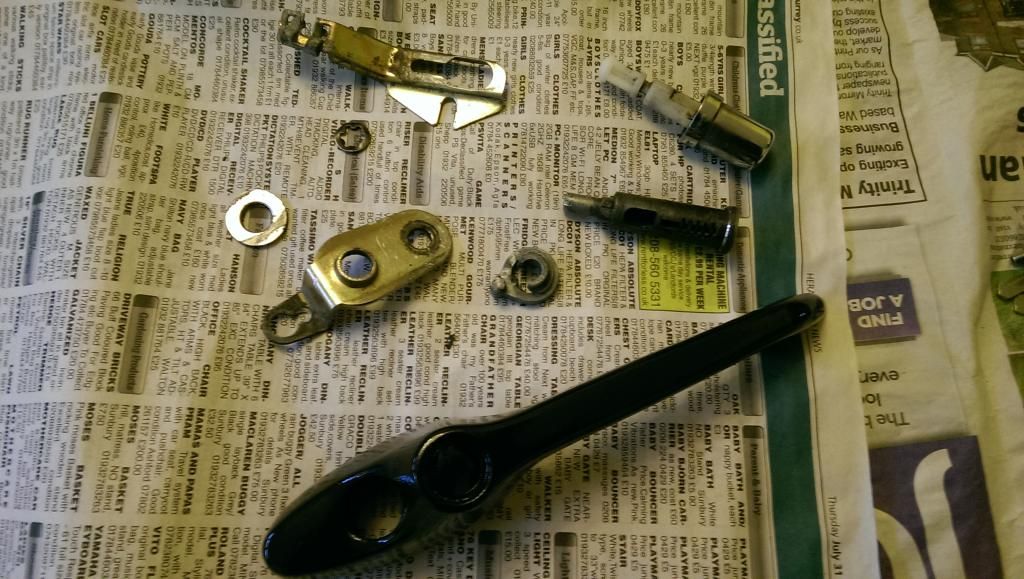
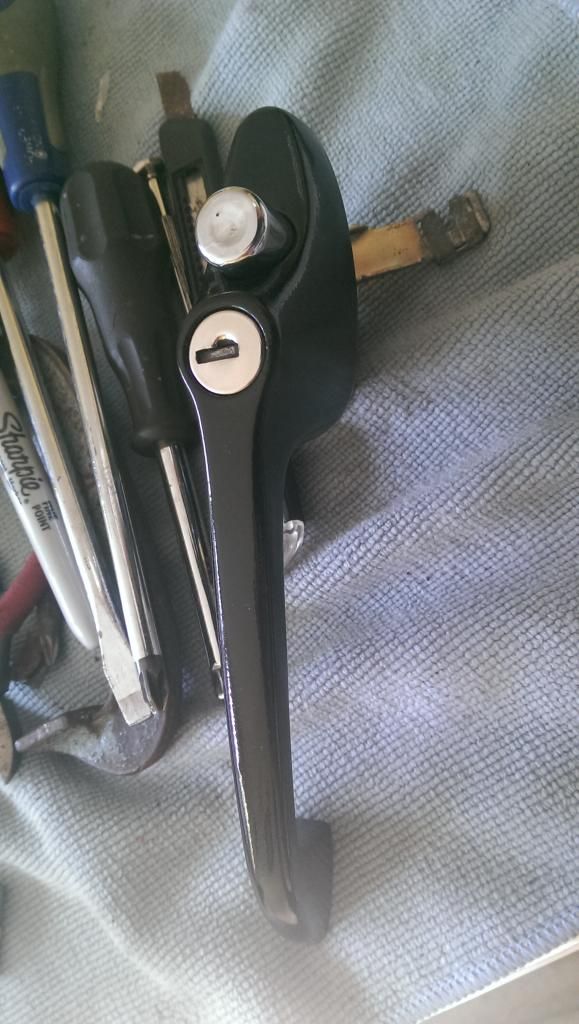
and whilst i had the paint brush out i thought i would give the rear quarter window latches a paint where they were corroded. but the most of it could be polished out :)

IMAG0224_zps1thqjm5i.jpg


thats all for now but im planning to do some engine modifications once i get the car back such as a carb rebuild and a stage 3 cylinder head from minisport, high lift rockers all to go with a 1.75" stainless exhaust system :)


cheers

Elliott


#66 mk2 choker

mk2 choker

    Learner Driver

  • Noobies
  • PipPip
  • 19 posts
  • Location: Wordsley
  • Local Club: No club just yet

Posted 12 August 2014 - 08:05 PM

Brilliant work mate, spot on!

#67 MrElliott

MrElliott

    Speeding Along Now

  • Members
  • PipPipPipPipPip
  • 419 posts
  • Location: Surrey
  • Local Club: Box Hill Mini Club

Posted 10 September 2014 - 06:53 PM

not much happening at the moment. rather boring stuff like polishing screws and refurbishing the odd bit of trim but its quite satisfying :) oh and made a new parcel shelf board as mine was horrific

IMAG0276_zpsqsaqxo7j.jpg

IMAG0277_zpsuje5qw2u.jpgIMAG0281_zpsc6ozitgh.jpg

cheers

Elliott


#68 Hitz_x

Hitz_x

    Learner Driver

  • Noobies
  • PipPip
  • 19 posts
  • Location: Dudley

Posted 12 September 2014 - 10:34 PM

Good work mate... I'm about to start work on my studio 2
Wish me luck

#69 MrElliott

MrElliott

    Speeding Along Now

  • Members
  • PipPipPipPipPip
  • 419 posts
  • Location: Surrey
  • Local Club: Box Hill Mini Club

Posted 21 September 2014 - 06:17 PM

good luck mate!

went to see the mini! its had sills welded in and the floor patched up :) the bulkhead is still to be replaced and wings and the rest of the front attached.


IMAG0311_zpsqmgxwzx5.jpgIMAG0312_zpsqdrpceui.jpg

IMAG0313_zpsesb6p5z6.jpg

more pics to follow...


#70 MrElliott

MrElliott

    Speeding Along Now

  • Members
  • PipPipPipPipPip
  • 419 posts
  • Location: Surrey
  • Local Club: Box Hill Mini Club

Posted 23 September 2014 - 05:33 PM

IMAG0314_zpso4o0fmvk.jpg

more plug welds for the outer sill

IMAG0315_zpsdot2ni1n.jpg

rear end being smoothed off

IMAG0316_zpsjcaba5jn.jpg

my rear end welding seems to be holding up for now...

IMAG0317_zpskaybnexw.jpg

the rear gutter looked a bit scary so the guys at the bodyshop blasted it to clean metal :)

IMAG0318_zpstdqsartw.jpg

IMAG0319_zpscbhh2dou.jpg

after blasting the bulkhead it looks shocking so its getting replaced in three parts to keep the shells rigidity


cheers to the guys at fusion bodywork who seem to be doing an awesome job with my mini. cant wait to see it done in a couple weeks :)


#71 MrElliott

MrElliott

    Speeding Along Now

  • Members
  • PipPipPipPipPip
  • 419 posts
  • Location: Surrey
  • Local Club: Box Hill Mini Club

Posted 02 October 2014 - 07:20 PM

well the mini has nearly done its time at the bodyshop!

went there today to see the progress and to sort an issue with the rear arches...

IMAG0329_zpswtm9mcy6.jpg

IMAG0330_zpshrxaixpe.jpg

IMAG0331_zpsjounw7il.jpg

IMAG0332_zpscudahkiv.jpg

chuffed :D but the group 2 arches that i wanted to use have a really s**t fitment so im going to the shops tomorrow to see what arches i can get away with using. im thinking group 5s again but in body colour :)

i also got some bits! such as a stainless rc40 and link pipe, stainless bumpers, new screen and other trim bits.

IMAG0328_zpsc9qtrli6.jpg

and then there a few bits from optimise automotive which i shall reveal later

IMG-20140927-WA0001_zpskihbsda0.jpeg

hoping to have the mini built by the end of next weekend.. thats not going to happen though...


cheers

Elliott


#72 danm

danm

    Super Mini Mad

  • Members
  • PipPipPipPipPipPip
  • 502 posts
  • Location: UK
  • Local Club: Stringfellows

Posted 02 October 2014 - 09:08 PM

This looks absolutely no stunning!

#73 danm

danm

    Super Mini Mad

  • Members
  • PipPipPipPipPipPip
  • 502 posts
  • Location: UK
  • Local Club: Stringfellows

Posted 02 October 2014 - 09:09 PM

Bloody autocucumber, that was a condiment

#74 danm

danm

    Super Mini Mad

  • Members
  • PipPipPipPipPipPip
  • 502 posts
  • Location: UK
  • Local Club: Stringfellows

Posted 02 October 2014 - 09:09 PM

F f s! Lolllll on the app, I ca n t. Edit very easily

#75 Ben_O

Ben_O

    Mill Road Garage

  • Paint Doctor
  • PipPipPipPipPipPipPipPipPipPip
  • 9,781 posts
  • Location: Isle of Wight

Posted 02 October 2014 - 10:53 PM

Bloody autocucumber, that was a condiment

:lol:


Also tagged with one or more of these keywords: roundnose

0 user(s) are reading this topic

0 members, 0 guests, 0 anonymous users