

Alrite Guys. Time for a new Project!! I know we havent finished the pickup yet but
this came up at a price that we couldnt refuse!!!
so lets begin. as the title says its alot better than what we usually start off with
which is a bonus.
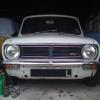
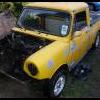
heres the beast.

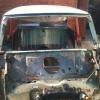
and heres some pics of the areas that need attention.
Front floorpan needs repairing, slight repair on the inner wing and slight repair on the inner sill at the front drivers side.

Very slight repairs to the wheel arch and the rear valence closing panel on the drivers side.

Rear valence needs panel beating straight.

Wheel arch passenger side needs slight reapir.

Floorpan repair, inner sill and slight repair to innerwing needed.

And we need to get rid of this hideous thing!!! More on that next!

seeing as we have got a "spare" mini in the back lane, we have decided to do a roof swap.
so alot of carefull measuring is in need. all measurements and points of measuring have been marked off with marker pen.


with this done we welded in some bracings to keep the door gaps and to stop the shell from twisting.

with the bracing in and checking of all mesurements we transfered the measurements onto the spare mini! with this done
it was time to get the spotweld drill and grinder out!
off with its head!!


to maintain strength when welded back together all he joints are staggered by 100mm.

with all the cuts finished, a very liberal coat of weld through primer was applied to all the surfaces.

with all of this completed it was time to do the same to the "spare" mini.


and again weld through primer applied to all the internal surfaces.

dont worry about the "spare" mini were keeping the rest of that instock for my van project when i get hold of one!
now it was time to mate the two together!

we went round measuring off our datums we had set and tacked the two together. it got a bit late in the day by
the time we got to this point, so we will finish welding it tomrrow.
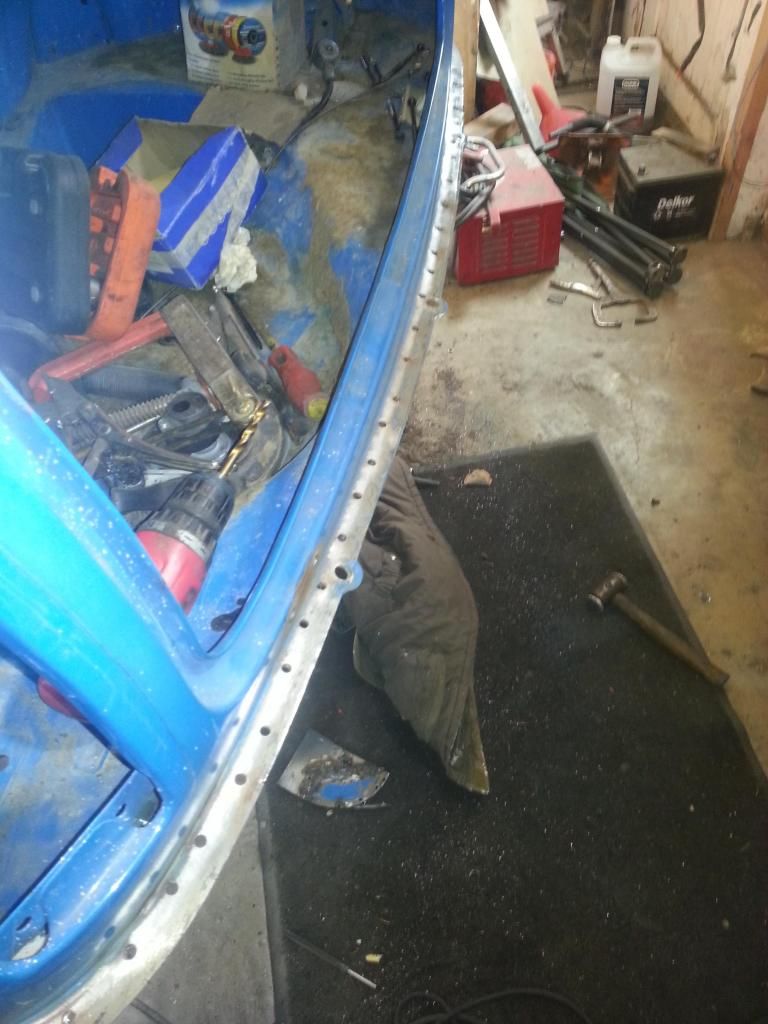
before we knocked off we thought we would take the oversill that had been put on, on the drivers side.
luckily it had been put on so badly it was easy to take off! look theres the original sill. this winds me up something kronic!

and this is why you dont use the dredded over sills.

look at all the moisture they hold in!!
thats it for today, should be updating more tommorrow.