Jump to content


Photo
- - - - -

1964 Mk1 Morris 850


  • Please log in to reply
829 replies to this topic

#481 timmy850

timmy850

    Up Into Fourth

  • TMF+ Member
  • PipPipPipPipPipPipPipPipPip
  • 2,991 posts
  • Location: NSW, Australia
  • Local Club: MITG

Posted 24 October 2018 - 06:28 AM

The slave cylinder has been stripped down and cleaned out. The new seals and pushrod are at the top. The old and new seals have the same part numbers which is reassuring.
30587415407_da48b26842_b.jpg
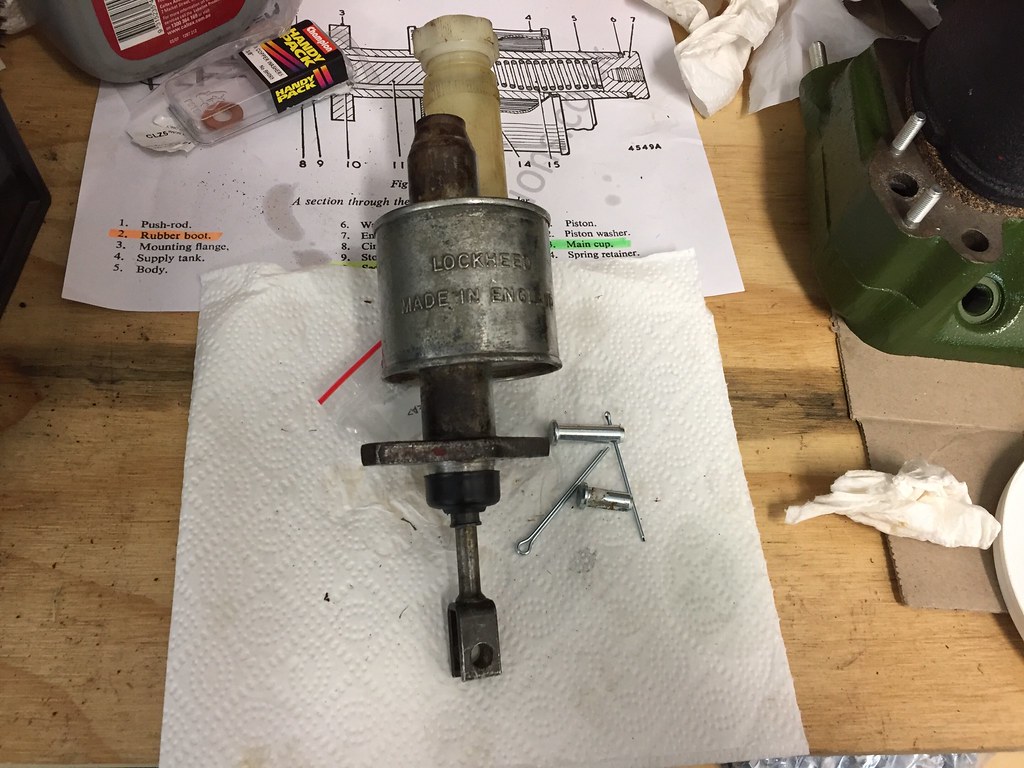
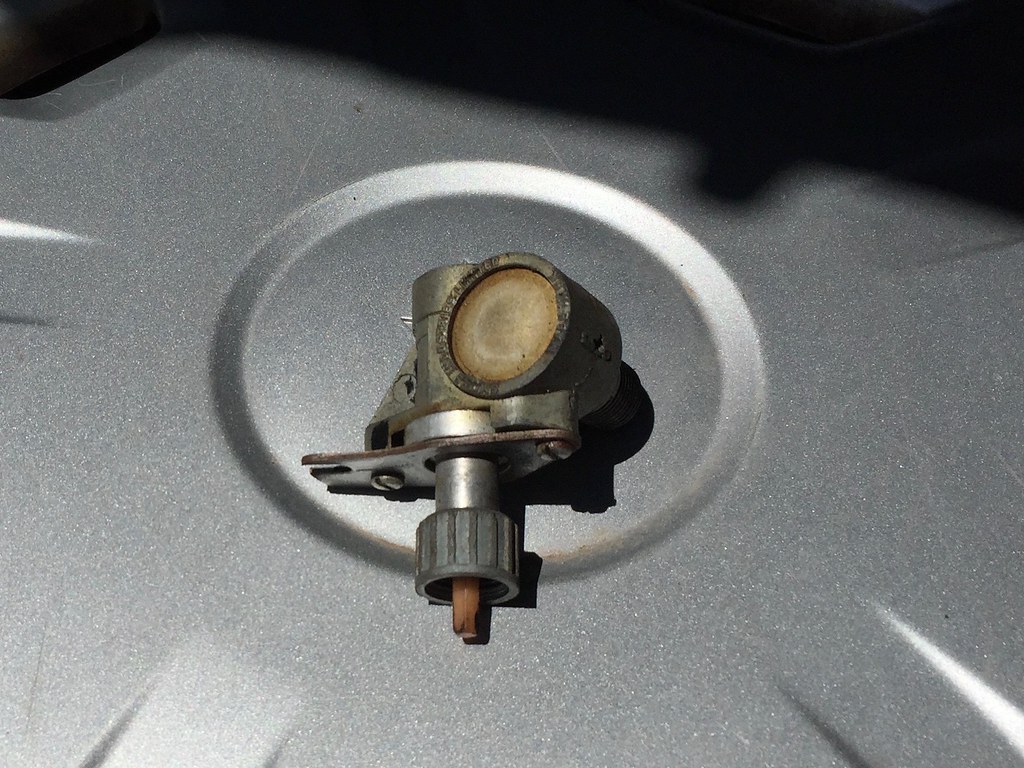
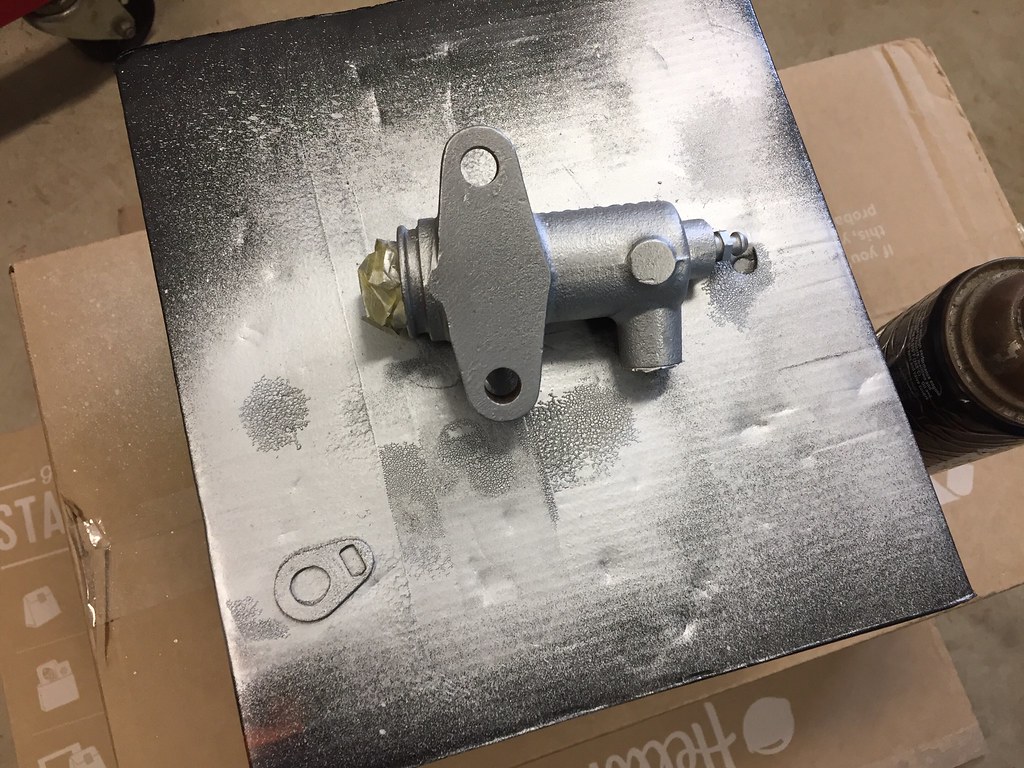
I gave it a quick coat of paint (which will probably only last till I bleed it)
43711842250_7172ee8dfc_b.jpg
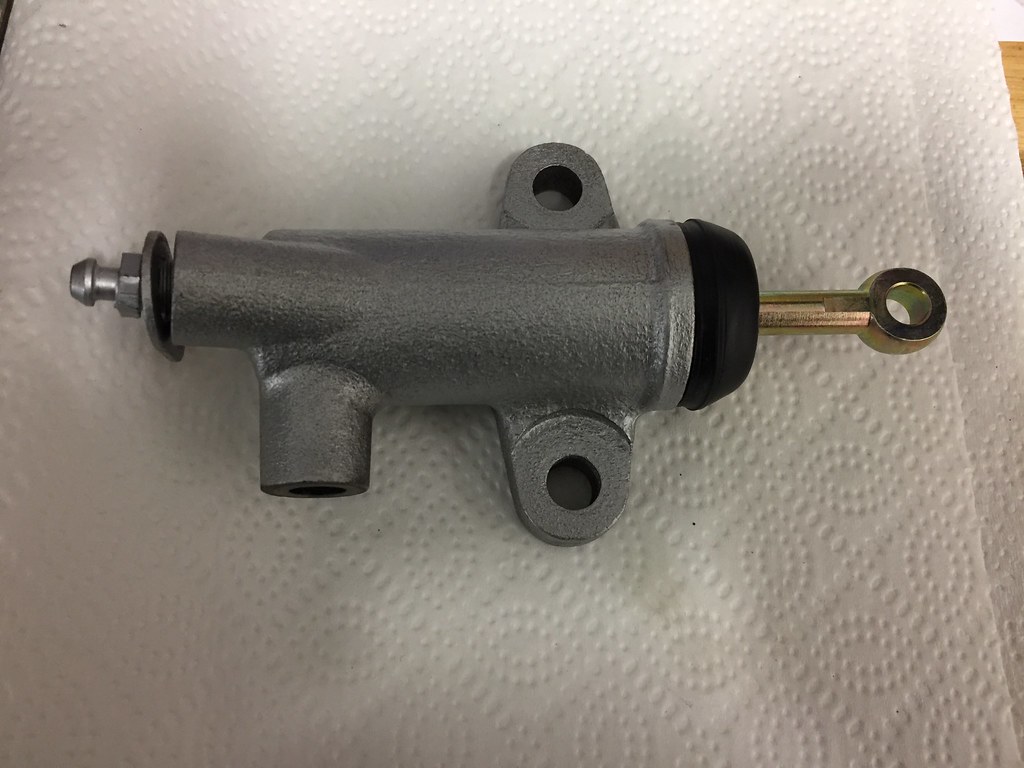
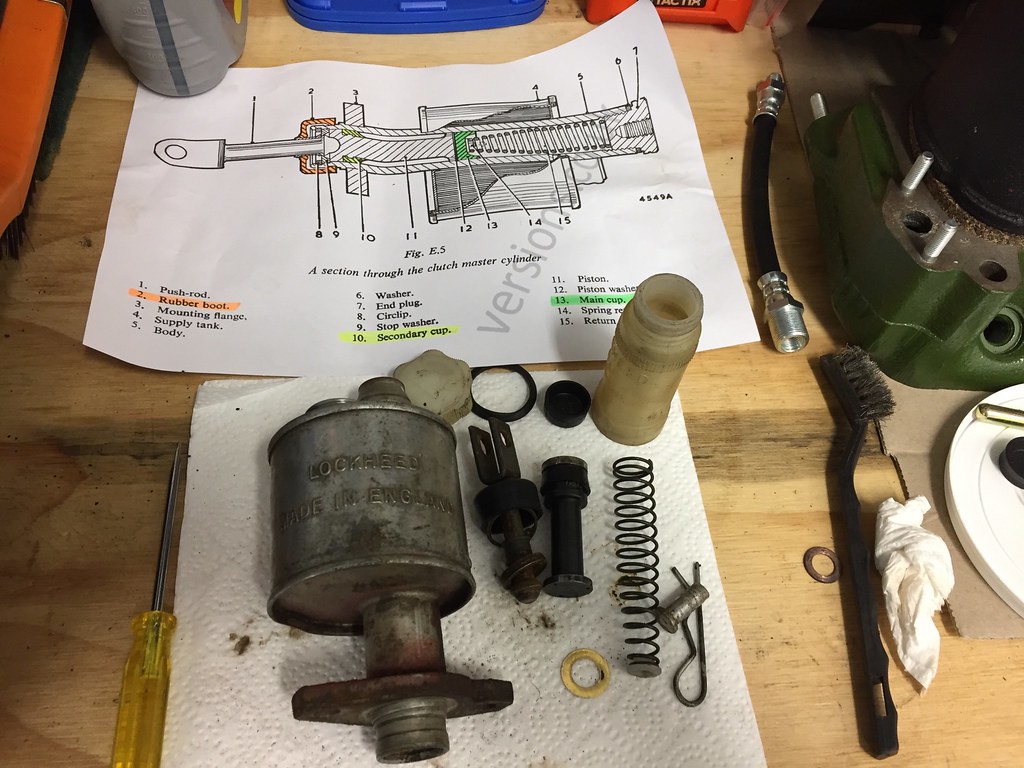
And installing the seals only took 5 minutes
43714872030_4f6c78a0ed_b.jpg
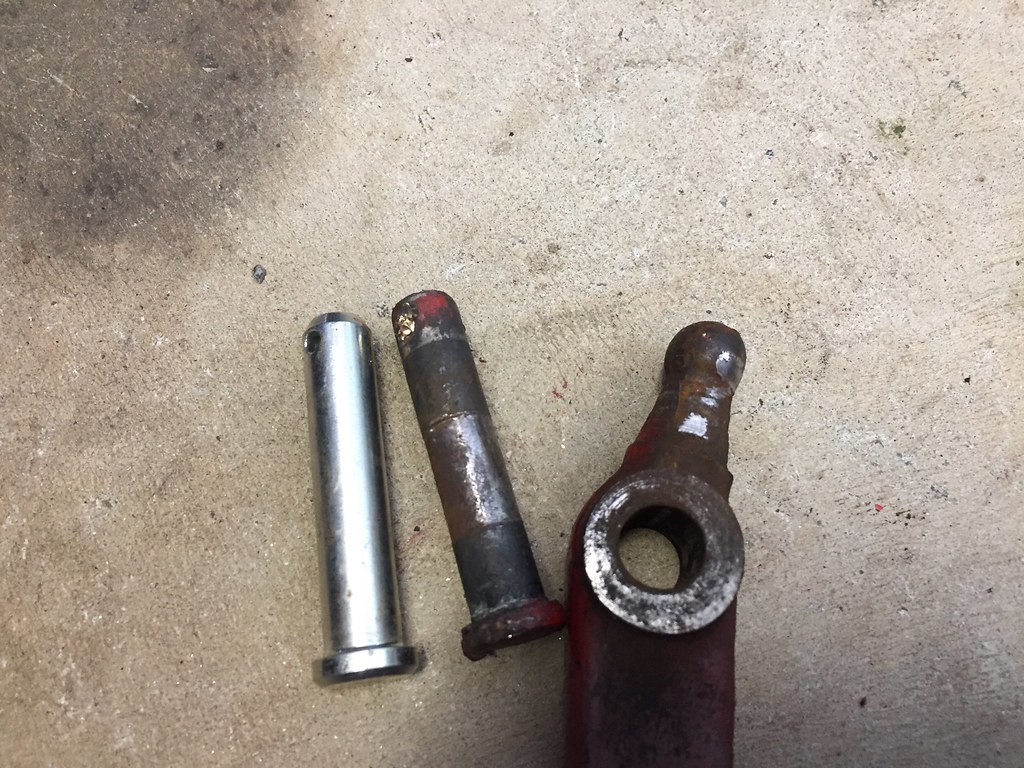
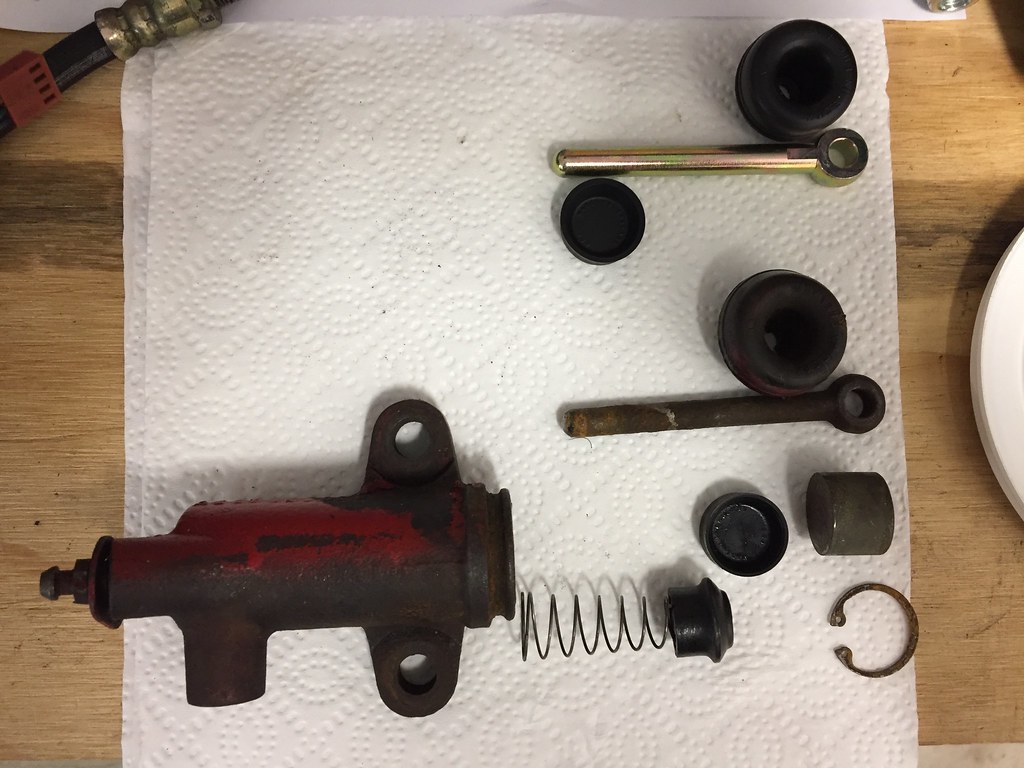
The master has been stripped down and given a scrub to remove the external overspray and rust. The seals were a bit tough to remove from the pushrod and piston but I got there in the end.
45477772132_b0739d17d4_b.jpg
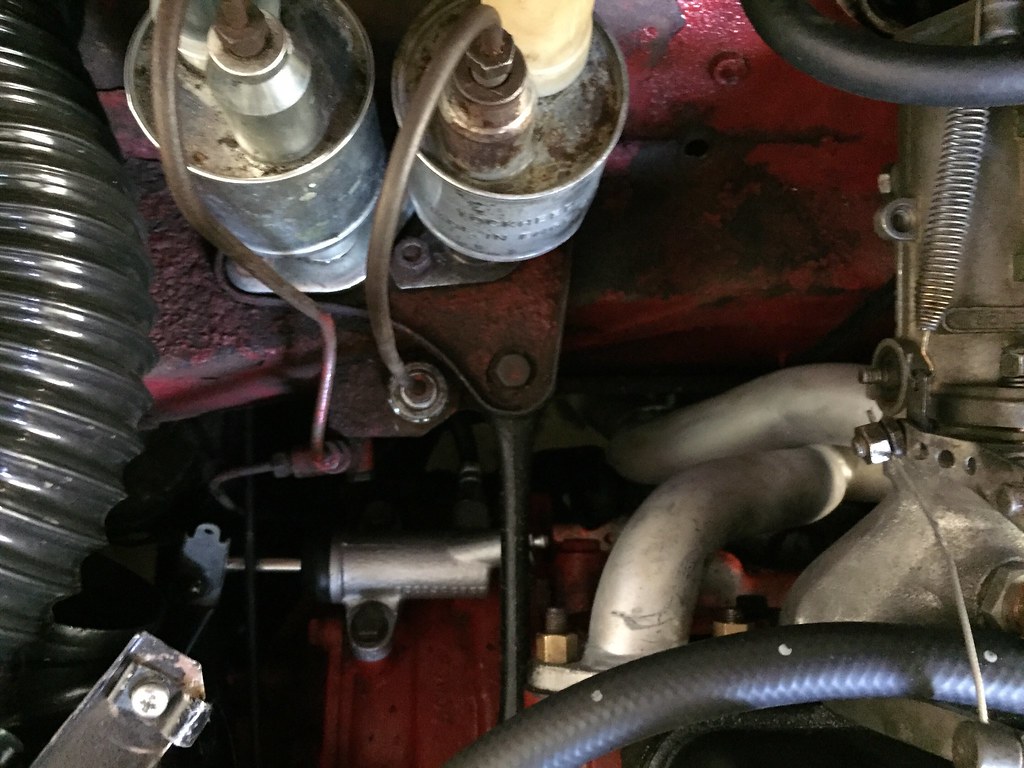
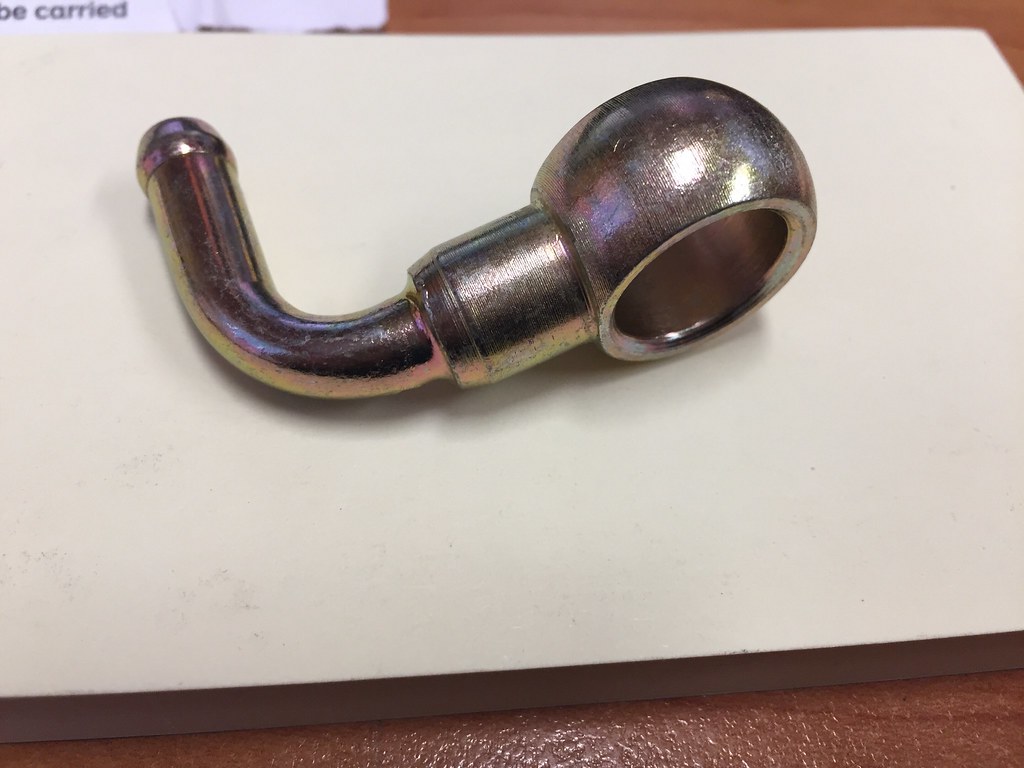
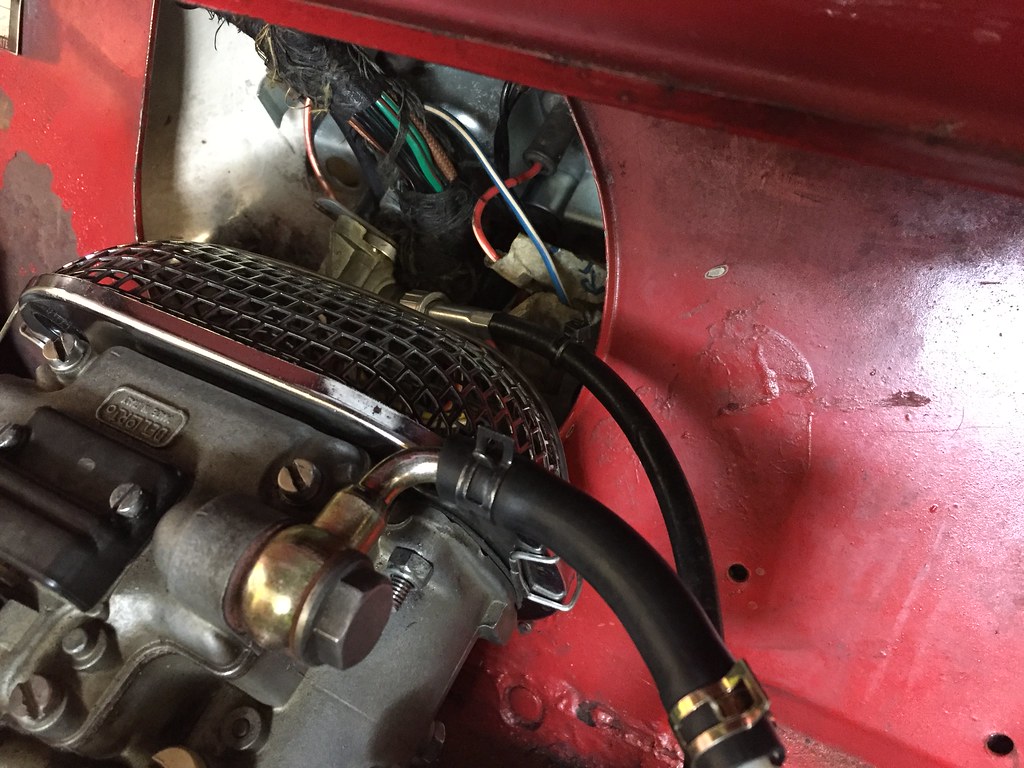
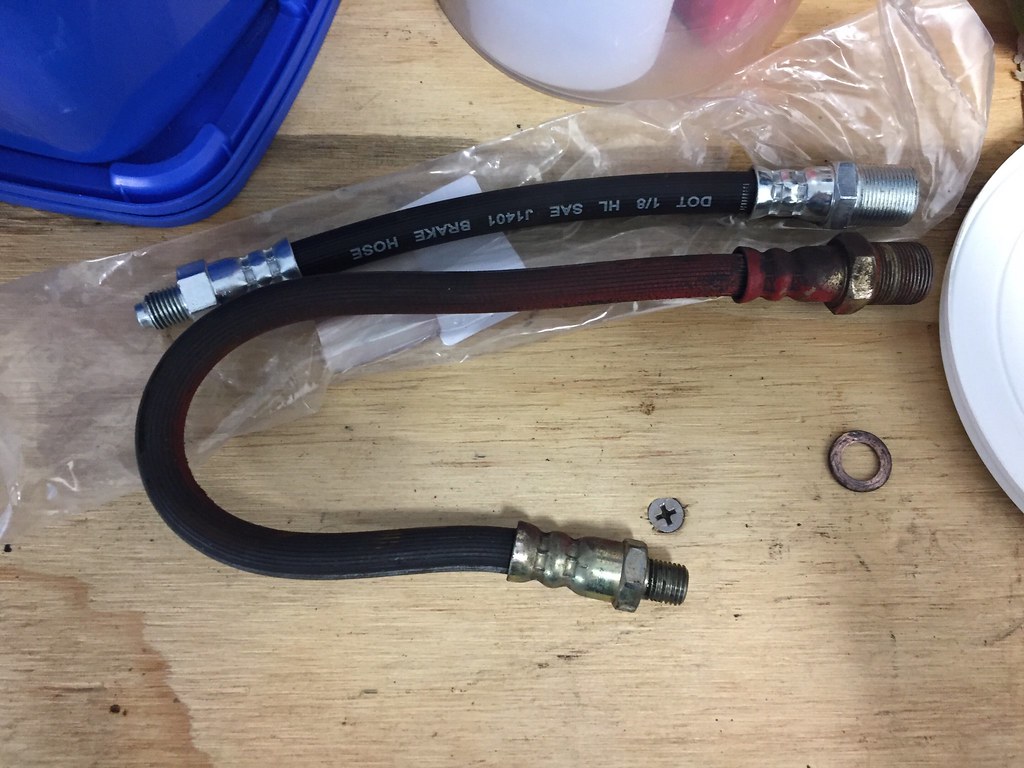
Strangely the old hose was twice the length of the new one, I'm not sure why?
31655880538_9f79bd0eb7_b.jpg

Edited by timmy850, 24 October 2018 - 07:33 AM.


#482 Vinay-RS

Vinay-RS

    Put's foolish ideas in peoples heads

  • Members
  • PipPipPipPipPipPipPipPipPip
  • 2,093 posts
  • Location: Cape Town

Posted 24 October 2018 - 02:12 PM

The refurb of the slave cylinder looks good. Will the master cylinder be getting chromed?  


#483 timmy850

timmy850

    Up Into Fourth

  • TMF+ Member
  • PipPipPipPipPipPipPipPipPip
  • 2,991 posts
  • Location: NSW, Australia
  • Local Club: MITG

Posted 24 October 2018 - 09:16 PM

The refurb of the slave cylinder looks good. Will the master cylinder be getting chromed?

Thanks Vinay. The master has had a quick scrub up but won't be getting replated. I need the car for this weekend and on the road as soon as I can. I'm also trying to not spend too much money on the maintenance items that could be spent better somewhere else.

A brand new clutch master here is $150-$200 and the seal kit is $10 so I thought I'd give the seals a go this time.


The master cylinder is all assembled now. I used a cable tie to hold the pushrod up far enough to get the circlip in.
45492678972_b927797463_b.jpg
I've now got everything loosely assembled in the engine bay and the next thing to do is install the clevis pin on the top of the pedal. Once that's on I can start to tighten everything up and bleed the system.
30602021487_d051df4bb9_b.jpg


Edited by timmy850, 25 October 2018 - 12:26 AM.


#484 GraemeC

GraemeC

    Crazy About Mini's

  • TMF+ Member
  • PipPipPipPipPipPipPipPipPipPip
  • 7,313 posts
  • Location: Carnforth

Posted 25 October 2018 - 09:28 PM

I think your old hose looks like a front brake caliper hose

#485 timmy850

timmy850

    Up Into Fourth

  • TMF+ Member
  • PipPipPipPipPipPipPipPipPip
  • 2,991 posts
  • Location: NSW, Australia
  • Local Club: MITG

Posted 26 October 2018 - 01:44 AM

I think your old hose looks like a front brake caliper hose

Thanks, I didn't realise they had the same connections as the clutch.. It must have been the only one available (or the cheaper one) last time the clutch hose was replaced.


I have everything clutch related tightened up now and I attempted to bleed it by myself with a "1 person bleeder". It is functioning but not perfect yet, I will need a helper to get all the air out. 


#486 timmy850

timmy850

    Up Into Fourth

  • TMF+ Member
  • PipPipPipPipPipPipPipPipPip
  • 2,991 posts
  • Location: NSW, Australia
  • Local Club: MITG

Posted 01 November 2018 - 05:07 AM

We had a go at bleeding the clutch last weekend. It is better now, but not perfect yet. It seems like there is still an air bubble in the line so we need to give it another go. At least the car is driveable again, the only problem at the moment is changing down to second gear. I was able to make it up to the event in Sydney on Sunday and it sounded great driving up to the top of the multi storey carpark!
43792603740_d4d9f7288d_b.jpg

 
Here is a quick video of the exhaust: https://youtu.be/CpDX6I2br3Q
45298564301_6e0a446821_b.jpg
 
I found this ad in a 1968 "Racing Car News" magazine. Warneford are the company that made the inlet manifold I am using now
40393958724_a1c9b53b86_b.jpg
The brake booster port was no longer required and luckily they are the same plug as the SU manifold, so now it matches and looks a bit tidier. This is before:
31506380808_9f6afdd1b5_b.jpg
And after. I've also removed the soft mount kit since I took this photo. It has given me an extra 5mm or so towards the firewall which is important as I work towards getting an air filter on! 
44833359264_f2a739f63f_b.jpg


#487 timmy850

timmy850

    Up Into Fourth

  • TMF+ Member
  • PipPipPipPipPipPipPipPipPip
  • 2,991 posts
  • Location: NSW, Australia
  • Local Club: MITG

Posted 07 November 2018 - 05:38 AM

Continuing on the Dellorto work, I bought a Weber 90 degree fuel banjo fitting.
30753099097_f9e0f062ce_b.jpg


You can see previously the fuel banjo faced towards the RHS and needed a loop of fuel hose over the top of the carb. The Dellorto banjo fitting can't be swapped around, as the holes are different sizes on each side of the fitting.
31506380808_9f6afdd1b5_b.jpg


Now it's a nice short length from the filter to the carb.
43875846250_dda83504dc_b.jpg


And the clutch:
Rebled the system
Checked the slave was working properly
Pulled out the clutch arm and replaced the worn bottom clevis
Checked everything over again, replaced the spring and the throw-out stop nuts
BUT 2nd gear still crunches when changing down  :( 
45695806642_b977305a62_b.jpg


#488 Wiggy

Wiggy

    One Carb Or Two?

  • Members
  • PipPipPipPipPipPipPip
  • 1,036 posts
  • Location: Hampshire

Posted 07 November 2018 - 11:12 AM

Sounds like the baulk ring on 2nd is worn. 2nd is normally the first to go. Double de-clutching will help you live with it if you can't afford the time/money for a rebuild.

#489 GraemeC

GraemeC

    Crazy About Mini's

  • TMF+ Member
  • PipPipPipPipPipPipPipPipPipPip
  • 7,313 posts
  • Location: Carnforth

Posted 07 November 2018 - 05:04 PM

That clutch arm is worn on the ball - replacing that would be adviseable


However - crunching is a sign of worn baulk rings - a failing clutch would be more likely to just give you a difficult change


#490 timmy850

timmy850

    Up Into Fourth

  • TMF+ Member
  • PipPipPipPipPipPipPipPipPip
  • 2,991 posts
  • Location: NSW, Australia
  • Local Club: MITG

Posted 07 November 2018 - 08:47 PM

Thanks guys. Now that I'm completely happy with how the clutch hydraulics are working it's made it clear that 2nd gear baulk rings are probably worn out. That clutch arm was the best choice out of the secondhand ones I had in the garage, while it is worn it's not the main issue.


I have been slowly collecting parts for my 4 synchro remote gearbox, so this has become a higher priority now


#491 Wiggy

Wiggy

    One Carb Or Two?

  • Members
  • PipPipPipPipPipPipPip
  • 1,036 posts
  • Location: Hampshire

Posted 08 November 2018 - 02:31 AM

Double de-clutching is an excellent habit to get into anyways. You don't feel the physical difference so much in moderns; but in the 'slightly more industrial' feeling Mini gearbox, it's lovely slipping it in to gear with no resistance from the baulk rings. And it'll preserve your gearbox after you get it rebuilt.


Shhhh. And you get to rev it between gears. Which is fun. ?

#492 timmy850

timmy850

    Up Into Fourth

  • TMF+ Member
  • PipPipPipPipPipPipPipPipPip
  • 2,991 posts
  • Location: NSW, Australia
  • Local Club: MITG

Posted 10 November 2018 - 03:27 AM

I had a nice morning in the sun at the local wreckers. I spent an hour or so crawling around on the gravel and broken glass, looking in BMC cars for a speedo 90 degree adapter. Some cars have them on the gearbox end and others have them at the speedo end. This Rover still had the gauges (and V8) inside...
45804192391_fe888ca08b_b.jpg


On the back of the speedo was the 90 degree adapter. I had taken a mini speedo to check the thread was OK and it was all good. The part number is BH 2410/10. I managed to buy the adapter for $15 :D
44891423225_884b05392a_b.jpg


The test fit proved very successful!
45754800912_4d72d49454_b.jpg


And there is even room for the ramflo filter as well. I need to order a new foam pad for it
45754801122_07c396d19d_b.jpg


It looks reasonably neat and follows the path of the fuel line. Let's hope the 2nd hand adapter is all good!
45804210381_530bc9d002_b.jpg


#493 timmy850

timmy850

    Up Into Fourth

  • TMF+ Member
  • PipPipPipPipPipPipPipPipPip
  • 2,991 posts
  • Location: NSW, Australia
  • Local Club: MITG

Posted 12 November 2018 - 01:15 AM

Is there a better way to spend a sunny Sunday?

44923037095_4793289cc2_b.jpg


First stop was for morning tea 

45111203794_25ba8d513a_b.jpg


45786672592_1e8cd2d260_b.jpg


Then on to a pub for lunch

45835743961_bbc82a1de6_b.jpg


45111208584_3f658437e9_b.jpg


The speedo adapter worked really well, no issues with it which is great!


#494 timmy850

timmy850

    Up Into Fourth

  • TMF+ Member
  • PipPipPipPipPipPipPipPipPip
  • 2,991 posts
  • Location: NSW, Australia
  • Local Club: MITG

Posted 23 November 2018 - 12:41 AM

I managed a bit of time last weekend to do some work on the gearbox parts


Scrubbed, degreased, pressure washed the gearbox casing
45004090995_bcbaaa02e7_b.jpg


Cleaned up and painted the diff housing and speedo drive. The diff side covers, flywheel housing and gearbox case will all be painted this silver too
32045400608_c3a7e870fa_b.jpg


#495 Vinay-RS

Vinay-RS

    Put's foolish ideas in peoples heads

  • Members
  • PipPipPipPipPipPipPipPipPip
  • 2,093 posts
  • Location: Cape Town

Posted 23 November 2018 - 08:18 AM

They're looking really good. What silver paint did you use for these? High temp engine enamel? 


1 user(s) are reading this topic

0 members, 1 guests, 0 anonymous users