That's a neat idea! Much brighter than the stock bulbs on our old Minis but still looks standard.
It is scary how short the lifespan is on those rubber bushings...


Put's foolish ideas in peoples heads


Posted 12 August 2019 - 07:31 AM
That's a neat idea! Much brighter than the stock bulbs on our old Minis but still looks standard.
It is scary how short the lifespan is on those rubber bushings...
Up Into Fourth
Posted 13 August 2019 - 12:59 AM
Hopefully these will be a bit brighter and easier to see. Just a bit of fun anyway and they’ll be easy to swap back if I want to in the future.That's a neat idea! Much brighter than the stock bulbs on our old Minis but still looks standard.
It is scary how short the lifespan is on those rubber bushings...

Edited by timmy850, 13 August 2019 - 09:52 AM.
Up Into Fourth
Posted 20 August 2019 - 10:40 AM
The old bushes came out and they looked terrible!

I got the new bushes in on Wednesday morning and the test drive was all OK

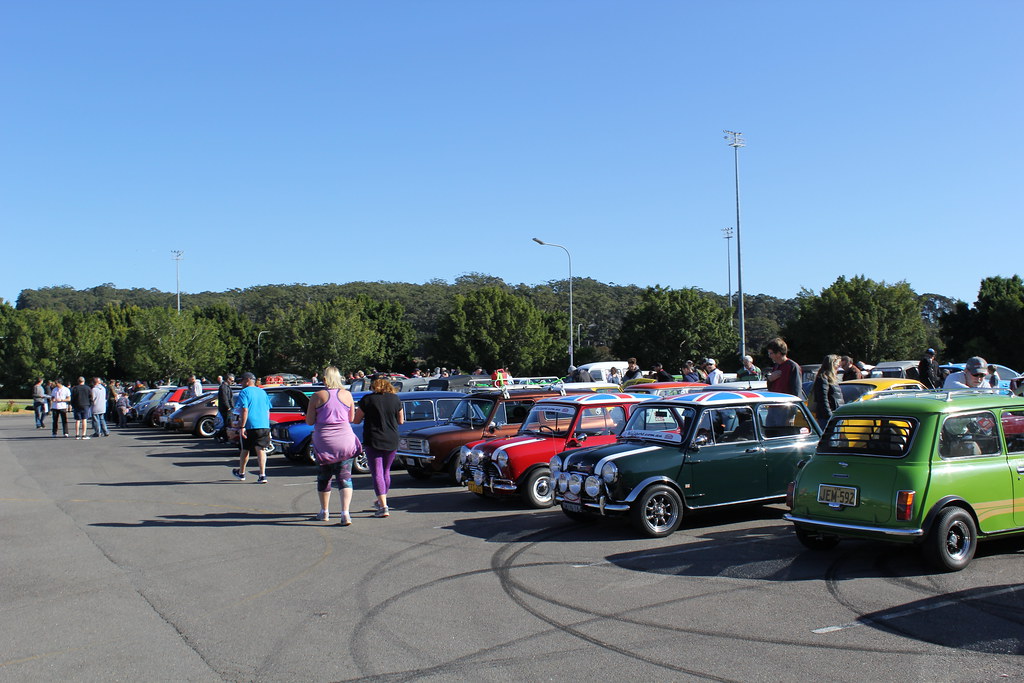
And onto the big event of the year - the Rylstone Classic. This year we met up at Mingara, which was about 200km from home. My dad came along this year, and there was a record roll up - somewhere north of 150 cars!


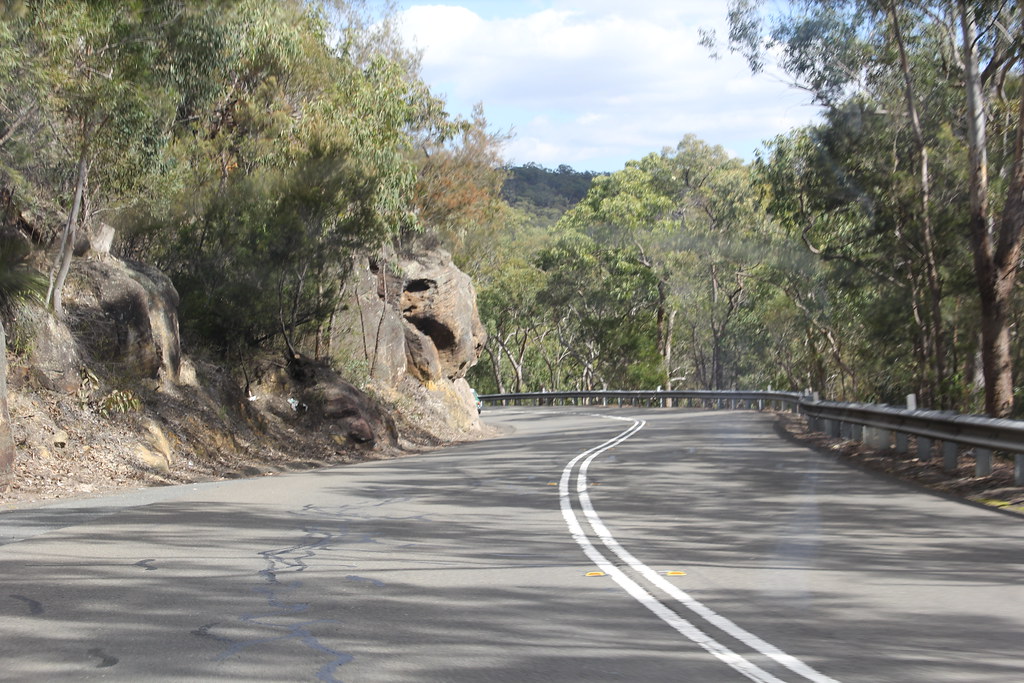
We hit the road and it was a fun drive out through the country


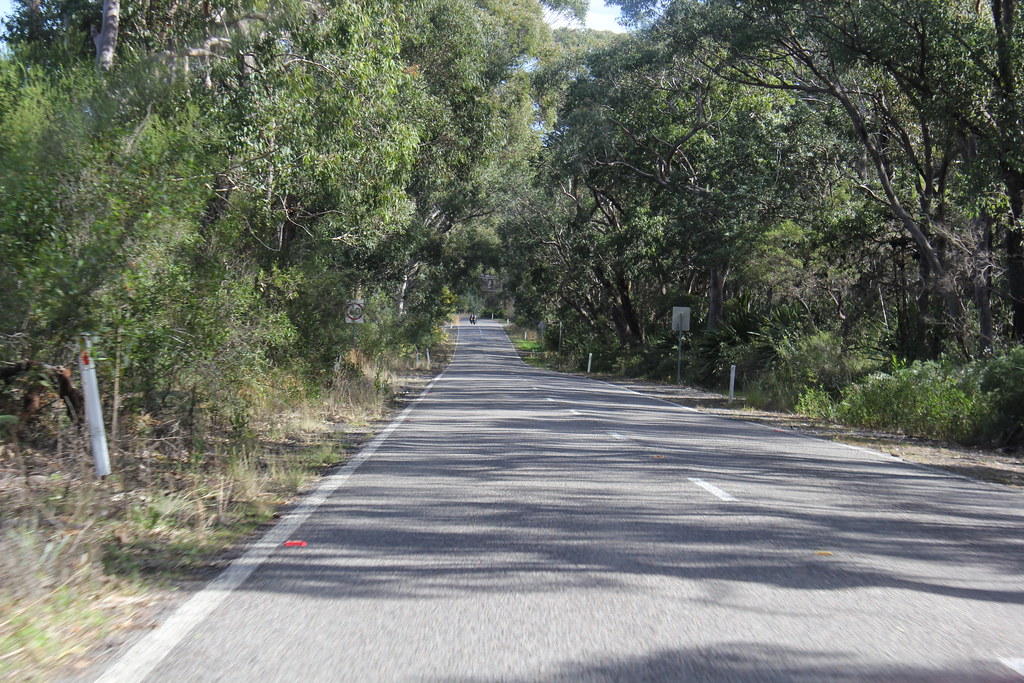
We made it to Rylstone with absolutely no issues, and even with some daylight left.
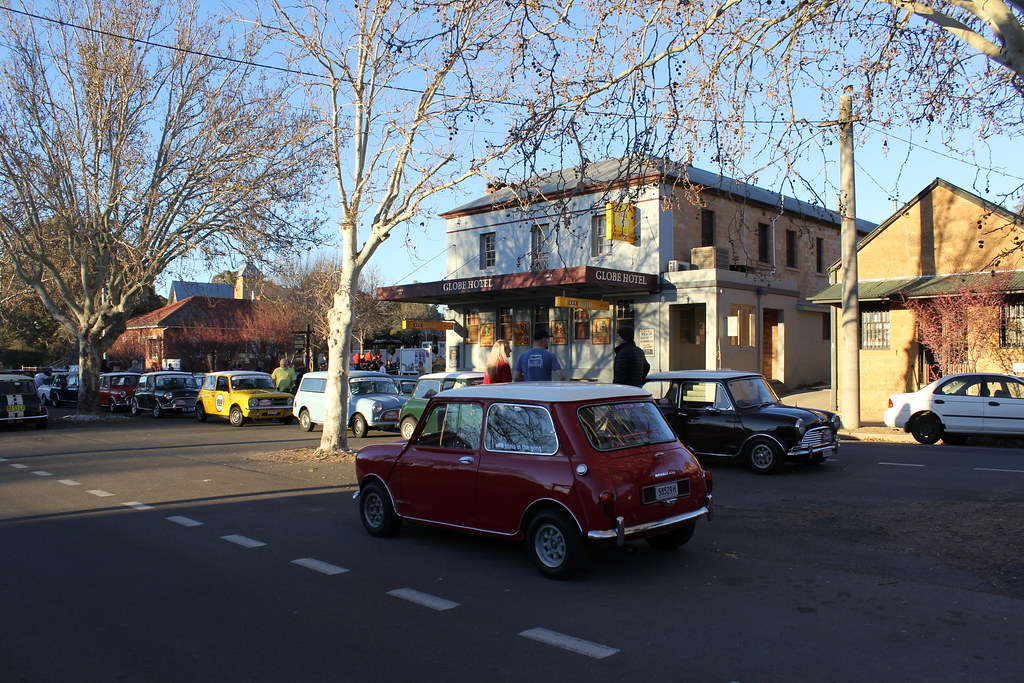


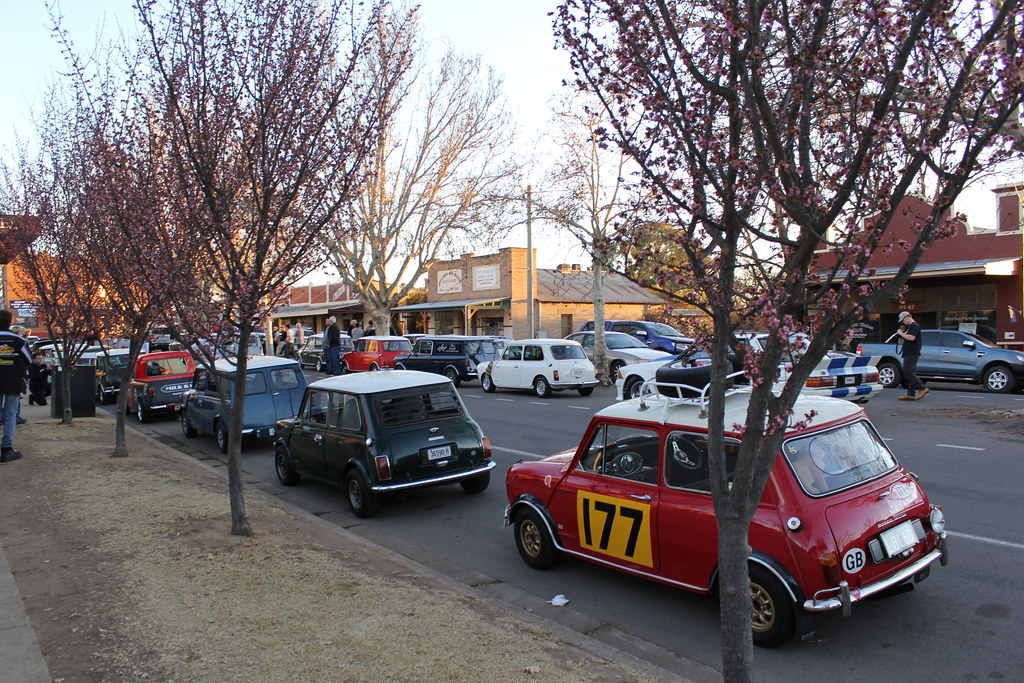
After a cool start on Sunday morning we met up in the main street before heading out to Bathurst


After 950km over the three days, mostly above 4000rpm the 998 is finally finished 

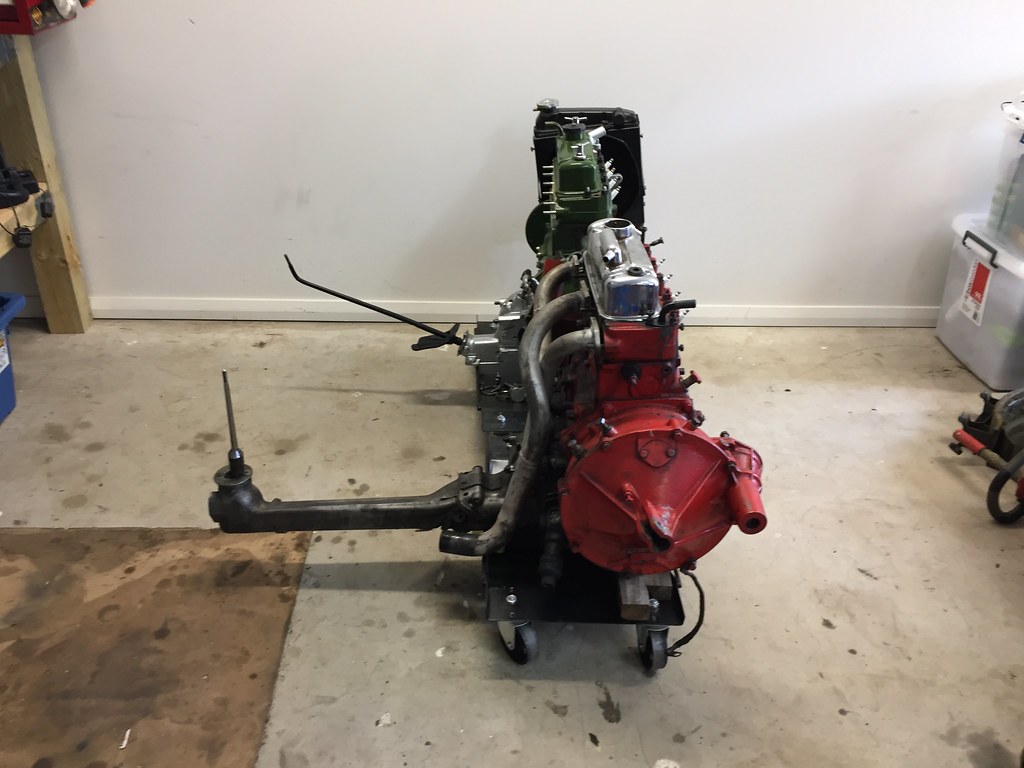
After a couple of hours of work (and a drive to the auto parts shop for some hydraulic oil for the engine crane) the engine came out, my friend Dean gave me a hand and we had Mr Beam for some inspiration

And inside the car the carpet got stripped out, the stick on insulation removed (the residue yet to be scraped off) I found the original 850 shifter hole and it lined up with the boot retaining ring. I've got to make a blanking plate for the remote hole and the floor pans can do with a good clean up and some paint repairs
So now I need to get the engine done, clean up the interior, and rebuild all the front end parts - wheel bearings, CV joints, remaining bushes etc...
Up Into Fourth

Posted 20 August 2019 - 11:06 AM
..and what a lovely way to finish off the 998 
Put's foolish ideas in peoples heads
Posted 20 August 2019 - 11:26 AM
Loving those pictures from the run. Do you have an album with more pictures of the individual Minis attending? It'd be cool to see all the different Minis that were there.
Up Into Fourth
Posted 20 August 2019 - 09:35 PM
..and what a lovely way to finish off the 998
Yep, it was an awesome weekend. Thankfully I didn't finish off the 998 with a "bang"
Loving those pictures from the run. Do you have an album with more pictures of the individual Minis attending? It'd be cool to see all the different Minis that were there.
Thanks Vinay. I have a couple more photos I need to organise into an album and then I can share them here. I'm not on Facebook anymore, so I miss out on most of the photos from other people. Not many people upload them to forums or external albums anymore.
There is a shared google photos folder here, if you look in the folder "Brad's Mavic Pro" there are some nice drone shots of the various group locations
https://drive.google...K6nm8JlEh82uJLN
Up Into Fourth
Posted 24 August 2019 - 09:52 AM
I pushed the two engines side by side to figure out what I'm missing and start to clean and swap over some parts. So far this has included: water pump, radiator shroud and brackets, fan & pulley, oil filter spin on assembly, alternator brackets, oil pressure gauge adapter, clutch arm & speedo cable

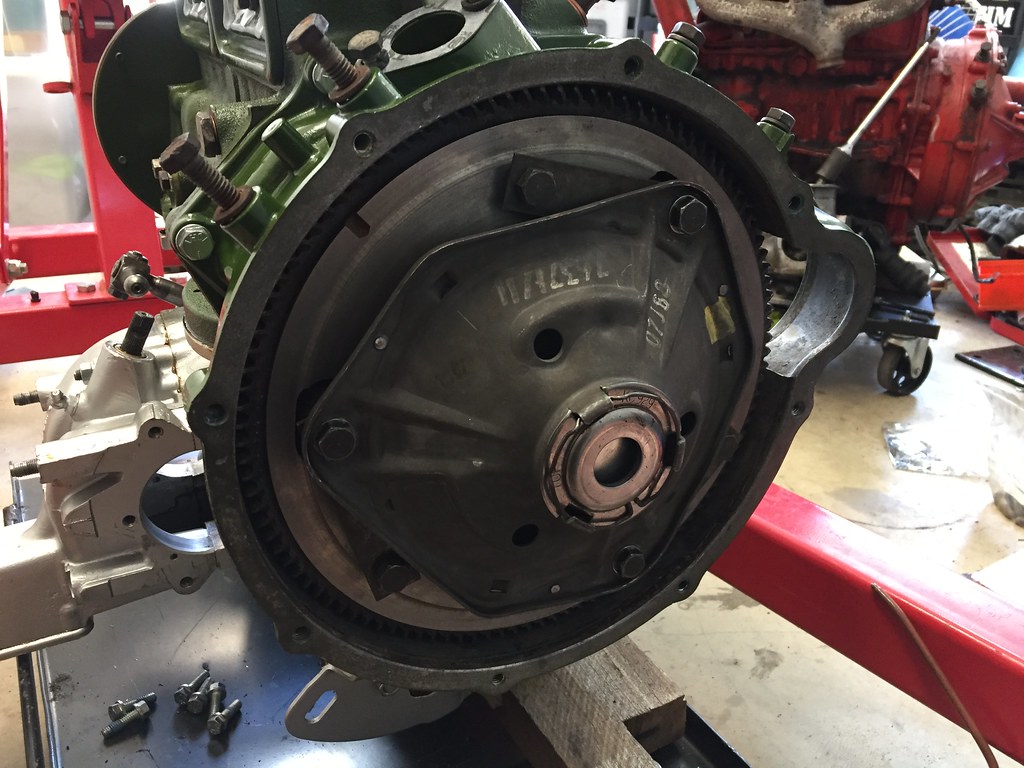
I pulled off the clutch cover to remove the throwout bearing plunger and bearing (the wide face type). The 998 had another surprise for me, it still has the coil spring clutch! I'm still trying to figure out exactly what happened with the 998 was installed - originally I assumed it would have just had a whole 998 engine/gearbox installed as it was remote change. Now I'm not sure!
Up Into Fourth
Posted 25 August 2019 - 10:40 AM
More parts cleaned and repainted

I checked over everything while the engine was still on the stand, installed the water pump and timing cover & set the valve tolerances

I was missing the engine dowels that locate into the gearbox case, and luckily a local guy was able to find some for me. All that was left to do now was a trial assembly to make sure everything fit and I wasn't missing anything


Has a small thing but it does make a difference

Posted 25 August 2019 - 05:20 PM
Coming together nicely ![=]](https://www.theminiforum.co.uk/forums/public/style_emoticons/default/sideways.gif)
Up Into Fourth
Posted 01 September 2019 - 08:17 AM
Coming together nicely
Thanks Jared!
The exhaust has got another coat of silver paint. I also got the radiator, fan and pulley done today

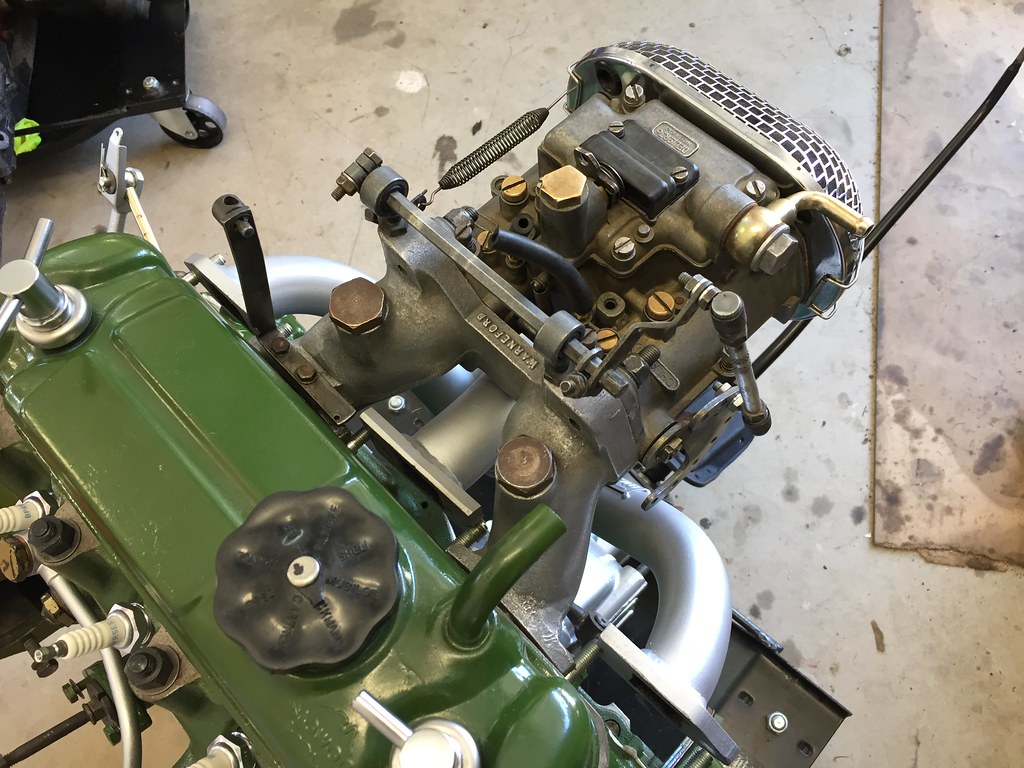
I also gave the Dellorto a quick scrub up and it looks pretty good.

And here are a couple of photos of the two engines side by side

Formally Known as NOT850

Posted 02 September 2019 - 04:56 AM
Up Into Fourth
Posted 03 September 2019 - 02:47 AM
I’ll definitely be using it again. I’m not sure what I want to use for running the engine in and for the first couple of months. The Dellorto is easier to tune than the SU carbs as you can change each part of the fuel delivery separately. The twin HS2’s look awesome and will definitely also be used at some stage. I’ve also got single HS4 or HS6 to choose fromTimmy have you decided to run the dellorto?
Up Into Fourth
Posted 09 September 2019 - 10:19 AM
I got in a new shim for the primary gear and now it's in spec.

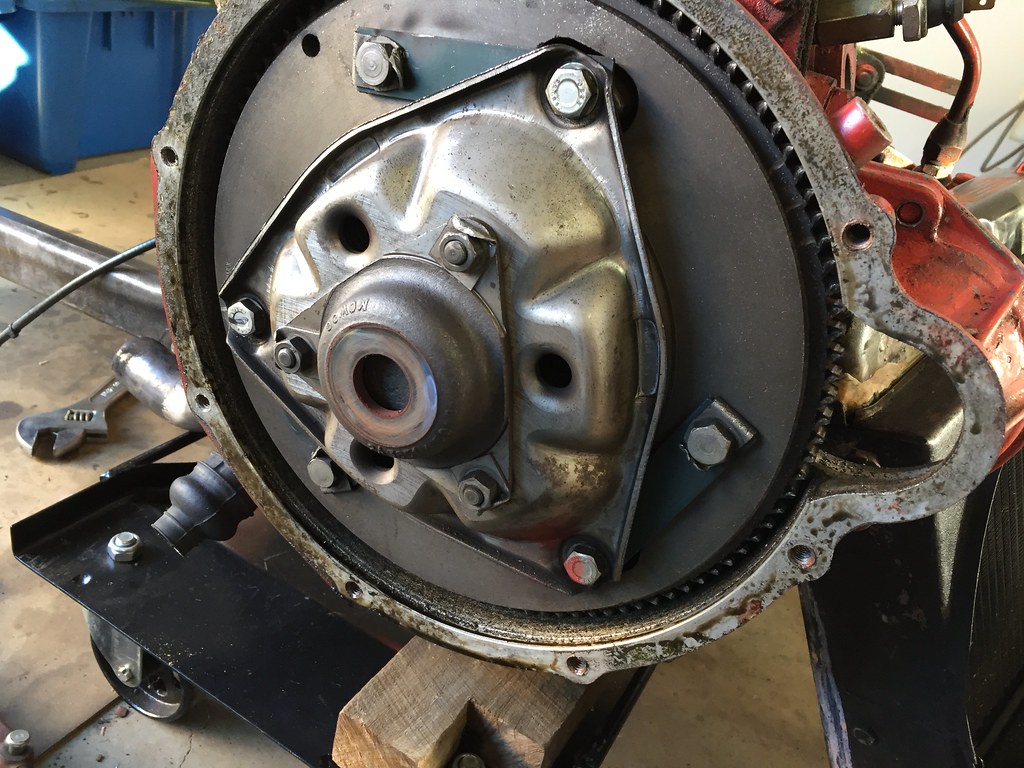
I bolted up the engine to the gearbox

Flywheel housing and flywheel, clutch on too.
I bolted up a bunch of smaller parts to the front of the engine and also the radiator. I had a good experience recently helping my friend get his engine in with the radiator connected so I'm going to do the same this time.

I think I've just got to do the CV boot ties and the radiator hoses and it's about ready to be installed!

Up Into Fourth
Posted 09 September 2019 - 12:22 PM
that's looking very smart indeed. nice job !
Up Into Fourth
Posted 14 September 2019 - 07:58 AM
that's looking very smart indeed. nice job !
Cheers!
So today was the day.. time to get the engine in! It seemed to go in really nicely this time, I had the car level (when I took the engine out I just had the front jacked up) and I used James' engine lift bracket. There is so much more room down near the diff that the exhaust fits down into place without having to raise up the engine like with the remote style housing

The captive engine mounts were an absolute pain - they just didn't fit into the holes in the subframe. I'd probably recommend fitting them to the car first to check they actually fit, so I ended up wasting a couple of hours messing around with them.

I started bolting up some of the accessories

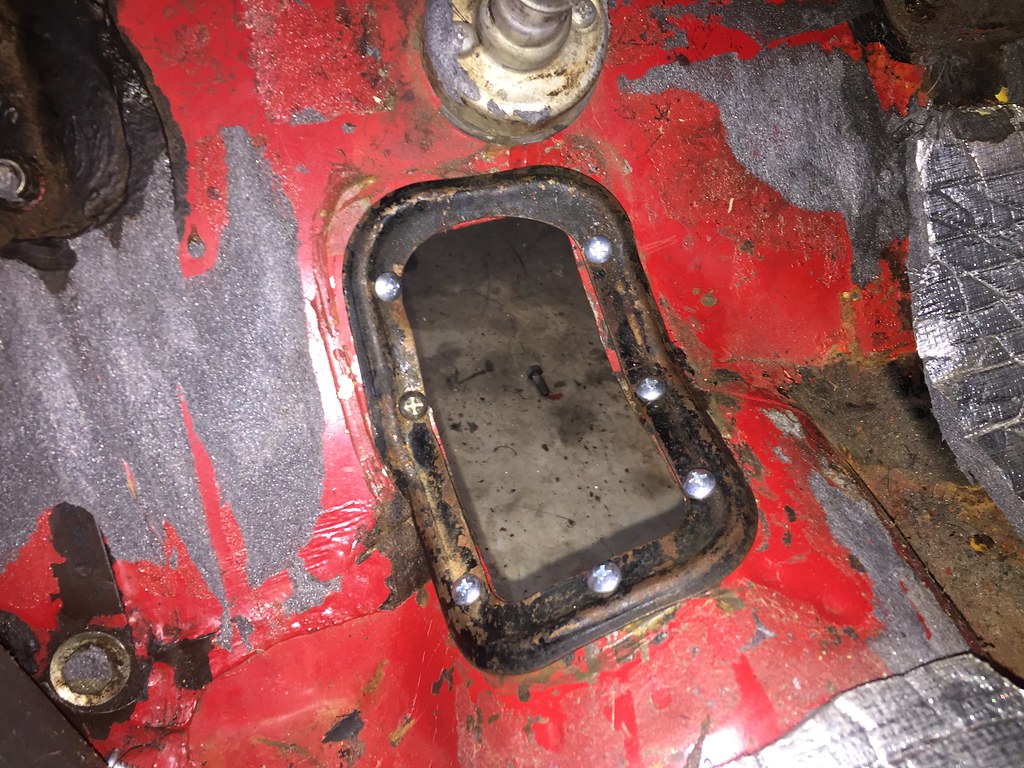
Underneath the car the exhaust went back on, and to mount the additional engine steadies some holes were drilled in the subframe. You can see the cutout in the floor for the remote shifter which needs to get blanked off

The shifter, boot and old carpet has been installed on the inside. Once I'm finished all the mechanical jobs I'll get the new carpet set fitted

Now I think I'm finished all the jobs under the car it's time to get it back on the ground. I need to remove the old CV joints & driveshafts and then install the pot joints, new driveshafts and CV's. Until then I can't add any oil, but I was able to check the electrical system all works


0 members, 1 guests, 0 anonymous users


