

Hey everyone. I am renovating my manual tudor webasto sunroof and thought it would be a good idea to show how i did it. There seems to be little information on how to remove or install the roof, so hence the guide.
Usual disclaimers apply, there is most likely a better way of doing this, so feel free to add :)
Main components
· Outer skin
· Sliding rails
· Inner headliner
· Wooden Frame
The webasto tudor roof is a folding fabric roof, similar to a britax or the one fitted to the open classic mini. The roof is housed in a wooden frame that is screwed into the mini’s roof (after a large hole is cut into the mini L). The outer vinyl skin is attached by a back plate (screwed into the roof) and a front plate screwed into the locking bar (the bar that locks the sunroof to the roof). The outer skin is tucked into the sliding and rising rails and a weather seal is created by tensioning two steel cables stitched into the vinyl. These cables attached to the rear of the wooden frame and are hidden by the headliner. The sliding part of the roof comes from two sliding bars and a sliding lock bar, that are fitted to aluminium runners. There are also three rising bars attached to the sliding bars that cause the concertina shape when the roof is pulled back. The last part of the roof is the inner headlining. This is fitted to tidy up the car and hide the sliding bars and rear plate/cables. This is attached to the sliding bars by mini rivets, attached to the rising bars (via material loops similar to how a normal mini’s headlining is fitted), and glued to the rear part of the frame.
That’s a really basic overview of the manual webasto sunroof
Removal
After a while the vinyl outer skin shrinks, or becomes cracked/ripped and has to be replaced. I have found one coach trimmers that can replace the outer skin and also sell full kits as well as spare parts. For a refurb of the outer skin, its about £350 plus parts, and you have to send the sunroof (minus frame) to them. The first removal guide is aimed at removing the roof ready to post to them. Here is the link to their website http://www.tudorwebastosunroofs.com/ I should state now that I have no association with them! There is even an installation guide on their website, however I found some of the pictures were out of sequence. This guide also has colour pics and relates to a mini J
There are two ways to remove the sunroof (in my head anyway)
1. Removed the sliding roof as a whole
2. Full strip down
I should state the usual disclaimers now! This is how I did it, there most likely is an easier way. I haven’t found a decent guide on how to do this (bar doing the reverse method shown in the installation manual).
Removal Guide 1: Whole Sunroof removal
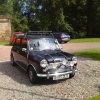
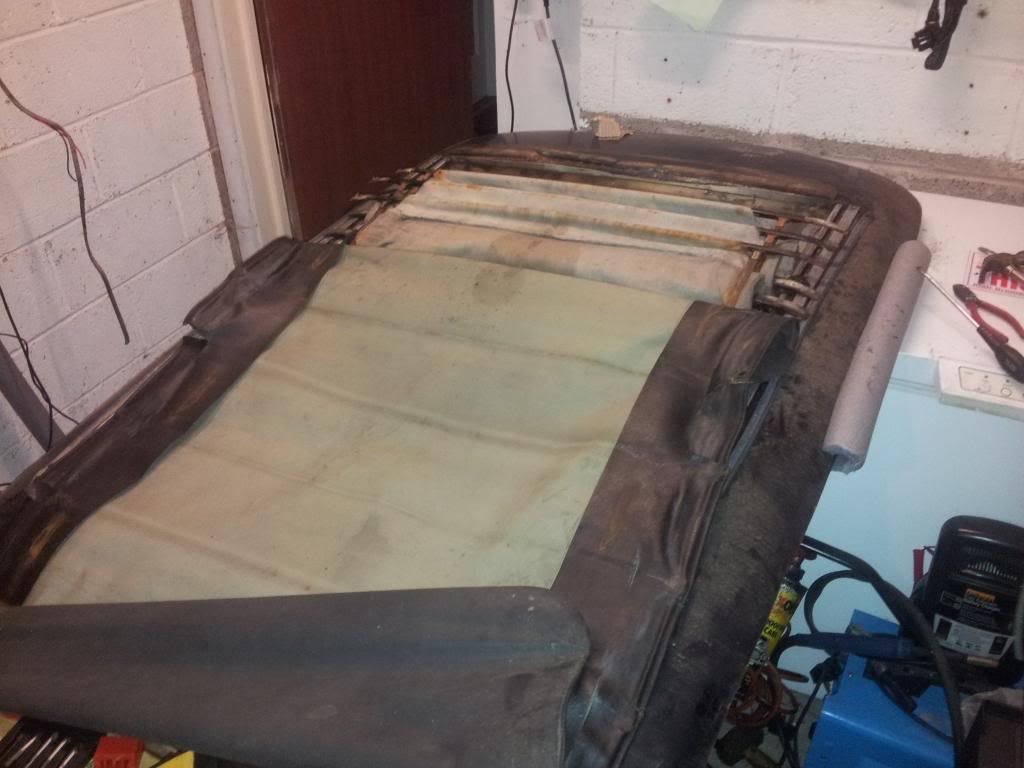
1) Here is my spare roof
To remove the roof, the best way is to remove the aluminium runners. The runners are held in place by approx. 10 screws on either side. There is one screw at either end of the top part of the runner, and the rest in the runner channel.
2) Best way to remove is to slide the roof back to access each screw.
3) After all the screws have been removed, the roof and runners can be lifted and flicked back.
4) The last part is to remove the rear plate, cables and head liner. You can jump to section X of the full removal to see how this is done (it’s the same method)
Removal Guide 2: Sunroof Strip down
I couldn’t afford to send my roof away, so decided to strip down the sunroof and replace the outer skin, repaint the metal work, varnish the woodwork and replace the headliner (small task I know). I have no skills whatsoever in vehicle trimming, so this should be fun. Doing a full strip down of the roof wasn’t too difficult; anyone capable of unscrewing should be ok J
Removal 2
1) As before, open the roof and push back all the way.
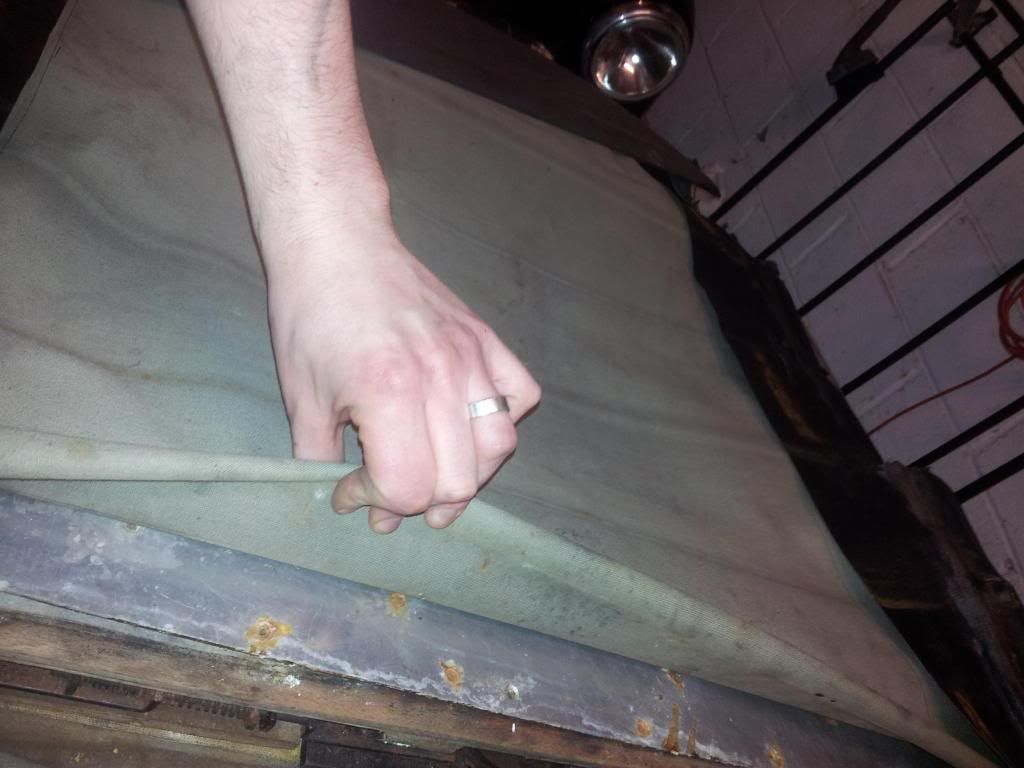
2) with the tension removed in the outer skin can be removed from the sliding bar ends. These are simple tucked into the underside of the vinyl skin, so just pull the fabric towards you and remove (you’ll see what I mean when you do it). With all the bars untucked, it should look like this. Some webastos have small loops of vinyl material attaching to the spacer bars (the thin metal bars between the sliding bars). My replacement roof doesn’t have these, but my actual roof does. These are either riveted in or stitched in. undo/cut these
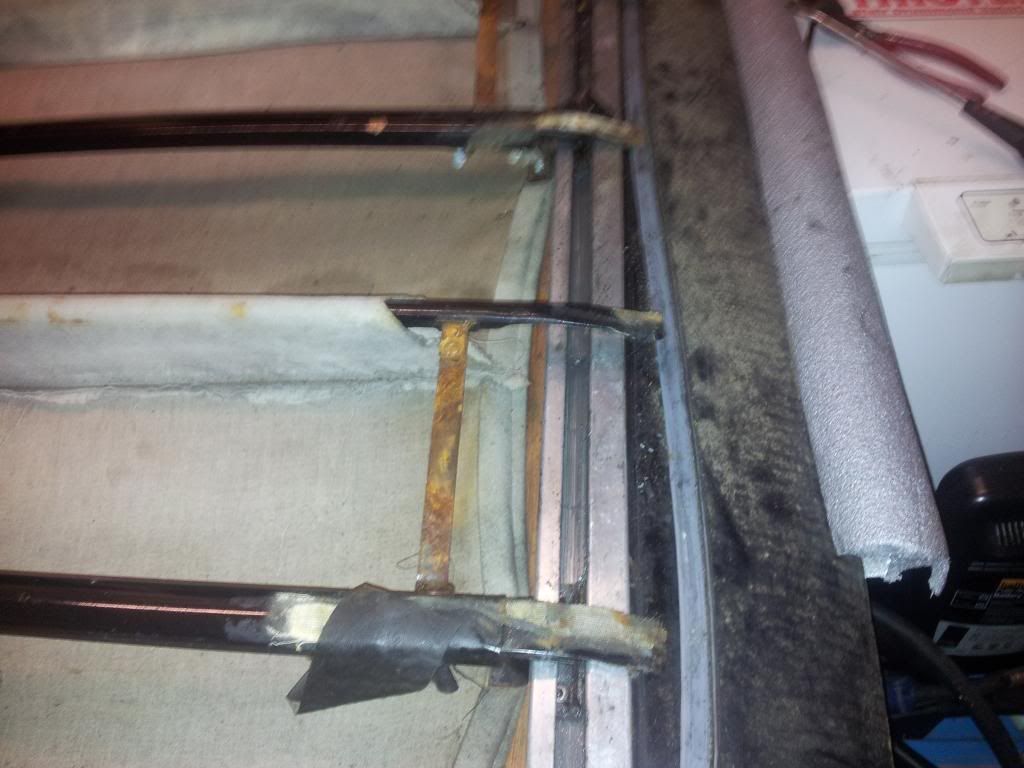
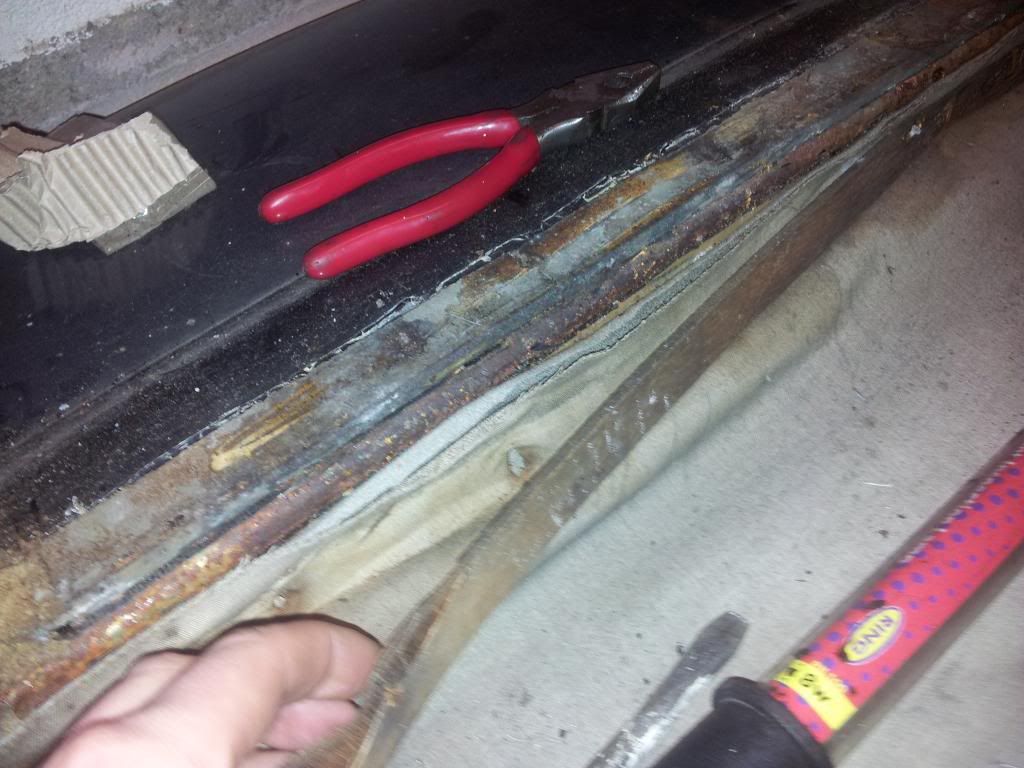
3) The skin is held in place by a metal plate at the back and at the front. The rear should be removed first. There should be enough loose fabric to access the screws holding the plate in place (there should be about 6 elongated holes in the plate). I found in mine that the screws were very rusty, and I had to drill them out. At this stage you should also be able to see the steel cables

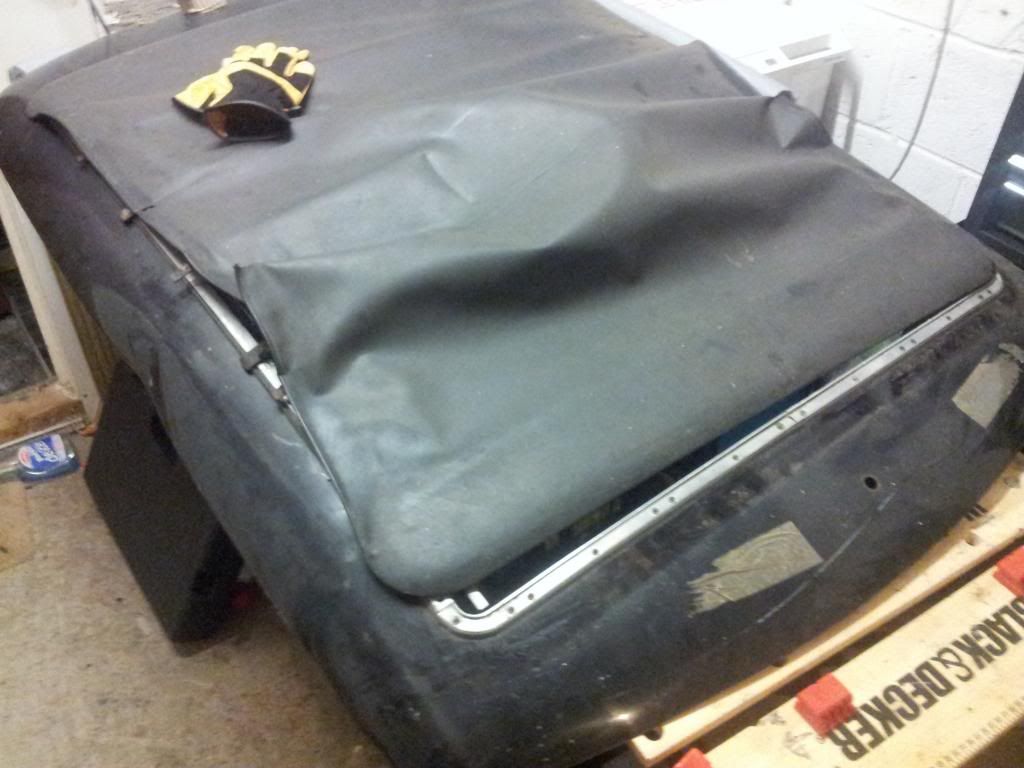
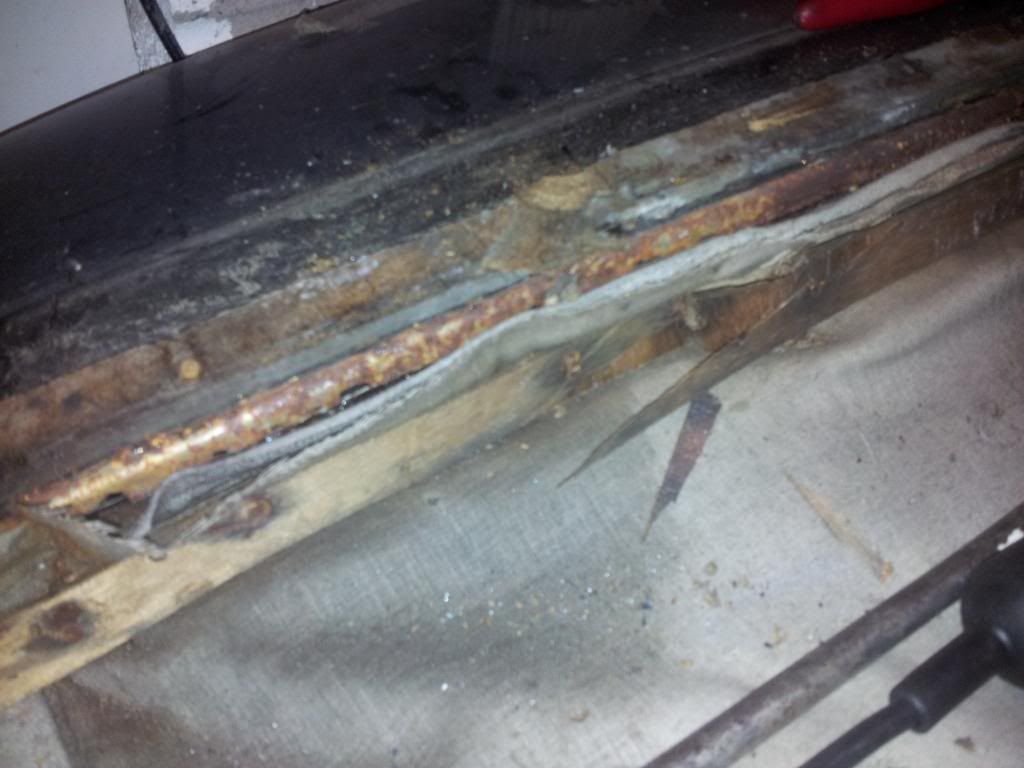
Here is the rear plate
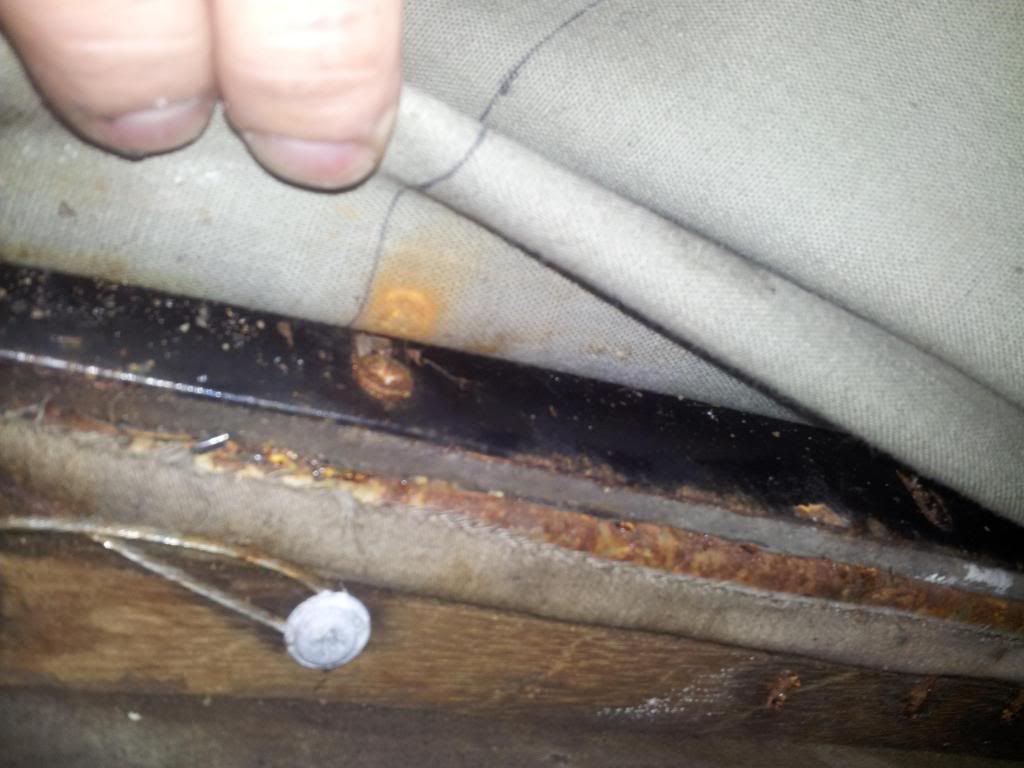
And the cables. The cables are usually screw in or nailed in.
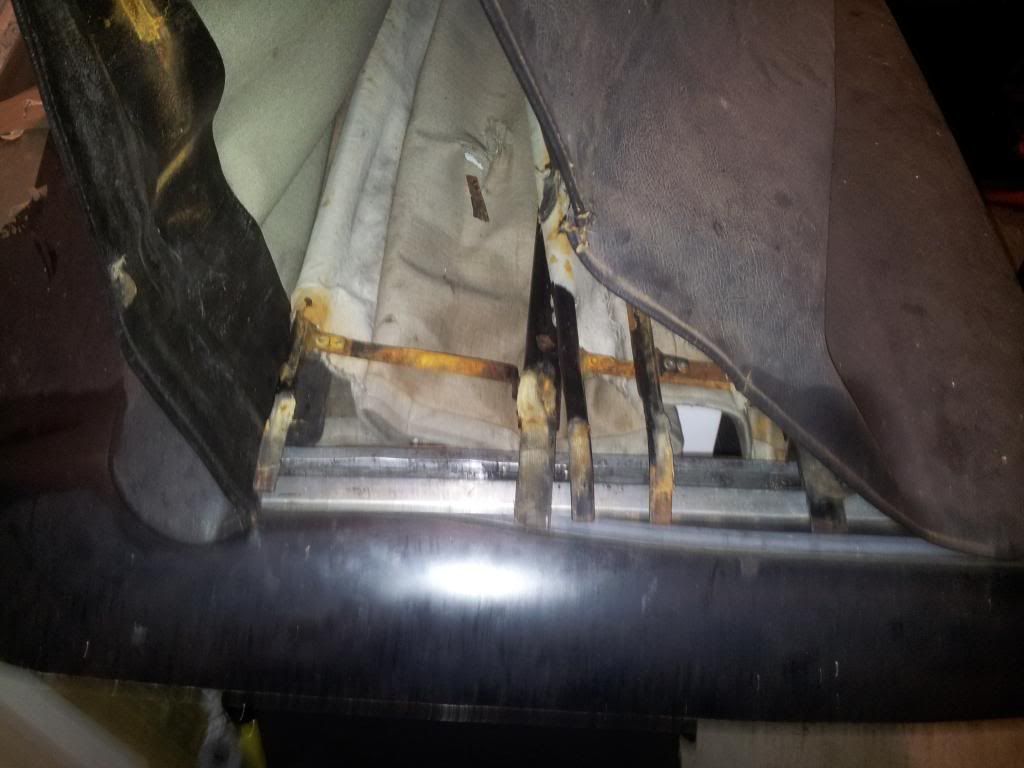
4) After the cables and rear plate have been removed, you can flip the whole skin forward to reveal the front metal plate (that screws into the locking bar). There are several screws holding the plate to the locking bar. Make sure you get them all.
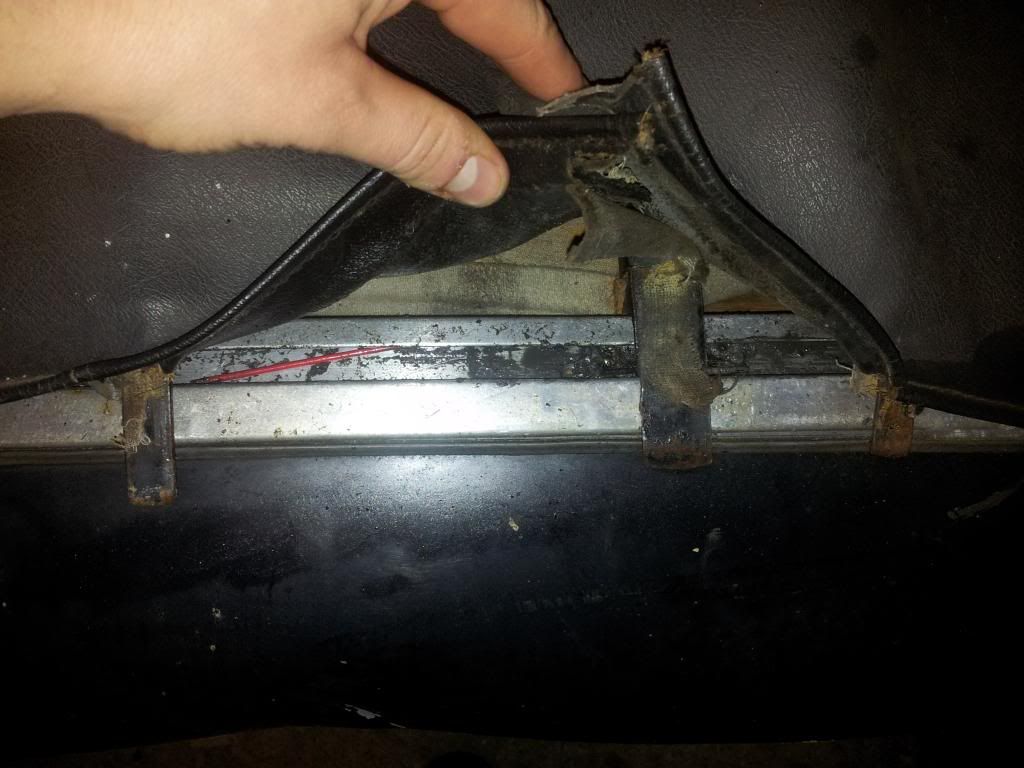
here the roof as been flipped forward
Here is the front plate
5) The outer skin can now be removed (YAY). You will see there is not much to it.
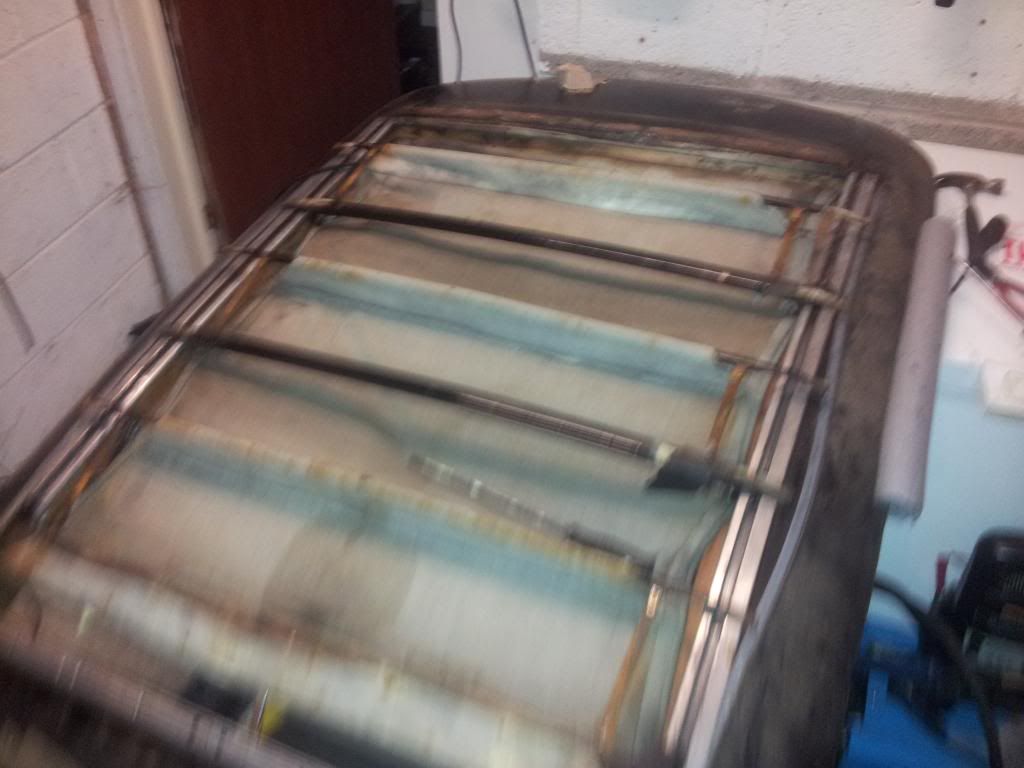
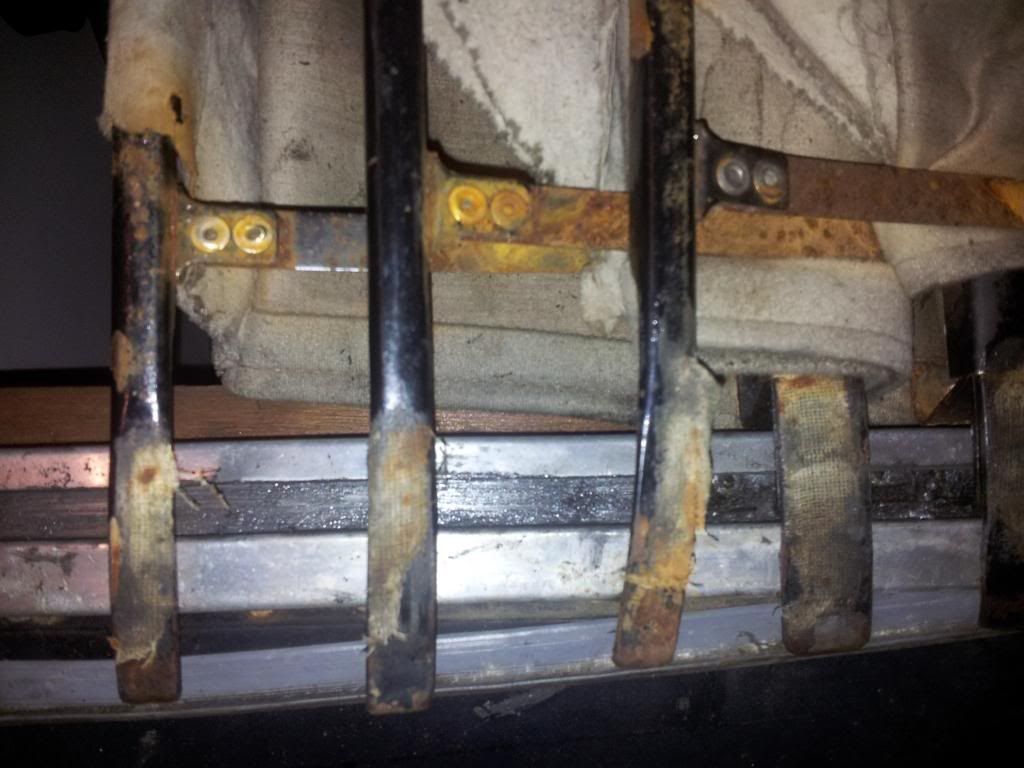
you can see the sliding bars and rising bars now
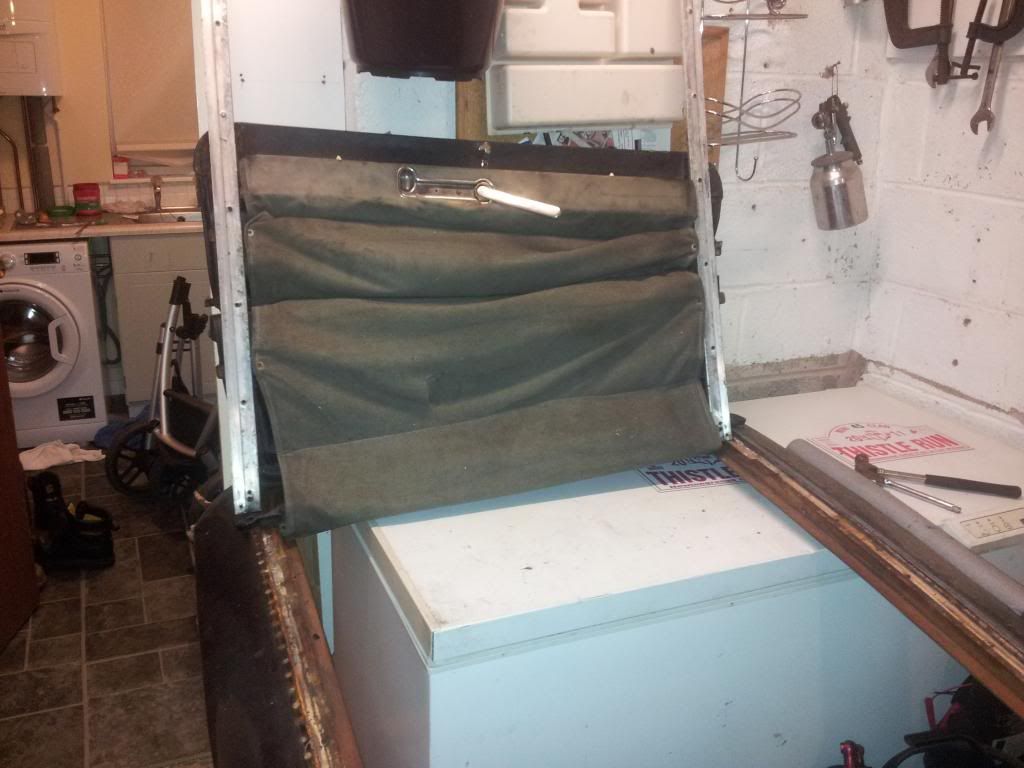
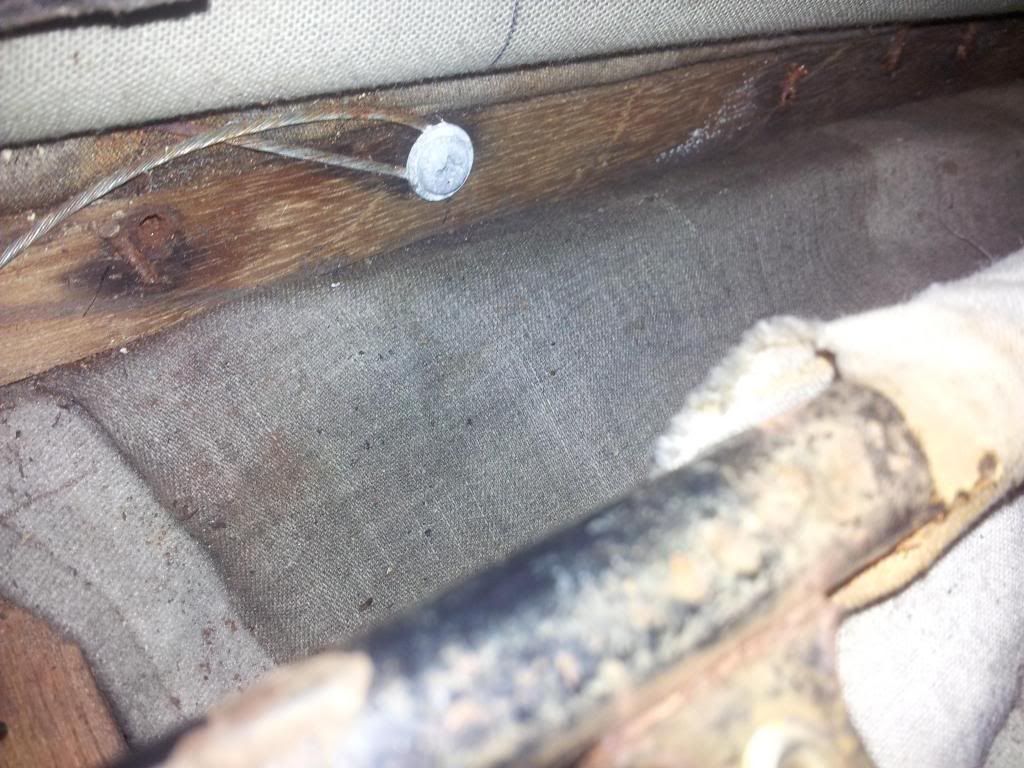
6) The next stage is to remove the headlining. In my roof it was held in place by a small piece of wood, nailed to the rear part of the frame.
Remove this and hopefully the headlining can be removed
7) The aluminium runners can now be removed (see removal section above), and the sliding bars plus headlining can be removed.
8) To remove the headlining from the runners, you need to drill out the rivets holding in thin spacers to the rising/sliding bars
9) that’s is, you should now be left with the wooden frame.
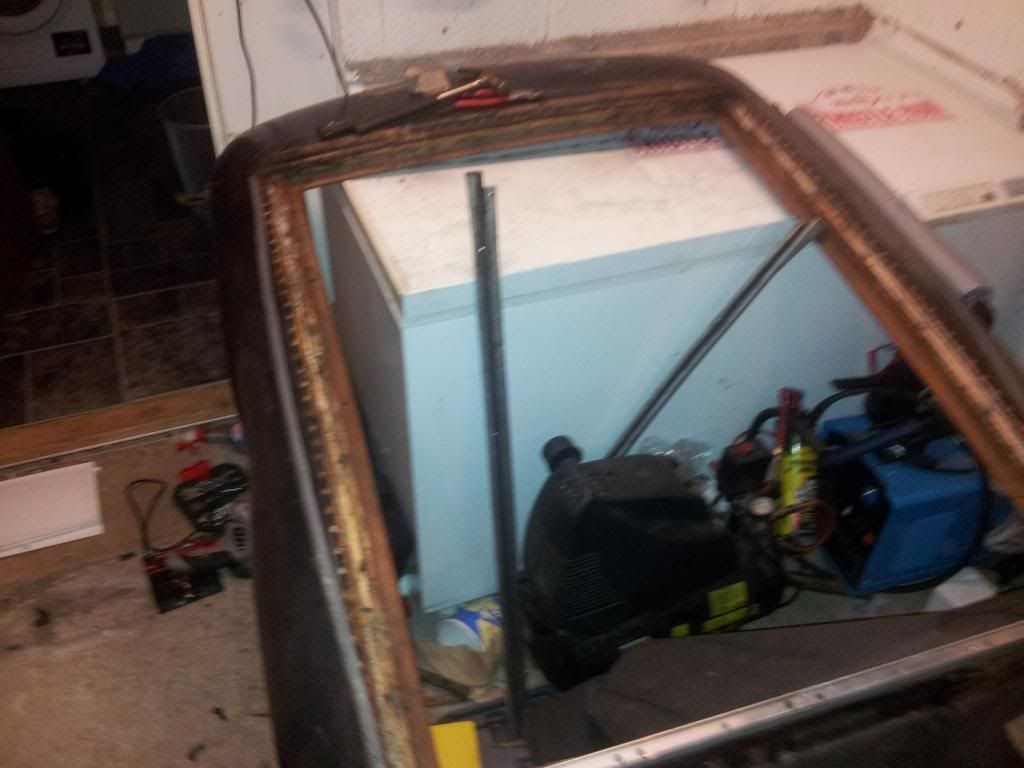
Hope this helps, if you need any advice then PM me, or feel free to correct me J
Part 2: Recover and rebuild coming soon