Jump to content


Photo

Help With Rear End Panels, Heelboard, Sills Etc


  • Please log in to reply
25 replies to this topic

#16 JonnyAlpha

JonnyAlpha

    Up Into Fourth

  • Members
  • PipPipPipPipPipPipPipPipPip
  • 2,744 posts
  • Location: North Devon
  • Local Club: Exmoor Minis

Posted 12 May 2014 - 06:31 PM

Thanks Sonikk4, just been re-reading some of your builds to get some info on the sills and floor pan fitting :-)


In your last pic above, the Rear Subframe Mount Boot Floor to Wheel Arch Stiffener / Support is it plug welded or Seam Welded or a bit of both. Mine where completely rotten so they got cut out ages ago. I now have new ones to fit but can't remember ho to weld them in?


Also just been reading a Sill Replacement guide on the Minifinity Forum, zippyrude's guide, he as plug welded the sills all around, I'm sure I have read another guide somewhere that suggest plug welding where the sill meets the door step but seam weld between the flutes? 


#17 sonikk4

sonikk4

    Twisted Paint Polisher!!!

  • Admin
  • PipPipPipPipPipPipPipPipPipPipPip
  • 15,897 posts
  • Name: Neil
  • Location: Oxfordshire

Posted 12 May 2014 - 06:46 PM

The support is plug welded in place with a small piece of seam welding. On Project Erm i seam welded it in place but hindsight being a wonderful thing i should have plug welded it instead.


Now for the sills, when they left the factory they were spot welded on everywhere. Personally i plug weld them on apart from the heelboard where i seam weld them on. Also at the very front where the end of the outer abuts the flitch its seam welded there as well.


#18 JonnyAlpha

JonnyAlpha

    Up Into Fourth

  • Members
  • PipPipPipPipPipPipPipPipPip
  • 2,744 posts
  • Location: North Devon
  • Local Club: Exmoor Minis

Posted 12 May 2014 - 06:49 PM

The support is plug welded in place with a small piece of seam welding. On Project Erm i seam welded it in place but hindsight being a wonderful thing i should have plug welded it instead.


Now for the sills, when they left the factory they were spot welded on everywhere. Personally i plug weld them on apart from the heelboard where i seam weld them on. Also at the very front where the end of the outer abuts the flitch its seam welded there as well.

Thanks


#19 JonnyAlpha

JonnyAlpha

    Up Into Fourth

  • Members
  • PipPipPipPipPipPipPipPipPip
  • 2,744 posts
  • Location: North Devon
  • Local Club: Exmoor Minis

Posted 17 June 2014 - 12:01 PM

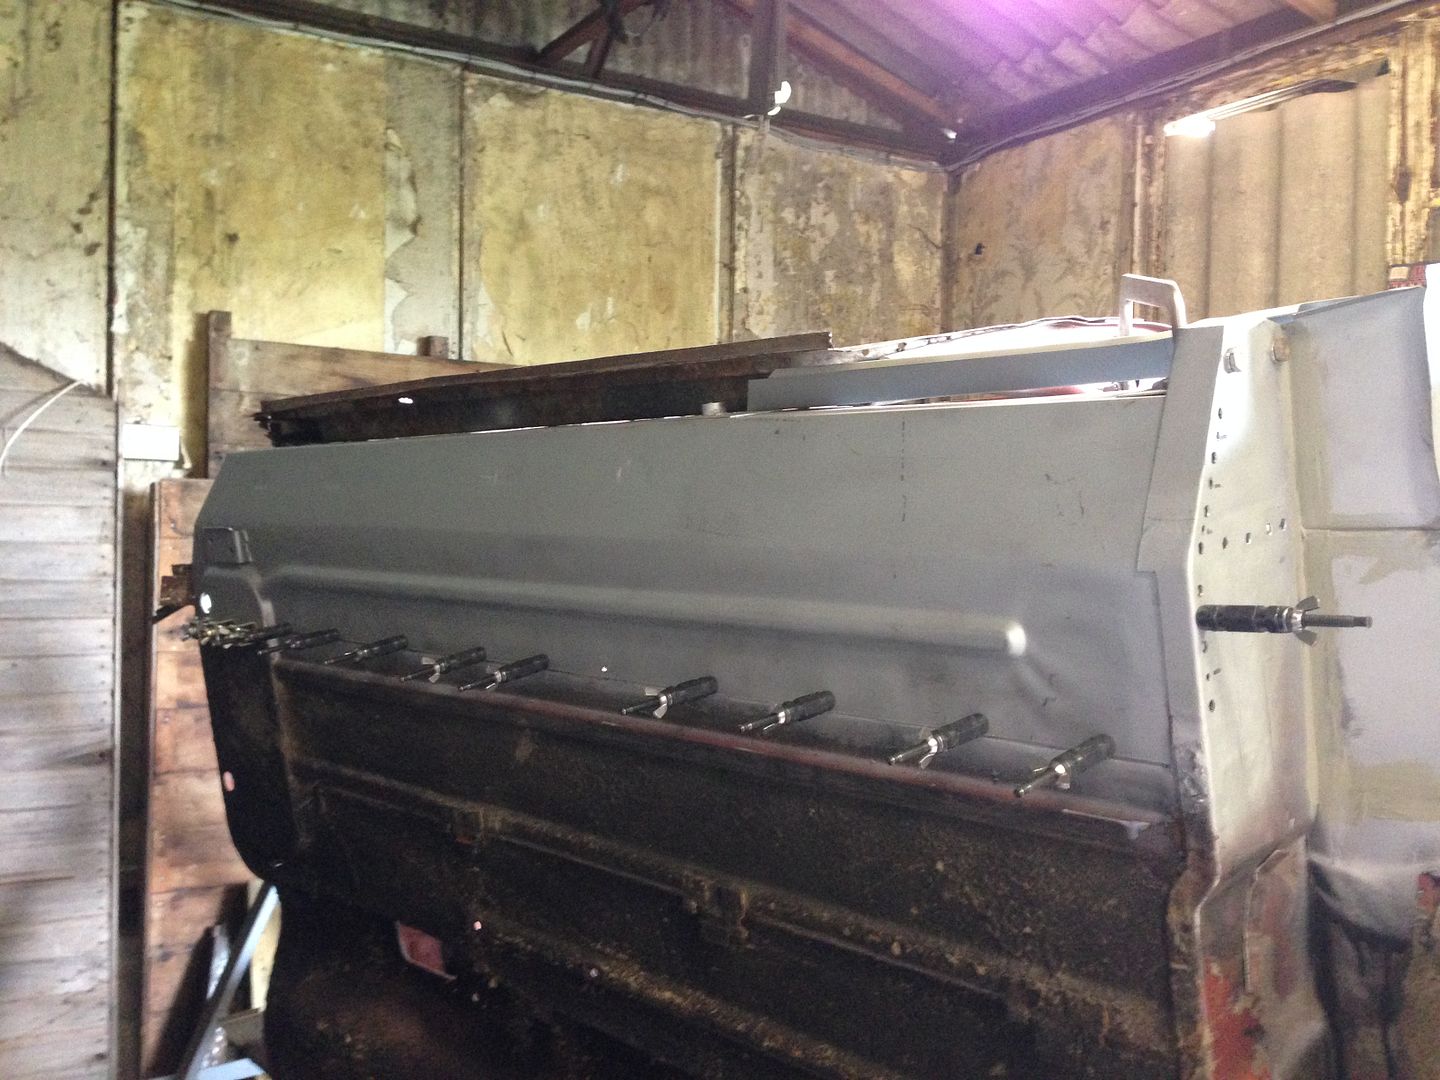
Just made and welded in my own companion bin repair panel (the lower end that touches the floor) and I am about to now weld in my own Floor corner repair panel.

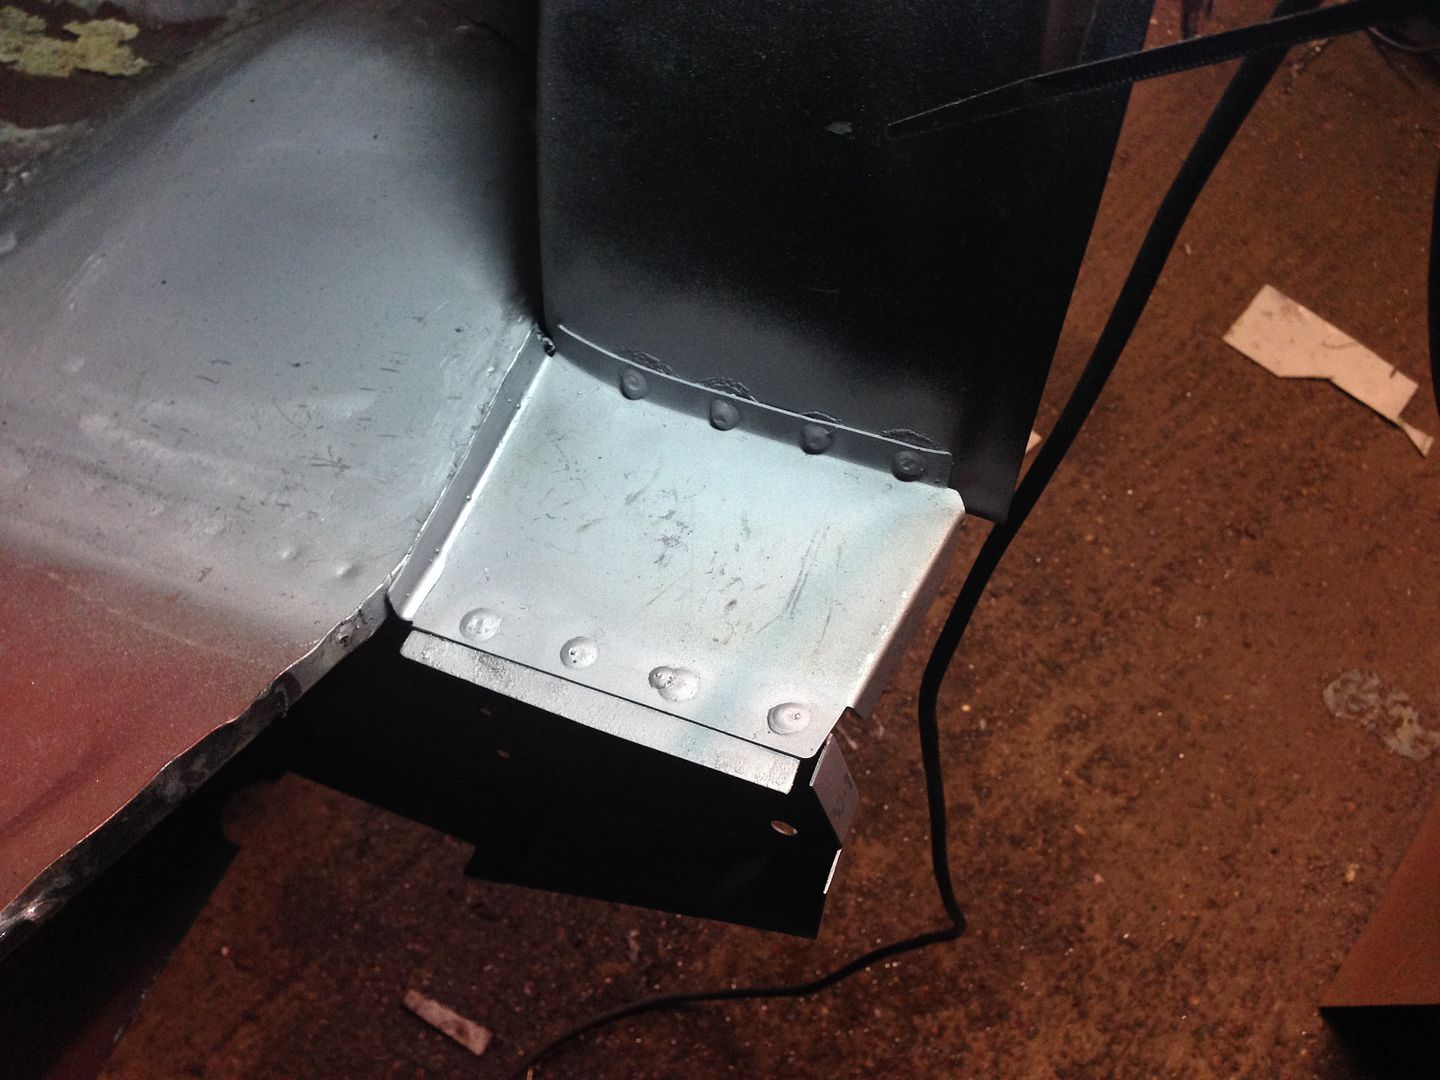
I have test fitted the floor panel and it fits OK but when looking at the area where the Subframe Closing Panel and Heelboard goes I am a little confused (again).


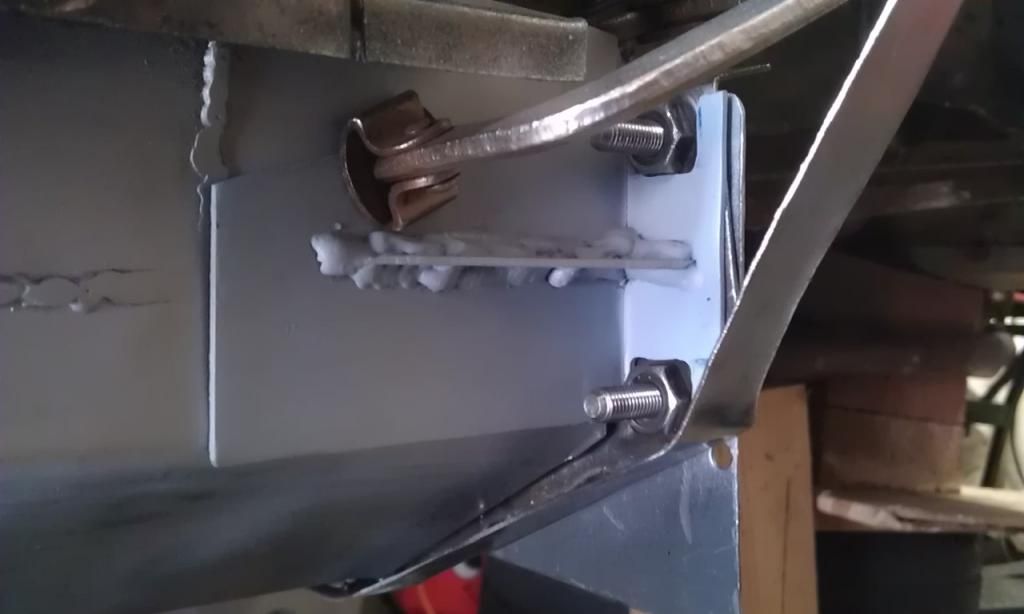
Here's a pic of mine with the Heelboard bolted in place using my Subframe Jig:


IMAG5531_zpsa1c51fba.jpg


The top of my Inner Sill is in line with the top edge of the old Inner Sill Stiffener and at the same height as the old inner sill, I have put a fold in mine that sits flush to the Heelboard.


The top folded edge of the Heelboard Repair butts up against the boot floor to the right of the picture (out of sight) but as you can see in the pic above there is a gap of aprox 10mm from the top edge of the Heelboard to the top edge of the inner sill panel that I have made.


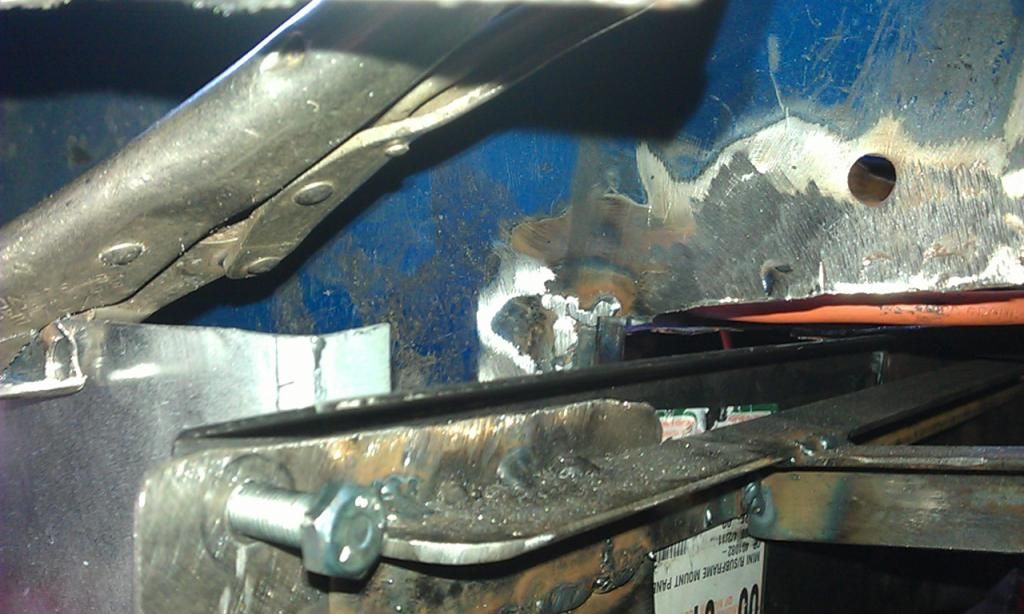
The gap where you can see the orange cable is where I cut out the LH edge of the seat as it too was rotted so that gap will be filled when I make the Seat Repair piece.


Is something wrong?

Does the Subframe Closing panel sit on top of the Heelboard at an angle so it.


Tried to work it out from the pics in this thread especially Rally515's as they show the Subframe Closing Panel and Inner Sill Stiffener clearly does not show how it fits in comparison to the Heelboard.


Also the Heelborad Repair only has one fold at the top, others in this thread also have folds on all edges that cover the floor and inner sill and is then plug welded. I was planning to mark where my Inner Sill / Floor sit against the Heelboard and Drill Holes in the Heelboard to Plug Weld it to the Floor and Inner Sill, is this OK?


I can crack on welding in the floor while I am working this out :-)


#20 sonikk4

sonikk4

    Twisted Paint Polisher!!!

  • Admin
  • PipPipPipPipPipPipPipPipPipPipPip
  • 15,897 posts
  • Name: Neil
  • Location: Oxfordshire

Posted 17 June 2014 - 07:41 PM

The close out panel is tilted slightly up at the back. The fold line is pretty much in line with the back face of the heelboard. Also when its correctly in place it will be flush with the seat pan, you can make it out in this picture

IMG_2835_zps3c292337.jpg


IMG_2795_zpsab44d192.jpg


#21 JonnyAlpha

JonnyAlpha

    Up Into Fourth

  • Members
  • PipPipPipPipPipPipPipPipPip
  • 2,744 posts
  • Location: North Devon
  • Local Club: Exmoor Minis

Posted 19 June 2014 - 06:22 PM

Thanks Sonikk4 as ever very helpful, looks like you made your own too :-)


So as long as the Close Out Panel sits along the same level and plane as the Rear Seat it will be cool, I see yours is plug welded to the Heelboard? 


My Heelboad Repair Panel only has one fold and it is along the top but is reversed i.e. it folds back towards the Wheel Arch? I am hoping that when fitted this does not interfere with the clearance at the top of the Subby.

I was planning on plug welding the close out panel to the reverse fold on the Heelboard Repair piece.


To comensate for the Heelboard only having one fold I have made my Inner Sill and Companion Bin Repair pieces with additional folds that butt up against the Heelboard, I am going to test fit and mark the position of these on the Heelboard and drill holes to Plug Weld the Heelboard to these panels.


Does all that make sense?


#22 sonikk4

sonikk4

    Twisted Paint Polisher!!!

  • Admin
  • PipPipPipPipPipPipPipPipPipPipPip
  • 15,897 posts
  • Name: Neil
  • Location: Oxfordshire

Posted 19 June 2014 - 07:04 PM

Thanks Sonikk4 as ever very helpful, looks like you made your own too :-)


So as long as the Close Out Panel sits along the same level and plane as the Rear Seat it will be cool, I see yours is plug welded to the Heelboard? 


My Heelboad Repair Panel only has one fold and it is along the top but is reversed i.e. it folds back towards the Wheel Arch? I am hoping that when fitted this does not interfere with the clearance at the top of the Subby.

I was planning on plug welding the close out panel to the reverse fold on the Heelboard Repair piece.


To comensate for the Heelboard only having one fold I have made my Inner Sill and Companion Bin Repair pieces with additional folds that butt up against the Heelboard, I am going to test fit and mark the position of these on the Heelboard and drill holes to Plug Weld the Heelboard to these panels.


Does all that make sense?


Yes it does so happy days.


#23 JonnyAlpha

JonnyAlpha

    Up Into Fourth

  • Members
  • PipPipPipPipPipPipPipPipPip
  • 2,744 posts
  • Location: North Devon
  • Local Club: Exmoor Minis

Posted 24 July 2014 - 01:11 PM

HELP - MY SUBFRAME JIG HAS DEVELOPED A PROBLEM!!!


Since fitting and lining up my subframe jig it would appear that one of the bolt holes has become slightly enlarged resulting in a small amount of play in the Heelboard Repair Panel!!!


I have just made an Inner Sill to Heelboard Bracket to add strength to the captive nuts and join the Heelboard to the Inner Sill and here is a pic of it clamped in place:


IMAG6058_zpsa9f98748.jpg

Nothing is welded in place yet and my Subframe is in the middle of being painted (two coats of Epoxy Primer so far).


Should I Put my Front Mounts on my Subframe and Use it as a Jig and then tack weld the Heelboard Panel in place? I am on my own so its bound to get scratched but its only at the priming stage??


My plan is to clamp it all in place like above and put a couple of tacks where the bracket meets Heelboard Repair Panel then complete the welding to the captive nuts as I will have more room off the Mini.

Then refit the Heelboard Repair Panel with the bracket above welded to it and then weld it to the Inner Sill?? And complete all the other welding.


The welds above look a liitle cold but trust me the welds the photo and primer does not do them justice, underneath are some pretty neat seams :-)


Edited by JonnyAlpha, 24 July 2014 - 06:55 PM.


#24 JonnyAlpha

JonnyAlpha

    Up Into Fourth

  • Members
  • PipPipPipPipPipPipPipPipPip
  • 2,744 posts
  • Location: North Devon
  • Local Club: Exmoor Minis

Posted 25 July 2014 - 01:12 PM

Any help???


#25 sonikk4

sonikk4

    Twisted Paint Polisher!!!

  • Admin
  • PipPipPipPipPipPipPipPipPipPipPip
  • 15,897 posts
  • Name: Neil
  • Location: Oxfordshire

Posted 25 July 2014 - 01:31 PM

Have you offered up the front trunnions to the heelboard and bracket?? If not do that and you should get your hole pitch correct. As long as the elongation is not too bad you should be fine.

#26 JonnyAlpha

JonnyAlpha

    Up Into Fourth

  • Members
  • PipPipPipPipPipPipPipPipPip
  • 2,744 posts
  • Location: North Devon
  • Local Club: Exmoor Minis

Posted 25 July 2014 - 07:51 PM

Have you offered up the front trunnions to the heelboard and bracket?? If not do that and you should get your hole pitch correct. As long as the elongation is not too bad you should be fine.

Sonnikk4;


Do you mean the Front Trunnion on its own or fitted to the Subframe?

I have a Minispares Heelboard Repair Panel with the Captive Nuts welded in and I have made the bracket its the holes in my jig that have become elongated so I cannot be sure that the Heelboard Repair Panel will be correctly aligned.


The bottom hole is OK its the top one which means the Heelboard Repair Panel is pivoting on the lower bolt. 


I guess the only way to be sure is by fitting the Front Trunnions to my Subframe and then testing clamping and tack welding?


Currently the back end is supported on a pile of bricks so getting the Subby in place will mean dismantling my brick pile :-( The Exhaust is also still fitted which sort of makes it a Krypton Factor Challenge not to mention doing it single handed!!! Oh woe is me!!! 


Edited by JonnyAlpha, 25 July 2014 - 07:51 PM.


1 user(s) are reading this topic

0 members, 1 guests, 0 anonymous users