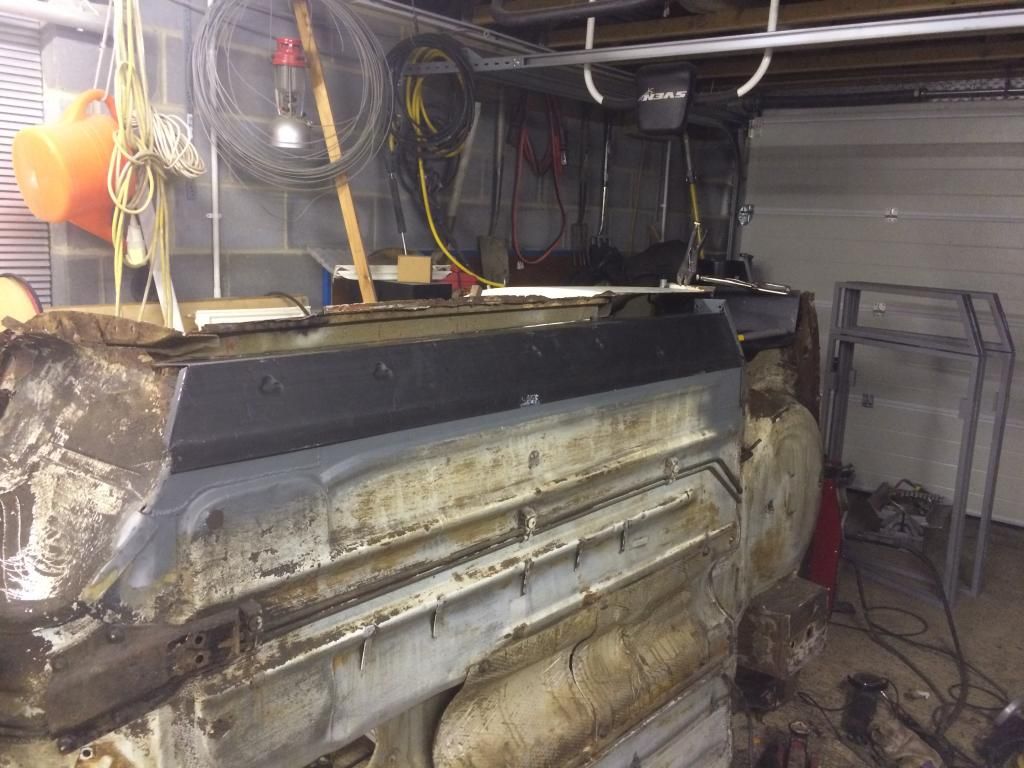
At long last I can finally report my first batch of panels have arrived. But not until yesterday, so none are on the car yet. They're only magnum panels so I might have a bit of fun making them fit. The one I was dreading the most ie the door steps, don't look too bad. The folds look pretty square and true, however there's a bit of a ripple on the curve where it meets the pillar, nothing a bit of filler won't sort tho.
Think I've ordered the wrong outer sills tho. I will take a picture and post it up at some point, but I think I will end up chopping about 2inches off there width.
I also ordered myself a joggler, because after a lot of helpful responses to my "to joggle or not to joggle" post, I've decided to put a step in the edge of the floor panel for the joint with the new inner sill. The joggler arrived today so might have a play on some scraps of metal later.
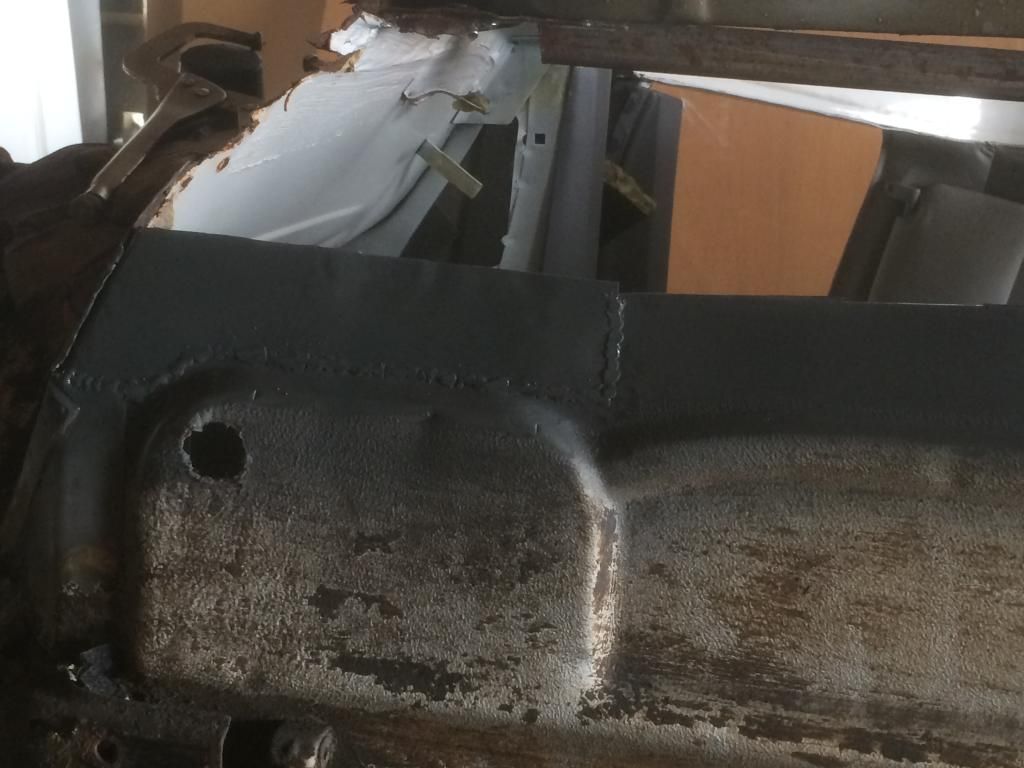
Waiting for my panels has really held up progress, but on Wednesday I did manage to get my first bit of welding and fabrication done on the car. My floor pans were in pretty good shape apart from around the slinging brackets. I intend sorting the rear one whilst fitting the heel board repair panel, but I set about doing the front one.
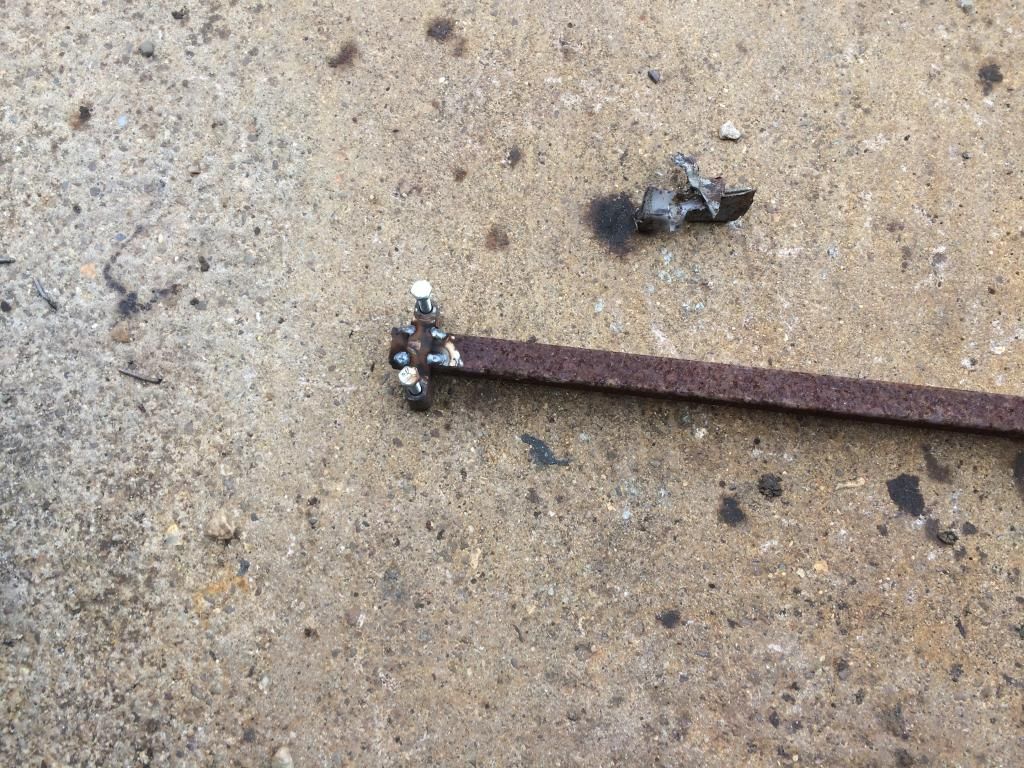
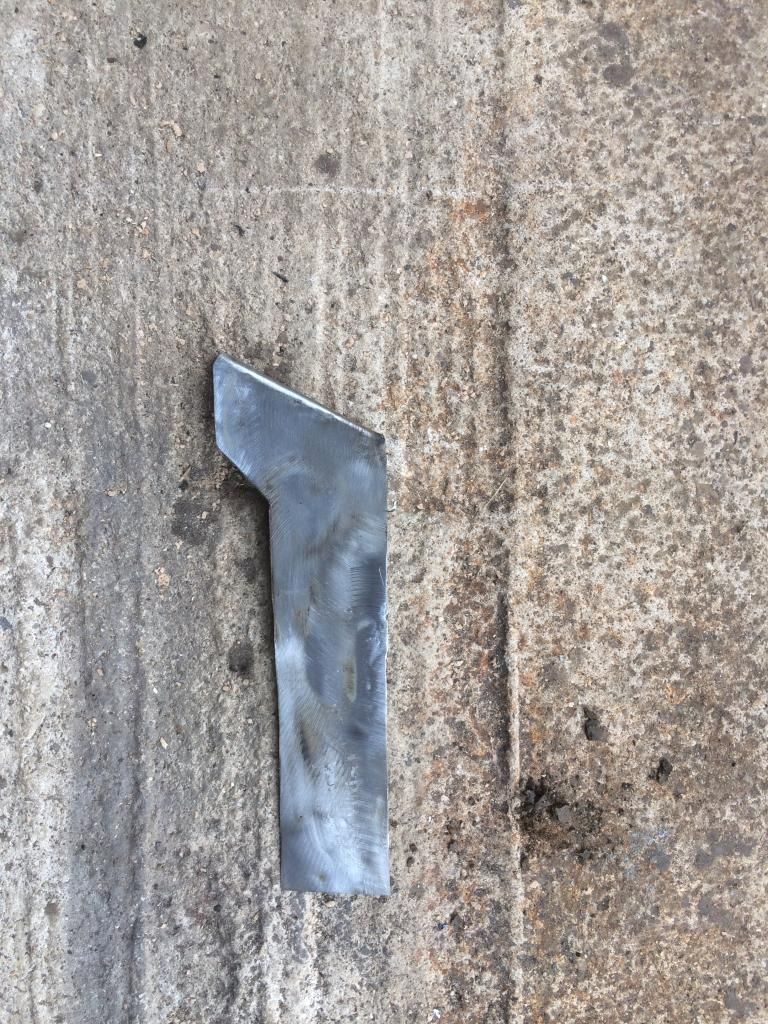
Firstly I made a cardboard template and transferred it to a scrap of metal
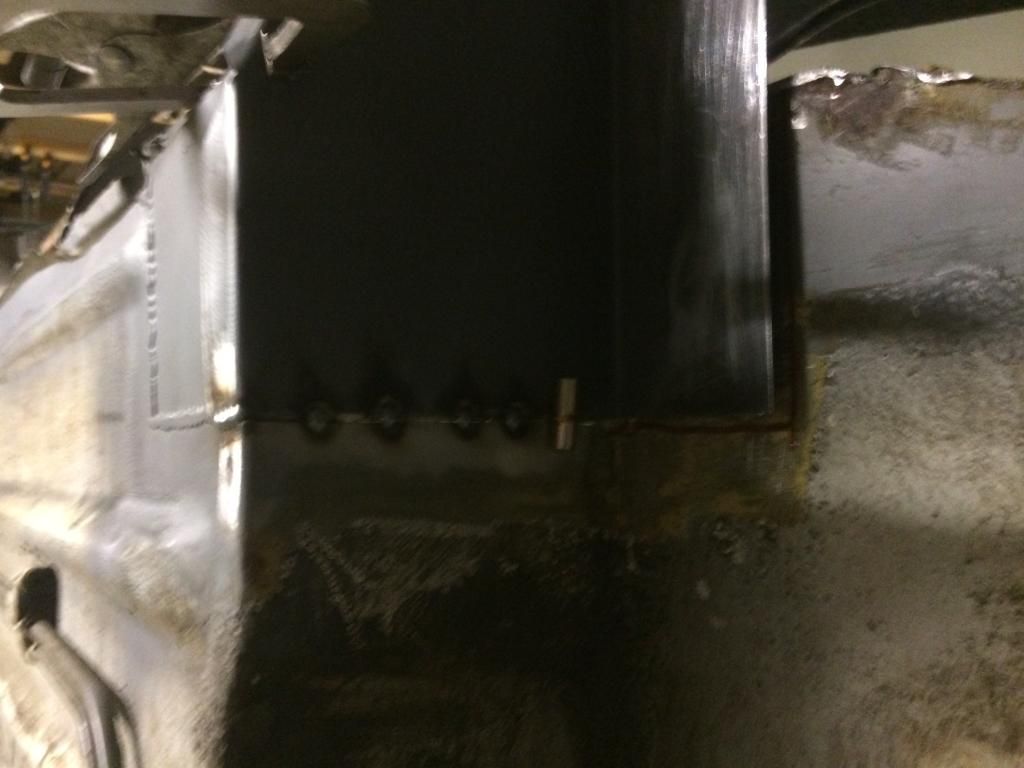
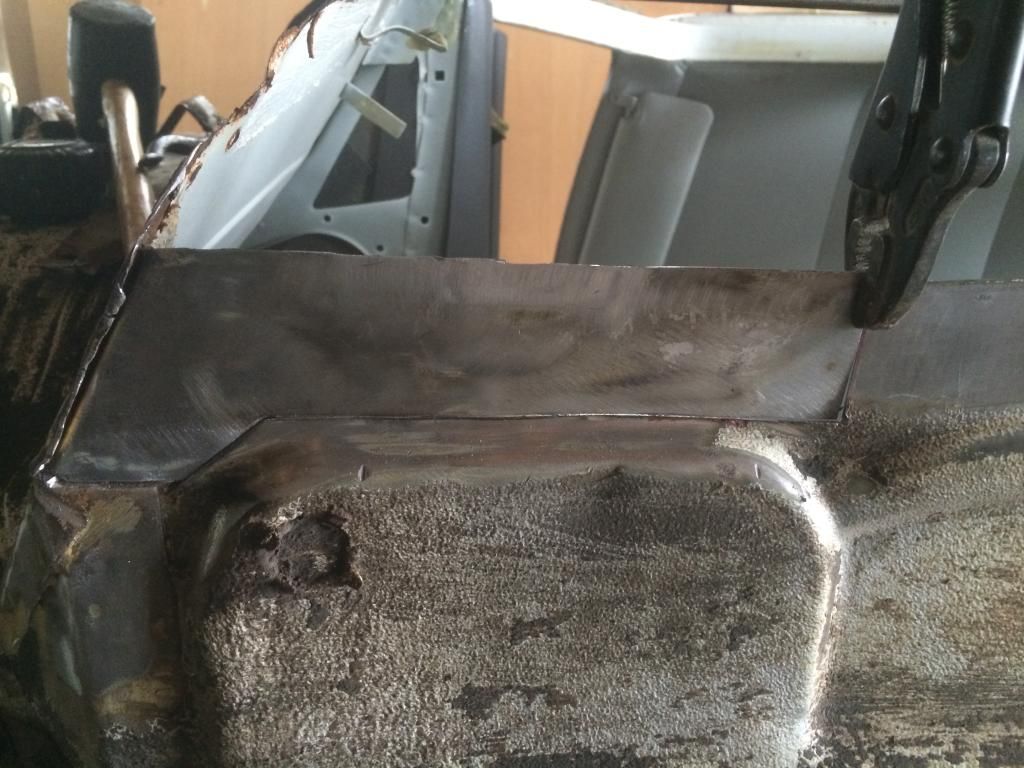
Then a trial fit. After a bit of filing it looked like this
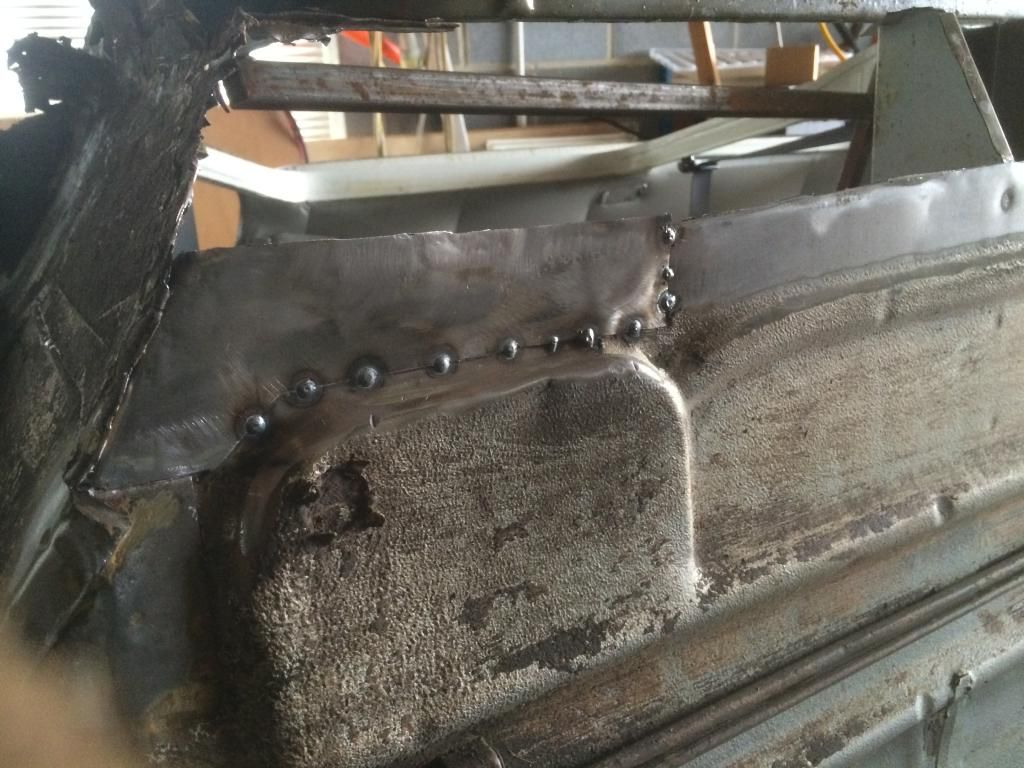
Then tacked into place. I turned up a lip on the metal to fix it to the fitch but that won't get welded til the fitch repair panels fitted.
Darren, nice piece of fabrictation and the tack welds look spot on for penetration from the underside did they show at all on the upper side? I am no expert get all my tips here its a great helpful Forum as well.
Apart rom the tricky ones, I have / am making a lot of my own repair pieces, it means everything is taking twice as long but its satisfying when it works 
The key to good welding is heat management (you learnt part with the blow throughs) when welding thin metal AKA Mini Body Panels my Mig is one the lowest setting but I sometimes find it a little to cold and the next setting up is too hot so to get around this I often use a Gas Blow Torch to pre heat the are that I am welding, I have had some great results. Sometimes if the weld is too hot you can cool things down with a wet rag or use a Heat Sink such as a Piece of flattened Copper Pipe or brass.
Keep up the good work.
P.S. Why did you stop the Van or could you not resist the new Mini
Edited by JonnyAlpha, 24 June 2014 - 01:50 PM.