Jump to content


Photo
- - - - -

1961 Austin Mini: Take Two


  • Please log in to reply
140 replies to this topic

#16 buddylove

buddylove

    Camshaft & Stage Two Head

  • TMF+ Member
  • PipPipPipPipPipPipPipPip
  • 1,639 posts
  • Location: North America
  • Local Club: SAMOA

Posted 10 June 2014 - 04:37 AM

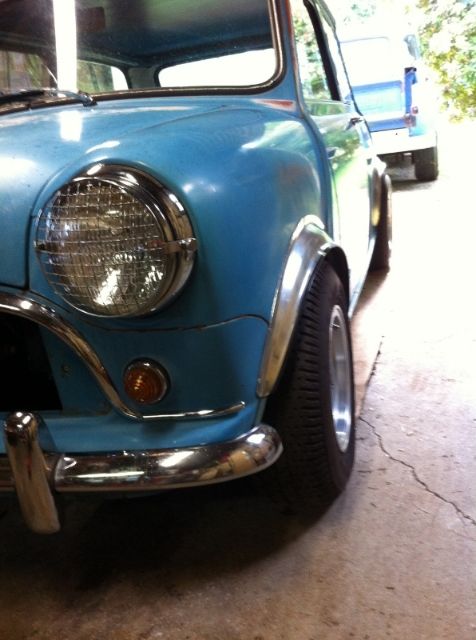
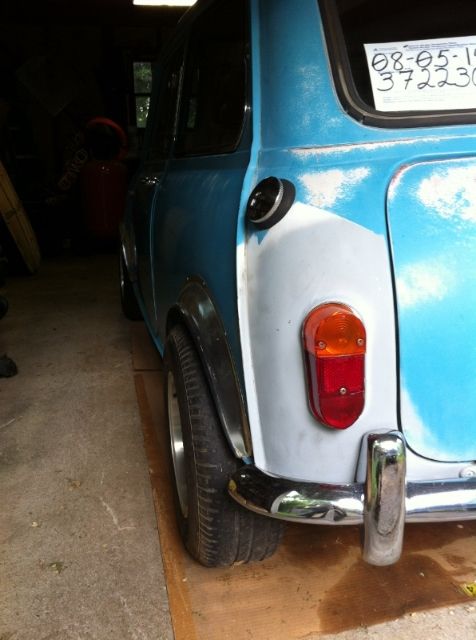
Today, I maneuvered the Mini's around so that I could get both of them into the garage, with easy access to each so I can swap parts over the next month.  Since the Clubman is destined to get body work within the next couple of years, there is no need for it to sit with all of the new parts that I have put onto it.  When it is done with its body work, I'll replace all of the parts that are being donated to the '61.
 
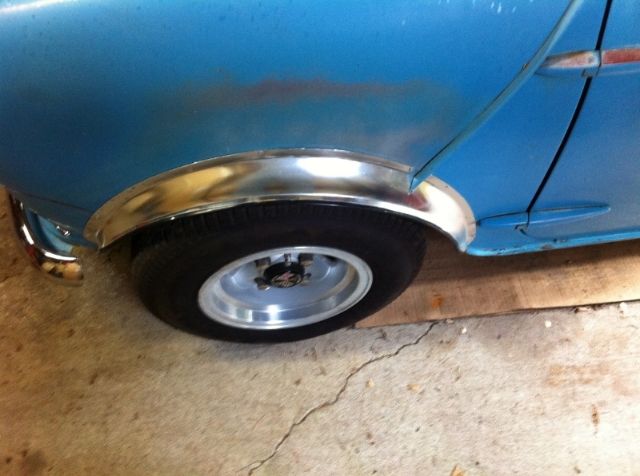
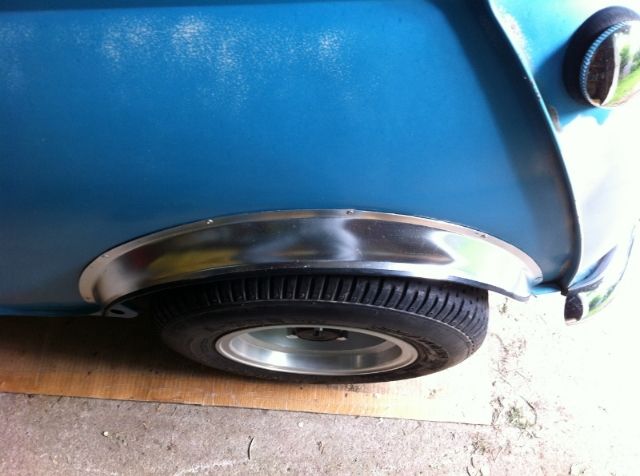
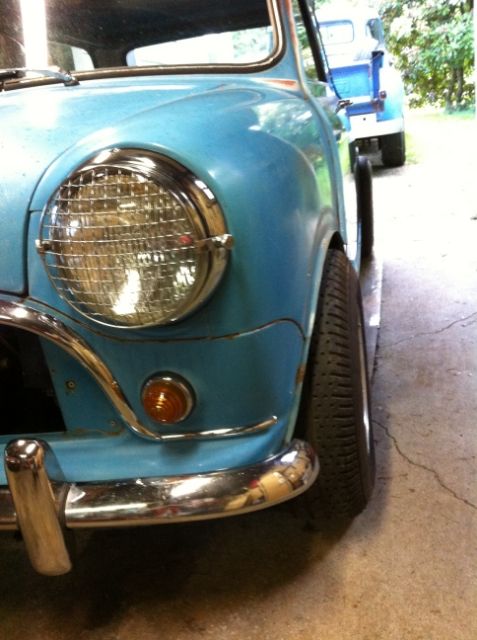
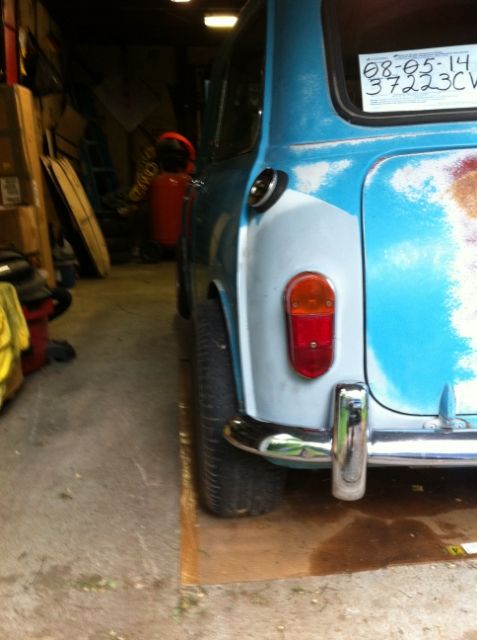
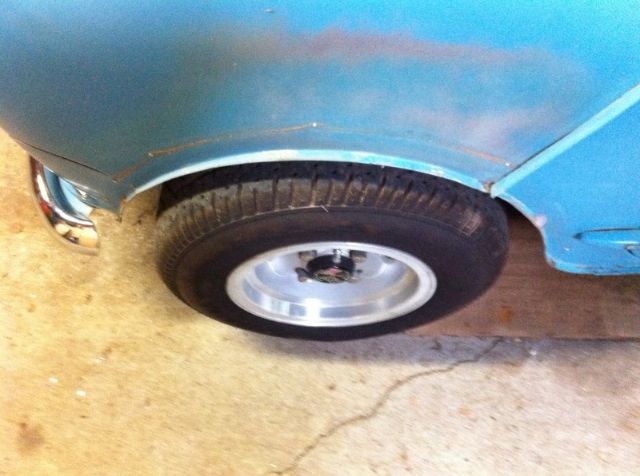
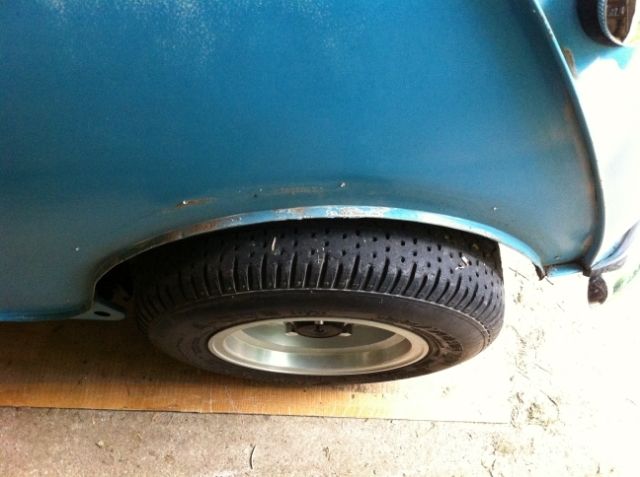
Drilled out the rivets for the flares on the '61.  Still need to drill them out some more as I only popped the heads off.  I have decided that putting the flares back on will be decided by how the next set of wheels fit.  The body work under the flares is actually pretty nice, minus the holes for the rivets.
 
 
Before:
 
580D3F32-7FF9-46D9-B10D-482E3722783A.jpg
 
00337911-ACEE-49C9-BAFD-6C2634B57ECD.jpg
 
D95FF1A1-CC61-4050-AF09-E1F3627959F7.jpg
 
2A3CA975-25ED-4858-AB12-9A92F29C576F.jpg
 
 
After:
 
 
7ABBB442-B7CB-4F69-88B3-FCC027AF985A.jpg
 
C6631A41-BC64-46DC-A99F-E6BFF4A77C15.jpg
 
78E8E6DA-9E2F-4C98-8C78-119654C19B58.jpg
 
661b1276-0217-45b3-b8d7-350d6b87f690.jpg


#17 buddylove

buddylove

    Camshaft & Stage Two Head

  • TMF+ Member
  • PipPipPipPipPipPipPipPip
  • 1,639 posts
  • Location: North America
  • Local Club: SAMOA

Posted 10 June 2014 - 04:37 AM

Looks to me like the damage to the grille was caused by someone helping themselves to your AA badge. Good luck with it.


Possibly, but the slam panel support was bent as well, oh well, nothing I can do about it now.


#18 buddylove

buddylove

    Camshaft & Stage Two Head

  • TMF+ Member
  • PipPipPipPipPipPipPipPip
  • 1,639 posts
  • Location: North America
  • Local Club: SAMOA

Posted 11 June 2014 - 01:13 AM

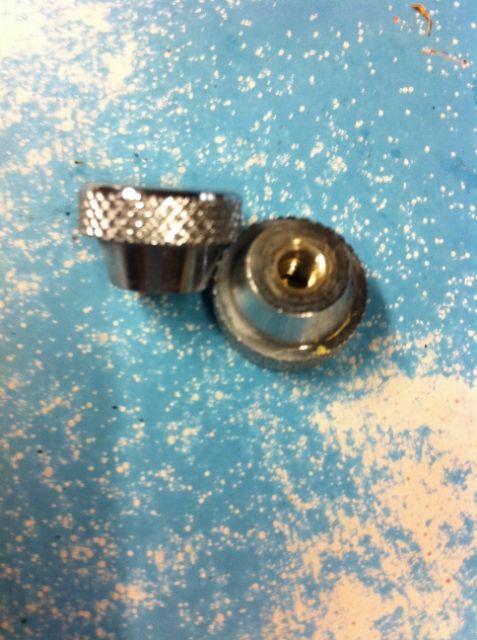
Went on a bit of a hunt today.  I am missing one of these:
 
C3D7B17E-76E4-4EBA-A473-2D38E5D8B153.jpg
 
I went to McLendon's Hardware as they have a selection of fasteners, but they had nothing close.  I then searched online, but came up with nothing.  Hopefully one of you might have a clue as to where I can get one.  It currently secures one side of the stone guards on my headlamps.  
 
At the same time, I was also looking for a ball joint tool.  
 
It seems like everywhere stocks these:
 
647054-tie-rod-ball-joint-separator-2-3-
 
However, I was looking for one of these:
 
221662d1373081386-2001-taco-tools-diy-re
 
No place local stocked them, and I didn't like the look of the Harbor Freight one.  I found one on Amazon and will be ordering it shortly.


#19 buddylove

buddylove

    Camshaft & Stage Two Head

  • TMF+ Member
  • PipPipPipPipPipPipPipPip
  • 1,639 posts
  • Location: North America
  • Local Club: SAMOA

Posted 11 June 2014 - 04:30 AM

Checked the motor mounts. No upward movement when jacking up the car via the sump. On visual inspection, it looks like they were installed when the motor was swapped.

Cones are definitely shot and the rebound dampeners are non-existent.

#20 mk1leg

mk1leg

    Crazy About Mini's

  • Members
  • PipPipPipPipPipPipPipPipPipPip
  • 9,341 posts
  • Location: Jersey
  • Local Club: Mini Club Jersey, MCR

Posted 11 June 2014 - 08:39 PM

wow what a great mk1.....must keep an eye on this........ :highfive:


#21 buddylove

buddylove

    Camshaft & Stage Two Head

  • TMF+ Member
  • PipPipPipPipPipPipPipPip
  • 1,639 posts
  • Location: North America
  • Local Club: SAMOA

Posted 12 June 2014 - 04:08 AM

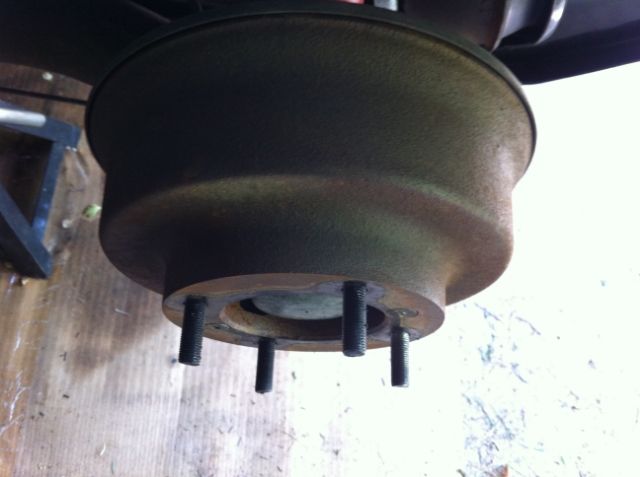
Inspected the rear brakes today.  With seeing the spacer sitting on the spare tire, I thought that the car might have regular drums with spacers, instead of spacered drums.  I was pleasantly surprised to find spacered drums, but still think I want to get some Superfins.  
 
eec87a5e-72e9-426b-ab2d-f13cf48b3ec2.jpg
 
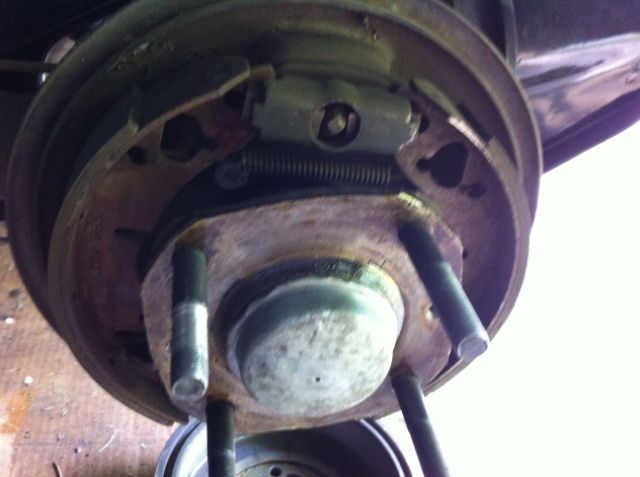
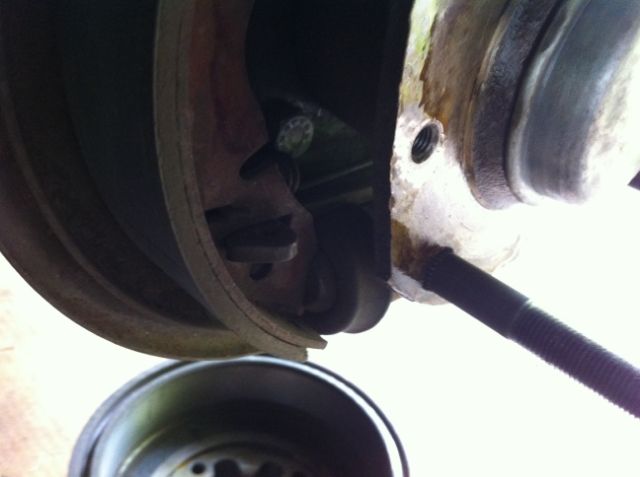
Pulled off the drums, and found that the adjusters look new as well as the brakes shoes, however, the shoes are put on wrong and I will have to fix that in the future.  Checked the wheel cylinders and they aren't leaking, but do look like they have been there awhile.  I will be replacing them with 1/2" Bore Cylinders, as I will be running 7.5" discs up front with 4 pot Calipers.
 
662dd4d2-b344-4a51-889f-de60cb5575c0.jpg
 
16c463d2-25d3-487c-8626-71a420288416.jpg
 
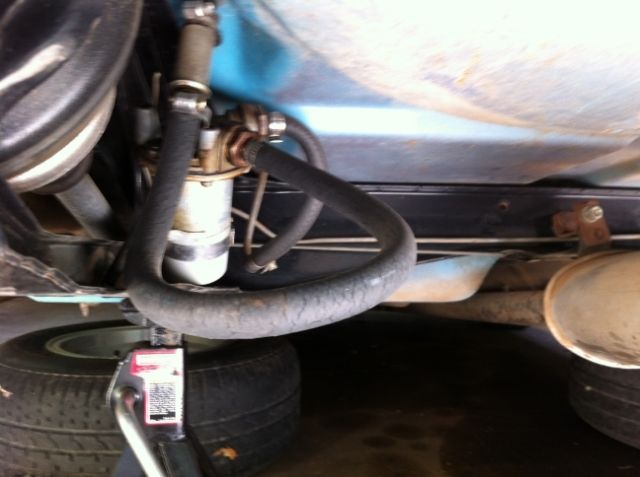
Next I started checking into the fuel system in the back and found an old cracked rubber fuel line, that I will be replacing.
 
da852ea5-f89c-428c-b3d8-bdf730d07205.jpg
 
Pulled that line out as, I needed to remove it for the fuel tank swap anyways.  Also, on speaking with Chuck about removal tips for the MK1 tanks as well as fuel line setup.  It appears that since the OEM fuel pump is a pull style, instead of a push, its not a good idea to run a fuel filter between the tank and fuel pump as this car was setup.  The OEM fuel pumps have screens in them to help with the debris.  I'll be adding a fuel filter in the engine bay in the future, before the carb.
 
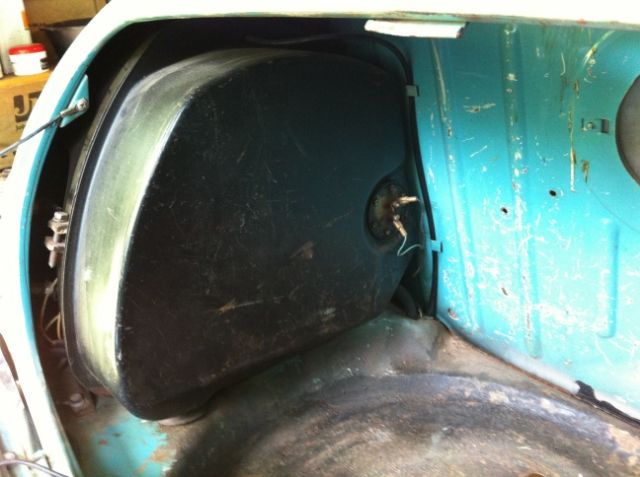
Here is the old tank in all its glory, sending unit seems to be working as well.  Just not reading right as the previous owner put in later gauges.  I am sure some MK1 fanatic would love to have it.
 
9bee1d02-108a-45cc-9906-2af314e43a55.jpg
 
After fighting with the tank for a good long while, I was finally able to remove the drain from it.  Thankfully the later tanks don't have these things, they are a pain in the ass to work with.
 
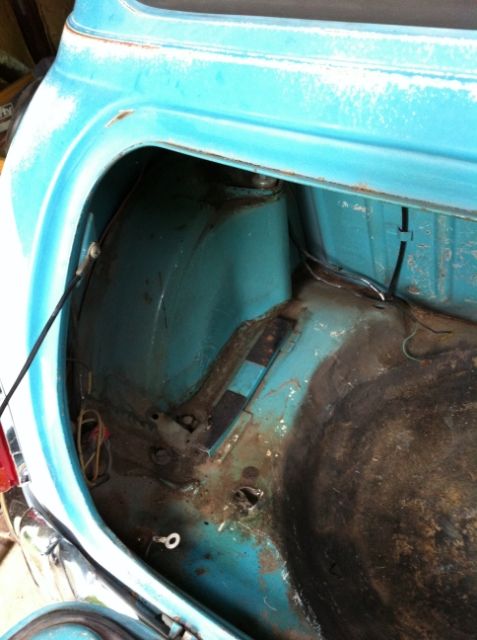
Here is the tank gone, I will be doing some cleaning tomorrow.
 
A1066729-ADEB-43C1-A8EC-1D66111E7EB9.jpg
 
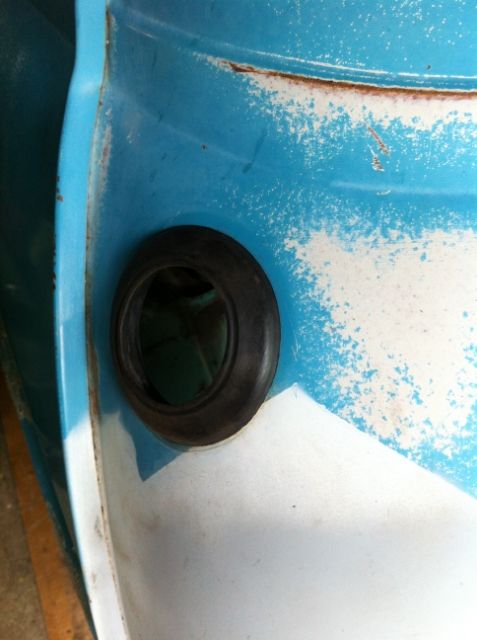
Replaced the fuel tank neck seal with one I had.
 
F7EA9C4B-EF6D-42C7-8159-2C80FCB10EAF.jpg
 
Tomorrow, replacement of the fuel line, and installation of the 9 gallon tank.  It will be a nice boost from the 5.5 gallon tank.

Edited by buddylove, 12 June 2014 - 05:00 AM.


#22 buddylove

buddylove

    Camshaft & Stage Two Head

  • TMF+ Member
  • PipPipPipPipPipPipPipPip
  • 1,639 posts
  • Location: North America
  • Local Club: SAMOA

Posted 12 June 2014 - 05:00 AM

wow what a great mk1.....must keep an eye on this........ :highfive:


Thanks!  :)


#23 megamini_jb

megamini_jb

    Crazy About Mini's

  • Members
  • PipPipPipPipPipPipPipPipPipPip
  • 5,491 posts
  • Name: Jamie
  • Location: -

Posted 12 June 2014 - 07:14 AM

Looks great archless! Have you decided on what wheels you'd like on it?

#24 buddylove

buddylove

    Camshaft & Stage Two Head

  • TMF+ Member
  • PipPipPipPipPipPipPipPip
  • 1,639 posts
  • Location: North America
  • Local Club: SAMOA

Posted 12 June 2014 - 02:05 PM

If I want to stay archless, I know someone with a set of original 1970's Cosmic MK2s 10x5, new in box.  I am inclined towards picking them up, as they are my favorite Mini wheel, but I also really like the look of 10x6 wheels on Minis.


#25 buddylove

buddylove

    Camshaft & Stage Two Head

  • TMF+ Member
  • PipPipPipPipPipPipPipPip
  • 1,639 posts
  • Location: North America
  • Local Club: SAMOA

Posted 12 June 2014 - 11:13 PM

Started out the day by cleaning the boot with POR15 Marine Clean.  I'll have to get in there and use some rust converter to get some of the bad areas between the boot floor and the rear fire wall.
 
Before:
 
DSC_0021.jpg
 
After:
 
DSC_0022.jpg
 
DSC_0023.jpg
 
Installed the 9 gallon tank:
 
DSC_0024.jpg
 
Replaced the cracked fuel hose and filter:
 
DSC_0025.jpg
 
Thought about giving it a fresh coat of paint, but the beat up look fits with the car.
 
Next to tackle was removing the center exit exhaust.
 
DSC_0026.jpg
 
Removed
 
DSC_0028.jpg
 
Turns out it was a center exit RC40 system:
 
DSC_0027.jpg
 
As much as I like RC40 systems, I don't like center exit ones.  It will be replaced by a side exit RC40 exhaust.
 
Now work is on hold till I buy 4 more jack stands to get the other Mini up in the air, as well as wait for the ball joint tool to arrive.  I also need to get a smaller drill bit, as all of mine are broken, so I can finish removing the rivets in the body from the flares.


#26 buddylove

buddylove

    Camshaft & Stage Two Head

  • TMF+ Member
  • PipPipPipPipPipPipPipPip
  • 1,639 posts
  • Location: North America
  • Local Club: SAMOA

Posted 14 June 2014 - 12:32 AM

Ordered 2 pairs of jack stands last night along with some hex drill bits off of Amazon.  My ball joint splitter came today, but I can't really do anything until the jack stands show up.
 
Nothing too exciting for today.  Worked on my $20 4 pot caliper setup that I got a couple of years ago.  The discs are 8.4" vented discs that have been turned down to work with a 7.5" setup.  There is a bit of a lip on them, so I am thinking that it might be wise to get them turned down, but I don't know of any local places that do it anymore.  Sanded the cotter pins for holding the pads, but I am thinking that the setup is missing the retaining springs, and there is no spacer for the calipers.  When I was looking at Chuck's setup, he had a spacer for his bolts, but maybe these are setup differently due to the vented discs?
 
DSC_0001.jpg
 
DSC_0002.jpg
 
The calipers look fine, but I have all 3 bleed nipples on each caliper soaking with PB Blaster.  I figured it would be good to soak them in that stuff for a few days, to try to avoid breaking the nipples.
 
DSC_0003.jpg
 
 
The spacer kit that I am talking about:
 
 
And the retainer clips and pins that I am talking about:


#27 buddylove

buddylove

    Camshaft & Stage Two Head

  • TMF+ Member
  • PipPipPipPipPipPipPipPip
  • 1,639 posts
  • Location: North America
  • Local Club: SAMOA

Posted 15 June 2014 - 11:48 PM

Today, I set out to just remove the carb and exhaust manifold, but I didn't realize that the "Ultimate" Engine steady was in the way as well.  It was something I was planning on taking off in the future, as it will get in the way of future plans that I have for the car.  As I mentioned before, the car has good engine mounts and it already has a steady on the right side of the motor.  I will be adding two steadys to the bottom side of the car from the transmission to the subframe, which will help to reinforce everything.  I also would like to remove the red hoses, as to me they are big eye sores in the engine bay.  It could also use a good overall clean.  I will be swapping out the radiator for a Super Two Core to help with further cooling.
 
As I left it for today:
 
DSC_0004.jpg


#28 buddylove

buddylove

    Camshaft & Stage Two Head

  • TMF+ Member
  • PipPipPipPipPipPipPipPip
  • 1,639 posts
  • Location: North America
  • Local Club: SAMOA

Posted 17 June 2014 - 01:48 AM

Jack stands didn't arrive until about 20 minutes ago, so I just did the small job of finishing drilling out the rivets.  I also cleaned up around the old flare line.  At least in my head its screaming to not put the flares back on.
 
Before:
 
DSC_0001.jpg
 
After:
 
DSC_0002.jpg


#29 buddylove

buddylove

    Camshaft & Stage Two Head

  • TMF+ Member
  • PipPipPipPipPipPipPipPip
  • 1,639 posts
  • Location: North America
  • Local Club: SAMOA

Posted 18 June 2014 - 02:43 PM

Back to work, so I'm just doing small jobs as I have time.  Today, I replaced the front floor rubber grommets with new ones, I'll have to give the floor a better cleaning in the future.  No pics as its super dirty.
 
As with all of the rubber on this car for the most part, the boot lid seal was dry and cracked.  I had a later style boot lid seal that goes onto the car, instead of around the boot lid.  It isn't the best for Mk1 cars due to fitment, but I was able to get it to close and lock with some persuasion.  I am hoping that the seal breaks down enough that it won't be too hard to close the boot.
 
Before:
 
DSC_0001.jpg
 
DSC_0002.jpg
 
 
After:
 
DSC_0003.jpg


#30 Blitzman

Blitzman

    On The Road

  • Noobies
  • PipPip
  • 40 posts
  • Location: Banff & Donegal

Posted 18 June 2014 - 03:27 PM

What a find.

Looks great but we need more pics.

Don't worry about it being dirty,better than rusty lol. :D


0 user(s) are reading this topic

0 members, 0 guests, 0 anonymous users