And its got oversills fitted


1979 Mini 1000 Project
Started by
frodmyster
, Nov 09 2014 09:06 PM
88 replies to this topic
#17

stevearch0
-
- Members
-

- 310 posts
Speeding Along Now
- Location: Shropshire
Posted 10 November 2014 - 06:36 PM
Usually people have oversills and other metal welded over rot as a quick fix. Mine had oversills on too. When I removed them, the original ones were underneath, but resembled ryvita!!
#18
frodmyster
-
- Members
-
- 213 posts
Mini Mad
Posted 10 November 2014 - 07:45 PM
I was hoping to get this car on the road before Christmas lol, the near side is the rotten side so im just going to replace the door step, inner and outer sill and patch a small hole in the floor. It should pass an mot then. Then i can do the other side mid next year when the weather is better
#19
Down&Out
-

- Traders
-
- 4,833 posts
The King Of Retro Cool
- Location: -
Posted 10 November 2014 - 08:41 PM
#20
frodmyster
-
- Members
-
- 213 posts
Mini Mad
Posted 11 November 2014 - 09:22 AM
Cheers pal. Has anyone got a picture of the correct 10" steel wheels that should be on my car? Also the steering wheel. Cheers peeps :)
#21
Down&Out
-
- Traders
-
- 4,833 posts
The King Of Retro Cool
- Location: -
Posted 11 November 2014 - 11:46 AM
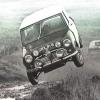
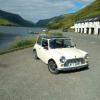
You'll want the narrow 10s, 10x4.5, This is my old 1977 1000 on those wheels.

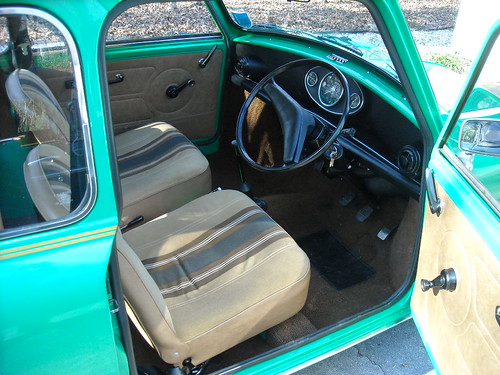
As for the wheel, it looks to be one of these:
#22
frodmyster
-
- Members
-
- 213 posts
Mini Mad
Posted 11 November 2014 - 02:54 PM
Thanks for that, ill probably sell the wheels that are on it and the cooper steering wheel to buy the new ones :)
#23
frodmyster
-
- Members
-
- 213 posts
Mini Mad
Posted 21 November 2014 - 12:58 PM
Does anybody know where i can get an original steering wheel from?
#24
frodmyster
-
- Members
-
- 213 posts
Mini Mad
Posted 21 November 2014 - 12:58 PM
I also need a window winder and 2 10" steel wheels
#25
frodmyster
-
- Members
-
- 213 posts
Mini Mad
Posted 13 January 2015 - 09:29 PM
Well, finally got round to starting on her yesterday. Fuel tank out and rear subby removed. Wish I'd have taken pics during but my hands where filthy
Attached Files
-
 IMG_00000096.jpg 50.01K
21 downloads
IMG_00000096.jpg 50.01K
21 downloads
-
IMG_00000097.jpg 44.44K
6 downloads
-
IMG_00000095.jpg 42.7K
18 downloads
-
IMG_00000090.jpg 58.96K
6 downloads
-
IMG_00000091.jpg 45.55K
5 downloads
-
IMG_00000092.jpg 48.82K
10 downloads
-
IMG_00000093.jpg 51.14K
11 downloads
-
IMG_00000094.jpg 38.37K
10 downloads
-
IMG_00000089.jpg 54.04K
7 downloads
#26
frodmyster
-
- Members
-
- 213 posts
Mini Mad
Posted 13 January 2015 - 09:33 PM
Sorry about the poor pictures. Should there be an inner rear valance?? Or is this the original valance kindly preserved underneath
Edited by frodmyster, 13 January 2015 - 09:46 PM.
#27
robminibcy
-
- Members
-
- 1,516 posts
Camshaft & Stage Two Head
- Location: birmingham
Posted 13 January 2015 - 09:41 PM
Sorry about the poor pictures. Should there be an inner rear valance?? Or is this the original valance kindly preserved undernearh
no, someones put a new one over the old one. nice car though will look great im sure. my car is also a 79 1000 
also fyi the original wheels for your car are be 3.5 x10s. not 4.5s. 4.5s are the cooper ones although will fit straight on and to the untrained eye look the same. The cooper wheels will allow wider tyres and more grip than the 3.5s.
Edited by robminibcy, 13 January 2015 - 09:46 PM.
#28
frodmyster
-
- Members
-
- 213 posts
Mini Mad
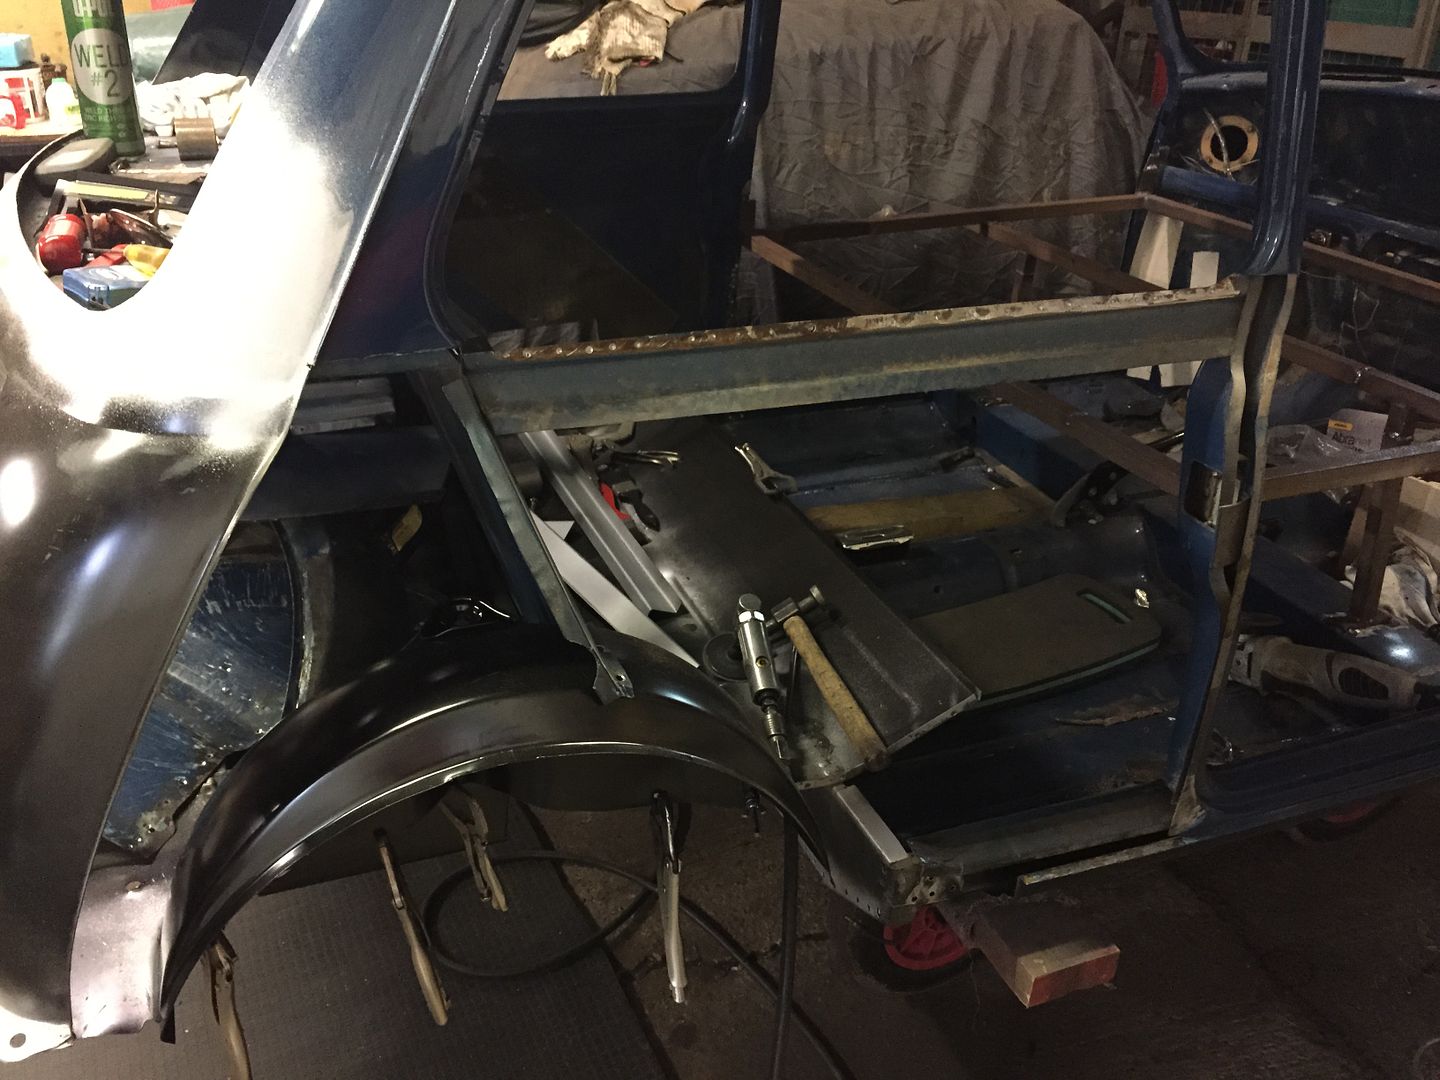
Posted 04 February 2015 - 08:25 PM
Rear valance,removed, old rear valance under that removed and the remains of both closing panels removed along with the rear bumper. Just need to order some panels now :)
IMG_00000147.jpg 87.36K
4 downloads
IMG_00000146.jpg 59.33K
3 downloads
IMG_00000148.jpg 56.27K
2 downloads
IMG_00000149.jpg 50.58K
3 downloads
#29
frodmyster
-
- Members
-
- 213 posts
Mini Mad
Posted 09 July 2015 - 08:03 PM
Hi peeps, sorry it's been a while. Pretty soon I will be tackling the passenger side inner sill, door step and outer sill. Has anyone got a picture showing how I need to weld the braces in before I start cutting please?
#30
sonikk4
-

- Admin
-
- 15,895 posts
Twisted Paint Polisher!!!
- Name: Neil
- Location: Oxfordshire
Posted 09 July 2015 - 08:08 PM
Have a look at this
Brace is connected across the door both sides, A pillar to B pillar, then from B pillar to B pillar and A pillar to A pillar. I also have a brace across the crossmember with two drop downs down to the crossmember.


0 user(s) are reading this topic
0 members, 0 guests, 0 anonymous users


