Jump to content


Photo
- - - - -

1990 Mayfair Full Rebuild.


  • Please log in to reply
87 replies to this topic

#1 Adam1275

Adam1275

    Mini Mad

  • Members
  • PipPipPipPip
  • 158 posts
  • Location: Northern Ireland
  • Local Club: Causeway Coast Mini Club

Posted 29 December 2014 - 09:49 PM

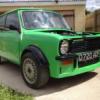
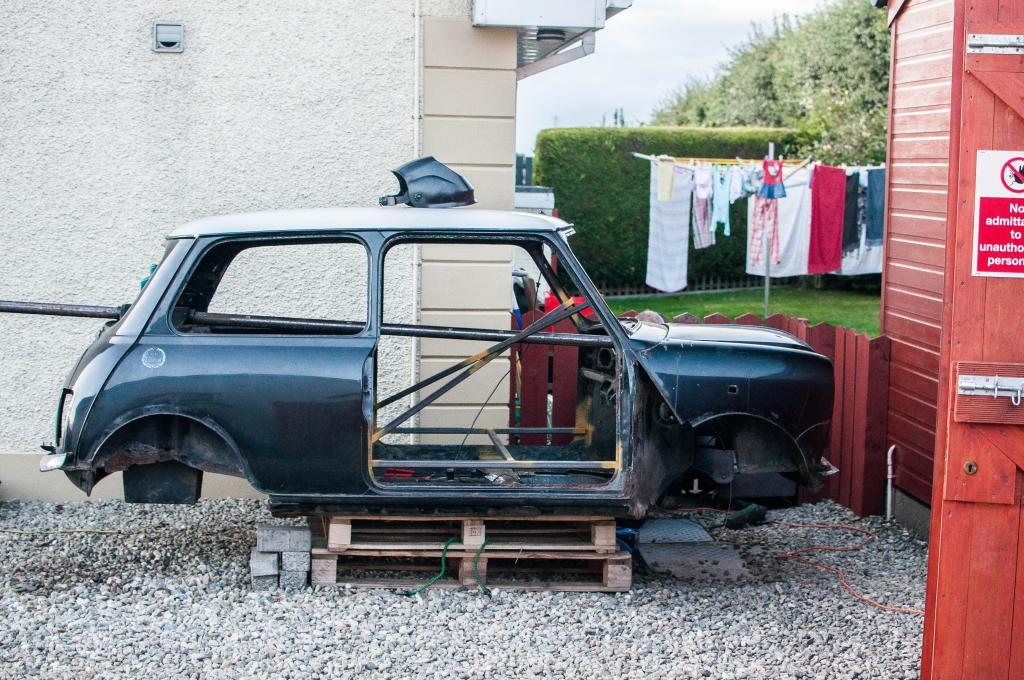
Well here is my 1990 mini mayfair which was originally blue but now painted in black. 


34821601353_7bd2551bc3_o.jpg


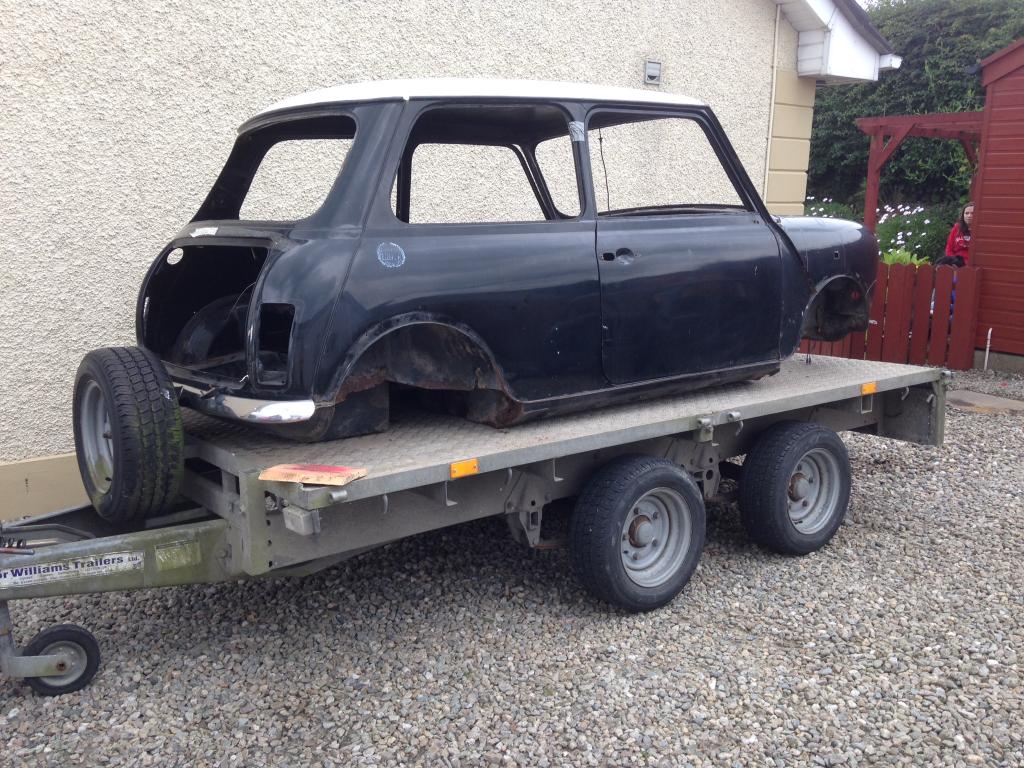
This was the shell when it was first delivered to me, it came with most parts including an engine but had been stripped down by a previous owner who had planned to complete the restoration himself. 


The shell is not in bad condition with the usual areas requiring attention. (floors, front end etc..)


I have the car around 2 months now but have only started to get the project started. 


Here's the panels which require replacing/attention:


  • full floor plan 

  • boot floor

  • 2x door skins

  • 2x door steps

  • flitch repair panel

  • 2x wings 

  • front panel 

  • bonnet 

  • bootlid

  • rear subframe

  • 2x sills 

  • subframe mounting panel 

and probably many more when I get into the rebuild 


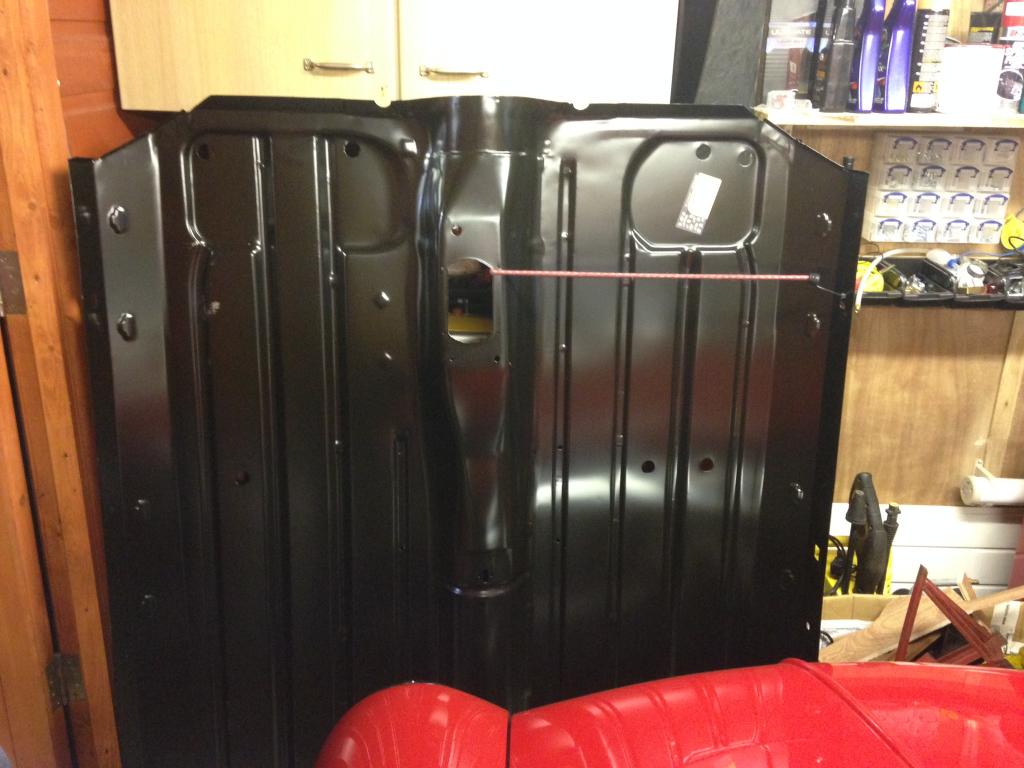
I have started to collect the panels already and have got the full floor pan, flitch repair panel, 2x rear wheel arch, bonnet, bootlid, two wings, 2x sills, subframe mounting panel and a heritage rear subframe.  Where possible I plan to use heritage panels. 


34821596573_6ebd4076e0_o.jpg


35462304462_eb6a540fd0_o.jpg


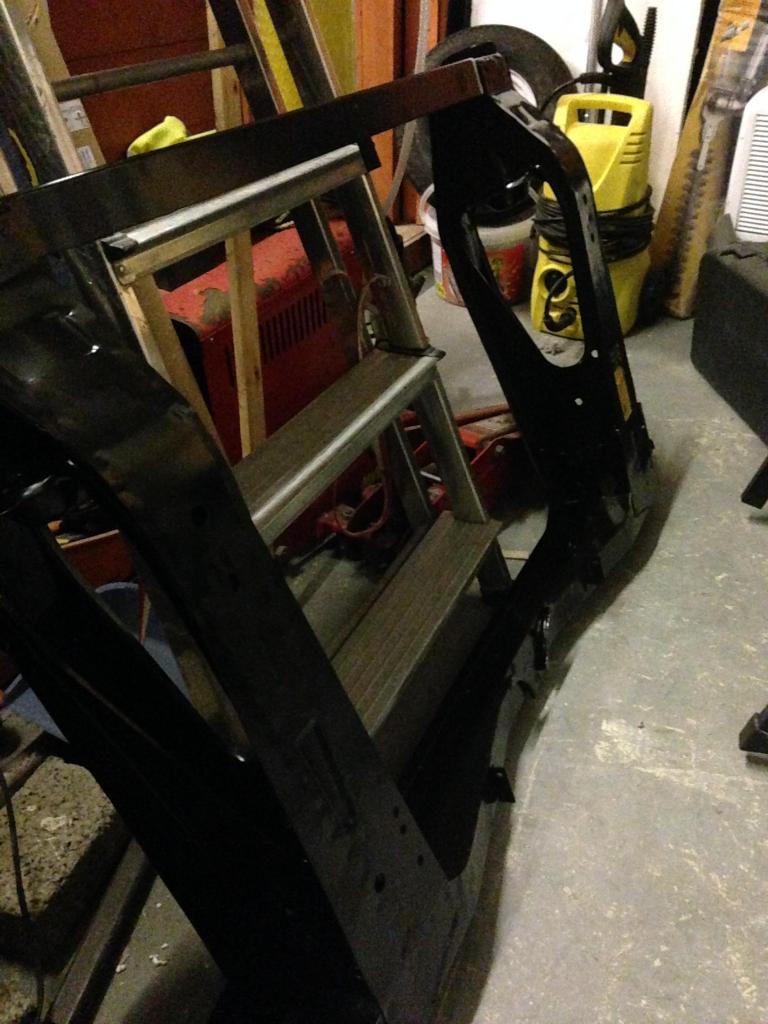
Well onto the progress, so far not much has been done. Firstly I started to brace the shell up in prep for removing the floor panel. 


35243611170_dcc0083da2_o.jpg


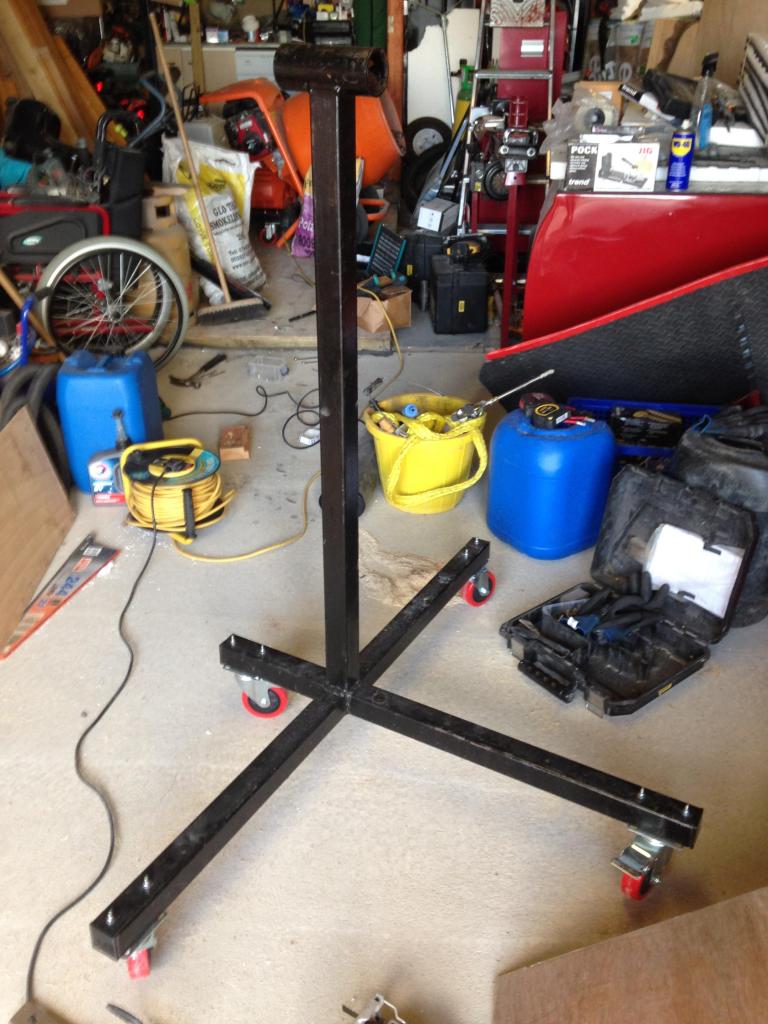
Next I made a spit to mount the car on. Currently it is mounted through the front bulkhead and onto the rear parcel shelf. Now this saved us drilling a hole in the backseat but it isn't the center of gravity for the car and isn't the easiest to turn. It is also mounted onto castors so it can be easily moved around the garage. 


35243881290_21d680047f_o.jpg


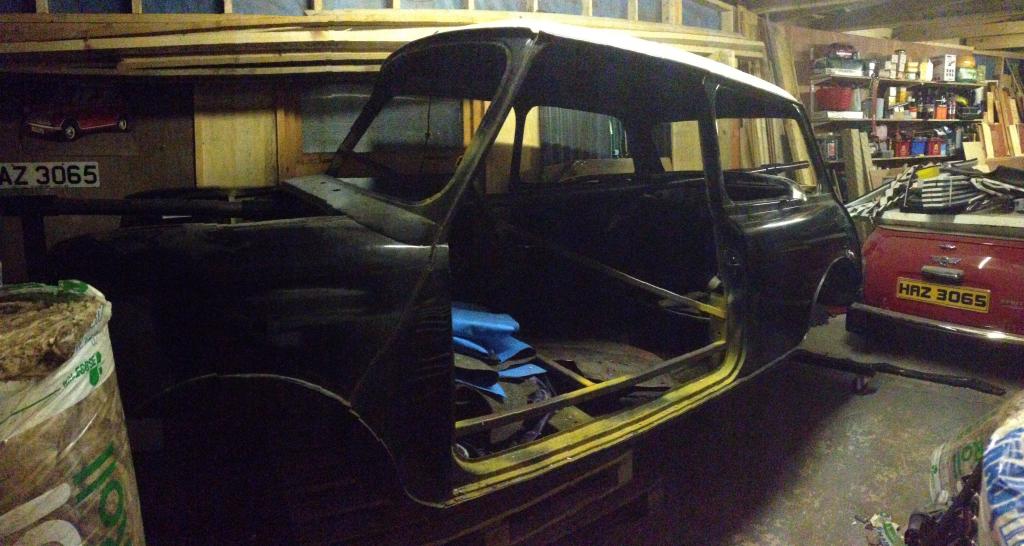
Well that's all the progress so far. I can only work on the car on Saturdays and the odd night which makes progress slow but I will try and keep this thread updated as much as I can. Here's the mini as it currently stands. 


34821596493_938276c7c7_o.jpg


Edited by Adam1275, 30 June 2017 - 03:01 PM.


#2 Wise Old Elf

Wise Old Elf

    Camshaft & Stage Two Head

  • Members
  • PipPipPipPipPipPipPipPip
  • 1,655 posts
  • Location: Maldon
  • Local Club: Club Lotus

Posted 29 December 2014 - 09:53 PM

Good luck. Looks like you will be busy for awhile :)


Why did you opt for the later floor?


Jason 


#3 Adam1275

Adam1275

    Mini Mad

  • Members
  • PipPipPipPip
  • 158 posts
  • Location: Northern Ireland
  • Local Club: Causeway Coast Mini Club

Posted 29 December 2014 - 09:55 PM


Thats the only floor that I could find that heritage do I think, should do the job.


Thanks 
Adam 


Edited by Adam1275, 29 December 2014 - 09:57 PM.


#4 Wise Old Elf

Wise Old Elf

    Camshaft & Stage Two Head

  • Members
  • PipPipPipPipPipPipPipPip
  • 1,655 posts
  • Location: Maldon
  • Local Club: Club Lotus

Posted 29 December 2014 - 10:18 PM

I also have one that I am fitting to my Mayfair. I bought it as it was cheap; thought it was a strange coincidence :)


#5 Adam1275

Adam1275

    Mini Mad

  • Members
  • PipPipPipPip
  • 158 posts
  • Location: Northern Ireland
  • Local Club: Causeway Coast Mini Club

Posted 30 December 2014 - 07:37 PM

Today I made a start taking the floor out of the mini. 

Started by removing the oversills that had been welded on by a previous owner. This was what was behind them


1_December302014_KDZ_zpsab15fc12.jpg


The inner sill had rotted away and left a hole in the seatbelt captive nut panel


2_December302014_KDZ_zpsfe5abbfc.jpg


Someone had patched the front section of the floor and made a bad job of it, the rear of the floor also had a large hole


3_December302014_KDZ_zpseb9fca88.jpg


Got all the old floor removed, just a few bits left around the toe board. Tomorrow I plan to remove and replace the doorstep


CE64C6EA-A601-4E5E-B8D9-2A6FCA98A665_zps


That's all the progress for today  :proud:


Edited by Adam1275, 30 December 2014 - 07:37 PM.


#6 Covert

Covert

    Super Mini Mad

  • Members
  • PipPipPipPipPipPip
  • 526 posts
  • Location: Northampton

Posted 30 December 2014 - 07:44 PM

Good progress matey , this is what i plan on doing with mine but am replacing the bulkhead too.

#7 Adam1275

Adam1275

    Mini Mad

  • Members
  • PipPipPipPip
  • 158 posts
  • Location: Northern Ireland
  • Local Club: Causeway Coast Mini Club

Posted 30 December 2014 - 08:37 PM

Good progress matey , this is what i plan on doing with mine but am replacing the bulkhead too.


The bulkhead is one of the few good parts of my car but the toe board needs a bit of attention where it joins to the floor

#8 Adam1275

Adam1275

    Mini Mad

  • Members
  • PipPipPipPip
  • 158 posts
  • Location: Northern Ireland
  • Local Club: Causeway Coast Mini Club

Posted 01 January 2015 - 08:50 PM

More Progress!


Got the passenger side door step replaced today. 


Firstly marked and cut out the old one which didn't look too bad on the outside:


1_December312014_KDZ_zps00d6fe45.jpg


but on the inside....


2_December312014_KDZ_zps9634a2e8.jpg


Got it cut out and a new panel welded in, wasn't a great fit to begin with but is looking good now:


A9B6B201-26DE-4B60-80EA-94F77EE08CFC_zps


42EC2344-90BA-40FE-B0B1-E84D13525144_zps


Hopefully get some more progress soon, waiting on a drivers side door step from mini spares. 


#9 Wise Old Elf

Wise Old Elf

    Camshaft & Stage Two Head

  • Members
  • PipPipPipPipPipPipPipPip
  • 1,655 posts
  • Location: Maldon
  • Local Club: Club Lotus

Posted 02 January 2015 - 08:58 PM

My steps were also like that on the inside. I had to replace mine with Heritage steps as the "A" pillars were also trash.


#10 Adam1275

Adam1275

    Mini Mad

  • Members
  • PipPipPipPip
  • 158 posts
  • Location: Northern Ireland
  • Local Club: Causeway Coast Mini Club

Posted 02 January 2015 - 09:07 PM

My steps were also like that on the inside. I had to replace mine with Heritage steps as the "A" pillars were also trash.

I really should have got the heritage ones, the magnum panels are terrible. I think they were designed to be welded over the top of the old panel so are the wrong size compared to the old one. It now doesn't look too bad but have another one to look forward to fitting...


#11 Wise Old Elf

Wise Old Elf

    Camshaft & Stage Two Head

  • Members
  • PipPipPipPipPipPipPipPip
  • 1,655 posts
  • Location: Maldon
  • Local Club: Club Lotus

Posted 02 January 2015 - 09:12 PM

Yes they are famously bad. There are several projects on here quoting them as one of the worse Magnum panel along with the scuttle.


#12 Ben_O

Ben_O

    Mill Road Garage

  • Paint Doctor
  • PipPipPipPipPipPipPipPipPipPip
  • 9,781 posts
  • Location: Isle of Wight

Posted 02 January 2015 - 09:36 PM

Magnum steps are designed to go over the top as are alot of their panels.


I bought a door hinge panel recently from m machine and it was magnum.


It wouldn't fit anywhere near where it needed to be until i found out that it was a panel designed to weld over the top of the a post. Who would do that??? Mind you, some of the bodges i have seen, it wouldn't surprise me!


I guess it's worth remembering that some of these pattern panels were designed to be used when Mini's were still disposable cars and nobody thought twice about doing as little as possible to scrape them through an MOT test.


That's why so many resto projects start off in such a bad way!


#13 Adam1275

Adam1275

    Mini Mad

  • Members
  • PipPipPipPip
  • 158 posts
  • Location: Northern Ireland
  • Local Club: Causeway Coast Mini Club

Posted 02 January 2015 - 09:42 PM

Magnum steps are designed to go over the top as are alot of their panels.


I bought a door hinge panel recently from m machine and it was magnum.


It wouldn't fit anywhere near where it needed to be until i found out that it was a panel designed to weld over the top of the a post. Who would do that??? Mind you, some of the bodges i have seen, it wouldn't surprise me!


I guess it's worth remembering that some of these pattern panels were designed to be used when Mini's were still disposable cars and nobody thought twice about doing as little as possible to scrape them through an MOT test.


That's why so many resto projects start off in such a bad way!

That's what I thought Ben when I saw the panel. Pitty heritage don't do a door step panel without the a pillar. 


As for people welding over the top of rusty panels, it wouldn't surprise me. Sure look at people fitting over sills on top of the rusty sills just to get one more mot out of the car instead of doing it properly. 


#14 Adam1275

Adam1275

    Mini Mad

  • Members
  • PipPipPipPip
  • 158 posts
  • Location: Northern Ireland
  • Local Club: Causeway Coast Mini Club

Posted 04 January 2015 - 06:11 PM

No more progress but took some more pictures of the mini in the garage:


GOPR6630_zpsa3f4c0ff.jpg

GOPR6629_zpsceeef3c4.jpg

GOPR6628_zpsdd8495ac.jpg


#15 MINIMADrt

MINIMADrt

    Speeding Along Now

  • Members
  • PipPipPipPipPip
  • 465 posts
  • Location: oxford
  • Local Club: none at mo

Posted 04 January 2015 - 06:15 PM

looking good


0 user(s) are reading this topic

0 members, 0 guests, 0 anonymous users