Jump to content


Photo
- - - - -

1990 Mayfair Full Rebuild.


  • Please log in to reply
87 replies to this topic

#31 Adam1275

Adam1275

    Mini Mad

  • Members
  • PipPipPipPip
  • 158 posts
  • Location: Northern Ireland
  • Local Club: Causeway Coast Mini Club

Posted 19 February 2015 - 09:14 PM


I think i will have to do this with my n/s hinge post.


Good work though. Have you got any pictures of it after the deox was washed off but before the primer?


I would be interested to see how well it came up.


Cheers


Ben

Hi Ben haven't got any pictures of this side but here is one of the drivers side, removed all of the visible rust anyway

: 01164FD8-BCD7-4BAF-8FE7-5A15288ED93D_zps


It looks like rust on this one but it's just the way the lights shining as shown in the picture above all the rust was removed. 

358AAB04-CE52-45A1-BD20-7E2ACED7E7E4_zps


#32 Ben_O

Ben_O

    Mill Road Garage

  • Paint Doctor
  • PipPipPipPipPipPipPipPipPipPip
  • 9,781 posts
  • Location: Isle of Wight

Posted 19 February 2015 - 09:15 PM

great!


Thanks


Ben


#33 Adam1275

Adam1275

    Mini Mad

  • Members
  • PipPipPipPip
  • 158 posts
  • Location: Northern Ireland
  • Local Club: Causeway Coast Mini Club

Posted 05 July 2015 - 10:26 AM

So its time for a massive update!


Since the last update I have reached a milestone and the floor is now in the car, but more of that later on. 


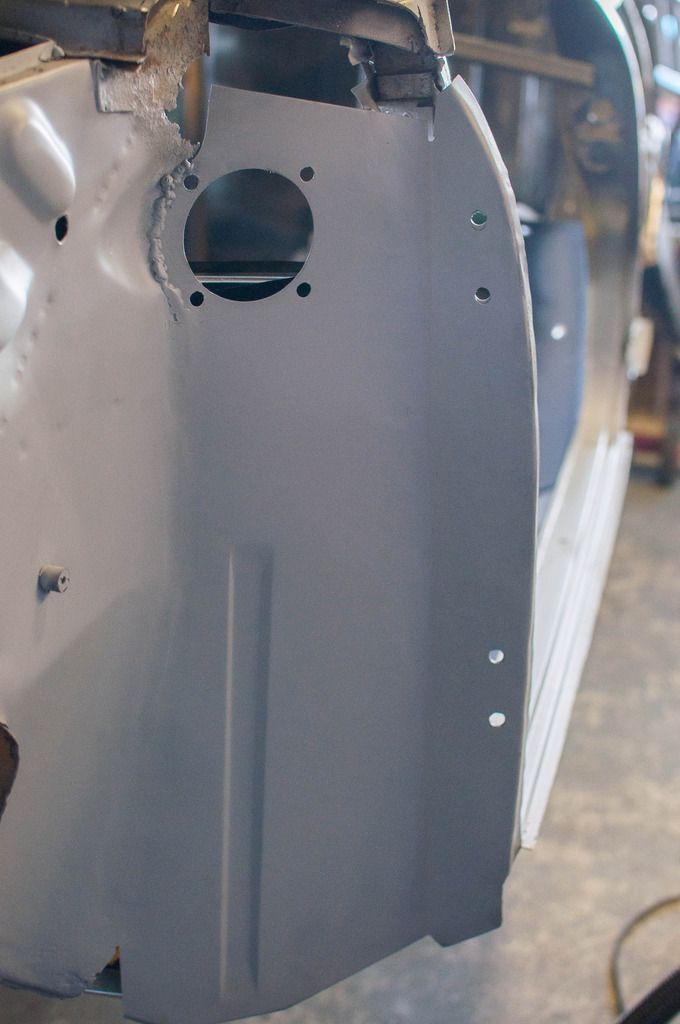
So I started on the passenger side doorstep again. Got the panel primer with weld through primer and the holes for plug welding drilled:

02BFC053-80A0-47FD-B834-416C9DE6F163_zps


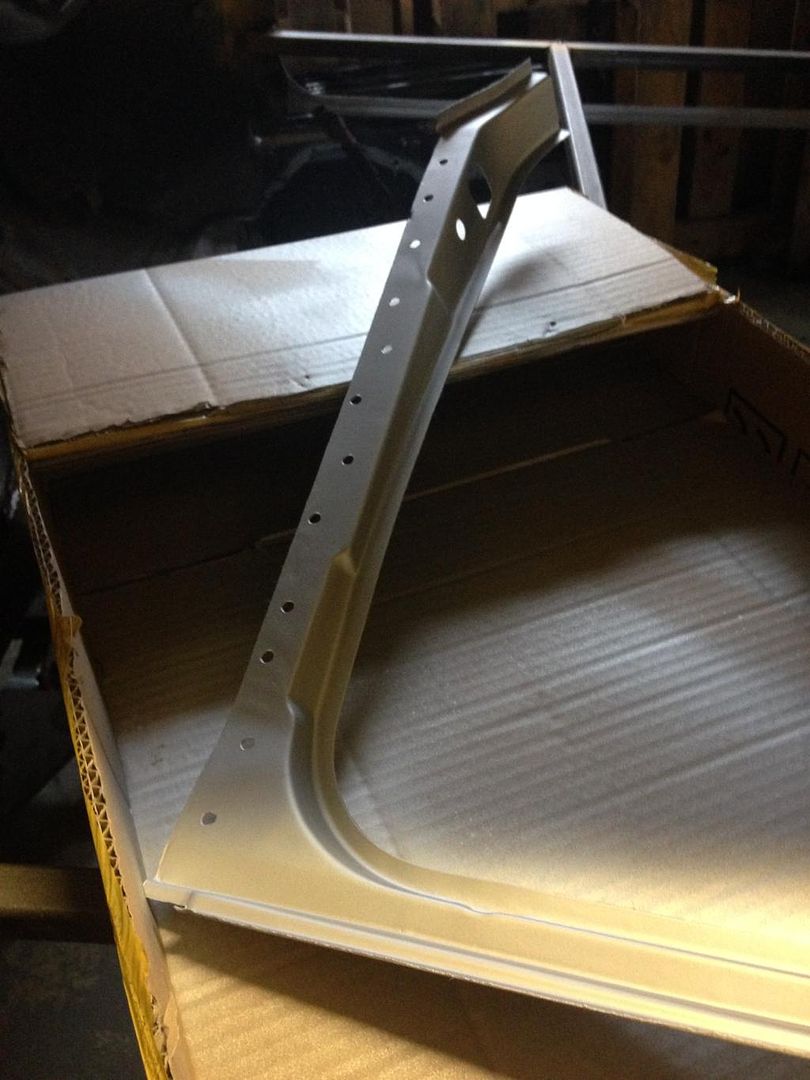
The A post was also cleaned up with deox gel and primed ready for welding: 

C5ACDFA9-BB39-402A-8BE0-351CC0057953_zps


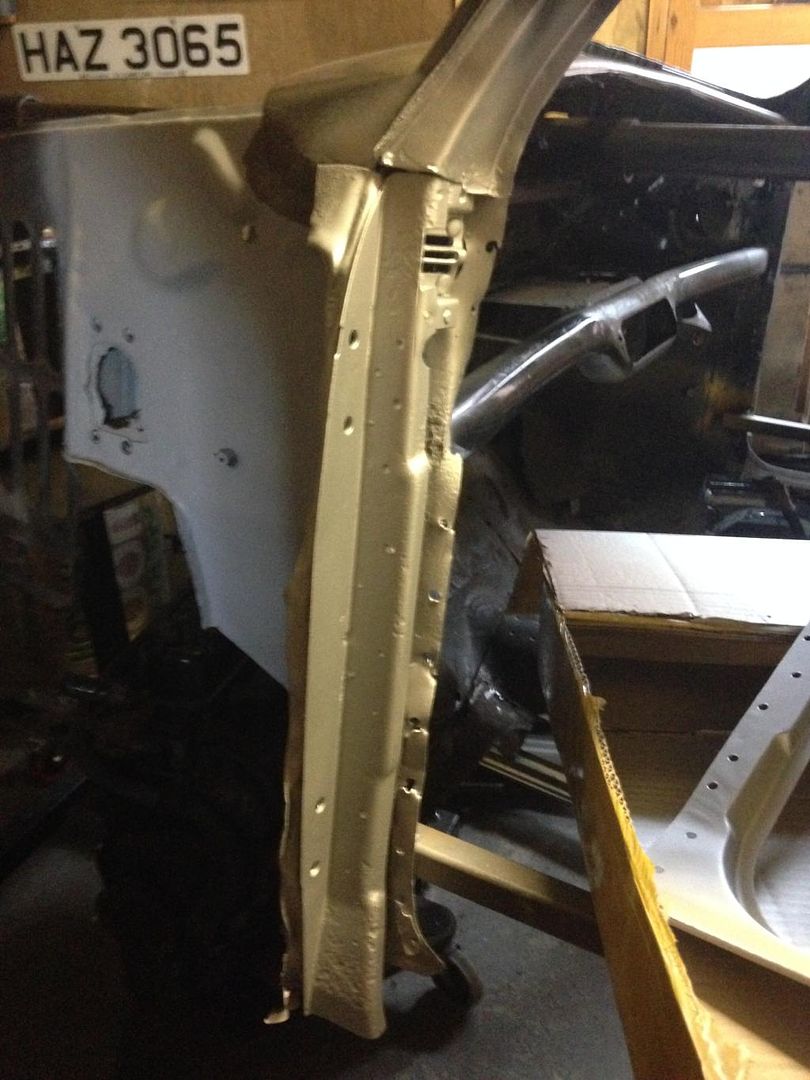
Got it welded in place: 

67FD9D09-68FA-4969-94F0-45CA5AD5F55C_zps


Then I removed the boxing plate and cleaned up the back of the door post again using deox gel and primed:

FA33B014-DB22-43E9-BCCB-9174398925C0_zps


I then welded the new reinforcement boxing plate to the door step: 

01F05970-865F-4285-81C7-53786C96D79B_zps


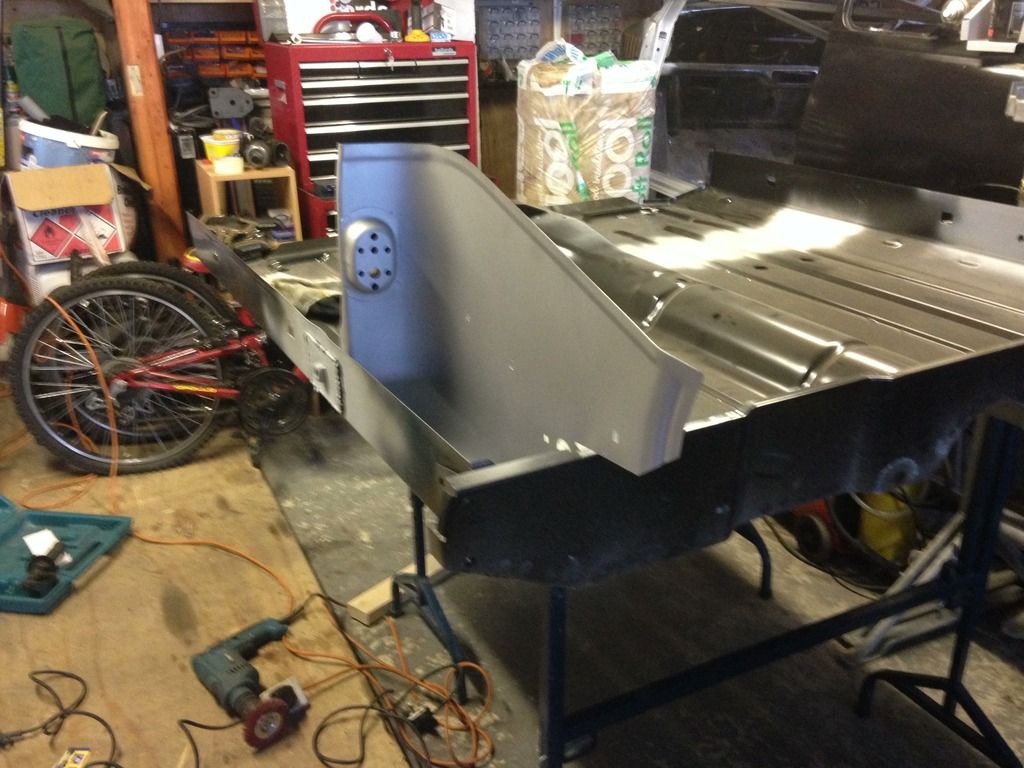
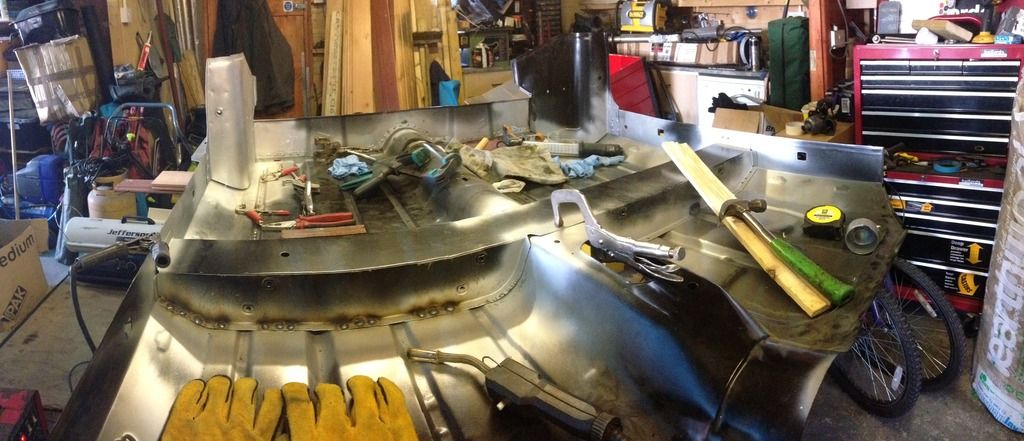
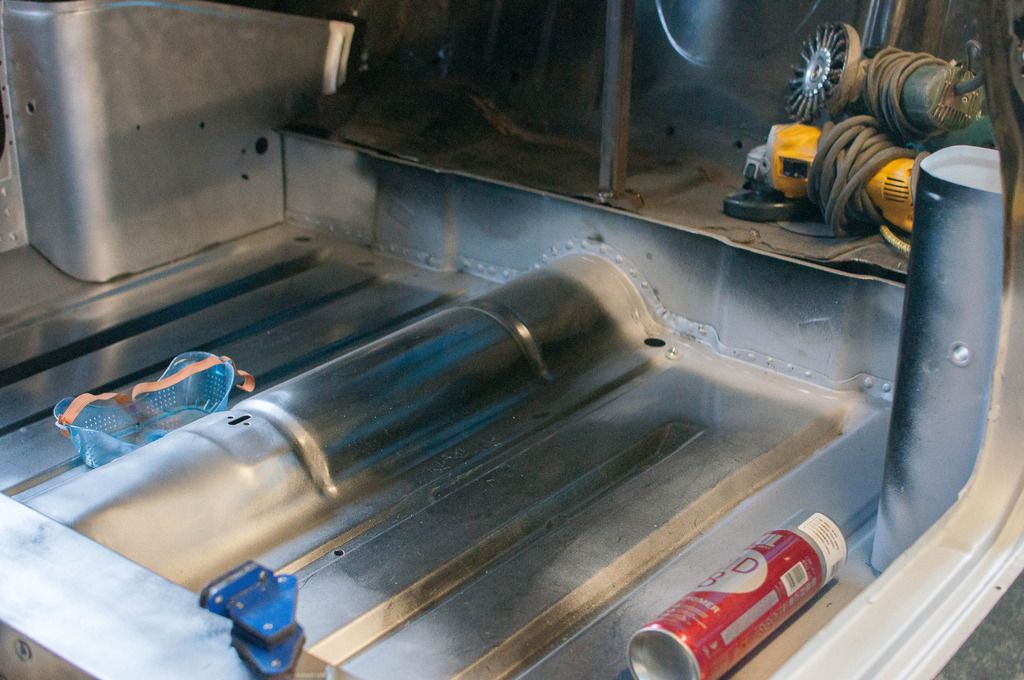
Then I moved onto the floor. I decided to weld the companion bins and closing panels to the floor along with the seat cross member before I welded the floor into the car to help with access.

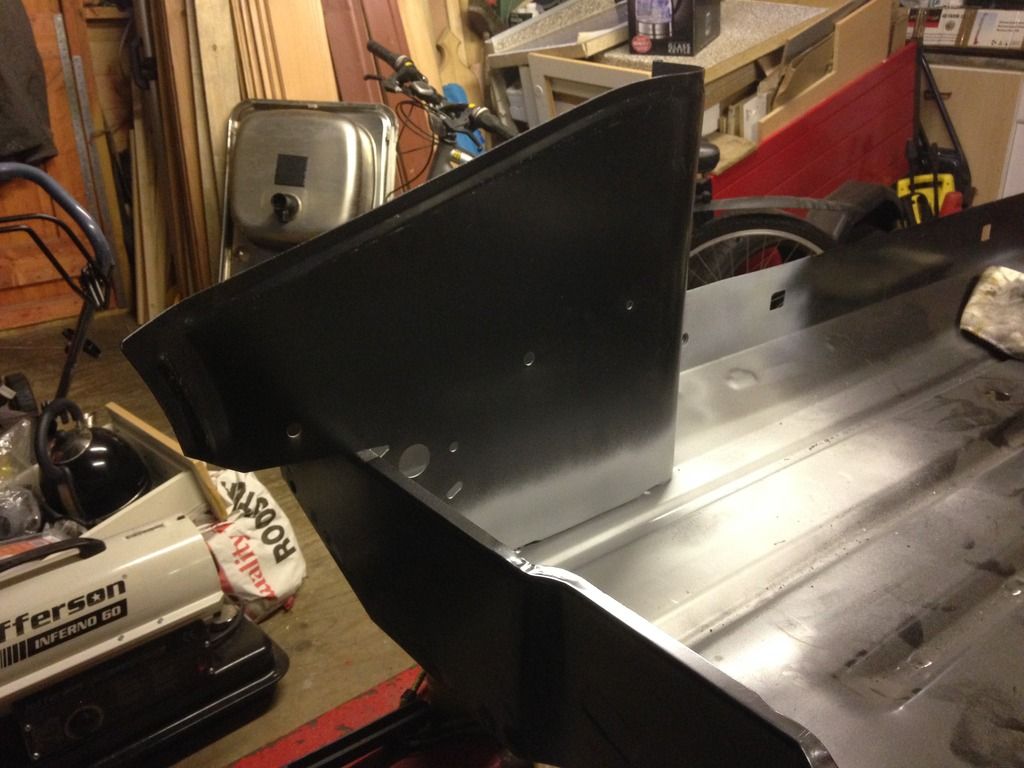
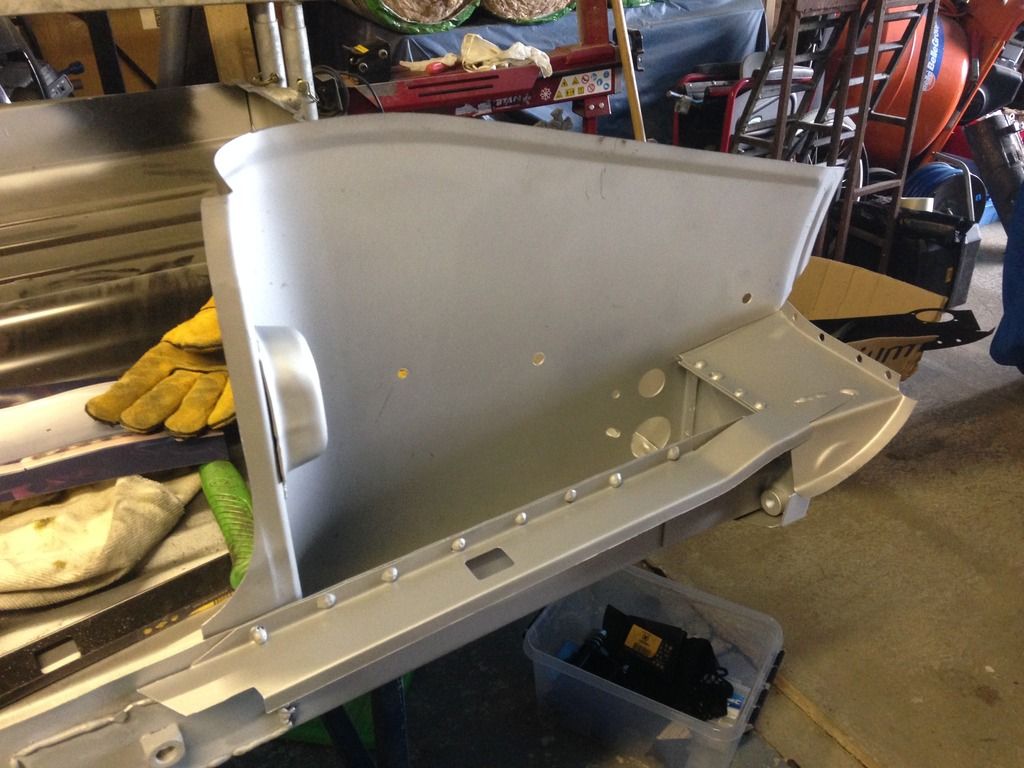
I started off by trial fitting the new LH companion bin: 

723647E8-CC5C-4591-9D6E-C6C31D3113B2_zps


Then primed the floor where the companion bin is to be welded to: 

A6BD76FA-19FB-4672-A3AD-C019787DB25B_zps


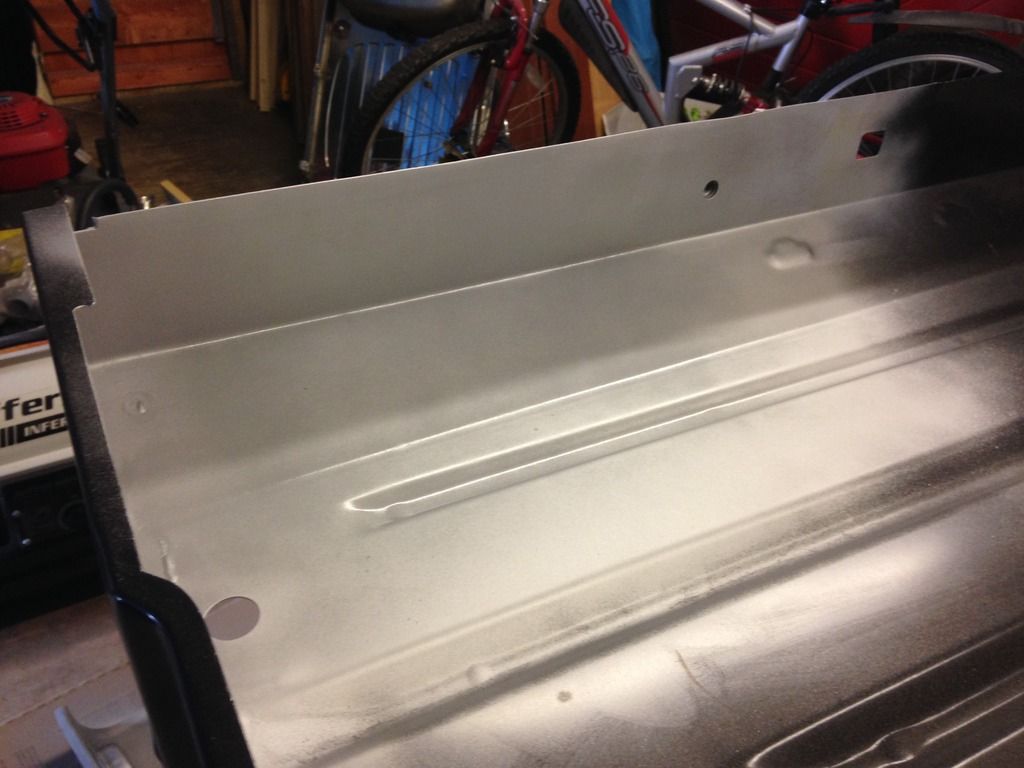
Then got it welded onto the floor: 

617AC9E5-1967-48D1-AAE5-64367A8AD936_zps


ECAE1C1D-9685-4242-B796-24791F381D4E_zps


6340E8CB-793D-4131-A52F-85694A9DEA8B_zps


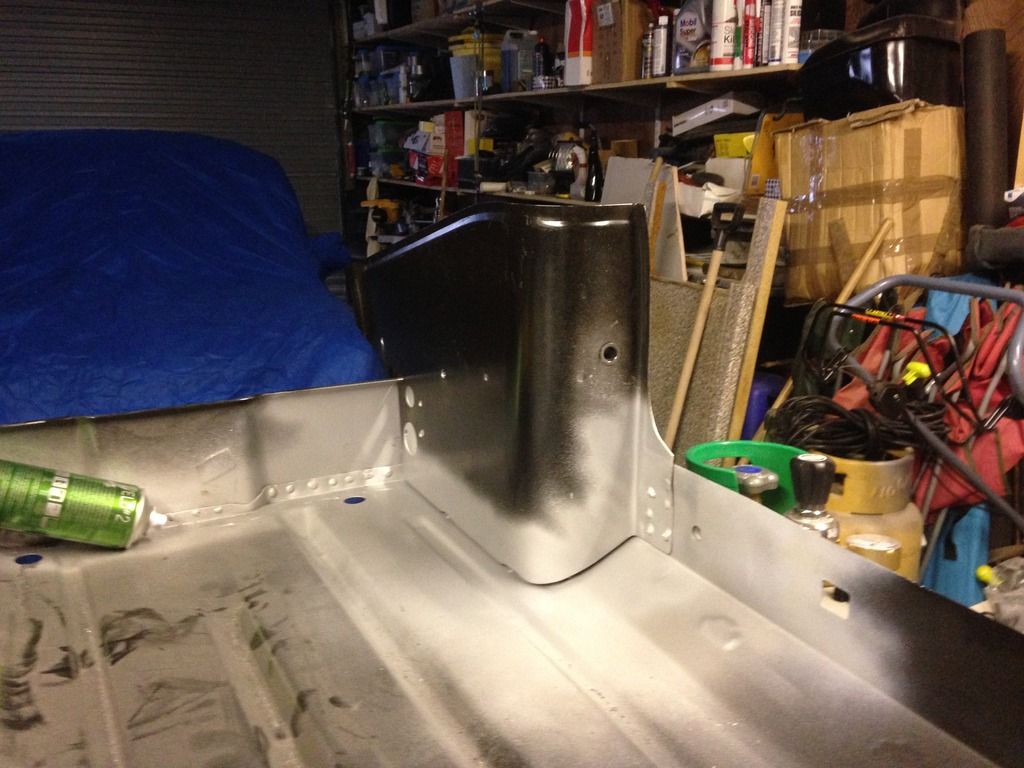
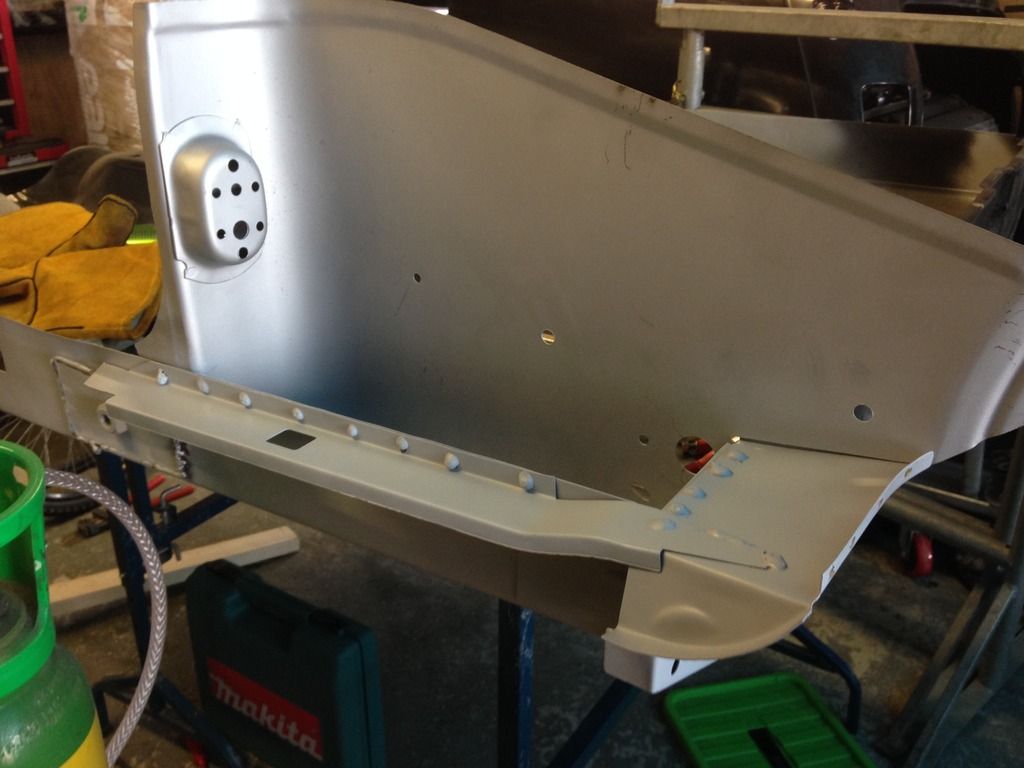
Then I trial fitted the new closing panels: 

F7D8CC38-33A3-46D1-815E-6727B9C3A349_zps


F0587A1C-B5DA-463C-A540-2A9C714B263F_zps


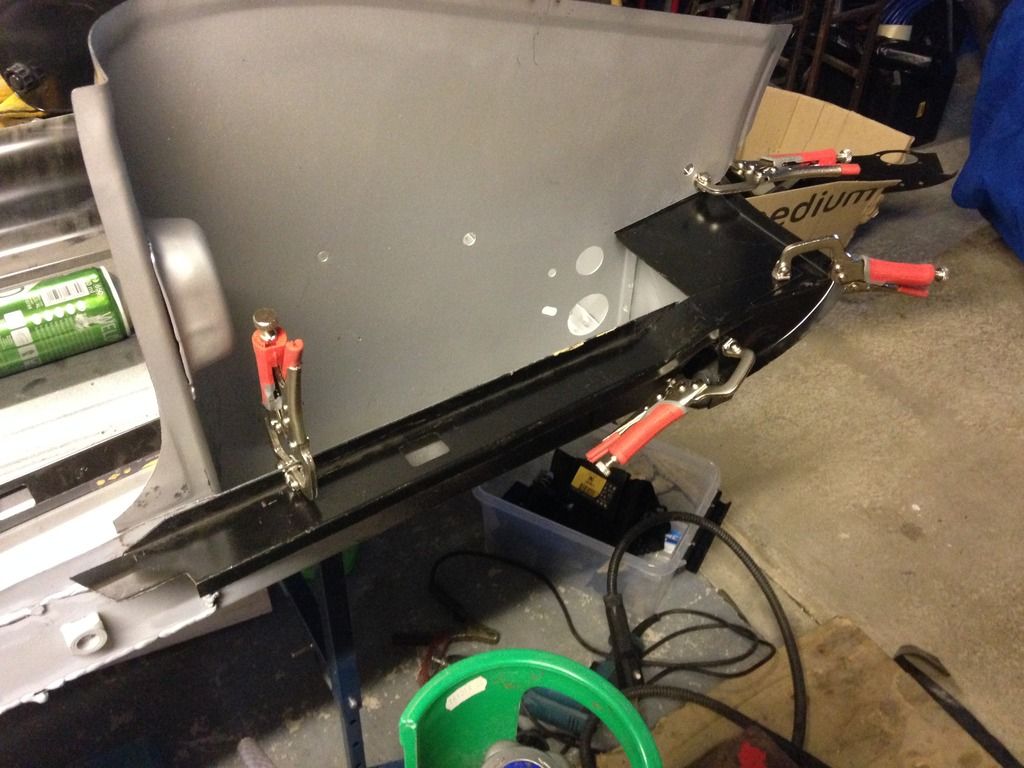
Then primed and clamped ready to be welded: 

AD662458-8121-4E85-8DED-9CCB4CC9F3C7_zps


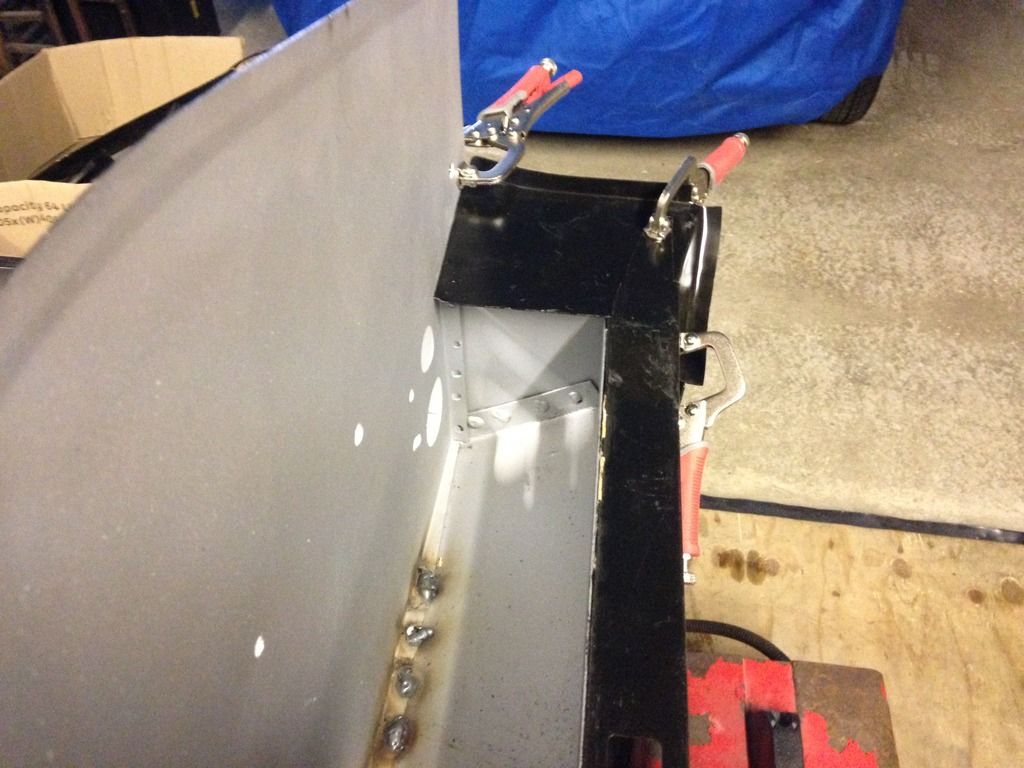
Then welded into place:

9B5EE6B7-E0D7-46E0-9159-CF3B01CC998B_zps


283B517B-AE2F-4BDD-A0B4-272197B2D243_zps


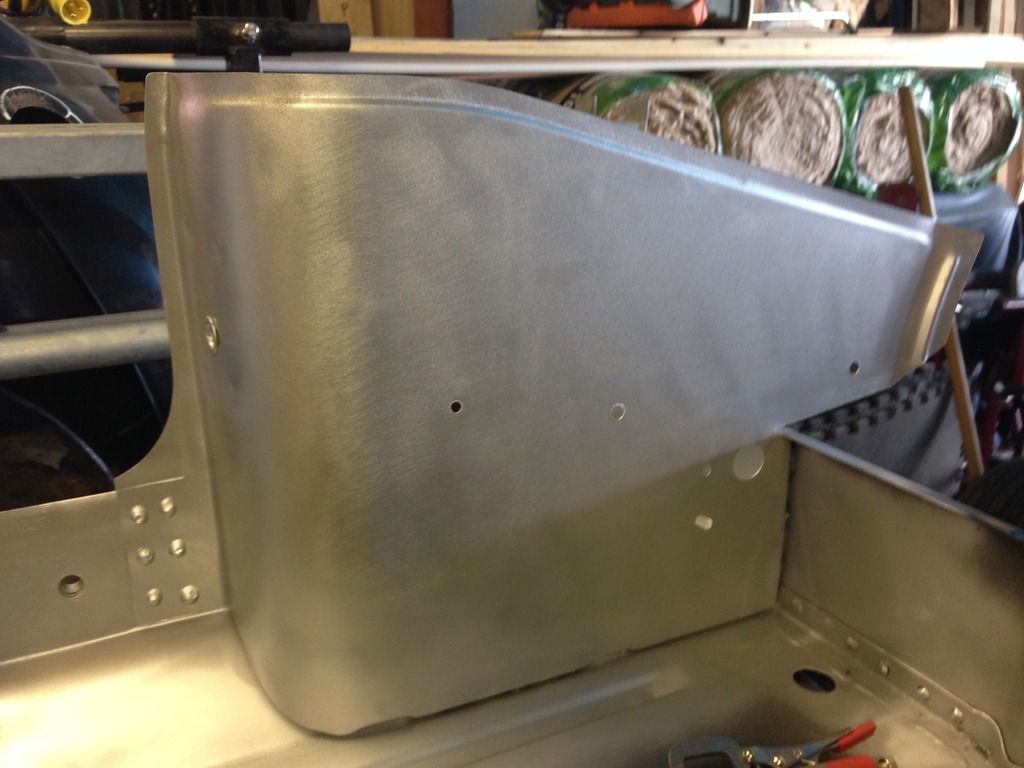
Then moved onto the RH companion bin and closing panels: 

A44E1D76-235A-4605-B2F5-00162317FB65_zps


0BB2A437-4348-4A6F-B432-B660CF9140B8_zps


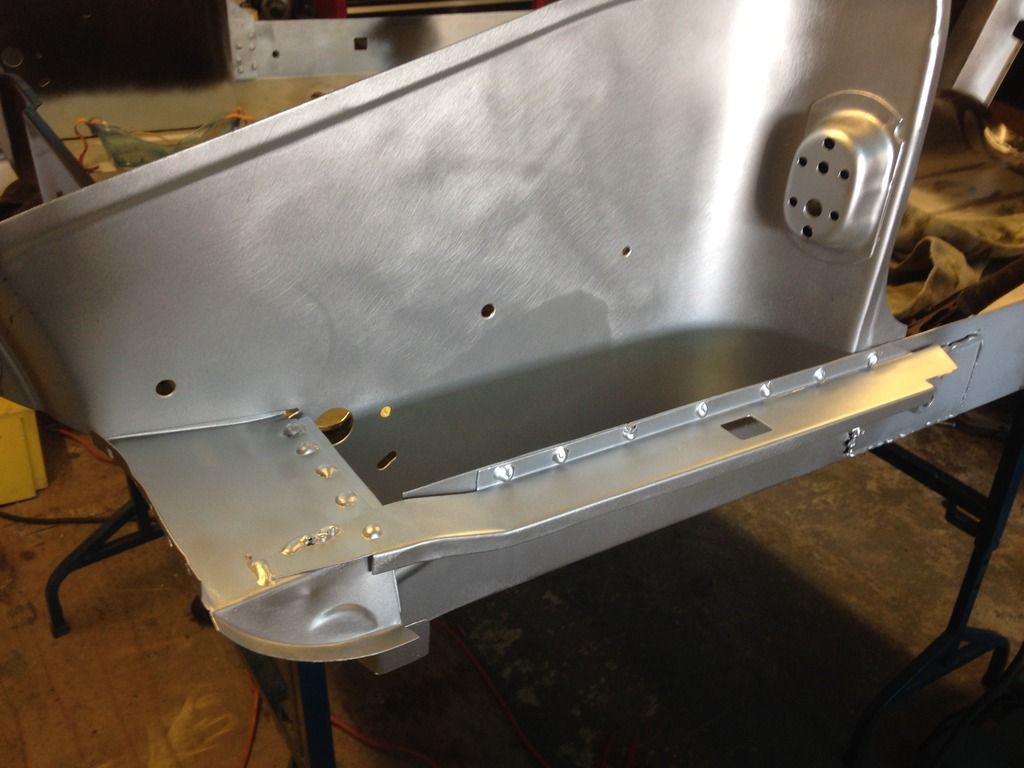
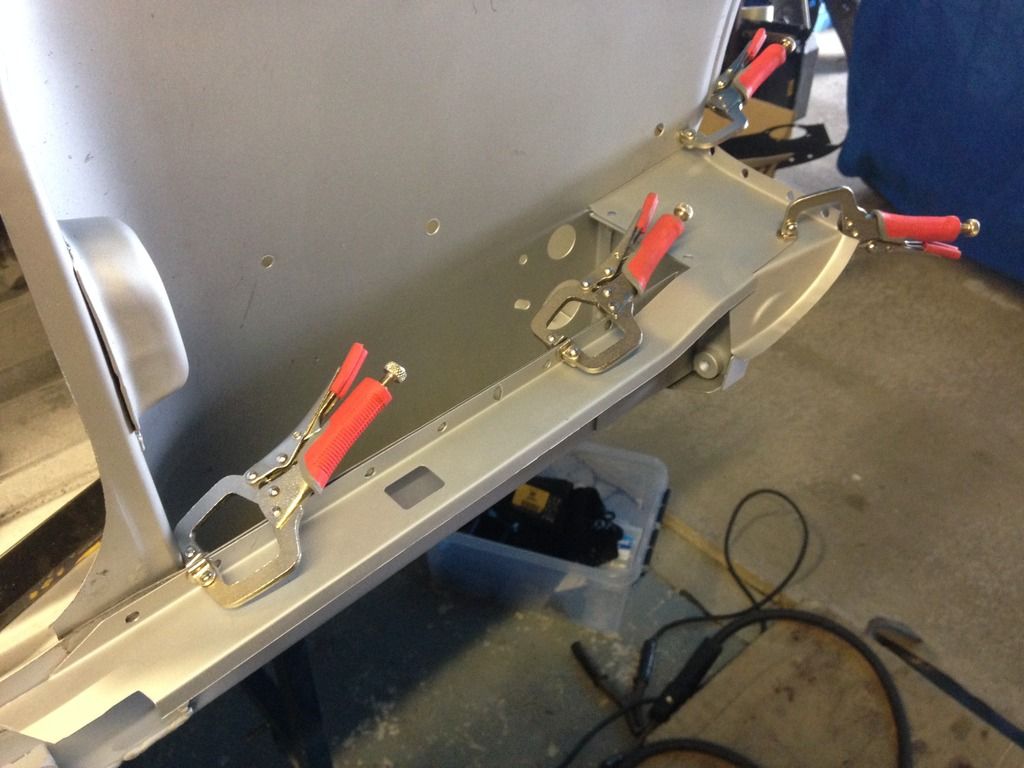
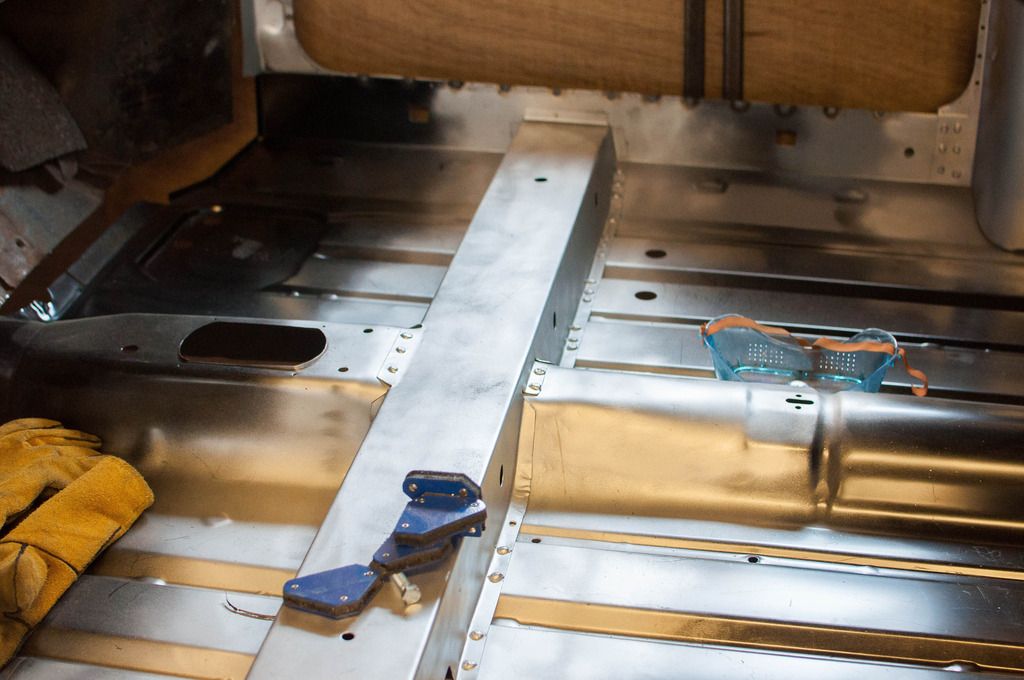
The next stage was fitting and welding the floor cross member: 

F11EA1BA-1085-4C9B-8241-C7C29D2C5AAD_zps


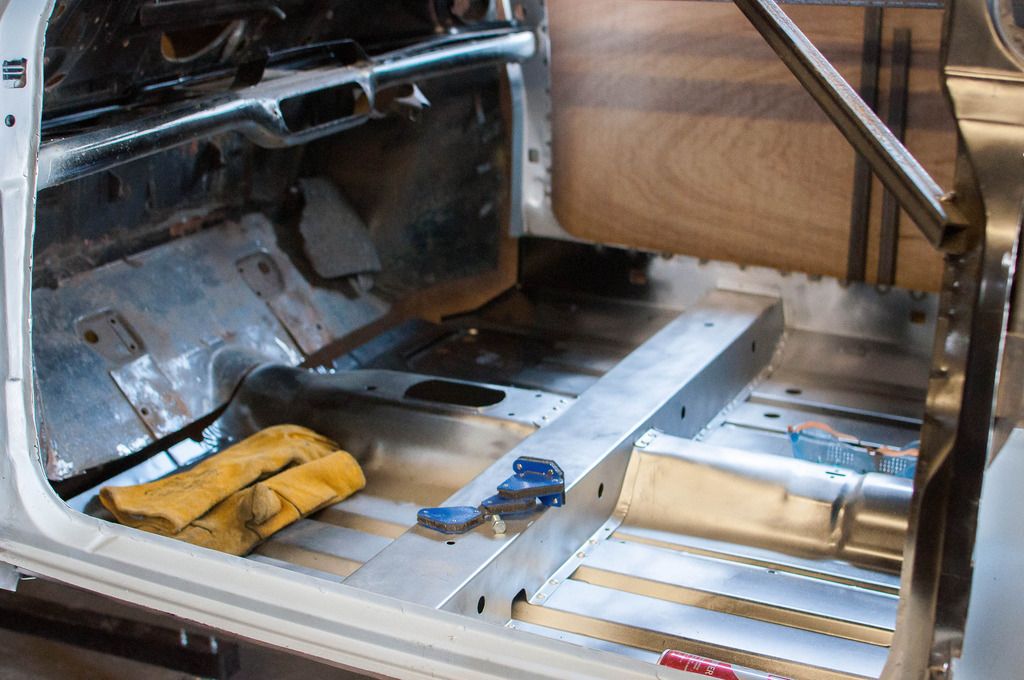
Then came the exciting point of fitting the floor into the car. Firstly I ordered some new alloy trunnions for the rear subframe from DSN and a rear subframe mounting kit from Mini Spares. I then trial fitted the rear subframe to the floor and to the boot floor to get the exact position for the floor to make sure that the subframe fitted correctly. 


I then got the floor welded to the door steps and up the B posts: 

2B5BAEC4-1A63-49AA-813E-E4C194C2D8CA_zps


337FA348-8491-4B2D-A061-AE9D76BBBBE0_zps


7FAD250C-8674-4969-8A9B-26351D9535F1_zps


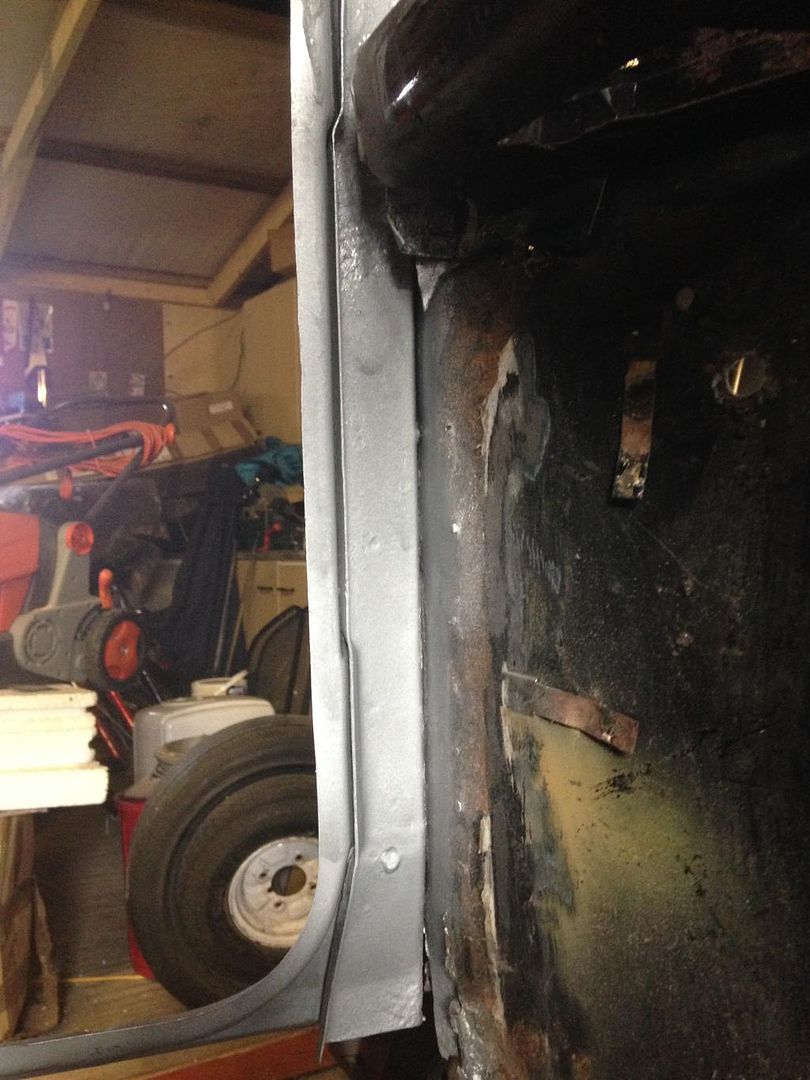
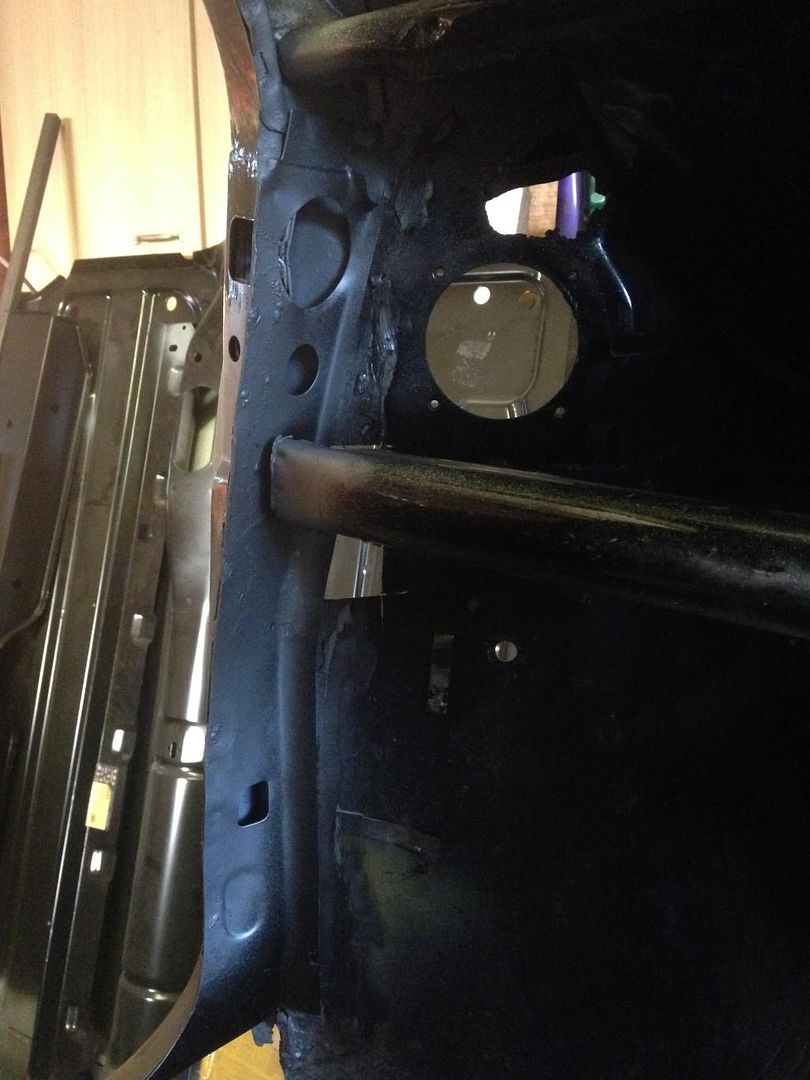
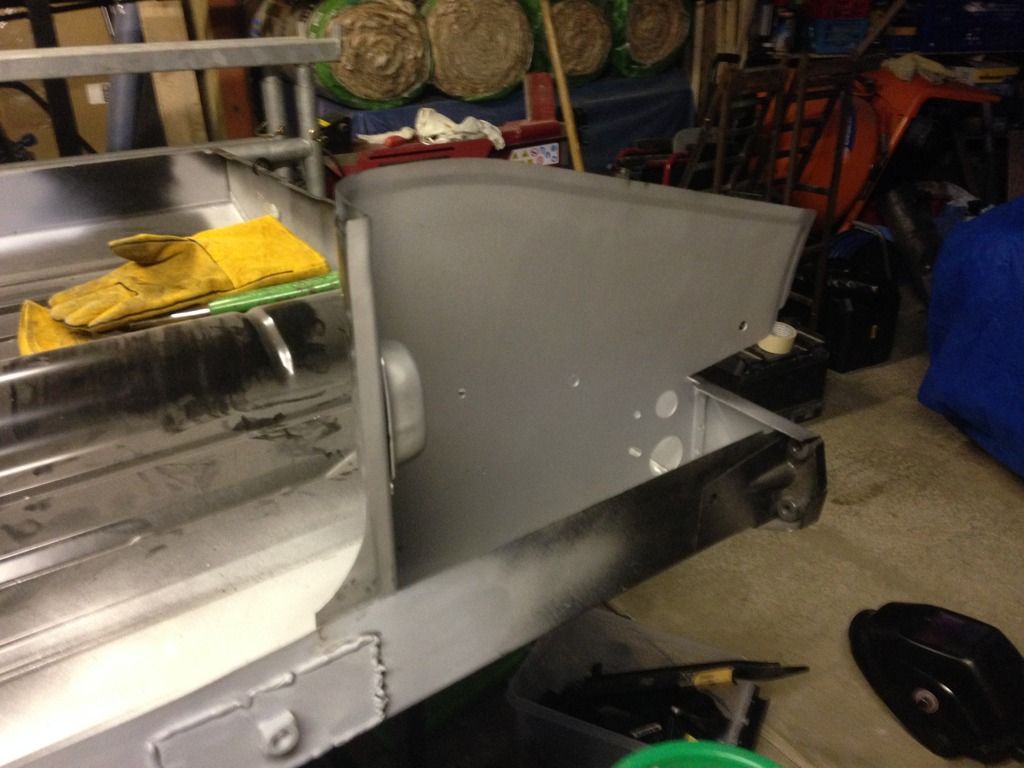
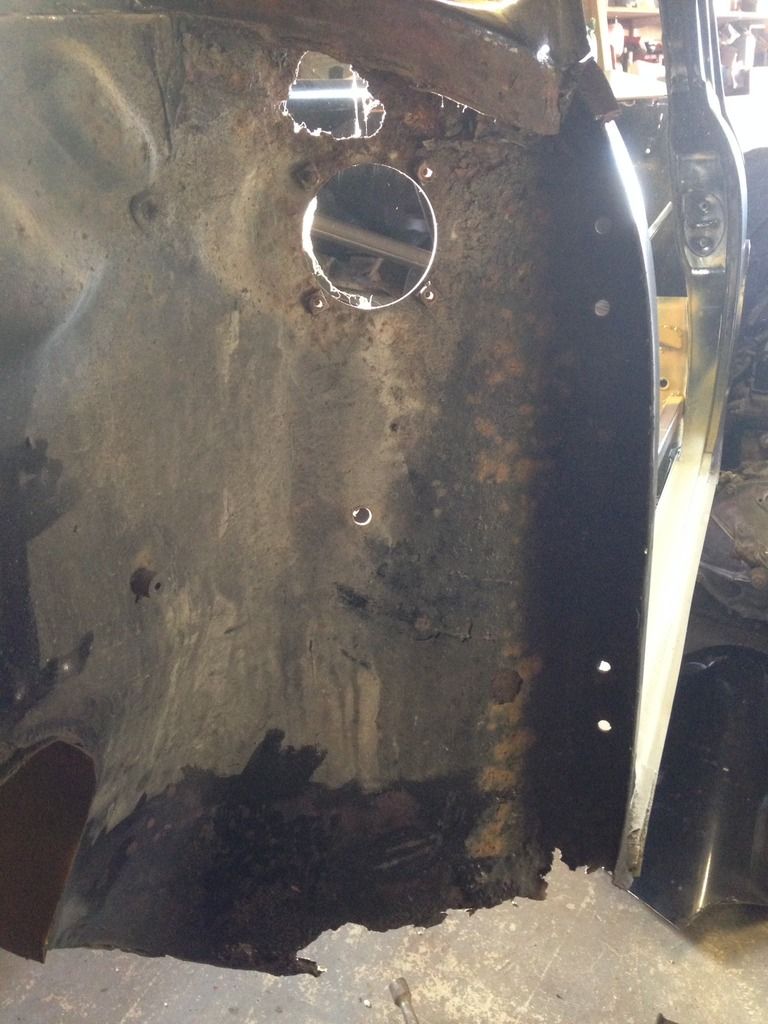
I then turned my attention to the LH flitch panel. This is what it started out like:

DAAFF842-E1D7-4291-A3EC-7720B76C0ED7_zps


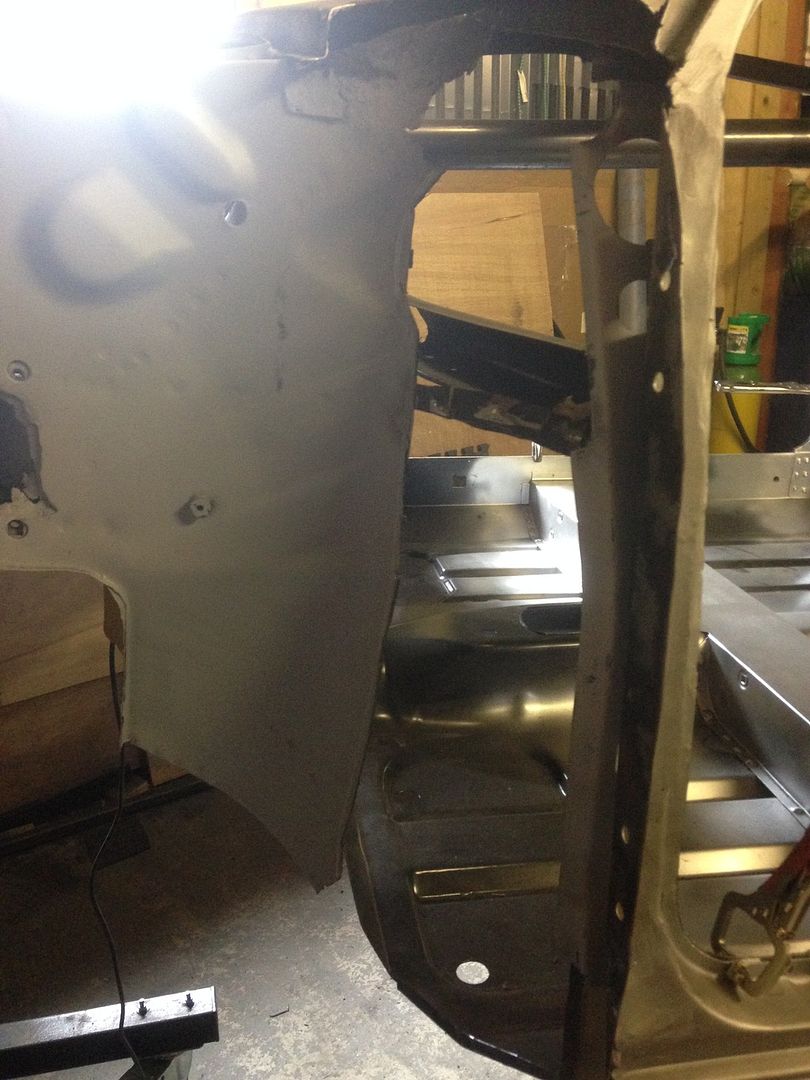
Got the old panel cut out:

8A4E9588-98CB-47D4-B88A-4BF5B50FD199_zps


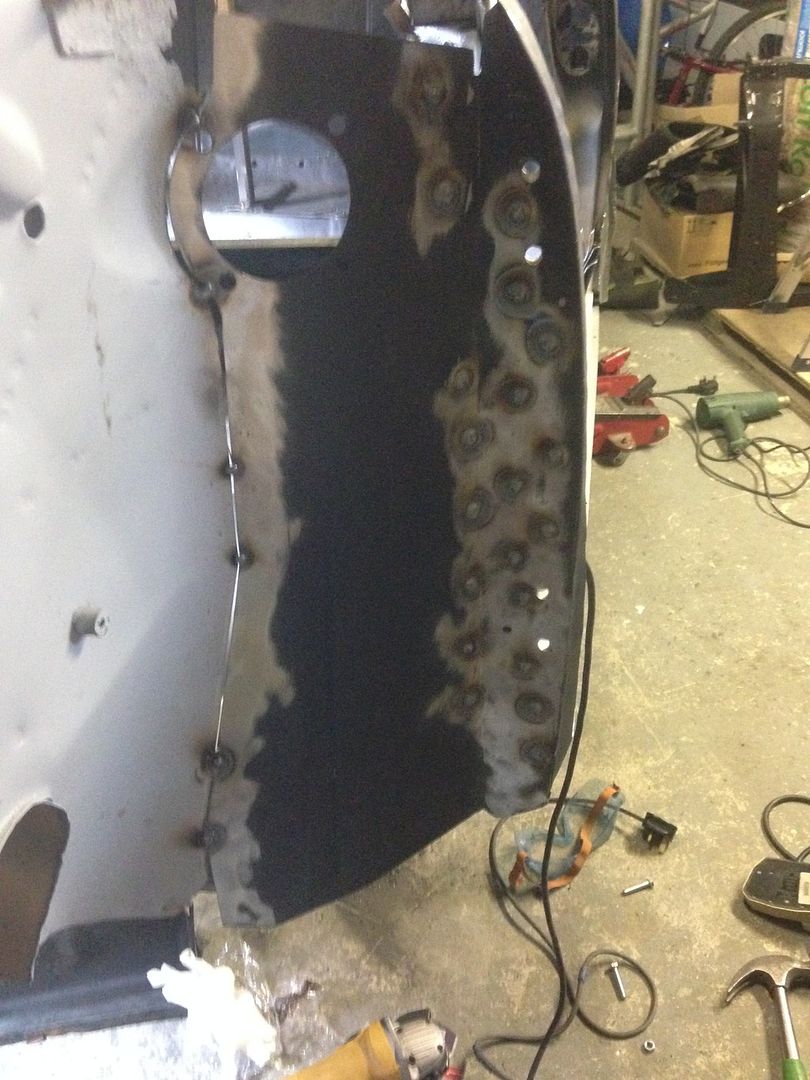
And the post cleaned up and primed. Then started about welding the new repair panel in: 

ADB73DA2-D10F-4654-93E6-7D31A8645156_zps


F38ECA54-8B45-48A0-BC05-ABDF2D8FF2DA_zps


E6683553-D4F6-4982-85EF-F897E977A126_zps


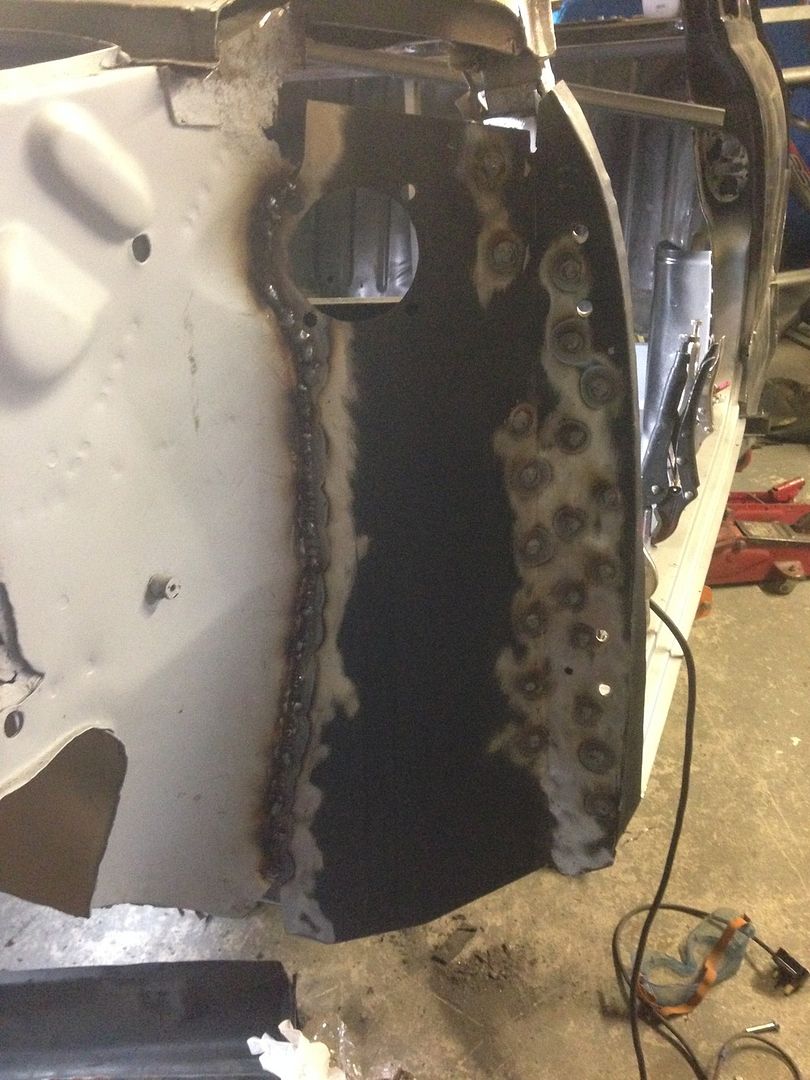
Still have a little more tidying up to do at this side but its a vast improvement on the old panel. 


Well that's all the progress to date, I'm going to try and keep this more frequently updated in the future. 


#34 Adam1275

Adam1275

    Mini Mad

  • Members
  • PipPipPipPip
  • 158 posts
  • Location: Northern Ireland
  • Local Club: Causeway Coast Mini Club

Posted 06 July 2015 - 04:11 PM

Just another small update, Today I started welding the jacking point and strengtheners to the inner sill and getting it ready to weld the outer sill on:


8EB06851-CC07-46E4-B7BB-16F9C8E7D6AD_zps


I plug welded and seam welded the jacking point for strength even know the car will never be jacked up here: 

CE1A620B-4682-4052-8DA5-D0F371B0C9AB_zps


A844B930-608C-4A41-B73C-E48B29520B30_zps


333BF103-B720-4718-9B44-1D2729785E05_zps


8FA9FA36-ADCA-40A6-A293-BE5F40675F30_zps


#35 Ben_O

Ben_O

    Mill Road Garage

  • Paint Doctor
  • PipPipPipPipPipPipPipPipPipPip
  • 9,781 posts
  • Location: Isle of Wight

Posted 06 July 2015 - 04:37 PM

have you tried the outer sill on?


That jacking point looks too low one end.


Hope it's ok mate


#36 Adam1275

Adam1275

    Mini Mad

  • Members
  • PipPipPipPip
  • 158 posts
  • Location: Northern Ireland
  • Local Club: Causeway Coast Mini Club

Posted 06 July 2015 - 05:23 PM

Yea I was thinking it looked low myself but I marked the position using the outer sill and even now it fits well:


98EDEAA9-BE90-4CCF-A42E-1E9158FFE9E9_zps


07847F5B-F12C-4D0E-B3C3-A1285395FDD5_zps


FFA79E95-898E-4DEA-B8C9-42687D9B2A68_zps


#37 Ben_O

Ben_O

    Mill Road Garage

  • Paint Doctor
  • PipPipPipPipPipPipPipPipPipPip
  • 9,781 posts
  • Location: Isle of Wight

Posted 06 July 2015 - 06:37 PM

Excellent mate.


Just thought it was worth a mention just in case


#38 Adam1275

Adam1275

    Mini Mad

  • Members
  • PipPipPipPip
  • 158 posts
  • Location: Northern Ireland
  • Local Club: Causeway Coast Mini Club

Posted 06 July 2015 - 07:06 PM

Yea thanks Ben for pointing it out, it always good to get comments on the build and help to make sure that I am doing things right as this is my first ever time working on a car. 


#39 Ben_O

Ben_O

    Mill Road Garage

  • Paint Doctor
  • PipPipPipPipPipPipPipPipPipPip
  • 9,781 posts
  • Location: Isle of Wight

Posted 06 July 2015 - 09:50 PM

you are doing a superb job :-)


#40 Baldspeed Racing

Baldspeed Racing

    One Carb Or Two?

  • Members
  • PipPipPipPipPipPipPip
  • 1,185 posts
  • Location: Southam

Posted 07 July 2015 - 06:49 AM

wow epic rebuild and fair play for all of the tidy work involved. Shes going to look spot on

#41 Zeemax Adventure

Zeemax Adventure

    Speeding Along Now

  • TMF+ Member
  • PipPipPipPipPip
  • 301 posts
  • Location: Llandudno

Posted 08 July 2015 - 01:02 PM

Fair play, great progress and its almost a solid shell :)


#42 Adam1275

Adam1275

    Mini Mad

  • Members
  • PipPipPipPip
  • 158 posts
  • Location: Northern Ireland
  • Local Club: Causeway Coast Mini Club

Posted 10 July 2015 - 06:02 PM

Another bit done to the mini today

Started off with this behind the shock bracket:
A9ECC4F6-983D-4D56-82DA-7F7CA56C7347_zps

D929F9AB-F7EE-4FD0-9A1E-55B4DC82A6C5_zps

Cut out the rust and was left with this:
97C07D73-C118-43EF-BFD9-A19B52463D76_zps

Got the rust treated with detox gel then primed with zinc primer and gloss black paint to add to the protection:
2B25A8C0-2764-4DF6-8E90-B92130B59568_zps

C2CED9F6-E823-412F-A4F7-099BF2C32F9A_zps

Then welded up and ground back:
CF374CB9-601B-49F2-B30E-E9CFC33394CC_zps

90919BAD-7181-4ACF-90D3-E458C21F2C67_zps

#43 Adam1275

Adam1275

    Mini Mad

  • Members
  • PipPipPipPip
  • 158 posts
  • Location: Northern Ireland
  • Local Club: Causeway Coast Mini Club

Posted 15 July 2015 - 06:33 PM

Decided to continue working at the LH inner wing today, started off with the top of the flitch and another piece of the inner wing that was rotten to cut out and replace: 

150713_3_zpsybnrlvt3.jpg


150713_2_zpsfi6zucff.jpg


150713_1_zpsmjykjzev.jpg


F899BE7F-4F08-4522-8617-6A7C69223FFD_zps


Then used a cardboard template and converted it into steel to make this: 

DE25D3F3-C8AF-4D92-AE70-E4B7A02F08C2_zps


Then got it welded in and ground back, Still needs a bit more work but it looking much better: 

A309D4E2-7924-4624-BA96-6CCACB4119F4_zps


Then turned to the LH outer sill, started off by drilling the holes for plug welding and painting it Atlantic blue to hopefully protect it:

150715_5_zpsr4v1e00s.jpg


Then I also painted the inner sill and under the door step to protect it: 

150715_4_zpsjh0xkqba.jpg


That all the progress up to date! 


#44 alex-95

alex-95

    I am THE CLAMP MAKER

  • TMF+ Member
  • PipPipPipPipPipPipPipPipPipPip
  • 6,017 posts
  • Location: l

Posted 16 July 2015 - 08:01 PM

Excellent work, what are you using to grind down the welds?


#45 Adam1275

Adam1275

    Mini Mad

  • Members
  • PipPipPipPip
  • 158 posts
  • Location: Northern Ireland
  • Local Club: Causeway Coast Mini Club

Posted 16 July 2015 - 08:28 PM

Excellent work, what are you using to grind down the welds?

Thanks! I used flap discs that I got from ebay on the grinder, the ones I bought were p40 as far as I can remember. Heres the ebay link: http://www.ebay.co.uk/itm/201191699103


Edited by Adam1275, 16 July 2015 - 08:29 PM.


0 user(s) are reading this topic

0 members, 0 guests, 0 anonymous users