Jump to content


Photo
- - - - -

1990 Mayfair Full Rebuild.


  • Please log in to reply
87 replies to this topic

#76 Adam1275

Adam1275

    Mini Mad

  • Members
  • PipPipPipPip
  • 158 posts
  • Location: Northern Ireland
  • Local Club: Causeway Coast Mini Club

Posted 23 June 2017 - 09:04 PM

A small update today. 


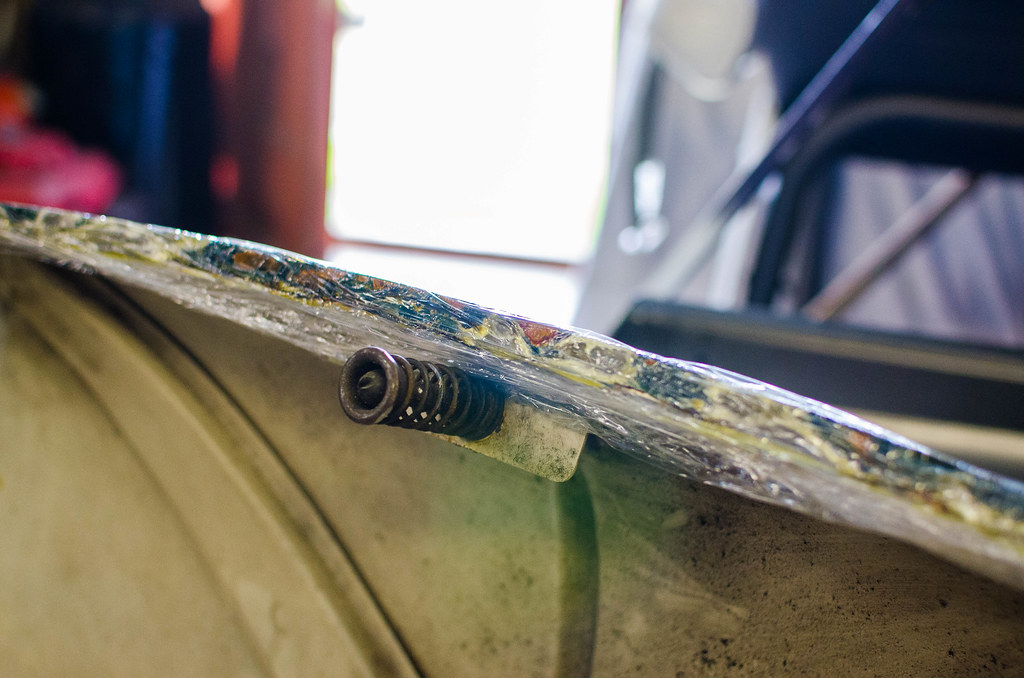
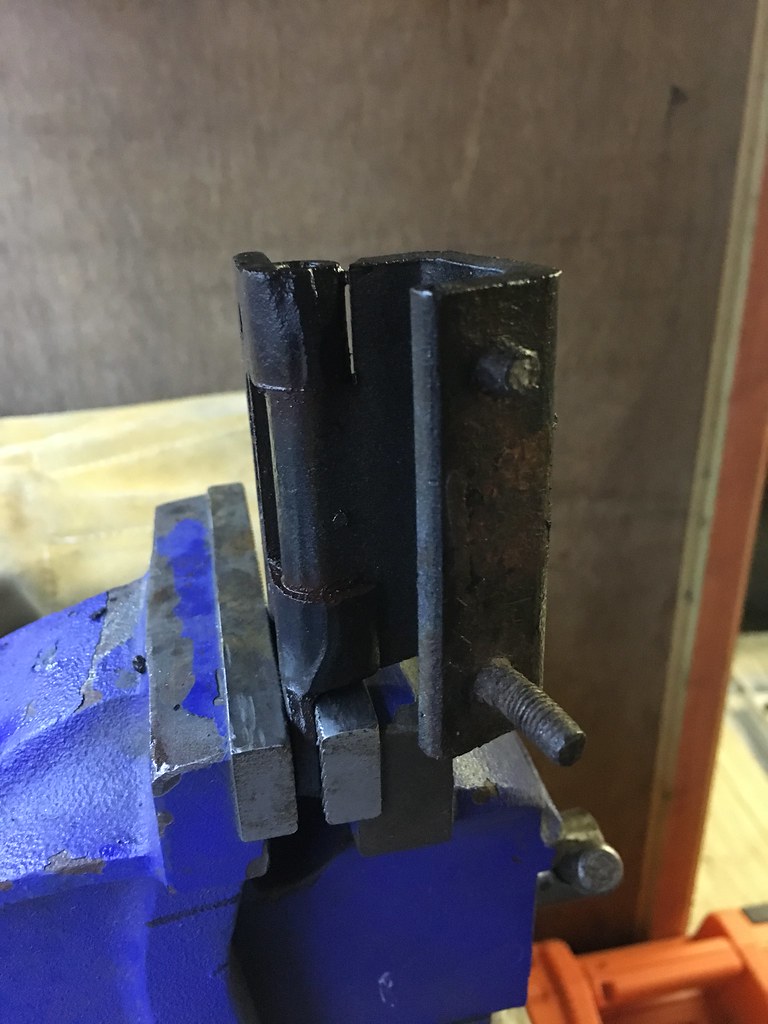
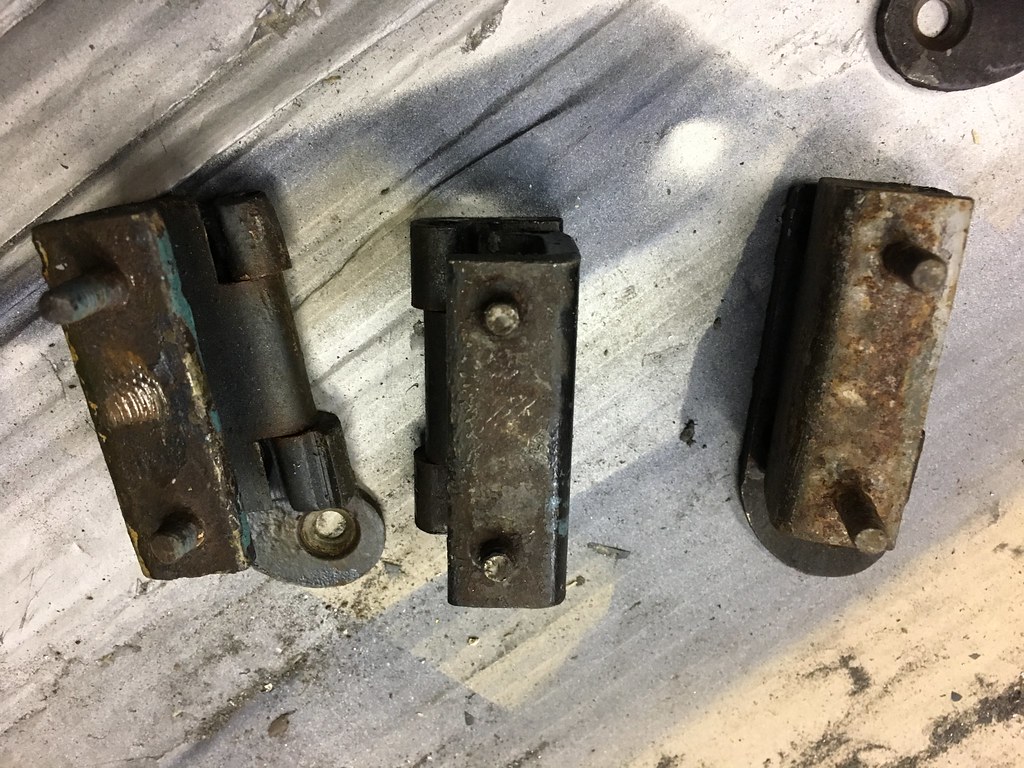
Started off with the flat metal threaded bar that the front upper shock mount bolts to. On the drivers side the bottom bar was missing so had to go about making one. 


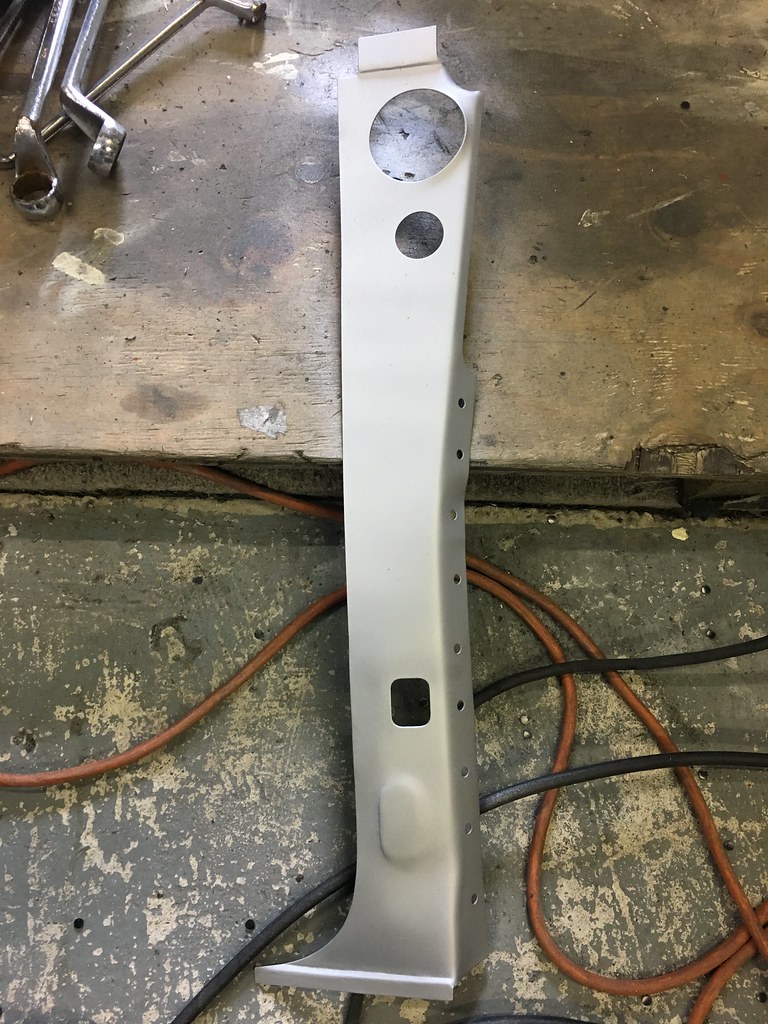
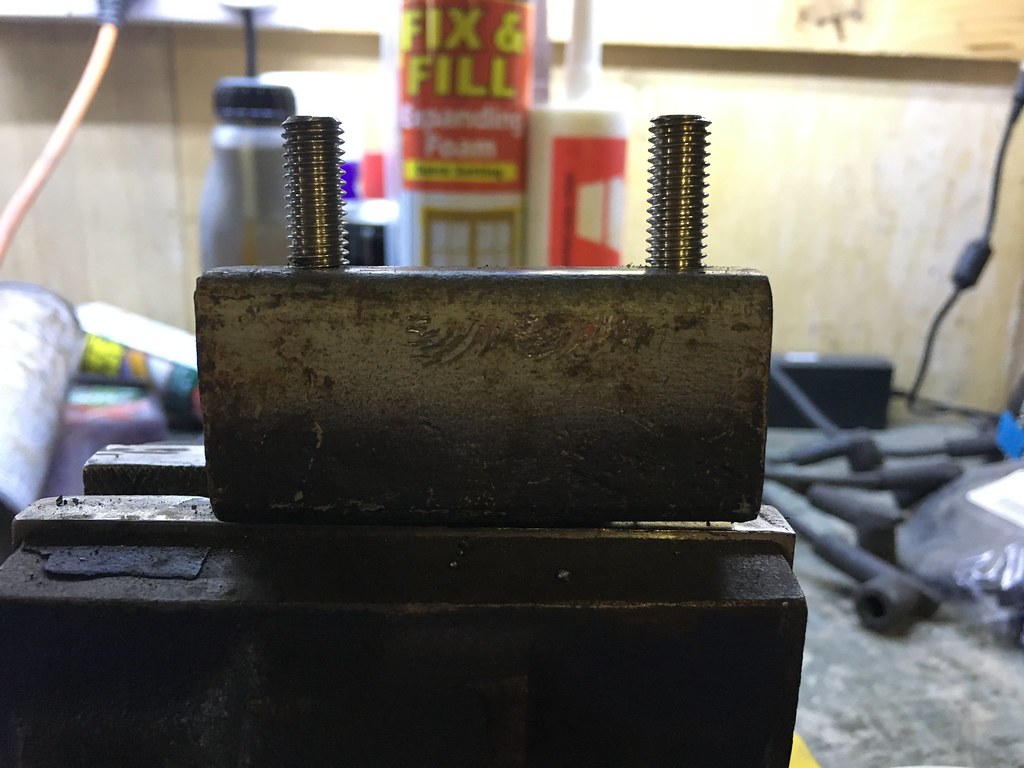
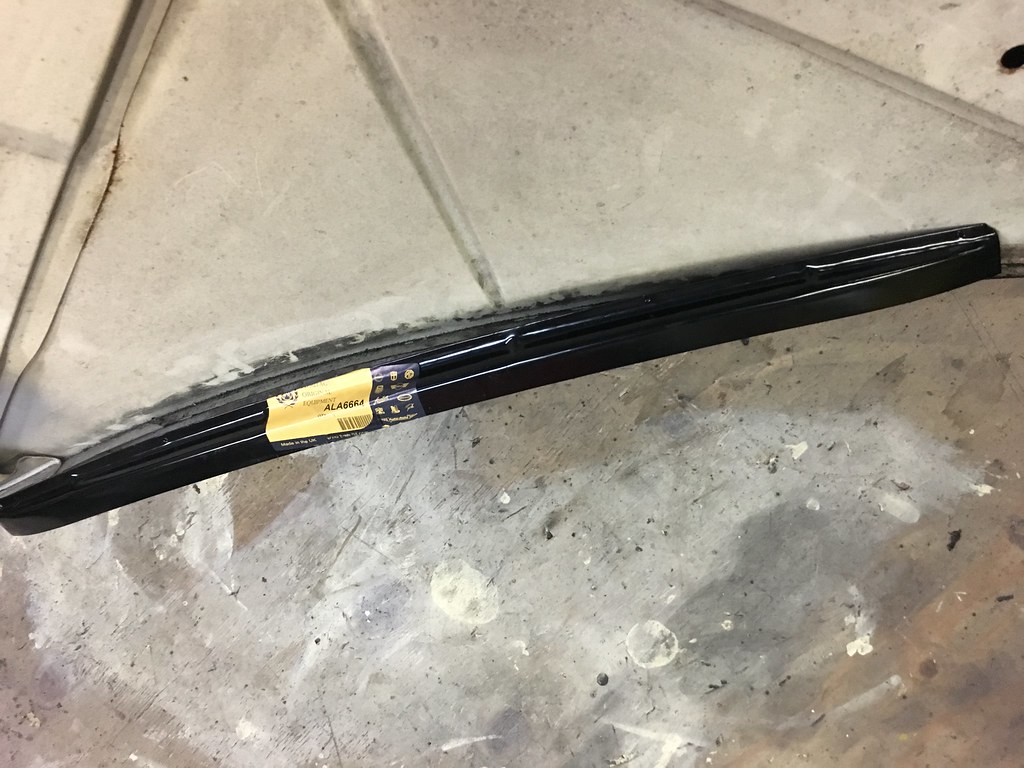
Started off with a flat bar:

E35B1718-4B54-41DE-B0D7-8756EE47E728_zps


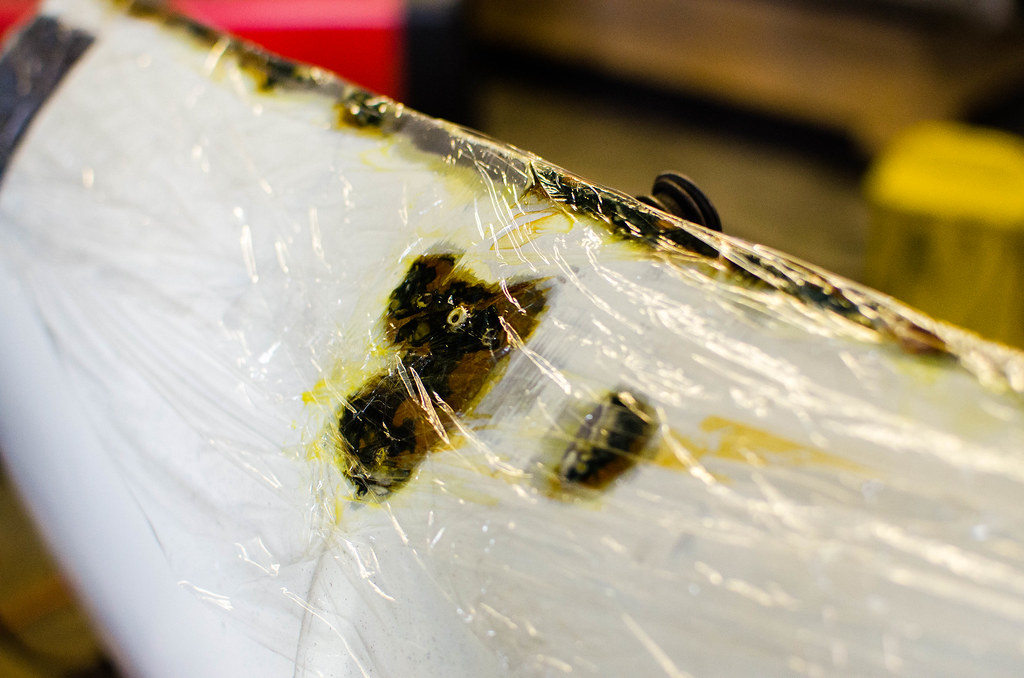
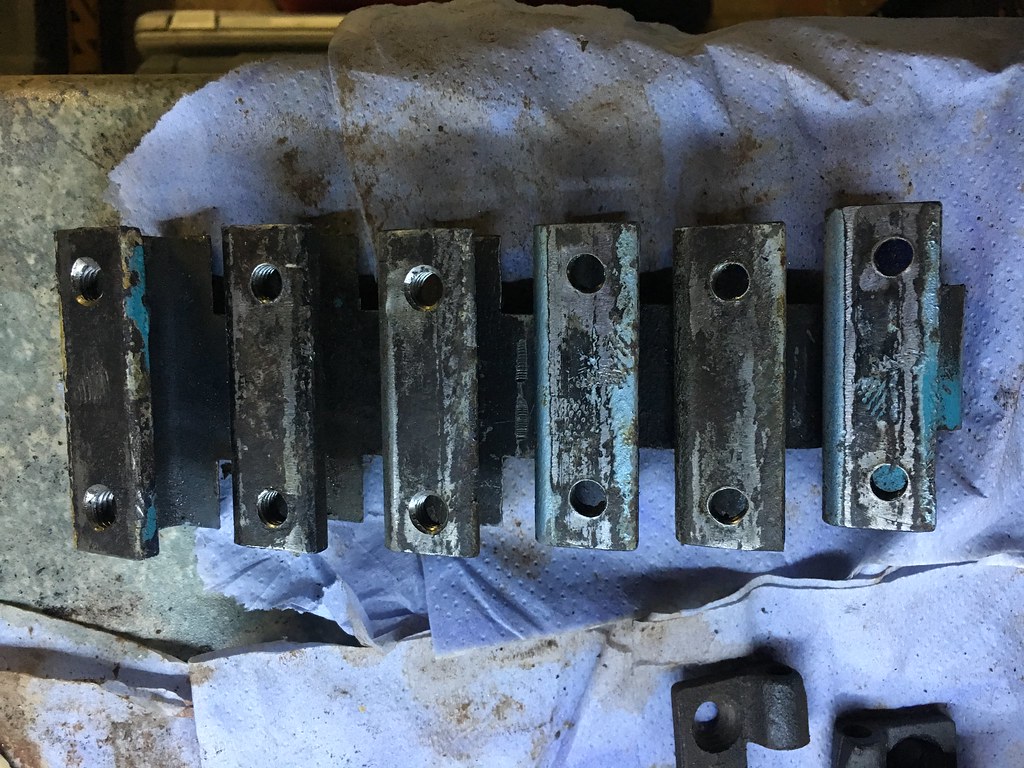
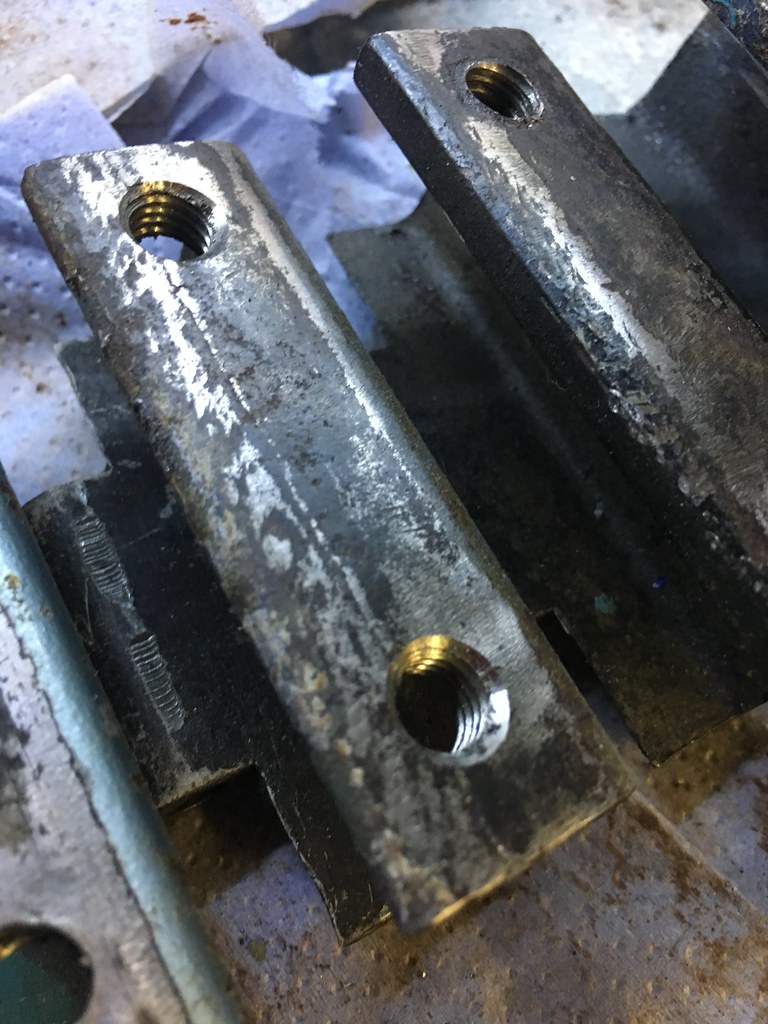
Then cut it to size & drilled two holes in it:

A960477E-75E5-4853-9F14-56B86F191DE9_zps


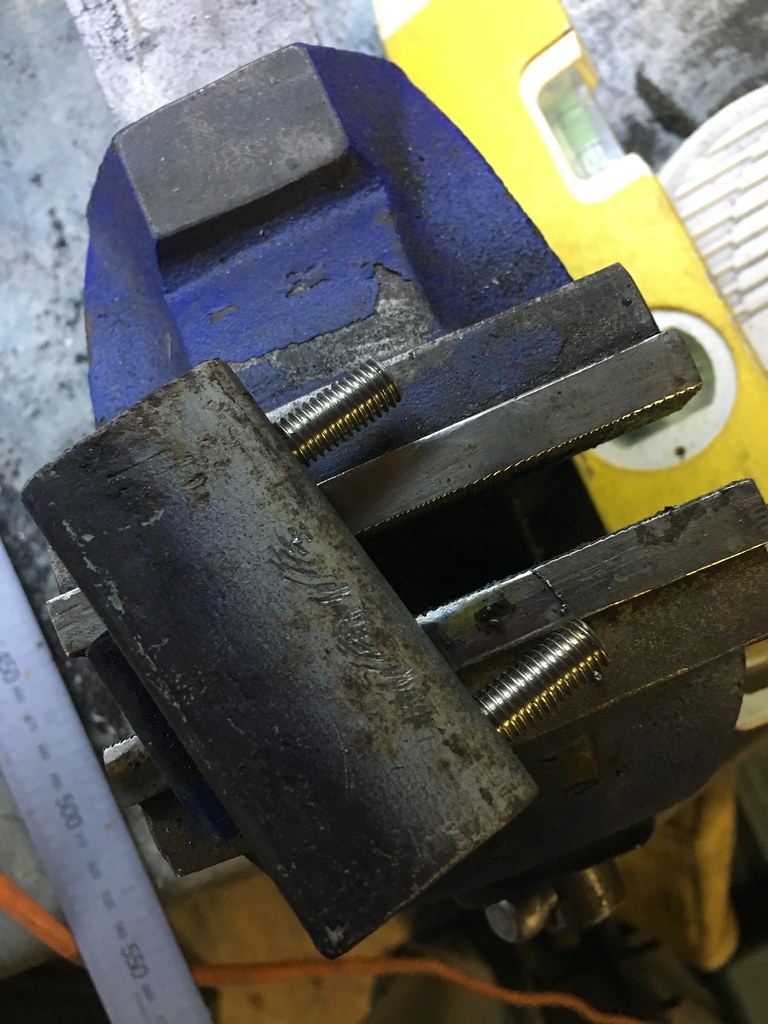
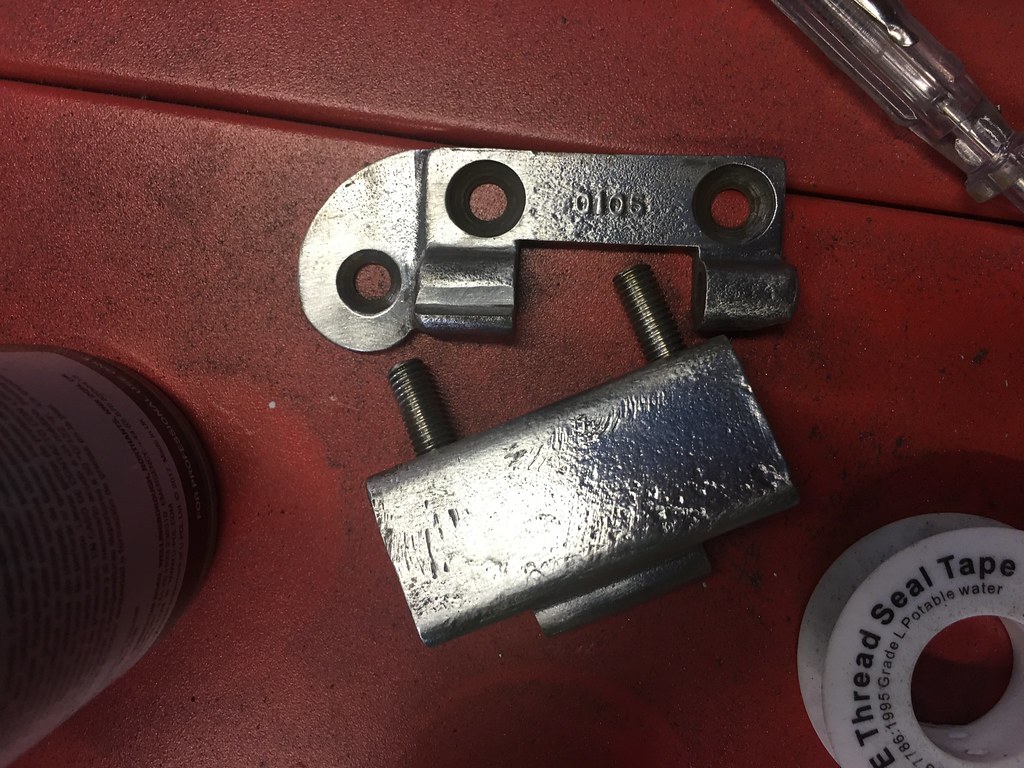
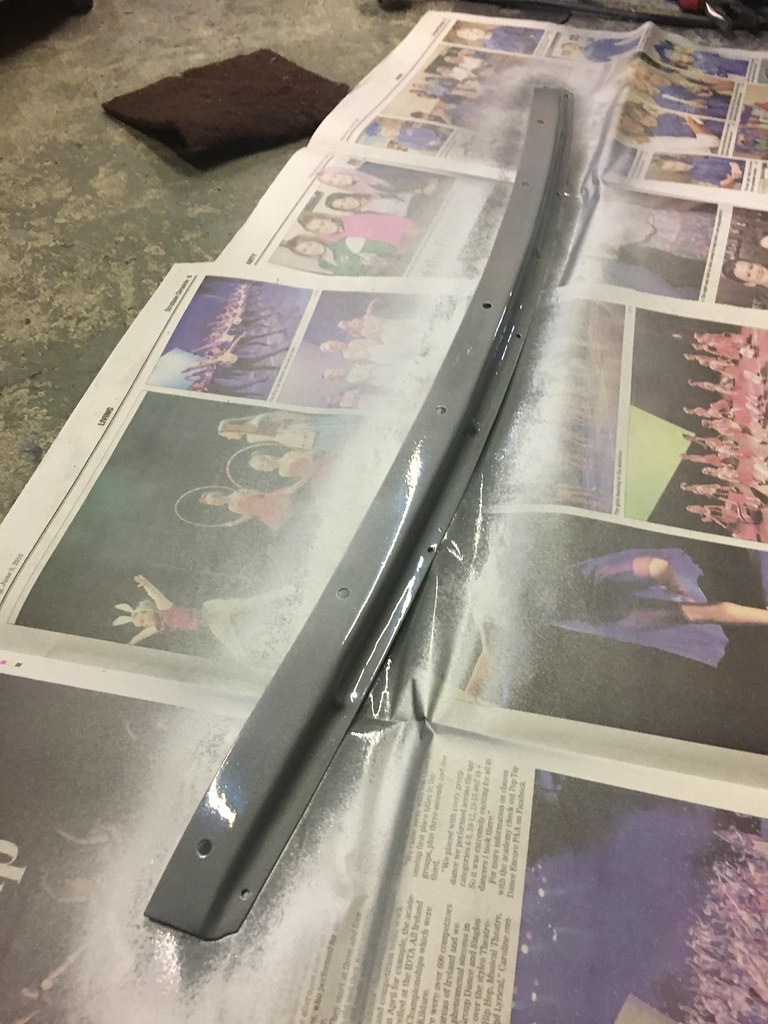
Then threaded & primed:

BC2F33E5-1493-4DDE-ADF3-208678963468_zps


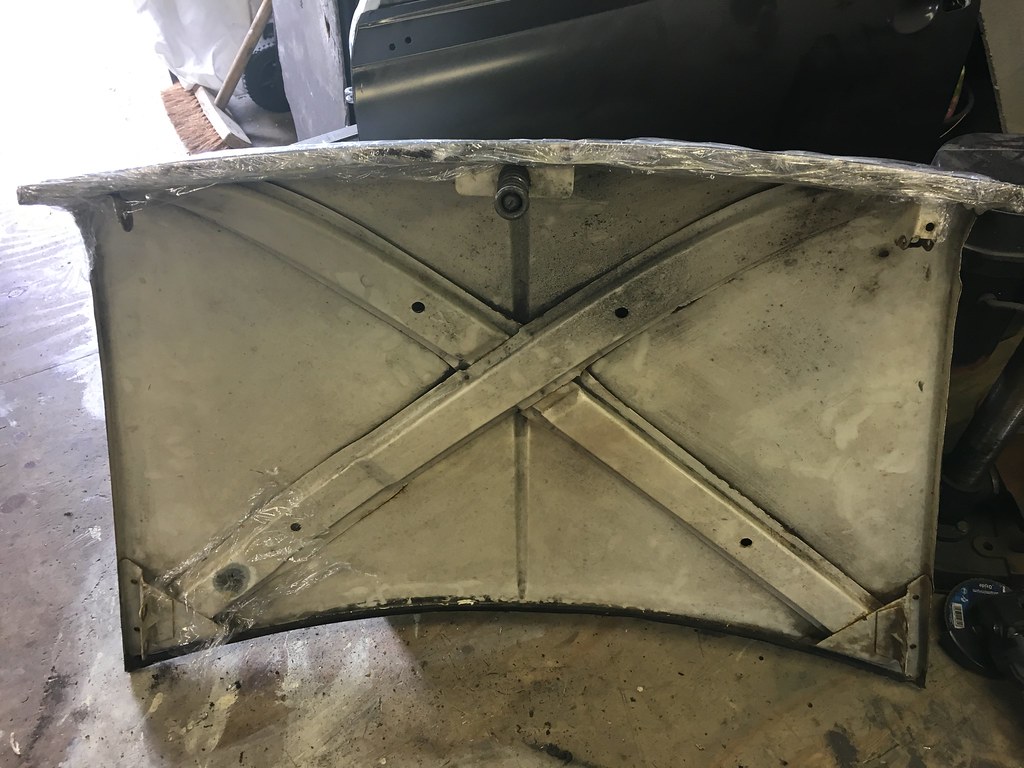
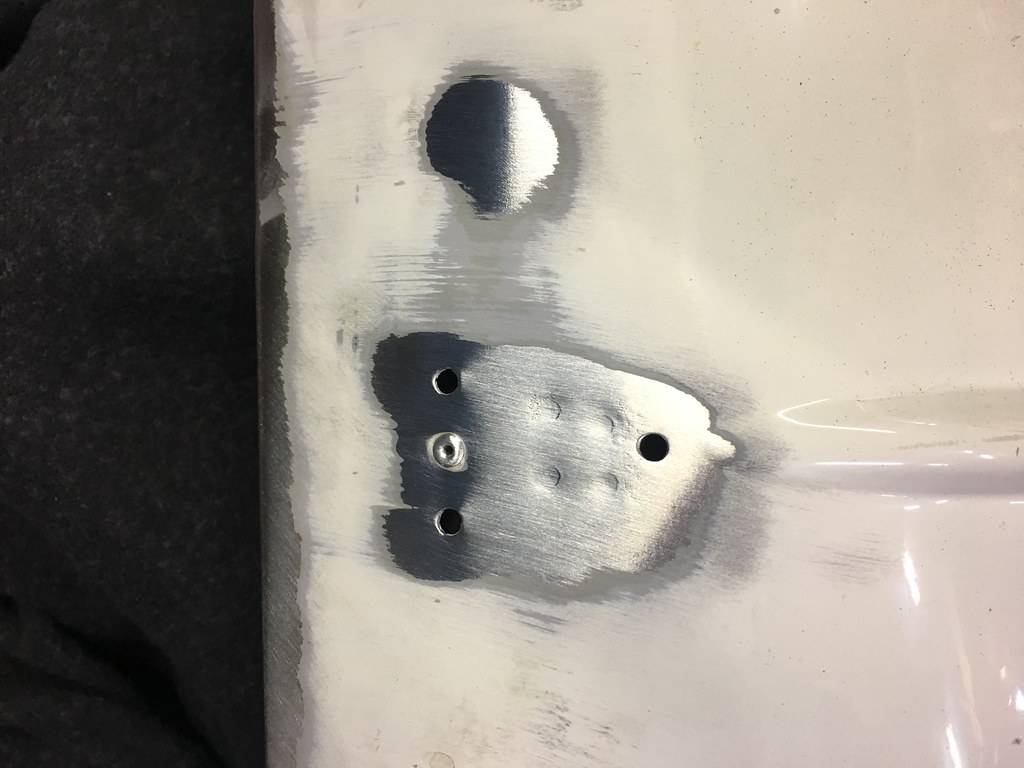
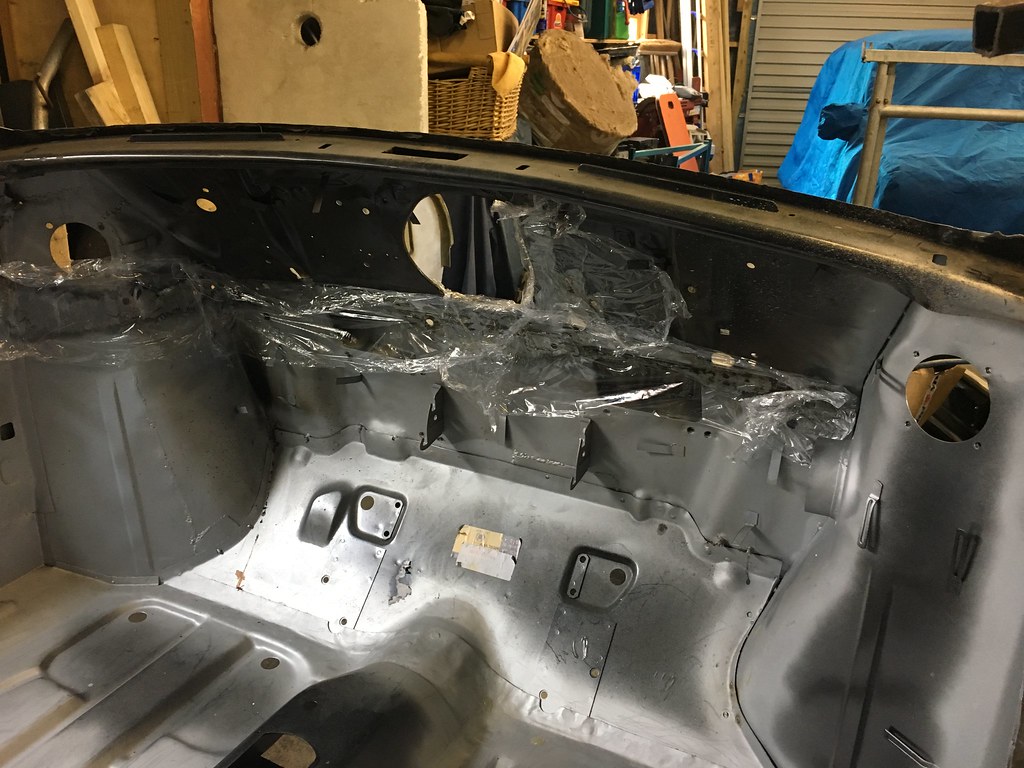
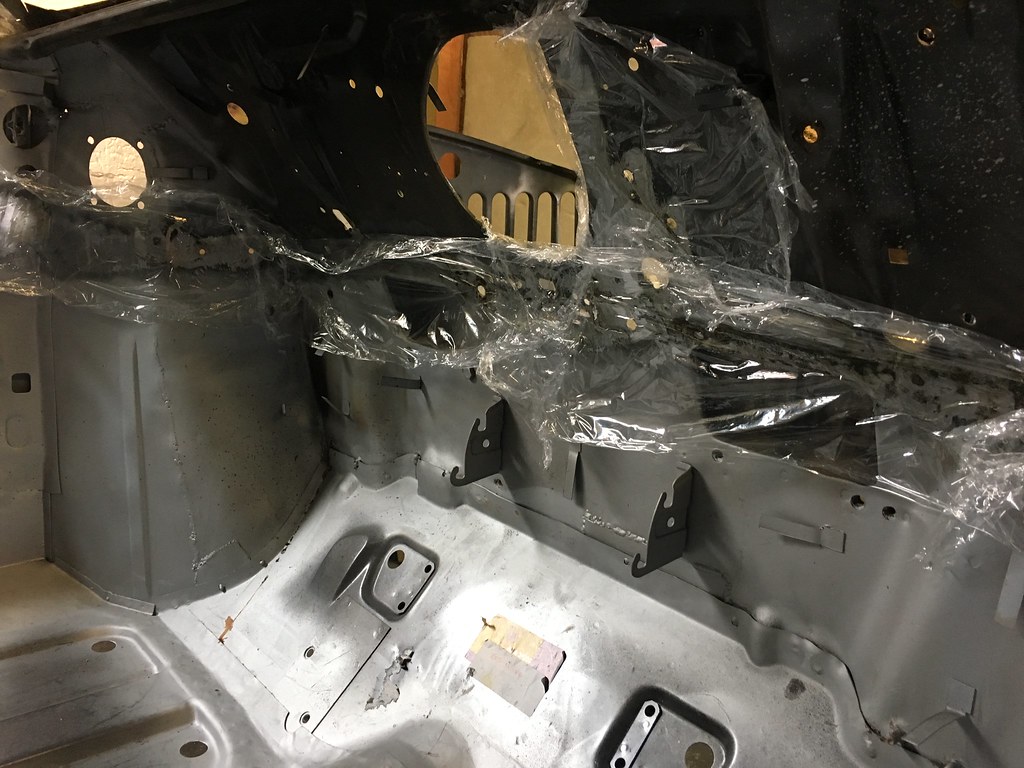
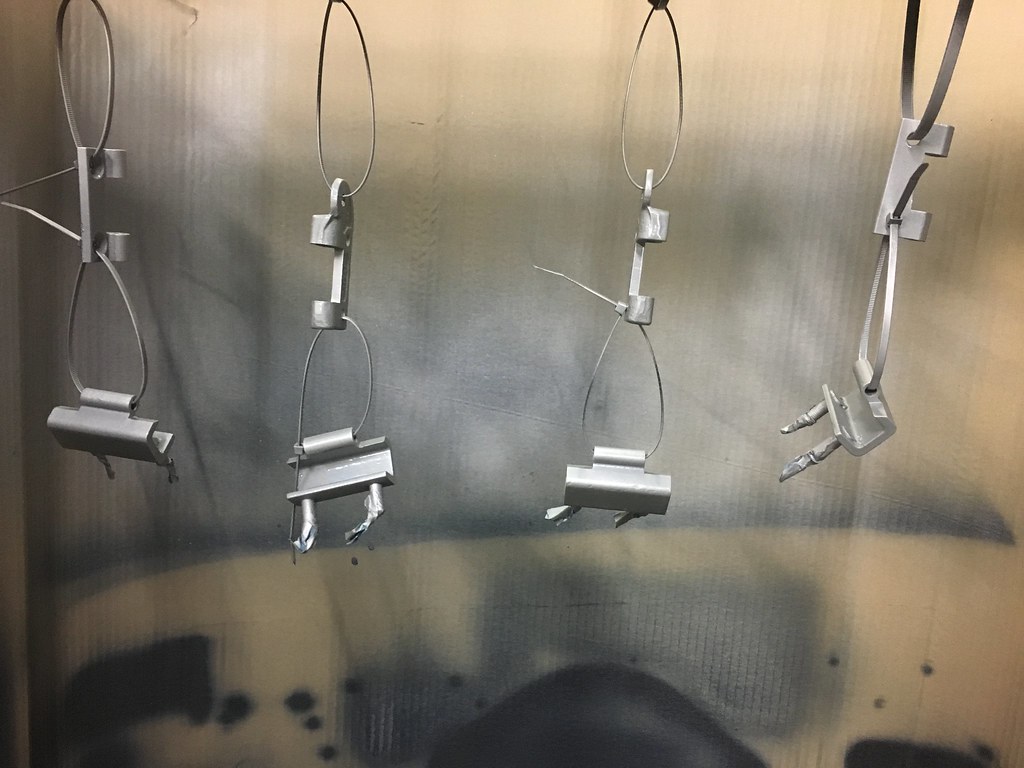
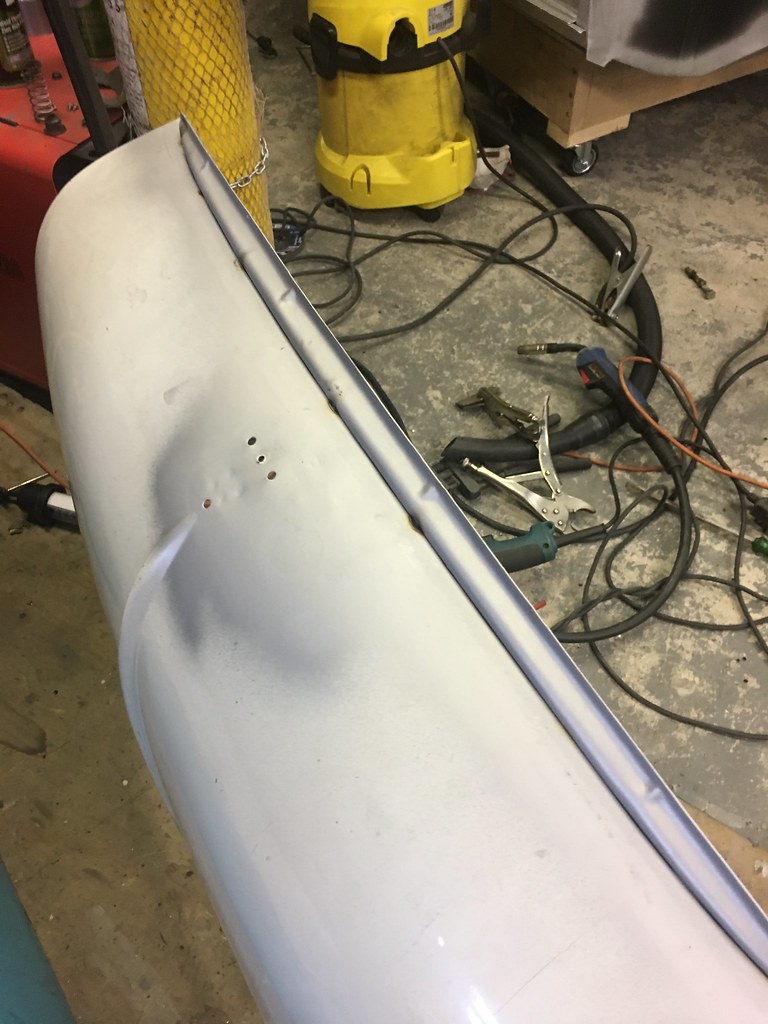
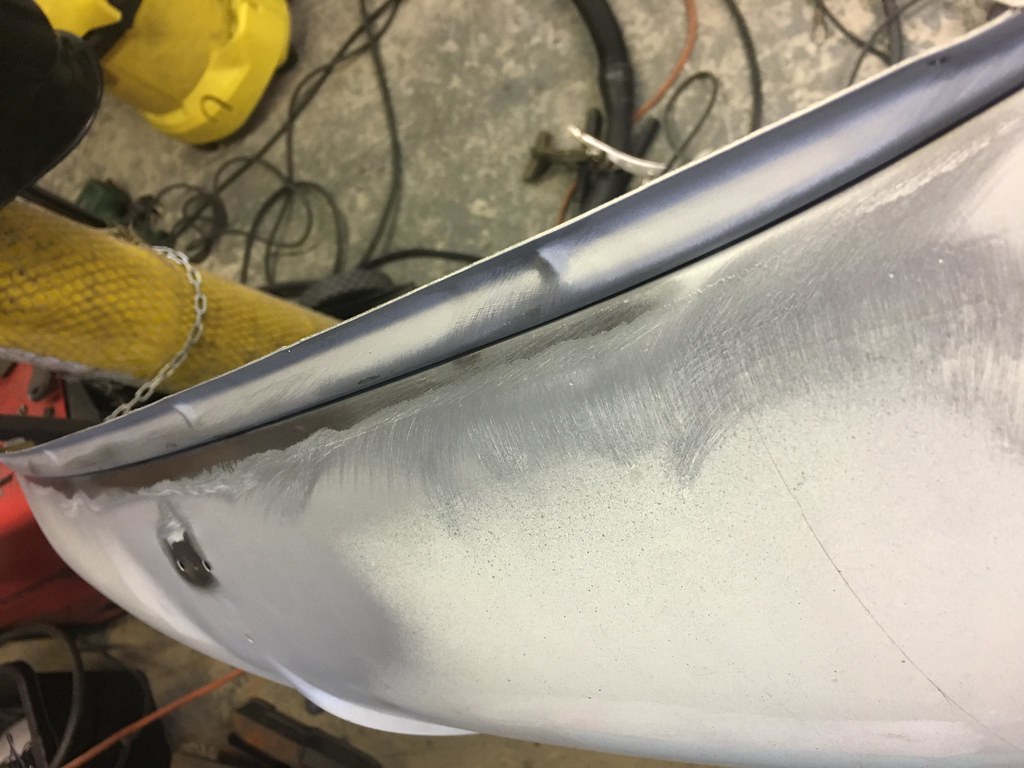
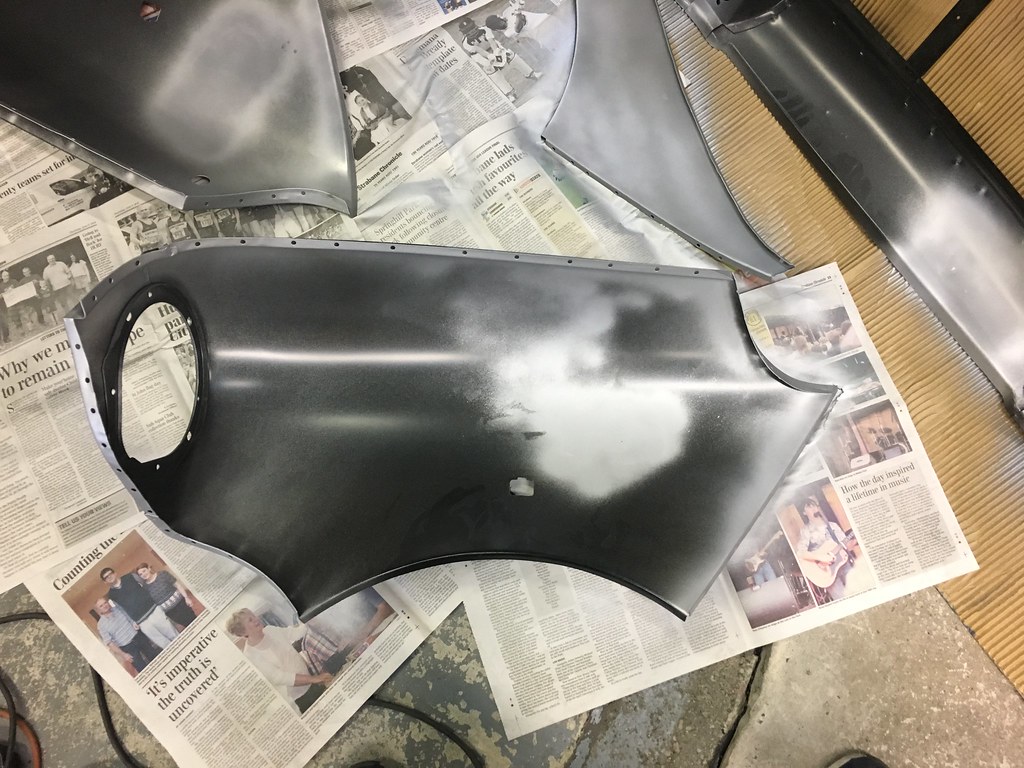
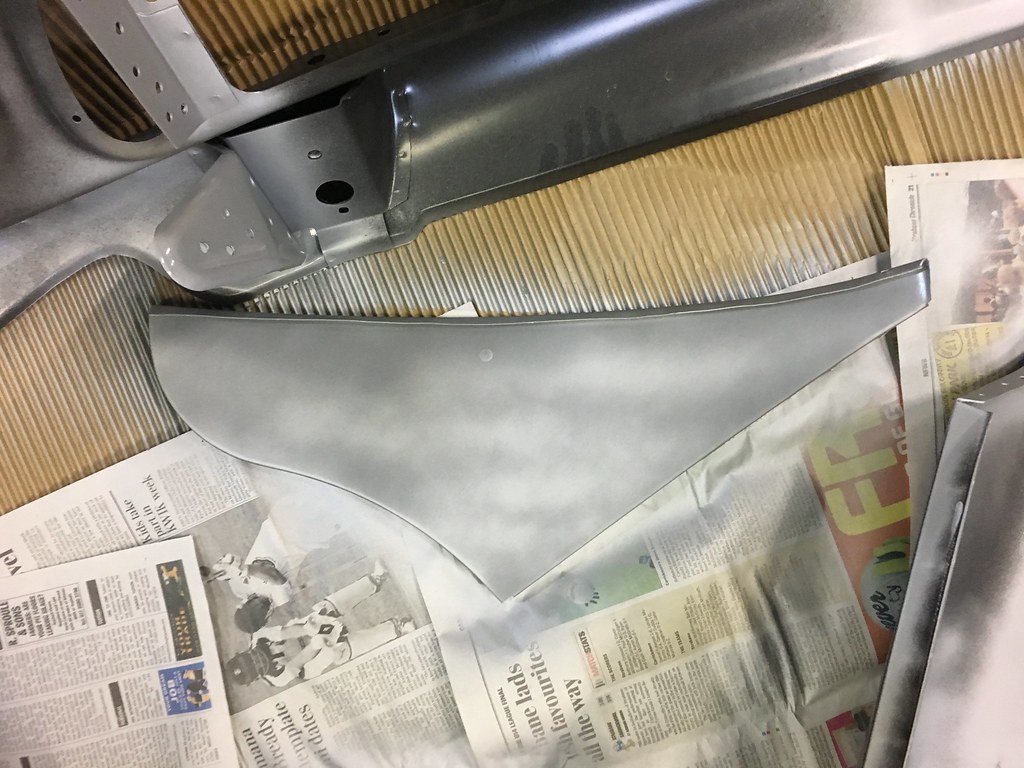
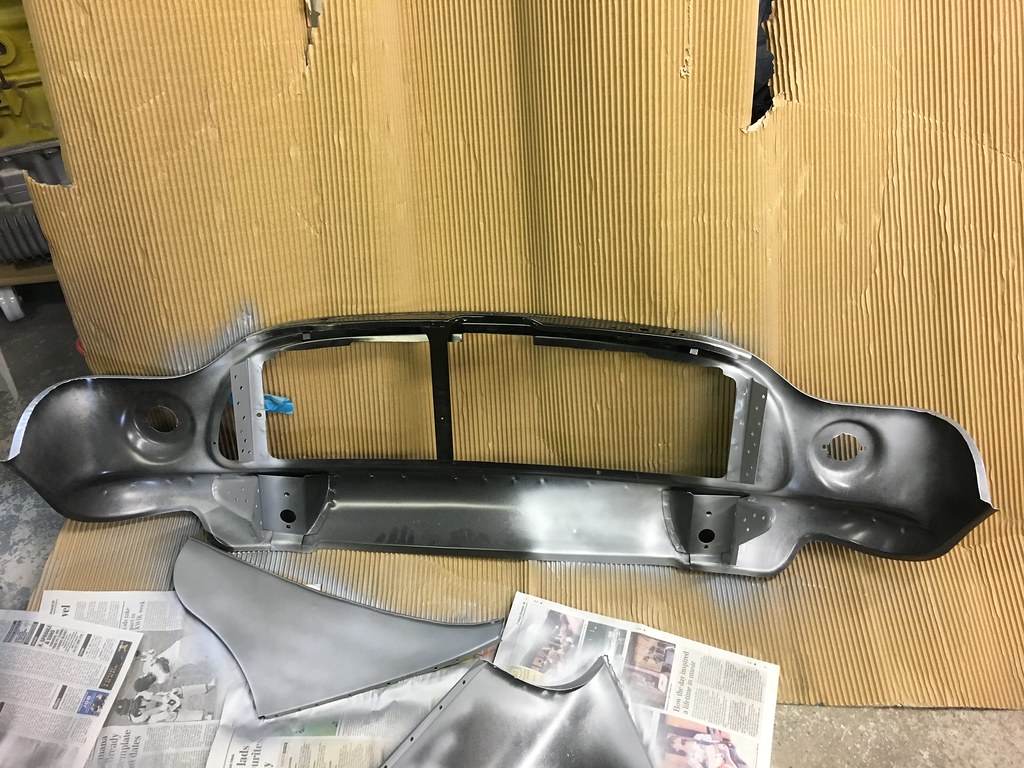
I still have to weld it on the next time. I then set about adding the metal to the hole on the side of the inner wing: 
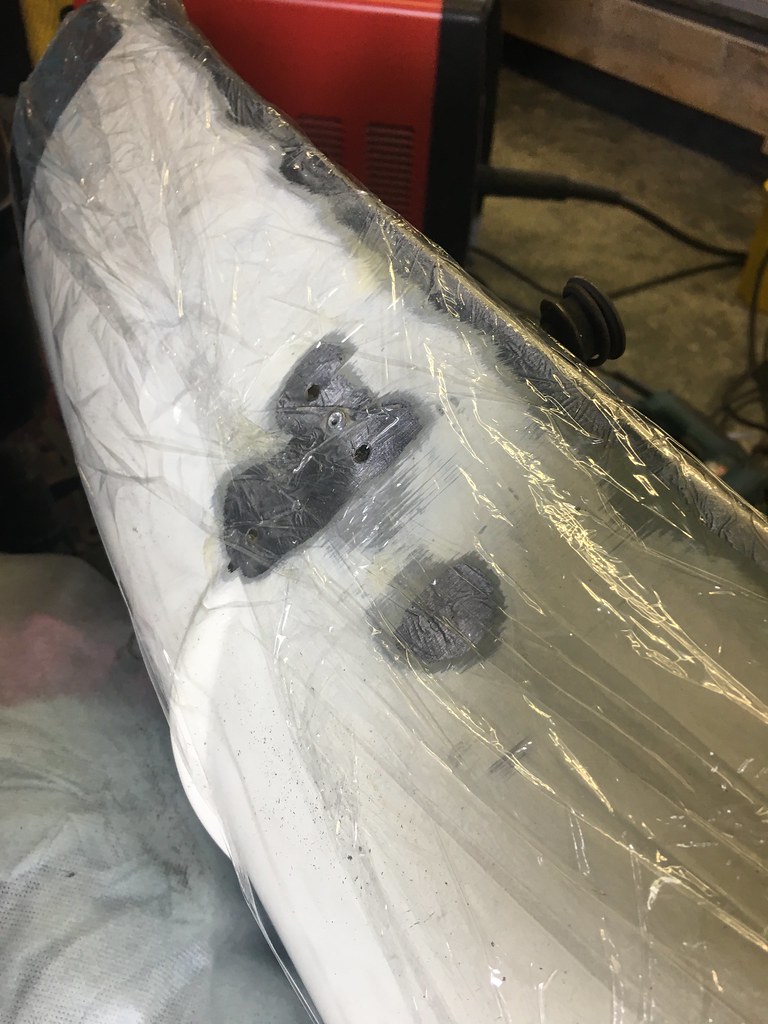
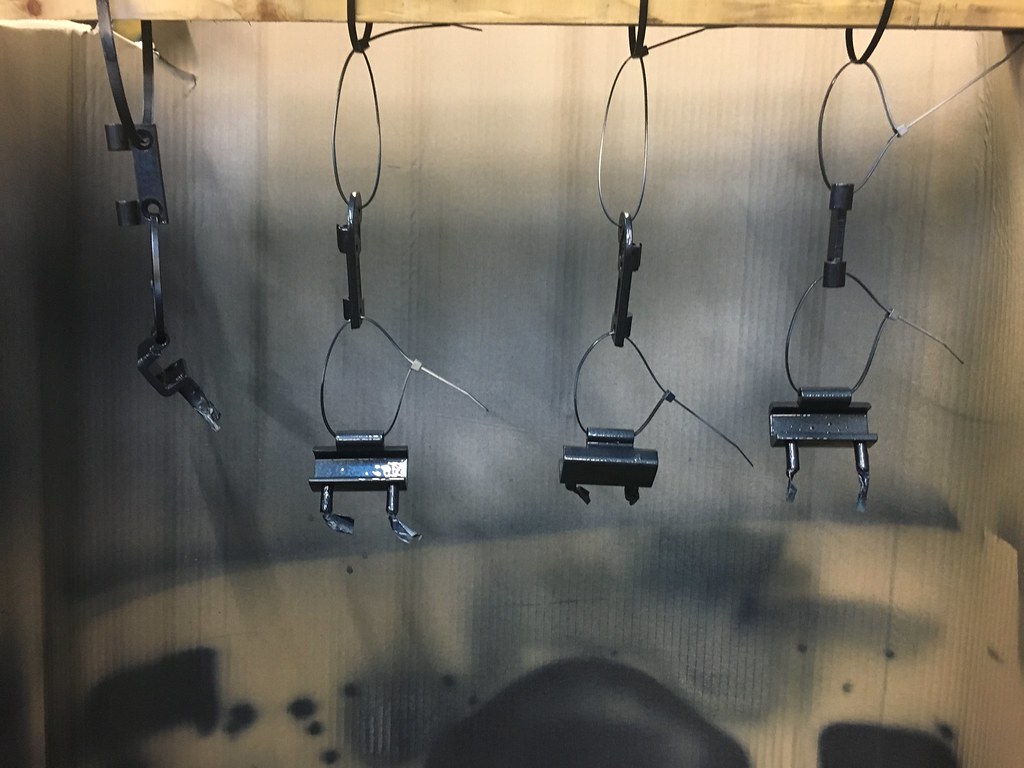
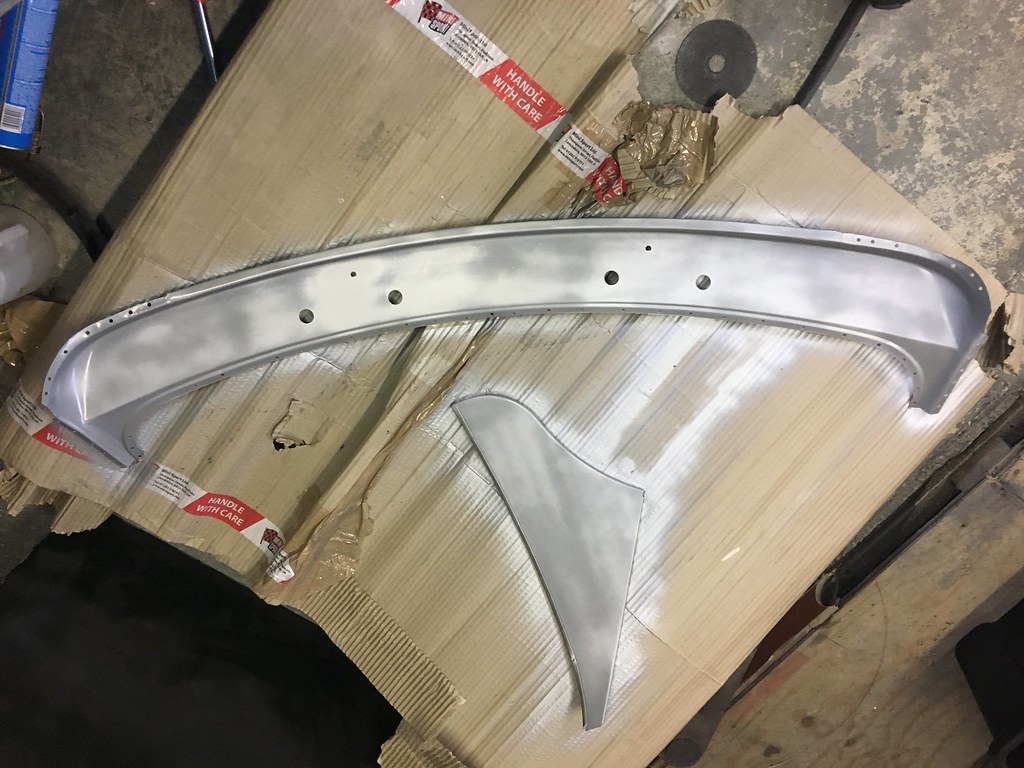
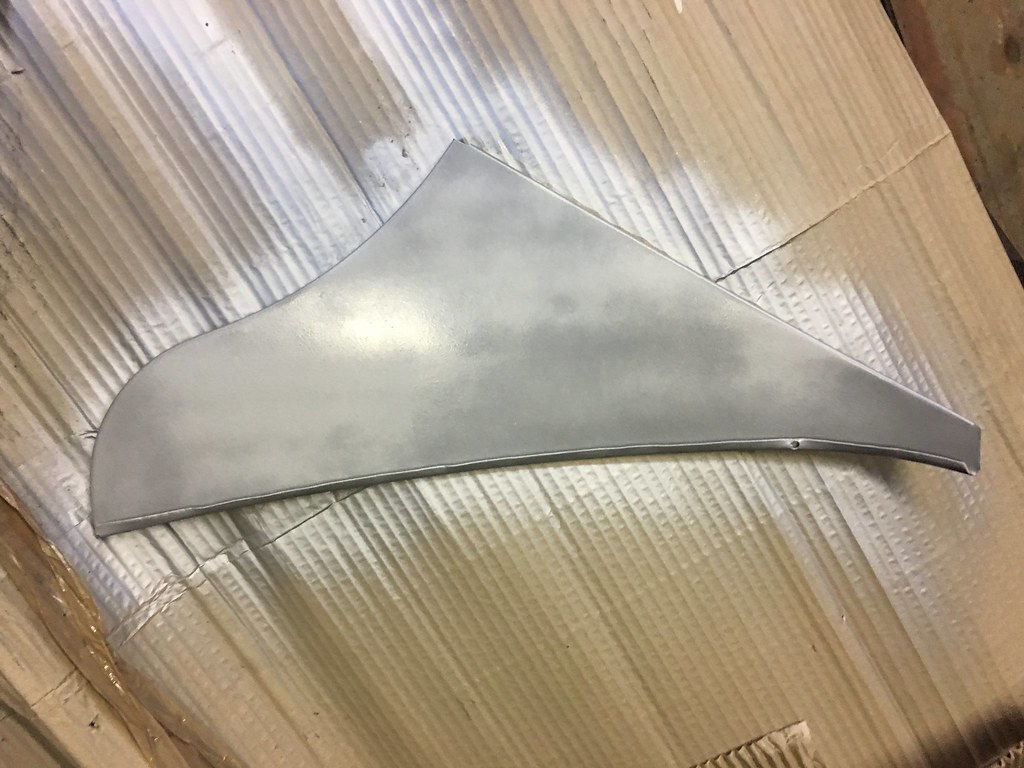
37E47093-3624-45C0-8A98-25ED5D9FE5EE_zps


CE60C2F7-F7CF-4230-B088-B9D4B6D9FC09_zps


Then primed:

3120303E-22AB-4FAA-88D4-DC60E8D92818_zps


That's small update for today but should hopefully get more done on Monday.


#77 Adam1275

Adam1275

    Mini Mad

  • Members
  • PipPipPipPip
  • 158 posts
  • Location: Northern Ireland
  • Local Club: Causeway Coast Mini Club

Posted 27 June 2017 - 08:03 PM

Another quick update 


Started today by welding in the washer bottle bracket:

A02D09DC-6A12-4069-90B6-F059B1ABDC89_zps


and the bonnet prop bracket to the inner wing:

C191EA6F-3F72-43AC-A9E7-EBEF6E03F899_zps


66059537-0C07-4A74-A633-916F332F21D7_zps


I also welded the scuttle closing panel to the inner wing:

E6E6745F-EF7B-4C00-A6A3-FE1BC92D244B_zps


64870565-6069-4994-AFBB-93BD104A83A3_zps


I still have to finish plug welding the inner wing along the bottom of the floor:

03700649-54F7-4C57-93C6-8535966A5F93_zps


That was all for today.


#78 Adam1275

Adam1275

    Mini Mad

  • Members
  • PipPipPipPip
  • 158 posts
  • Location: Northern Ireland
  • Local Club: Causeway Coast Mini Club

Posted 02 July 2017 - 04:36 PM

Started working on the bonnet today. It was a second hand bonnet that I had bought and thought it was rust free untill I removed a stuck on piece of foam along the top lip to find this:


35502831182_173b93194f_b.jpg


34830537294_f7a53a8050_b.jpg


35671631435_5e3c6c59a6_b.jpg


So off came the lip. Going to try replacing it since it's only £20 compared to the near £200 of a new Heritage bonnet.


34862506053_58b4fc11ab_b.jpg


Cleaned up the edge and put some deox gel on to work overnight:


35632037436_1ea8a93987_b.jpg


Also put some around the holes for the badge as some very light surface rust was starting for form there:


35541278691_814bdf3024_b.jpg


#79 Adam1275

Adam1275

    Mini Mad

  • Members
  • PipPipPipPip
  • 158 posts
  • Location: Northern Ireland
  • Local Club: Causeway Coast Mini Club

Posted 03 July 2017 - 06:13 PM

The deox gel worked a treat. Here's the bonnet after being left overnight:


35695929895_3ee9799323_b.jpg


35527082492_2a701deaea_b.jpg


Then removed, washed and wire brushed:

35565210081_b3ff112007_b.jpg


35526747082_52c5704578_b.jpg


35656411706_c0afccf728_b.jpg


Then primed waiting on the new lip to arrive:

35308477620_9ae21ef2bb_b.jpg


While I am waiting on the new lip to come, I have started working on the front parcel shelf and bottom dash rail. Today I removed the old one to find alot of surface rust along the seam of the parcel shelf. So I cleaned it up and applied some deox gel and covered it to remove tomorrow:


35526757072_15e72ef87c_b.jpg


35565215661_70b20a024f_b.jpg


I also primed the RH boxing plate ready to be welded in hopefully tomorrow:


35656416956_7aef5f0373_b.jpg


#80 Daz1968

Daz1968

    Up Into Fourth

  • Members
  • PipPipPipPipPipPipPipPipPip
  • 2,058 posts
  • Location: Dudley

Posted 03 July 2017 - 06:47 PM

Looking good,

A bit of advice though on the bonnet lip, I fitted mine after epoxy primer and put tigerseal in between it and the bonnet lip and held in place with pop rivets as I found they usually start rusting from the spot welds, mine had been like this for over twenty years and no rust on either part.

#81 Adam1275

Adam1275

    Mini Mad

  • Members
  • PipPipPipPip
  • 158 posts
  • Location: Northern Ireland
  • Local Club: Causeway Coast Mini Club

Posted 03 July 2017 - 07:12 PM

Looking good,

A bit of advice though on the bonnet lip, I fitted mine after epoxy primer and put tigerseal in between it and the bonnet lip and held in place with pop rivets as I found they usually start rusting from the spot welds, mine had been like this for over twenty years and no rust on either part.


Yeah seems a common place to start rusting, I'll look into your way of fitting it thanks  :proud:


#82 Adam1275

Adam1275

    Mini Mad

  • Members
  • PipPipPipPip
  • 158 posts
  • Location: Northern Ireland
  • Local Club: Causeway Coast Mini Club

Posted 08 July 2017 - 02:57 PM

Started working on the door hinges to get the doors on to align the front end. I had 6 door hinges but most had either broken studs, stripped threads and one even had 2 bent studs:


35756681316_20c3b8c132_b.jpg


35756682086_be1dbfc692_b.jpg


Decided to replace the studs with M8 Stainless Steel studs, so they should last. Started by taking out the roll pin in the hinges. I then drilled out and tapped in a M8 thread:


35776322085_8b03103c0f_b.jpg


35735384216_5347a189d3_b.jpg


I then cut the stainless threaded rod to size and welded along the back to hold the stud in:


35644087101_475e1f3315_b.jpg


35735383706_c3f437a075_b.jpg


I just have to clean the hinges up now and then give them a coat of paint before putting in new roll pins.


#83 Steve220

Steve220

    Up Into Fourth

  • Members
  • PipPipPipPipPipPipPipPipPip
  • 4,885 posts
  • Location: Shropshire
  • Local Club: RAF Mini Club

Posted 08 July 2017 - 03:46 PM

Nice work with the hinges! What are you doing about the galvanic corrosion between the 2 metal types?

#84 Adam1275

Adam1275

    Mini Mad

  • Members
  • PipPipPipPip
  • 158 posts
  • Location: Northern Ireland
  • Local Club: Causeway Coast Mini Club

Posted 08 July 2017 - 06:17 PM

Nice work with the hinges! What are you doing about the galvanic corrosion between the 2 metal types?


I'm using a Corrosion Inhibitor on both of the metals to try and prevent this. The threads of the stud that are inside the hinge were also painted before the stud was welded to try and stop this. 


#85 Adam1275

Adam1275

    Mini Mad

  • Members
  • PipPipPipPip
  • 158 posts
  • Location: Northern Ireland
  • Local Club: Causeway Coast Mini Club

Posted 10 July 2017 - 07:03 PM

Started today by taking the hinges back to bare metal. Started off like this:


35644087101_475e1f3315_b.jpg


Then taken back to bare metal:


35002374084_33a740cfb0_b.jpg


Then added a layer of primer to all the hinges:

35032753373_b34376bdb0_b.jpg


And then painted them:

35710425261_fcccd87391_b.jpg


35032746573_7c593bb7f4_b.jpg


35032746353_6d7486a2dd_b.jpg


I left the hinges to dry overnight and should hopefully get them built back up tomorrow. While they were drying I started back at the bonnet. The new bonnet lip arrived from Mini Sport:


35776321175_e065bfd88b_b.jpg


Punched some holes and primed it ready to be welded onto the bonnet:

35801911336_ebb202247c_b.jpg


Clamped on and double checked the chrome finisher to make sure it was in the correct position: 

35454422170_2726de51a7_b.jpg


35801907976_d0d3f886ba_b.jpg


Then welded on and the welds dressed back:

35842478745_4cd1b3d9bc_b.jpg


35801903576_9cd36cb002_b.jpg


35454409640_22cc533406_b.jpg


35801903356_dea0e66bb7_b.jpg


#86 Adam1275

Adam1275

    Mini Mad

  • Members
  • PipPipPipPip
  • 158 posts
  • Location: Northern Ireland
  • Local Club: Causeway Coast Mini Club

Posted 11 July 2017 - 06:54 PM

Left the hinges to dry overnight and they turned out well:


35818750026_0709b44360_b.jpg


35019394644_93d358f7cd_b.jpg


and they look alot better than they did to start with:


35471433510_6c27534462_b.jpg


I'm going to leave them for a while to let the paint harden more before I put the pins back in. So started prepping the front end panels to be welded. The passenger wing is an original Rover one that my dad bought from a dealer in 2002/03 and has stored ever since:


34907818493_7686206c97_b.jpg


35717412005_1409752c93_b.jpg


35049923133_f8665a26e9_b.jpg


35727449561_9695fd36d7_b.jpg


35049924483_e8ddec1cea_b.jpg


35586438911_7b9b51e027_b.jpg


35548576082_1aa17d7fde_b.jpg


#87 Steve220

Steve220

    Up Into Fourth

  • Members
  • PipPipPipPipPipPipPipPipPip
  • 4,885 posts
  • Location: Shropshire
  • Local Club: RAF Mini Club

Posted 11 July 2017 - 07:00 PM

What are you spraying the panels with?

#88 Adam1275

Adam1275

    Mini Mad

  • Members
  • PipPipPipPip
  • 158 posts
  • Location: Northern Ireland
  • Local Club: Causeway Coast Mini Club

Posted 11 July 2017 - 07:03 PM

What are you spraying the panels with?


The panels are sprayed with Upol Zinc 2 weld through primer on the edges that will be welded together. 


0 user(s) are reading this topic

0 members, 0 guests, 0 anonymous users