Jump to content


Photo

My Attempt At A Diy Head Lining - Using A Sewing Machine :p


  • Please log in to reply
22 replies to this topic

#1 bluemini17

bluemini17

    Mini Mad

  • Members
  • PipPipPipPip
  • 158 posts
  • Location: Bangor

Posted 23 February 2015 - 11:22 PM

I think its about time I let you all into my plans for the interior.


This is a new thread for just the interior, my main build is here


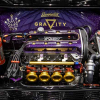
I am completely mad for arcade games, I own quite a few full size cabs and make the odd one to give for presents / sell.


My youtube page with my arcade vids...


https://www.youtube....uemini17/videos


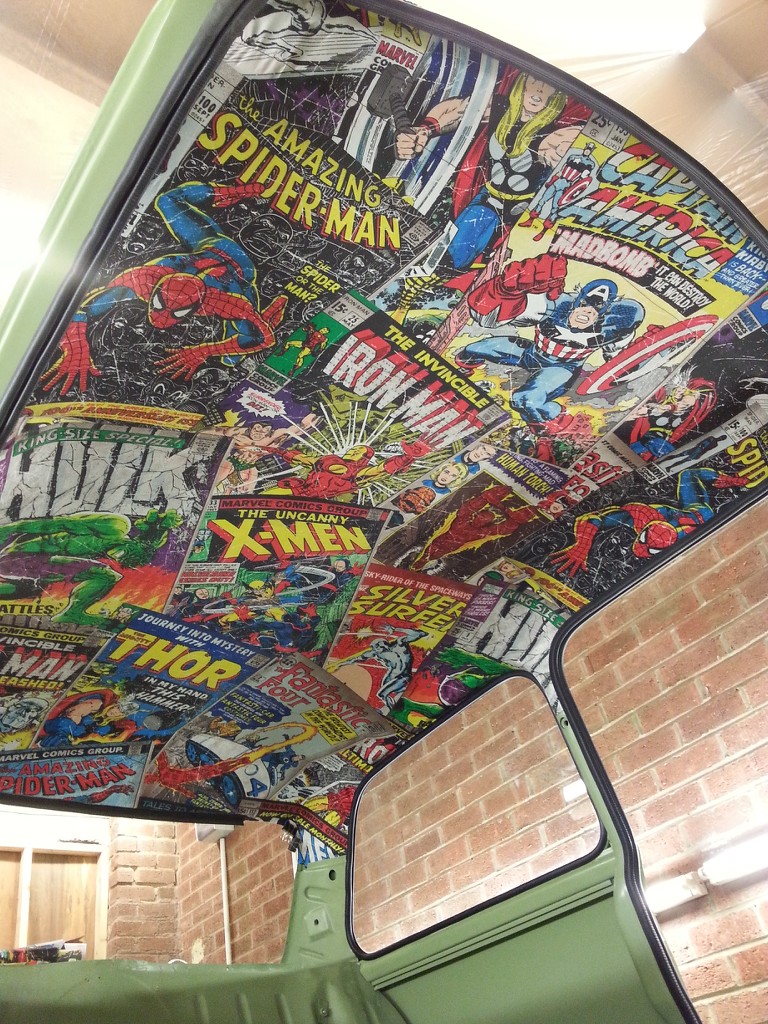
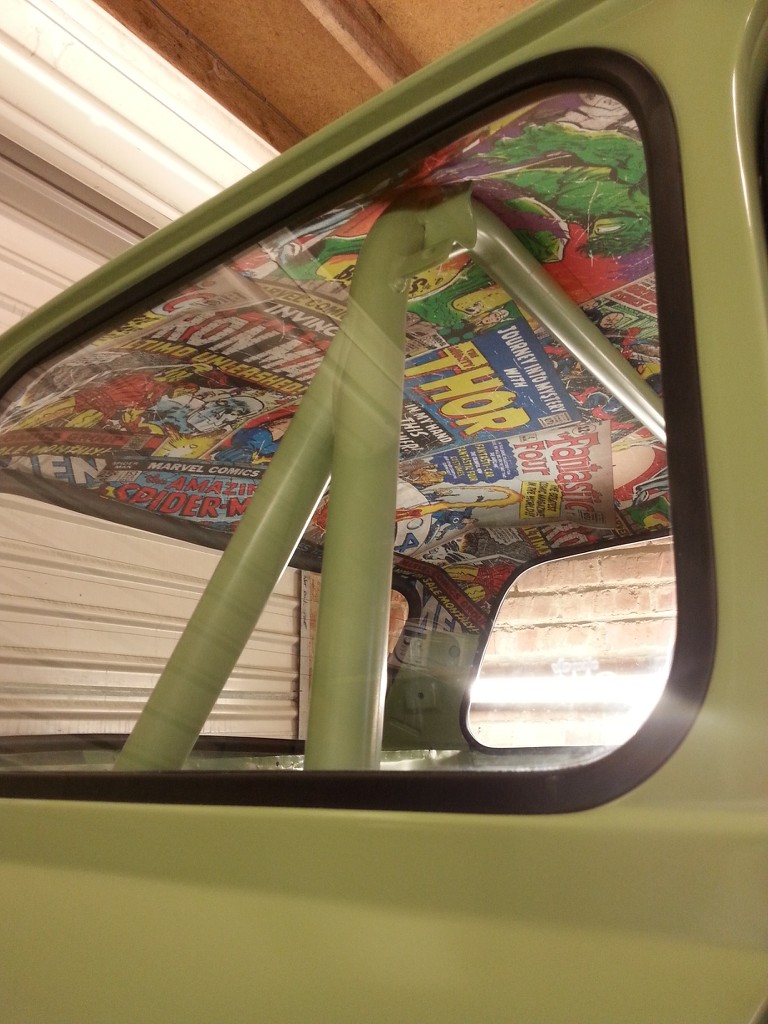
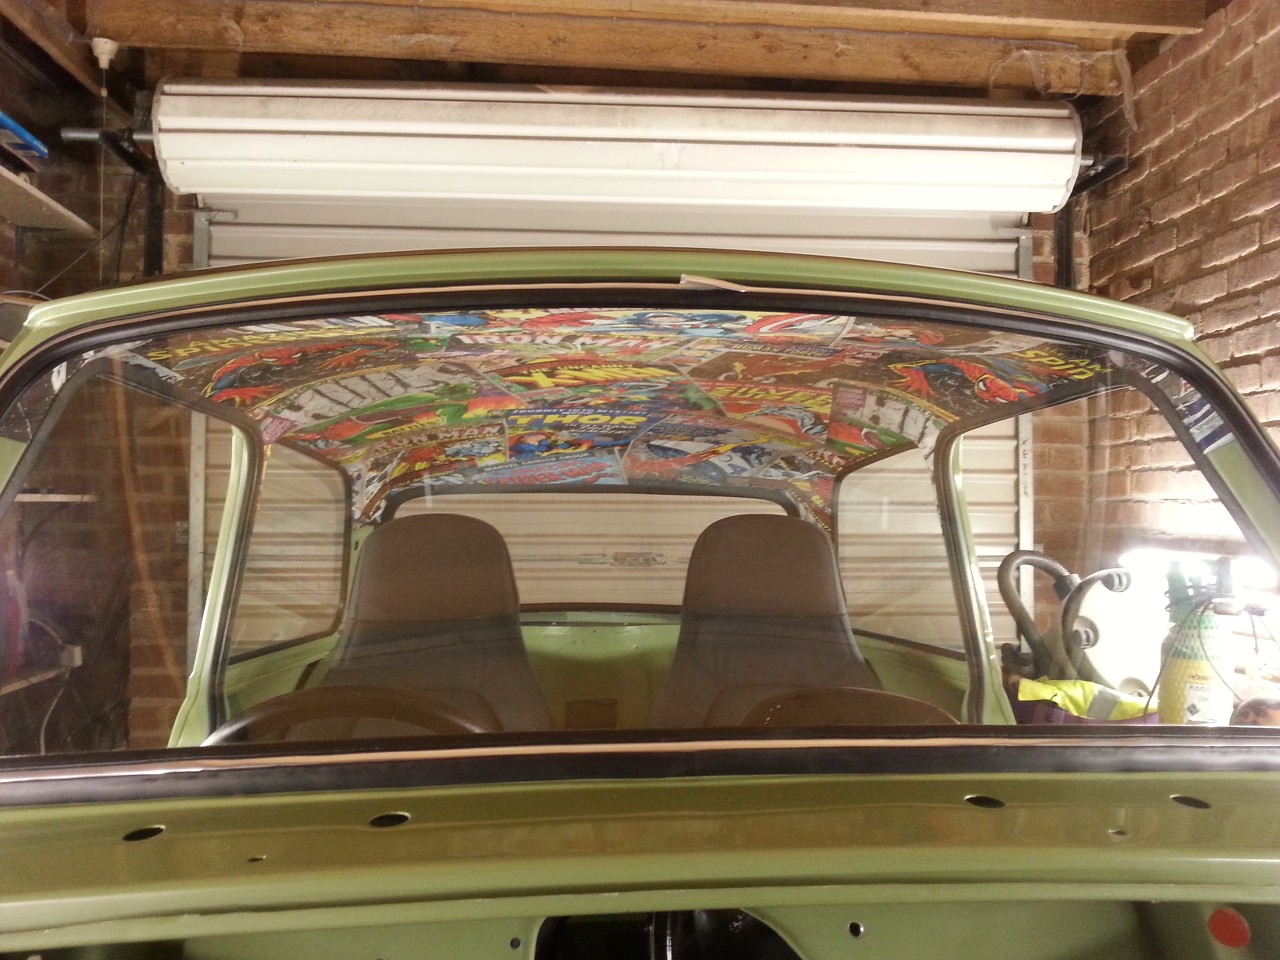
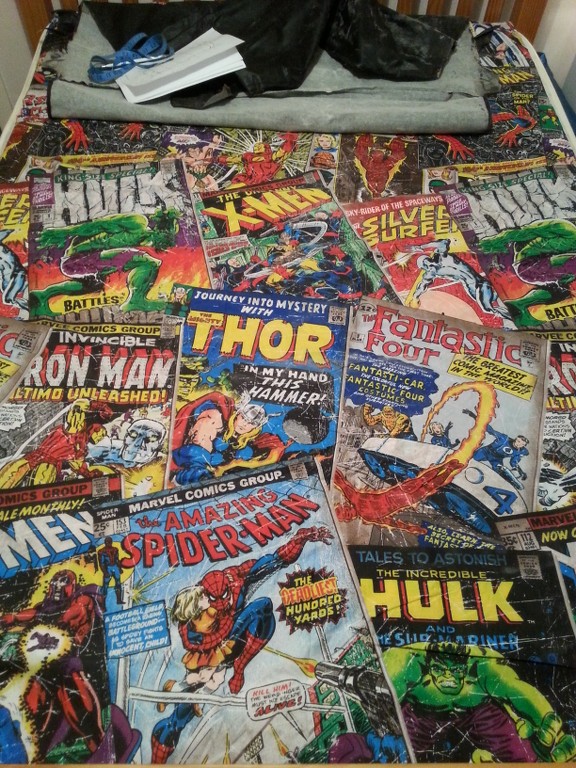
So with that in mind I am going to have a comic theme for the inside; starting off with the head lining.....


XcQ5Id.jpg


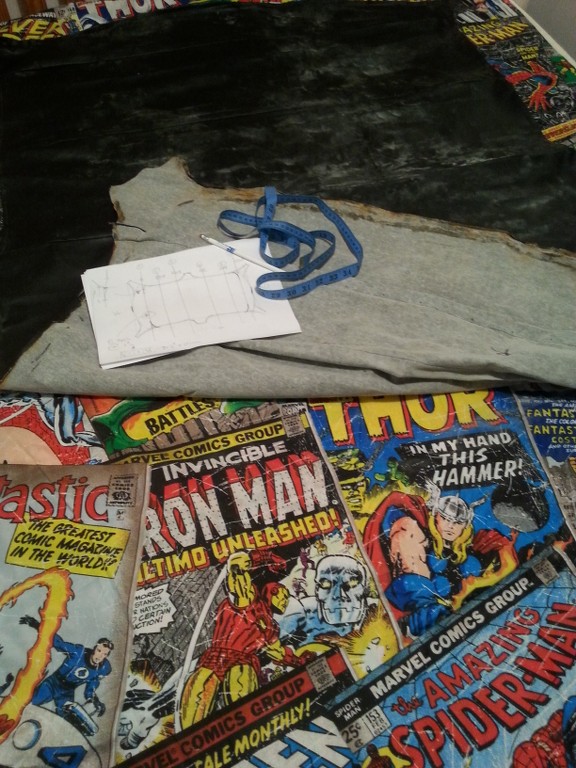
this is a single duvet cover £12 from argos

8BS3bR.jpg


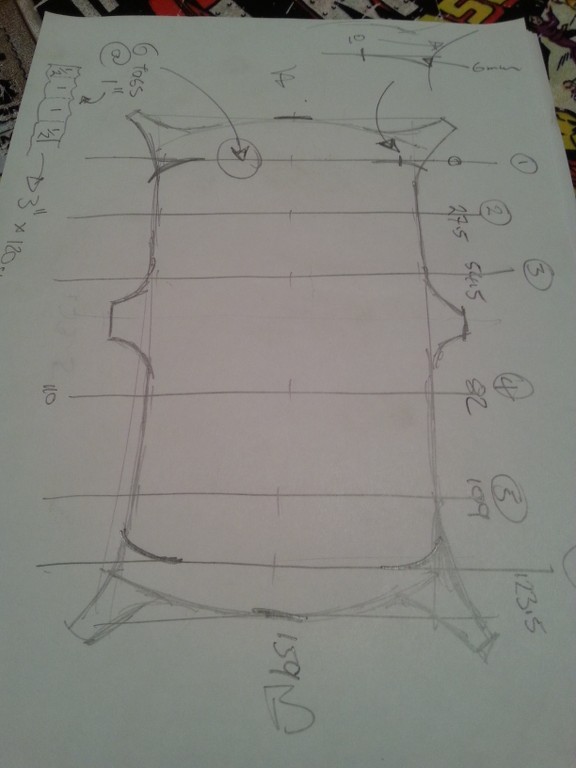
measurements, note the slight curved stitching in each corner for support rail 1 and 6 (6mm deflection)


RGlLac.jpg


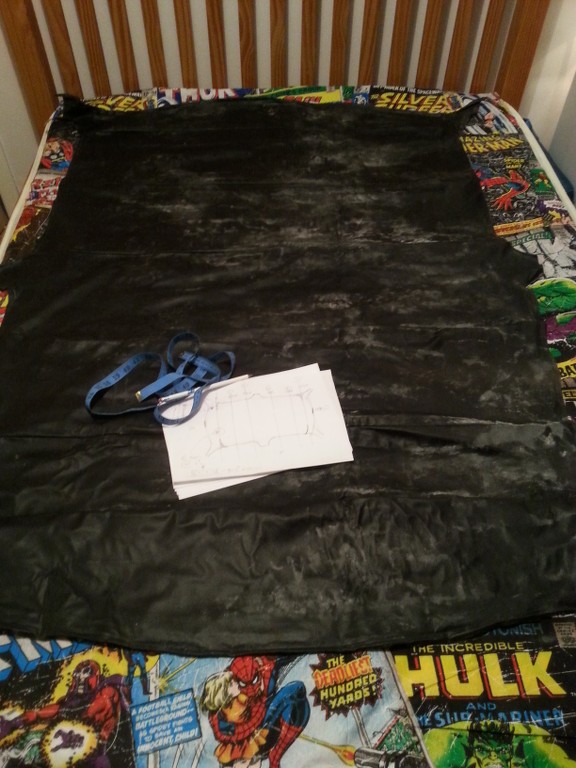
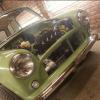
The original mildew soaked headlining

t7YIBm.jpg


I was in the scouts for many a year when I was younger ( makes me sound old, im only 27) so sewing is second nature after stitching cut arms and mending my tents.


Going to make a start on the sewing this week. Will update with progress.


Hopefully it doesn't turn out to cheesy.


keep on rolling folks, Dave


#2 Rocket.

Rocket.

    One Carb Or Two?

  • Members
  • PipPipPipPipPipPipPip
  • 1,441 posts
  • Location: UK

Posted 23 February 2015 - 11:24 PM

That's awesome ! Following this

#3 1984mini25

1984mini25

    Crazy About Mini's

  • Members
  • PipPipPipPipPipPipPipPipPipPip
  • 8,781 posts
  • Location: -

Posted 23 February 2015 - 11:43 PM

Personally I wouldn't go trying to get to cleaver with the stitching and making it pre-shaped to fit. As what I'd do and is the same as the pre made ones, is to just sew straight across leaving the headlining bigger than needed. Then once sewn, fold in half and using your measurements taken from the old one measure and cut the unstitched parts of the folds. Slide all the rods though and loosely place/hang from the roof rails and with a massive amount of pegs tension it front to back, then each side working your way round until your happy, then trim it to fit before/while gluing.   


#4 90BHP

90BHP

    Mini Mad

  • Noobies
  • PipPipPipPip
  • 192 posts
  • Location: Leicestershire
  • Local Club: Back Street Minis

Posted 24 February 2015 - 07:27 AM

Just fitted mine, can highly recommend Evo-stuck contact adhesive to stick the sound deadening back to the roof panel and 3M double sided tape for all the sides. No mess, No stains and no chance or a piece of material dropping glue onto your dash or interior.

Have fun !

#5 Guess-Works.com

Guess-Works.com

    Gearbox Guru

  • Traders
  • PipPipPipPipPipPipPipPipPipPipPip
  • 19,838 posts
  • Local Club: Rugby Classic Mini Owners Club

Posted 24 February 2015 - 07:44 AM

When you buy a new headlining it's just a rectangular piece of material with sewn channels for the poles... All the shaping is done on the car.


#6 rally1380

rally1380

    Camshaft & Stage Two Head

  • Members
  • PipPipPipPipPipPipPipPip
  • 1,893 posts
  • Location: Cheshire

Posted 24 February 2015 - 01:04 PM

yeh, always make it too big and trim on the car. nothing worse than getting it half stuck on and then finding it's too small.


#7 bluemini17

bluemini17

    Mini Mad

  • Members
  • PipPipPipPip
  • 158 posts
  • Location: Bangor

Posted 16 July 2015 - 10:05 PM

I completely forgot to complete this thread,


Here is the result, I'm very happy with it, just need to make the rear panels that go down the side of the rear windscreen.


Total time for project - two evenings after work (6hrs)


Total cost -

duvet cover: £12

one spool of thread: £1

one borrowed sewing machine: a polite thank you :lol:

a can of glue for sticking cloth to car - £6


Total - £19


Sense of accomplishment - Priceless :D


05qEBy.jpg


HbmQ3y.jpg


hdVdpf.jpg


v2oEoc.jpg


HQd5aT.jpg
 

Thanks, Dave


#8 Ellie

Ellie

    Mini Mad

  • Members
  • PipPipPipPip
  • 298 posts
  • Location: Cornwall
  • Local Club: Cornish Mini Club

Posted 16 July 2015 - 10:08 PM

That looks mint hun.

#9 Juniors mini

Juniors mini

    Stage One Kit Fitted

  • Noobies
  • PipPipPip
  • 93 posts
  • Location: Ayrshire

Posted 16 July 2015 - 10:12 PM

That looks the dogs b#locks, did you have to cut quilt case at all?

#10 bluemini17

bluemini17

    Mini Mad

  • Members
  • PipPipPipPip
  • 158 posts
  • Location: Bangor

Posted 16 July 2015 - 10:15 PM

Cheers :D


yes, It took some serious stitching to make it work. I basically made the quilt into a mirror replica of the original headlining


#11 megamini_jb

megamini_jb

    Crazy About Mini's

  • Members
  • PipPipPipPipPipPipPipPipPipPip
  • 5,491 posts
  • Name: Jamie
  • Location: -

Posted 16 July 2015 - 10:17 PM

Awesome! :D

#12 sonikk4

sonikk4

    Twisted Paint Polisher!!!

  • Admin
  • PipPipPipPipPipPipPipPipPipPipPip
  • 15,898 posts
  • Name: Neil
  • Location: Oxfordshire

Posted 16 July 2015 - 10:24 PM

Very tidy :D  :D


#13 cooperS

cooperS

    Mini Mad

  • Noobies
  • PipPipPipPip
  • 116 posts
  • Local Club: MOC Santiago, Chile

Posted 17 July 2015 - 11:34 AM

A W E S O M E!


#14 Chris1992

Chris1992

    Up Into Fourth

  • Members
  • PipPipPipPipPipPipPipPipPip
  • 2,022 posts
  • Location: Essex

Posted 17 July 2015 - 02:41 PM

best thing ive seen all day!! ... note to self: learn to sew...


#15 Toeknee

Toeknee

    Stage One Kit Fitted

  • Noobies
  • PipPipPip
  • 59 posts
  • Location: West Sussex

Posted 17 July 2015 - 04:05 PM

Top work!


0 user(s) are reading this topic

0 members, 0 guests, 0 anonymous users