Another Pickup Called Percy
#76

Posted 14 December 2016 - 11:02 PM
#77

Posted 06 January 2017 - 10:06 AM
#78

Posted 11 January 2017 - 09:06 AM
Just managed to purchase a pickup (after years of wanting one), and it's going to need a fair amount of work, and rollover jig will be incredibly useful. Yours looks to have castors on it. Did they arrive as part of the kit? Also, would it be possible to let me know the total length of the jig with the pickup in situ please? Thanks, Jamie
The castors are an optional extra for the jig, but I would definitely recommend them as they make life so much easier. The total length of the jig with the shell mounted is a shade under 4.5 meters
#79

Posted 11 January 2017 - 09:07 AM
Just managed to purchase a pickup (after years of wanting one), and it's going to need a fair amount of work, and rollover jig will be incredibly useful. Yours looks to have castors on it. Did they arrive as part of the kit? Also, would it be possible to let me know the total length of the jig with the pickup in situ please? Thanks, Jamie
The castors are an optional extra for the jig, but I would definitely recommend them as they make life so much easier. The total length of the jig with the shell mounted is a shade under 4.5 meters
#80

Posted 11 January 2017 - 12:23 PM
Just managed to purchase a pickup (after years of wanting one), and it's going to need a fair amount of work, and rollover jig will be incredibly useful. Yours looks to have castors on it. Did they arrive as part of the kit? Also, would it be possible to let me know the total length of the jig with the pickup in situ please? Thanks, Jamie
The castors are an optional extra for the jig, but I would definitely recommend them as they make life so much easier. The total length of the jig with the shell mounted is a shade under 4.5 meters
that's much appreciated - thank you! :)
#81

Posted 14 January 2017 - 05:50 PM
So, not a huge update but a tiny bit of progress has been made. Rome wasn't welded up in a day you know...... ![]()
To be honest after discovering Percy's load bed was just as bad as his main floor section, I'd lost a bit of motivation. The thought of cutting another huge chunk out of my poor little blue friend was really not appealing, and besides it was blinking cold in the garage! .... so I took a bit of a step back and had a couple of mini free months over Christmas.
I did get a couple of car related pressies which have helped me get a minor bit of mojo back though - more amount them in a mo.
So this afternoon after standing looking at what little remains of Percy's bottom third a plan was hatched after a strong cup of coffee. The toeboard is toast as well as the back end and I dare nor cut out both at the same time for fear of losing both references and any last vestige of structural rigidity. Percy maybe braced up around the door apertures but I am conscious of the fact the shell while being merrily rotated on the spit is being subjected to stresses and twisting forces it was never designed to take.
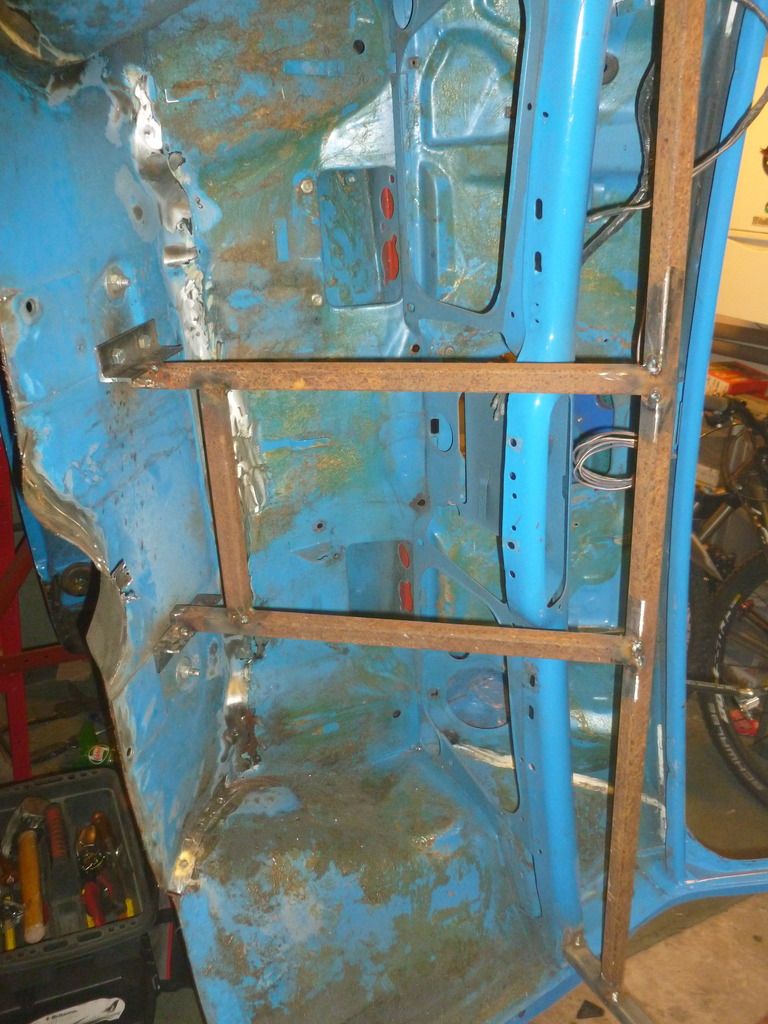
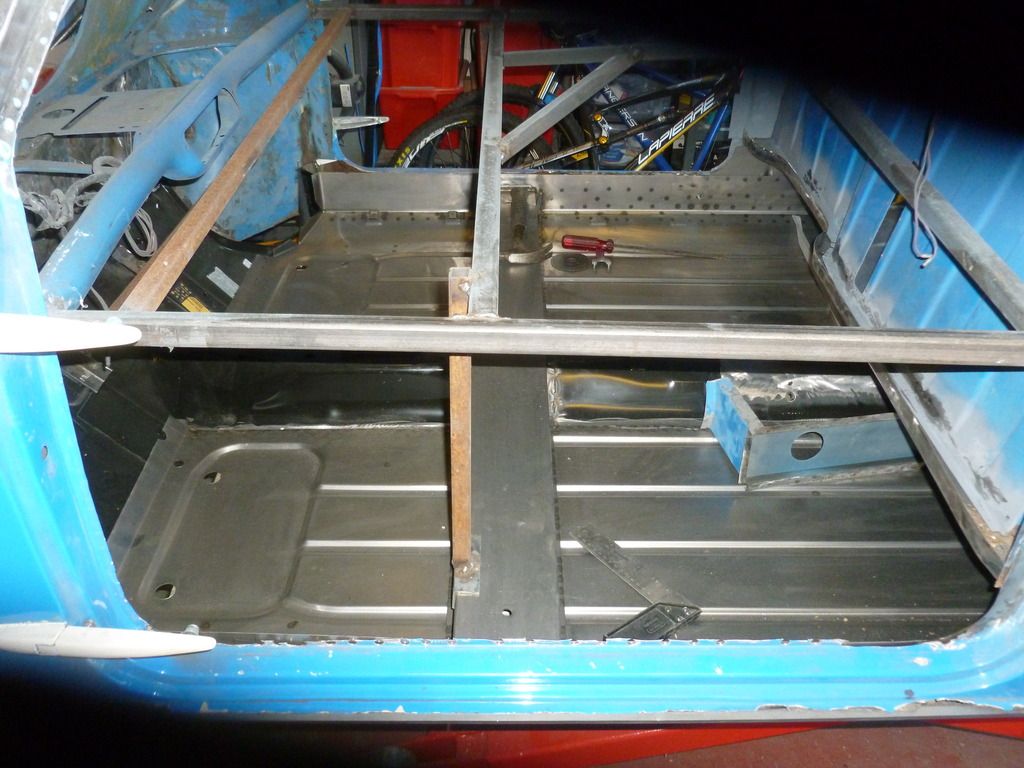
So this is a very waffly way of saying i've decided to replace the toeboard first before cutting out anymore rot else where. This will hopefully give me a good firm reference point to align the main floor and loadbed sections. So with this in mind and after looking at how BenO did the same job recently on the Track day grey mini he did I added some more bracing to the shell which picked up on the steering rack mounting points.
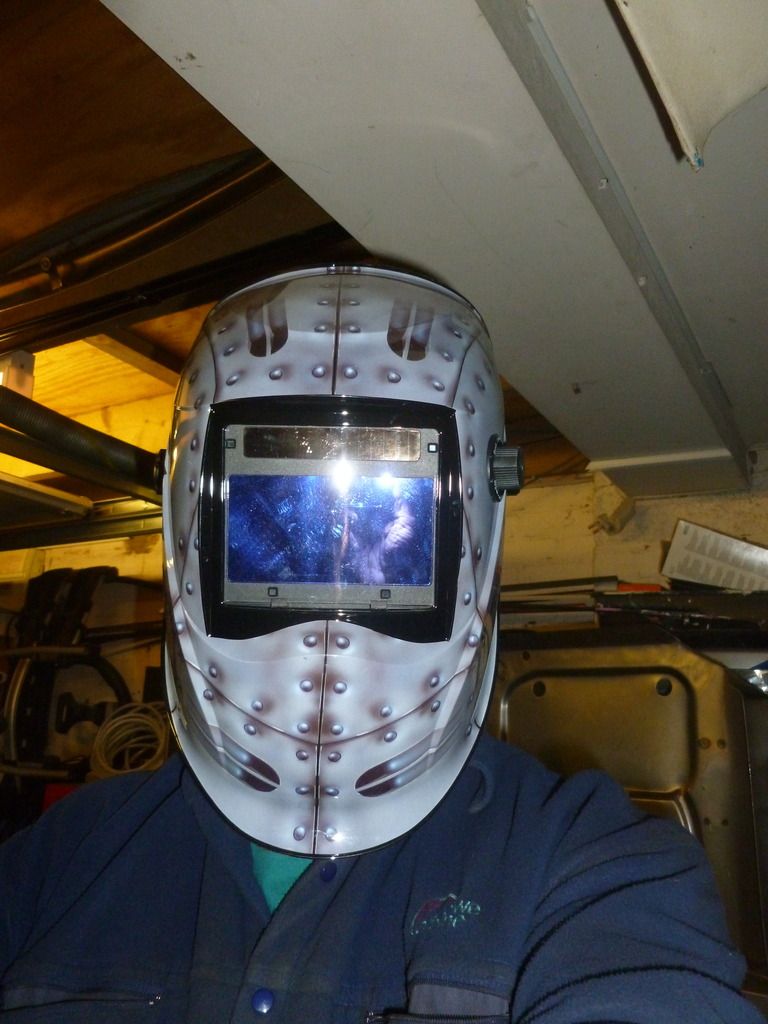
Hopefully this along with leaving whats left of the flitch panels in place will ensure I get the new panel back in the right place. It also gave me a chance to give the welder a run out and try out Crimbo pressie no.1 which was this rather snazzy welding helmet
Its amazing how much easier welding is when you can see what you're doing!
So there you are - not earth shattering progress but every little helps!
In the next instalment it maybe time for Percy to meet my other Christmas pressie........
'Perry the cheap Chinese plasma cutter" ![]()
#82

Posted 17 February 2017 - 06:47 PM
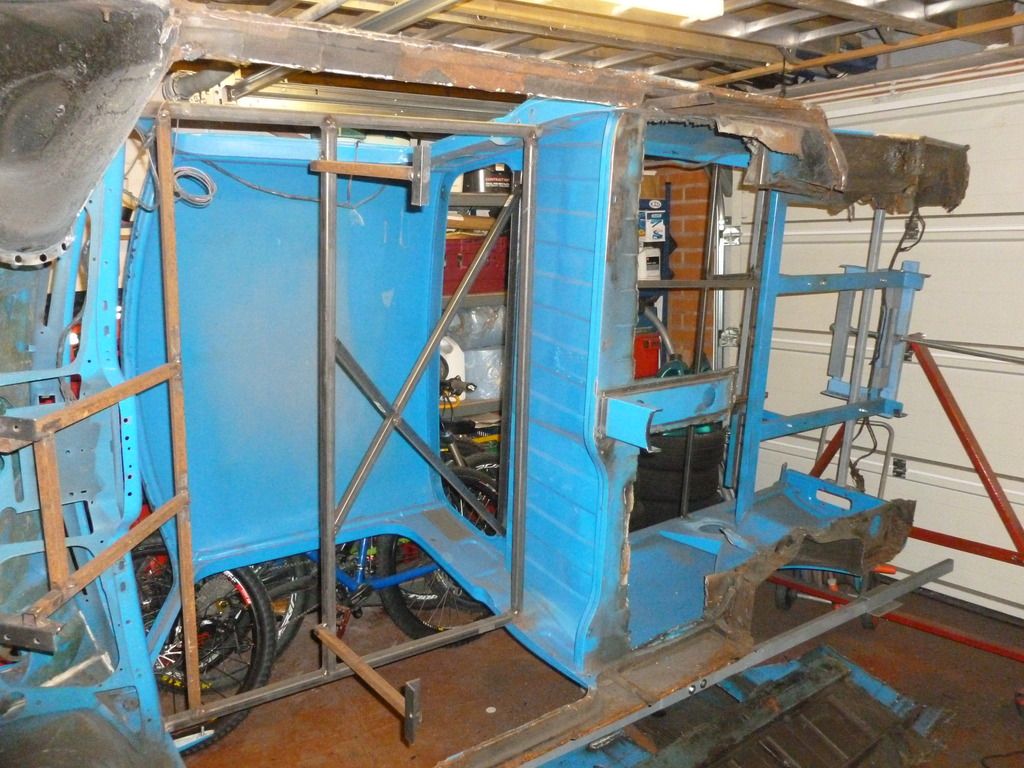
As you can see theres not much left of poor old Percy now. That this vehicle had an MOT when I bought it absolutely beggars belief. If it wasn't for the copious amounts of silicone sealant and adhesive some of the previous bodge tasctic artists had used I think he would have folded in half the first time he hit a speed bump.
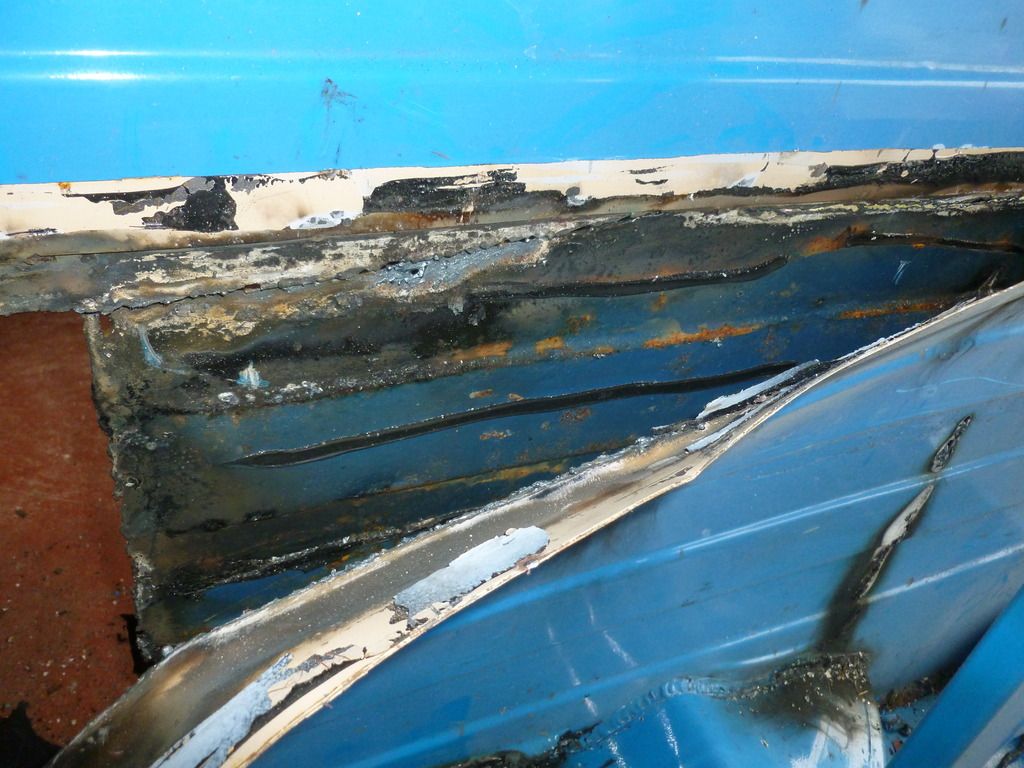
Look - heres the original load bed floor entombed underneath the repair panel which had just been stuck over the top of it.
I've got lots more pictures of the rust and general decrepitude but its depressing and boring in equal measure to keep posting them up.
I'm going to order the complete loadbed floor assembly from M-machine next moth when funds allow, and I'm beginning to formulate a tentative plan for Percy's resurrection.
I'll update again when theres either some new metal gone in or I've swept the remains up into a couple of boxes and weighed the rust heap in for scrap.........
#83

Posted 17 February 2017 - 11:22 PM
#84

Posted 18 February 2017 - 07:52 PM
Ouch! And i thought i had a lot to do ![]() it looks like there is more bracing than mini! at least there will be lots and lots of new metal when you are done.
it looks like there is more bracing than mini! at least there will be lots and lots of new metal when you are done.
Keep at it!
#85

Posted 19 February 2017 - 07:45 AM
No going back now... It will all be worth it in the end!
#86

Posted 20 February 2017 - 03:31 PM
Right I've bitten the bullet and ordered the complete load floor assembly from the ever helpful Doreen at M-machine. This combined with the full floor which I've already got will hopefully mean that using the rear subframe as a jig I can weld the floor and loadbed sections together and then simply 'drop' the remains of Percy on the top.
Thats the plan anyway ![]()
So I now need to remove the rest of the ragged edges of the old floor and loadbed while hopefully leaving a few key reference points like the wheel arches and rear cabin bulkhead intact so it'll be easy-peasy to join everything together and not end up with a pickup which wants to drive down the road sideways.
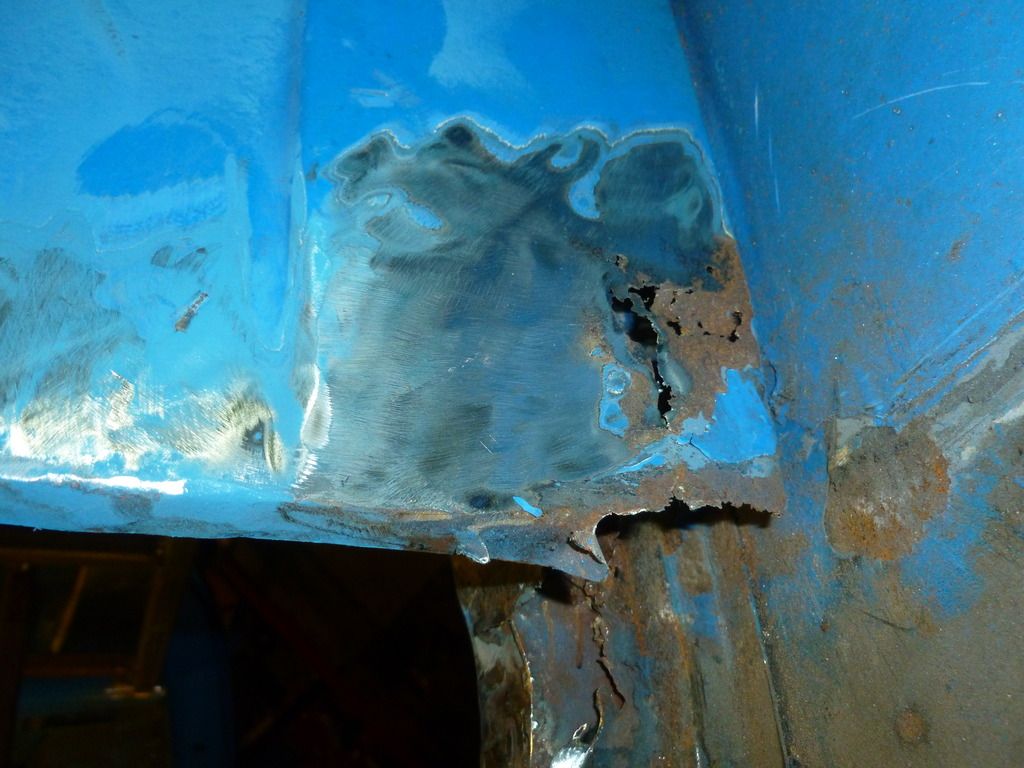
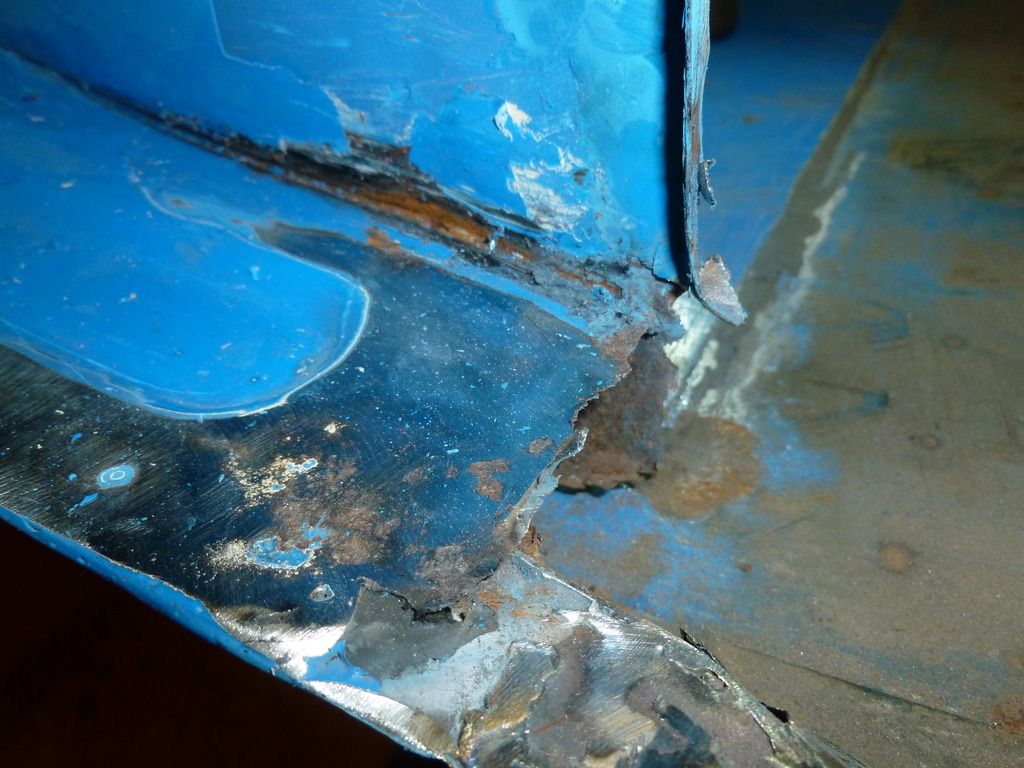
So I started to remove the edges of the old loadbed and guess what I found at the bottom of the B post...... yes more rust and bodgery ![]()
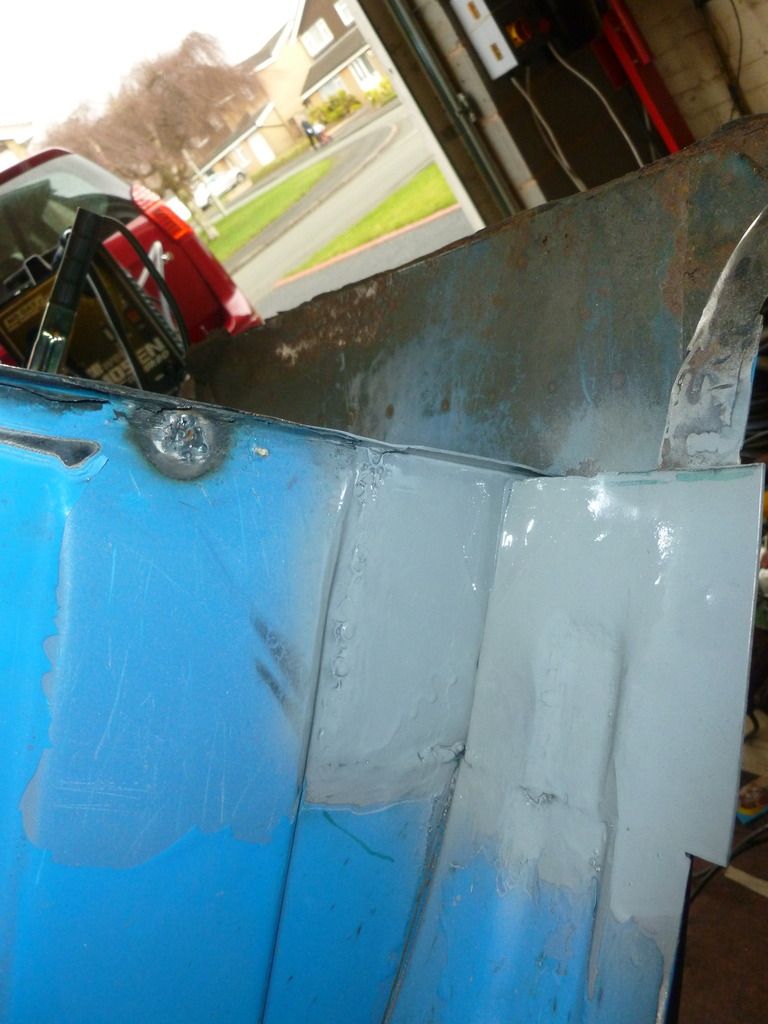
So the bottom of the B post and the corner of the bulkhead have dissolved and been hidden under a nice thick layer of filler. Also theres the original door step (or whats left of it) which has just had another panel stuck over the top.
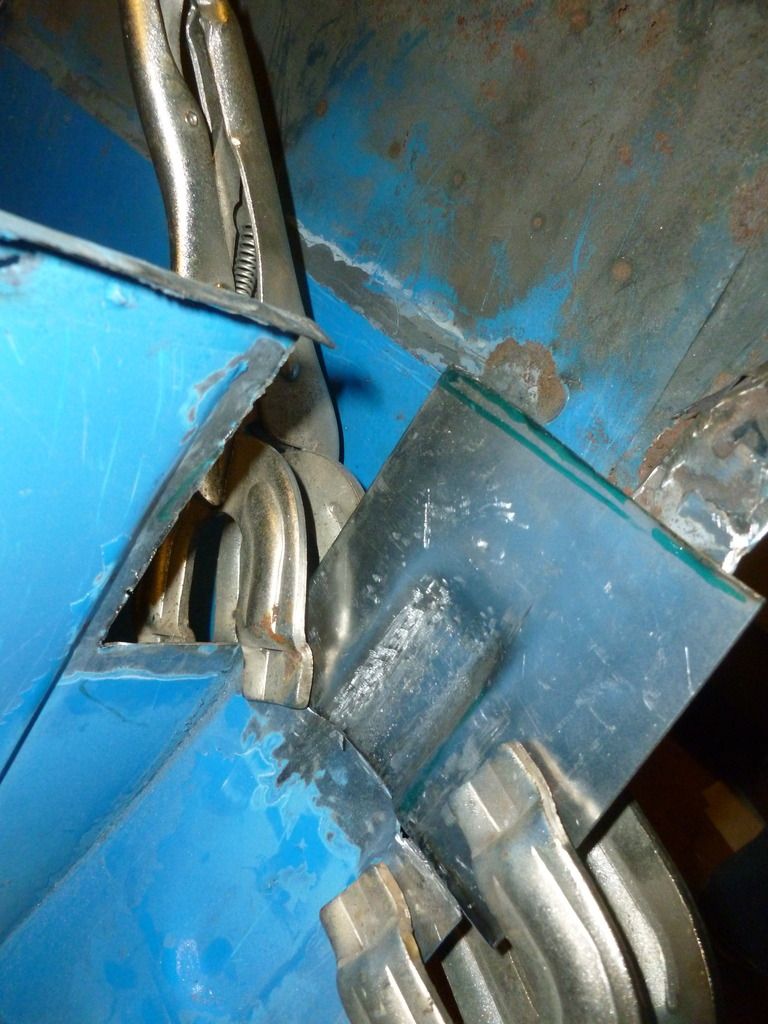
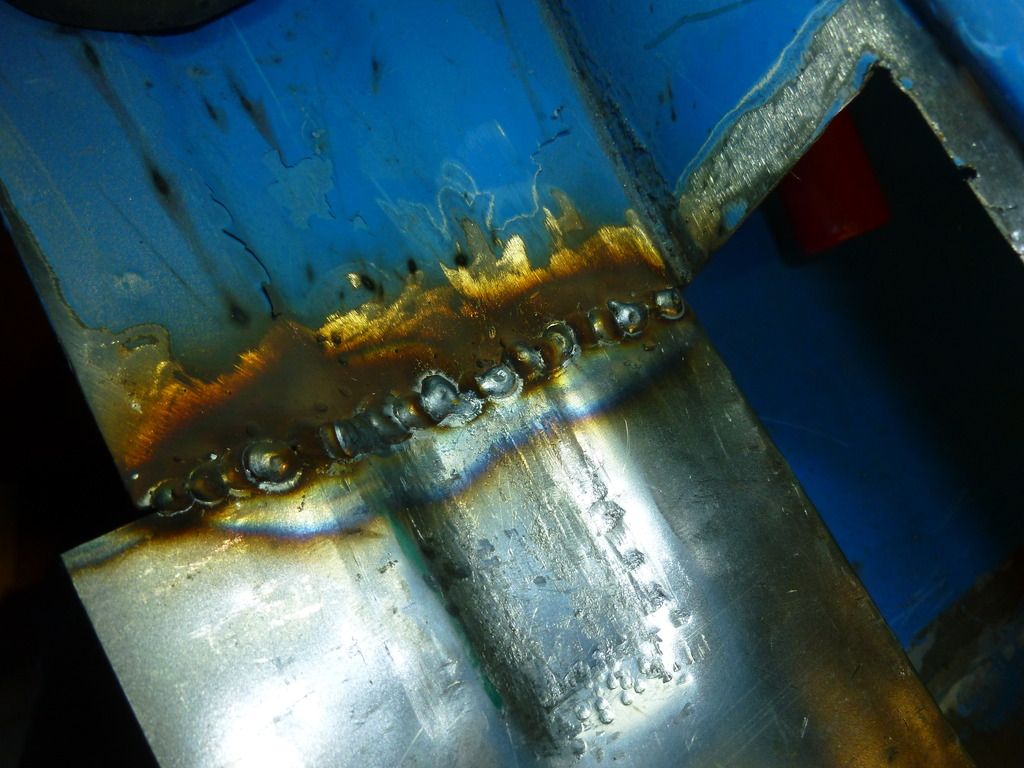
At this point I had to admit I did have to have a bit of a tantrum/sulk/head in hands moment. I even seriously considered if Poor old Percy was worth saving at all. Then I maned up and reached for the grinder again. I need this corner reasonably solid as a reference point for positioning Percy's cab section on the new floor so this was the perfect chance to actually try and put a little bit of metal back in rather than just cutting chunks out. This could be patch no.1, my first pitiful attempt at a repair that I could make myself. ![]()
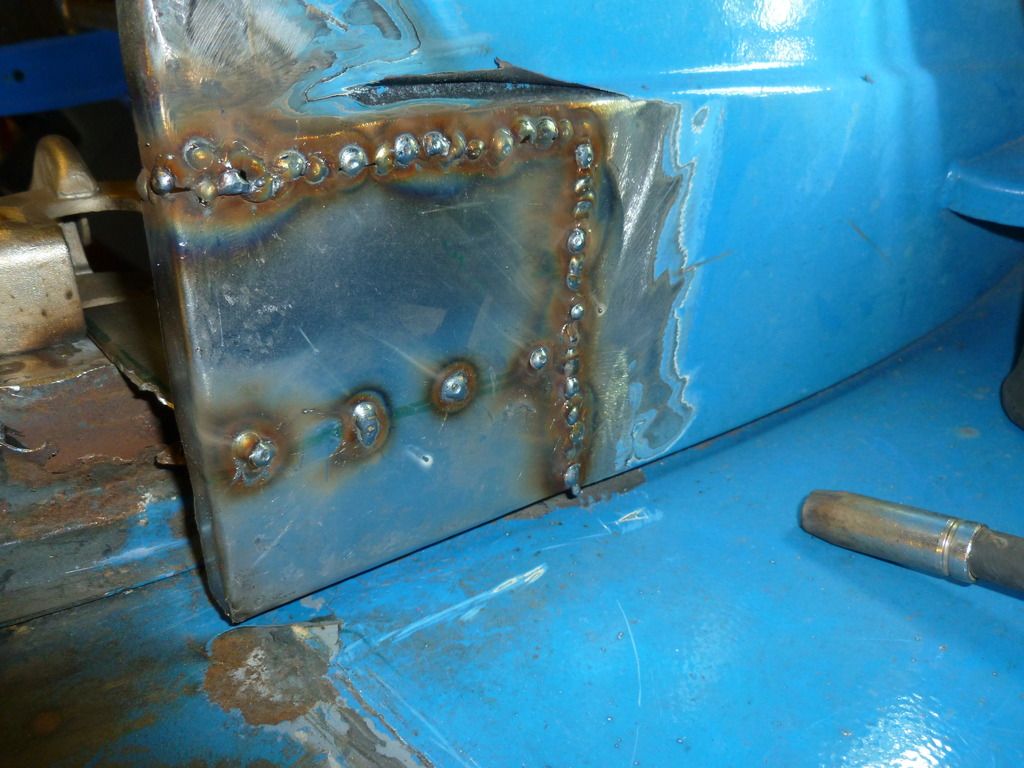
So I chopped out the corner and the bottom of the B post and made my first repair panel. (note the rough as a hedgehogs backside attempt to replicate the pressed bit ![]() )
)
Flushed with success I tentatively fired up the welder and welded it in. Then I fashioned the corner of the bulkhead
and welded that in as well. I did blow a little hole or to, but got there in the end ![]()
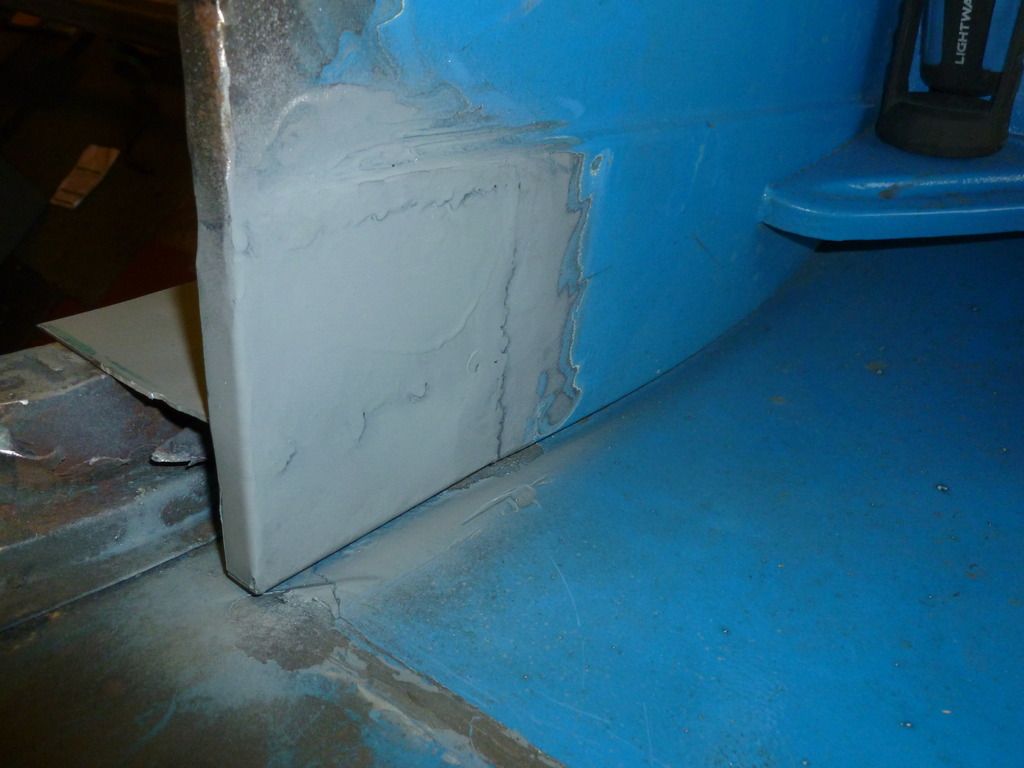
I gave repair no.1 a tickle with the grinder, went back and filled in a couple of little holes which appeared after grinding the welds back and gave it a squirt of zinc primer.
Ok, so its not exactly invisible but it is my first attempt.......... I may re-visit it later if my skills improve with practice, but it did feel good to be putting just a little bit of metal back.
Now I've got about 3 weeks before the loadbed turns up to chop the rest of the grot out!
#87

Posted 26 March 2017 - 01:52 PM
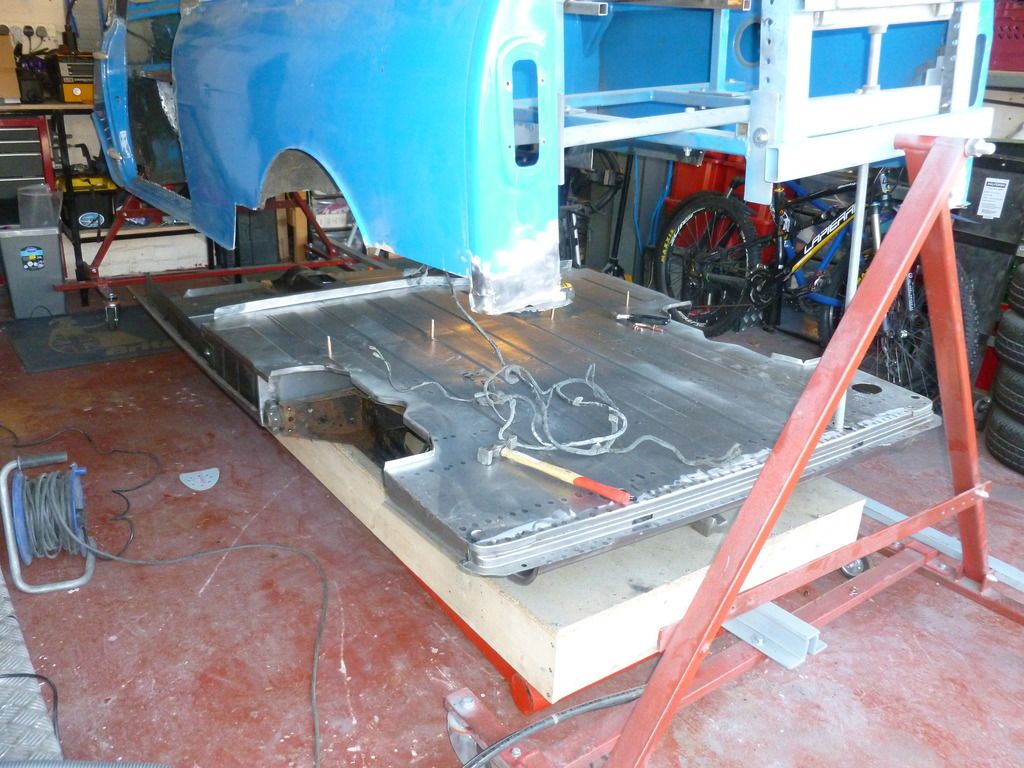
Another mahooosive parcel appeared from the ever helpful Doreen at M-Machine. After wrestling it out of its cardboard cocoon a full loadbed assembly lay before me on my garage floor ready to mate up with the full floor I'd bought months ago. Liberating the crusty rear subframe from the depths of the garden shed and bolting it to the back of the floor assembly allowed me to lay the loadbed on top and bolt up the rear mounts.
It all looked like it lined up ok, but before I drilled any holes or wafted the welder over several hundred quids worth of brand new panel i thought it might be prudent to see if the rather forlorn remains of Percy would fit over the top. Luckily having a scissor lift in the garage allowed me to ease the floor gently up to Percy's nether regions and ease the two together (as the bishop said to the actress)
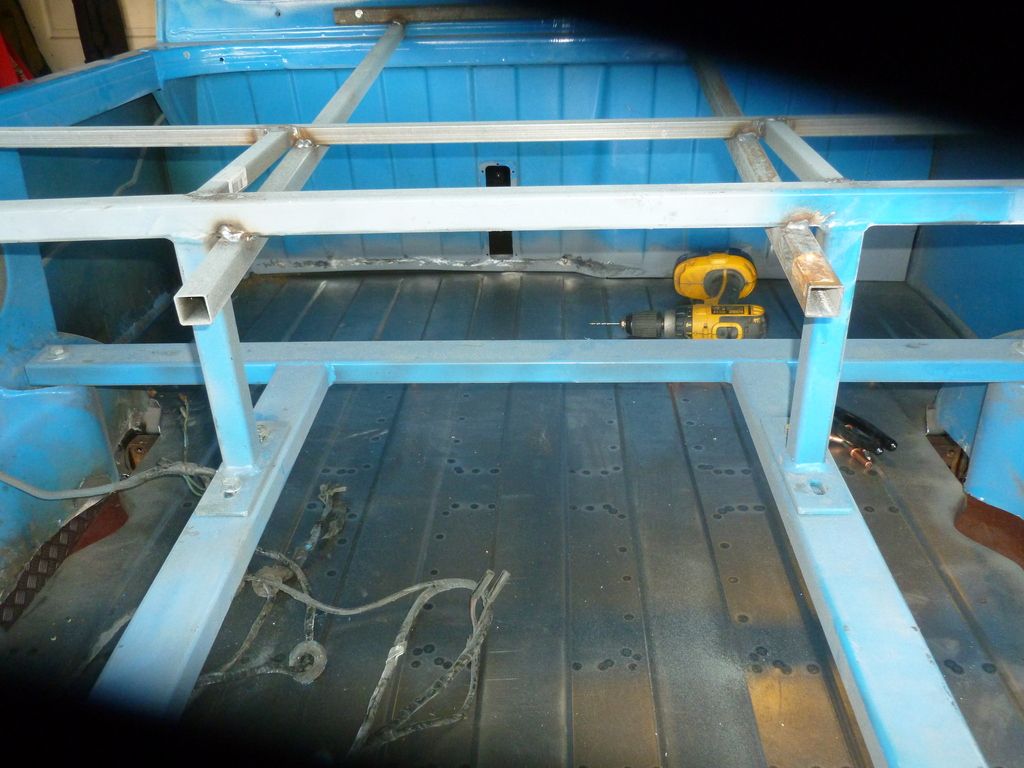
Much to my relief everything seems to be well within fettling range. The bracing I'd welded in that picks up on the floor crossmember lines up, and the doorsteps and toeboard are pretty close.
The back end is a little bit out on one wheel arch and corner, but considering the vast amounts of filler and layers of crusty repairs that held this bit of Percy together I'm much more inclined to believe the M-Machine floor is correct, so I'm more than happy to use the new floor and loadbed as a datum to re-construct the back end.
Right. Better get practising those plug welds.......... ![]()
Edited by carthorse, 26 March 2017 - 01:54 PM.
#88

Posted 26 March 2017 - 02:28 PM
Good luck! ![]() Really nice buy.
Really nice buy.
#89

Posted 26 March 2017 - 04:05 PM
Good work sir
FS
#90

Posted 27 March 2017 - 07:32 PM
Get plugging Percy's rear end!
0 user(s) are reading this topic
0 members, 0 guests, 0 anonymous users


