Jump to content


Photo
- - - - -

Project A - An '83 Revamp Becomes A Full On Restoration!

roundnose

  • Please log in to reply
13 replies to this topic

#1 henryS

henryS

    Stage One Kit Fitted

  • Noobies
  • PipPipPip
  • 66 posts
  • Location: Melton Mowbray
  • Local Club: DCMOC(?)

Posted 02 June 2015 - 07:45 PM

Well hello all!


Seeing as the Mini my brother and I bought in August last year is slowly turning into a bigger job than originally anticipated (well who'd have thought with an old Mini...) I thought I would start a thread on here to show the (most likely slow) progress as we begin to restore her as best as possible.


This is my second Mini after buying my first aged 14; but this will be my first proper restoration and rebuild. Little bit daunted but seeing the great threads on here I am sure there will be plenty of info and help to hand :)
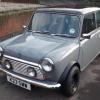
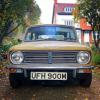
 

So, the mini:

18394002885_790a96b3d5_z.jpg


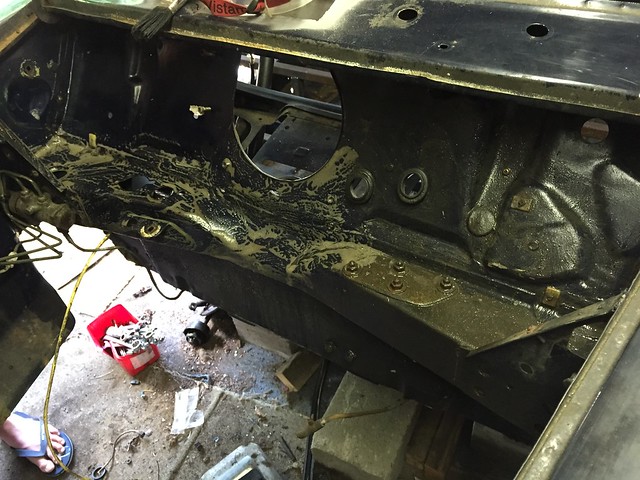
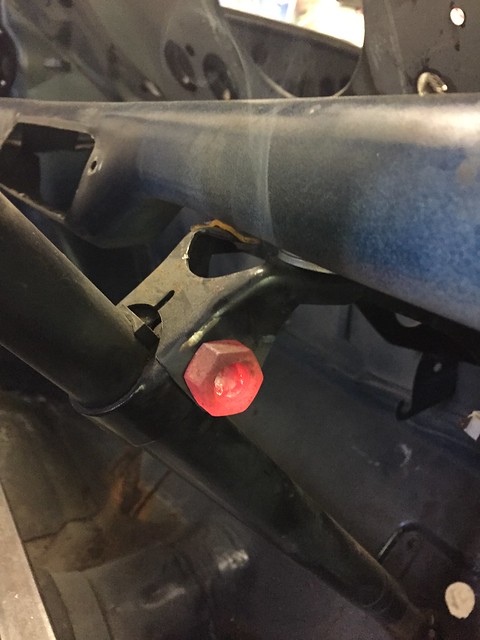
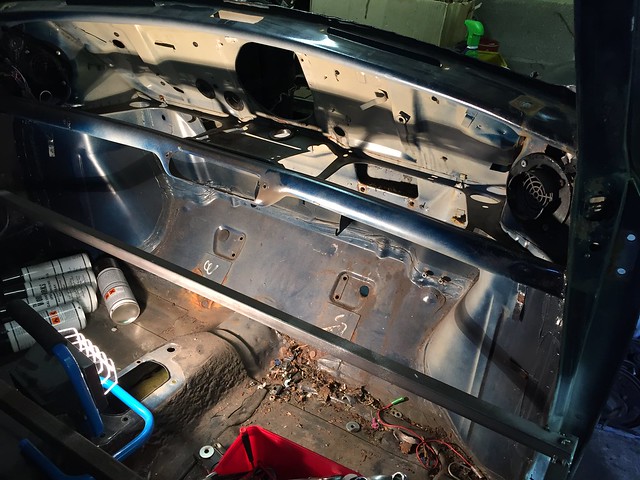
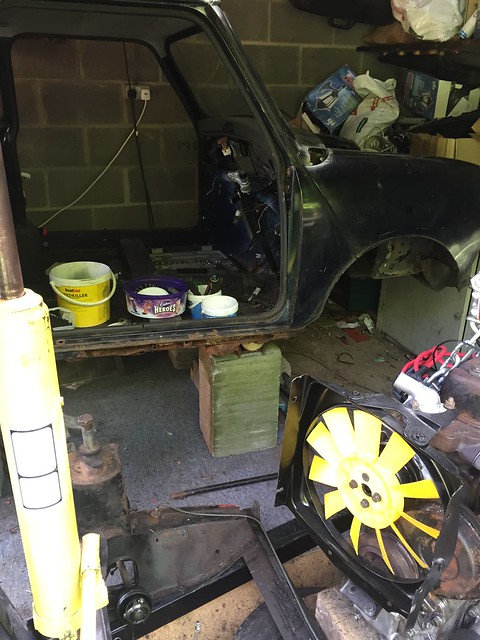
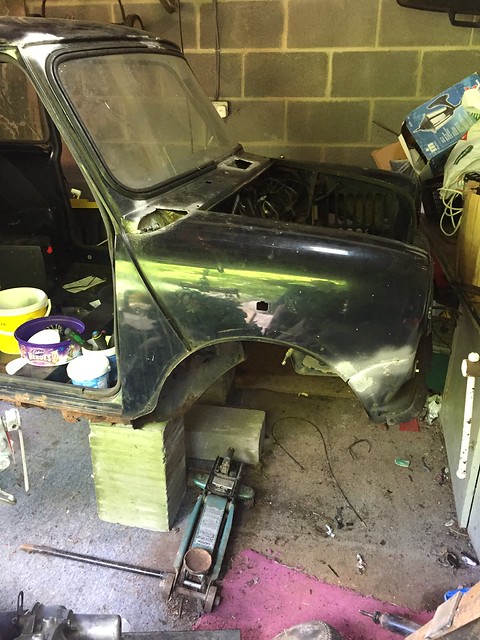
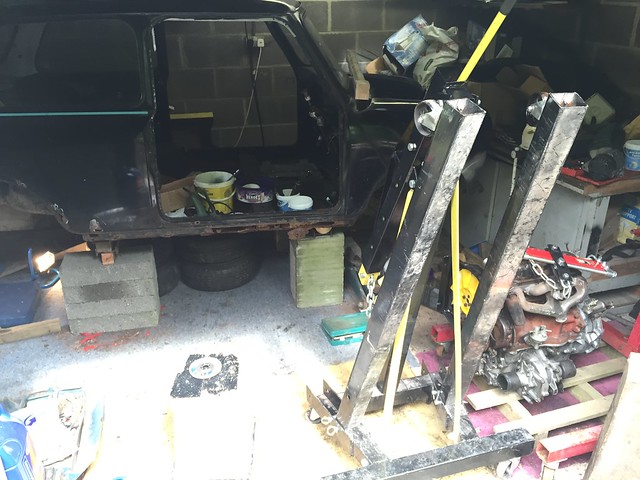
It's been a slow start for various reasons but we have finally got round to stripping the Mini down to a shell, subframes and engine. The plan being to fully strip the running gear, subframes etc. and get as much refurbed and probably powder coated, replacing where needed and initially just give the engine a tidy up and run a few tests. (we may fully rebuild the engine along the way but for now as a runner, it's not on the cards).


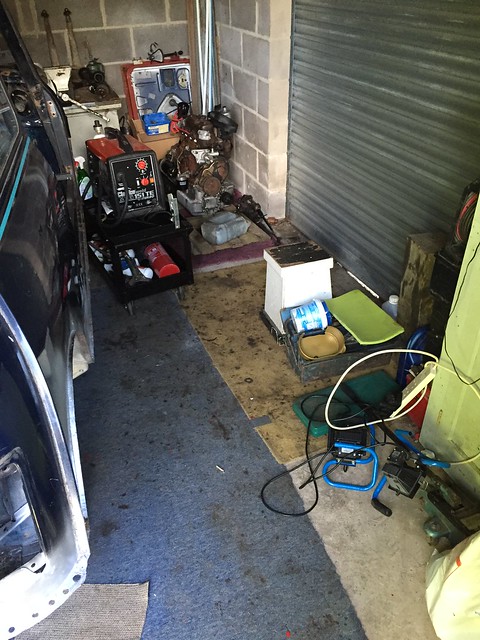
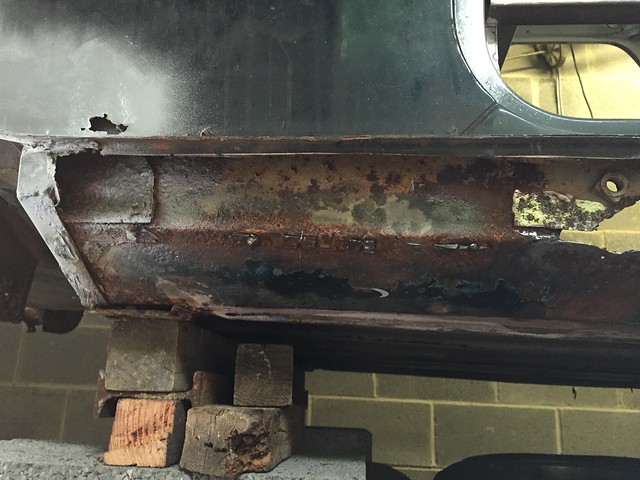
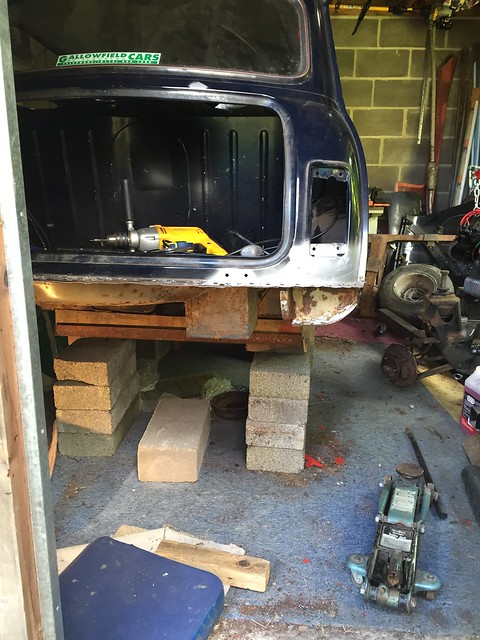
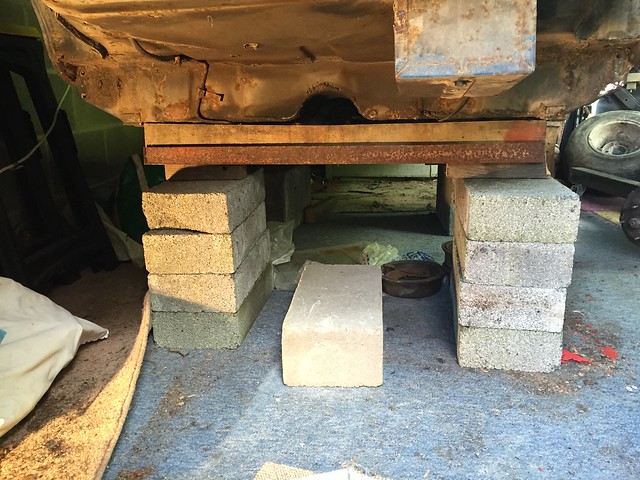
Due to the limited space in the "workshop" we have raised the shell up onto breezeblocks and I-beams for support to make the height for welding more bad-back friendly!
As you'll see, we have started at the rear, with the plan being to rotate the shell by 90 degrees after the rear is done, making access to the sides easier.


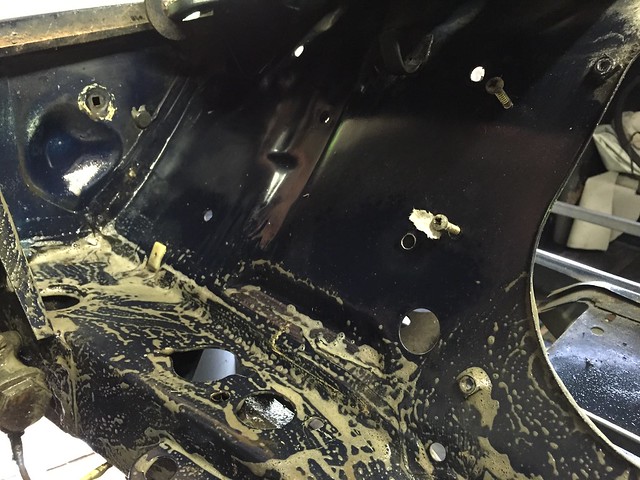
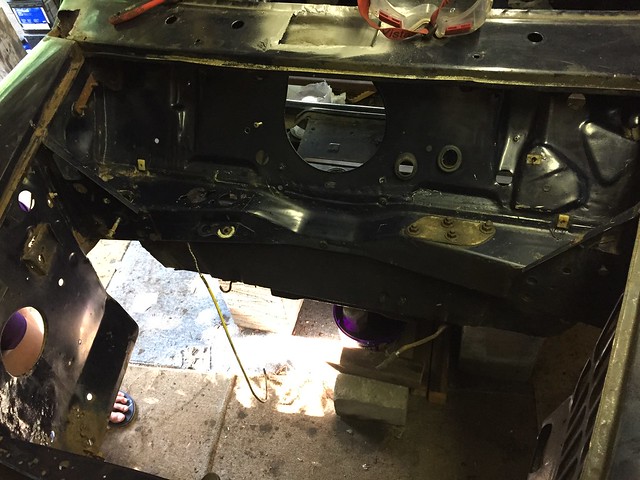
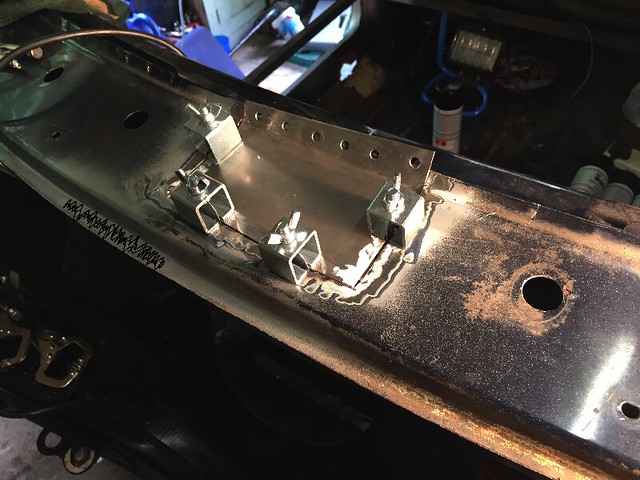
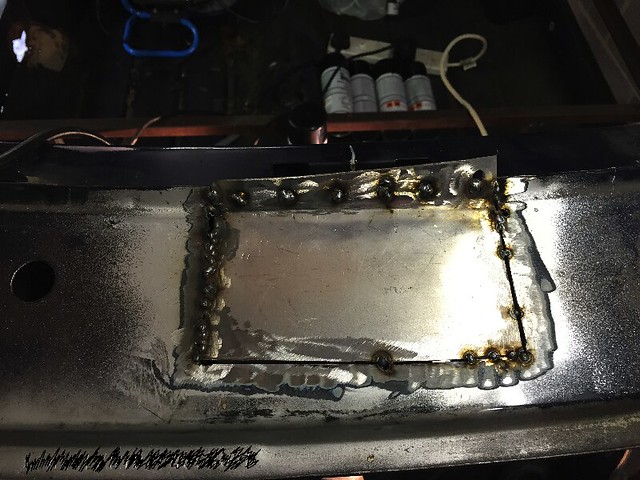
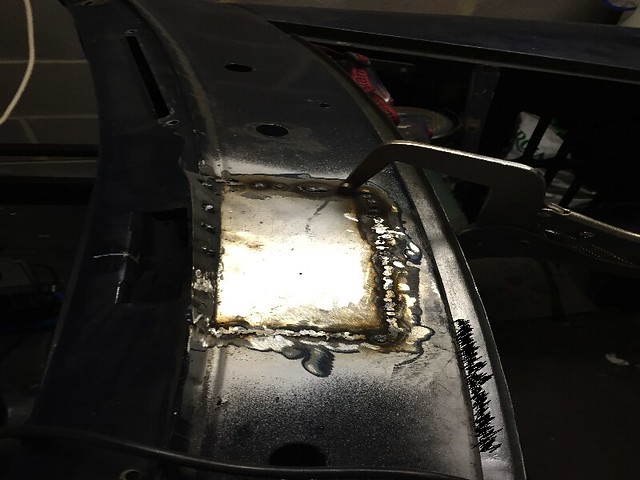
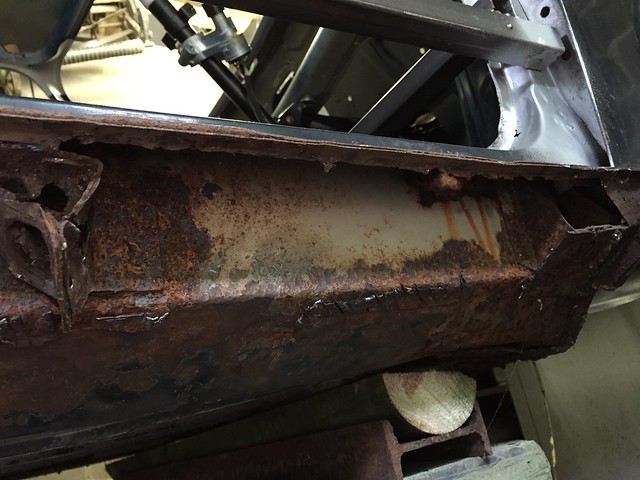
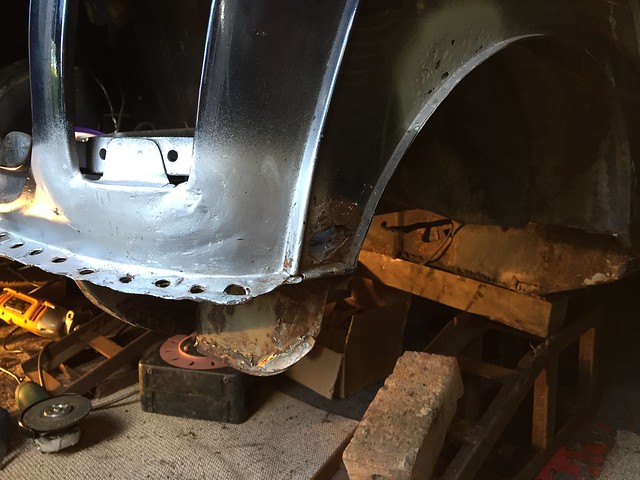
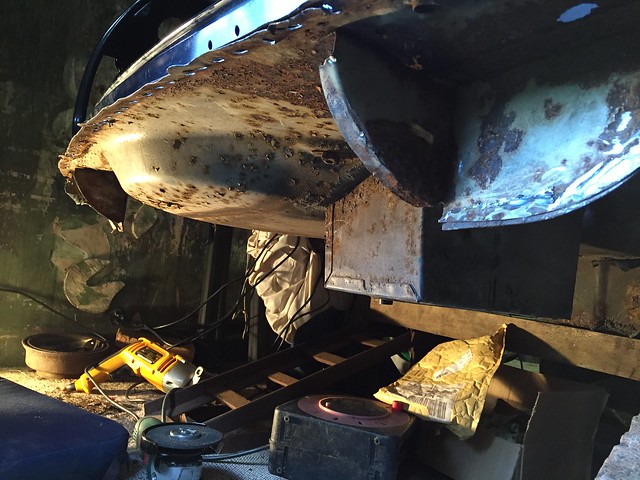
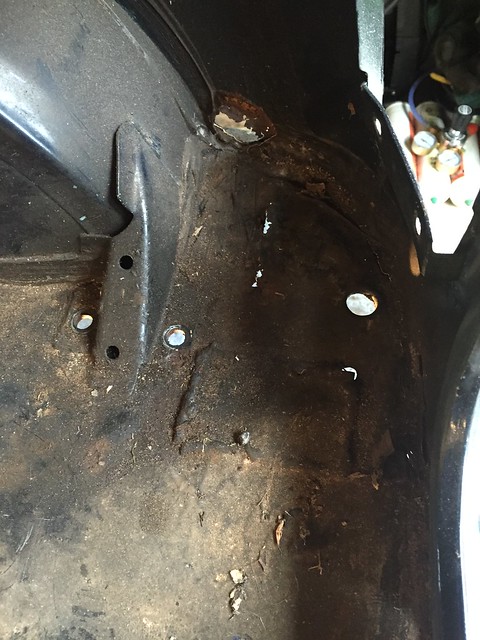
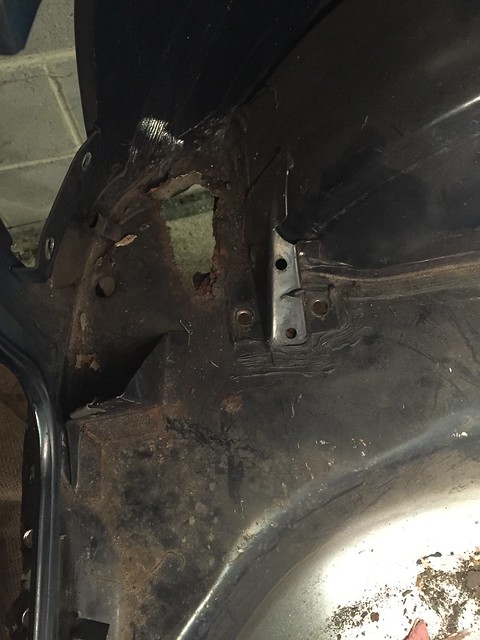
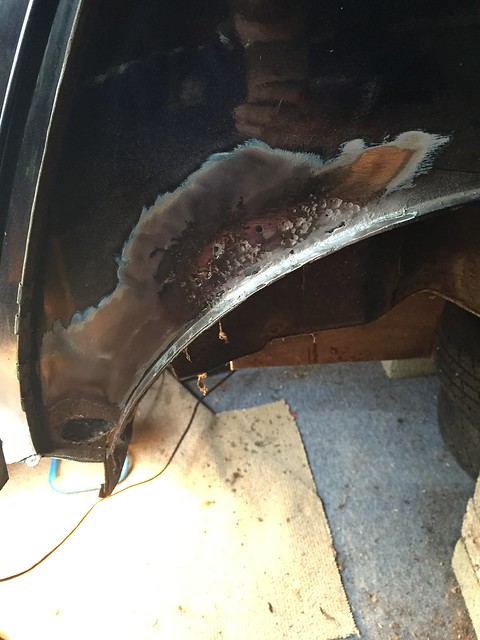
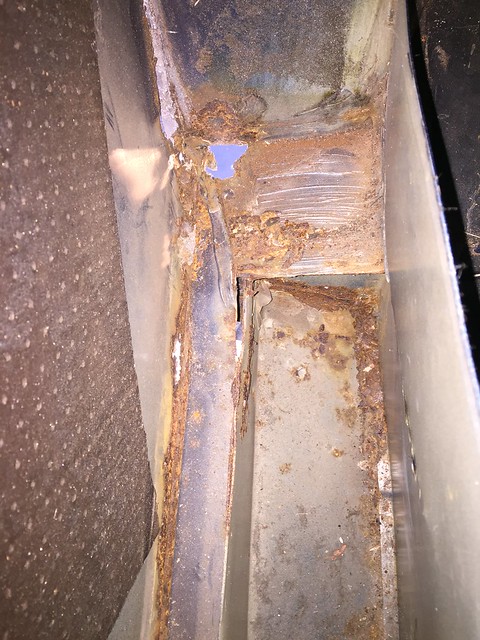
We began by chopping out the rear valence to reveal the infill panels and we have also started to unveil the rust holes in the boot floor and rear arches. (Suggestions welcome at any point)

I plan to remove the infill panels as they are a little corroded as well as chop out the rot in the floors then replace both of these before fitting a new rear valence. 


Once this is done, i.e welded, what's the general advice on painting, sealing etc. whilst the other bodywork is undertaken? I have seen threads using Tiger Seal and just a Zinc primer?


Anyway, I'll let some photos do the talking now....


18367600206_b36fd6245a_z.jpg


18367598326_fc6fb033a3_z.jpg


18389882482_c44f1cca03_z.jpg


18393998375_269cf96890_z.jpg


18395617031_24dfcf6281_z.jpg


18206297670_21bd612d06_z.jpg


18207823559_6b45870681_z.jpg


18206296330_22f7aeb70a_z.jpg


18207822509_3536e5c9bd_z.jpg


18207821549_7ac34ed2d6_z.jpg


18206293350_2a85d0a674_z.jpg


Edited by henryS, 02 June 2015 - 07:48 PM.


#2 James_eaton_thewholething

James_eaton_thewholething

    One Carb Or Two?

  • Members
  • PipPipPipPipPipPipPip
  • 1,063 posts
  • Location: Manchester

Posted 03 June 2015 - 01:03 PM

Doesn't look to bad. The hardest part is getting started and you have already done that. Reminds me a bit of mine I thought it was just going to be a few dress panels and the odd bit here and there and now it's a full shell rebuild but it's always going to be worth it in the end. Just be aware of when you replace panels that the new ones will always more than likely need fettleing even heritage ones. Will be good to see when it's done

#3 Carlos W

Carlos W

    Mine is purple, but I have been told that's normal

  • TMF+ Member
  • PipPipPipPipPipPipPipPipPipPipPip
  • 10,110 posts
  • Location: Sittingbourne, Kent

Posted 03 June 2015 - 01:05 PM

It's all very standard rot.


Your scuttle repair is interesting


#4 henryS

henryS

    Stage One Kit Fitted

  • Noobies
  • PipPipPip
  • 66 posts
  • Location: Melton Mowbray
  • Local Club: DCMOC(?)

Posted 04 June 2015 - 08:08 AM

Thanks for the comments and advice on the new panels; I've started to pick things like that up after reading the threads on here - I don't expect it to be easy and I will certainly be using this as practice for my welding skills!

Regarding the scuttle repair, I have just cut out the rotten areas (the two you can see). I was originally thinking of a repair panel for the off-side and making a small repair panel for the central section.

But, reading online, and I am sure you'll probably agree too, a full scuttle panel would be better?

I'll get some better photos of the offside sill area soon, as I have chopped out the old outer sill to reveal a hole in the inner by the seatbelt mount and a couple of smaller holes (nothing too major) and I am reluctant to take out the whole inner sill if it can be avoided...question is, (when you see the photos!) is it advisable to just take it out anyway, or is a repair or two to it deemed okay normally? I know often it comes down to a matter of opinion and personal preference but I'mm curious what others think too....

One last question for now, what the best or most commonly used "rust remover"? I've heard of Kurust being used as well as POR-15...

#5 henryS

henryS

    Stage One Kit Fitted

  • Noobies
  • PipPipPip
  • 66 posts
  • Location: Melton Mowbray
  • Local Club: DCMOC(?)

Posted 01 August 2015 - 07:31 PM

It's been a while but recently I have been busy on my other cars.


I've sorted out a bottle of HobbyWeld 5 for my welder rather than the disposable bottles and also invested in a decent earth clamp for it to replace the flimsy rubbish that came with it!


500a_welding_earth_clamp_heavy_duty_spri


Also thanks to I hate Brian I now also have the bracing to weld into place soon to prevent any distortion in the shell when I cut out the sills/door step etc. 


Once this is welded in I can really let the angle grinder loose on the car! I've already managed to strip the wiring loom out of the car and now the engine bar is looking very bare, ready for a clean up and probably a few coats of paint too.


Will get some more photos up soon.....  :-)


#6 henryS

henryS

    Stage One Kit Fitted

  • Noobies
  • PipPipPip
  • 66 posts
  • Location: Melton Mowbray
  • Local Club: DCMOC(?)

Posted 01 August 2015 - 07:33 PM

Your scuttle repair is interesting


Carlos - I presume you refer to the middle section? I don't know how...but there was a rust hole in the middle there, so for now I have just cut it out (I don't like the idea of leaving the rust in!) and my plan was to cut it nice and square to weld in a formed panel (flat with a bent up lip for the windscreen rubber) using Intergrips I would imagine? Or at least that was my plan...any other suggestions?

Thanks,


#7 chuffed

chuffed

    Mini Mad

  • Noobies
  • PipPipPipPip
  • 131 posts
  • Location: Salisbury

Posted 02 August 2015 - 09:03 AM

I had a rust hole right in the middle of my scuttle, and nothing at either side!

I did the same, created a panel to fit in, although i found it difficult to match the profile of the scuttle! I used filler to finish it off, and to perfect the lip for the windscreen seal!

Overall though, it looks a decent little project!

#8 henryS

henryS

    Stage One Kit Fitted

  • Noobies
  • PipPipPip
  • 66 posts
  • Location: Melton Mowbray
  • Local Club: DCMOC(?)

Posted 02 August 2015 - 11:37 AM

Thanks Chuffed. I agree with the middle scuttle panel repair, I think I'll try a gentle curve and finish with filler like you have.

Now I have my welder all sorted I'm looking forward to getting better stuck in!


Edited by henryS, 02 August 2015 - 08:01 PM.


#9 henryS

henryS

    Stage One Kit Fitted

  • Noobies
  • PipPipPip
  • 66 posts
  • Location: Melton Mowbray
  • Local Club: DCMOC(?)

Posted 02 August 2015 - 08:09 PM

As promised a few more photos:


Little brother started degreasing the engine bay/bulkhead with some good results

20242390731_87088f13a1_z.jpg

20228336612_81a196f2f1_z.jpg

It came up really well. Very pleased with the results. (Used "Gunk" for anyone interested)

20048562720_f5c50f3ee1_z.jpg


Also had a bit of a tidy up in preparation for the cutting and welding.

20228335512_00232ed7dd_z.jpg


#10 minimissions

minimissions

    Up Into Fourth

  • Members
  • PipPipPipPipPipPipPipPipPip
  • 3,427 posts
  • Location: North West
  • Local Club: M.M.O.C

Posted 03 August 2015 - 05:38 AM

Looks like a good project this and not your usual basket case of a car, look forward to seeing the progress.


#11 henryS

henryS

    Stage One Kit Fitted

  • Noobies
  • PipPipPip
  • 66 posts
  • Location: Melton Mowbray
  • Local Club: DCMOC(?)

Posted 03 August 2015 - 06:03 AM

Thanks Minimissions. I hope it to be a good bit of fun restoring.


Taking a closer look (which I forgot to photograph) there is a 3 inch x 1/2 inch hole in the front valance (if that's what you call it below the bumper seam?) but i believe this may be fixable although tempted to just fit a new one.....seeing as both inner wing supports(?) which seem to be attached to this valance also have heavy suface rust and some of which has gone through to the inner wing. The inside of the from arches/wings has a light dusting of rust in places, mainly around the headlamp bowls.

I don't feel that's enough to warrant taking the whole front end off (yet) if I can avoid it, so I will clean it all up with a wire wheel etc and then re-assess the damage. Will try to photograph so others can see the corrosion.


Other than that, I think the rest of the rust has been photographed, oh except a finger sized hole in the passenger footwell which I think can be patched easily enough.


#12 I hate Brian

I hate Brian

    One Carb Or Two?

  • Members
  • PipPipPipPipPipPipPip
  • 770 posts
  • Location: nottingham

Posted 07 August 2015 - 08:38 AM

Hi Henry just a heads up to say hello mate and check your mini out


#13 henryS

henryS

    Stage One Kit Fitted

  • Noobies
  • PipPipPip
  • 66 posts
  • Location: Melton Mowbray
  • Local Club: DCMOC(?)

Posted 09 August 2015 - 09:07 AM

Cheers Steve. You can see what a mess it currently is!

#14 henryS

henryS

    Stage One Kit Fitted

  • Noobies
  • PipPipPip
  • 66 posts
  • Location: Melton Mowbray
  • Local Club: DCMOC(?)

Posted 17 August 2015 - 05:59 PM

With great thanks to Steve (I Hate Brian) I have managed to almost complete my first repair panel, thanks for the tip on using copper behind a panel to avoid blow-through!

20667710741_538b575c9c_z.jpg


20667710601_ab7725b432_z.jpg


20661021015_c1d05696b1_z.jpg


Also welded in a brace I picked up from Steve to prevent distortion during sill repairs.

20038021824_b992a4df86_z.jpg


Below shows the stripped drivers side sill.

20651465152_222be7e923_z.jpg


20660677255_1bd0cbed0e_z.jpg


20473934009_7b786c6ef8_z.jpg


Also removed the steering column and pedals by welding on a nut to the remains of the shear nuts.

20472584390_899b078b3a_z.jpg


20473853809_7317d3647d_z.jpg


Edited by henryS, 17 August 2015 - 06:04 PM.


Also tagged with one or more of these keywords: roundnose

1 user(s) are reading this topic

0 members, 1 guests, 0 anonymous users