Well, I actually rebuilt it a few years back and have not put many miles on it BUT I want to go back and check my work....just to be sure. I have the master off, tank off the top, c-clip and seal out of the back but I can't remember how the rest comes apart. I know there is something locking the piston from shooting out the back but I thought it was just the c-clip??? When looking at the back. There is a white plastic washer/spacer/vent thing around the plunger that extend into the servo. Anyone have pix of the process?
Also, how do you know what master you have? Mini spares sells two kits. 88-95 and 95-2000. My car is a 94 and thought had the original but there is a green band around it.

Rebuilding Brake Master
Started by
brivinci
, Jun 03 2015 04:21 AM
21 replies to this topic
#1

brivinci
-
- Members
-

- 1,101 posts
One Carb Or Two?
- Location: New Jersey
Posted 03 June 2015 - 04:21 AM
#2
brivinci
-
- Members
-
- 1,101 posts
One Carb Or Two?
- Location: New Jersey
Posted 05 June 2015 - 03:31 PM
Called Mini Spares and they were no help in determining which rebuild kit to buy or how to get it apart.
This is the kit for the early one: GRK1032
And this is the later one. GRK1039
Both say they have green bands around cylinder...which I have. I just need to get it all apart to figure out what kit I need. Anyone??
#3
Nu2mini
-

- TMF+ Member
-
- 442 posts
Speeding Along Now
- Location: Lancaster
Posted 05 June 2015 - 04:04 PM
I've never done this myself, but wondered if this tells you anything more
http://www.theminifo...uild/?p=3271394
#4
brivinci
-
- Members
-
- 1,101 posts
One Carb Or Two?
- Location: New Jersey
Posted 05 June 2015 - 06:17 PM
Boom! Thats it? There is a "pin" in the front hole that the res attaches to. You better believe I will be pulling it tonight and seeing what happens. Thanks!
#5
brivinci
-
- Members
-
- 1,101 posts
One Carb Or Two?
- Location: New Jersey
Posted 07 June 2015 - 01:31 AM
That was it! Though, even after removing the pin, the plunger would not come out. Ended up using some compressed air to get it to pop out.
Now I need to figure out if I have everything in the correct order and direction. I'll try and snap some pix. Maybe you all can help in that department.
Now I need to figure out if I have everything in the correct order and direction. I'll try and snap some pix. Maybe you all can help in that department.
#6
brivinci
-
- Members
-
- 1,101 posts
One Carb Or Two?
- Location: New Jersey
Posted 08 June 2015 - 05:46 PM
So, didnt realize that the Haynes manual actually has an exploded view of the master. Hopefully problem solved.
#7
kommander
-

- Members
-
- 210 posts
Mini Mad
Posted 29 July 2017 - 02:01 PM
^
Seeing that you did this job, can you provide some instructions on how to remove the master cylinder?
Thanks
Edited by kommander, 29 July 2017 - 02:47 PM.
#8
brivinci
-
- Members
-
- 1,101 posts
One Carb Or Two?
- Location: New Jersey
Posted 31 July 2017 - 01:40 PM
What exactly are you interested in knowing? Removing the master from the car or actually taking it all apart?
#9
kommander
-
- Members
-
- 210 posts
Mini Mad
Posted 01 August 2017 - 06:39 PM
How do l remove it....l've viewed enough vids on youtube on taking one apart
#10
brivinci
-
- Members
-
- 1,101 posts
One Carb Or Two?
- Location: New Jersey
Posted 01 August 2017 - 08:11 PM
So, you want to remove the master from the car? Thats the easy part. There are two ways, depending on what you are looking to do. You can remove just the master cylinder or remove the master and the brake booster as a single unit.
If you just want to remove the master, I'd start with sucking out all of the itsold fluid from the reservoir. You can do that with a turkey baster or any sort of suction device. Next, disconnecting the two brake lines from the side of the master. If you haveor have not removed the old fluid, be ready to block up the holes as fluid will pour out and is typically harmful to paint. With the two brake lines removed, the last step is to undo the two (2) master cylinder retaining nuts that secure the master to the brake booster body. I believe these are either 1/2" or 9/16" nuts. Then you can just lift out the master from the car.
If you want to remove the master AND the booster as a unit, you will have to first remove the split pin and bushing that attaches the brake pedal to the lever attached to the brake assembly. With that bushing removed, I'd go and crack the two brake lines on the master off and then retighten handtight so there is no dripping. Next, you are going to need to removed the vacuum line that is attached with the large bolt to the intake manifold. There are two copper washers on top and bottom that seal that vacuum line so be sure to grab them before they (especially the bottom one) falls and is lost in the engine abbiss. Now, locate the 2 nuts and 1 bolt that secure the entire brake master and boost assembly to the car. The 2 nuts are located on either side of the brake pedal rod that comes through the bulkhead. They are a little tricky to find sometimes. The ones is very close to the clutch master. Remove them and find the single bolt that is bolted to higher up on the firewall. Once all that is removed, remove the two brake lines and, being careful of fluid leaking (see above ideas) and remove the entire assembly from the car.
#11
kommander
-
- Members
-
- 210 posts
Mini Mad
Posted 02 August 2017 - 12:34 AM
Thanks a lot man. I looked at the master cylinder and observed it was just bolted onto the brake booster. I wasn't sure how the internals were connected though.
So l decided to ask to make sure. Rebuilding the master doesn't seem too difficult...once parts are returned to their right position. Thanks again.
#12
brivinci
-
- Members
-
- 1,101 posts
One Carb Or Two?
- Location: New Jersey
Posted 02 August 2017 - 10:12 PM
Not difficult but can be frustrating. I have found it difficult to get the inards out, once you remove the locking pin in the front most res port and the circlip at the rear. They can still be a pain to get out. Also, when it comes to assembly getting it all in AND the circlip in can be tricky.
#13
kommander
-
- Members
-
- 210 posts
Mini Mad
Posted 08 August 2017 - 04:17 PM
I removed the reservoir...how do I remove the piston?
The pin that was mentioned, how do I remove it?
Edited by kommander, 08 August 2017 - 06:14 PM.
#14
brivinci
-
- Members
-
- 1,101 posts
One Carb Or Two?
- Location: New Jersey
Posted 08 August 2017 - 08:05 PM
With the res removed, remove the rubber grommets and metal plates that are under them. They need to be lifted out at an angle to clear the lip of the master where the grommets sit. Now, you should see a small pin with a mushroom shaped top in the front most res port. The only way to pull the pin out is to relieve the tension that is on it by pushing in the on the piston that is sticking out the back of the master. Before you do that, it would be a good idea to remove the washers and seals around that piston until you see the Circlip that is keeping all the internals inside the master. One way I have found helpful is to compress it as mush as you can and hold in place with a large zip-tie woven through the two bolt holes on the back of the master. That gives you less pressure on the circlip as well as giving you enough room to work. Beware: when you relieve the pressure on the pin, it can sometimes just fall out so work over a clean and open surface so you do not loose anything. Also takes special care to note both the order AND the orientation of all seals, spacers, springs and washers.
#15
kommander
-
- Members
-
- 210 posts
Mini Mad
Posted 16 August 2017 - 04:21 PM
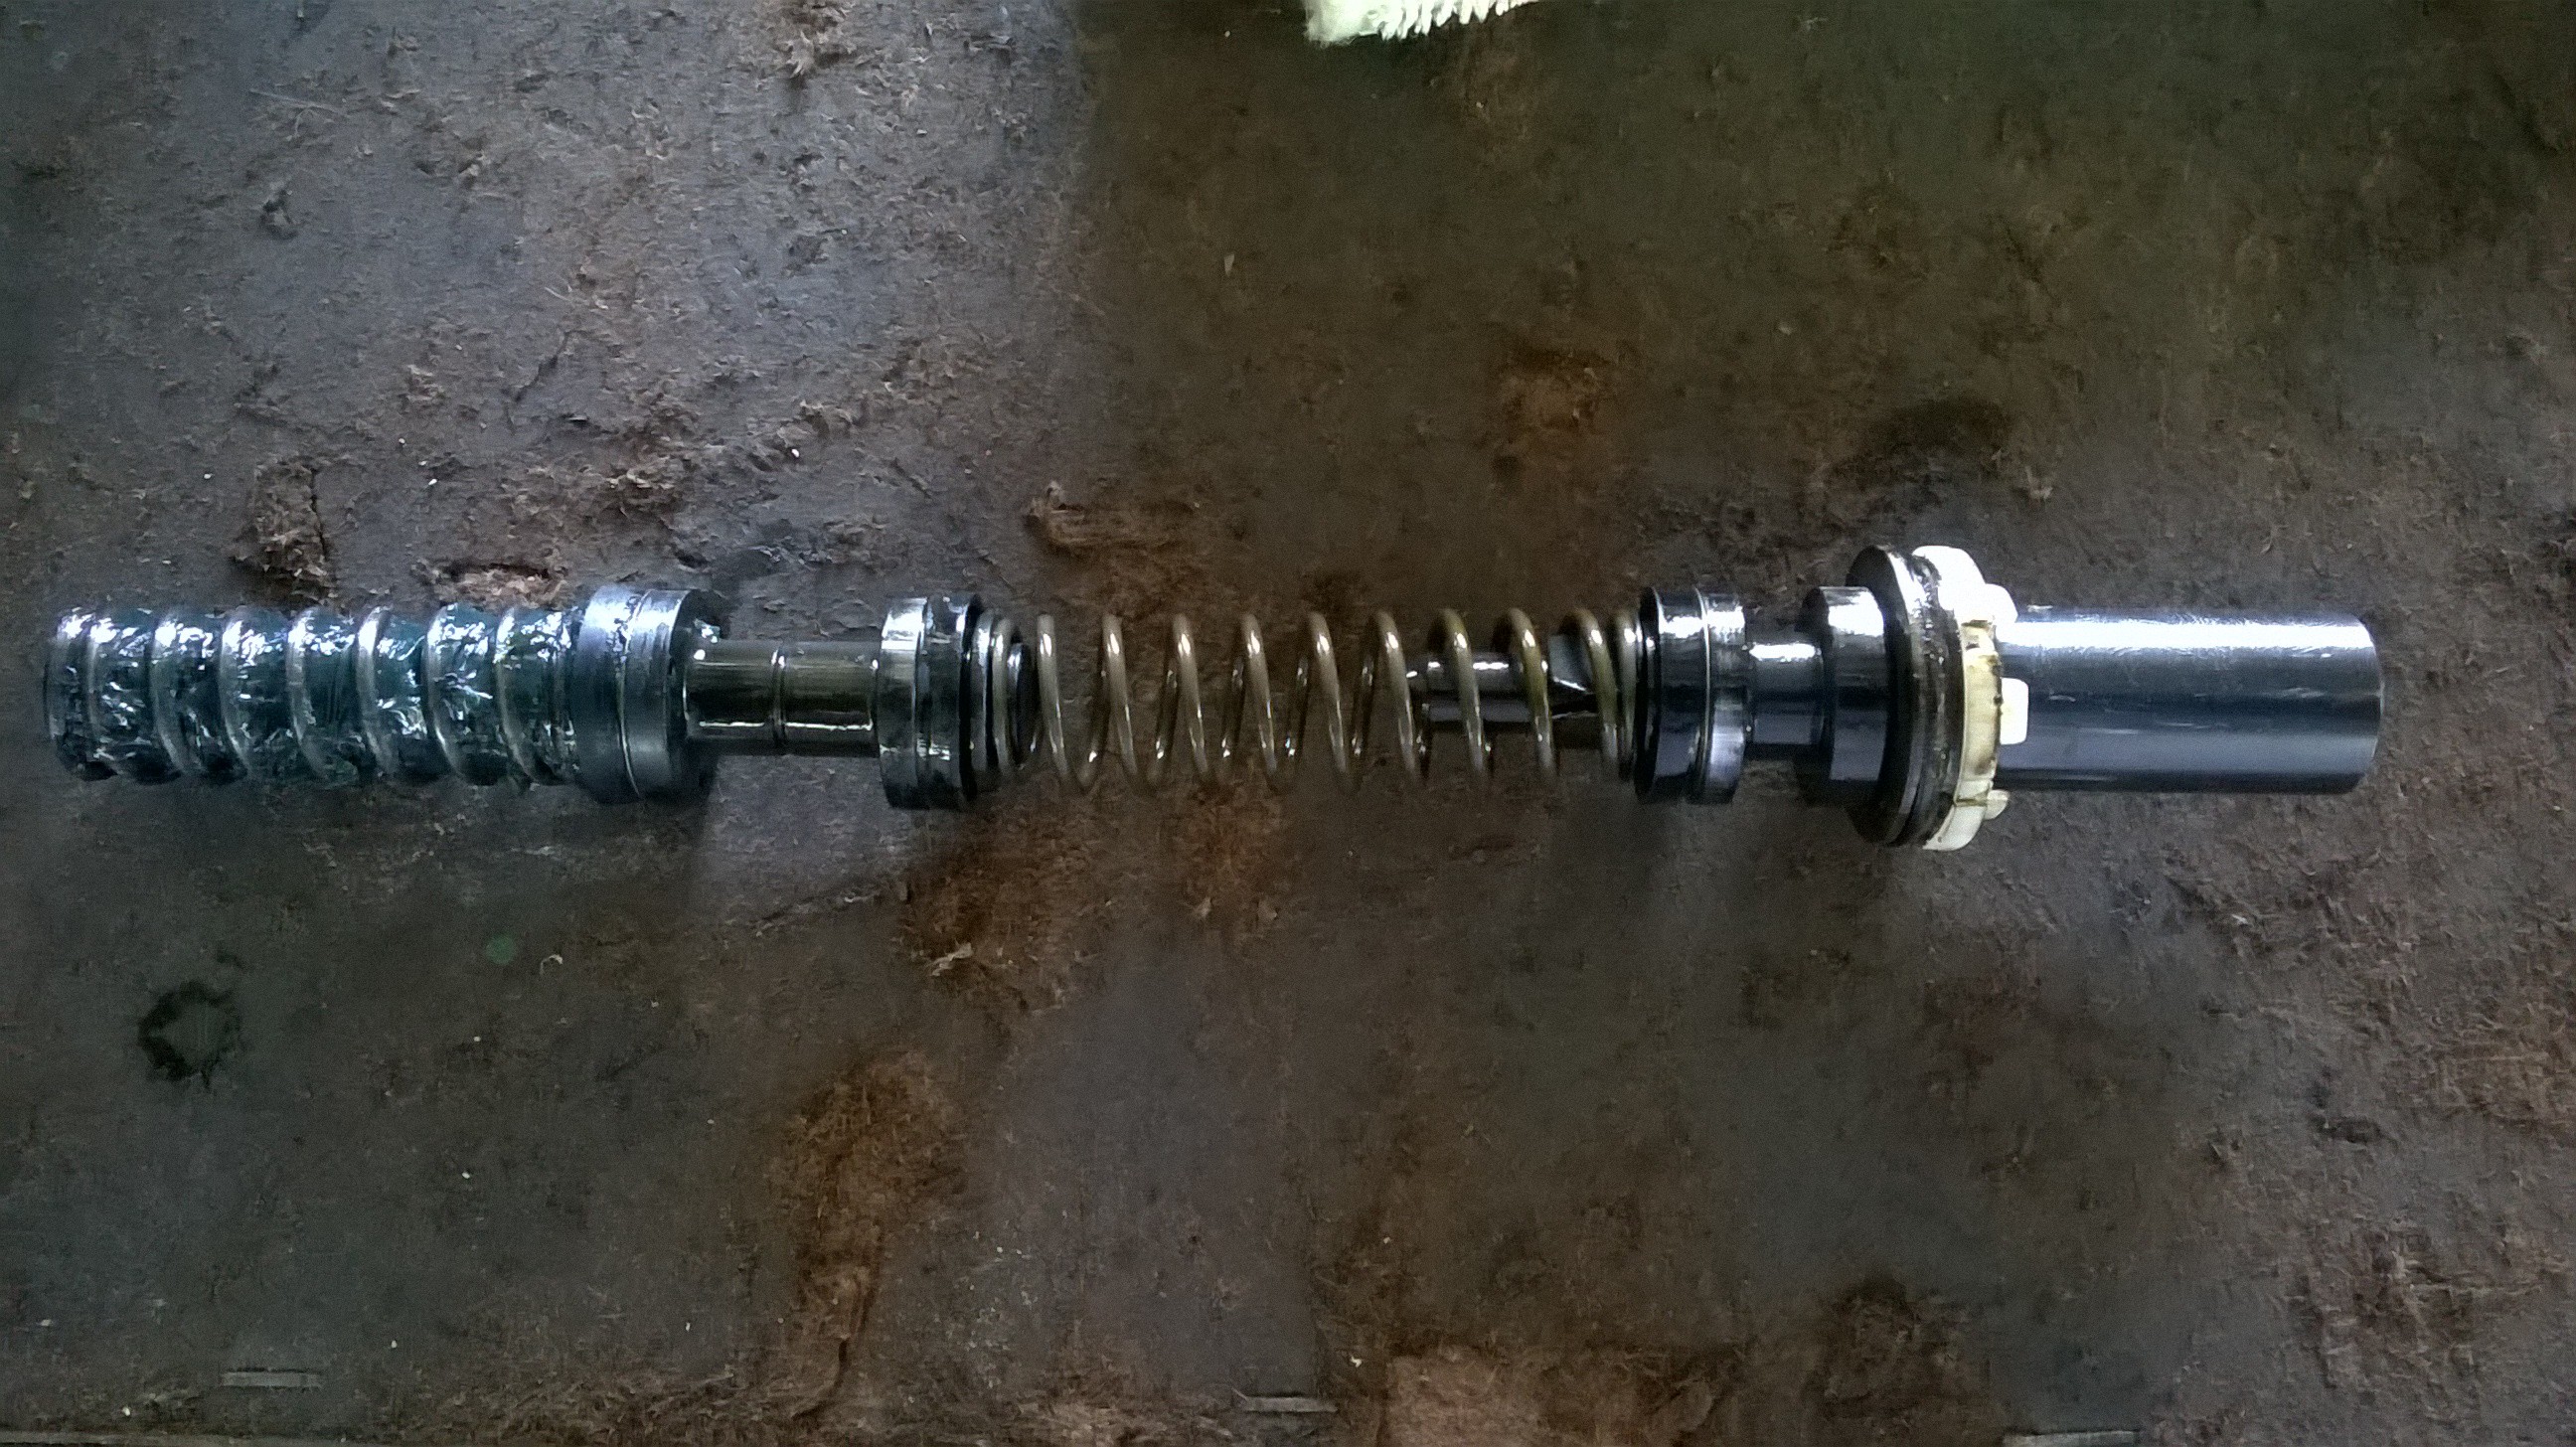
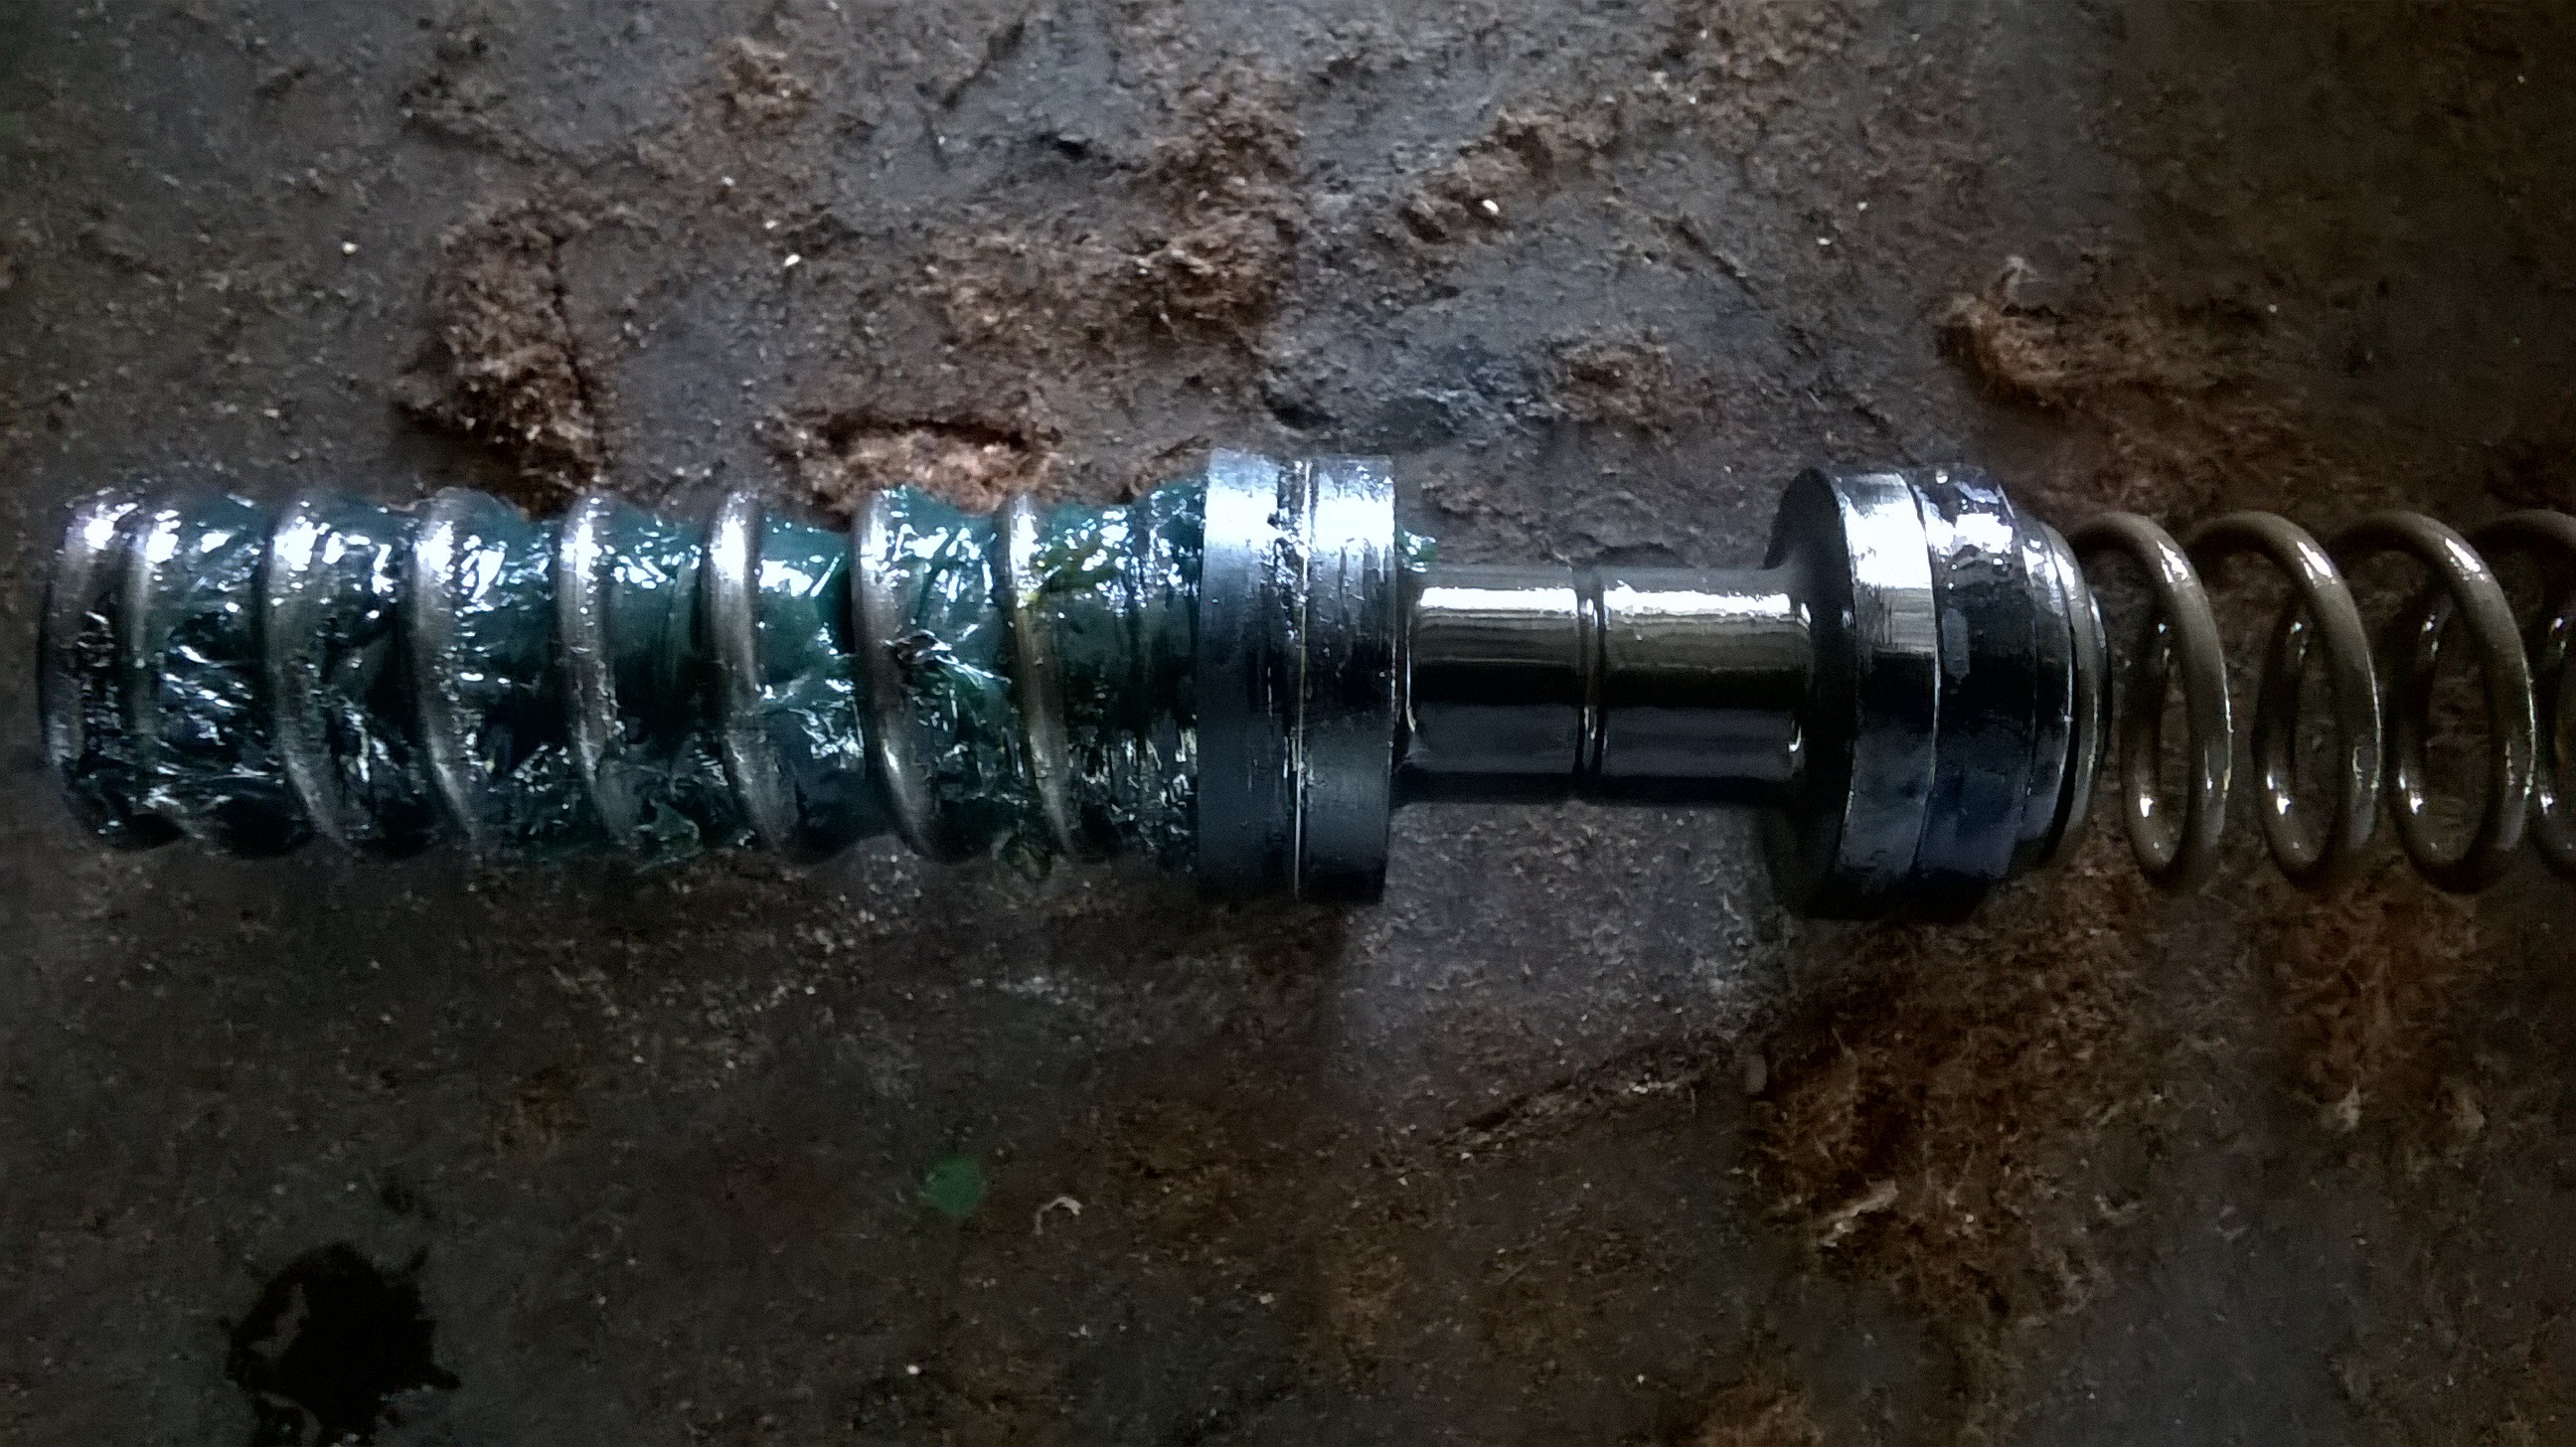
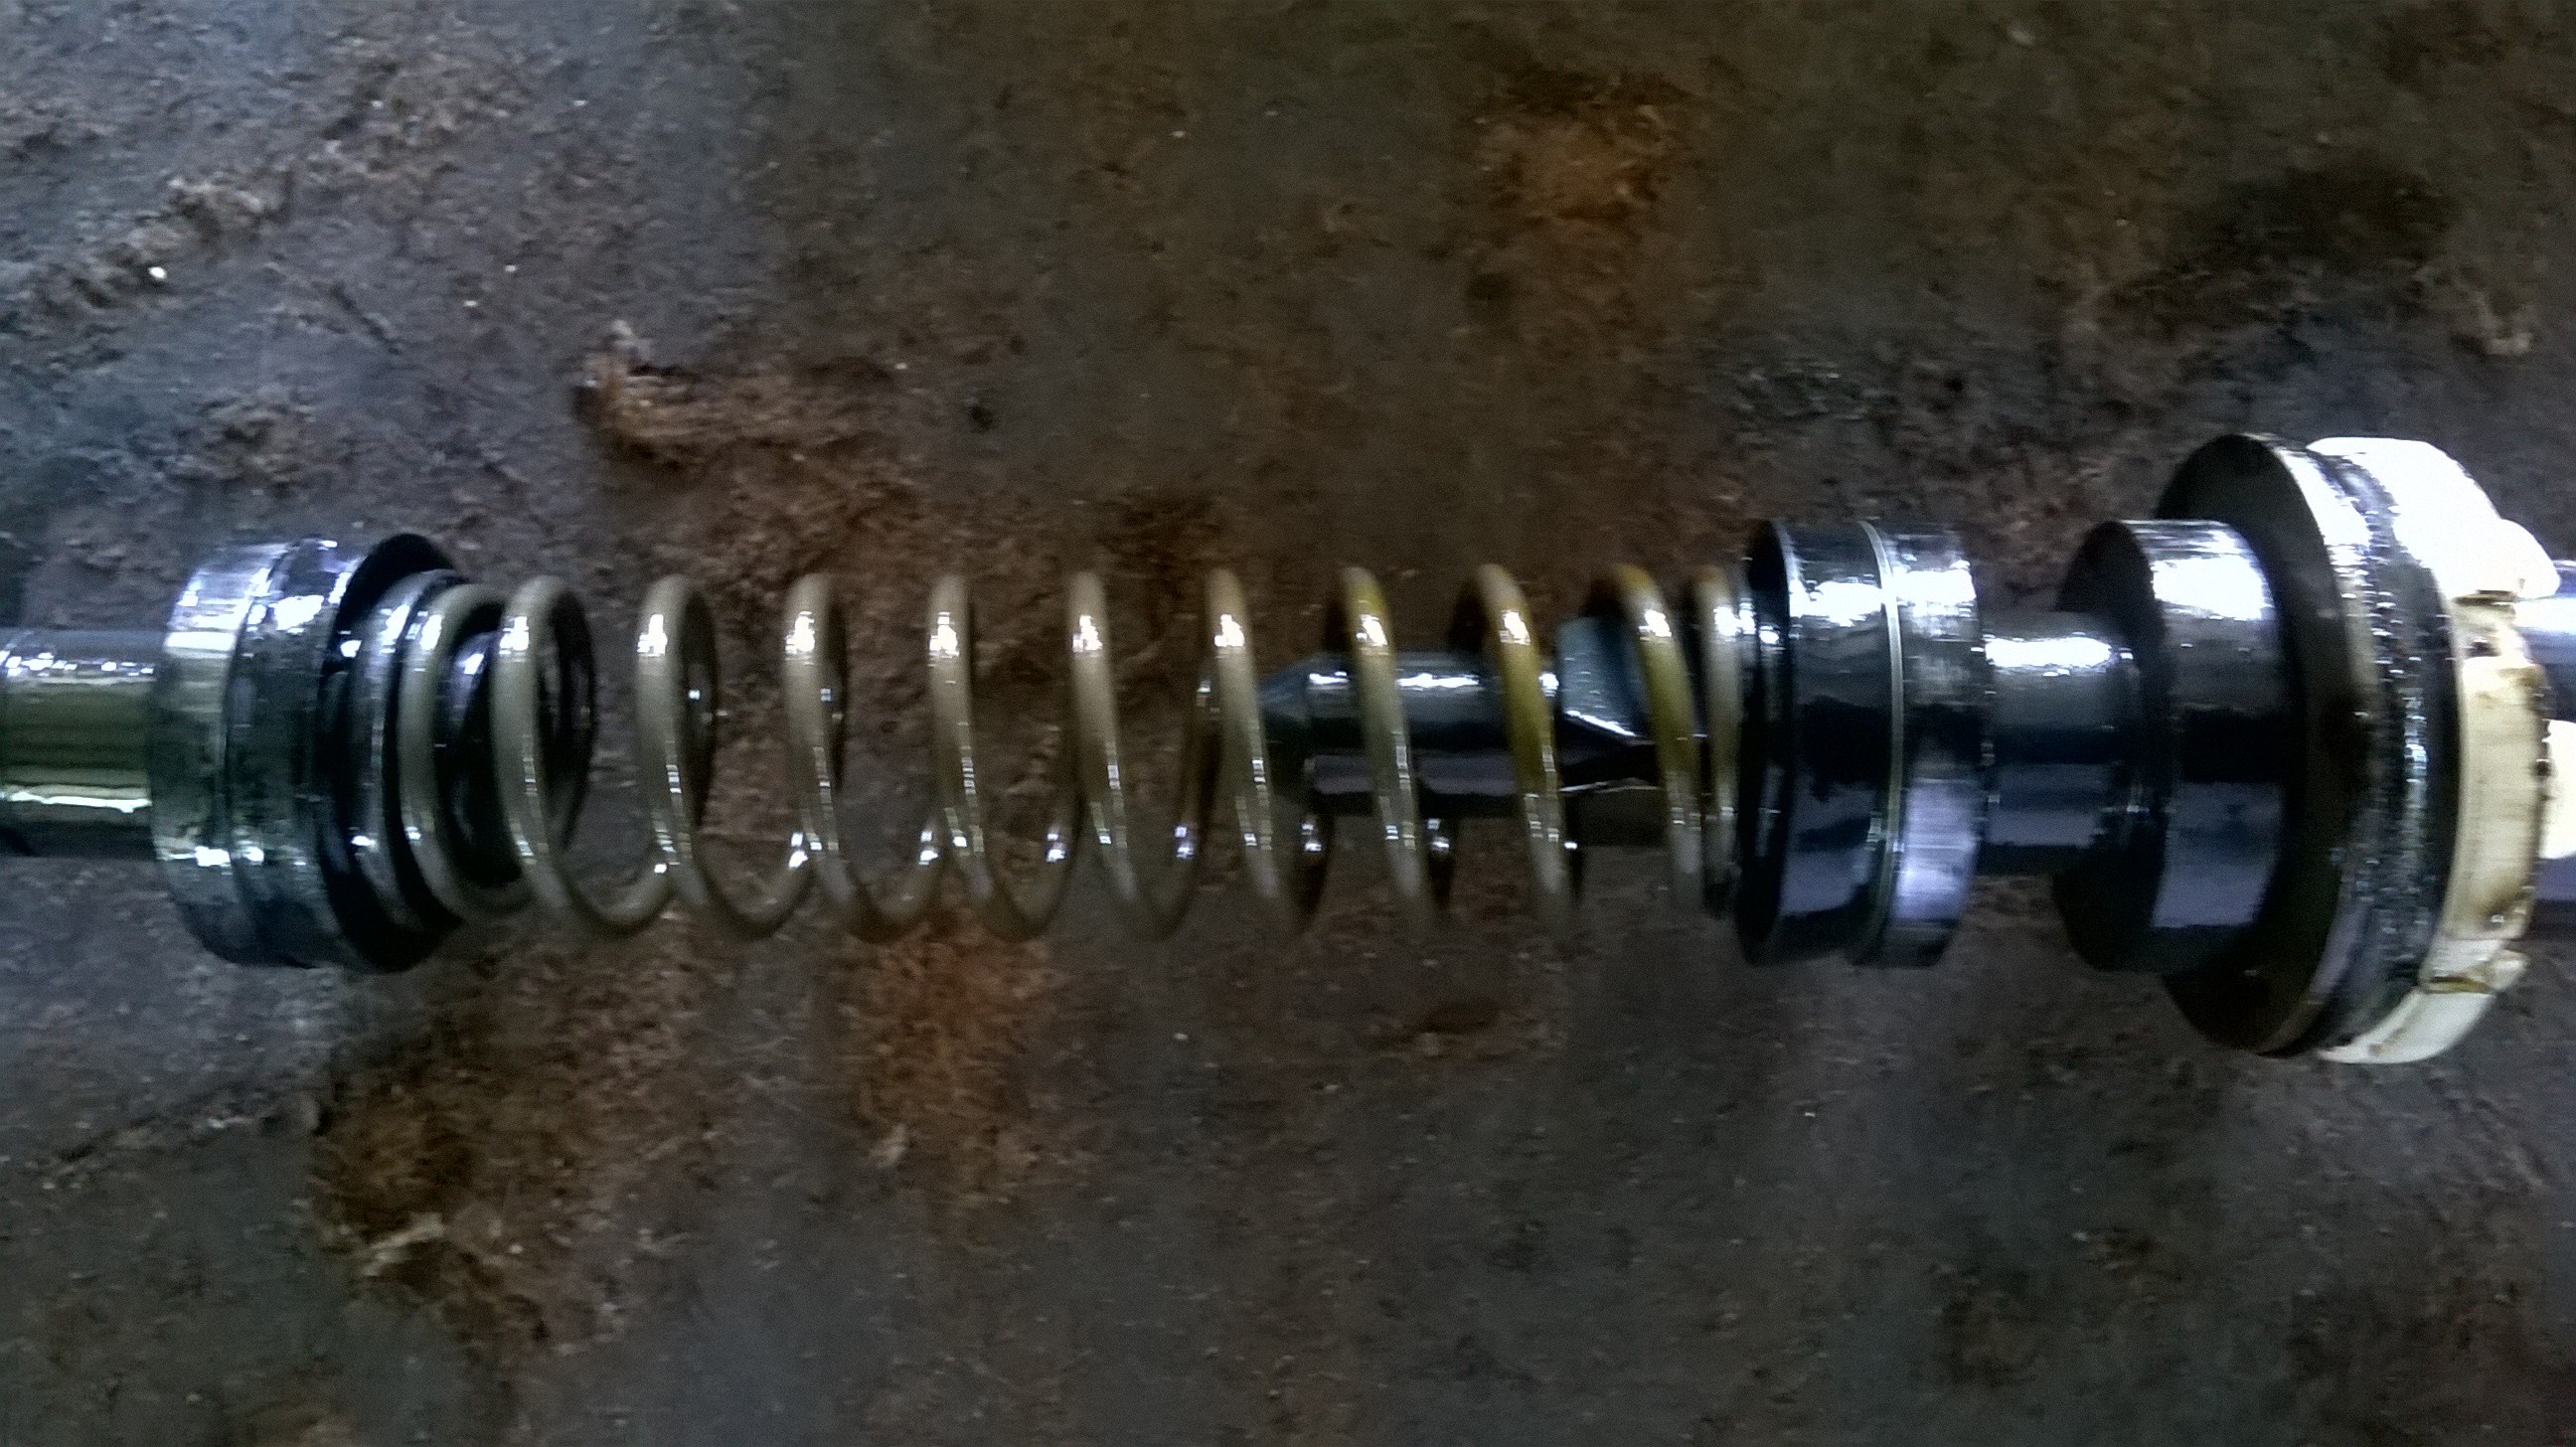
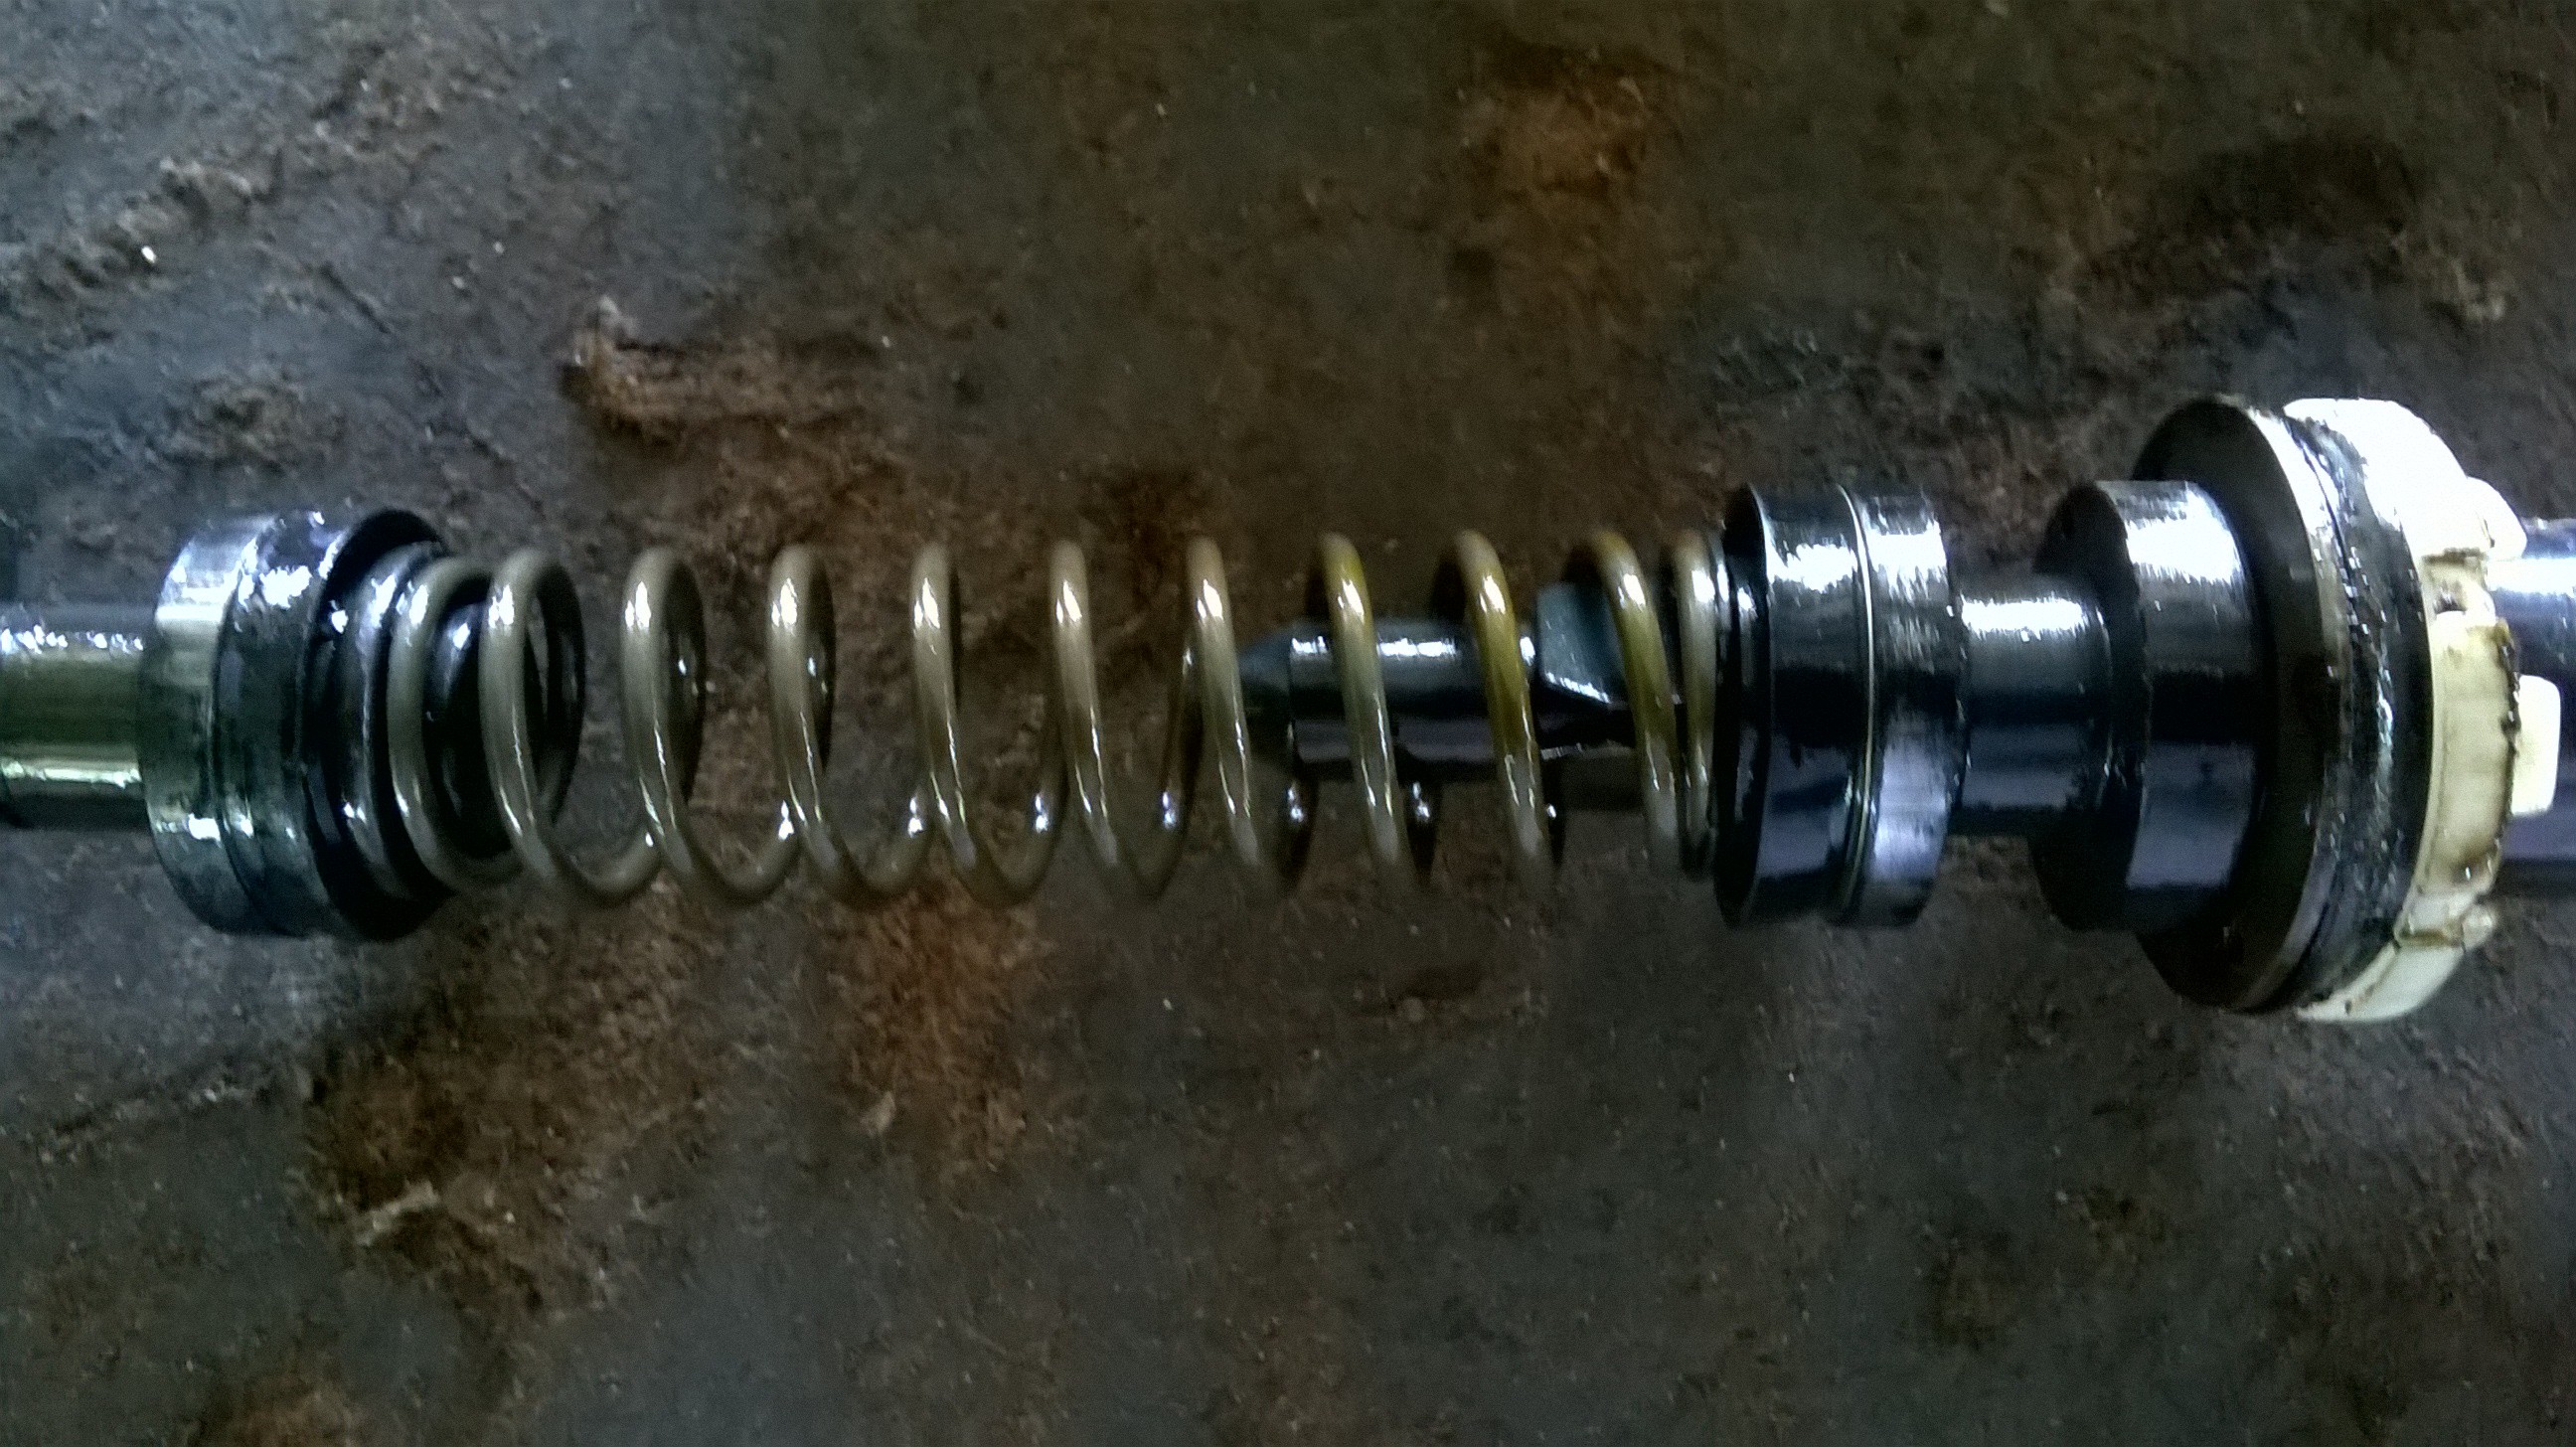
I was successful in removing the internals of the master cylinder.
My car is a Jap Spec 1994 SPi. There are two rebuild kits available from Minispares, GRK1032 and GRK1039.
GRK1039 is required for 1995 onwards, but match the internals of my master cylinder. See pics below.
I contacted Minispares on which kit I require but haven't received a response yet.
Would appreciate any suggestions, as I need the car on the road by next week.
Edited by kommander, 16 August 2017 - 04:22 PM.


0 user(s) are reading this topic
0 members, 0 guests, 0 anonymous users


