Thanks for this. Great photos by the way. My only potential issue with raptor on the underside is the finish. Is it far more mottled than gravitex?We use Upol raptor all the time its really good stuff, I would use it underneaths as well...
here is a link to a pick of it in the back of a jeep we did
https://www.facebook...?type=3
and a mk1 escort with it on underneath
https://www.facebook...?type=3
Mini 95 Pickup K1100 Twincam
Started by
Richie83
, Jun 15 2015 02:10 PM
198 replies to this topic
#61

Richie83
-
- Members
-

- 1,494 posts
One Carb Or Two?
- Location: Somerset
Posted 06 April 2016 - 08:47 PM
#62
clarkey31
-

- Noobies
-
- 95 posts
Stage One Kit Fitted
- Location: Barry
Posted 06 April 2016 - 09:23 PM
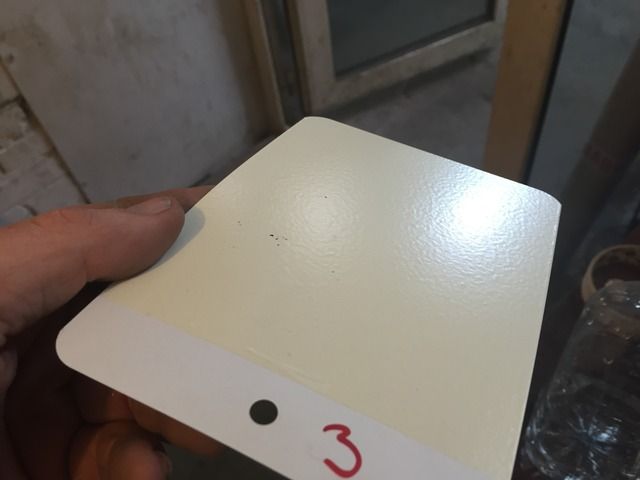
No not really It's not to bad through a stone chip gun, we did just do an early VW Baywindow that the customer wanted it smother so with thinned it a bit and painted it through with out filler primer gun here was a test card I did

#63
simpsonsclassics
-

- Noobies
-
- 106 posts
Mini Mad
- Location: UK
Posted 13 April 2016 - 05:48 AM
Nice build and a well sorted engine... maybe we our pickup will have an engine like that in the end.... hmmm
#64
podifold
-

- Traders
-
- 376 posts
Suck through sucks
- Location: Manchester
Posted 13 April 2016 - 08:26 AM
I used tinted Raptor in the bed of my pick-up. Fantastic stuff!
http://www.minipicku...tart=375#p17672


#65
Richie83
-
- Members
-
- 1,494 posts
One Carb Or Two?
- Location: Somerset
Posted 13 April 2016 - 10:29 AM
I read your post the other day. It's given the inspiration to do it. Yours looks ace.I used tinted Raptor in the bed of my pick-up. Fantastic stuff!
http://www.minipicku...tart=375#p17672
#66
simpsonsclassics
-
- Noobies
-
- 106 posts
Mini Mad
- Location: UK
Posted 13 April 2016 - 01:14 PM
Thats a wicked finish and very usable load bay there..
#67
Richie83
-
- Members
-
- 1,494 posts
One Carb Or Two?
- Location: Somerset
Posted 13 April 2016 - 06:00 PM
thanks. It's a beast of an engine. Love it.Nice build and a well sorted engine... maybe we our pickup will have an engine like that in the end.... hmmm
#68
g111mds
-

- Members
-
- 432 posts
Speeding Along Now
- Location: Edinburgh
Posted 20 April 2016 - 11:35 AM
an absolutely fantastic pickup you have!
#69
Richie83
-
- Members
-
- 1,494 posts
One Carb Or Two?
- Location: Somerset
Posted 20 April 2016 - 12:02 PM
Thanks 😀. Hopefully will make it better this year.an absolutely fantastic pickup you have!
#70
Richie83
-
- Members
-
- 1,494 posts
One Carb Or Two?
- Location: Somerset
Posted 03 May 2016 - 06:01 AM
I've been busy of late, hence the lack of updates. But the pickup is booked in for its MOT on Friday, so I gave it a thorough once over and clean yesterday.
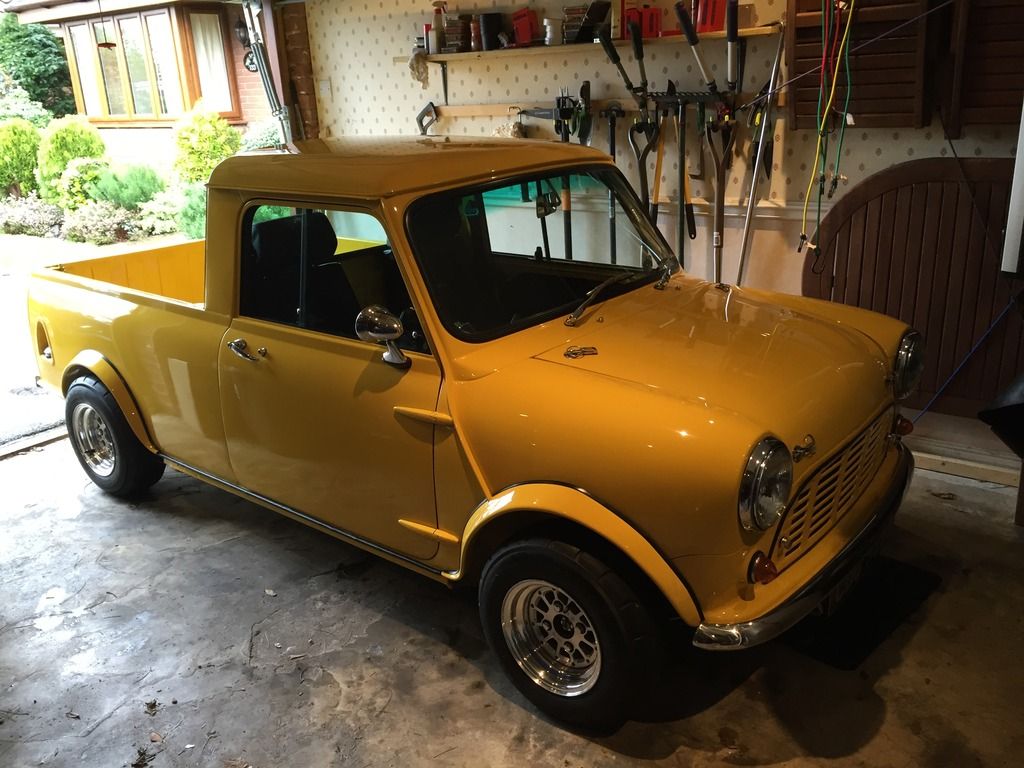
I used the AutoFinesse goodies and it came up a treat:
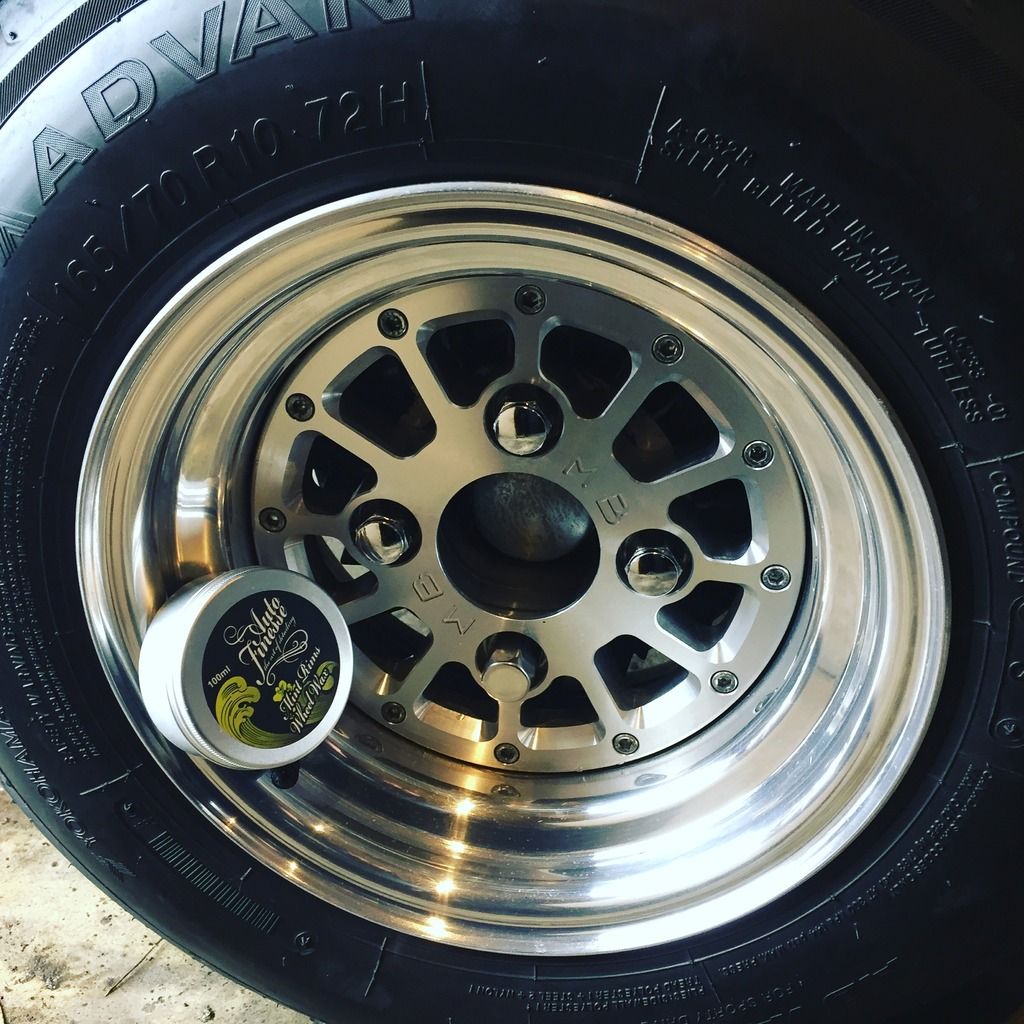
I still didn't have time to clean the engine bay or interior, so I know what I'll be doing next Saturday .
.

I used the AutoFinesse goodies and it came up a treat:

I still didn't have time to clean the engine bay or interior, so I know what I'll be doing next Saturday
.
Edited by Richie83, 04 May 2016 - 08:54 PM.
#71
ekyteky
-

- Noobies
-
- 18 posts
Learner Driver
- Location: Wirral
Posted 04 May 2016 - 07:58 PM
 Looks stunning that mate,
fingers crossed for the MOT! 
#72
Richie83
-
- Members
-
- 1,494 posts
One Carb Or Two?
- Location: Somerset
Posted 24 May 2016 - 04:08 PM
Okay. So slight postponement of the sills and underside painting. But it will be done very soon. In the meantime it's gone through its MOT, passed after a couple of minor things and I've turned my attention to the load deck.
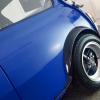
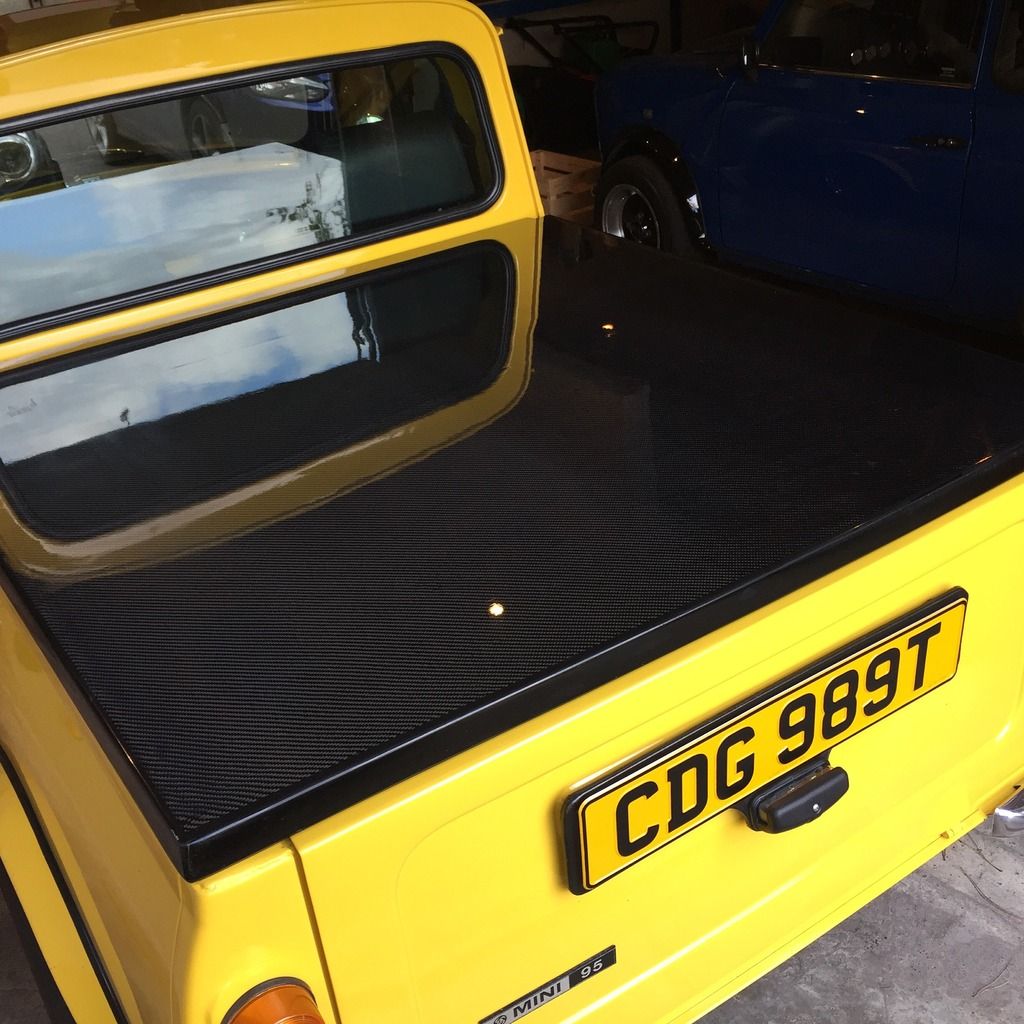
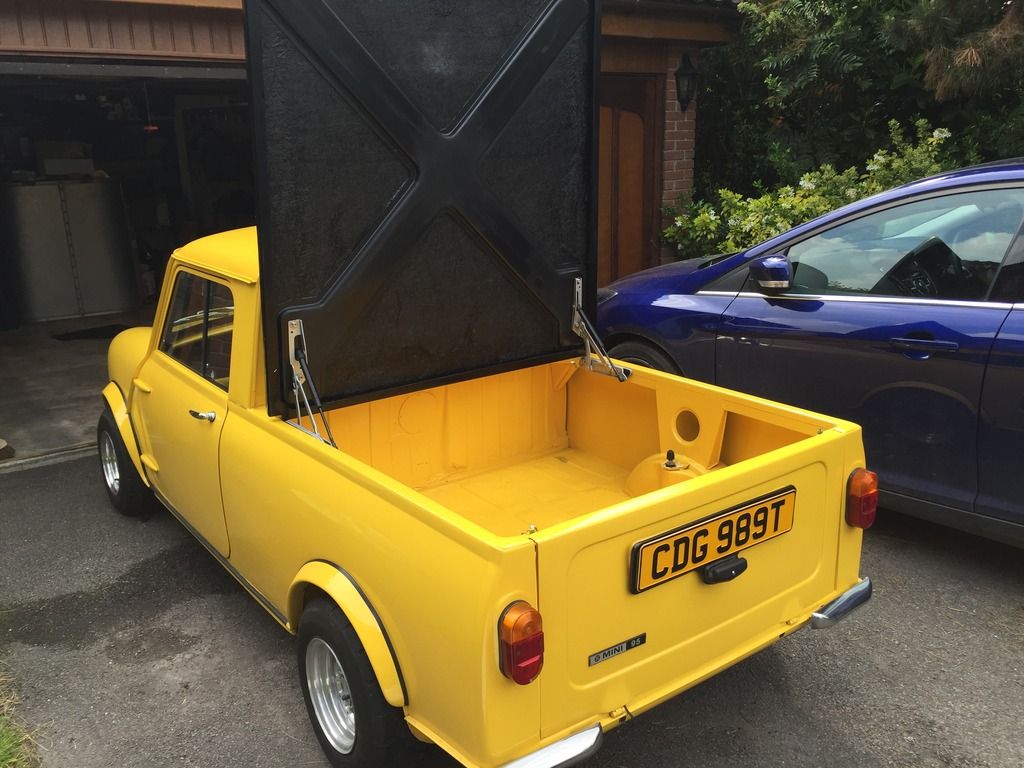
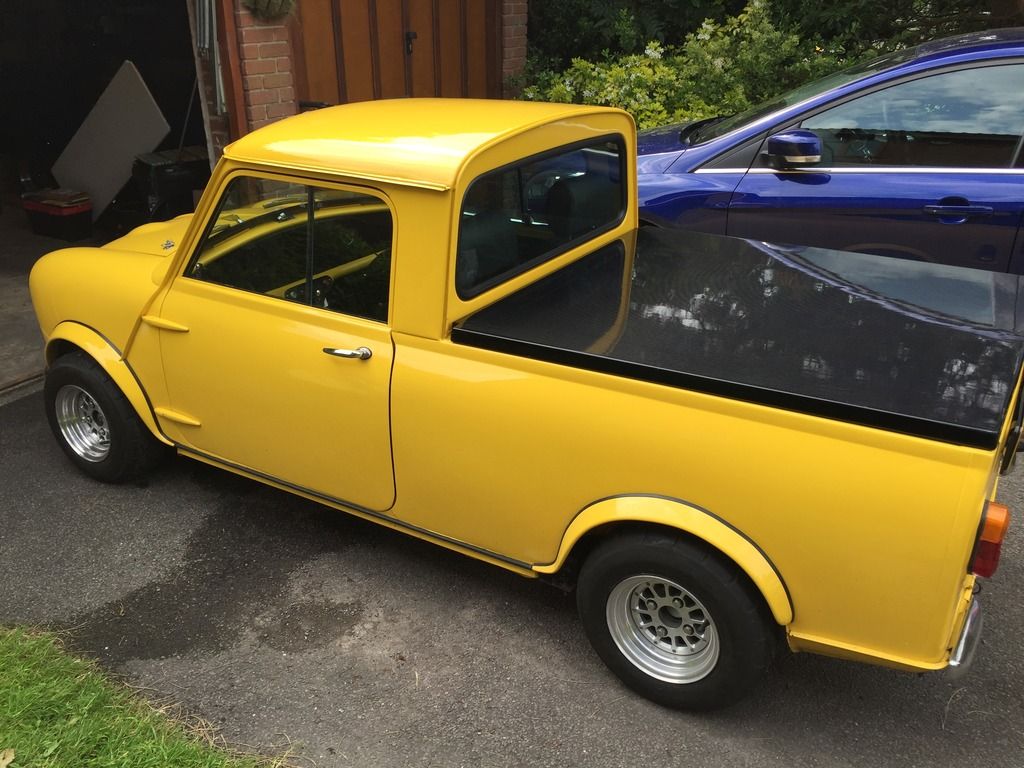
I didn't like the idea of a tilting cover (I have the aluminium cover for large stuff) or a canvas cover. So I've gone ahead and bought the first carbon cover from ABS. Here is a quick sneak peak before I fit it properly:

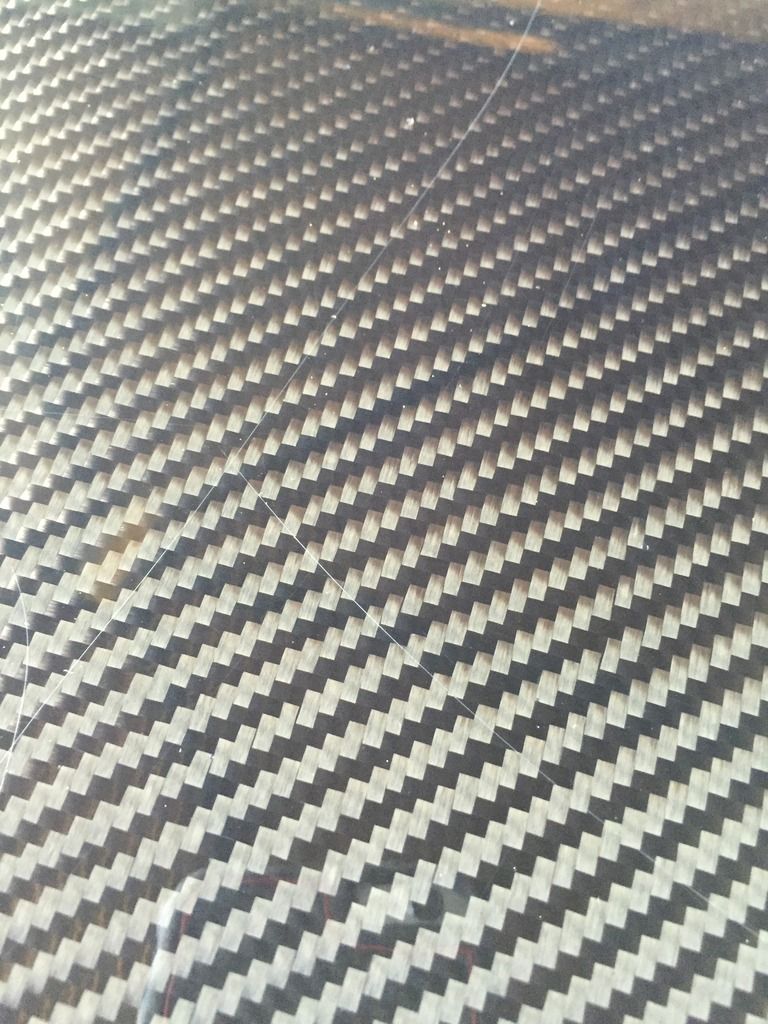
This will be lacquered a couple more times to get it just right. I've been assured scratches such as this will flat out:
I have purchased some Rover 75 boot hinges for it and plan to fit locking aerocatches to keep the other end secure. I think it looks ace - it's starting to look more like a hornet rather than a bumblebee 😋
I didn't like the idea of a tilting cover (I have the aluminium cover for large stuff) or a canvas cover. So I've gone ahead and bought the first carbon cover from ABS. Here is a quick sneak peak before I fit it properly:


This will be lacquered a couple more times to get it just right. I've been assured scratches such as this will flat out:

I have purchased some Rover 75 boot hinges for it and plan to fit locking aerocatches to keep the other end secure. I think it looks ace - it's starting to look more like a hornet rather than a bumblebee 😋
#73
carthorse
-

- Members
-
- 256 posts
Mini Mad
- Location: Cheshire
Posted 24 May 2016 - 04:57 PM
That is stunning and really suits the look of your pickup - looking forward to seeing how you mount it
#74
Jared Mk3
-

- Members
-
- 1,974 posts
Has a small thing but it does make a difference
- Location: Kokstad, South Africa
- Local Club: MOCKZN
Posted 24 May 2016 - 06:34 PM
That is awesome!
#75
Richie83
-
- Members
-
- 1,494 posts
One Carb Or Two?
- Location: Somerset
Posted 27 May 2016 - 07:25 PM
A little more progress today as I've fitted the carbon cover with help from my father in law (it's pretty fiddly getting it all square).
What we used:
- 8mm Rivnuts (got a simple but brilliant tool to install them)
- m8 round head Allen bolts (40mm)
- Rover 75 Hinges
- carbon spacers (15mm each side)
- 11mm drill bit (and a few smaller bits)
- masking tape
- square level
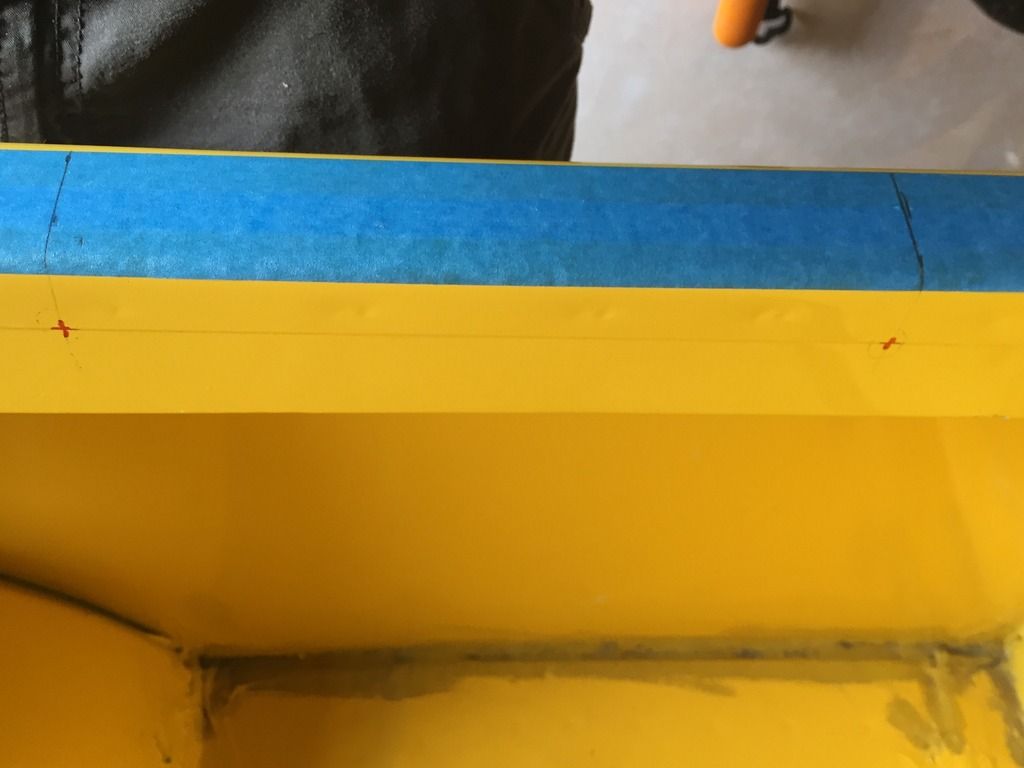
We started off by masking off the wing and marking the lines (170mm from the bulkhead and then 195mm further on):
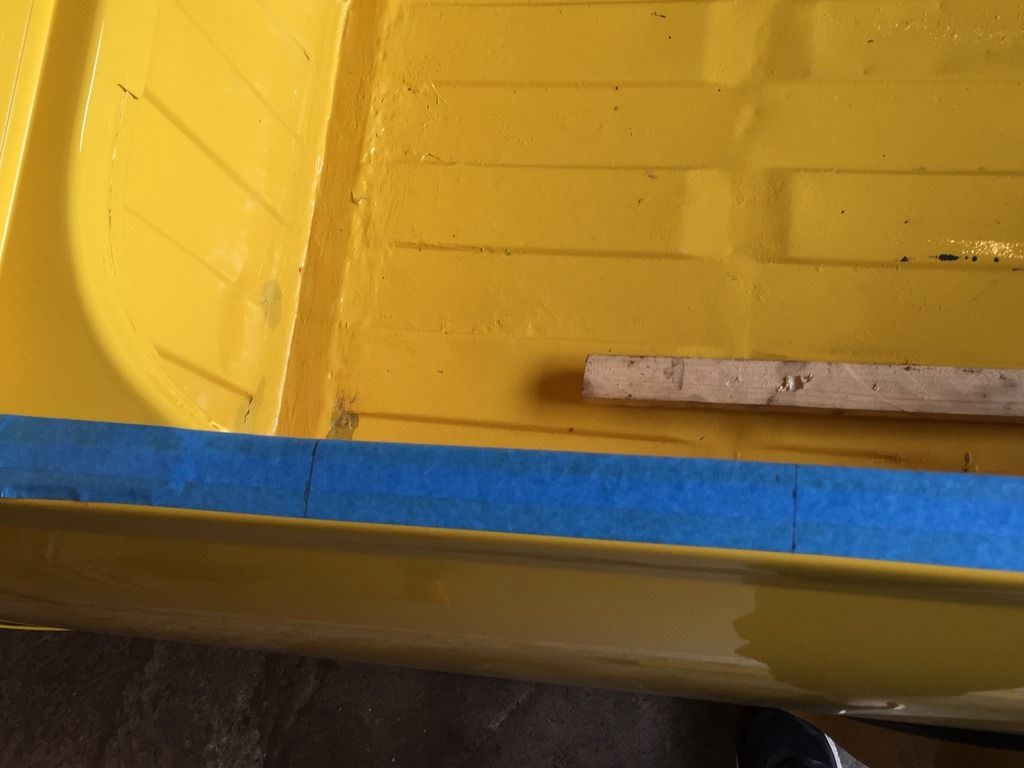
Using the square level the holes were marked
I did not photograph the next bit (but I do have photos of the Rivnut test install if anyone wants to see). Basically we drilled pilot holes and made progressively larger holes for a neat finish. Then installed the 8mm rivnuts, after painting the bare metal, using the tool.
Next the spacers and hinges were bolted in place. The penny washers ensured plenty of adjustment room and look beefy (because they are)
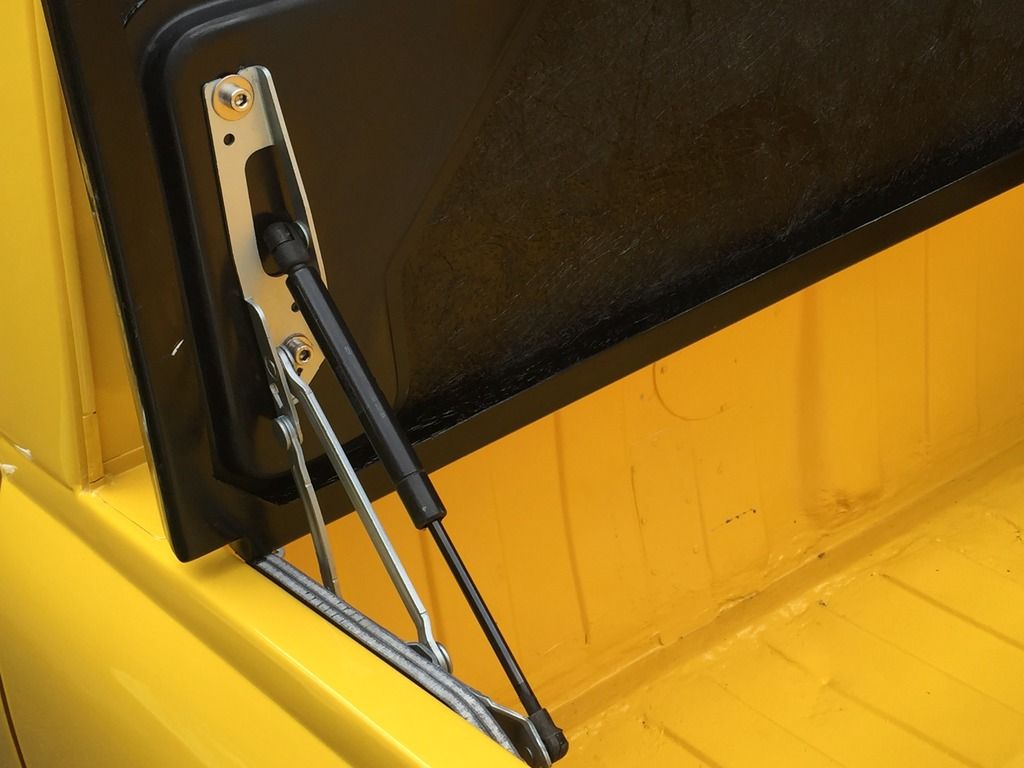
This is how it looks now:
I'm pretty happy with it.
Next up with this bit of the build:
- install locking pins
- tidy up the underside of the cover, spray and make it look awesome
- install some sort of closed cell foam weather strip
- contemplating using the underside as a tidyish sticker bomb area (manufactures used on the car, local detailers that clean the car from time to time etc). We shall see.
What we used:
- 8mm Rivnuts (got a simple but brilliant tool to install them)
- m8 round head Allen bolts (40mm)
- Rover 75 Hinges
- carbon spacers (15mm each side)
- 11mm drill bit (and a few smaller bits)
- masking tape
- square level
We started off by masking off the wing and marking the lines (170mm from the bulkhead and then 195mm further on):

Using the square level the holes were marked

I did not photograph the next bit (but I do have photos of the Rivnut test install if anyone wants to see). Basically we drilled pilot holes and made progressively larger holes for a neat finish. Then installed the 8mm rivnuts, after painting the bare metal, using the tool.
Next the spacers and hinges were bolted in place. The penny washers ensured plenty of adjustment room and look beefy (because they are)

This is how it looks now:


I'm pretty happy with it.
Next up with this bit of the build:
- install locking pins
- tidy up the underside of the cover, spray and make it look awesome
- install some sort of closed cell foam weather strip
- contemplating using the underside as a tidyish sticker bomb area (manufactures used on the car, local detailers that clean the car from time to time etc). We shall see.
Edited by Richie83, 27 May 2016 - 07:31 PM.


2 user(s) are reading this topic
0 members, 2 guests, 0 anonymous users


